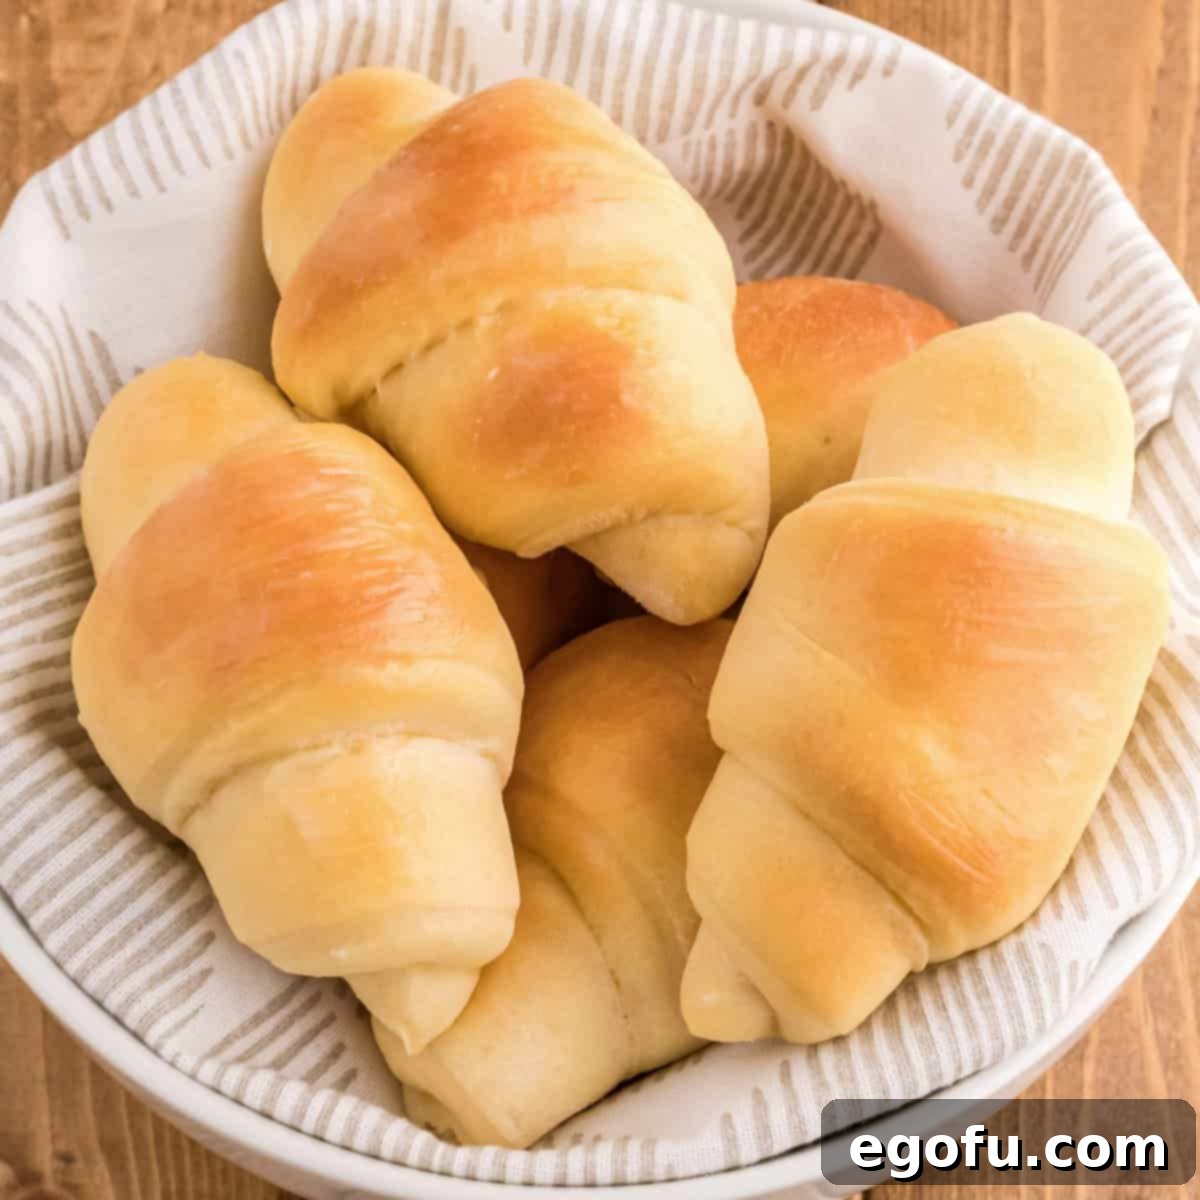
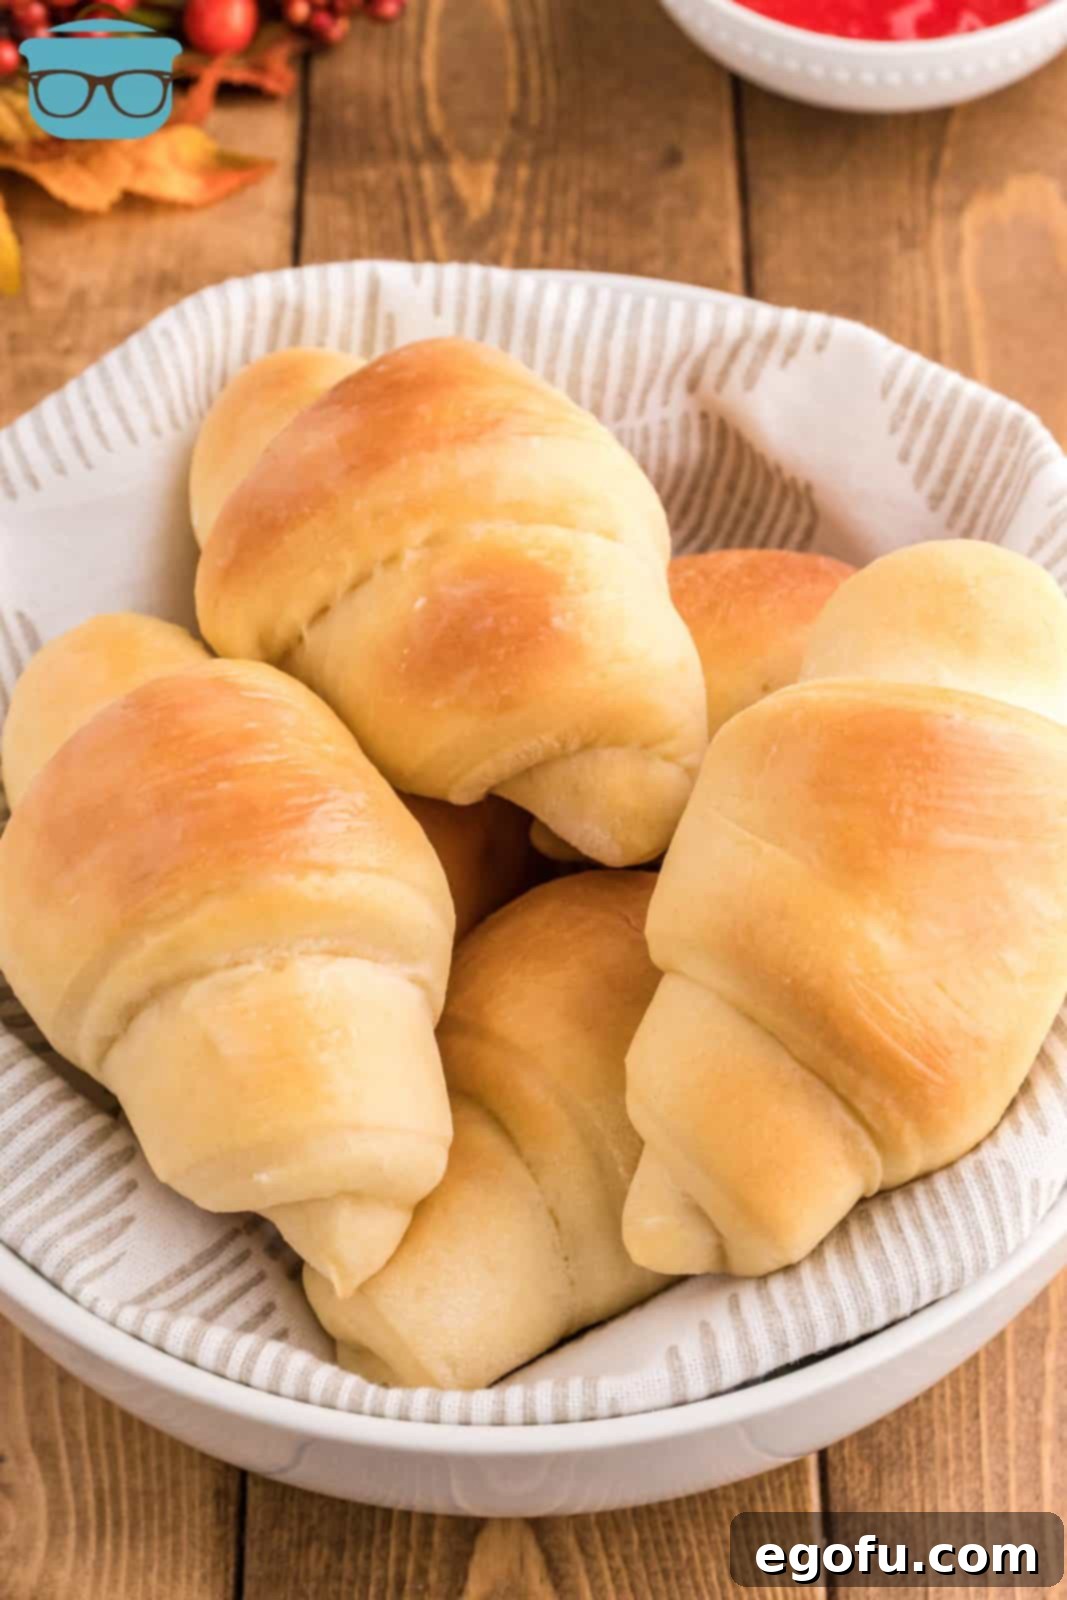
Experience the unparalleled joy of baking with these Homemade Crescent Rolls. Light, airy, and wonderfully fluffy, they’re crafted from simple ingredients to deliver the perfect bread for any meal.
Homemade Crescent Rolls: A Recipe for Light, Fluffy Perfection
There’s a unique satisfaction that comes with baking bread from scratch, and these Homemade Crescent Rolls offer just that, without the intimidation. Forget the notion that you need to be a seasoned baker; this recipe is designed for ease and guaranteed success. You’ll be amazed at how simple it is to transform a few basic ingredients into golden-brown, melt-in-your-mouth rolls that will impress everyone at your table. We’re about to embark on a culinary journey, step-by-step, to create these delectable rolls that you’ll want to make again and again. Prepare for your kitchen to be filled with the irresistible aroma of freshly baked bread!
Why Bake Homemade Crescent Rolls?
While store-bought options are convenient, nothing quite compares to the taste, texture, and aroma of homemade crescent rolls. They offer a superior flavor profile, a delicate fluffiness that simply melts in your mouth, and a comforting warmth that transforms any meal into a special occasion. Beyond the sensory delights, baking at home gives you complete control over the ingredients, allowing you to choose quality components and avoid unwanted additives. It’s a rewarding experience that connects you with the time-honored tradition of bread-making, leaving you with a sense of accomplishment and a batch of truly extraordinary rolls.
Ingredients for Success: What You’ll Need
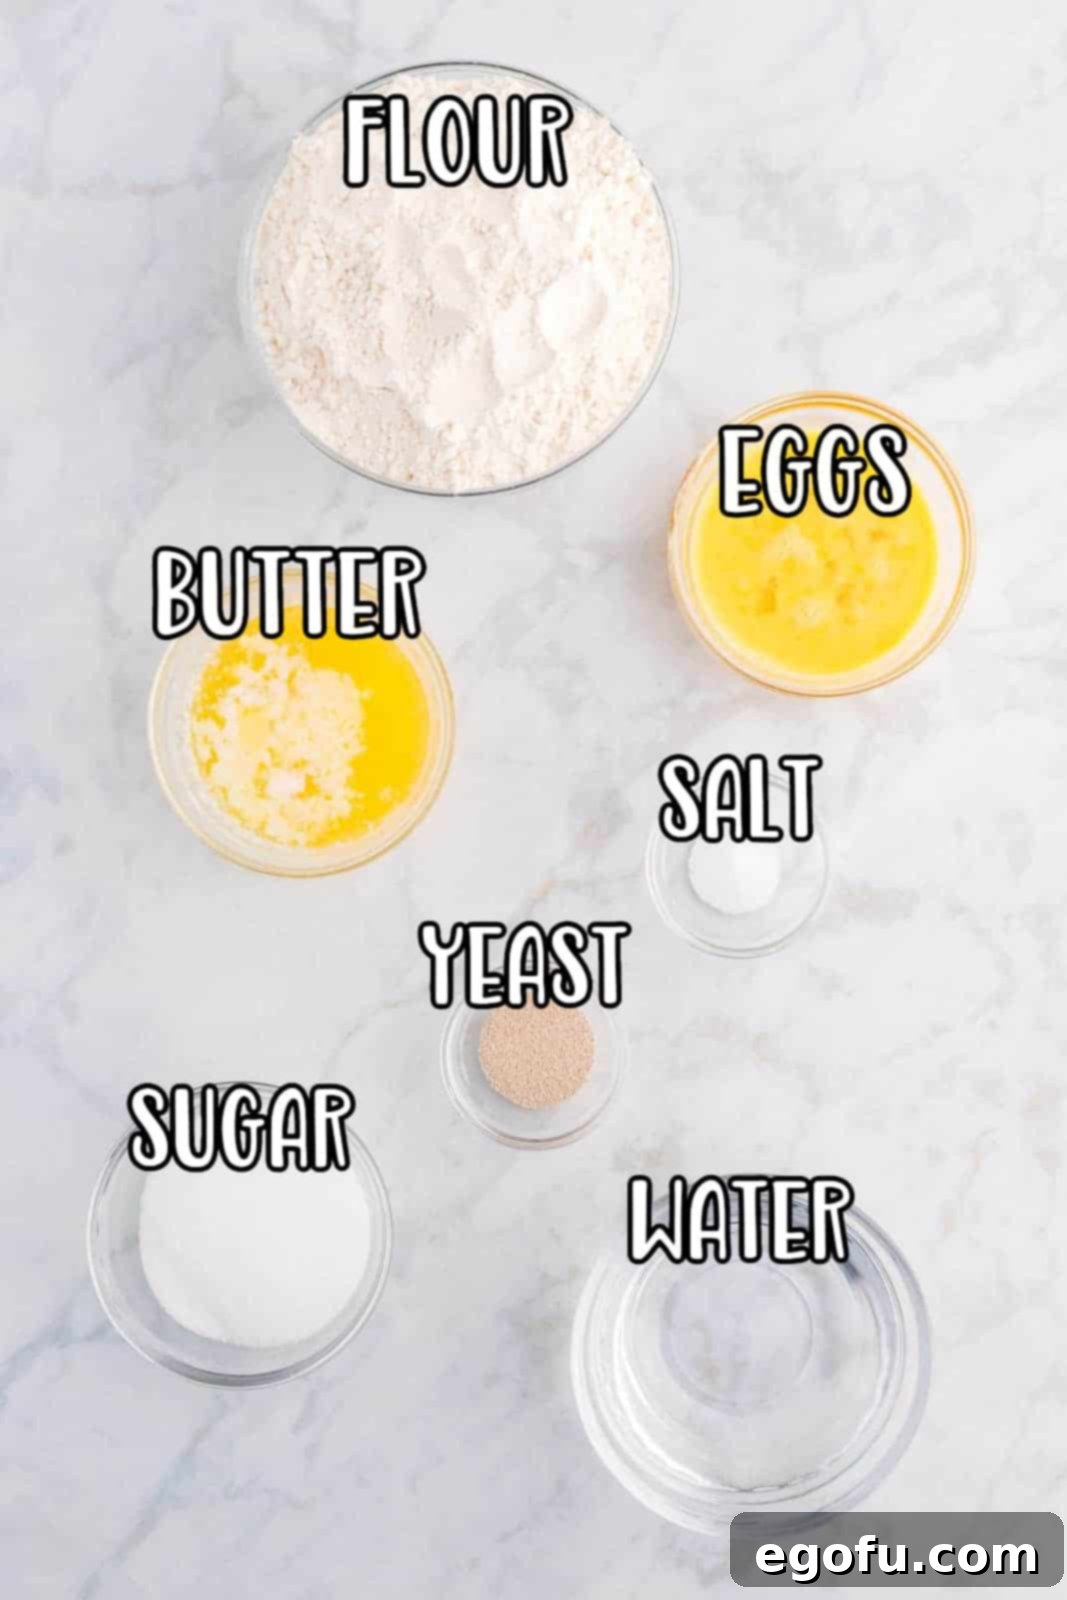
Crafting these heavenly crescent rolls requires just a handful of staple ingredients, each playing a crucial role in achieving that perfect texture and flavor. Understanding the function of each ingredient can also help you troubleshoot and ensure consistent results every time.
- Warm Water: The foundation for activating your yeast. It needs to be very warm to the touch, ideally between 105-115°F (40-46°C), but never boiling hot, as extreme heat will kill the yeast. This precise temperature range allows the yeast to awaken and begin its work, producing the gases that give our rolls their signature light and airy texture.
- Active Dry Yeast: This recipe specifically calls for active dry yeast, which typically needs to be proofed (activated in warm water) before being combined with other ingredients. While instant yeast might work, active dry yeast is recommended for best results and proper activation. Always check the expiration date on your yeast to ensure it’s fresh and potent for optimal rising.
- Butter: We recommend using salted butter for a richer flavor that complements the rolls beautifully. However, unsalted butter is a perfectly fine alternative if that’s what you have on hand; just be sure to adjust the added salt slightly if you prefer a saltier profile. Melted butter adds tenderness and richness to the dough, contributing to its soft crumb.
- Granulated Sugar: Don’t worry, this isn’t to make your rolls sweet! The granulated sugar serves as vital “food” for the yeast, accelerating its activation and fermentation process. This helps the dough rise effectively and contributes to the golden-brown crust.
- Eggs: For the best dough consistency and structure, allow your eggs to come to room temperature before using them. Room temperature eggs emulsify more easily with other ingredients, creating a smoother, more cohesive dough. They add richness, moisture, and help bind the dough together, contributing to the rolls’ tender interior.
- Salt: Essential for enhancing the flavor of the rolls and also for regulating the yeast activity, ensuring a balanced rise. A good quality salt will bring out the inherent deliciousness of the bread.
- All-Purpose Flour: This recipe relies on standard all-purpose flour for its balanced protein content, which provides just enough gluten development for a soft yet structured roll. Do not substitute with self-rising flour, as the yeast is the sole leavening agent here. Different brands of all-purpose flour can vary slightly in protein content, so you might need minor adjustments.
- Additional Melted Butter (for topping): A final brush of melted butter after baking adds a glossy finish, extra flavor, and keeps the rolls incredibly moist and appealing.
Step-by-Step Guide: How to Make Homemade Crescent Rolls
Follow these detailed instructions carefully to ensure your crescent rolls turn out perfectly light, fluffy, and golden every time. Each step is designed to guide even novice bakers to success.
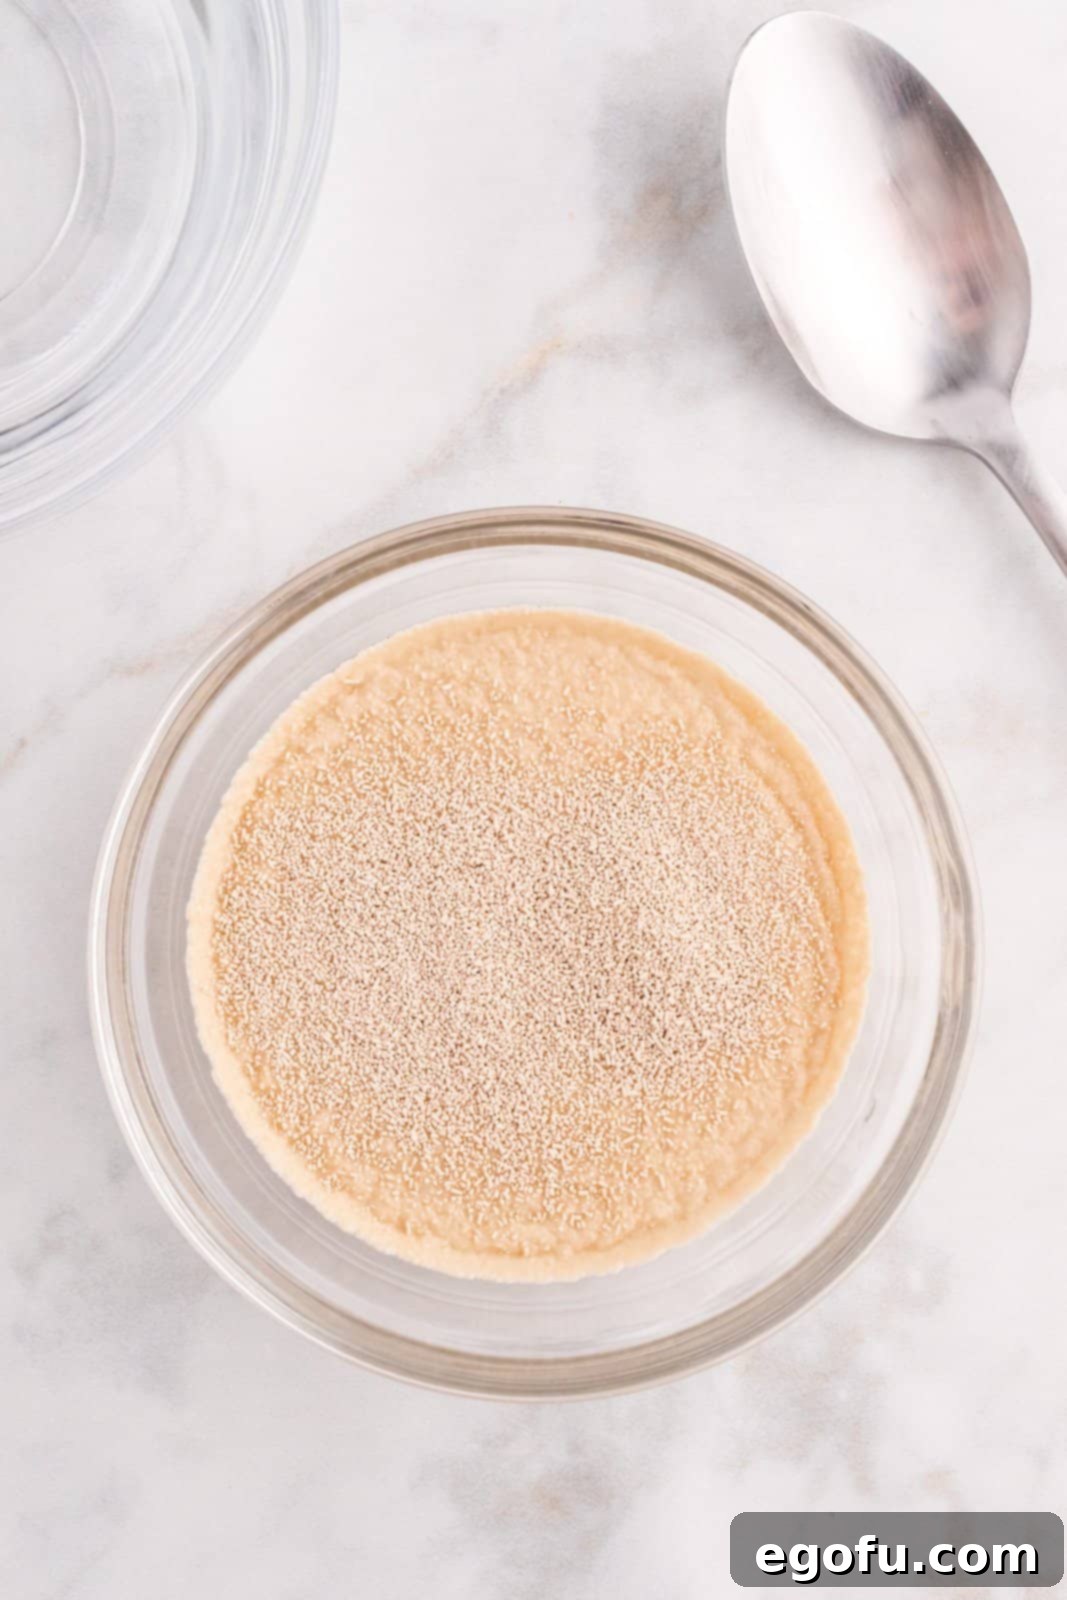
Step 1: Activate the Yeast
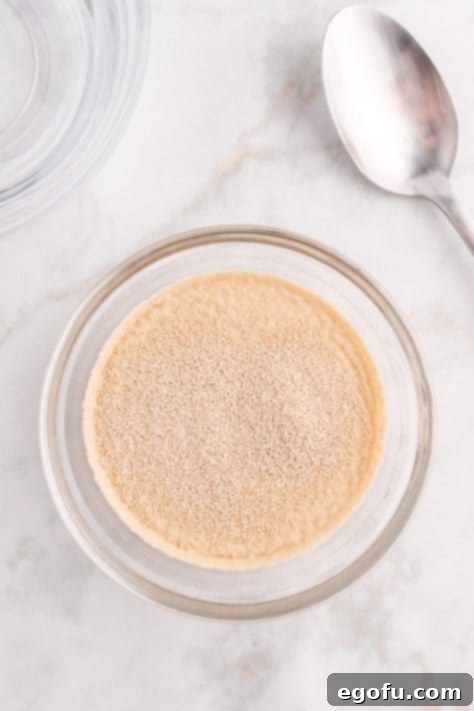
In a small bowl, combine ¼ cup of warm water with the active dry yeast. Stir gently until the yeast is fully dissolved. Set this mixture aside for about 5 minutes. During this time, the yeast will become foamy or bubbly, indicating that it is active and ready to work its magic. If your yeast doesn’t foam, it might be old or the water temperature was incorrect, and you should start with fresh yeast.
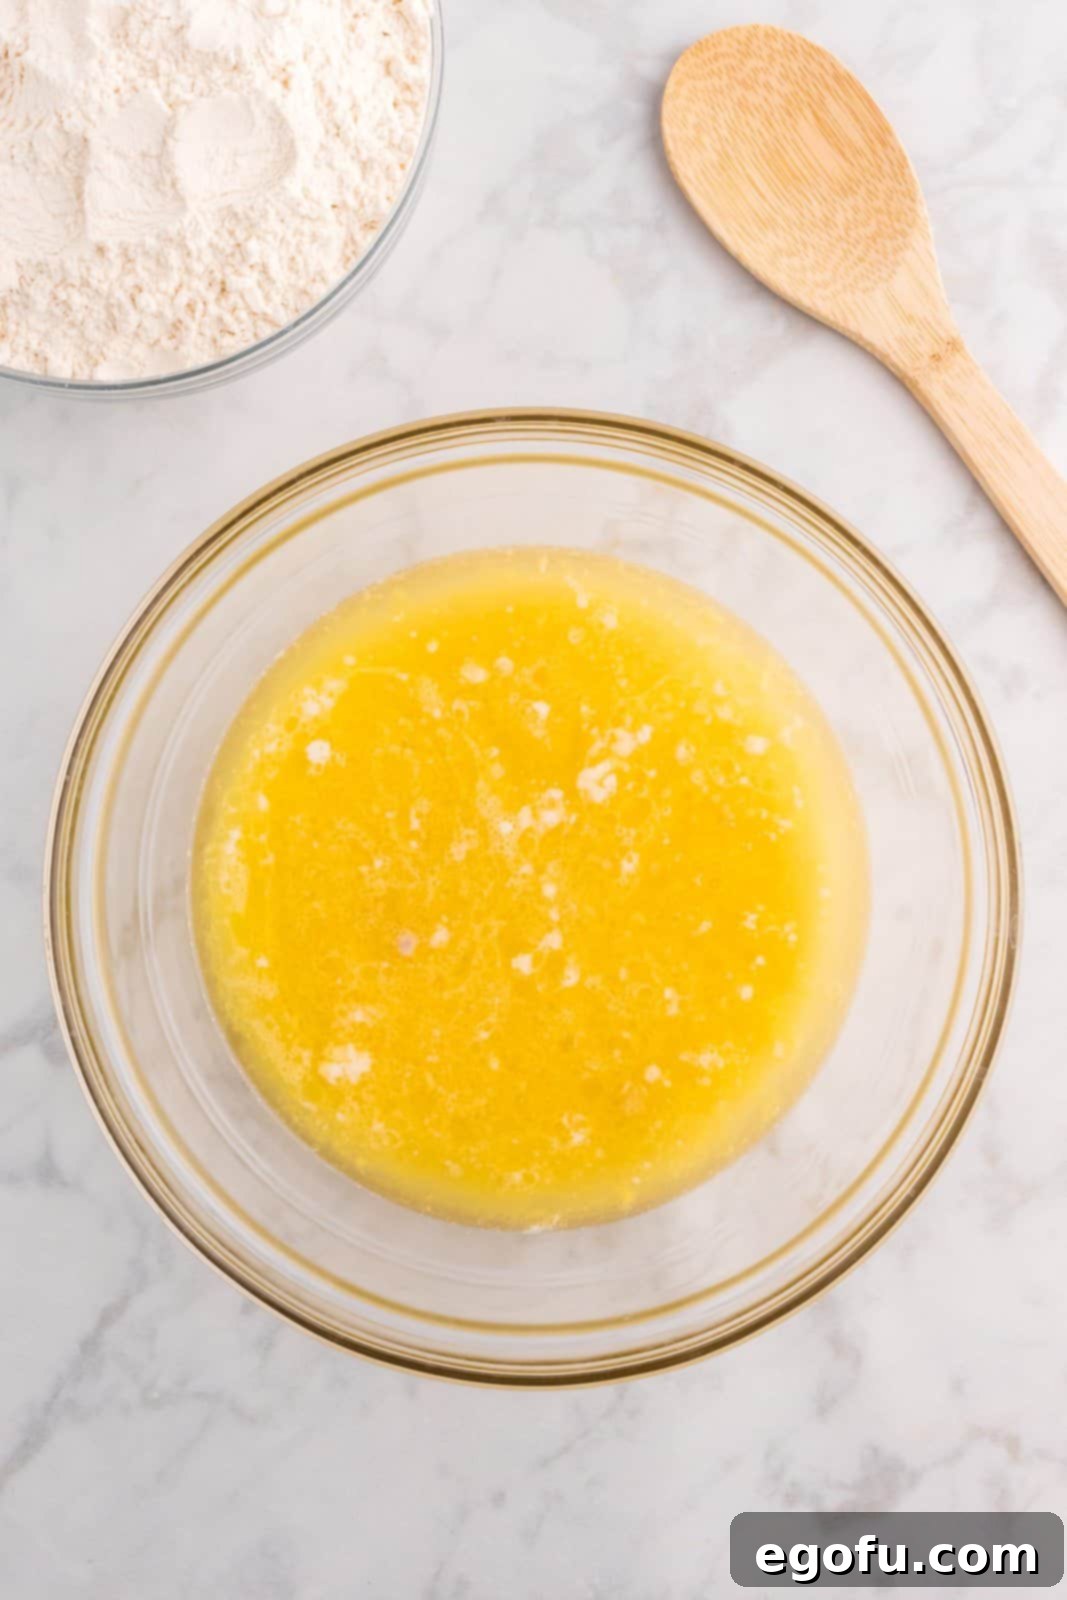
Step 2: Combine Wet Ingredients
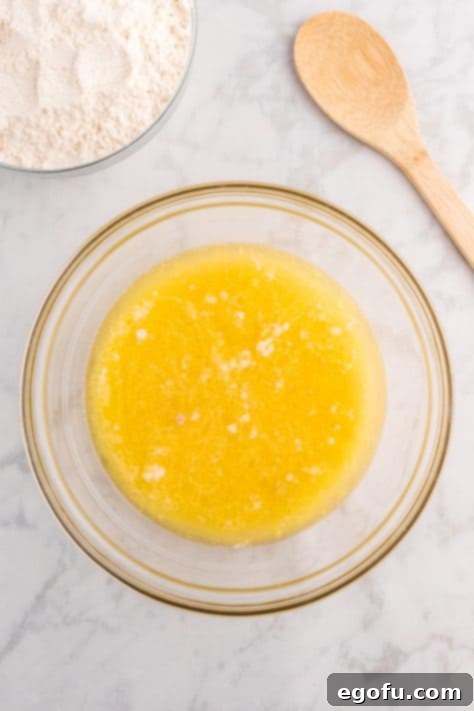
In a large mixing bowl, or the bowl of a stand mixer fitted with a dough hook, add the melted butter, the remaining 1 cup of warm water, granulated sugar, well-beaten eggs, and salt. Pour in the activated yeast mixture. Mix all these wet ingredients together thoroughly until they are well combined. This ensures an even distribution of flavors and helps hydrate the sugar and salt.
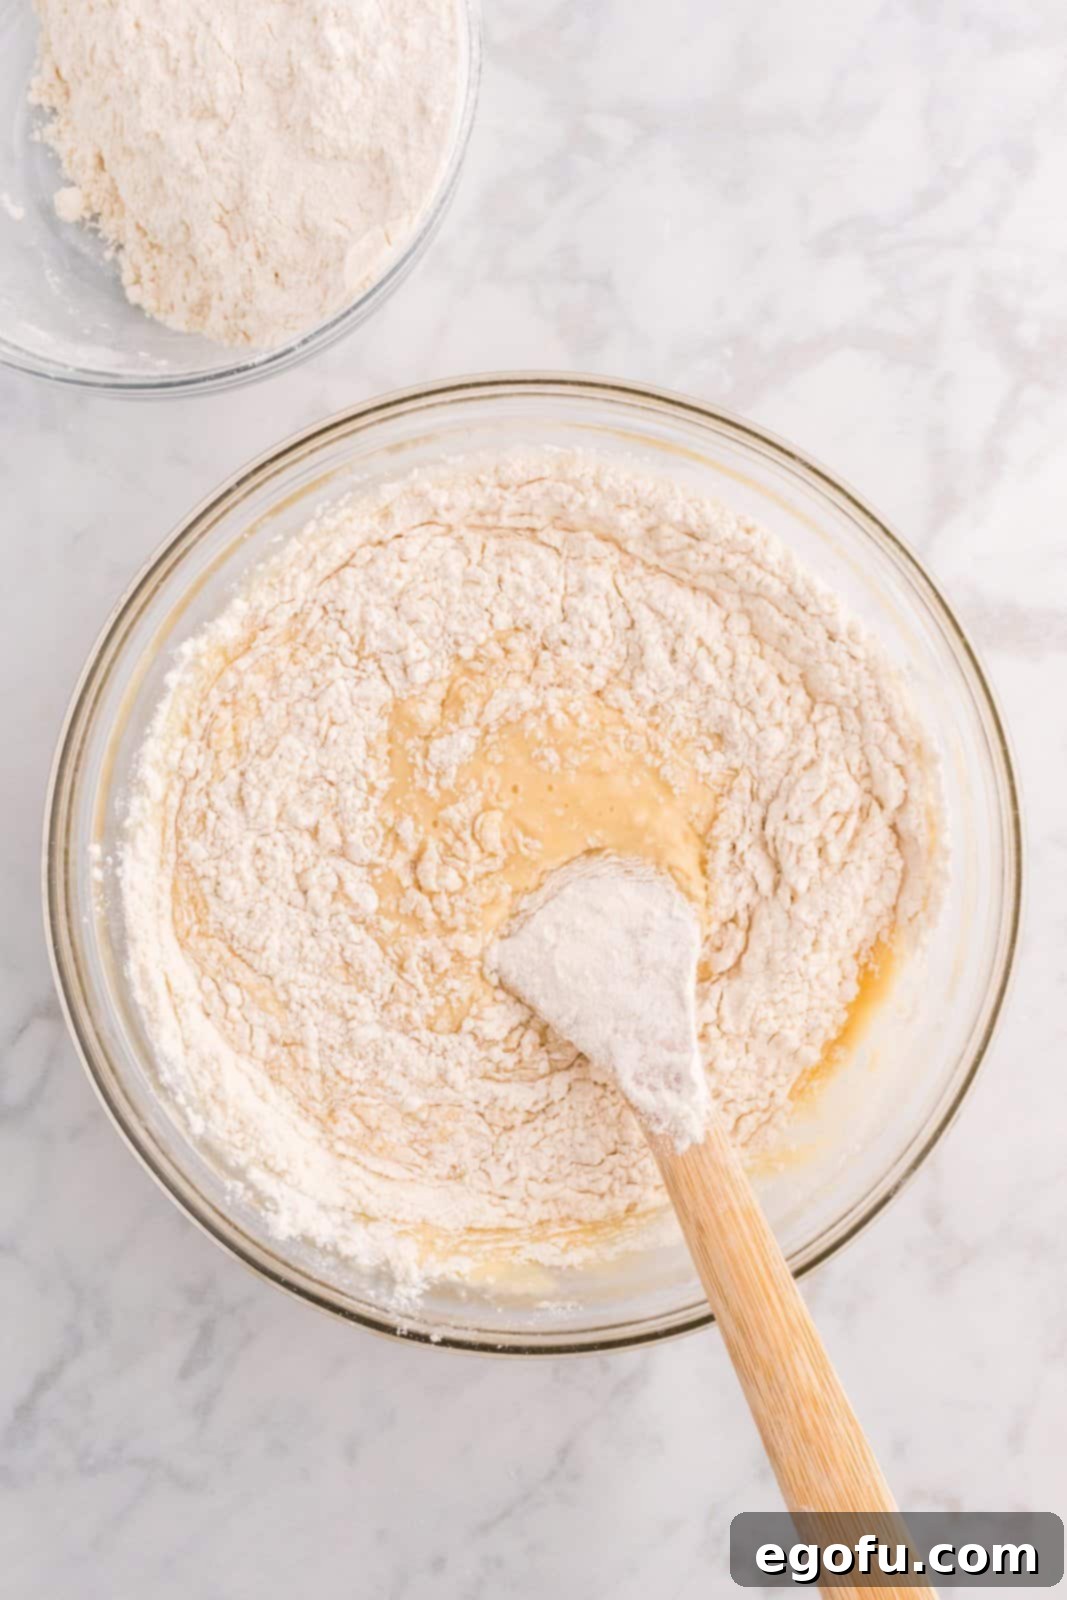
Step 3: Incorporate Flour Gradually
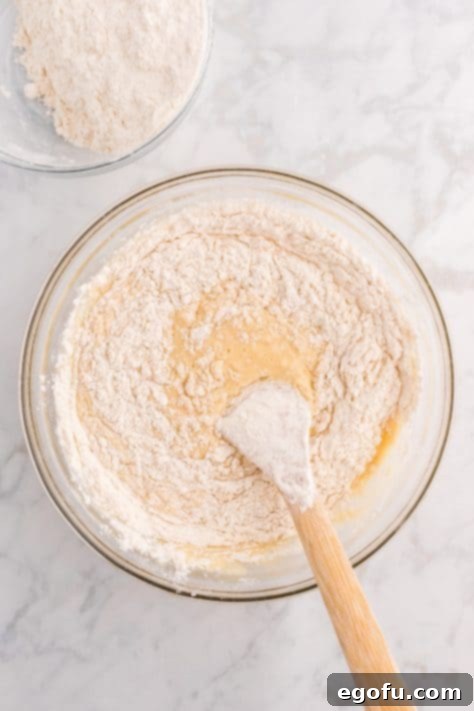
Begin to gradually add the all-purpose flour into the wet mixture. It’s best to add the flour in stages, allowing it to fully incorporate after each addition. This prevents a sudden overwhelming of the mixer and ensures the dough develops correctly. Scrape down the sides of the bowl as needed to ensure all flour is mixed in.
Step 4: Mix Until Smooth (No Kneading Needed)
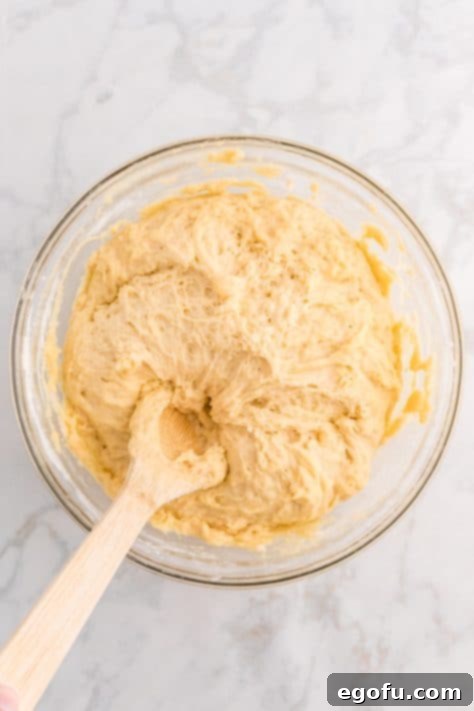
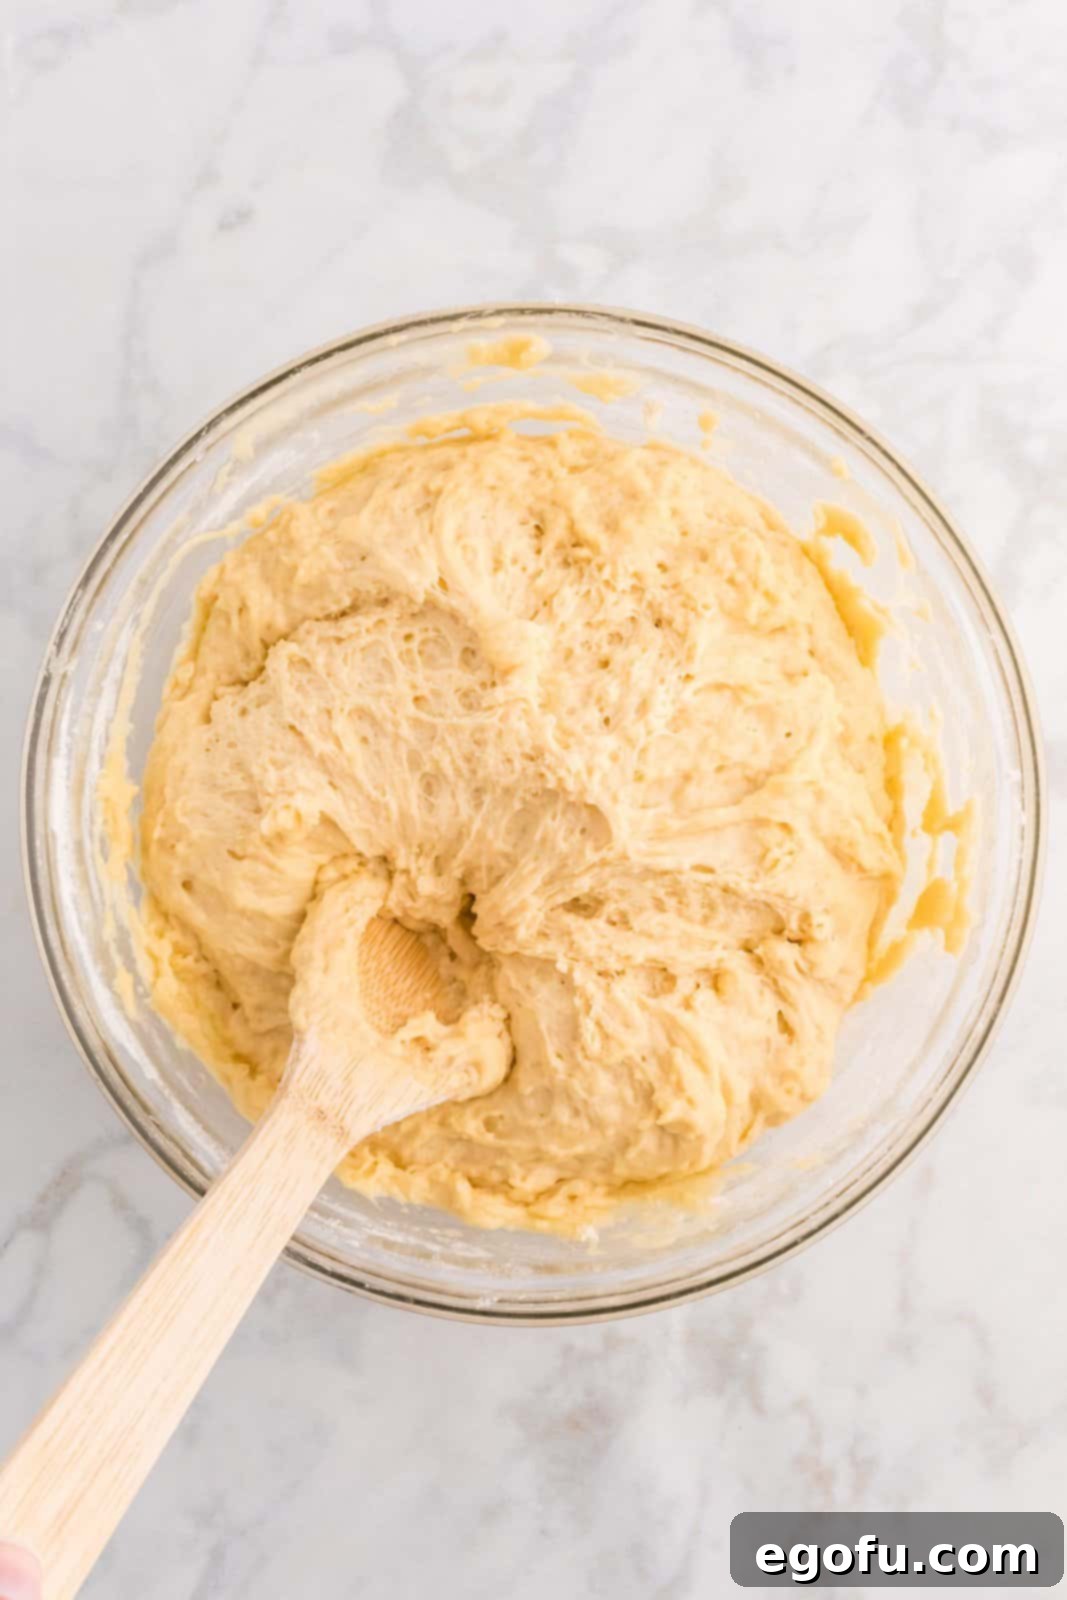
Continue mixing until the flour is fully combined with the wet ingredients and the dough appears smooth. A unique aspect of this recipe is that no additional kneading is required! The dough will be noticeably very sticky, and this is completely normal. Resist the urge to add extra flour at this stage, as it can make your rolls dense and dry. Trust the process; the stickiness is key to their light texture.
Step 5: First Rest and Refrigeration
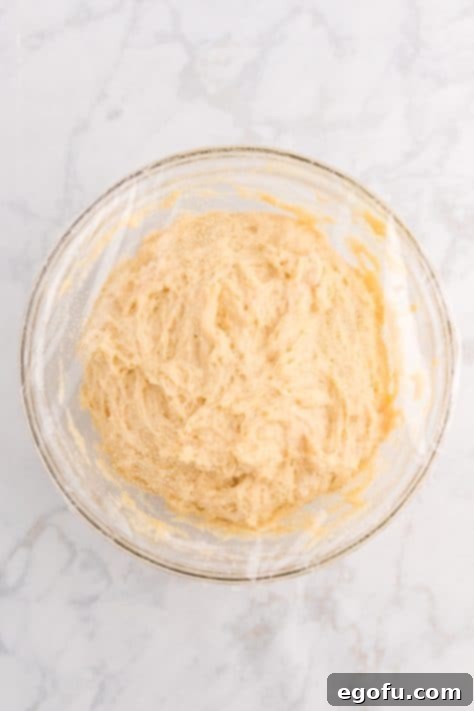
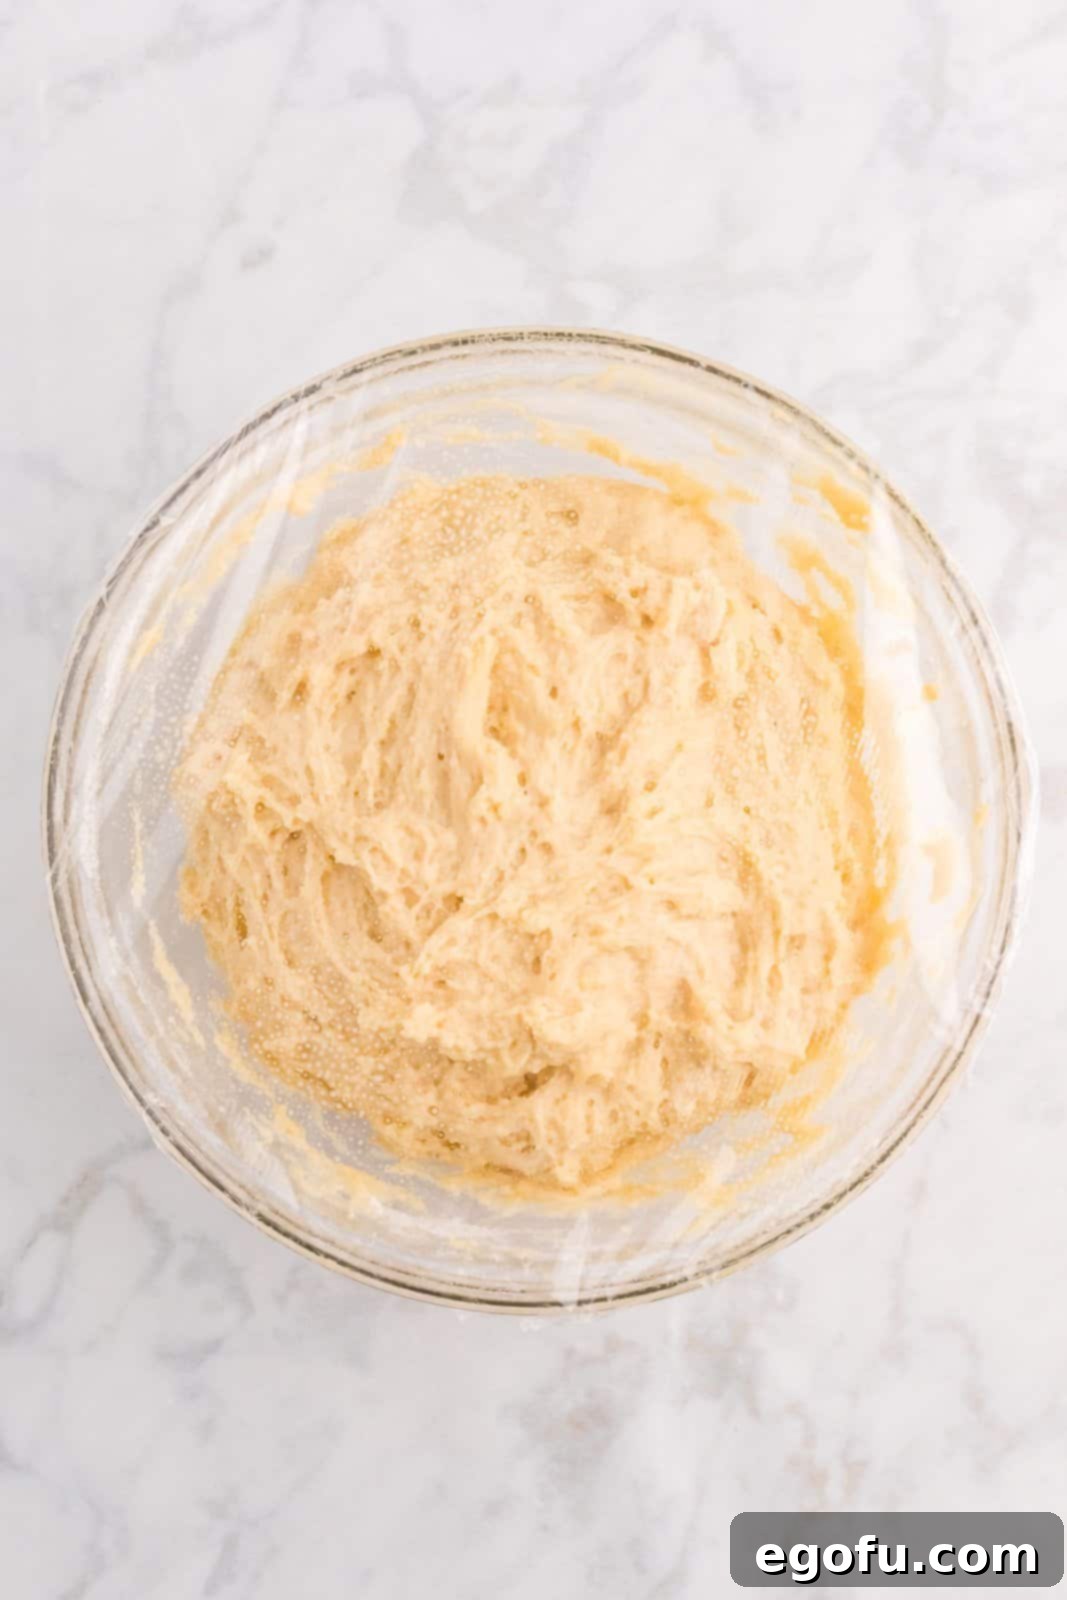
Allow the dough to rest on the countertop, uncovered, for 30 minutes. After this initial rest, gently push or fold the dough down to release any large air bubbles. This brief rest helps the gluten relax. Then, spray a piece of plastic wrap with cooking spray and use it to cover the bowl, ensuring an airtight seal. Refrigerate the dough for a crucial 2-3 hours. This chilling period makes the dough much easier to handle and significantly enhances the flavor of the final rolls.
Step 6: Prepare Baking Sheet
While your dough is chilling, prepare your baking surface. Lightly grease a baking sheet or, for easier cleanup and stick-free baking, line it with parchment paper. Parchment paper also helps in achieving a more even bake on the bottom of the rolls. This step ensures that your beautifully shaped crescent rolls won’t stick, making transfer and cleanup a breeze.
Step 7: Roll Out the Dough
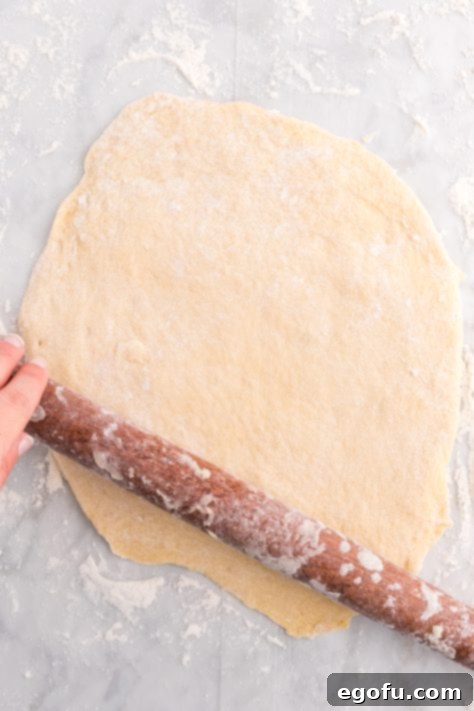
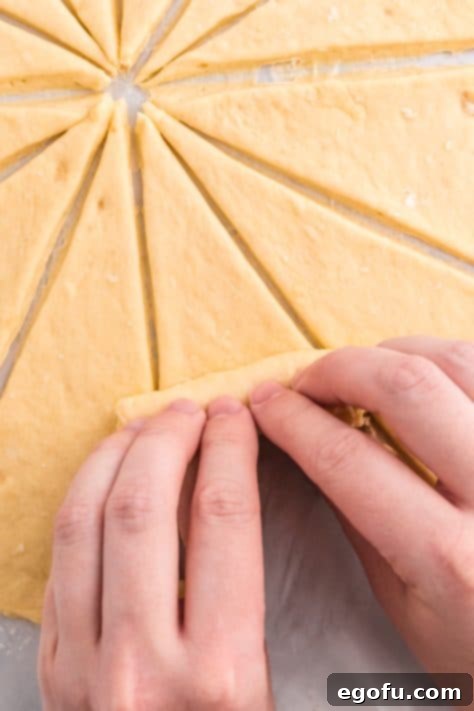
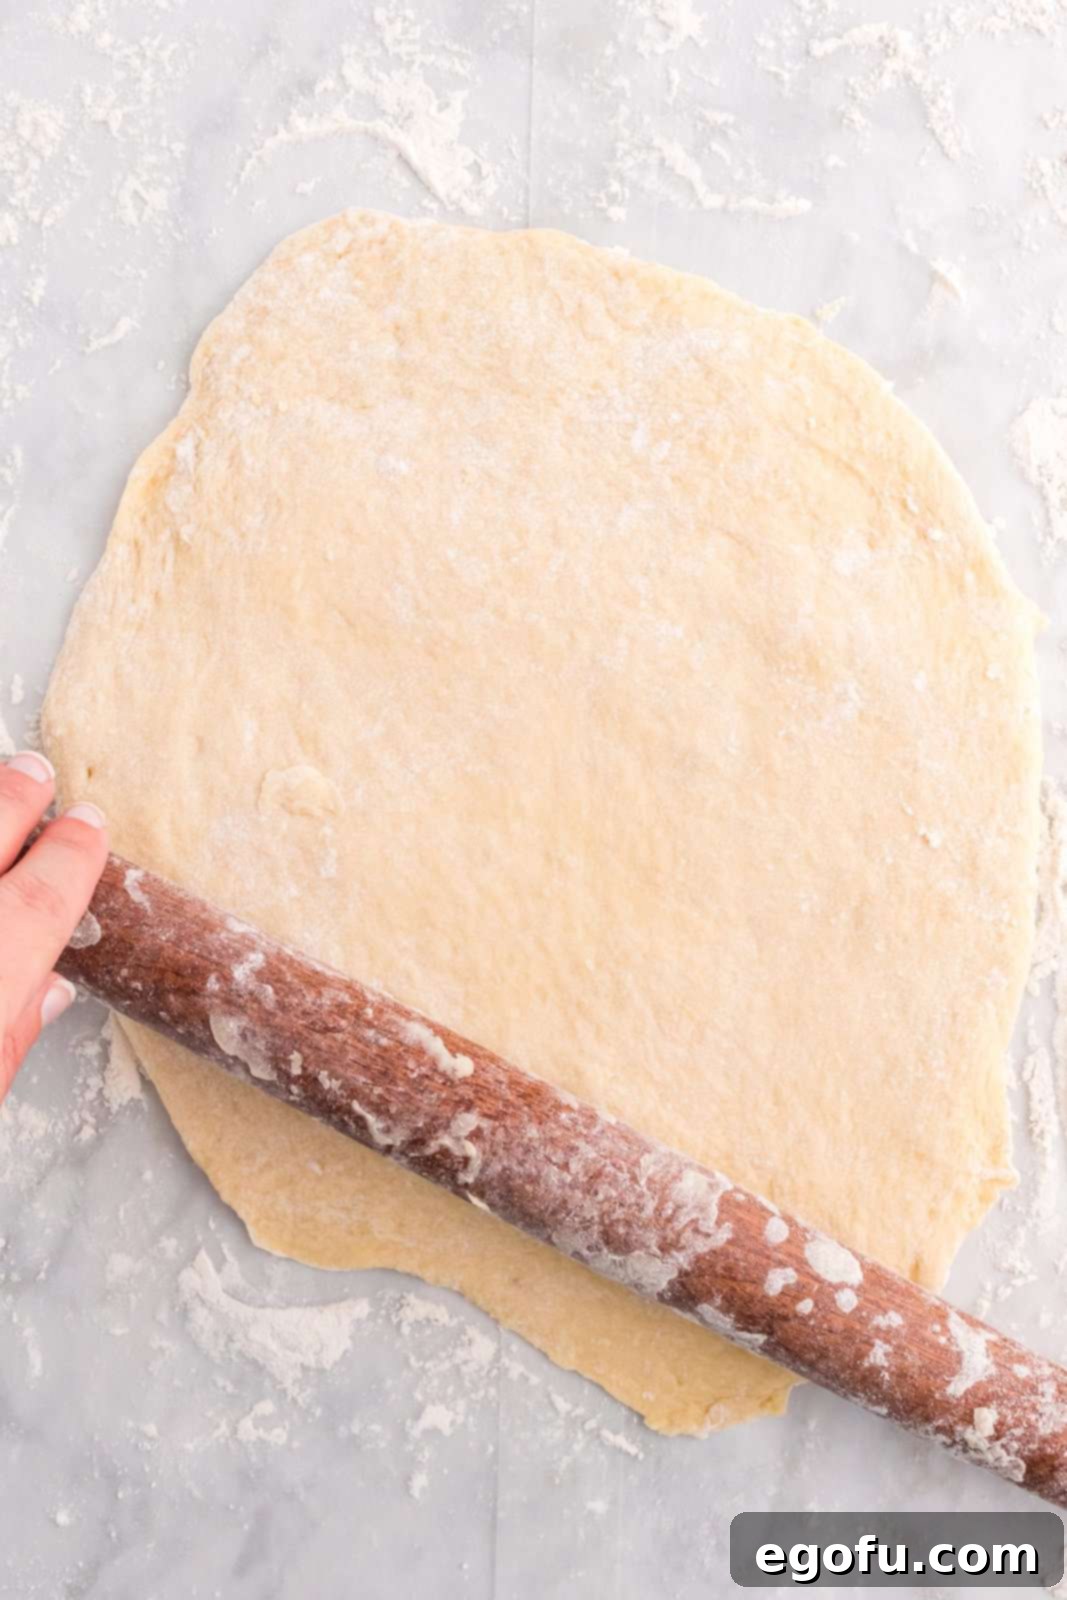
Once chilled, divide the dough into two equal halves. On a lightly floured surface, take one half of the dough and roll it out into a large circular shape. Aim for a thickness of approximately ⅛ to ¼ inch. If the dough starts to stick to your rolling pin, dust the pin lightly with a bit more flour. For convenience, you can also roll the dough directly on parchment paper, but avoid using wax paper as it may stick or tear.
Step 8: Cut into Triangles
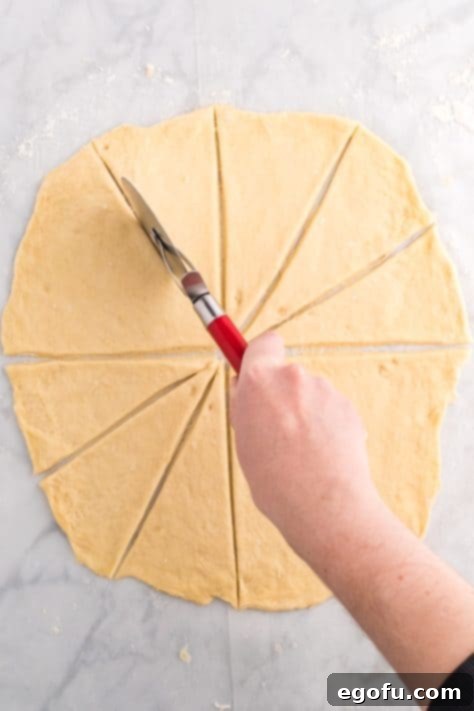
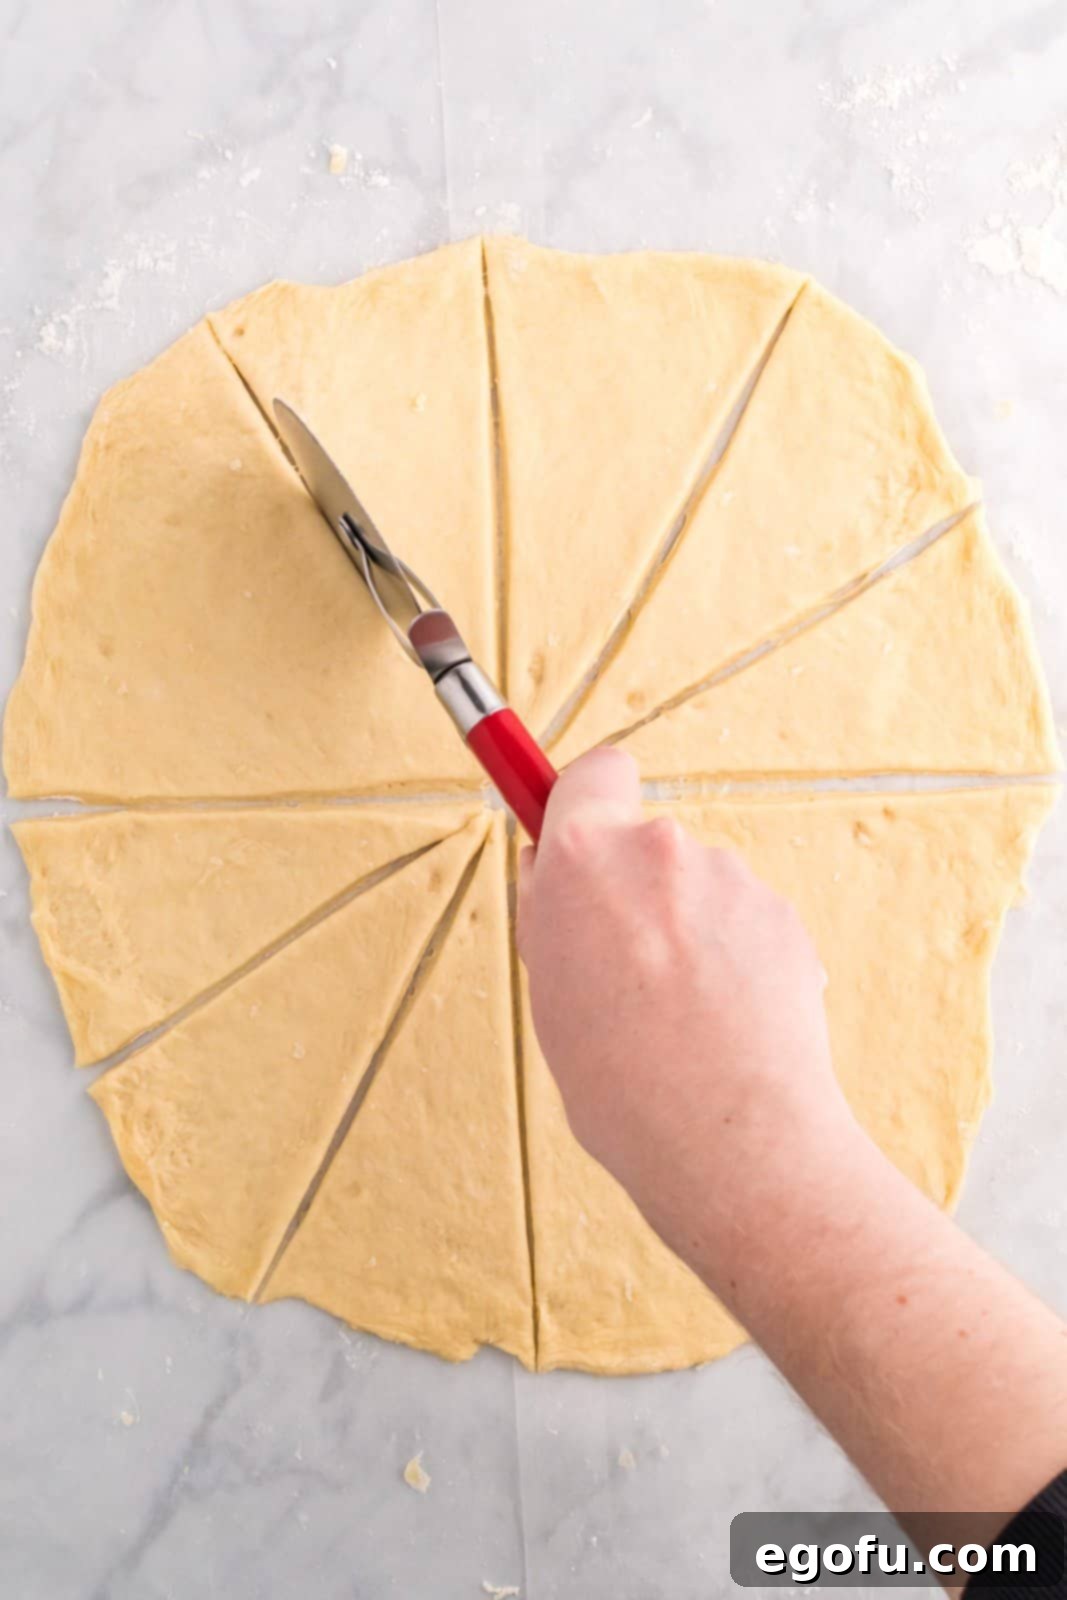
Using a sharp pizza cutter or a very sharp knife, cut the rolled-out dough into 12 equal triangles. A pizza cutter is highly recommended as it helps ensure straight and clean cuts, preventing the dough from dragging and maintaining its structure. Precision here helps create uniformly sized crescent rolls, which will bake more evenly.
Step 9: Shape the Crescents
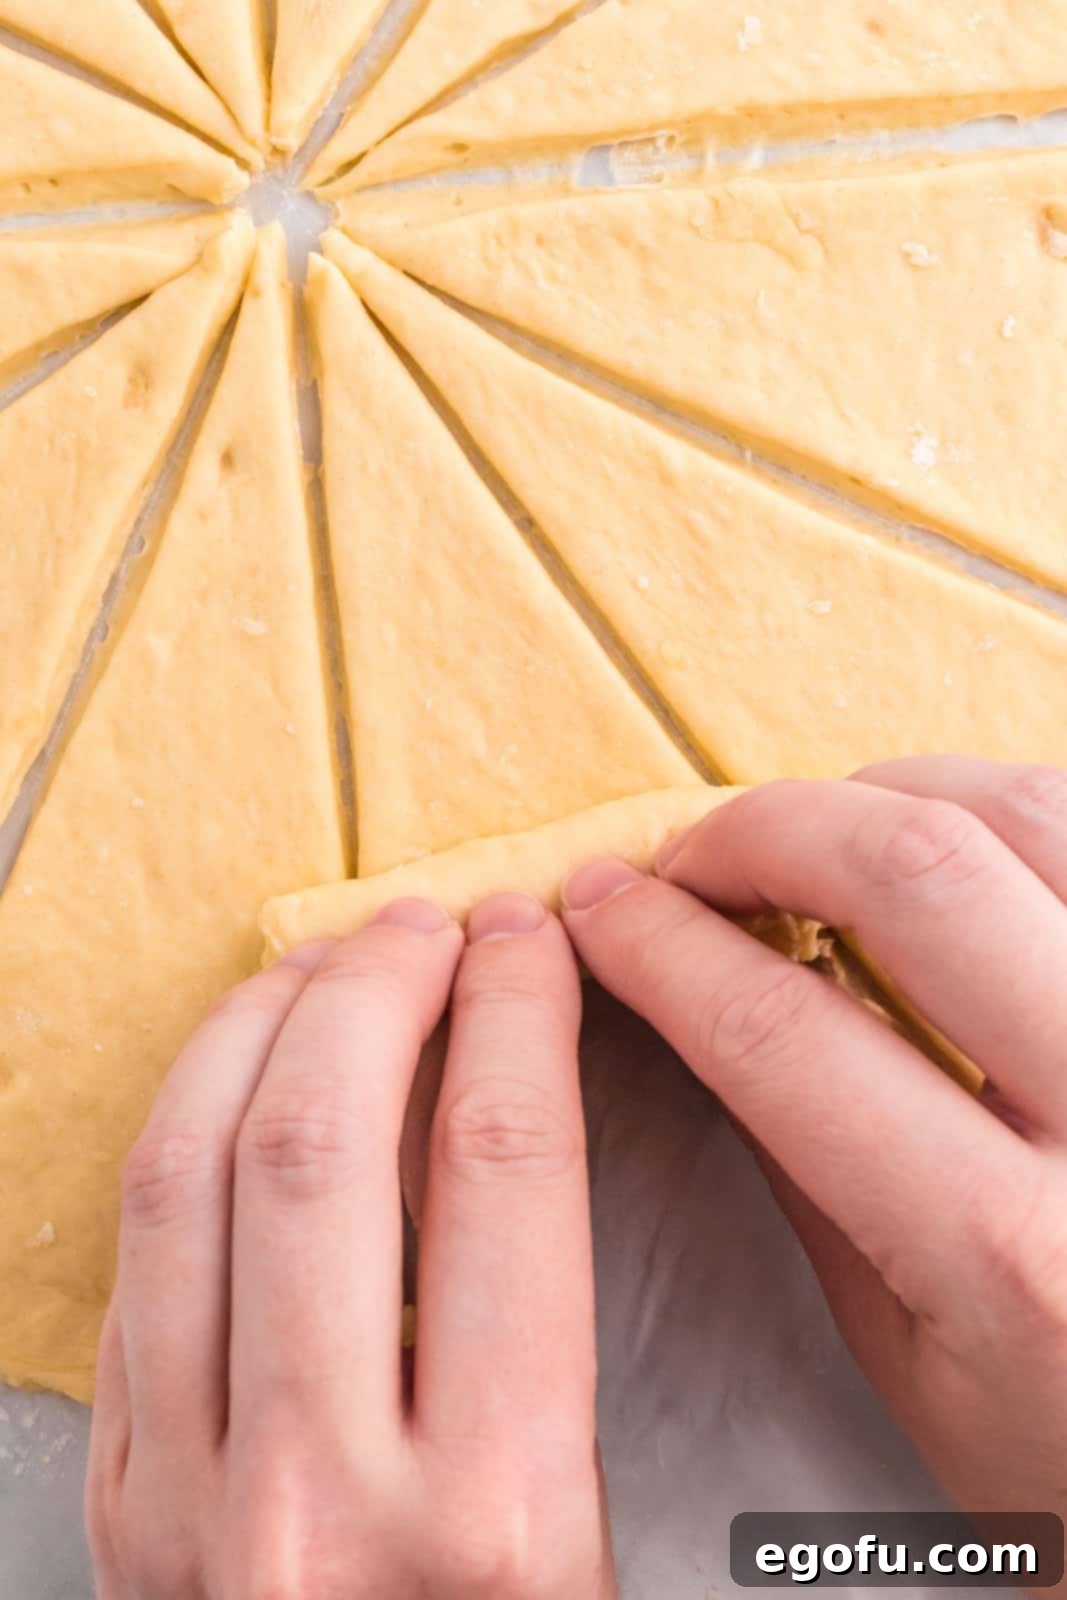
Starting from the wide end of each dough triangle, tightly roll it up towards the pointed end. This careful rolling technique is what gives crescent rolls their classic shape and helps create those beautiful layers. Ensure a snug roll to prevent unraveling during baking and to achieve that satisfying spiral.
Step 10: Arrange on Baking Sheet
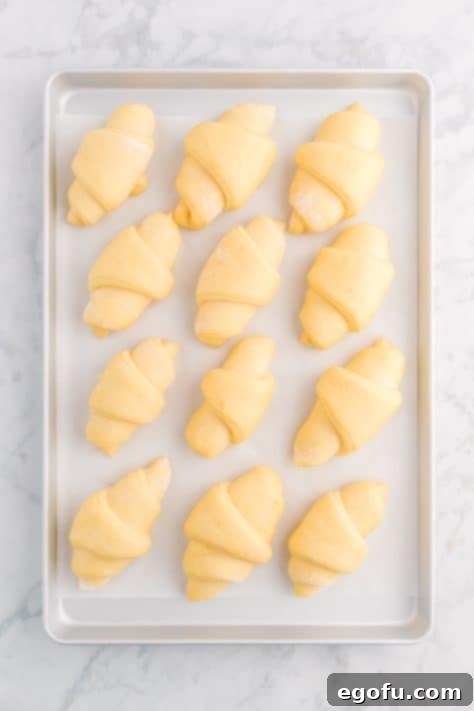
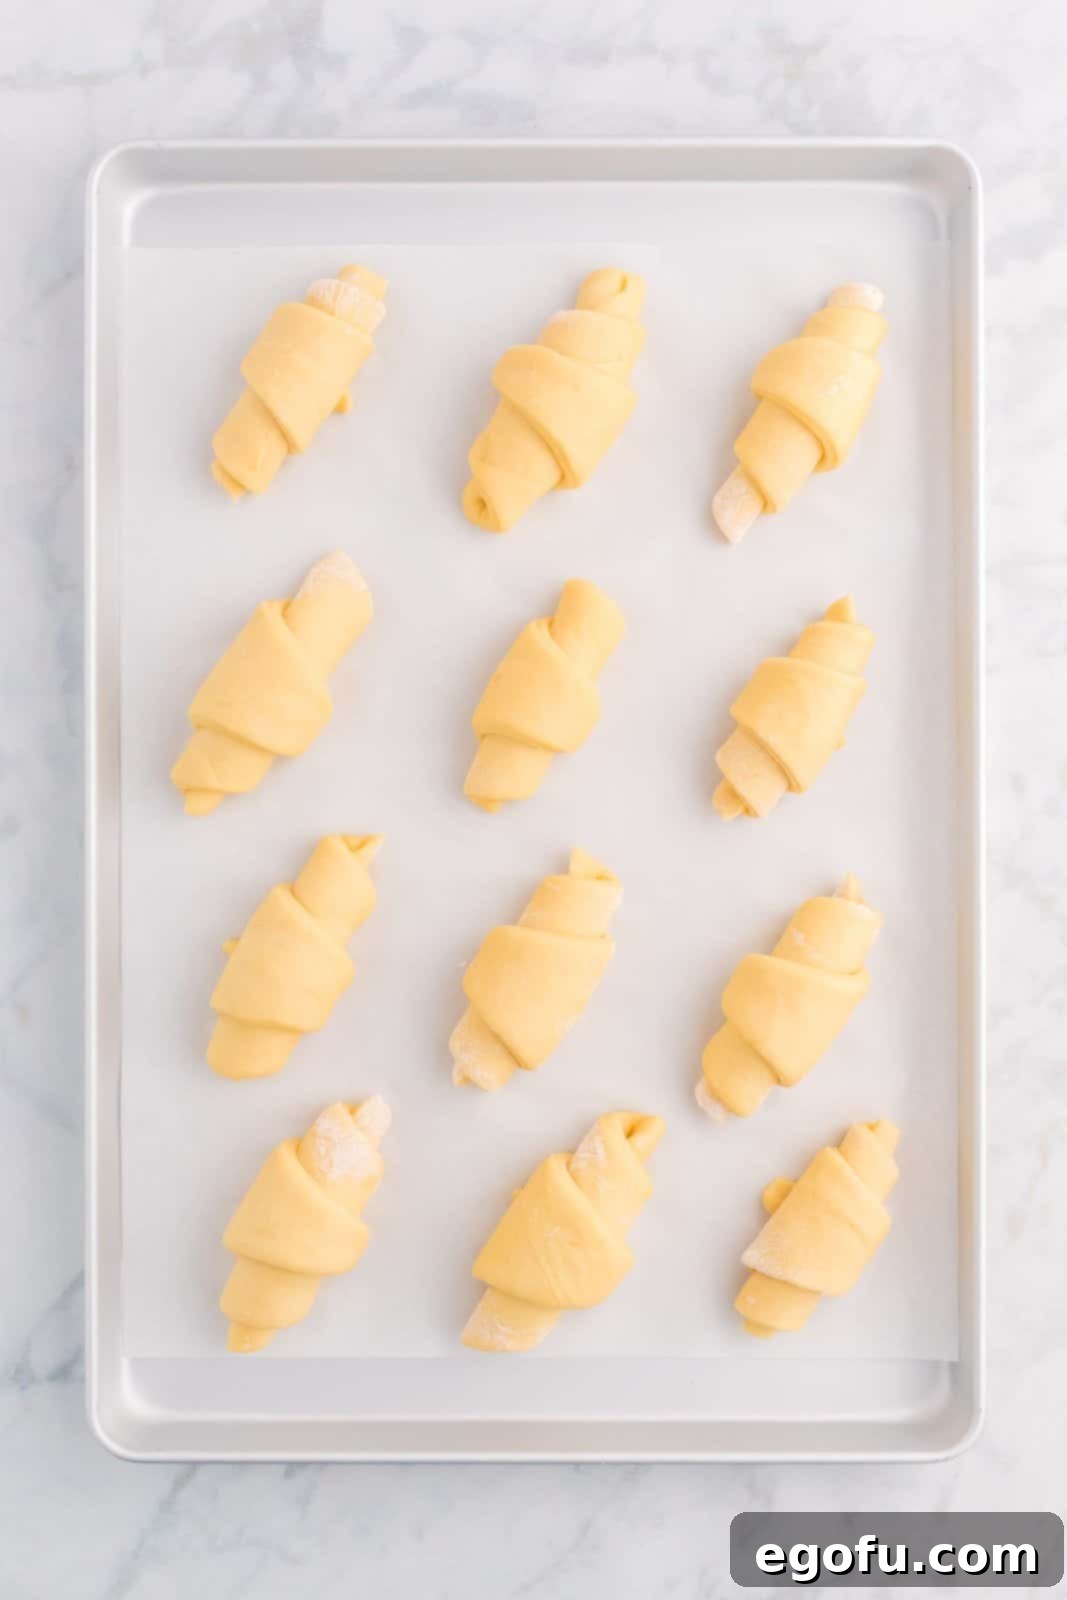
Place the shaped crescent rolls onto your prepared baking sheet, ensuring the pointed end is tucked underneath to secure the shape. Arrange the rolls about 2 inches apart to allow ample space for rising and even baking without overcrowding. Typically, 12 rolls will fit comfortably on one standard baking sheet.
Step 11: Second Rise (Proofing)
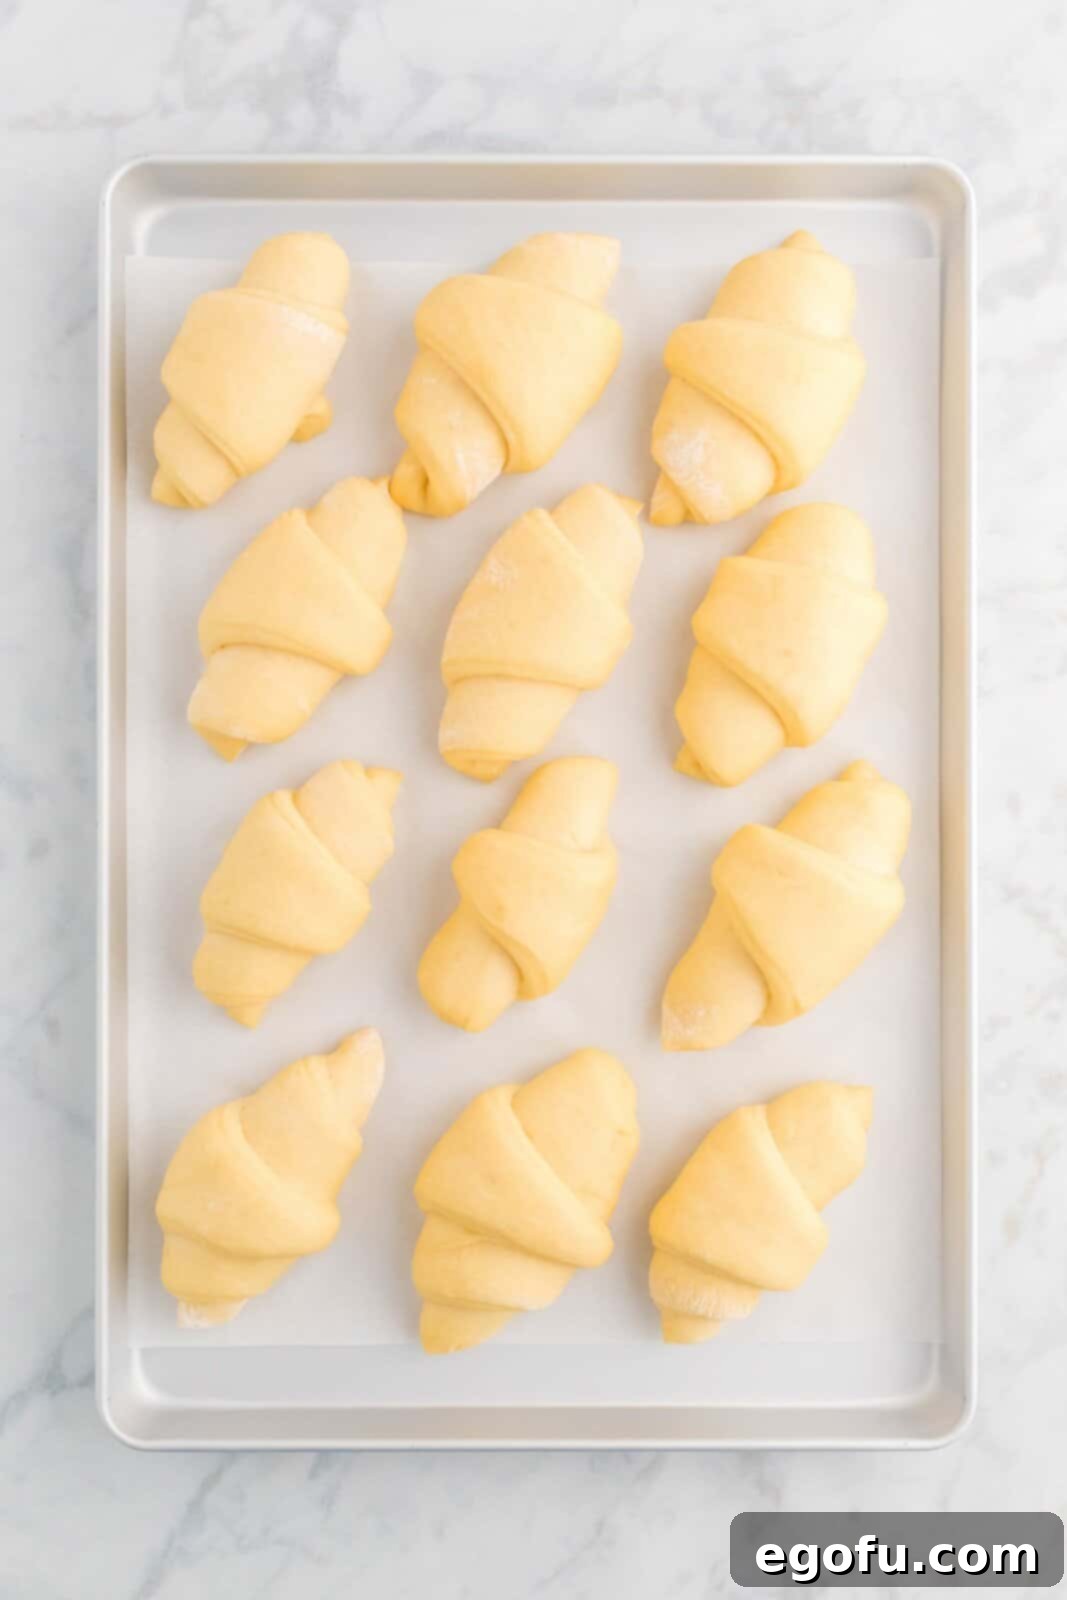
Cover the baking sheet containing the shaped rolls with a clean kitchen towel. Allow them to rise in a warm, draft-free place for 2-3 hours, or until they have visibly doubled in size. The rising time can vary significantly depending on the ambient temperature and humidity of your kitchen. A warmer environment will generally result in a quicker rise. This second rise is crucial for developing the rolls’ light and airy texture.
Step 12: Bake to Golden Perfection
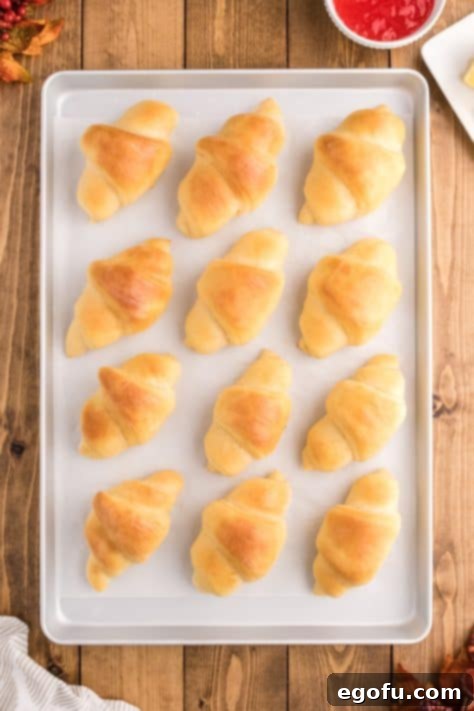
Preheat your oven to 375°F (190°C). Once preheated and the rolls have fully risen, bake them for 7-10 minutes, or until they achieve a beautiful light golden-brown color. Keep a close eye on them during the final minutes, as ovens can vary. The rolls should be cooked through but remain soft. Immediately after removing them from the oven, brush the tops generously with additional melted butter. This adds a lovely sheen and a burst of rich flavor.
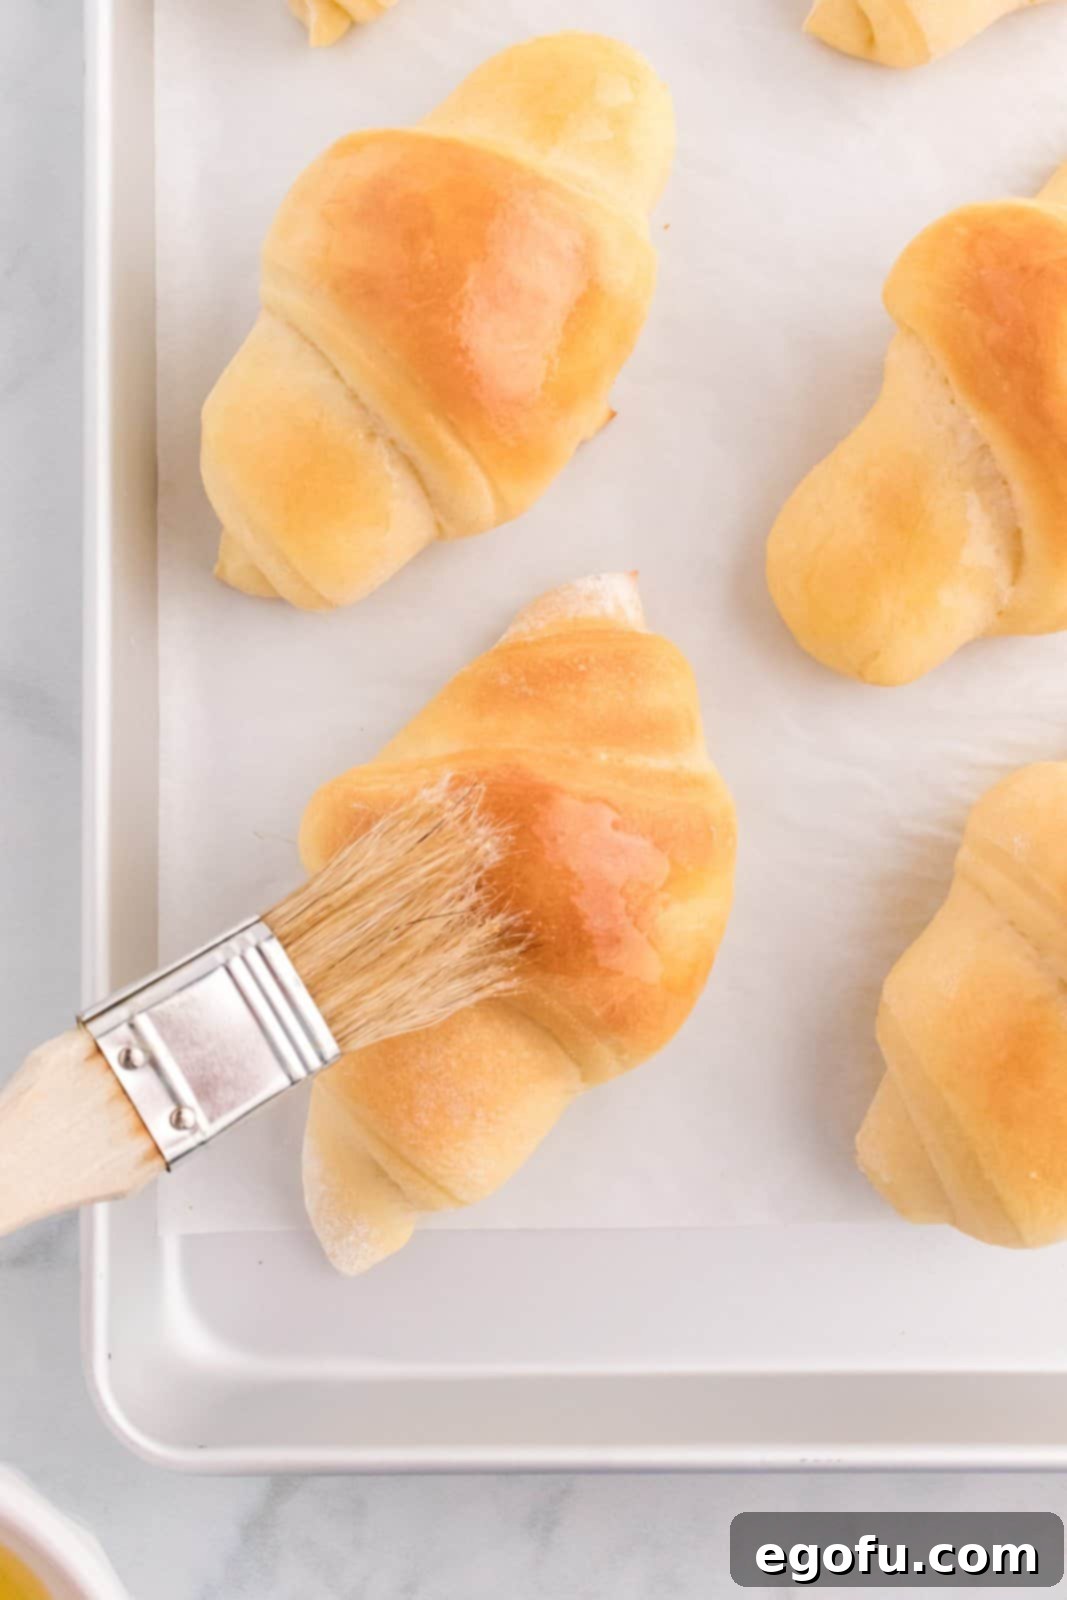
Serve your warm, homemade crescent rolls immediately with your favorite meal. They are an excellent accompaniment to soups, stews, roasts, or simply enjoyed with a pat of butter and a drizzle of honey.
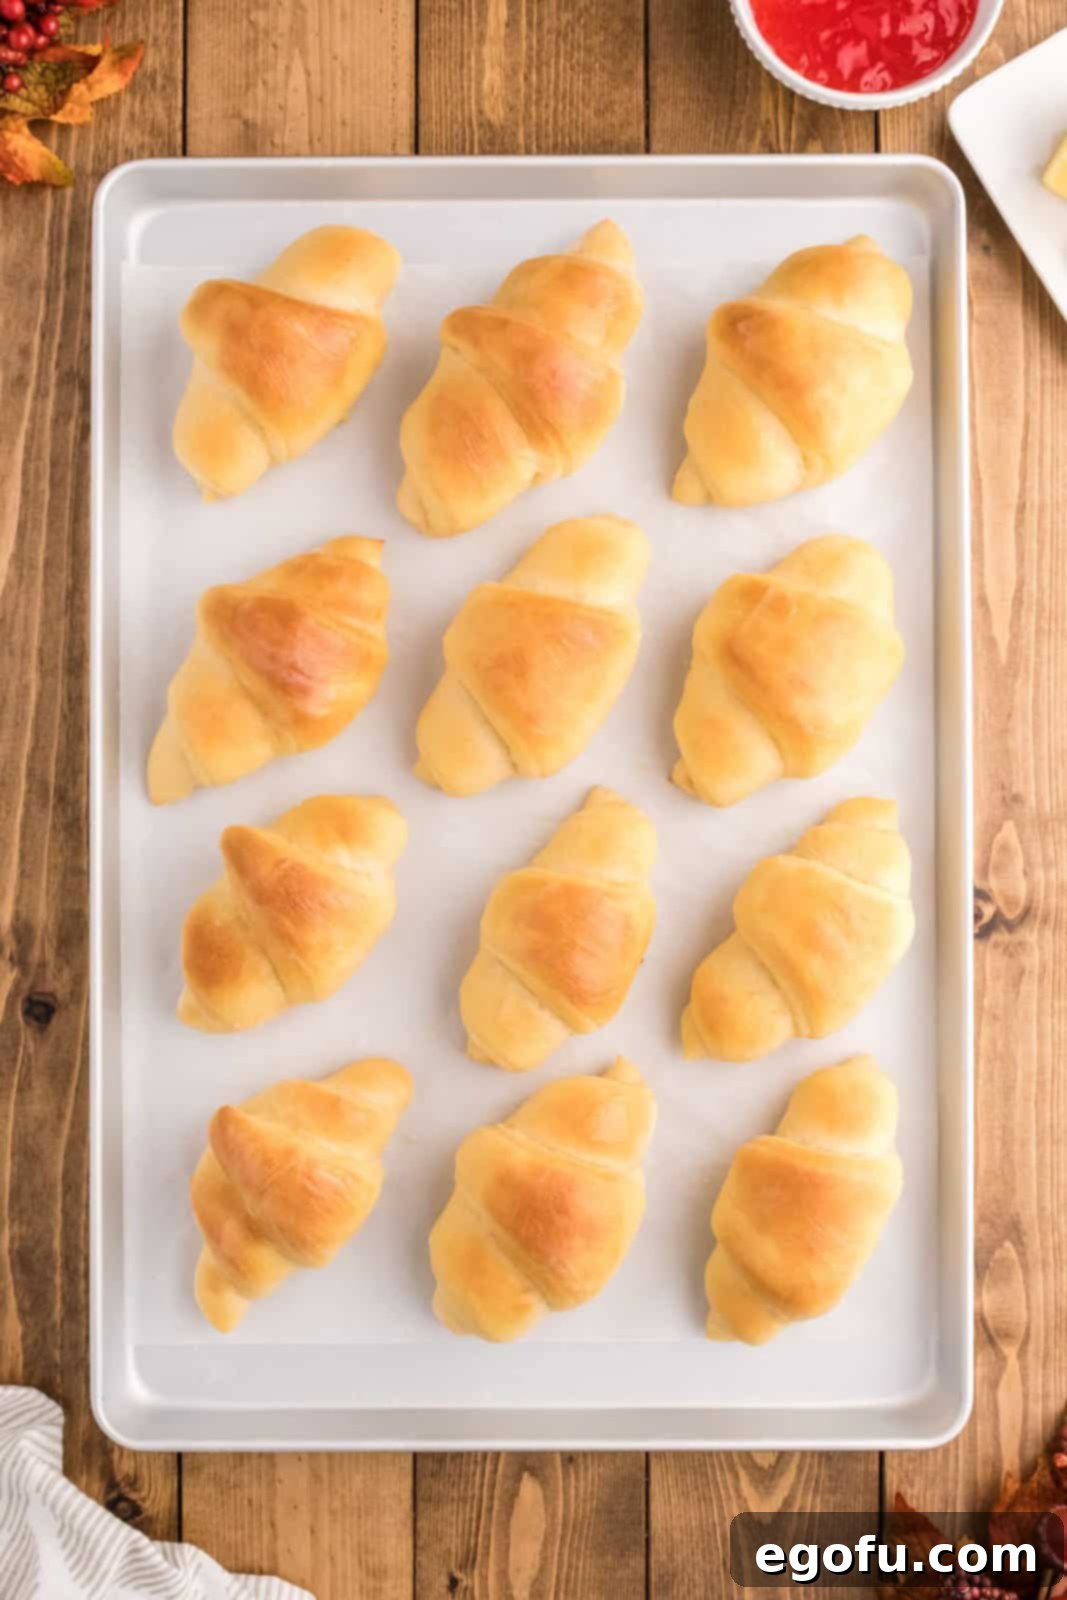
Enjoy the fruits of your labor!
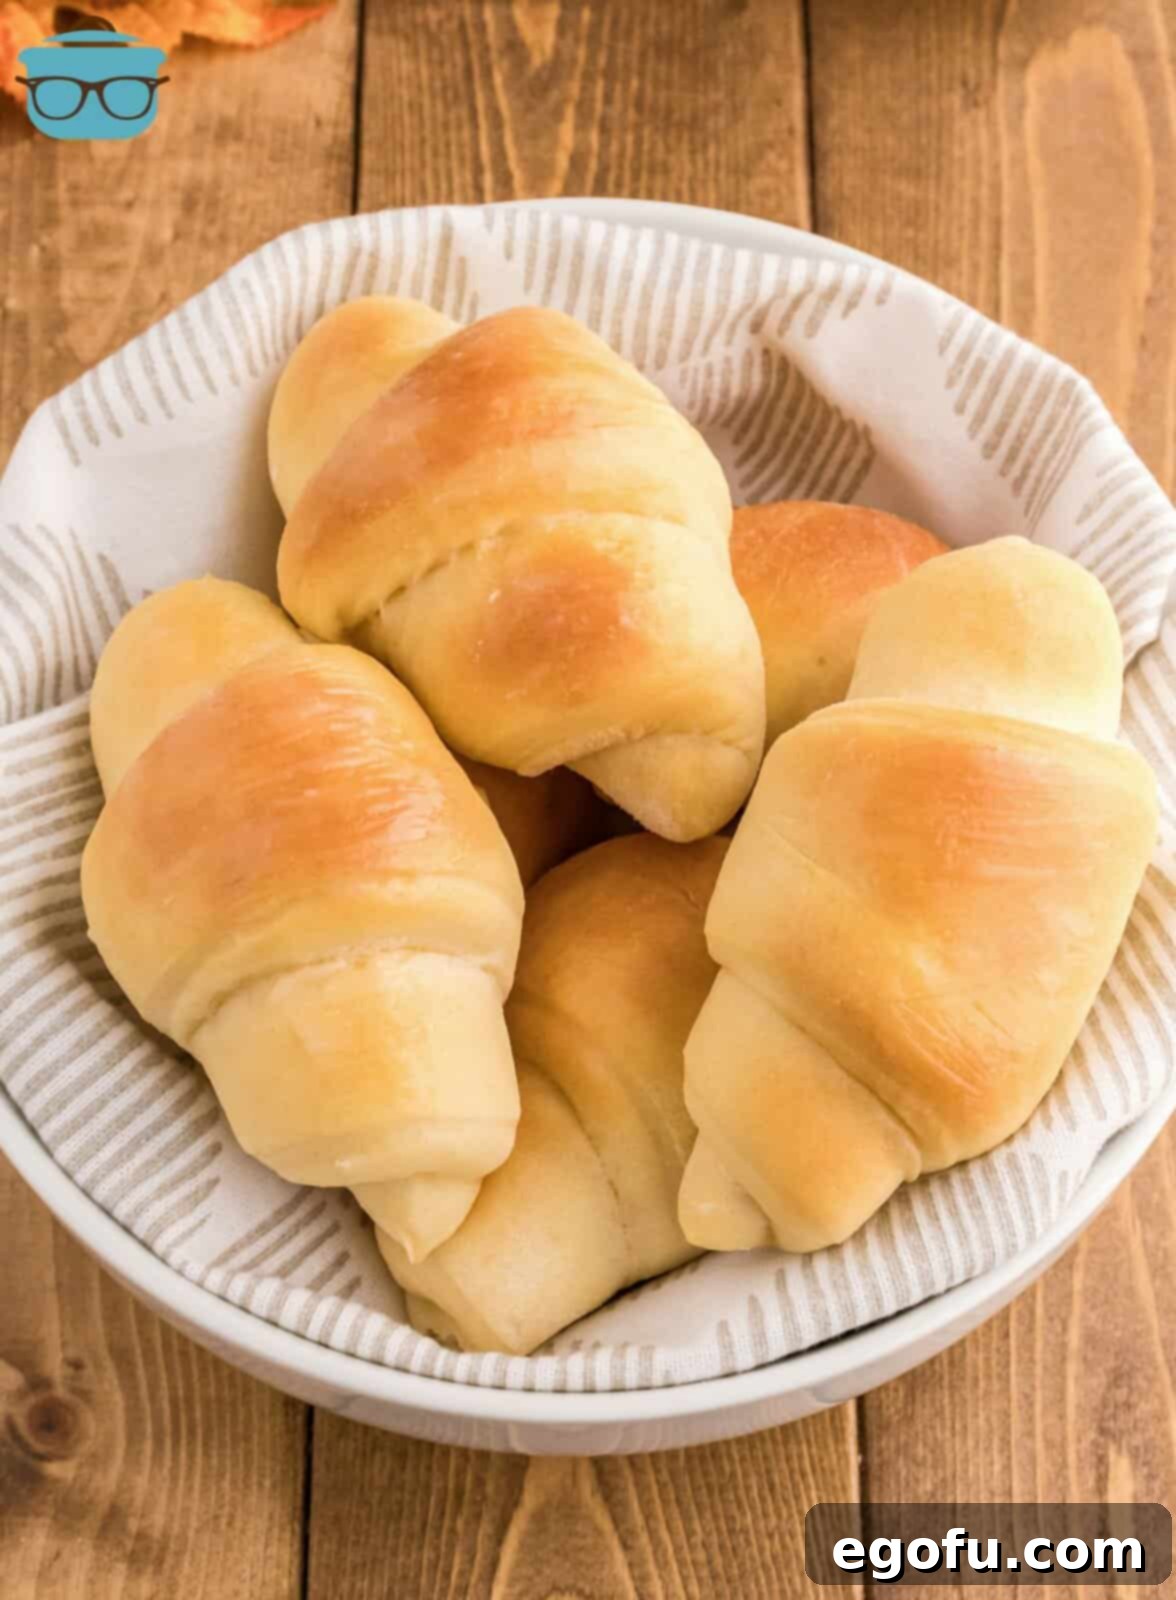
Tips for Success & Common Questions Answered
Don’t Skip Refrigeration!
The refrigeration step in this recipe is not optional; it’s essential for both the manageability of the dough and the development of its exquisite flavor. Chilling the dough slows down the yeast activity, allowing the flavors to meld and deepen. It also firms up the dough, making it significantly easier to roll out and shape without it sticking excessively or tearing.
Quick Rise Techniques
If you’re short on time and need to speed up the dough’s rise, here are a couple of methods:
- Stovetop Warmth: Preheat your oven to 375°F (190°C). Once it reaches temperature, turn off the oven. Place your covered tray of rolls on top of the stove, allowing the residual heat from the oven to provide a warm environment.
- Oven Light Method: Preheat your oven to its lowest setting (usually around 170°F/75°C) for just a few minutes, then turn it off. Switch on your oven light (which generates a small amount of consistent warmth). Place the tray of rolls inside the turned-off, lit oven and let them rise in this gentle warmth.
Crescent Rolls vs. Croissants: What’s the Difference?
While they may share a similar crescent shape, homemade crescent rolls and croissants are distinct culinary creations. Crescent rolls are fundamentally a type of bread, leavened with yeast, resulting in a soft, fluffy crumb. Croissants, on the other hand, are a pastry. Their characteristic flaky layers are achieved through a laborious process called laminating, where butter is repeatedly folded into the dough, creating numerous thin layers. Croissants typically do not rely on yeast for their primary rise in the same way crescent rolls do, focusing more on mechanical leavening from the butter melting between layers. Understanding this difference helps appreciate the unique qualities of each.
Storage and Freezing Instructions
Once baked, your homemade crescent rolls can be stored in an airtight container at room temperature for up to 4 days, though they are best enjoyed fresh. If you’ve made a large batch or want to prepare ahead, they freeze beautifully!
- Flash Freeze: Place the completely cooled crescent rolls in a single layer on a parchment paper-lined baking sheet. Flash freeze them in the freezer for about an hour. This prevents them from sticking together.
- Long-Term Storage: Once flash-frozen, transfer the solid rolls into a freezer-safe Ziploc bag or airtight container. They can be stored in the freezer for up to 2-3 months.
- Reheating: To reheat, simply place the frozen rolls directly into an air fryer or an oven preheated to around 300-325°F (150-160°C) until warmed through and soft again.
Recipe Card: Homemade Crescent Rolls

Homemade Crescent Rolls
These Homemade Crescent Rolls are light, airy and fluffy and are made with simple ingredients! The perfect bread to go with any meal!
Print Recipe |
Pin Recipe
Prep Time: 45 minutes
Cook Time: 7 minutes
Rest/Rise/Chill Time: 4 hours 30 minutes
Total Time: 5 hours 22 minutes
Servings: 24
Author: Brandie Skibinski
Ingredients
- 1 ¼ cup warm water, divided use
- 1 tablespoon active dry yeast
- ½ cup (1 stick) butter, melted
- ½ cup granulated sugar
- 3 large eggs, well beaten
- 1 teaspoon salt
- 4 ½ cups all-purpose flour
- Additional melted butter, for topping
Instructions
Mix ¼ cup warm water and yeast in a small bowl and set aside until dissolved (about 5 minutes).

In a large bowl with a spoon or a stand mixer with the dough hook attachment, add melted butter, remaining 1 cup warm water, sugar, beaten eggs, salt, and the dissolved yeast mixture. Mix together until well combined.

Gradually add the flour into the mixture.

Mix until flour is fully combined and the dough is smooth. No additional kneading is required, the dough will be very sticky but don’t add any extra flour.

Let it sit on the countertop for 30 minutes, then push/fold it down to get rid of air bubbles.
Spray plastic wrap with cooking spray and cover bowl with wrap. Refrigerate for 2-3 hours.

Grease or line a baking sheet with parchment paper.

Divide dough into 2 halves. On a lightly floured surface, roll out each dough half in a circle to be ⅛-¼ inch thick (add flour to a rolling pin if dough is sticking). If using paper to roll it out on, use parchment and not wax paper.

Cut into 12 equal triangles.

Tightly roll each triangle starting at the large end to form the crescent.

Place on the baking sheet, point side down (place rolls about 2 inches apart – 12 rolls per pan).

Cover with a towel and allow to rise in a warm place for 2-3 hours or until doubled in size (rising time will depend on the temperature).

Bake at 375°F for 7-10 minutes or until lightly golden brown.

Brush with melted butter and serve!

Video Tutorial
Notes
- Do not skip refrigerating the dough; it is essential to this recipe for both ease of handling and flavor enhancement.
- Using a pizza cutter can significantly help in making nice, even cuts for uniform rolls.
- You can speed up the rise time using the techniques mentioned in the “Tips for Success” section above.
- Ensure you are using active dry yeast for this recipe as specified.
Course: Breads
Cuisine: American
Nutrition Information (Estimated Per Roll)
Calories: 145kcal | Carbohydrates: 22g | Protein: 3g | Fat: 5g | Sodium: 137mg | Fiber: 1g | Sugar: 4g
Nutritional Disclaimer
“The Country Cook” (author) is not a dietician or nutritionist, and any nutritional information shared is an estimate. If calorie count and other nutritional values are important to you, we recommend running the ingredients through whichever online nutritional calculator you prefer. Calories and other nutritional values can vary quite a bit depending on which brands were used.
Did you make this recipe?
Share it on Instagram @thecountrycook and mention us #thecountrycook!
Want More Delicious Bread Recipes?
If you loved making these crescent rolls, you’re in for a treat! Explore our other popular and easy-to-follow bread recipes perfect for any occasion. From savory dinner companions to delightful sweet treats, there’s a homemade bread waiting for you.
- Homemade Dinner Rolls
- Honey Wheat Rolls
- Butter Swim Yeast Rolls
- Easy Yeast Roll Biscuits
- French Bread
- Homemade White Bread
- No-Knead Dutch Oven Bread
- Brioche Buns
- Easy Beer Bread
- Outback Steakhouse Brown Bread
- Cornbread Muffins
- Sweet Cornbread
