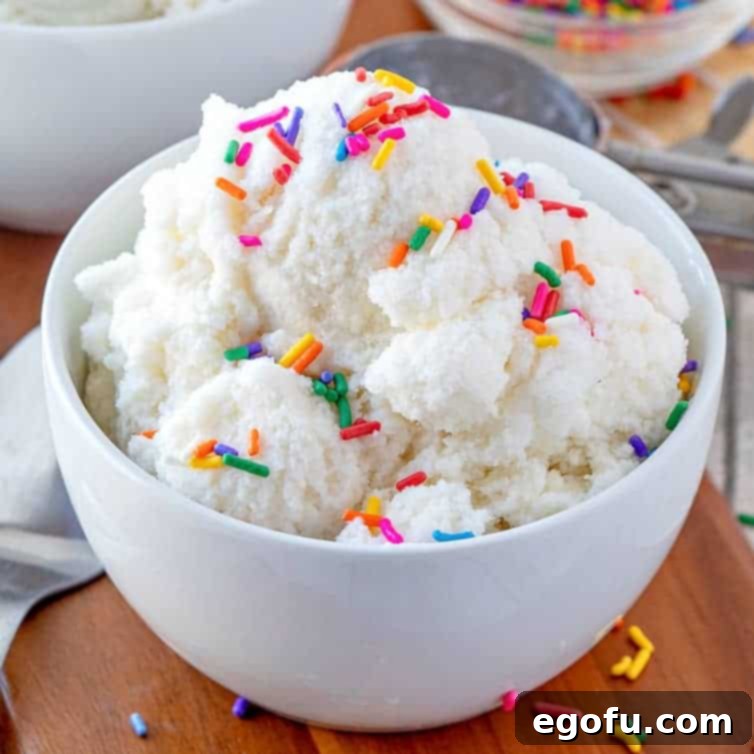
This comprehensive guide will help you craft the most magical snow ice cream, a delightful winter treat perfect for all ages. Simple, fun, and made with fresh snowfall!
The Ultimate Guide to Making Homemade Snow Ice Cream: A Magical Winter Treat
There’s something undeniably enchanting about fresh snowfall. It transforms the world into a serene, sparkling wonderland, inviting us to embrace the simple joys of winter. Among these joys, few are as delightful and nostalgic as making homemade Snow Ice Cream. This isn’t just a recipe; it’s a cherished memory in the making, a heartwarming tradition that brings smiles to faces young and old, creating sweet moments that linger long after the last flake has melted.
For many, including my husband, this recipe holds a particularly special place in their hearts. Growing up in the snow-laden landscapes of northern Indiana, he vividly recalls his Grandpa conjuring up this creamy treat for all the grandkids after a fresh blanket of white. It was a testament to finding wonder and joy even in the midst of winter’s often inconvenient bounty. Here in our part of Virginia, however, snow is a rarer, more celebrated event. When those precious flakes descend, transforming our landscape, we seize the opportunity to create something truly special and fun – Snow Ice Cream! It’s a spontaneous delight that brings a burst of excitement and deliciousness to an otherwise chilly day, making the most of nature’s ephemeral gift.
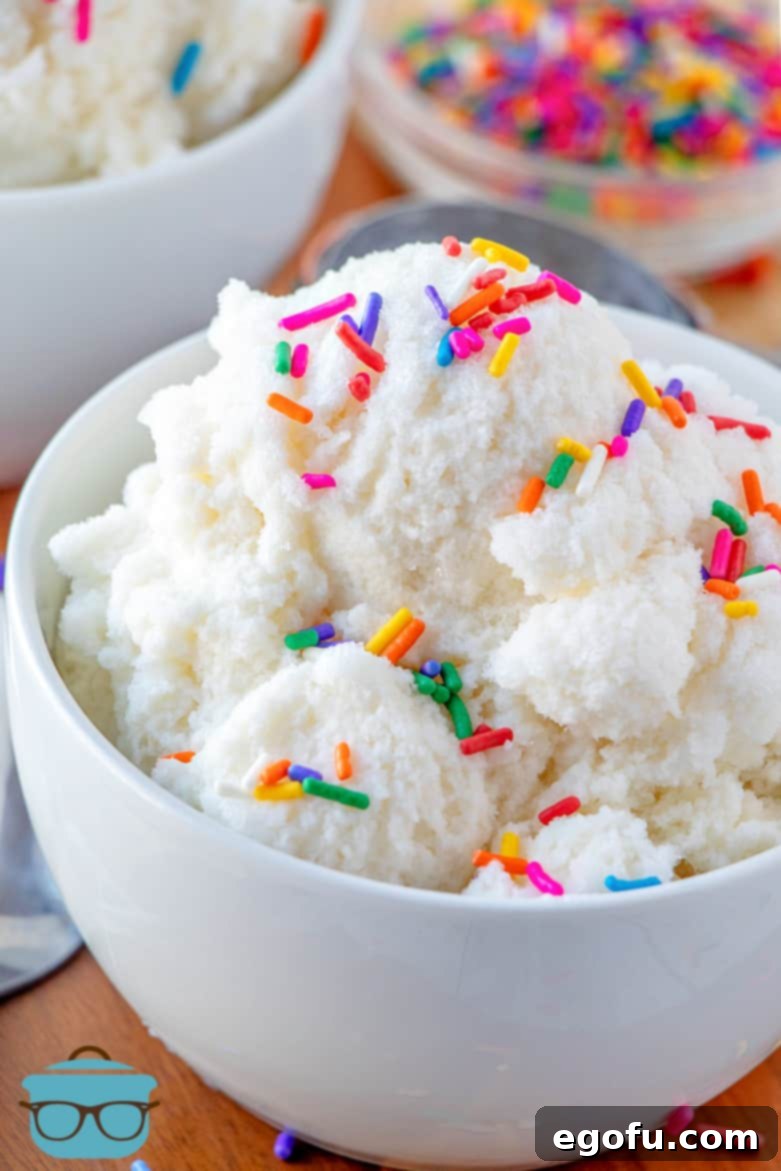
Choosing the Perfect Snow for Your Homemade Ice Cream
The foundation of exquisite snow ice cream lies, naturally, in the snow itself. Not all snow is created equal when it comes to culinary endeavors. Selecting the right kind is paramount for both taste and safety. Here’s what you need to know to gather the best snow for your creamy winter treat:
- Purity is Key: This is the golden rule of snow gathering – no yellow snow, ever! And by extension, avoid snow that looks dirty, grey, or has debris embedded in it. You want only the freshest, cleanest, untouched snow. Think pristine, undisturbed patches, far from roads, sidewalks, or anything that could contaminate it with pollutants like salt, chemicals, or exhaust fumes.
- Freshly Fallen is Best: Aim to collect snow shortly after it has fallen, ideally within a few hours. This ensures it’s as clean, fluffy, and pure as possible. Snow that has been sitting for a while can compact, absorb odors from the environment, or collect impurities from the air.
- Consider the Source: Gather snow from an elevated, clean surface whenever possible. A freshly cleared picnic table, a clean deck railing, or even directly into a pristine bowl held away from the ground are excellent choices. This minimizes the risk of picking up dirt, grass, or other ground-level contaminants.
- Texture Matters: Light, fluffy snow (often referred to as “powder snow”) melts beautifully and incorporates easily with your other ingredients, yielding a smoother, creamier ice cream. Heavy, wet snow or icy snow might require more effort to break down and can result in a slightly more granular or “icy” texture. Don’t worry if it’s not perfectly fluffy; you can still make a delicious treat, but keep the texture in mind for consistency adjustments.
- Cleanliness Protocol: Always use a perfectly clean bowl and utensils for gathering and mixing. Any residual dirt or soap can affect the taste and safety of your snow ice cream.
When you head outside with your largest clean mixing bowl, embrace the childlike wonder of collecting this ephemeral ingredient. It’s an integral part of the magic and charm of making homemade snow ice cream!
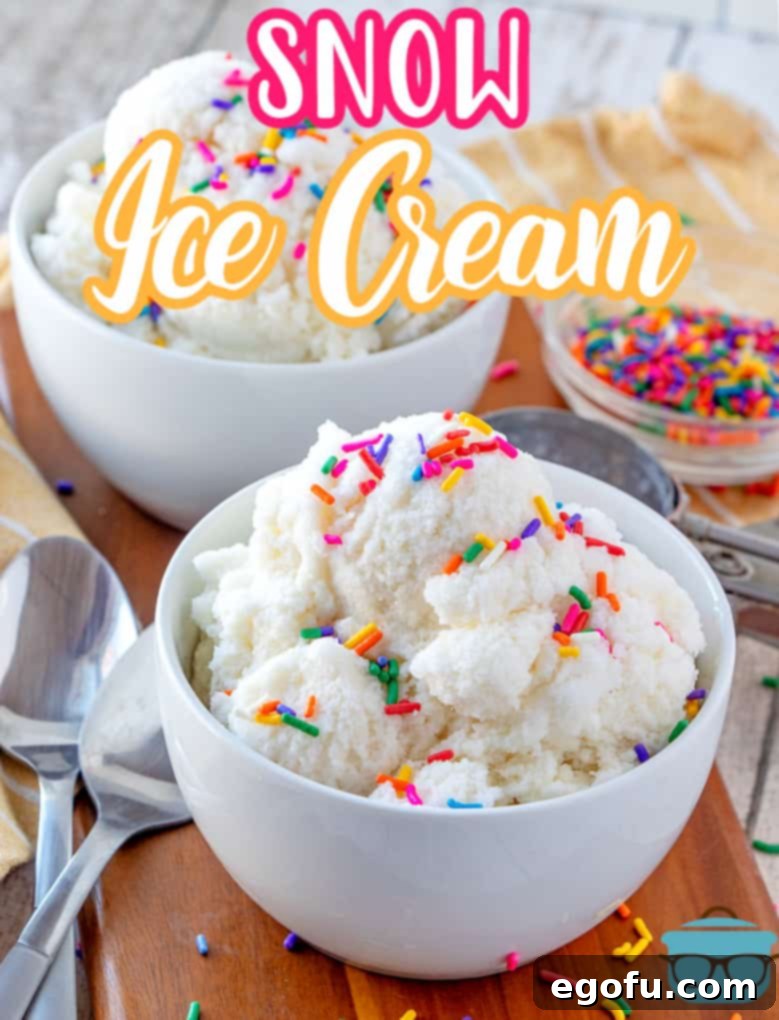
Simple Ingredients for an Unforgettable Treat
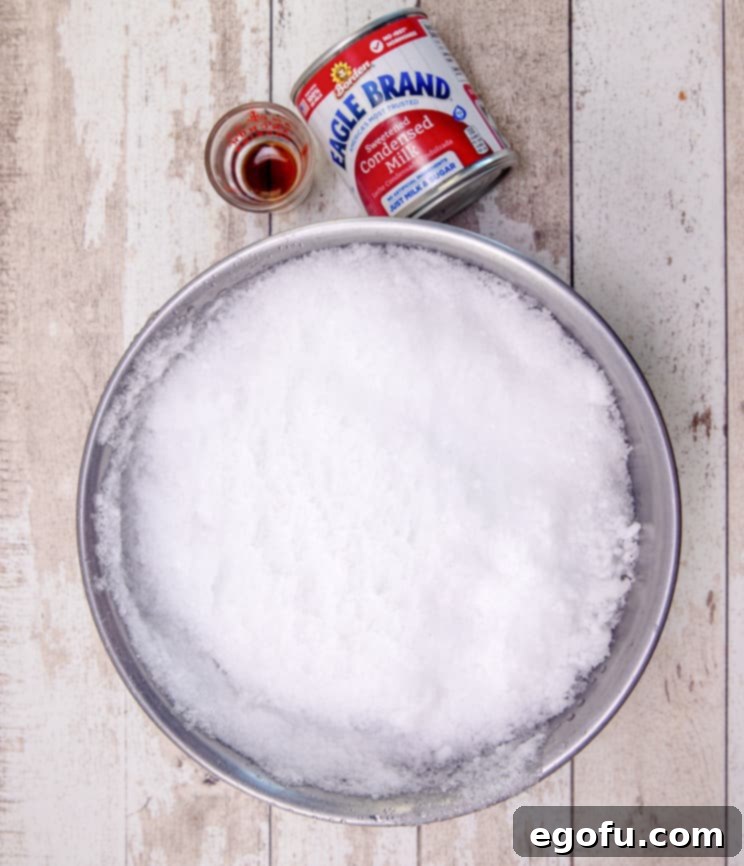
One of the most appealing aspects of Snow Ice Cream is its incredible simplicity. You only need three core ingredients, making it a spontaneous delight you can whip up almost instantly after a snowfall. Each ingredient plays a crucial role in transforming simple snow into a rich, creamy, and wonderfully sweet dessert.
- Fresh Snow (approximately 8 cups): As discussed, this is the irreplaceable star of our recipe. The quantity is a guideline; you might need more or less depending on the snow’s density and your preferred final consistency. Fluffy snow takes up more volume, so you might need a bit more.
- Sweetened Condensed Milk (one 14-ounce can): This is the magic ingredient that provides the creamy texture and rich sweetness without the need for an ice cream maker. Its thick consistency and pre-sweetened nature eliminate the need for extra granulated sugar and create that authentic, indulgent ice cream feel. Make sure it’s sweetened condensed milk, not evaporated milk!
- Vanilla Extract (1 teaspoon): A touch of pure vanilla extract elevates the flavor profile significantly. It adds a classic warmth, a comforting aroma, and a depth that makes the snow cream taste truly like traditional ice cream. While some might consider it optional, we highly recommend it for the best flavor experience.
That’s it! With these humble yet powerful components, you’re just minutes away from a homemade winter wonderland dessert that will captivate everyone who tries it. It’s a testament to how simple ingredients can create something truly extraordinary.
How to Make Homemade Snow Ice Cream: A Step-by-Step Guide
Ready to transform that pristine fresh snowfall into a delectable, creamy treat? Follow these incredibly easy steps, and you’ll be enjoying your homemade snow ice cream in mere moments!
Step 1: Gather Your Pristine Snow
First things first, grab a large, perfectly clean mixing bowl and head outside immediately after the snowfall. Carefully collect about 8 cups of the freshest, cleanest, and most untouched snow you can find. Remember our golden rule for safety and taste: only the purest, whitest snow will do! The exact amount might vary depending on how light and fluffy your snow is, so it’s always a good idea to have a little extra on hand in case you need to adjust the consistency.
Step 2: Combine the Creamy Sweetness and Flavor
Bring your bowl brimming with snow indoors promptly. Immediately pour in the entire 14-ounce can of chilled sweetened condensed milk directly over the snow. Using chilled condensed milk is a crucial tip, as it helps keep the snow from melting too quickly. Next, add 1 teaspoon of pure vanilla extract for that irresistible classic flavor that truly makes it taste like ice cream. You can also consider other extracts at this stage for a flavor twist.
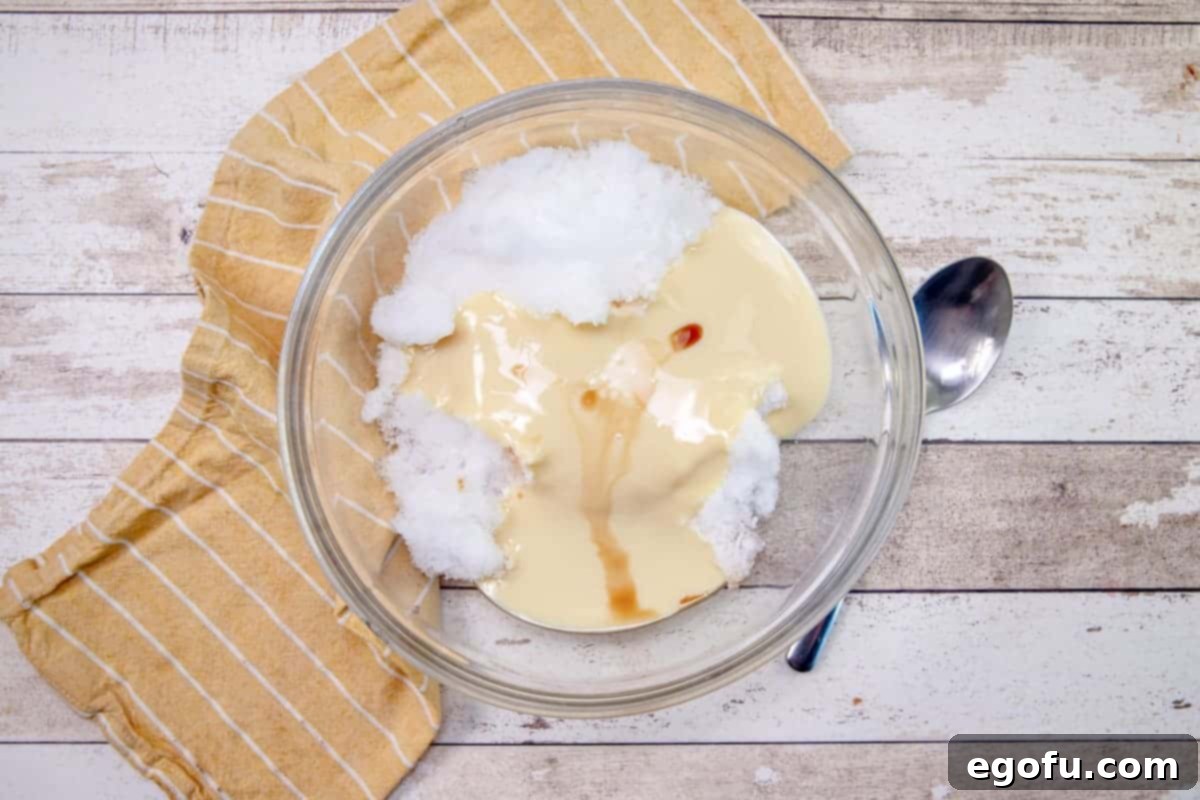
Step 3: Mix Until Perfectly Smooth and Creamy
Now, grab a sturdy spoon or spatula and give everything a good, thorough stir. You’ll want to mix quickly but gently, folding the sweetened condensed milk and vanilla into the snow. The goal is to achieve a uniform consistency that closely resembles soft-serve ice cream – smooth, creamy, and holding its shape. If your mixture seems too watery or runny, don’t fret! Simply add a bit more fresh snow, a half-cup at a time, and continue stirring until you reach your desired thickness. Conversely, if it appears too thick or crumbly, a tiny splash of regular milk or a little more condensed milk can help achieve that perfect scoopable texture.
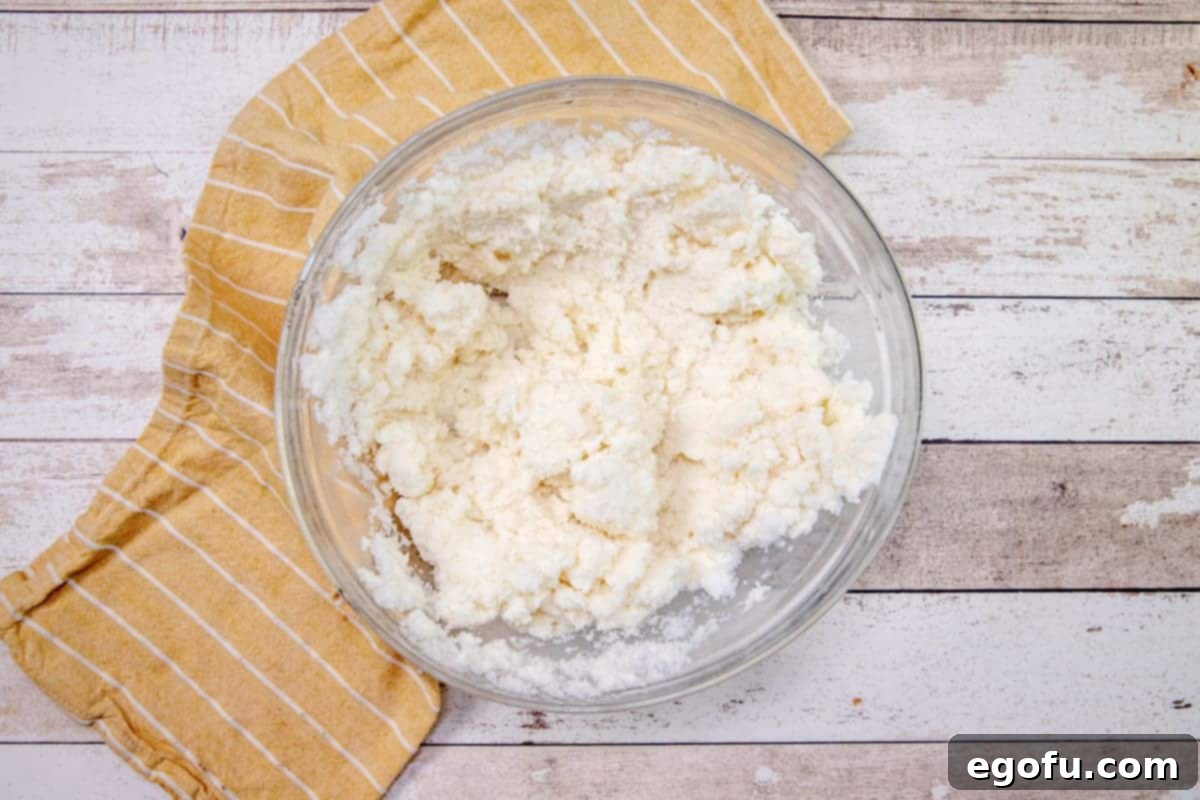
Step 4: Serve Immediately and Garnish
Snow ice cream is a delicate treat that is truly best enjoyed the moment it’s made! Its delicate texture and ideal temperature are at their peak right after mixing. Scoop generous portions into individual bowls. This is where the fun really begins – transform your simple snow cream into a personalized masterpiece! Top your creations with a vibrant array of colorful sprinkles, a drizzle of chocolate or caramel syrup, fresh fruit slices, chopped nuts, mini marshmallows, or even a dollop of whipped cream and a cherry on top. Dig in and savor this magical, fleeting winter delight before it melts away!
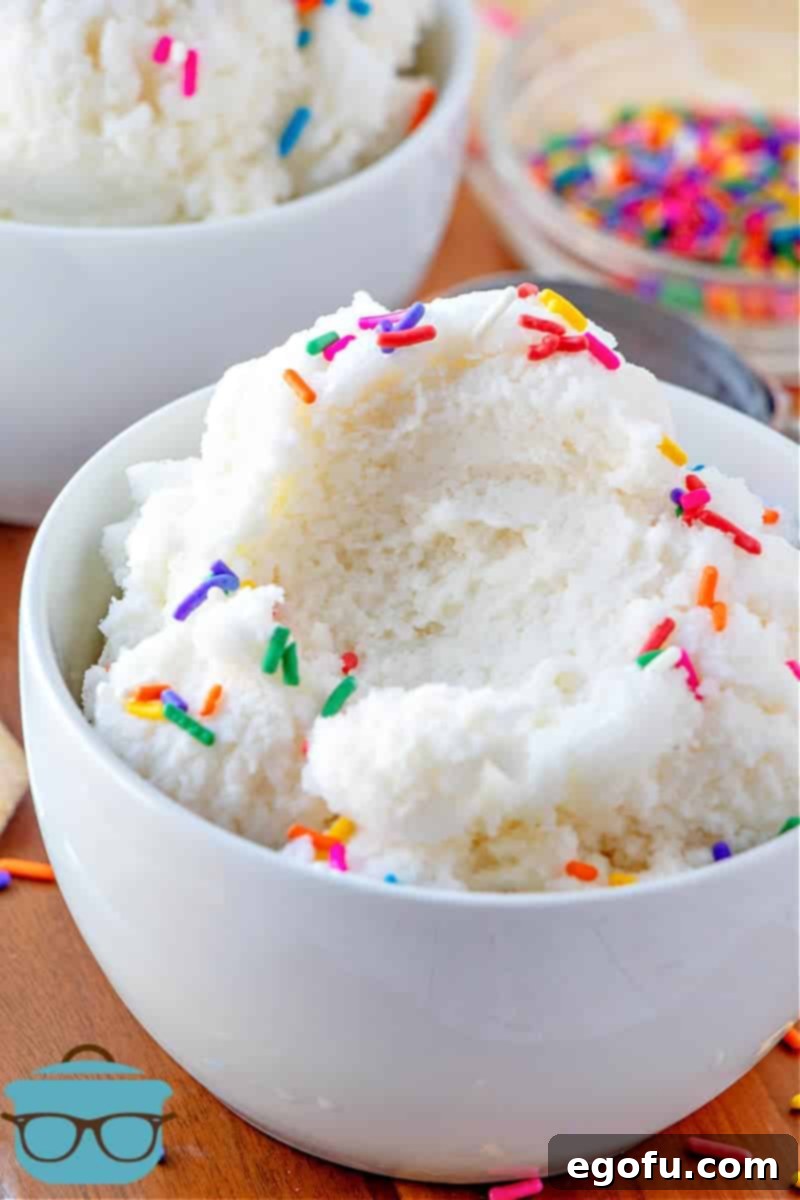
Creative Variations & Pro Tips for Your Snow Cream Adventure
While the classic three-ingredient snow ice cream is perfect in its elegant simplicity, there’s always room to experiment and customize your winter treat. Here are some innovative ideas and expert tips to make your snow cream experience even more memorable and delicious:
Alternative Sweeteners and Bases
- No Sweetened Condensed Milk? No Problem! If you find yourself without a can of sweetened condensed milk, you can still enjoy this delightful dessert. Create a similar base using regular milk and granulated sugar. Combine approximately 1 cup of fresh milk with 1/3 cup of granulated sugar and 1 teaspoon of vanilla extract. Stir this mixture vigorously until the sugar is completely dissolved. Then, gradually mix this sweetened milk into 8 cups of snow. Taste and adjust the sugar levels to your preference. This method often yields a slightly lighter, less dense texture than using condensed milk, but it is equally delicious and refreshing.
- Dairy-Free Delight: For those with dietary restrictions or who prefer a plant-based option, substitute sweetened condensed coconut milk for regular condensed milk. The coconut milk adds a wonderful, subtle tropical flavor that pairs surprisingly well with vanilla and creates a rich, creamy texture similar to the traditional version.
- Maple Syrup Sweetness: For a natural sweetness and a hint of rustic flavor, try replacing some or all of the sweetened condensed milk with a mix of pure maple syrup and a splash of heavy cream or milk. Adjust quantities to achieve desired sweetness and consistency.
Flavor Twists and Enhancements
- Beyond Vanilla: While vanilla is a universally beloved classic, don’t hesitate to explore other extracts to create unique flavor profiles. Mint extract can transform your snow cream into a refreshing treat, perfect for holiday seasons. Almond extract offers a sophisticated, nutty note. Lemon or orange extract can provide a bright, zesty contrast.
- Chocolate Lover’s Dream: For chocolate enthusiasts, there are several options. Drizzle in some chocolate syrup along with the vanilla extract for a chocolate-swirled snow cream. For a richer, deeper chocolate flavor, try mixing in a tablespoon or two of unsweetened cocoa powder (sifted to prevent lumps) into the liquid base before adding it to the snow.
- Fruity Freshness: Swirl in a tablespoon or two of fruit puree (such as strawberry, raspberry, or peach) for a burst of natural fruit flavor and a beautiful, vibrant color. Be sure the puree is smooth and well-chilled.
- Spice it Up: A tiny pinch of ground cinnamon, nutmeg, or even pumpkin pie spice can add a cozy, festive touch to your winter dessert, making it perfect for fall and winter holidays.
Achieving the Perfect Consistency
- Adjusting Snow Quantity: The texture and density of snow vary greatly depending on factors like temperature and humidity. Lighter, fluffier snow means you might need a greater volume (more cups) to achieve the right consistency. If your mixture appears too runny or watery after initial mixing, simply add a bit more fresh snow, a half-cup at a time, and continue stirring until it firms up to your liking. Conversely, if it’s too thick or crumbly, a tiny splash of milk or even a little more condensed milk can help achieve that smooth, scoopable texture.
- Keeping Ingredients Cold: To prevent your precious snow from melting too quickly during the mixing process, it is highly recommended to chill your can of sweetened condensed milk in the refrigerator for at least an hour (or even overnight) before you plan to make your snow cream. Using a pre-chilled mixing bowl can also provide an extra layer of protection against premature melting. Work quickly once the snow is brought inside!
Serving and Storage Suggestions
- Serve Immediately: Snow ice cream is a delicate, fleeting delight that is truly at its peak when enjoyed the moment it’s made. Its unique, ethereal texture and ideal temperature are best experienced right after mixing.
- Topping Extravaganza: While colorful sprinkles are a classic and fun choice, don’t limit your imagination! Get creative with your toppings. Consider chocolate chips (mini or regular), a generous drizzle of warm caramel or hot fudge sauce, chopped nuts (pecans, walnuts, almonds), mini marshmallows, a dollop of freshly whipped cream, maraschino cherries, or even a sprinkle of crushed candy canes for a festive touch.
- Short-Term Storage: If by some miracle you happen to have leftovers (a rare occurrence!), you can store your snow ice cream in an airtight, freezer-safe container for about a week. Be aware that the texture may become a bit icier and less fluffy after freezing, as the water crystals will expand. However, it will still be a delicious, refreshing treat, though perhaps with a slightly different mouthfeel.
Frequently Asked Questions About Snow Ice Cream
Is it safe to eat snow?
Generally, fresh, clean snow that has just fallen in an unpolluted area is considered safe for consumption. However, it’s absolutely crucial to follow the “no yellow snow” rule and avoid snow near roadsides, industrial areas, heavily trafficked zones, or any place where it might have picked up pollutants, chemicals (like road salt or antifreeze), or animal waste. Collecting from an elevated, untouched surface (like a clean deck table or a fresh patch in your yard, away from trees or buildings that could shed debris) is always the best practice for ensuring purity.
Can I use artificial snow or shaved ice if there’s no natural snowfall?
While fresh natural snow is ideal for its unique texture and the nostalgic charm it brings, you can absolutely substitute finely shaved ice (created using an ice shaver or a powerful blender) if natural snow isn’t available. The process remains the same, and you’ll still achieve a delicious, refreshing, and ice-cream-like treat. It’s a great alternative for those living in warmer climates or during snow-less winters.
What kind of bowl should I use for mixing?
A large, non-reactive mixing bowl (such as glass, stainless steel, or ceramic) is perfect for this recipe. Using a bowl that has been pre-chilled in the freezer for about 15-20 minutes can also significantly help in keeping your snow from melting too quickly, giving you more time to achieve that perfect creamy consistency.
Can I make a big batch of snow ice cream for a party?
Snow ice cream is a delicate dessert that is truly best made in smaller batches and served immediately. While you can certainly scale the recipe up, mixing very large quantities might be challenging due to the rapid melting of snow. It’s often more practical and yields better results to make multiple smaller batches as needed, ensuring each serving is as fresh and perfectly textured as possible.
How do I get the perfect “soft-serve” consistency?
The key is to adjust the ratio of snow to liquid. Start with the recommended amounts, then gradually add more snow if the mixture is too runny, or a tiny splash of milk (or even more condensed milk for richness) if it’s too thick. Mixing quickly and thoroughly helps incorporate all ingredients before the snow melts too much. The ideal consistency should be scoopable but soft, like freshly churned ice cream.
Why You’ll Love This Simple Winter Indulgence
Snow Ice Cream isn’t just a dessert; it’s an experience, a delightful way to embrace the fleeting beauty of winter. It’s a moment of pure, unadulterated joy that captures the magic of the season in a single, creamy bowl. It’s incredibly easy to make, requires minimal ingredients that are often staples in most pantries, and offers a delicious and unique way to bond with family and friends during those chilly months. Beyond its simplicity and taste, it offers a wonderful opportunity to create lasting memories, especially for children who are often enchanted by the idea of eating snow. Whether it’s a spontaneous treat after a snow day filled with outdoor play or a planned family activity, this homemade snow ice cream recipe promises delightful memories, heartwarming laughter, and a truly whimsical winter dessert. Embrace the wonder of fresh snow and create your own batch of this magical winter delight today!
More Irresistible No-Churn Desserts to Explore
If you love the simplicity and creamy goodness of this no-churn snow ice cream, you’ll be thrilled to discover more easy dessert recipes that don’t require an ice cream machine. Here are some fantastic options to satisfy your sweet tooth:
- NO-CHURN BUTTER PECAN ICE CREAM
- NO-CHURN STRAWBERRY ICE CREAM
- EASY HOMEMADE MAGIC SHELL
- EASY NO-CHURN PEACH ICE CREAM
- NO-CHURN MINT ICE CREAM
- NO-CHURN CHERRY CHEESECAKE ICE CREAM
- NO-CHURN FUNFETTI ICE CREAM
- HOMEMADE WENDY’S CHOCOLATE FROSTY
Snow Ice Cream Recipe: Quick & Easy Winter Dessert
This quick and easy recipe transforms fresh snow into a delightful, creamy ice cream with just 3 simple ingredients. A perfect winter treat for kids and adults alike, ready in minutes!
- Prep Time: 10 minutes
- Total Time: 10 minutes
- Yields: 6 servings
- Author: Brandie Skibinski
- Course: Dessert
- Cuisine: American
Ingredients
- 8 cups fresh, clean snow (adjust amount based on snow texture for desired consistency)
- 1 (14 ounce) can sweetened condensed milk (chilled is best!)
- 1 teaspoon pure vanilla extract
Instructions
- In a large, clean mixing bowl, combine the fresh snow with the chilled sweetened condensed milk and vanilla extract.
- Stir everything together thoroughly and quickly using a sturdy spoon or spatula. Continue mixing until all ingredients are well combined and a smooth, soft-serve ice cream consistency is reached. If the mixture is too watery, gradually add more snow. If it’s too thick, a tiny splash of milk can help.
- Serve immediately in individual bowls and customize with your favorite toppings like sprinkles, chocolate syrup, or whipped cream. Enjoy this magical winter treat!
Video Tutorial
Recipe Notes for Success
- Snow Selection: Always prioritize safety and taste. Use only fresh, clean, and undisturbed white snow. Avoid yellow snow or snow from areas prone to pollution.
- Chill Your Milk: For optimal results, place your can of sweetened condensed milk in the refrigerator for at least an hour before use. This helps prevent the snow from melting too quickly.
- Flavor Variations: Feel free to experiment with other extracts like mint, almond, or a few drops of food coloring for a fun twist.
- Condensed Milk Alternative: If you don’t have sweetened condensed milk, you can substitute with a mixture of 1 cup milk, 1/3 cup granulated sugar, and 1 teaspoon vanilla extract. Stir well until the sugar dissolves before adding to the snow.
- Best When Fresh: Snow ice cream is truly best consumed immediately after preparation to enjoy its ideal texture.
- Storage: While best fresh, leftovers can be stored in an airtight, freezer-safe container for up to one week. The texture may become icier upon freezing.
Estimated Nutrition Information
Based on a 6-serving yield, each serving contains approximately:
Calories: 214kcal | Carbohydrates: 36g | Protein: 5g | Fat: 6g | Sodium: 100mg | Sugar: 36g
Nutritional Disclaimer: The nutritional information provided here is an estimate. As “The Country Cook” is not a certified dietician or nutritionist, we highly recommend running the specific ingredients you use through your preferred online nutritional calculator for precise values. Nutritional content can vary significantly based on specific brands, ingredient quantities, and any additions or substitutions made.
Did you make this delightful snow ice cream recipe? We’d absolutely love to see your creations! Share your culinary masterpiece on Instagram and tag us @thecountrycook. Don’t forget to mention us and use the hashtag #thecountrycook so we can admire your delicious winter treat!
Originally Published: January 2013
Updated & Republished: January 2021
