Indulge in the savory delight of French Dip Squares – a creative, easy-to-make twist on the beloved classic French Dip Sandwich. These layered, flavorful bites are perfect for a satisfying weeknight dinner, entertaining guests, or bringing to a potluck. Get ready for a delicious meal that’s simple, fun, and packed with all the rich flavors you adore!
Effortless Elegance: The Ultimate Layered French Dip Squares
Are you searching for a dinner idea that’s both incredibly simple and incredibly satisfying? Look no further than these spectacular French Dip Squares! Imagine all the succulent, savory goodness of your favorite roast beef dip sandwich, reimagined into perfectly portioned, handheld squares. They’re designed for convenience, making slicing and serving a breeze, and they pack a flavor punch that will impress even the most discerning palates. The secret lies in the harmonious layering of ingredients, culminating in a golden, glazed crust that adds an extra dimension of deliciousness. And of course, no French Dip experience is complete without that essential dip into rich, warm au jus. Trust us, these squares are destined to become a new family favorite!
This recipe transforms a classic into a casserole-style dish, making it ideal for feeding a crowd or preparing a hassle-free meal. The convenience of pre-made crescent dough sheets streamlines the process, allowing you to achieve a comforting, homemade taste without the lengthy preparation. Each bite offers a perfect balance of tender roast beef, melted provolone, and sweet, caramelized onions, all encased in a flaky, buttery crust. Whether you’re a seasoned chef or a kitchen novice, these French Dip Squares promise a rewarding culinary experience with minimal effort.
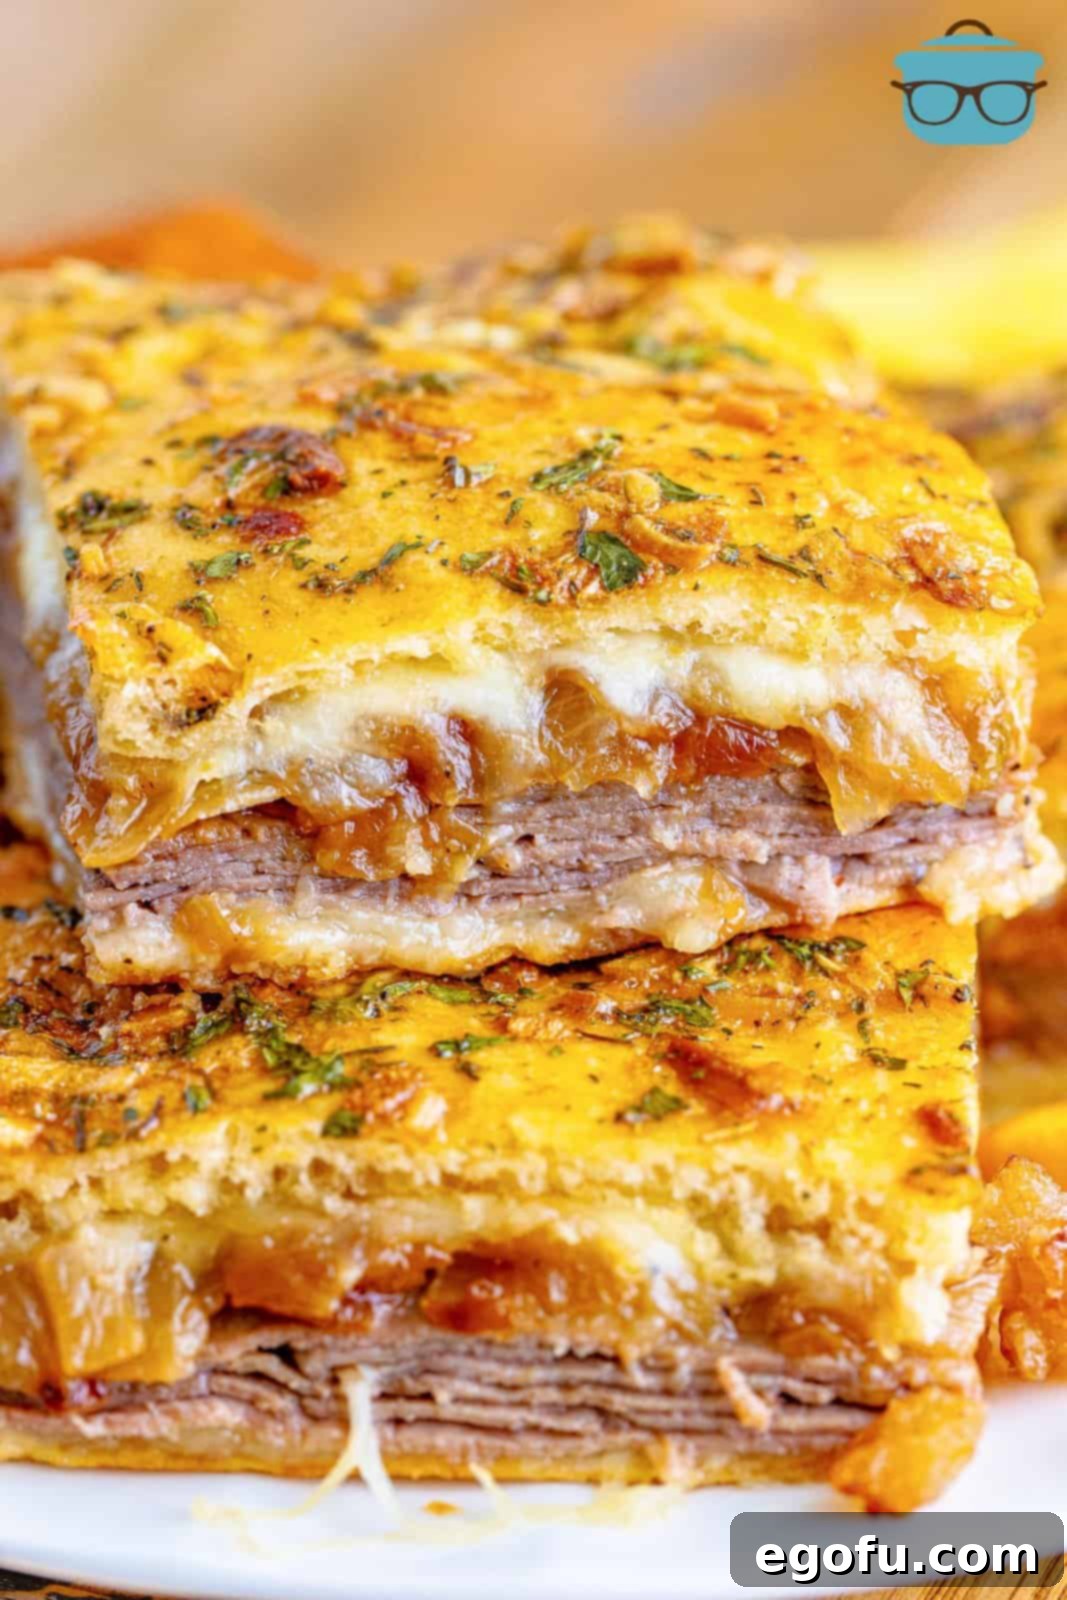
Your Questions Answered: All About French Dip Squares
French Dip Squares are an innovative take on the traditional French Dip sandwich. Instead of serving the classic roast beef and cheese on a hoagie roll, this recipe layers all those fantastic flavors – tender deli roast beef, savory caramelized onions, and melted provolone cheese – between two sheets of buttery crescent dough. The entire creation is then baked until golden and crispy, sliced into individual squares, and served with a side of rich au jus for dipping. It’s a convenient, less messy, and equally delicious way to enjoy the beloved flavors of a French Dip, making it perfect for parties, family dinners, or whenever you crave comfort food without the fuss of individual sandwiches.
While it might seem like an extra step, transferring the caramelized onions from the hot skillet to a separate plate is crucial for optimal flavor and texture. Onions, especially when caramelized to a beautiful golden-brown, can continue to cook rapidly even after the heat is turned off due due to the residual heat of the pan. This can quickly lead to them burning, becoming bitter, and compromising the overall taste of your French Dip Squares. By promptly removing them, you halt the cooking process, ensuring your onions remain perfectly sweet and tender, adding that essential depth of flavor without any unpleasant burnt notes.
Absolutely, you can experiment with different meats, but it’s important to remember that the “French Dip” identity is traditionally tied to roast beef. This recipe is crafted to highlight the classic roast beef flavor profile that pairs so perfectly with provolone and au jus. If you opt for other meats, such as thinly sliced turkey, ham, or even a different cut of beef, the overall flavor of the dish will change significantly. For a truly authentic French Dip experience, we recommend sticking with quality deli roast beef, but feel free to get creative if you’re looking for a new variation!
Certainly! Provolone is a classic choice for French Dip sandwiches due to its mild, slightly nutty flavor and excellent melting qualities. However, the beauty of this dish is its versatility. You can definitely substitute provolone with other cheeses that melt well and complement roast beef. Consider options like white cheddar for a sharper taste, mozzarella for extra creaminess, Gruyere for a sophisticated nutty note, Swiss for its distinct flavor, or Gouda for a touch of buttery sweetness. Each cheese will subtly alter the flavor profile, so choose one that best suits your preferences!
You absolutely can make your own au jus from scratch! While a store-bought packet offers convenience, preparing homemade au jus can elevate the dish with even richer flavors, often utilizing beef drippings and a blend of aromatic herbs and spices. There are many fantastic recipes available online for a homemade version, allowing you to tailor it to your taste. However, if au jus isn’t your preference, you can skip it entirely, though we find it to be the ultimate companion to these savory squares, adding moisture and an essential layer of flavor.
Not at all! It’s completely normal to notice some liquid, or “juices,” at the bottom of the baking dish when you first cut into your French Dip Squares. These are delicious beef juices and melted cheese that have settled during baking. Many people enjoy these flavorful juices as they add to the richness of the dish. If you prefer a less “runny” bottom, simply use a paper towel to gently soak up any excess liquid after the squares have cooled slightly. This won’t affect the taste or quality of your dish.
Leftover French Dip Squares can be stored in an airtight container in the refrigerator for up to 3 days, making them perfect for meal prep. For longer storage, they can be frozen in a freezer-safe container for up to 3 months. When reheating, we highly recommend using an oven or an air fryer to help the crescent dough regain its crispy texture. Avoid using a microwave, as it tends to make the squares soggy. If reheating in the oven, cover the dish with foil to prevent the tops from browning excessively while ensuring the inside warms through evenly.

Gather Your Ingredients: What You’ll Need
- Salted butter
- Onion (preferably small-diced for even cooking)
- Granulated sugar (to aid in caramelization)
- Black pepper (freshly ground for best flavor)
- Crescent dough sheets (two tubes for top and bottom crust)
- Sliced provolone cheese (or your preferred melty cheese)
- Deli sliced roast beef (high quality for optimal taste)
- Large egg (for the flavorful egg wash)
- Dried onion soup mix (adds savory depth to the glaze)
- Dried parsley flakes (for color and mild herbaceousness)
- Dried thyme (a classic complement to beef)
- Au jus gravy mix (for the essential dipping sauce)
- Cold water (to prepare the au jus)
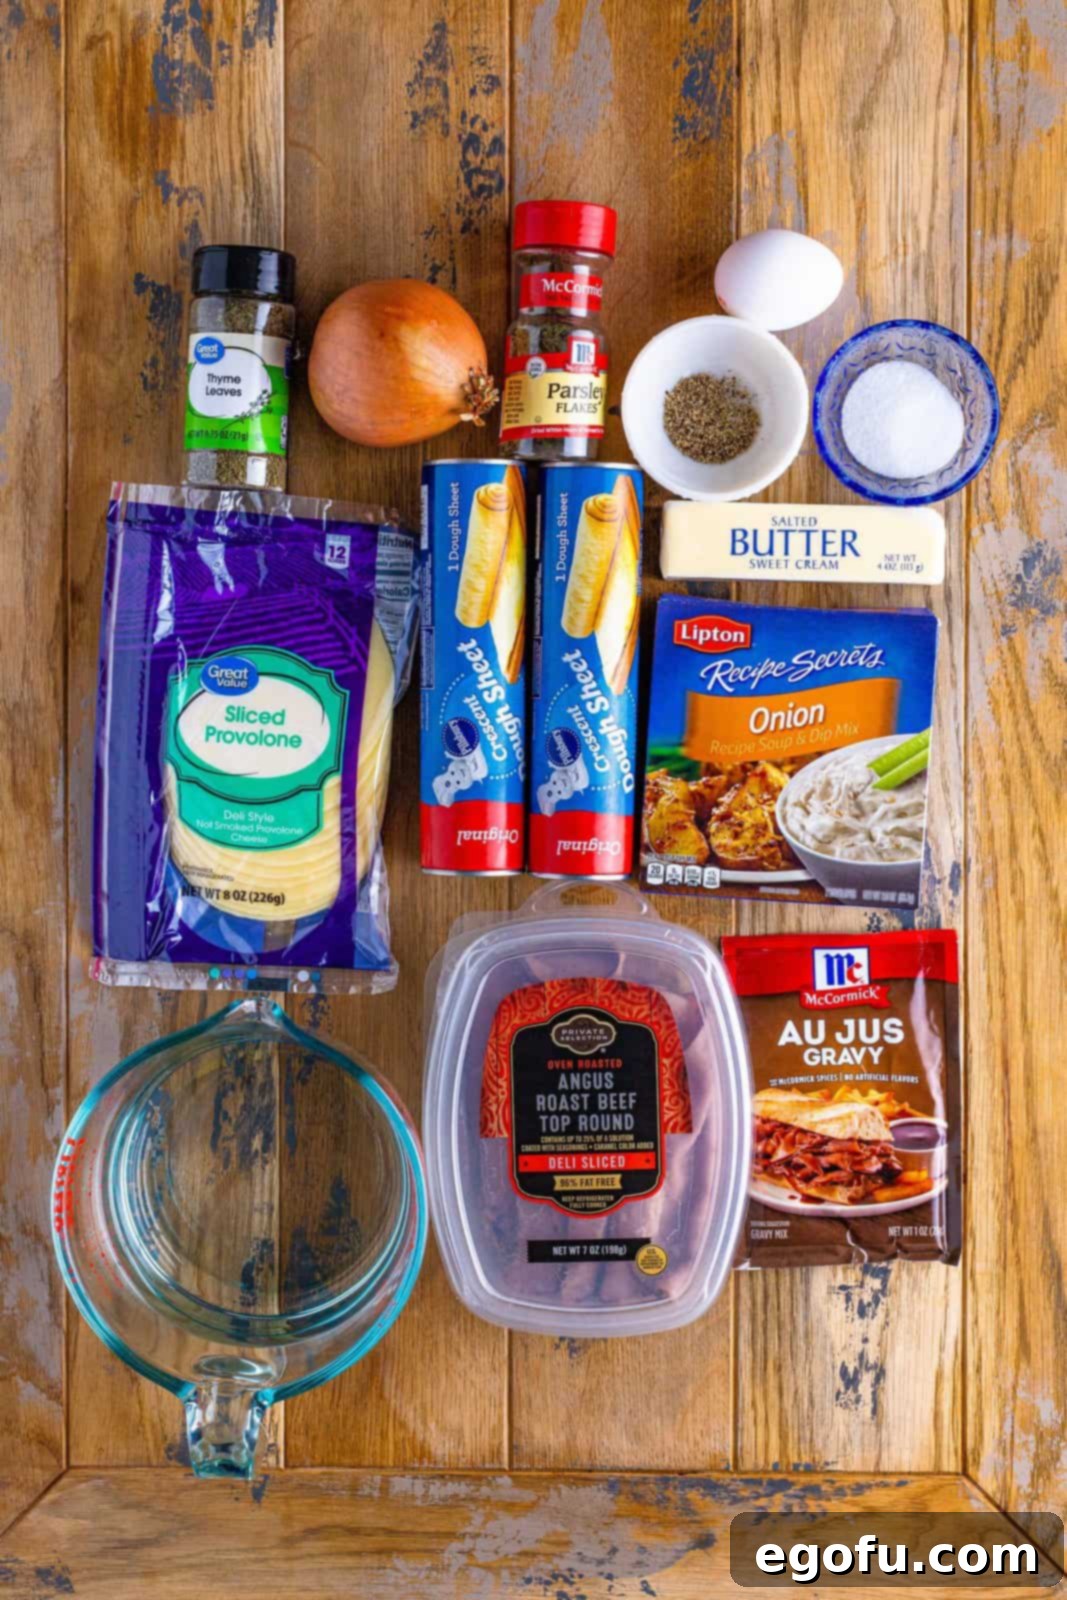
Crafting Your French Dip Squares: A Step-by-Step Guide
Creating these delightful French Dip Squares is a straightforward process that yields incredibly delicious results. Follow these simple instructions to achieve a perfectly layered and baked masterpiece:
Begin by preheating your oven to 350°F (175°C). While the oven heats, take a 9×13-inch baking dish and spray it generously with nonstick cooking spray. This crucial step ensures your squares won’t stick, making for easy removal and serving.
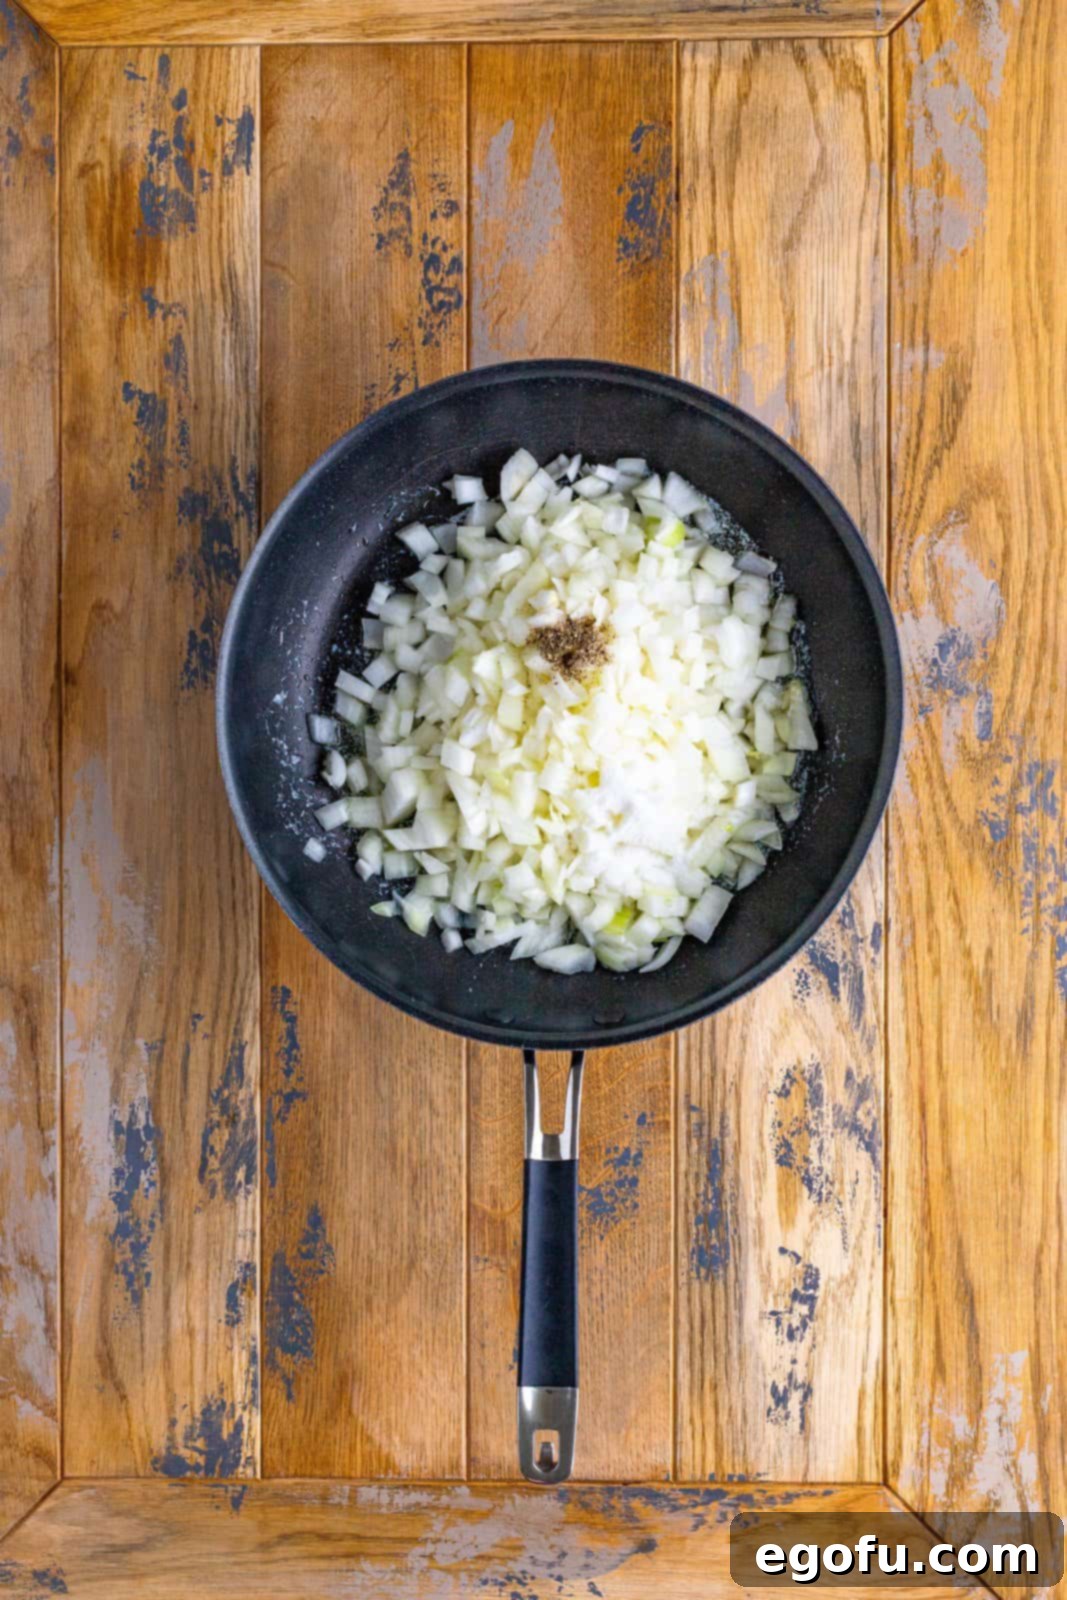
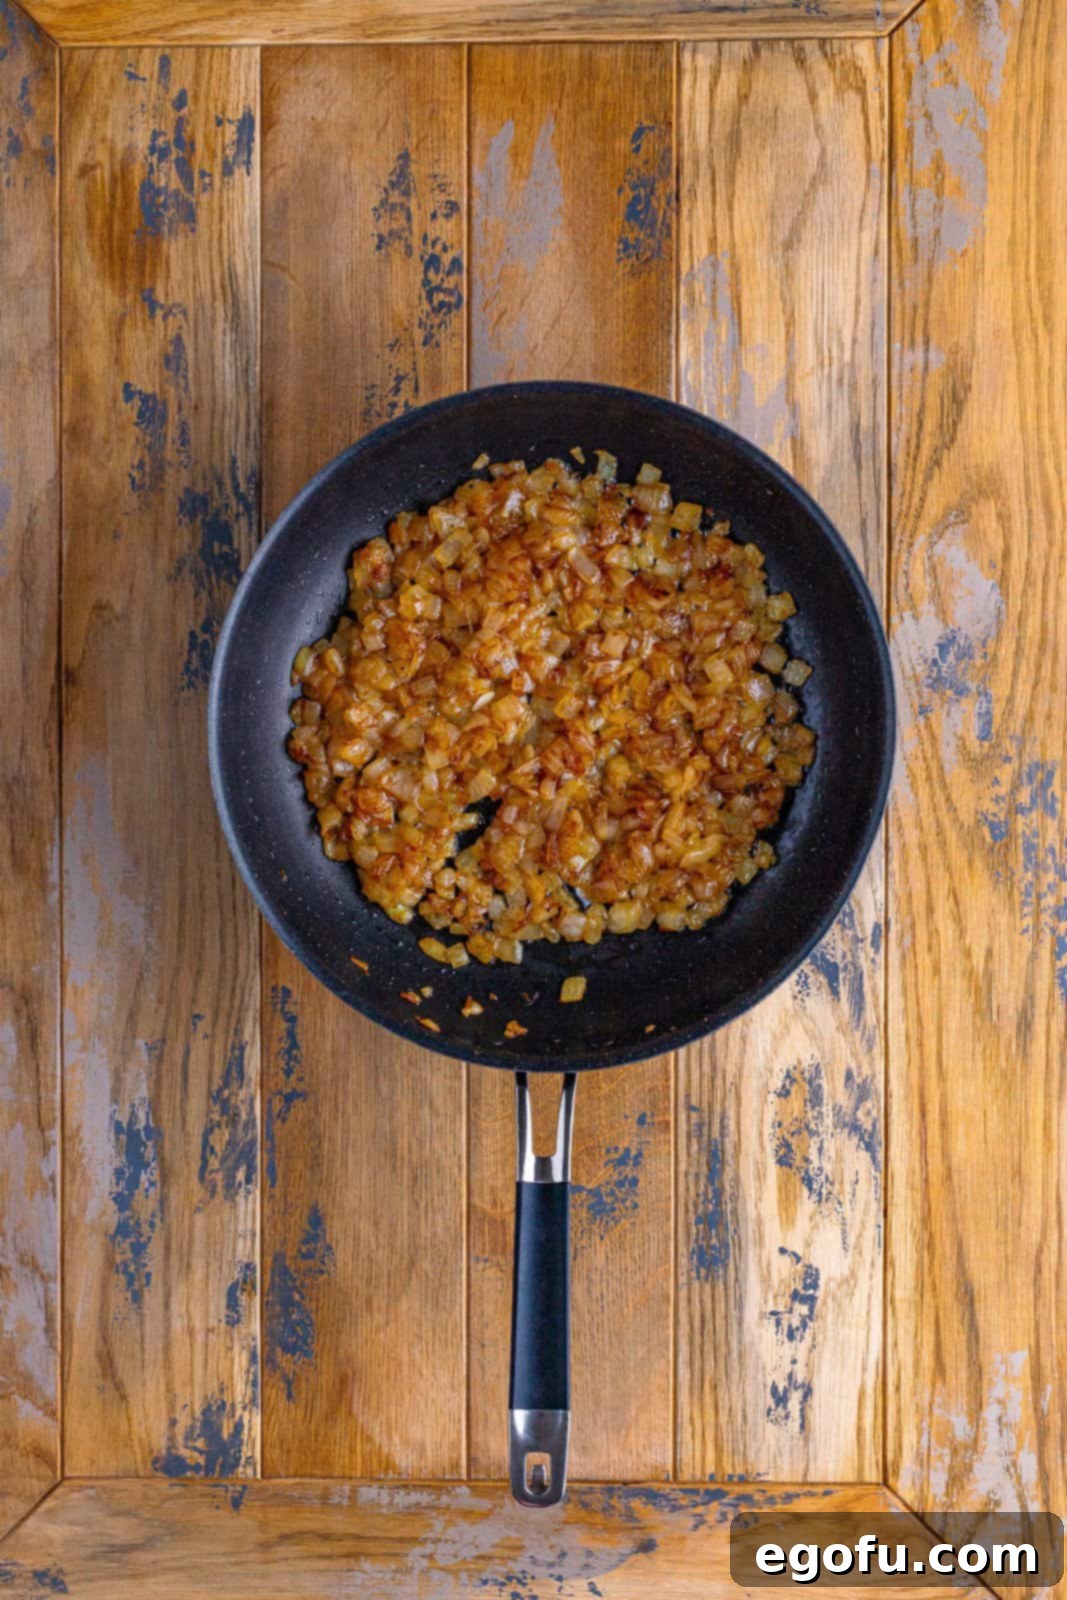
Next, prepare your flavorful caramelized onions. In a large skillet, melt 4 tablespoons of salted butter over medium heat. Add 3 cups of small-diced onion, 2 teaspoons of granulated sugar, and ½ teaspoon of black pepper. Stir these ingredients together, coating the onions evenly. Continue to cook the onions, stirring frequently, until they transform into a beautiful golden-brown color. This caramelization process sweetens the onions and develops a rich, savory depth of flavor that is essential for a true French Dip experience. Once caramelized, immediately remove the skillet from the heat and transfer the onions to a separate plate to prevent further cooking and burning. Set them aside until you’re ready to assemble your squares.
Once the onions have reached their perfect golden hue, carefully transfer them from the hot skillet to a cool plate. This simple action stops the cooking process, ensuring the onions remain sweet and caramelized, without any risk of burning. Set them aside and prepare for the layering stage.
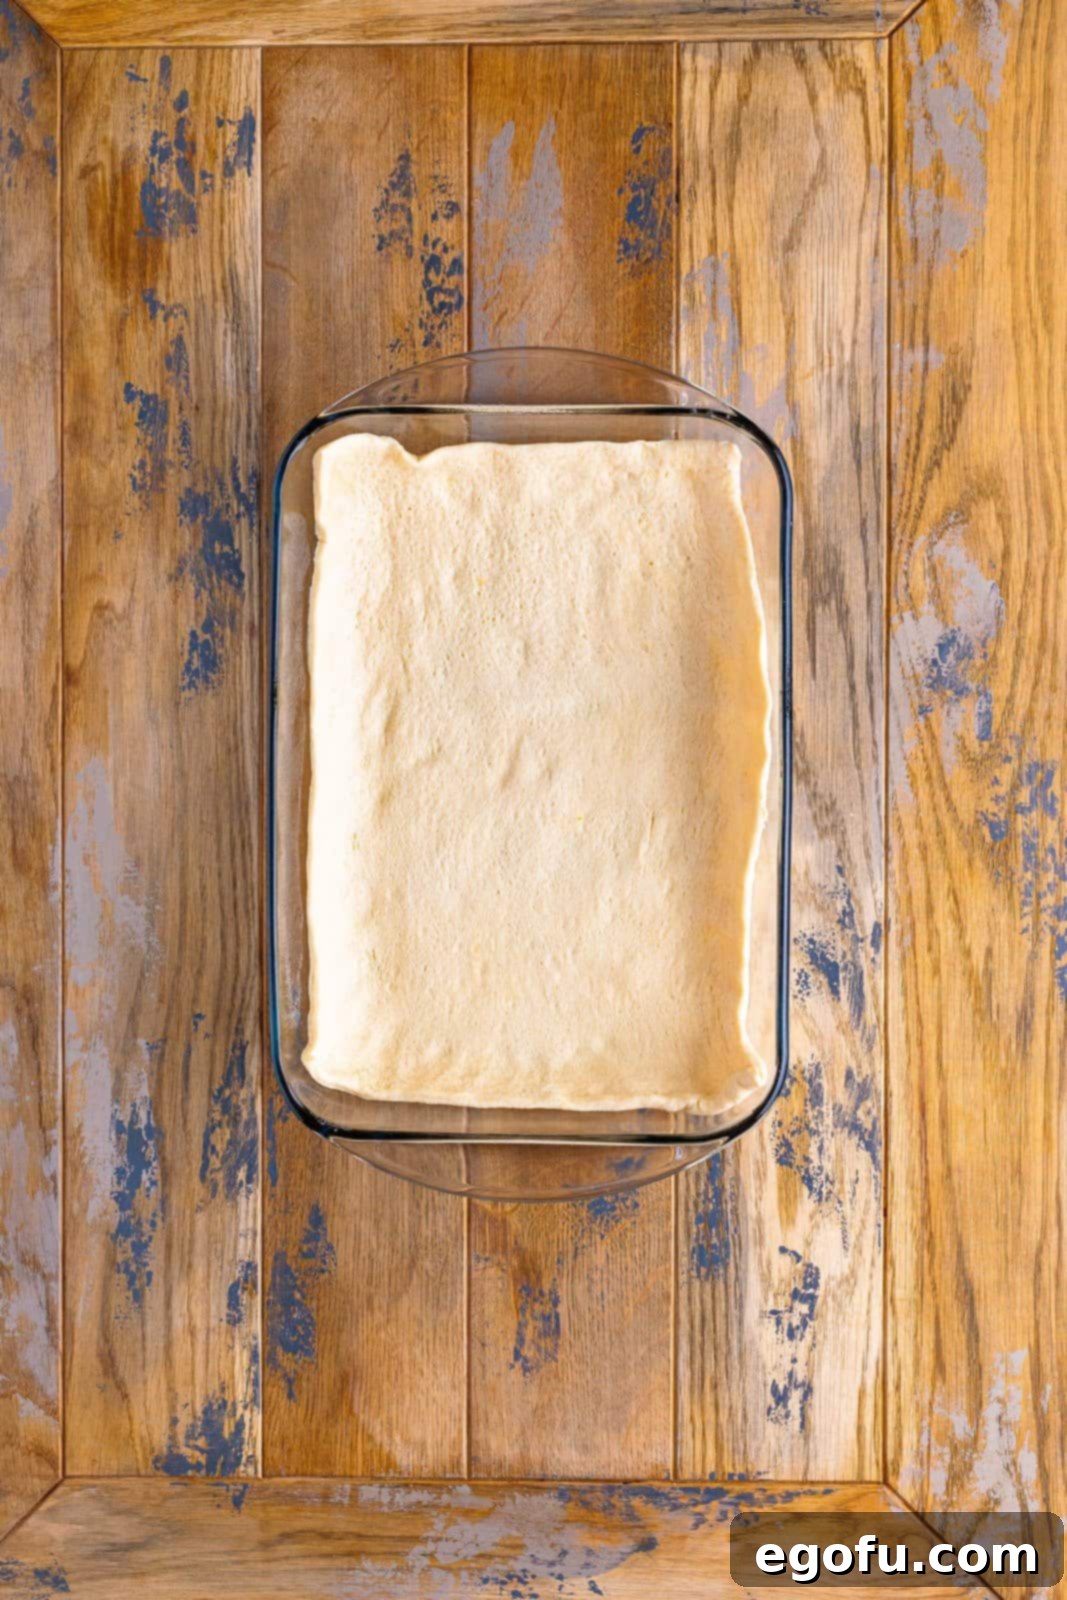
Now, let’s build the foundation of your French Dip Squares. Unroll one tube of crescent dough sheets. Gently press this dough into the bottom of your prepared 9×13-inch baking dish, ensuring it extends approximately 1 inch up the sides of the dish. This creates a sturdy base and helps contain all the delicious fillings.
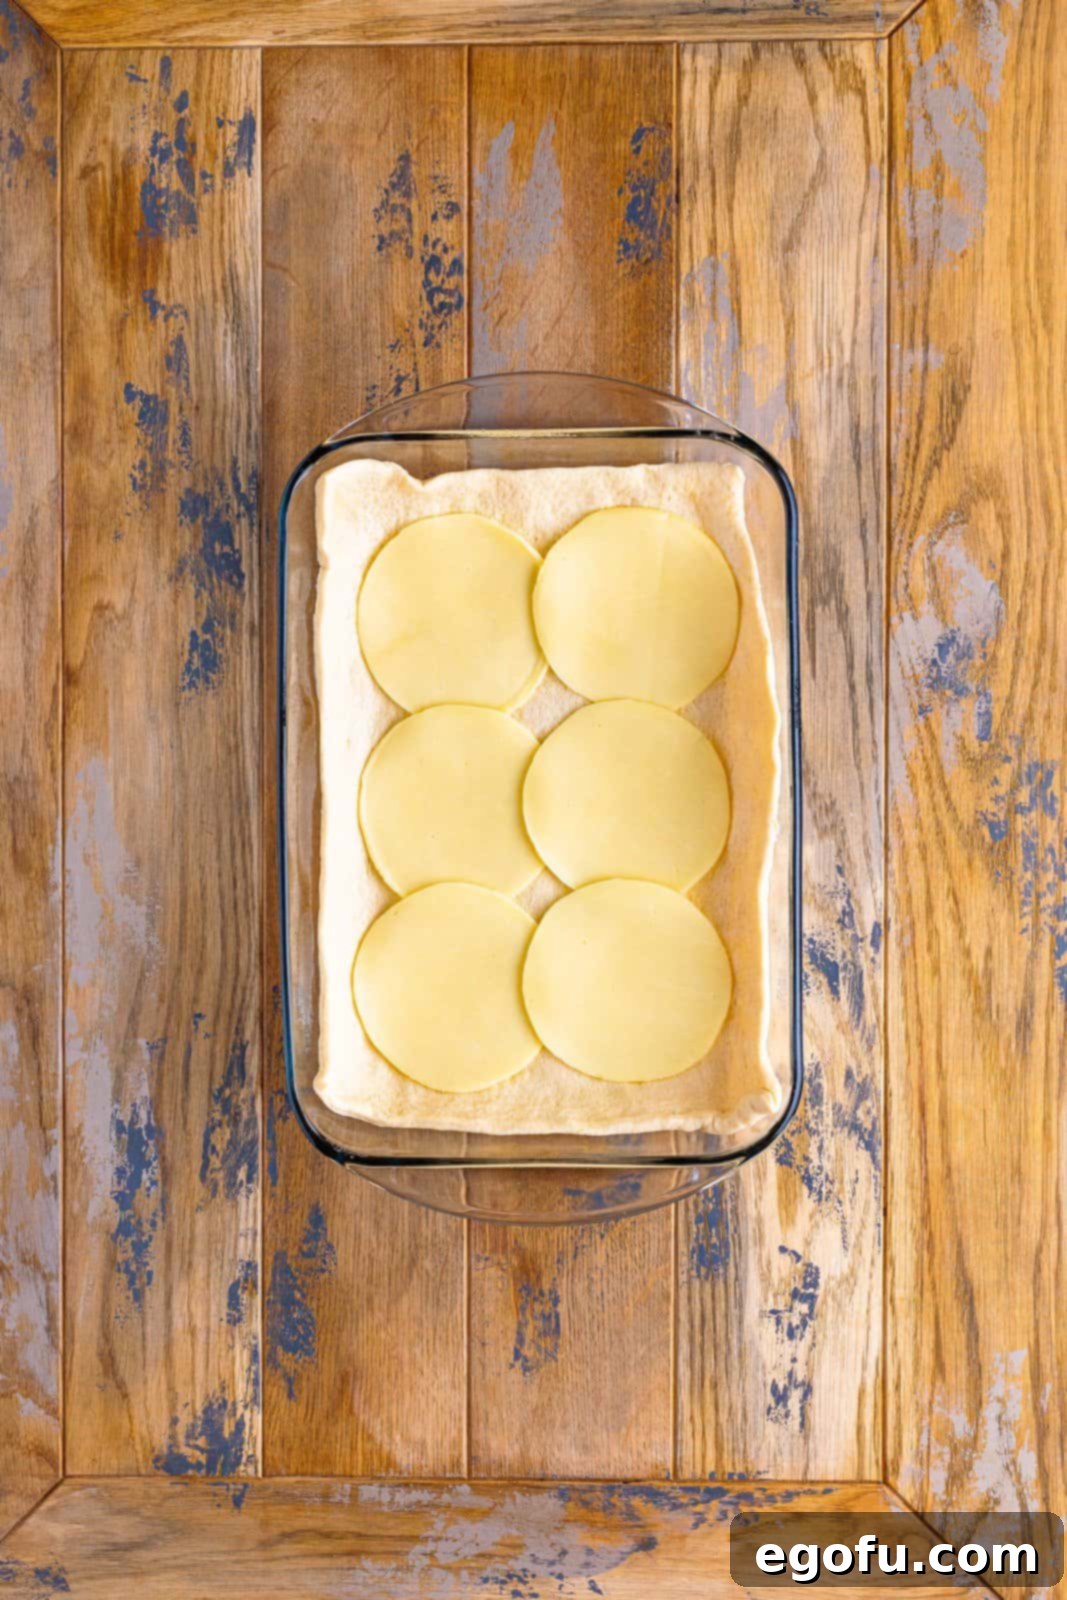
Evenly distribute half of your 8 ounces of sliced provolone cheese over the crescent dough. This layer will create a delicious, melty barrier that perfectly complements the roast beef.
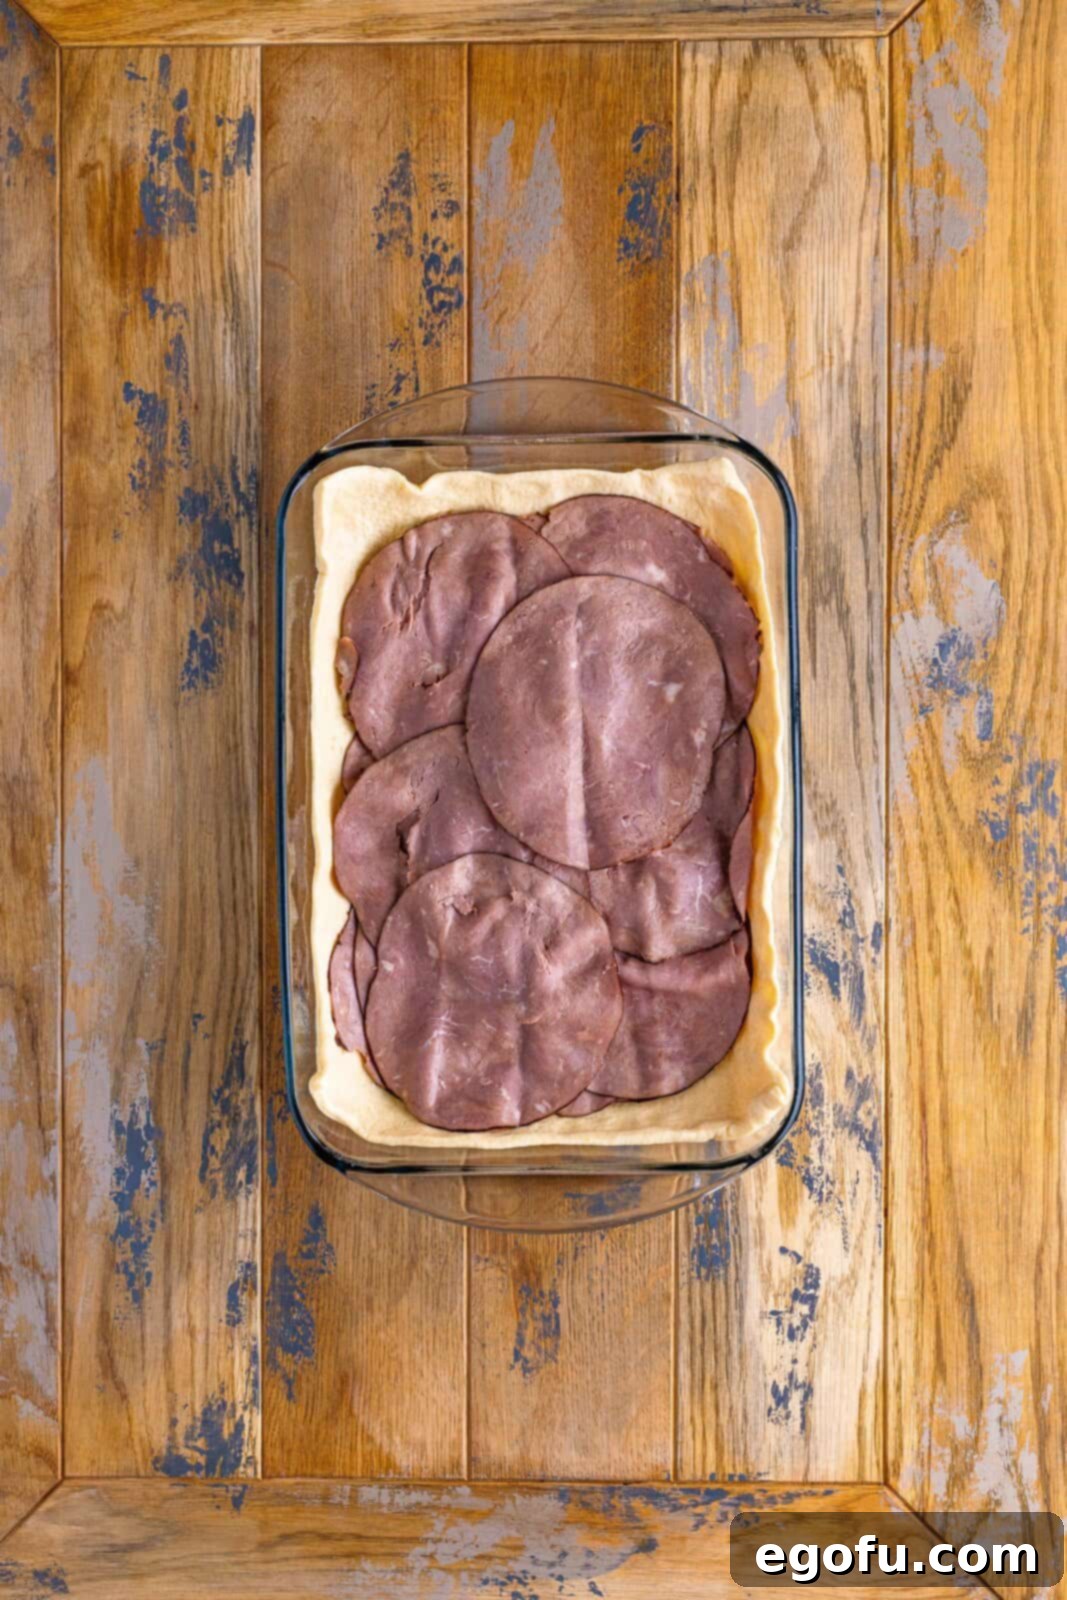
Next, generously layer 14 ounces of deli-sliced roast beef directly on top of the provolone cheese. Make sure to spread the roast beef evenly across the entire surface for a consistent flavor in every square.
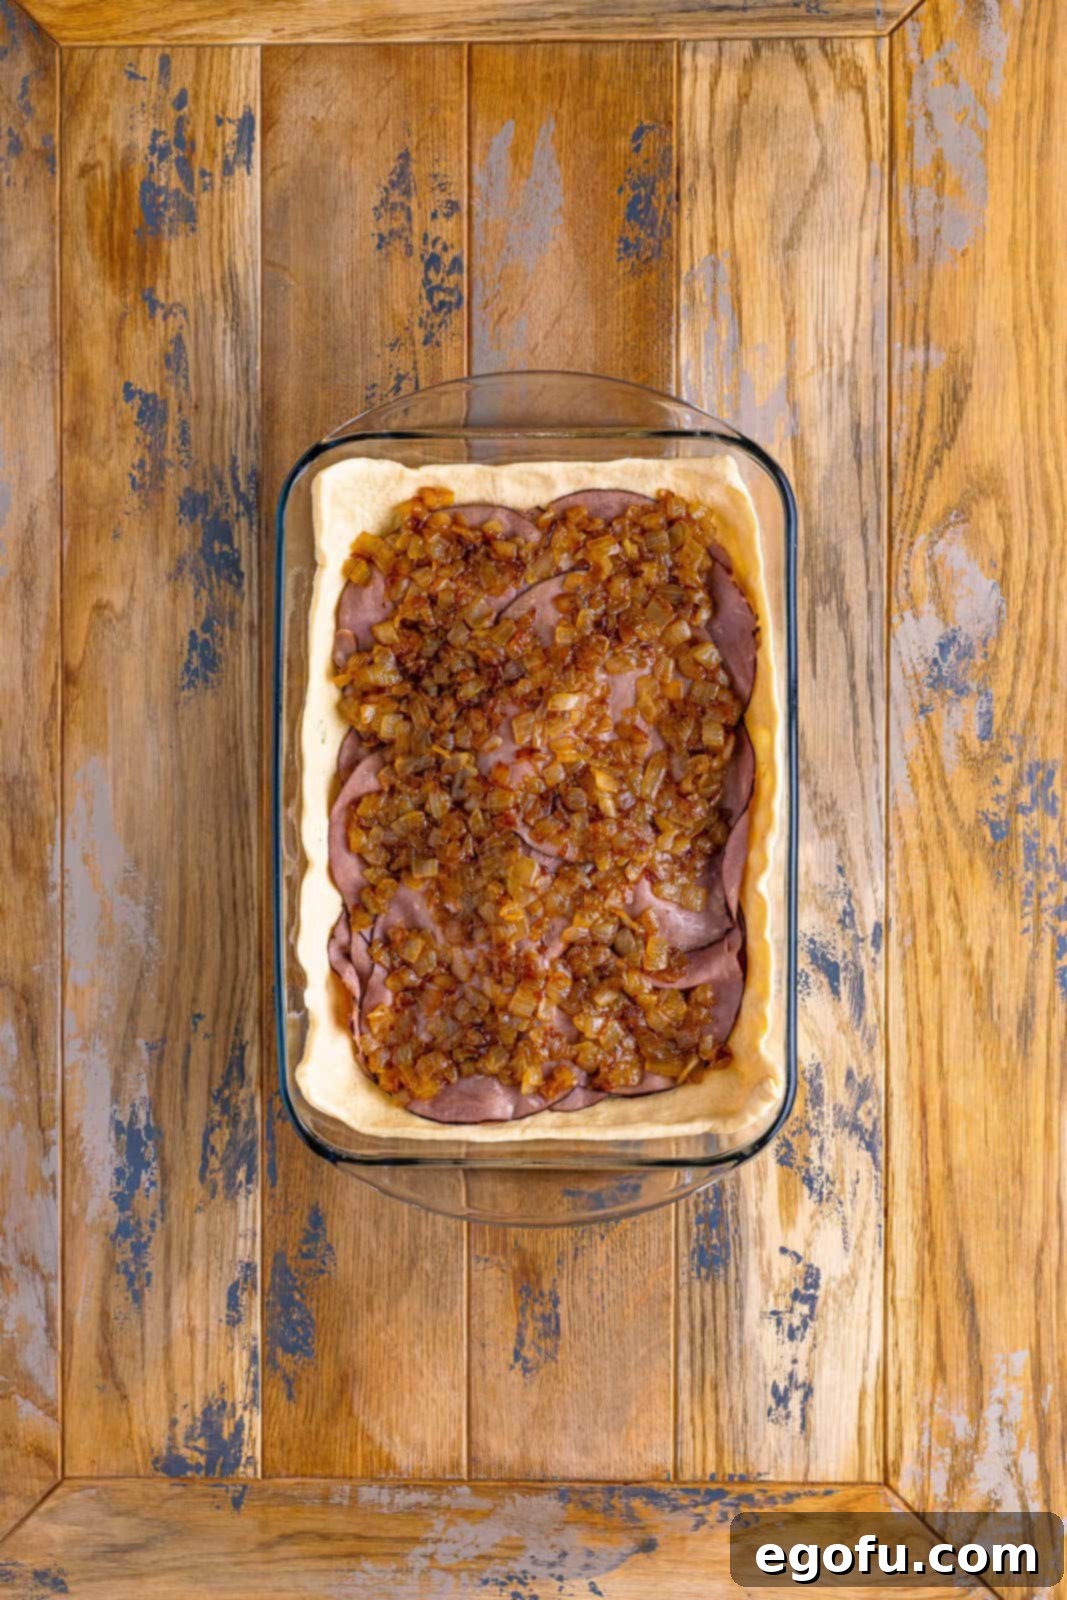
Now, evenly spread the cooled, caramelized onions over the layer of roast beef. Their sweet and savory notes are a signature element of the French Dip flavor profile.
Complete the filling layers by placing the remaining provolone cheese on top of the caramelized onions. This will create a luscious, melted cheese layer both above and below the roast beef and onions, ensuring maximum cheesy goodness.
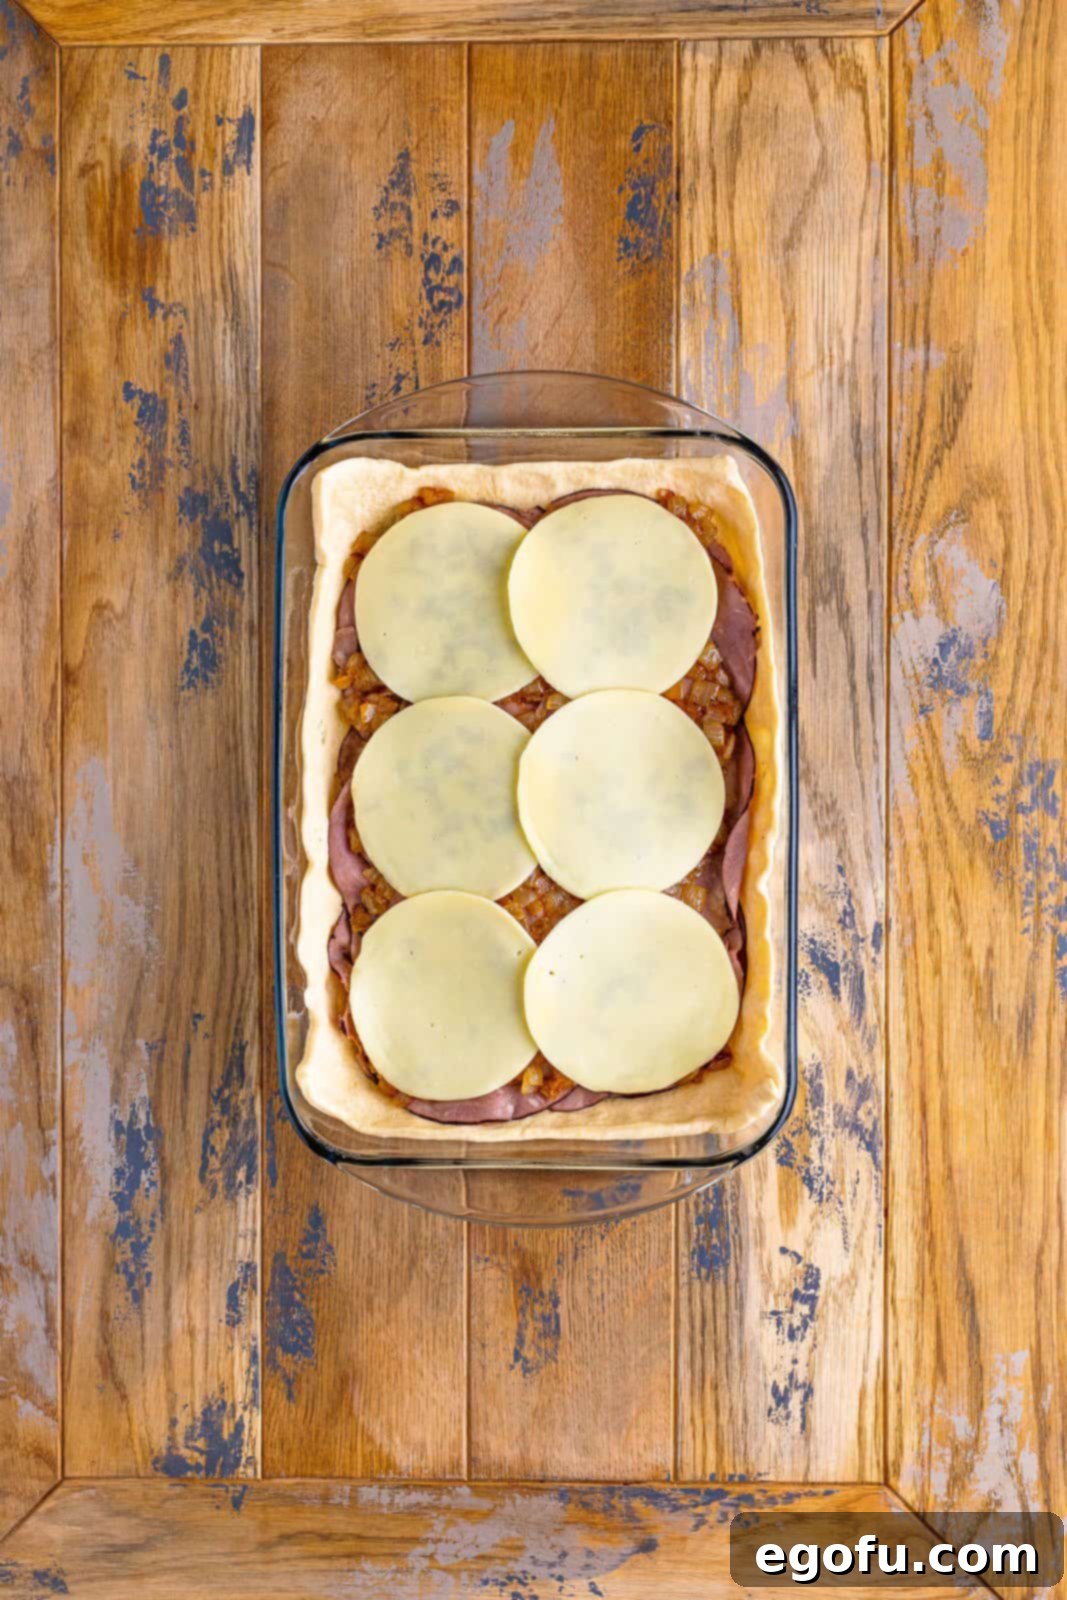
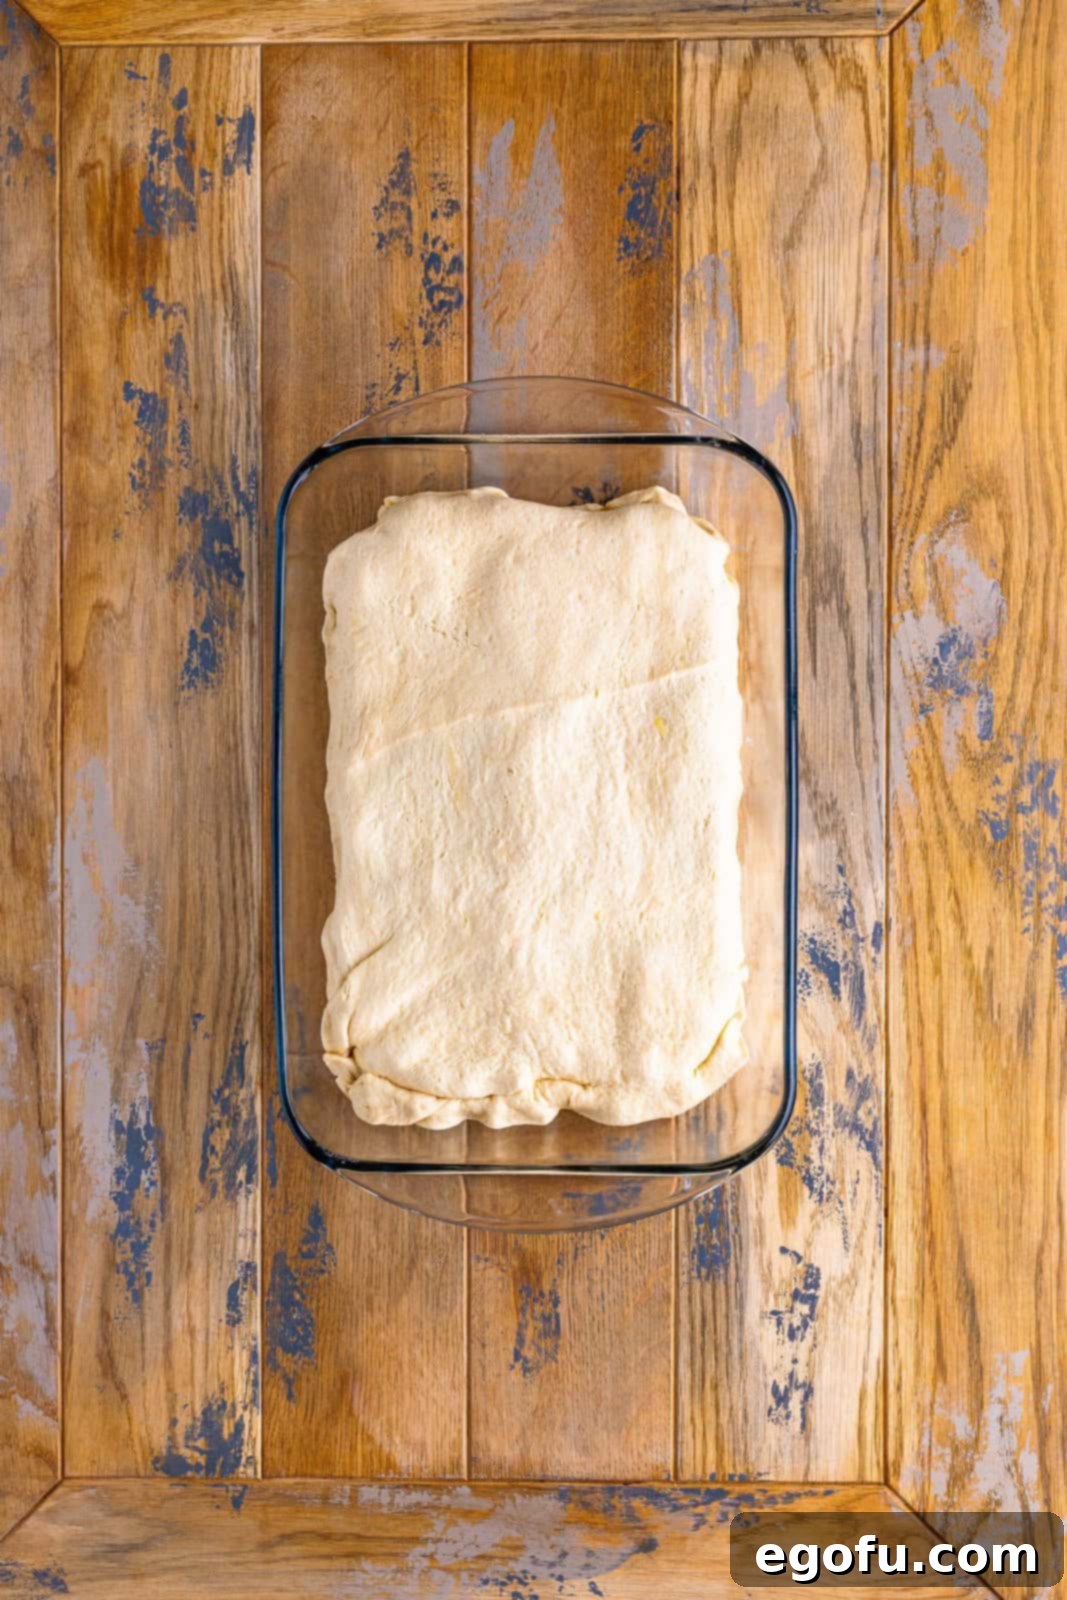
To seal in all these delicious layers, unroll the second crescent dough sheet and carefully place it on top of the cheese. Gently pinch the edges of the top and bottom dough sheets together along the seams to form a sealed pocket. Tuck any excess dough neatly under the bottom layer, creating a uniform and enclosed casserole.
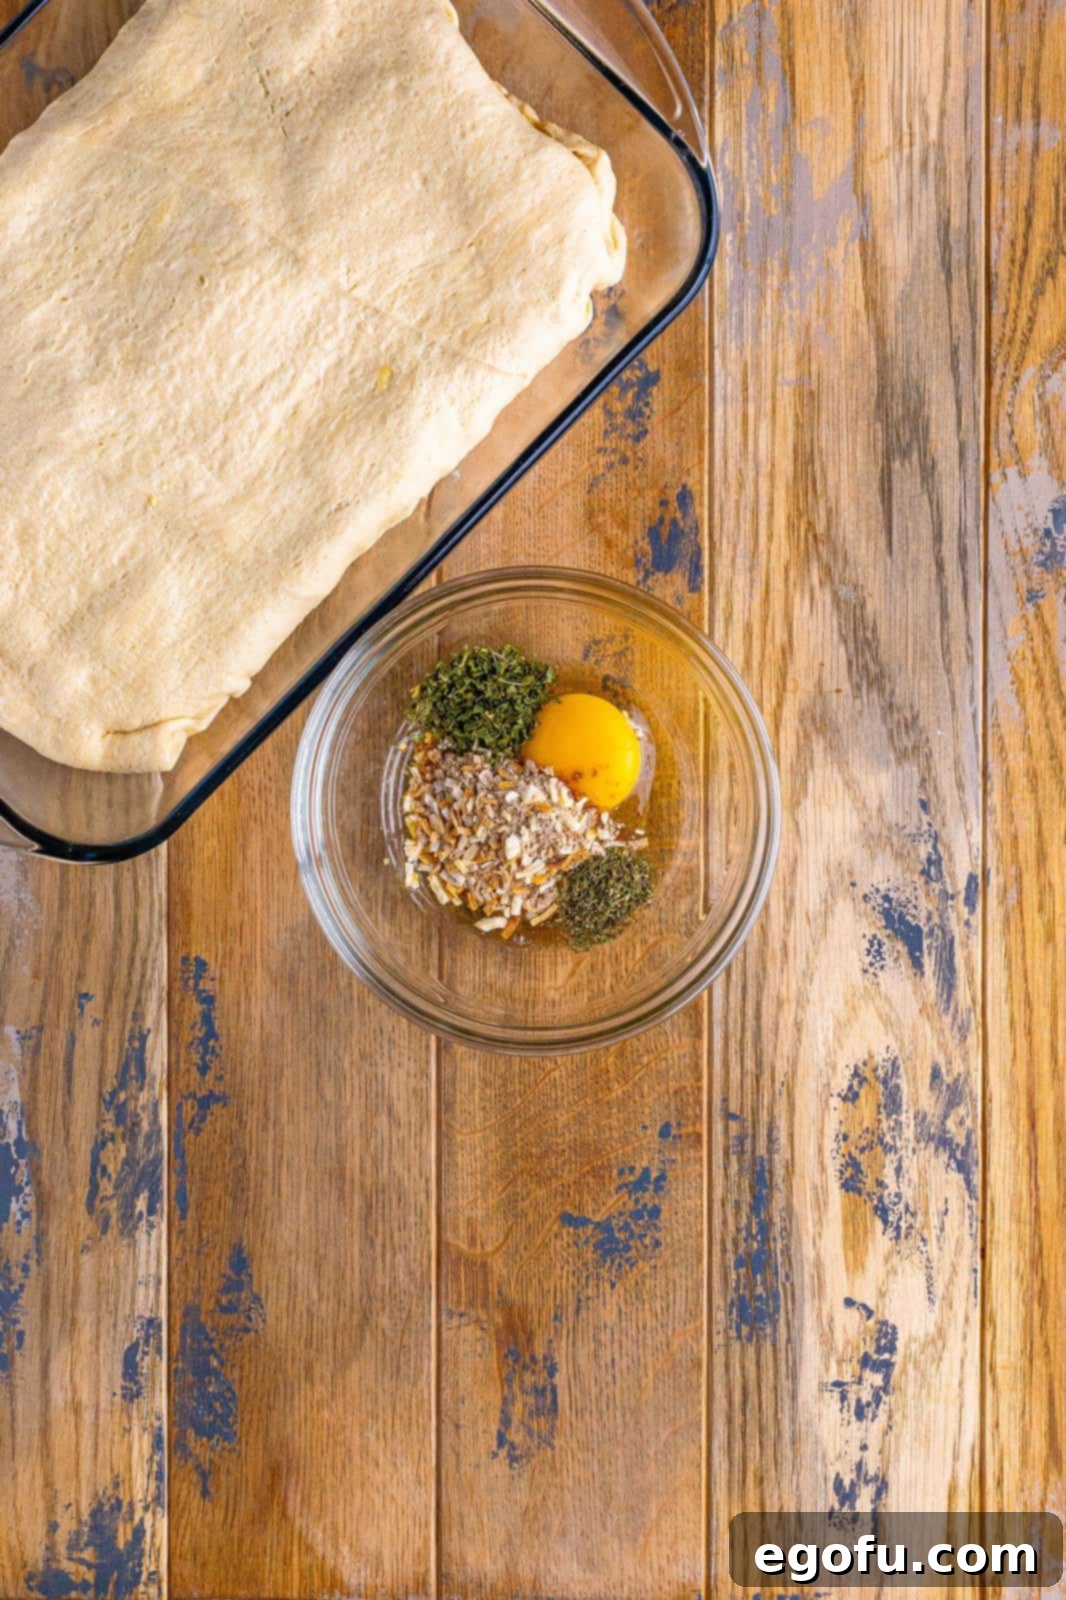
In a medium-sized bowl, whisk together 1 large egg, 1 ½ tablespoons of dried onion soup mix, 1 teaspoon of dried parsley flakes, and ½ teaspoon of dried thyme. This mixture creates a savory and aromatic glaze that will add an incredible depth of flavor and a beautiful golden finish to the crescent crust.
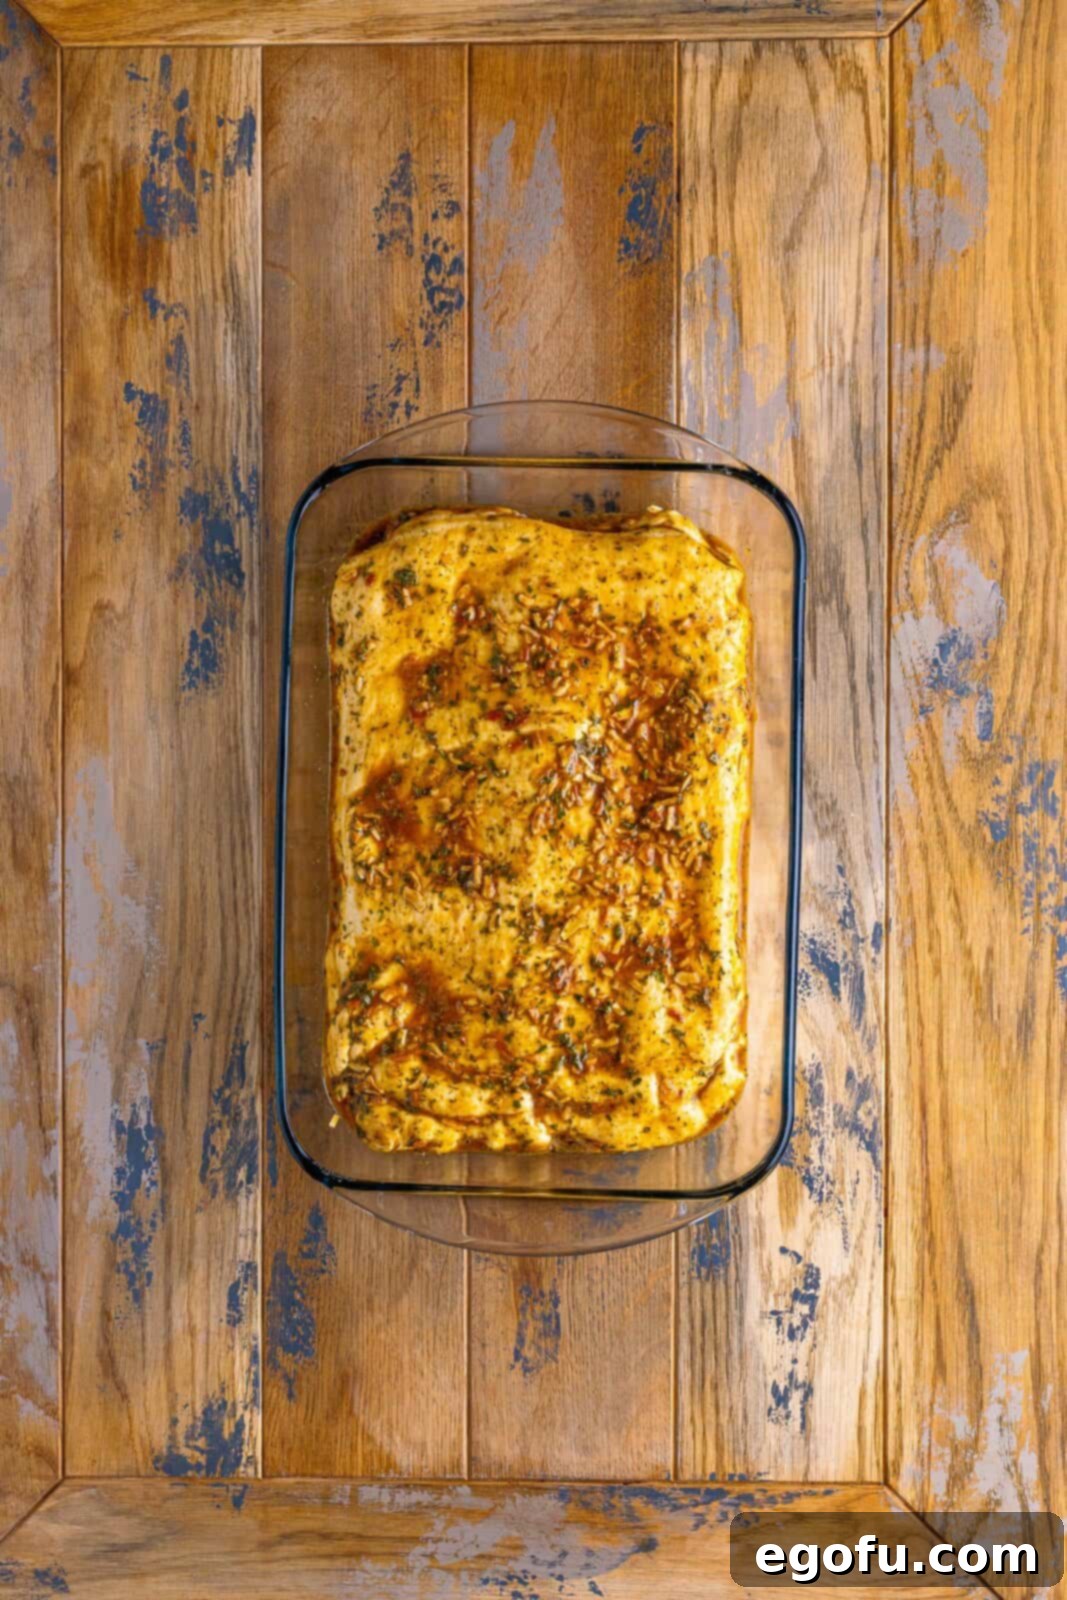
Generously brush the entire egg mixture over the top of the crescent dough. Ensure an even coating, as this glaze is key to achieving that irresistible golden crust and infused flavor. Use all of the mixture for maximum impact.
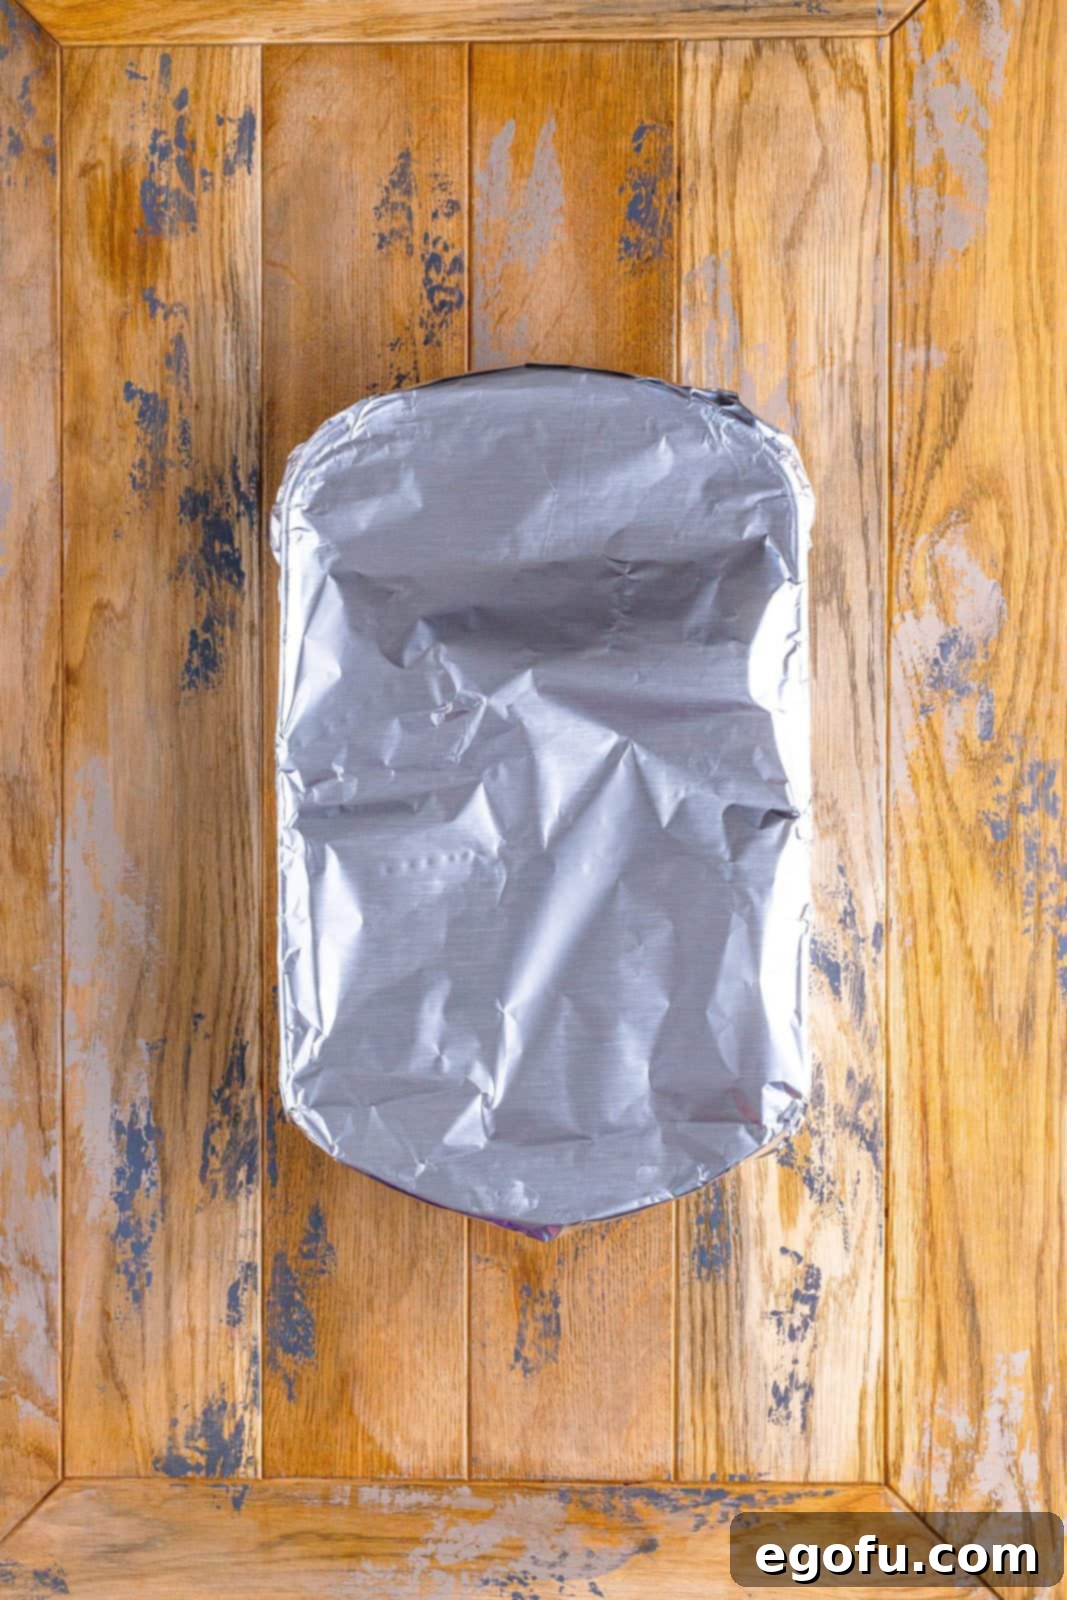
Cover the baking dish loosely with nonstick foil and bake for 30 minutes. The foil helps to steam the dough, ensuring it cooks through and the internal ingredients heat up without over-browning the top too quickly. After 30 minutes, remove the foil and continue baking for an additional 15-20 minutes, or until the top crust achieves a deep, golden-brown color and looks perfectly crisp.
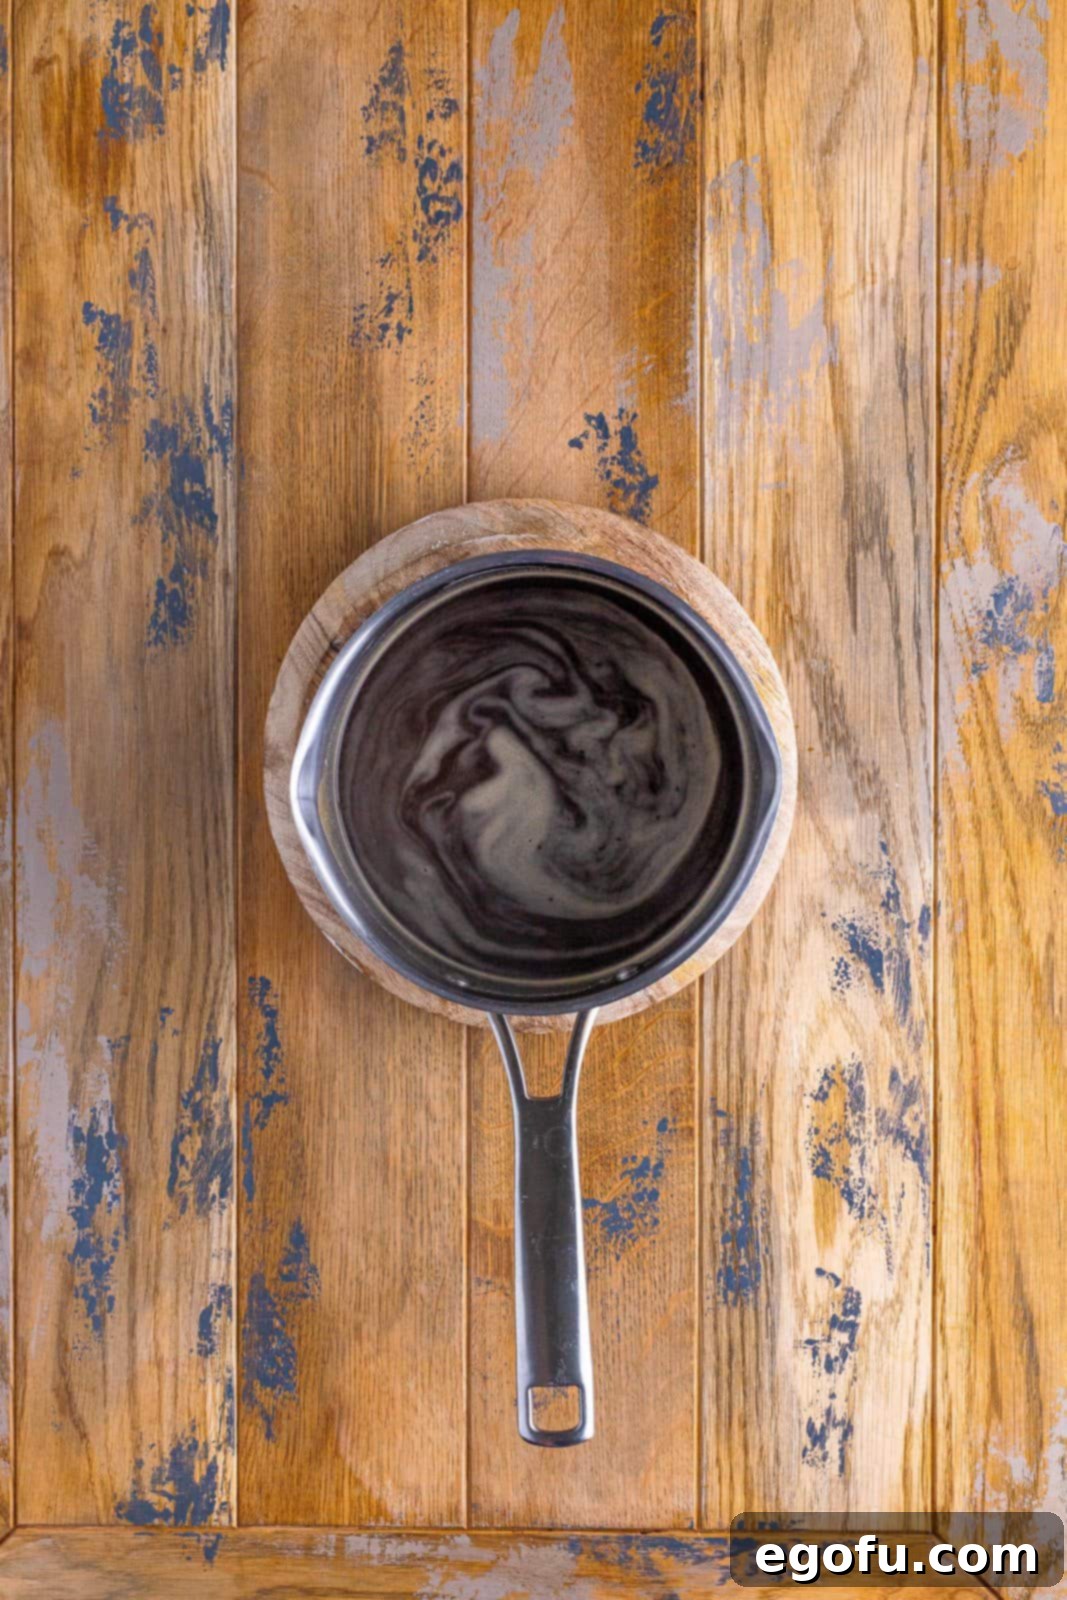
Once baked, remove the dish from the oven and let it cool for about 10 minutes. This cooling period is important as it allows the layers to set, making the squares much easier to slice neatly. While your squares are cooling, prepare the au jus gravy according to the directions on the back of the 1-ounce packet, typically using 3 cups of cold water.
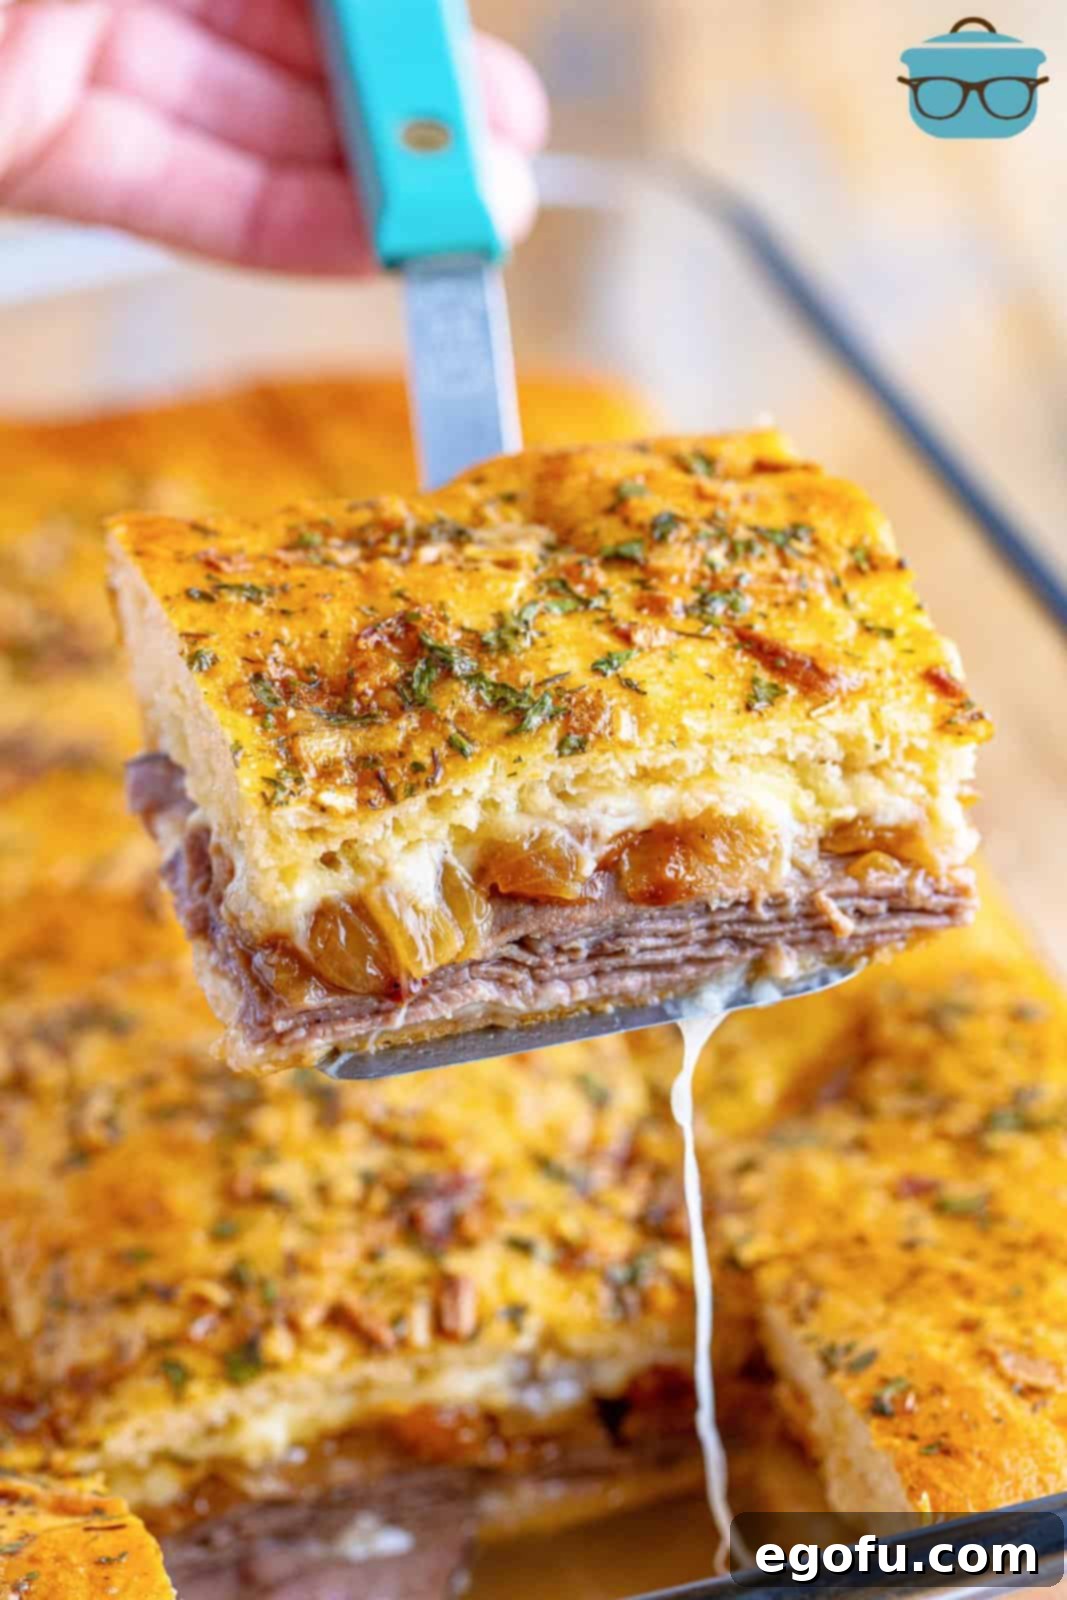
Finally, cut the cooled French Dip Squares into your desired serving sizes. Serve them warm with individual ramekins of the prepared au jus for dipping. Each square is a delightful bite of savory roast beef, melted cheese, and sweet onions, perfectly complemented by the rich dipping sauce. Enjoy this ultimate comfort food!
Craving More Delicious Recipes?
- Italian Sub Squares
- Texas Toast French Dips
- French Dip Sliders
- French Dip Egg Rolls
- Crock Pot French Dip Sandwiches
- French Dip Crescent Puffs

French Dip Squares
If you love a classic French Dip Sandwich, you’re going to love these layered French Dip Squares! Simple and fun to make, it’s the perfect dinner!
Rated 5 out of 5 stars by 13 reviewers.
Print Recipe |
Pin Recipe |
Rate this Recipe
Prep Time: 20 minutes | Cook Time: 1 hour 15 minutes | Total Time: 1 hour 35 minutes
Servings: 15 servings
Author: Brandie Skibinski
Ingredients
For the onions:
- 4 tablespoons salted butter
- 3 cups small-diced onion
- 2 teaspoons granulated sugar
- ½ teaspoon black pepper
For the squares:
- 2 tubes crescent dough sheets
- 8 ounces sliced provolone cheese
- 14 ounces deli sliced roast beef
- 1 large egg
- 1 ½ tablespoons dried onion soup mix
- 1 teaspoon dried parsley flakes
- ½ teaspoon dried thyme
To serve:
- 1 ounce packet au jus gravy mix
- 3 cups cold water
Instructions
- Preheat the oven to 350°F (175°C). Spray a 9×13-inch baking dish with nonstick cooking spray and set aside.
- In a large skillet over medium heat, melt 4 tablespoons salted butter. Add 3 cups small-diced onion, 2 teaspoons granulated sugar, and ½ teaspoon black pepper to the skillet and stir to combine. Continue cooking, stirring frequently, until the onions turn a golden brown color. Take off the heat and place them on a separate plate until ready to assemble the squares.
- Unroll one of the 2 tubes of crescent dough sheets and press it into the prepared baking dish. Make sure it goes up the sides of the dish about 1 inch.
- Lay half of the 8 ounces sliced provolone cheese on top of the dough.
- Layer 14 ounces deli sliced roast beef on top of the cheese.
- Spread out the cooked onions on top of the roast beef.
- Place the remaining provolone cheese on top.
- Unroll the second crescent dough sheet and place it on top. Pinch the two doughs together along the seams to form a pocket, and tuck any excess dough under the bottom.
- Whisk together 1 large egg, 1 ½ tablespoons dried onion soup mix, 1 teaspoon dried parsley flakes, and ½ teaspoon dried thyme in a medium-sized bowl.
- Brush the egg mixture all over the top of the dough, using it all.
- Cover with nonstick foil and bake for 30 minutes. Take the foil off and bake an additional 15-20 minutes until deep golden brown on top.
- Let cool for 10 minutes.
- While the squares are cooling, make the 1 ounce packet of au jus gravy mix per the directions on the back of the package (using the 3 cups cold water).
- Cut into squares and serve with au jus for dipping.
Notes
- If you prefer not to have onions, you can simply skip that step.
- Allow these to cool slightly before slicing. They are much easier to cut neatly when they are not piping hot straight out of the oven.
- When you first cut into them, some juice may release from the inside; this is completely normal. If you don’t prefer extra juices, simply soak them up with a paper towel.
- Other cheeses that would pair well include white cheddar, mozzarella, Gruyere, Swiss, or Gouda.
- Keep leftovers in an airtight container in the fridge for up to 3 days. For longer storage, freeze for up to 3 months in a freezer-safe container.
- We suggest reheating leftovers in the oven until warmed through to maintain crispness. An air fryer also works well. Microwaving them may make them soggy. Keep an eye on them during reheating; you may need to cover them with foil if the top starts to brown too much.
Course: Main Course, Sandwiches
Cuisine: American
Nutrition
Calories: 146kcal | Carbohydrates: 6g | Protein: 11g | Fat: 9g | Sodium: 637mg | Fiber: 1g | Sugar: 2g
Nutritional Disclaimer
“The Country Cook” is not a dietician or nutritionist, and any nutritional information shared is an estimate. If calorie count and other nutritional values are important to you, we recommend running the ingredients through whichever online nutritional calculator you prefer. Calories and other nutritional values can vary quite a bit depending on which brands were used.
Did you make this recipe?
Share it on Instagram @thecountrycook and mention us #thecountrycook!
