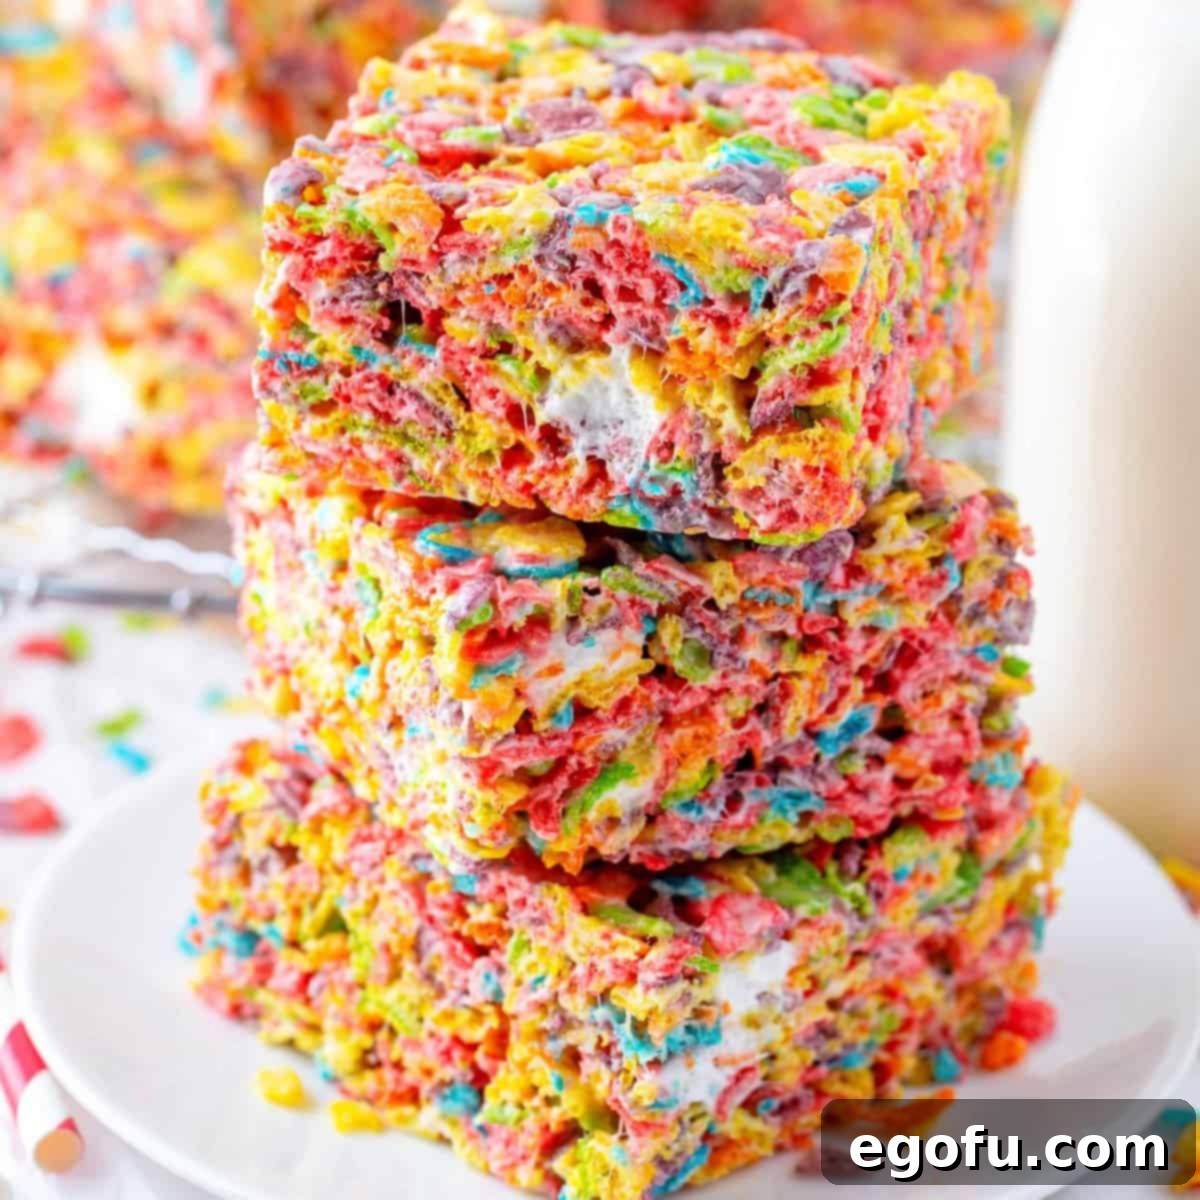
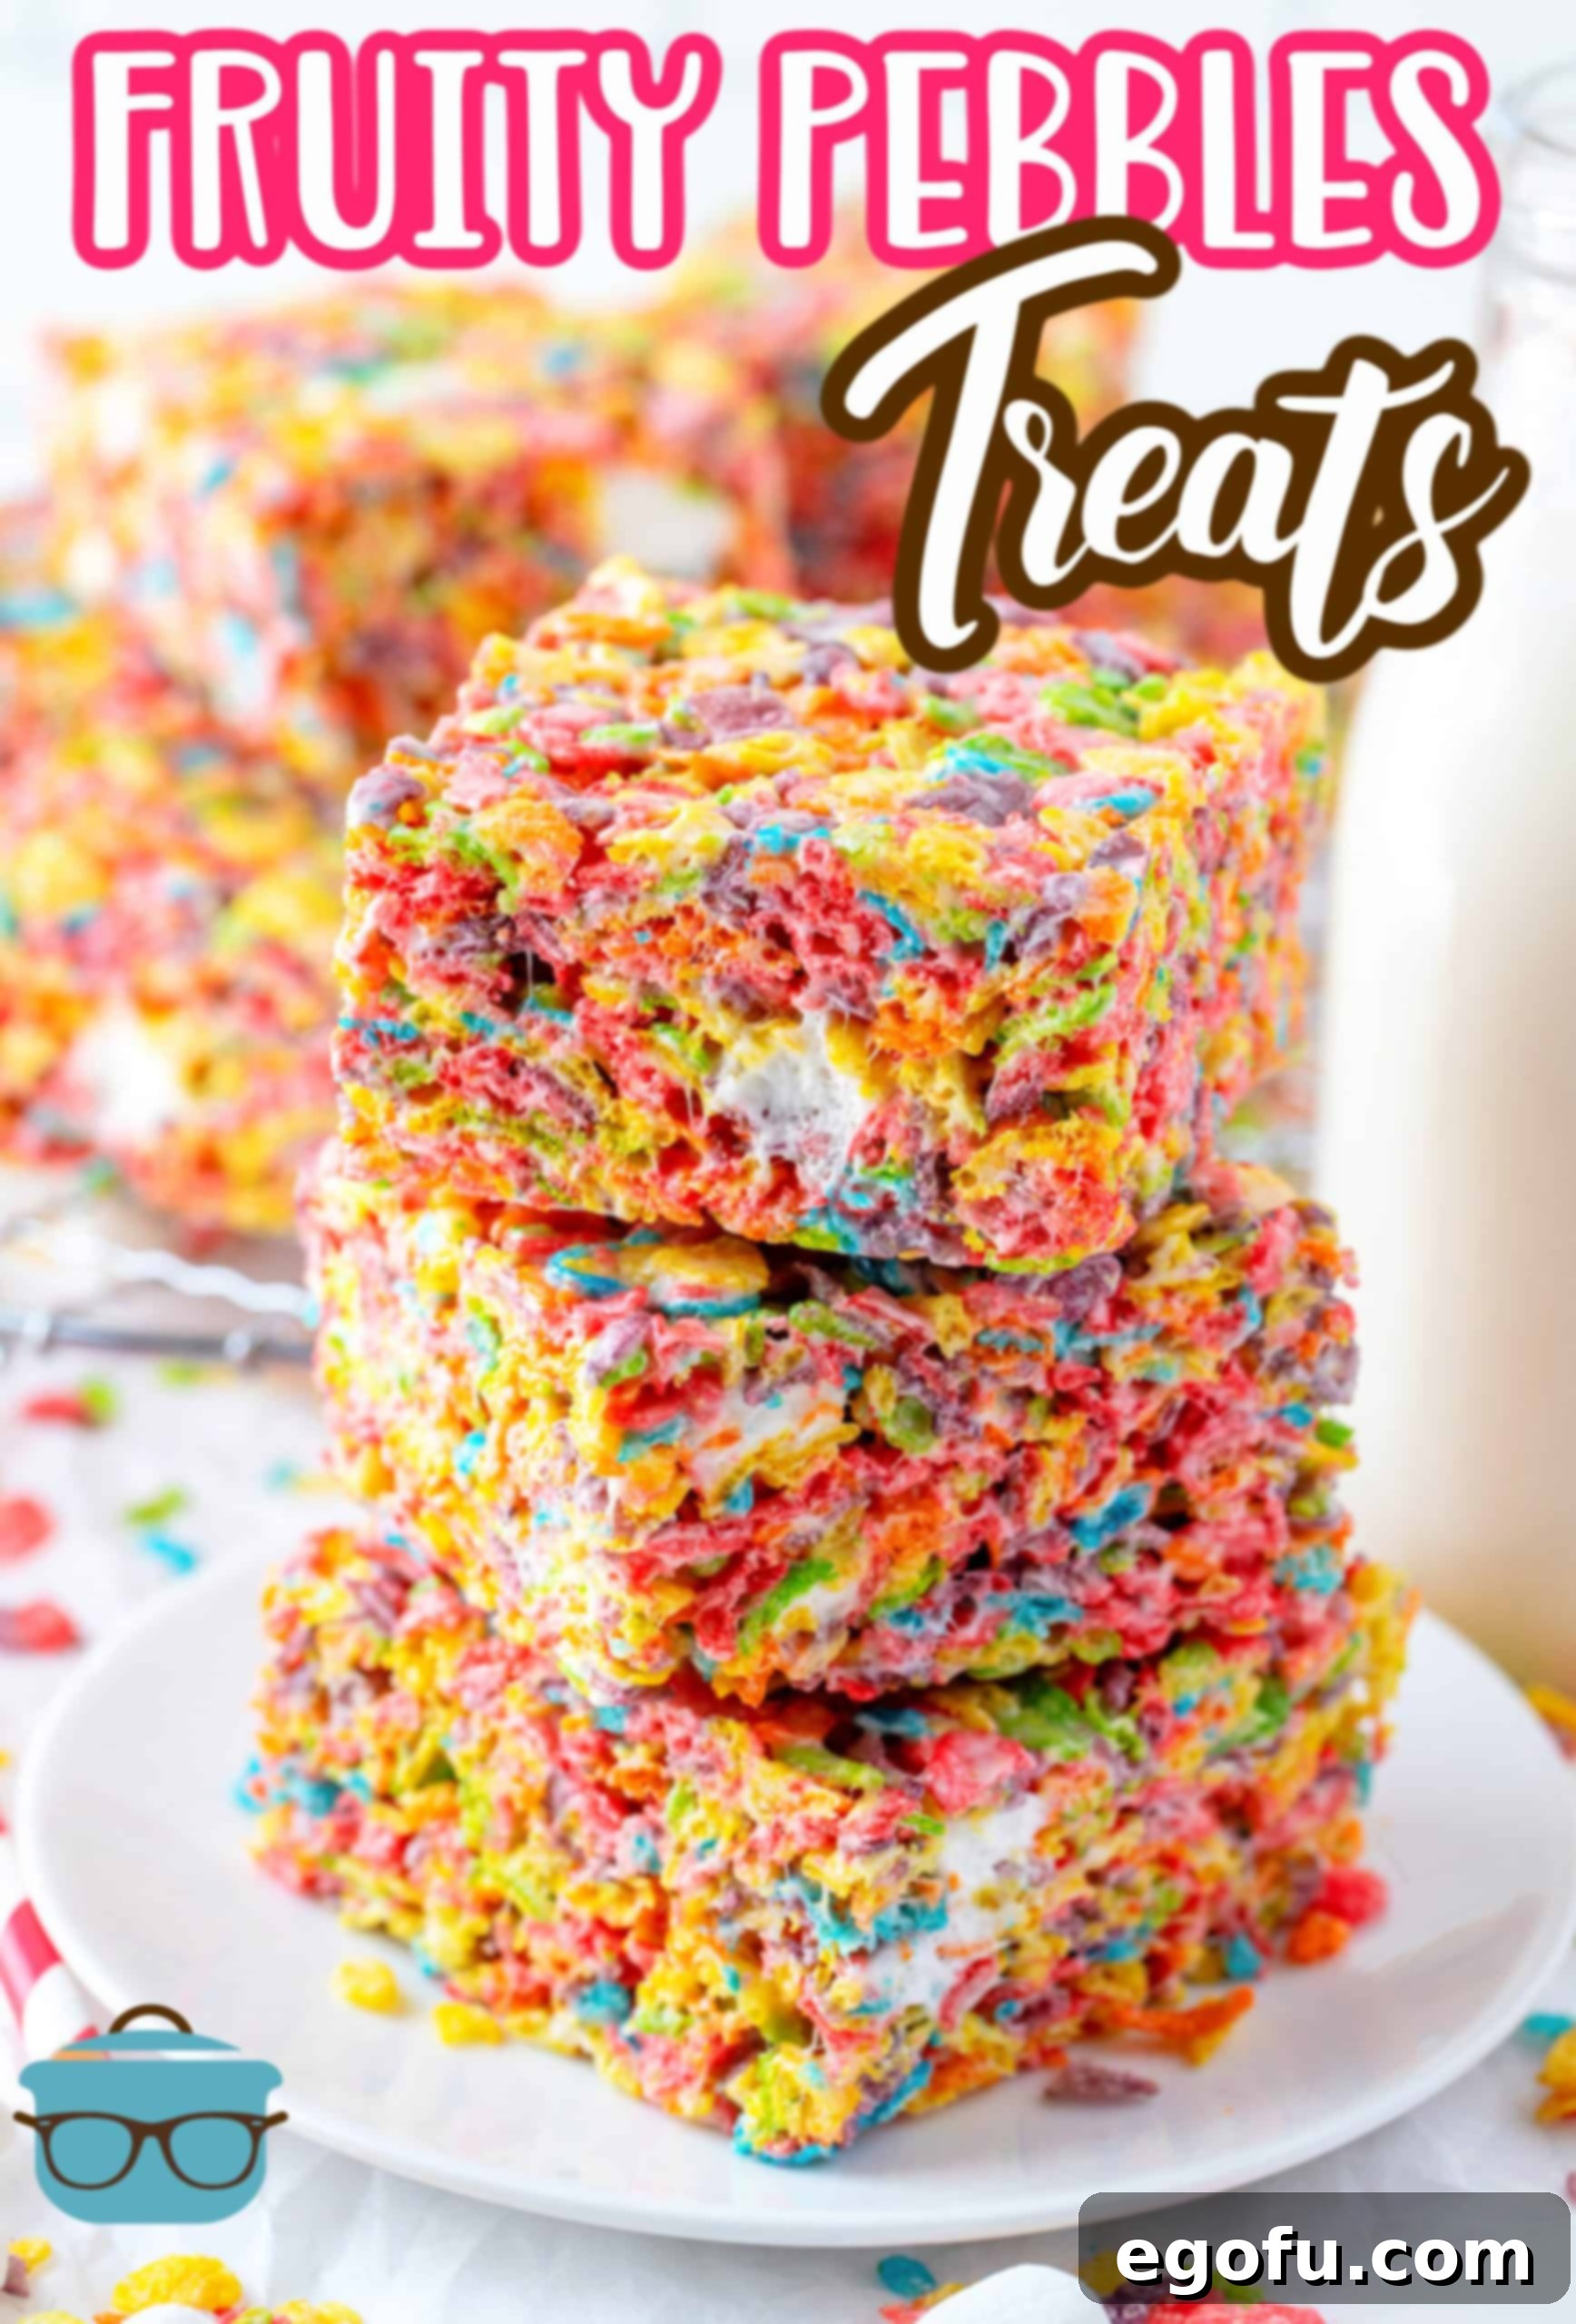
In search of a fun, effortless, and absolutely delicious dessert bar? Look no further than these vibrant Fruity Pebbles Treats! Requiring just three simple ingredients, they come together quickly and are guaranteed to be a hit with the entire family. Imagine the classic gooey texture of marshmallow cereal treats infused with the playful colors and fruity zest of your favorite breakfast cereal. This recipe is your ticket to a joyful, nostalgic, and irresistibly sweet experience.
Fruity Pebbles Treats: A Burst of Color and Flavor in Every Bite
For many of us, certain cereals evoke a flood of childhood memories. Fruity Pebbles stands out as one of those iconic breakfasts, known for its dazzling array of colors and distinctively sweet, fruity aroma. If you, like me, still secretly (or openly!) enjoy a bowl of this classic, then prepare to fall head over heels for these Fruity Pebbles Treats. They take the beloved concept of Rice Krispies Treats and elevate it with a much more dynamic flavor profile and an undeniable visual appeal.
What makes these treats truly special isn’t just their incredible taste; it’s the magical combination of vibrant colors, the signature ooey-gooey marshmallow coating, and the delightful surprise of whole mini marshmallows mixed in. This simple addition creates pockets of soft, chewy goodness that truly set these bars apart. If you’re yearning for a dessert that’s easy to prepare, offers a unique twist on a classic, and brings a smile to everyone’s face, then mastering this Fruity Pebbles Treats recipe is a must!

“We really loved these!! Perfect recipe – don’t need to change a thing!”
– Jennie
Why You’ll Love Making These Fruity Pebbles Treats
Beyond their delicious taste, these treats are incredibly versatile and perfect for a variety of occasions. Whether you’re planning a birthday party, looking for a quick after-school snack, or just need a colorful pick-me-up, Fruity Pebbles Treats deliver. They’re a fantastic no-bake option, meaning you won’t even need to turn on your oven, making them ideal for warm weather or when you’re short on time. The ease of preparation, coupled with the minimal cleanup, ensures this recipe will become a regular favorite in your household.
Their vibrant appearance also makes them excellent for themed parties or holiday gatherings. Imagine a rainbow of treats brightening up your dessert table! Plus, they’re a fun activity to make with kids, who will love watching the colorful cereal transform into gooey bars. It’s a simple joy that connects generations, from those who grew up with Fruity Pebbles to new fans discovering its charm.
Essential Tips for Perfect Fruity Pebbles Treats
Achieving that perfect balance of gooey, chewy, and crunchy is key to an outstanding cereal treat. Here are some detailed tips to ensure your Fruity Pebbles Treats turn out flawlessly every time:
- Marshmallow Choice is Crucial: This recipe specifically calls for mini marshmallows. While you *can* technically substitute with an equivalent weight of larger marshmallows, you will miss out on the distinct texture provided by the extra 1/2 cup of whole mini marshmallows added at the end. These untouched marshmallows create delightful, soft bursts of sweetness within each bar, enhancing the overall experience. Avoid using marshmallow cream or fluff, as these won’t allow the treats to set properly, resulting in a sticky mess rather than firm bars.
- Pan Size Matters for Thickness: We recommend an 8×8-inch pan for these treats, as it yields thicker, more substantial bars that are wonderfully chewy. If you prefer a thinner, crispier bar, a 9×13-inch pan is a suitable alternative. Remember to adjust the cooling time slightly for thinner bars. Always grease your chosen pan thoroughly with butter or nonstick cooking spray to prevent sticking.
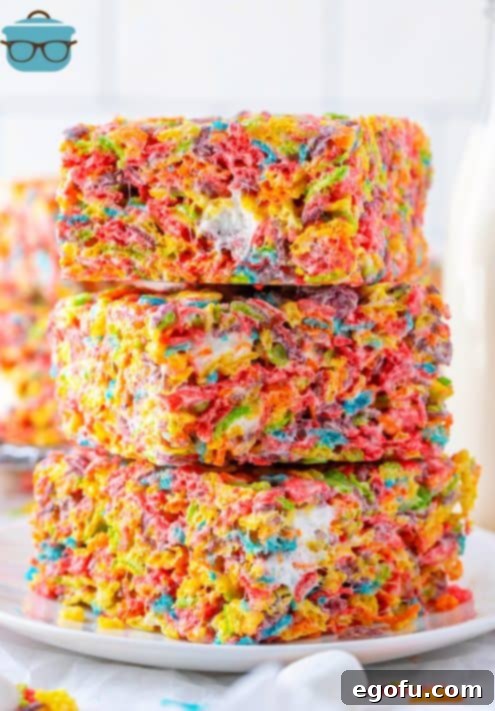
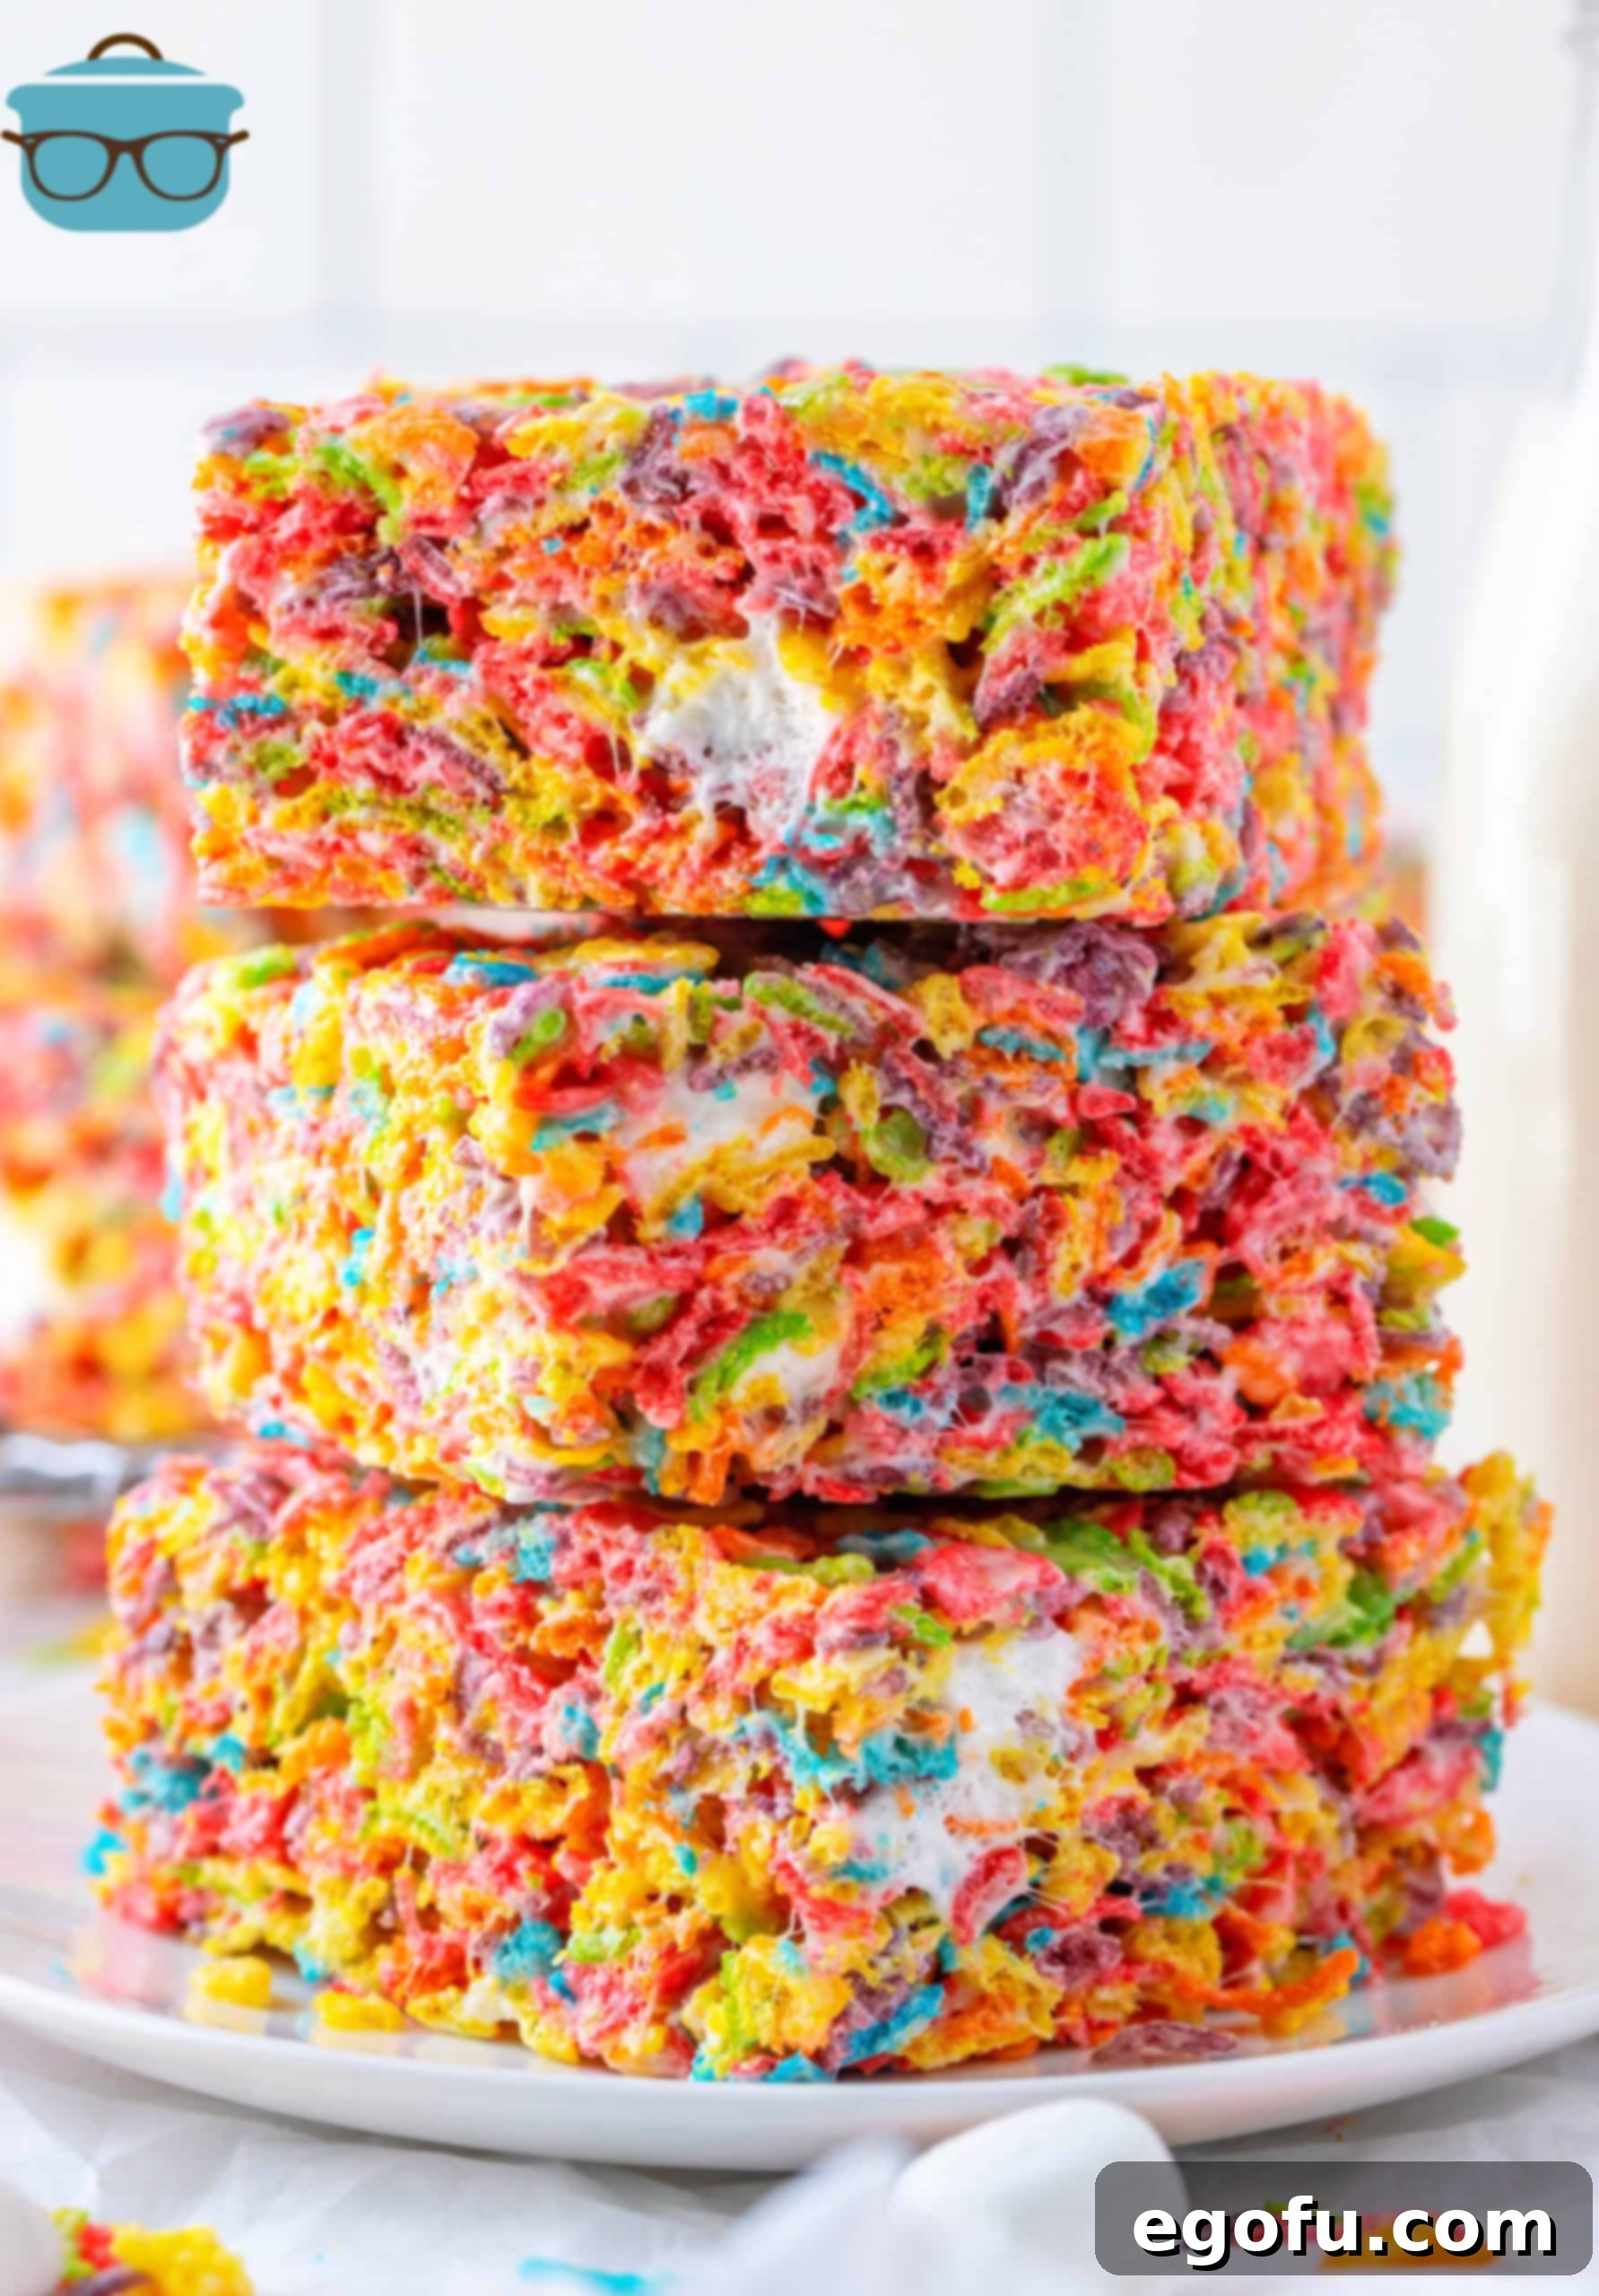
- The Secret to Extra Marshmallow Goodness: Don’t skip adding that final 1/2 cup of mini marshmallows to the mixture after the cereal is incorporated. This step is a game-changer! These whole marshmallows don’t fully melt, providing delightful pockets of soft, un-dissolved marshmallow throughout the bars. It adds a lovely textural contrast and makes each bite even more enjoyable. Visually, these pockets also make the cut bars look incredibly appealing.
- Patience is a Virtue – Let Them Set: For the best results and clean cuts, allow your Fruity Pebbles Treats to set up for at least 1 hour at room temperature before slicing into squares. Rushing this step can lead to sticky, misshapen bars. If you’re in a hurry, you can place them in the refrigerator for about 30 minutes, but room temperature setting often yields a slightly softer texture.
- Experiment with Cereal Varieties: While Fruity Pebbles are the star here, don’t be afraid to experiment! If you’re a chocolate lover, swap them for Cocoa Pebbles to create a rich, chocolaty version. This recipe is also perfectly adaptable for classic Rice Krispies, offering a familiar taste with a slightly different texture. You could even try other colorful cereals for different flavor profiles!
- Gentle Heat for Marshmallows: When melting the butter and marshmallows, use medium-low heat. High heat can cause the butter to burn and the marshmallows to become tough and grainy once cooled. Melt them slowly, stirring frequently, and remove from heat just as they are mostly melted to let residual heat finish the job.
- Grease Your Hands (or Spatula): When pressing the mixture into the prepared pan, lightly grease your hands or a rubber spatula with butter or nonstick spray. This prevents the sticky mixture from adhering, making the process much smoother and ensuring an even layer.
How to Store Your Delicious Treats and Keep Them Fresh
Proper storage ensures your Fruity Pebbles Treats remain soft, chewy, and enjoyable for as long as possible. Here’s how to keep them at their best:
- Countertop Storage is Best: These treats are best stored at room temperature, not in the refrigerator. Cold temperatures can make them stiff and hard. You can store them directly in the baking pan, tightly covered with aluminum foil or plastic wrap. Alternatively, once cut into individual bars, transfer them to a ziploc bag or an airtight container.
- Shelf Life: When stored properly at room temperature, your Fruity Pebbles Treats will remain fresh and delicious for up to 3 days. Beyond this, they may start to harden slightly, but a quick microwave refresh can often revive them.
- Freezing is Not Recommended: We do not recommend freezing these bars. Freezing can alter the texture of the marshmallows, making them dense and less enjoyable once thawed. They also tend to lose some of their vibrant color and fresh flavor.
- The Microwave “Freshen-Up” Trick: If your treats start to lose their initial softness after a day or two, simply pop an individual bar into the microwave for about 5-8 seconds. This quick burst of heat will gently soften the marshmallows, bringing back that wonderfully gooey texture, almost like they were just made! Be careful not to overheat, or they can become too soft.
The Simple Ingredients You’ll Need
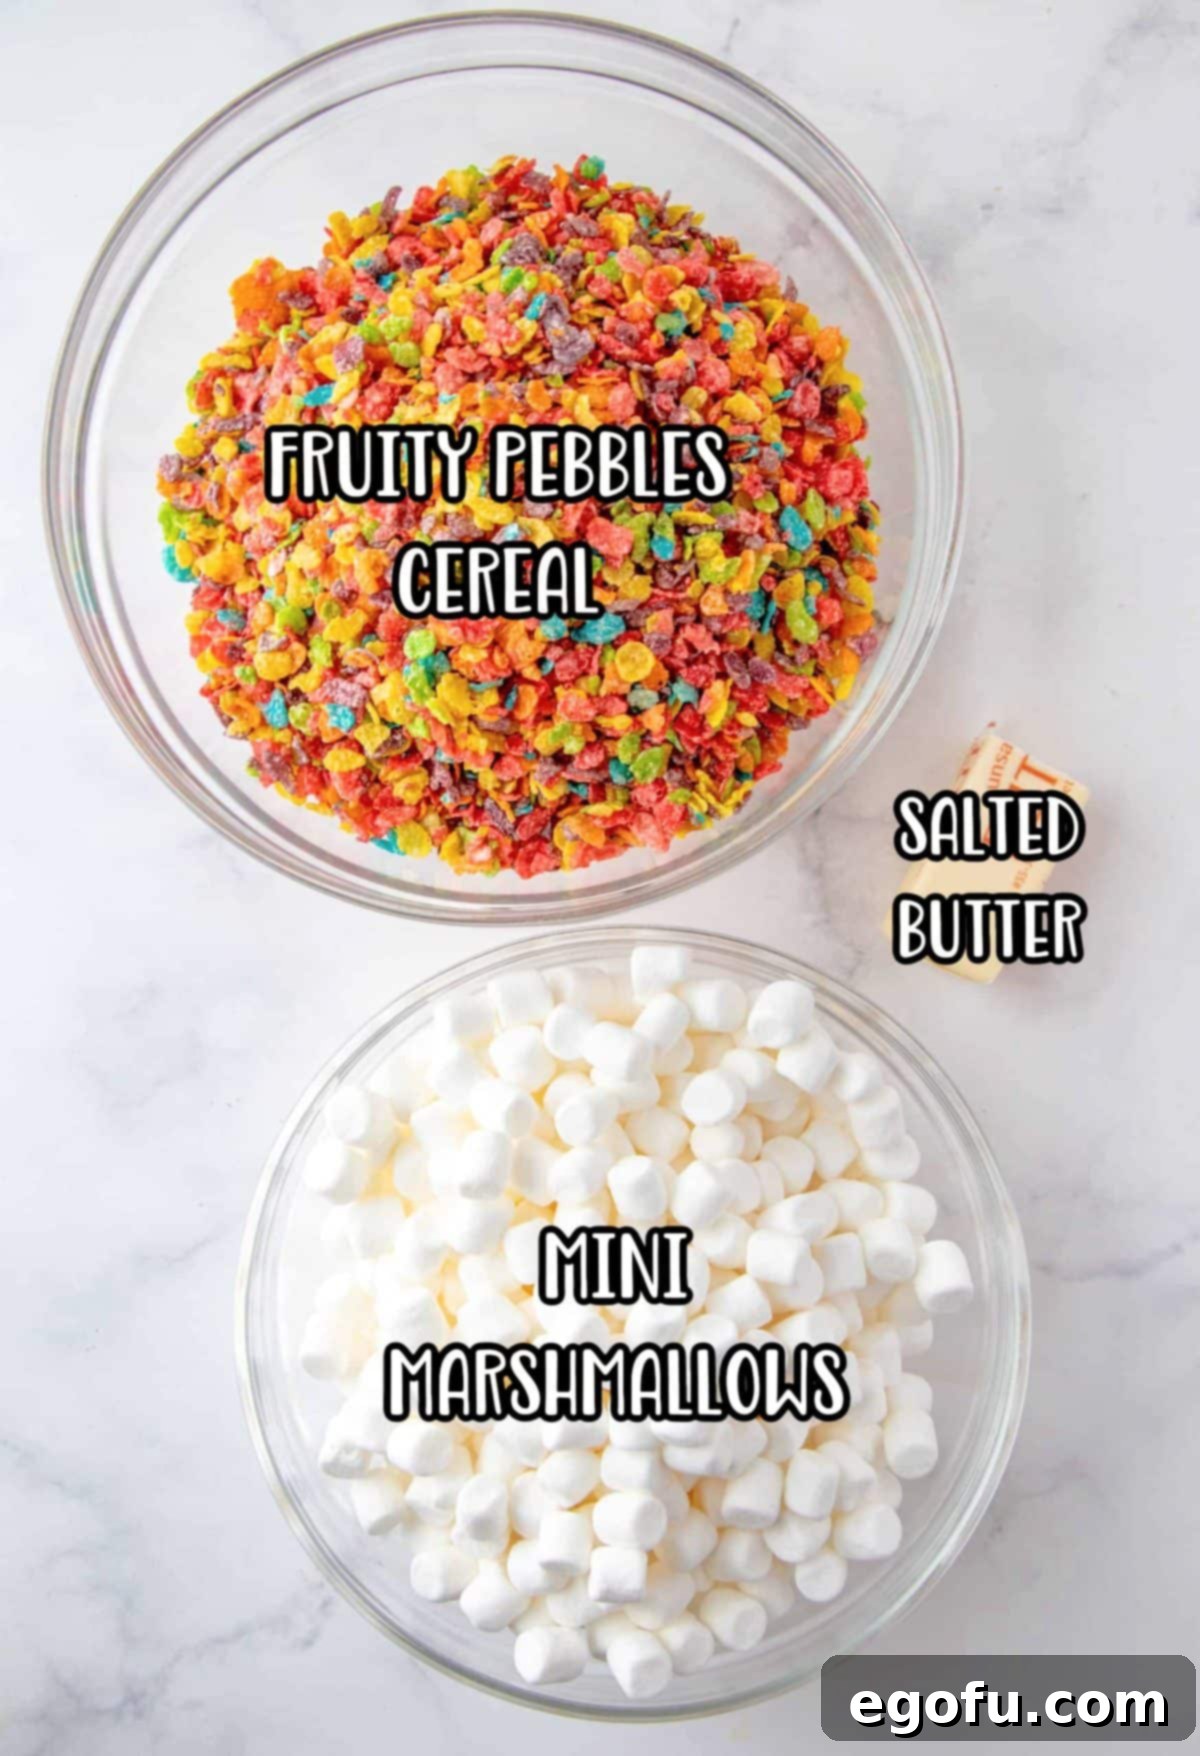
The beauty of this recipe lies in its simplicity. With just three core ingredients, you can create a truly memorable dessert. Each component plays a vital role in achieving that perfect balance of flavor and texture:
- Salted Butter: It might seem unconventional to use salted butter in a sweet dessert, but trust us, it’s a stroke of genius! The subtle saltiness perfectly offsets the overall sweetness of the marshmallows and cereal, creating a more balanced and complex flavor profile without making the treats taste salty. If you only have unsalted butter on hand, simply add a tiny pinch (about 1/4 teaspoon) of fine salt along with it.
- Mini Marshmallows: These are the backbone of any great cereal treat. We use a generous amount, with a specific instruction to add an extra 1/2 cup towards the end. This ensures maximum gooeyness and delightful chewy pockets. As mentioned before, do NOT substitute with marshmallow cream or fluff. These products have a different consistency and sugar content, which will prevent your treats from setting up correctly and result in a runny, sticky mess.
- Fruity Pebbles Cereal: The star of the show! The unique, vibrant colors and distinct fruity flavor of Fruity Pebbles are what give these treats their signature appeal. Feel free to use the name-brand version or a good quality store-brand alternative—both work wonderfully. For a fun variation, consider using Cocoa Pebbles for a chocolatey twist, or even mix a combination of both for a unique flavor adventure!
How to Make Fruity Pebbles Treats: A Step-by-Step Guide
Creating these delightful bars is incredibly straightforward. Just follow these simple steps for a perfect batch every time:
Step 1: Prepare Your Pan and Melt the Butter
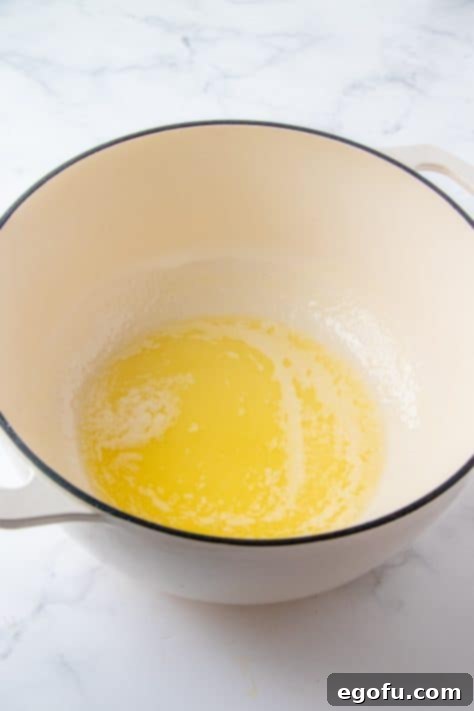
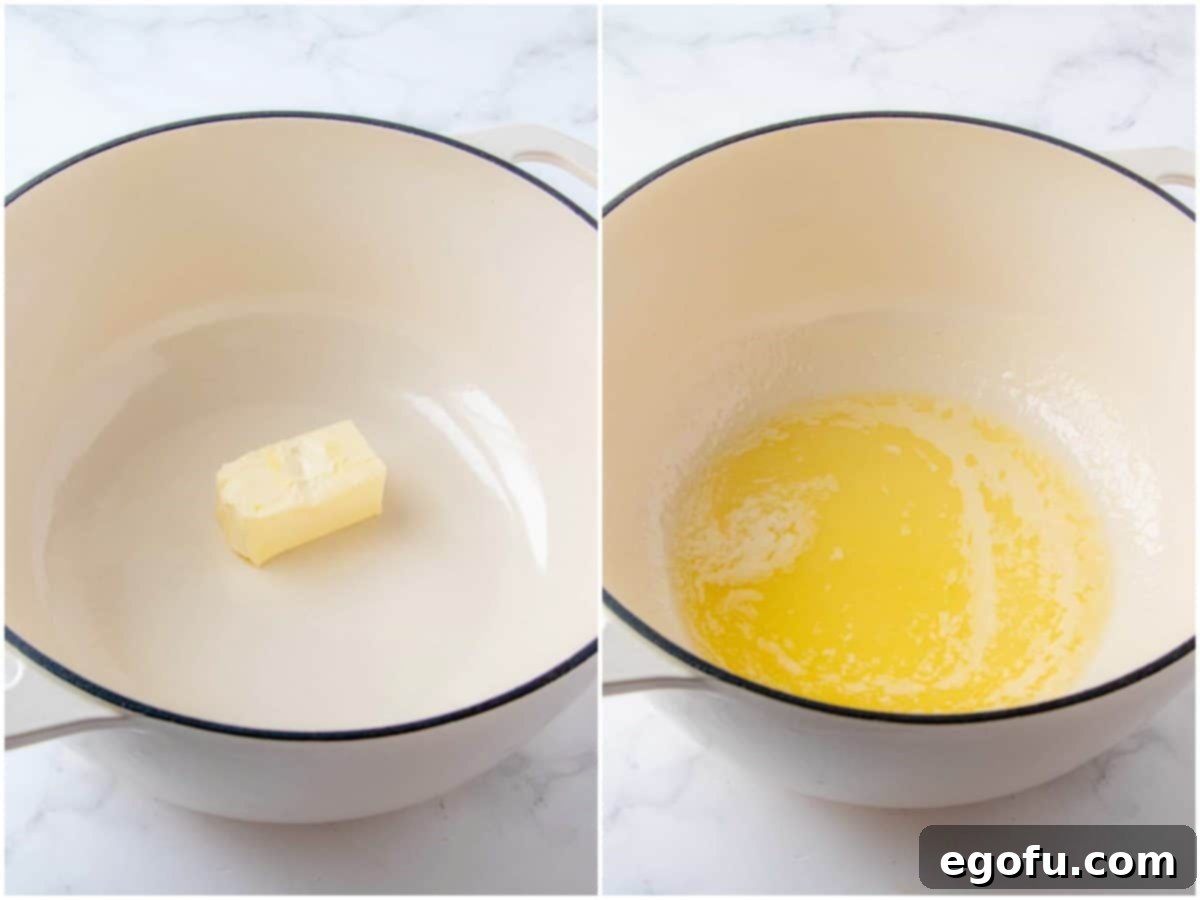
First, lightly grease an 8×8-inch baking dish with butter or nonstick cooking spray. This crucial step ensures your treats won’t stick and will be easy to remove and cut. Next, in a large, heavy-bottomed pot or Dutch oven, add the salted butter. Place the pot over medium-low heat and allow the butter to melt slowly and gently. It’s important not to rush this process; avoid letting the butter bubble vigorously or brown, as this can affect the final flavor of your treats.
Step 2: Melt the Marshmallows to Perfection
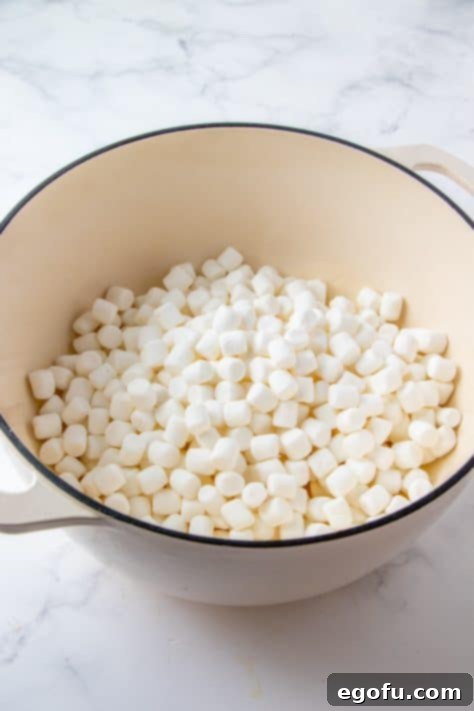
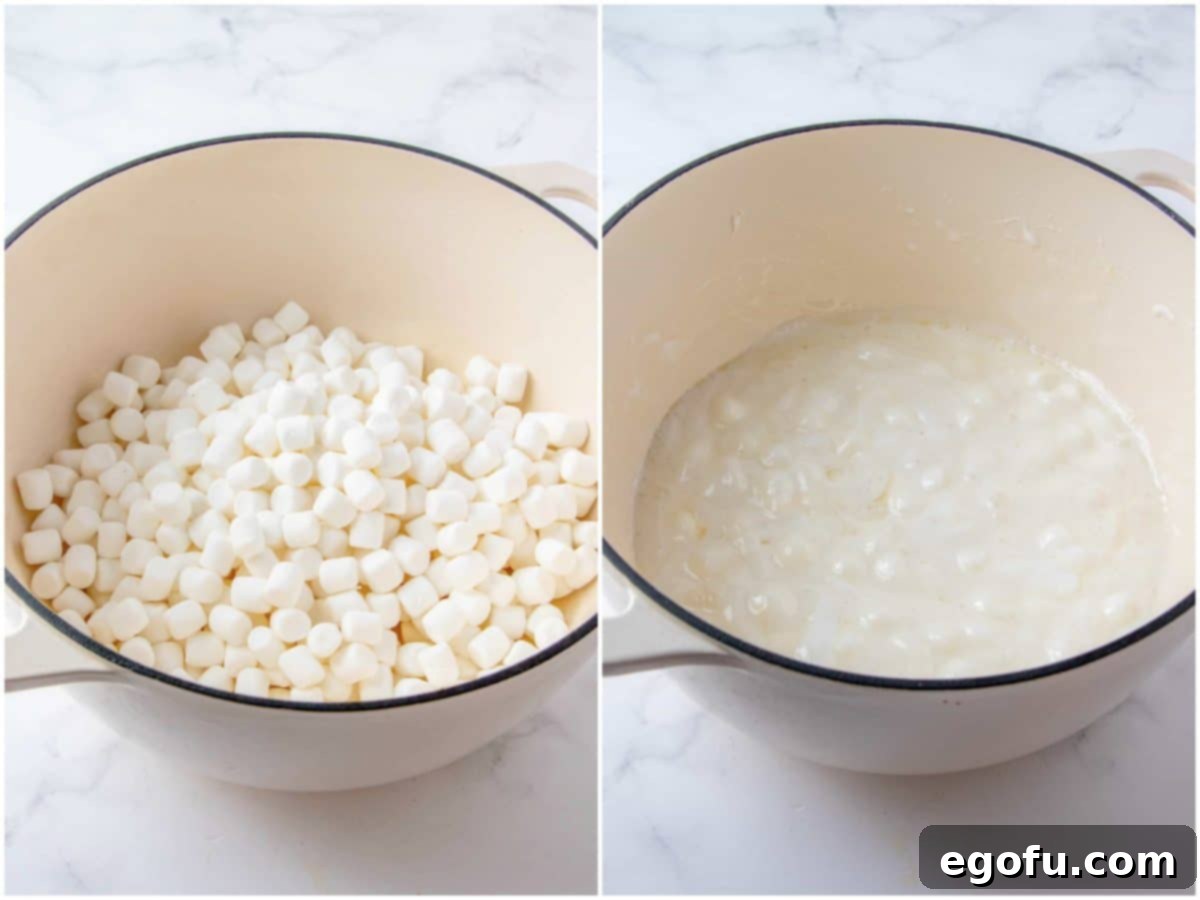
Once the butter is mostly melted, add the majority of the mini marshmallows (reserving the 1/2 cup for later, as per the recipe card). Stir the marshmallows into the melted butter gently and continuously. Continue cooking over medium-low heat just until the marshmallows begin to melt and become soft and gooey. The key here is to remove the pot from the heat *before* they are completely melted and bubbling. The residual heat from the pot and butter will continue to melt them, preventing them from becoming overcooked and tough.
Step 3: Combine with Fruity Pebbles Cereal
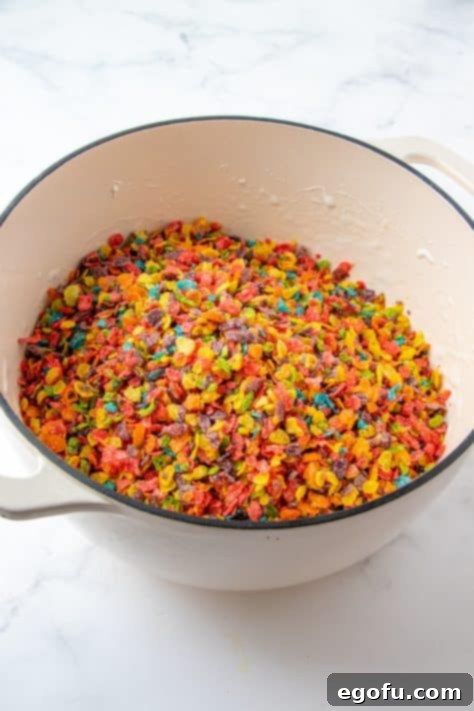
With the marshmallows perfectly gooey, quickly add the 6 cups of Fruity Pebbles cereal to the pot. Working swiftly, use a sturdy rubber spatula to mix the cereal and marshmallow mixture until everything is thoroughly combined. Ensure every piece of cereal is coated in that sticky, sweet marshmallow goodness. This step requires a bit of speed, as the mixture will start to cool and stiffen.
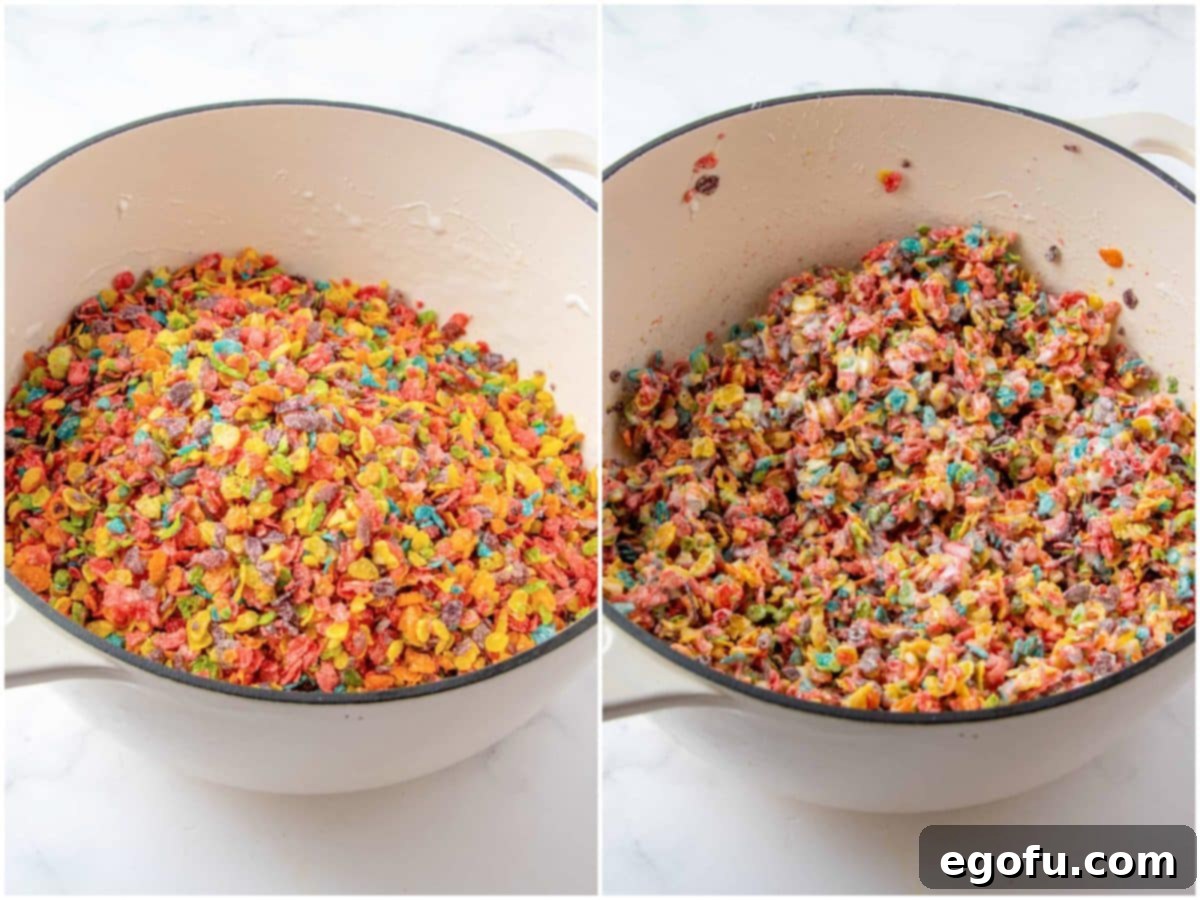
Step 4: Incorporate Extra Marshmallows and Press into Pan
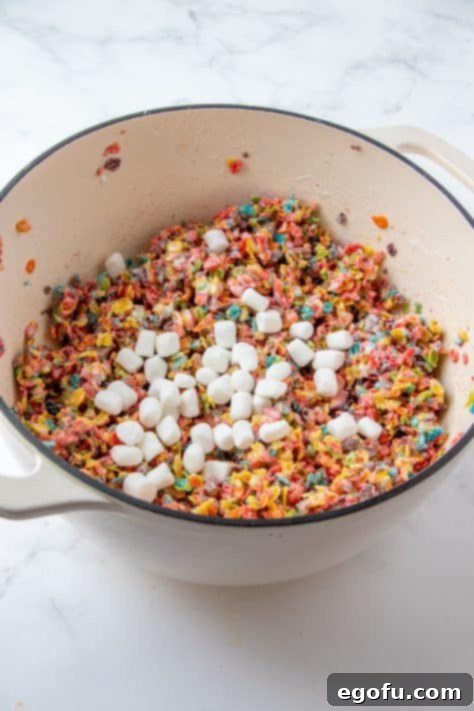
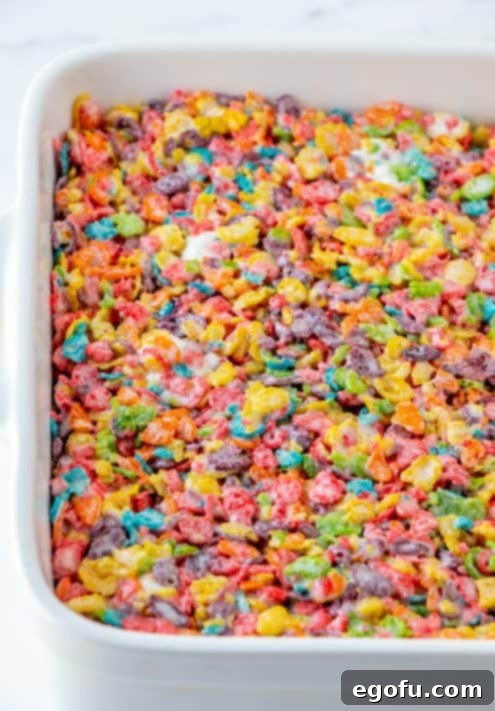
Now for the special touch! Add the reserved 1/2 cup of mini marshmallows to the mixture. Stir again, just enough to incorporate them evenly without fully melting them. You want those delightful whole marshmallow bursts in your finished treats. Immediately transfer the mixture to your prepared 8”x 8” baking dish. Lightly grease your hands or a piece of parchment paper and gently press the mixture evenly into the pan. Do not press too firmly, as this can result in hard, dense treats. Just a gentle, even press is perfect. Let the treats set at room temperature for about 1 hour to firm up completely.
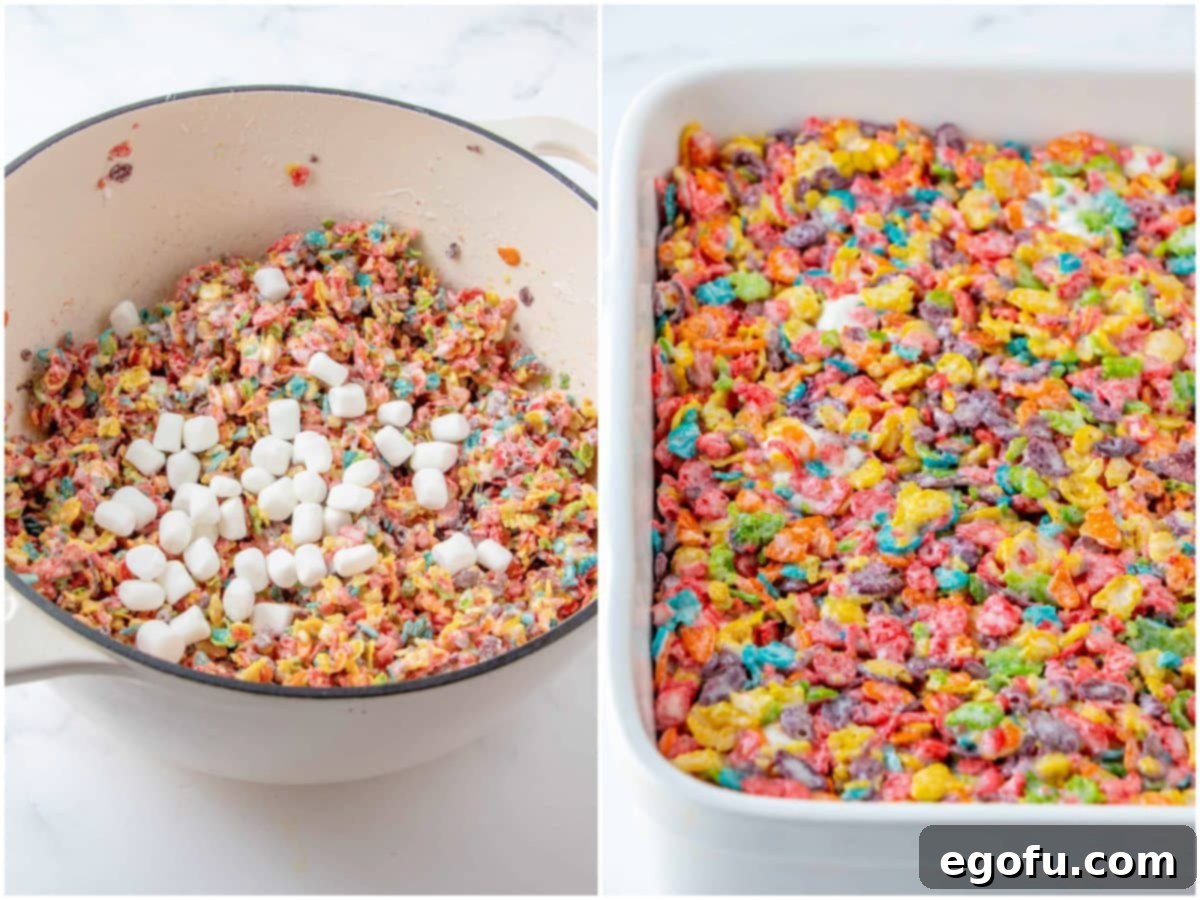
Step 5: Cut and Serve
Once the treats have fully set and are firm to the touch, use a sharp, lightly greased knife to cut them into squares. For extra clean cuts, you can run your knife under hot water and wipe it clean between each slice. Arrange them on a serving platter or store them as directed above. Now, prepare to enjoy these incredibly delicious, colorful, and fun Fruity Pebbles Treats!
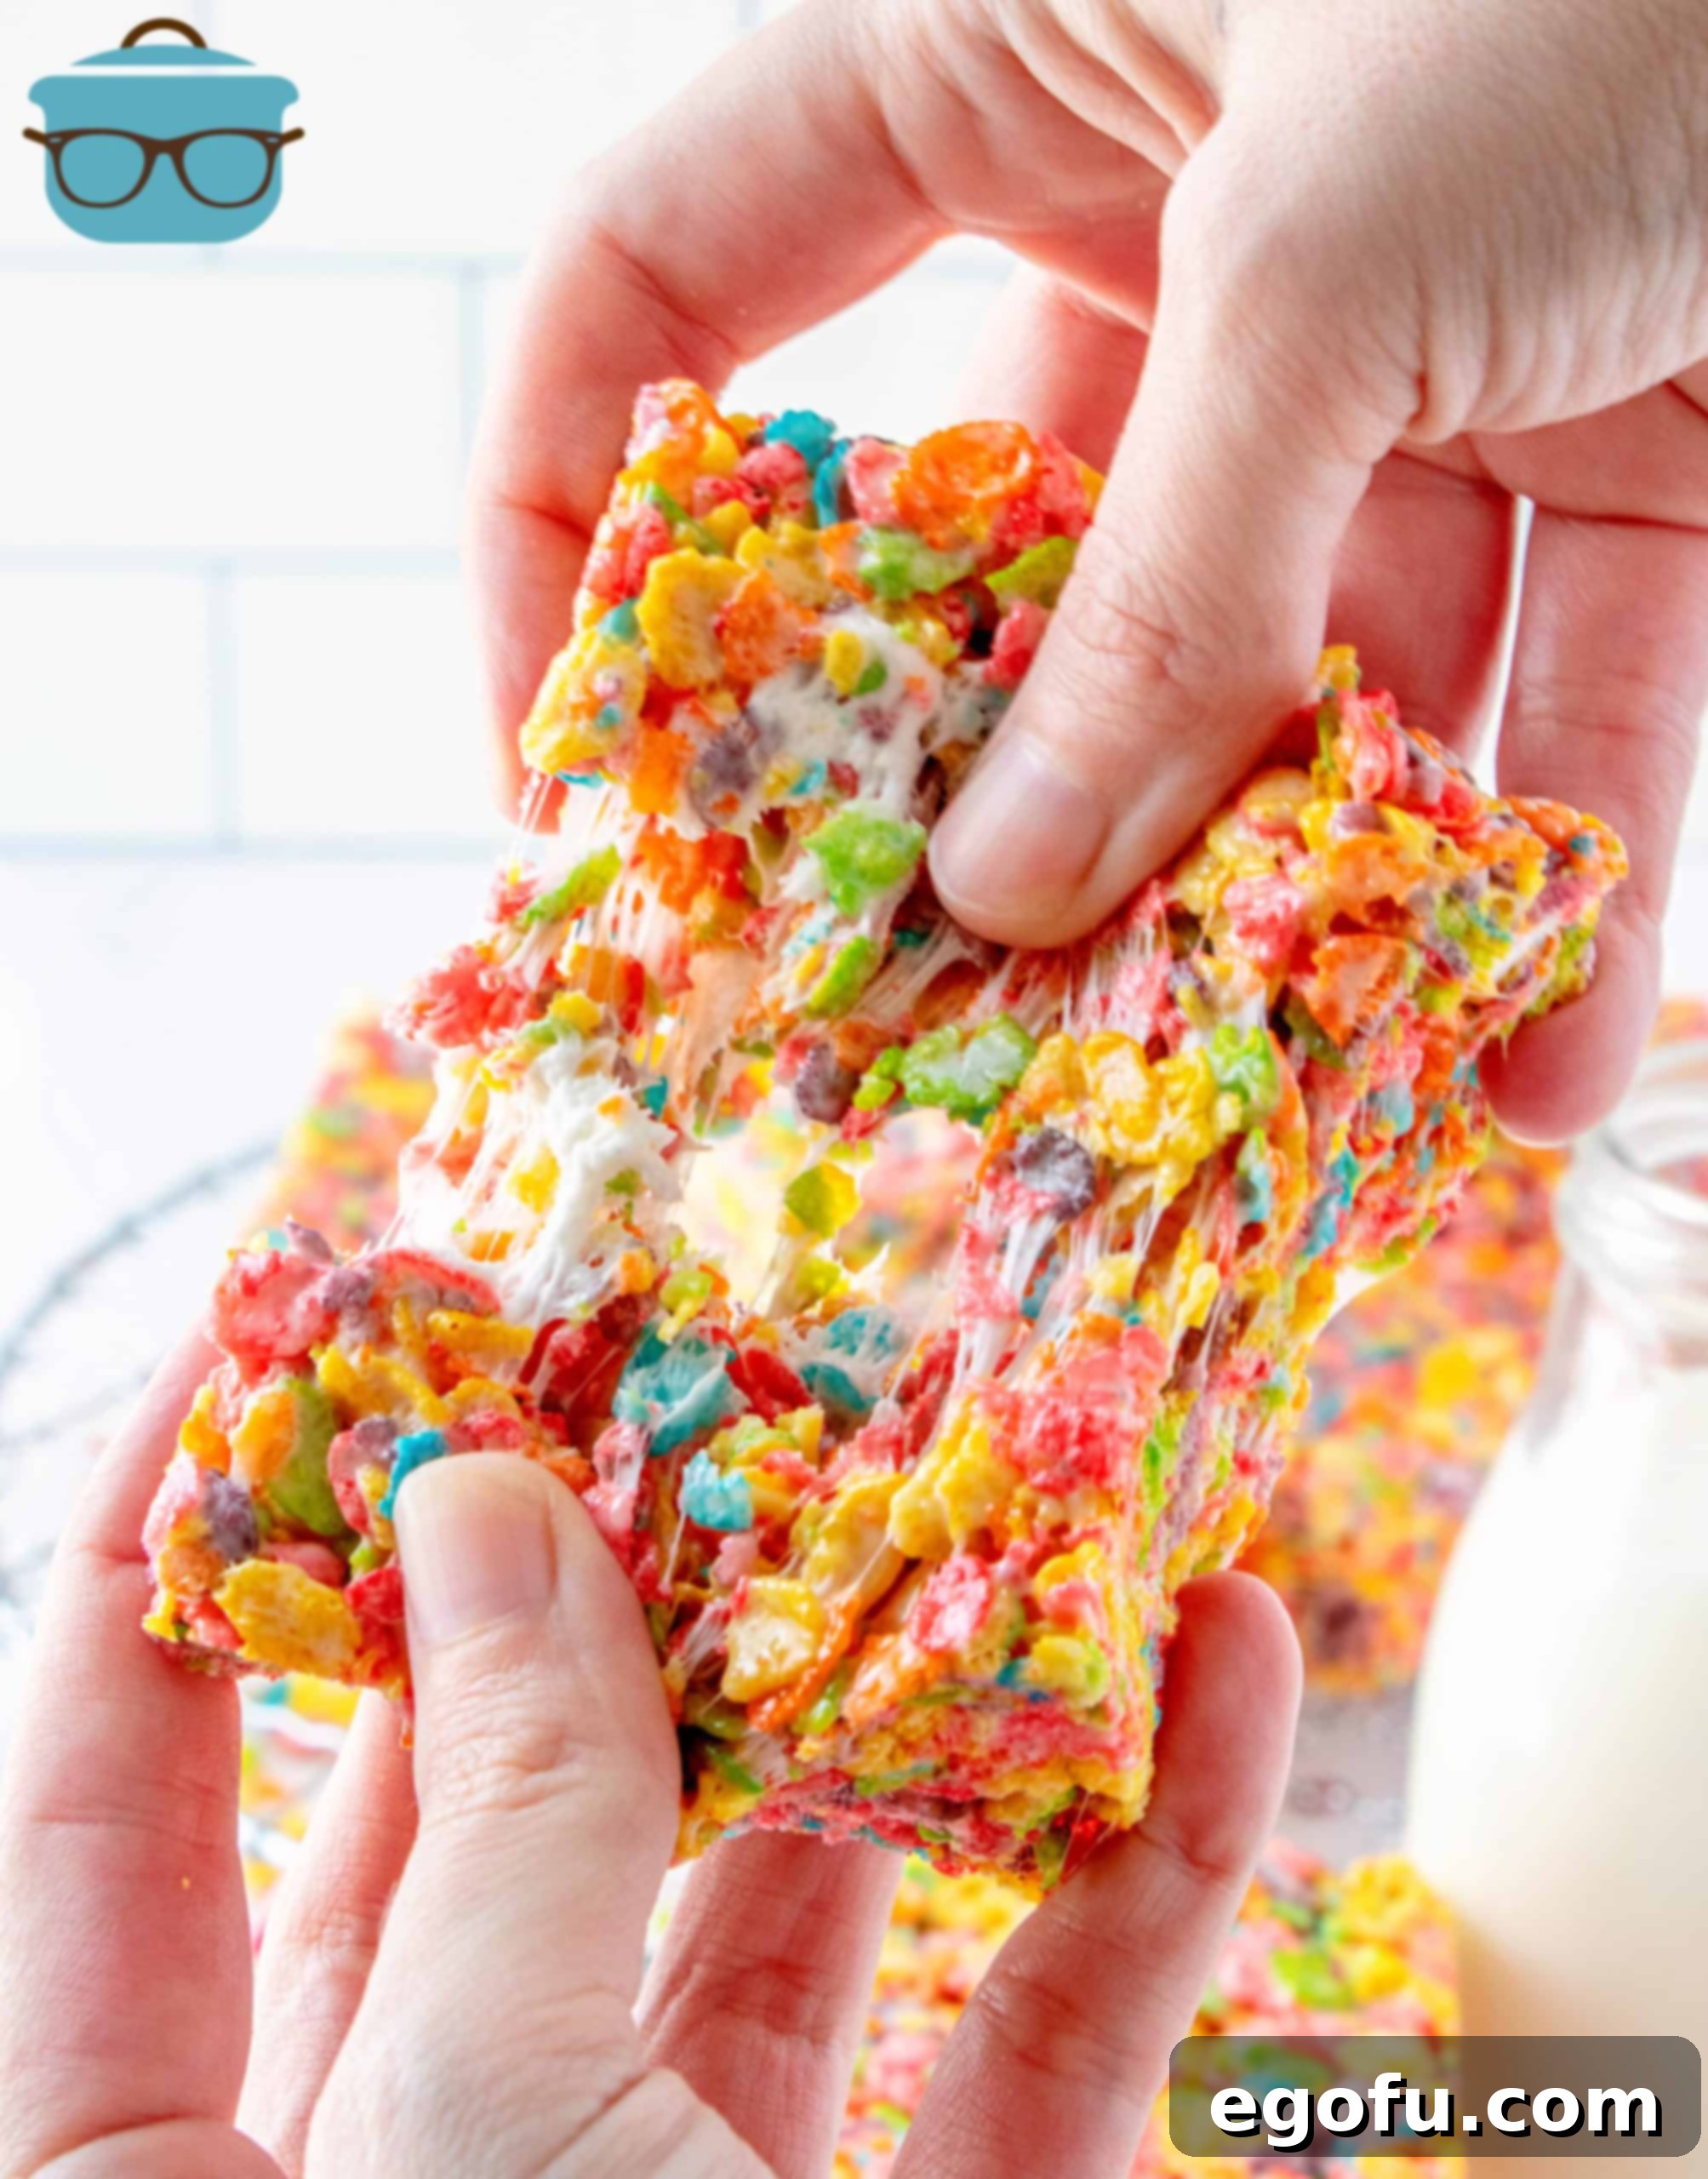
Recipe Card: Fruity Pebbles Treats
Fruity Pebbles Treats
With only 3 ingredients, these Fruity Pebbles Treats are a fun, easy and absolutely tasty bar that comes together quickly and the whole family loves!
Rating: 5/5 stars (17 Reviews)
Print Recipe |
Pin Recipe |
Rate This Recipe
Prep Time: 5 minutes
Cook Time: 10 minutes
Cooling: 1 hour
Total Time: 1 hour 15 minutes
Servings: 9
Author: Brandie Skibinski
Ingredients
- 4 Tablespoons salted butter (1/2 stick)
- 10 ounces mini marshmallows, plus 1/2 cup (see notes below)
- 6 cups Fruity Pebbles cereal (or Cocoa Pebbles)
Instructions
Grease an 8×8-inch baking dish with butter or nonstick cooking spray.
In a large pan, slowly melt 4 Tablespoons salted butter (1/2 stick). Don’t let the butter bubble and burn.

Stir 10 ounces mini marshmallows into the melted butter. Stir gently just until the marshmallows start to melt. Remove pot off the heat before completely melted and bubbling (the residual heat will continue to melt them).

Stir in 6 cups Fruity Pebbles cereal and mix until combined.

Add in the additional 1/2 cup mini marshmallows and stir again just until incorporated.

Press mixture into prepared baking dish and let set for about one hour.

Cut into squares and serve.

Notes
- Mini marshmallows are used in this recipe. You can use the same amount in larger marshmallows but you will not get the whole marshmallow effect when we add in the 1/2 cup of mini marshmallows towards the end.
- I use an 8″x 8″ pan for these so they are thicker. If you want a thinner bar then you can use a 9″x 13″ pan instead.
- I like to add the extra 1/2 cup mini marshmallows into the mixture so you get bursts of marshmallow goodness in each bar. I think it really makes it stand out when you cut into them too.
Course: Dessert
Cuisine: American
Nutrition
Calories: 251kcal |
Carbohydrates: 49g |
Protein: 2g |
Fat: 6g |
Sodium: 194mg |
Fiber: 1g |
Sugar: 28g
Nutritional Disclaimer
“The Country Cook” is not a dietician or nutritionist, and any nutritional information shared is an estimate. If calorie count and other nutritional values are important to you, we recommend running the ingredients through whichever online nutritional calculator you prefer. Calories and other nutritional values can vary quite a bit depending on which brands were used.
Did you make this recipe?
Share it on Instagram @thecountrycook and mention us #thecountrycook!
More Delicious No-Bake Cereal Treats to Explore
If you’re a fan of these easy, no-bake delights, there’s a whole world of cereal treats waiting for you! These recipes are perfect for quick desserts, snack time, or simply satisfying a sweet craving. Expand your repertoire with these fantastic options:
- Fruity Pebbles Layered Dessert: Take your Fruity Pebbles love to the next level with this decadent layered dessert, featuring multiple textures and even more fruity flavor.
- Peanut Butter Rice Krispies Treats: A classic combination that never disappoints! The salty-sweet crunch of peanut butter and Rice Krispies makes for an irresistible treat.
- Scotcheroos: A truly indulgent bar featuring a crispy base of Rice Krispies, peanut butter, and butterscotch, topped with a luscious chocolate and butterscotch coating.
- Peanut Butter Cheerio Balls: A wholesome twist, these no-bake balls combine the goodness of Cheerios with the rich flavor of peanut butter for a satisfying snack.
- Circus Animal Krispies Treats: Add a touch of whimsy and extra sweetness with frosted animal crackers mixed into your Rice Krispies treats.
- Chex Mix Marshmallow Treats: For those who love a bit more texture and a different kind of crunch, Chex cereal offers a delightful alternative in marshmallow bars.
Originally published: April 2021
Updated and republished: March 2025
