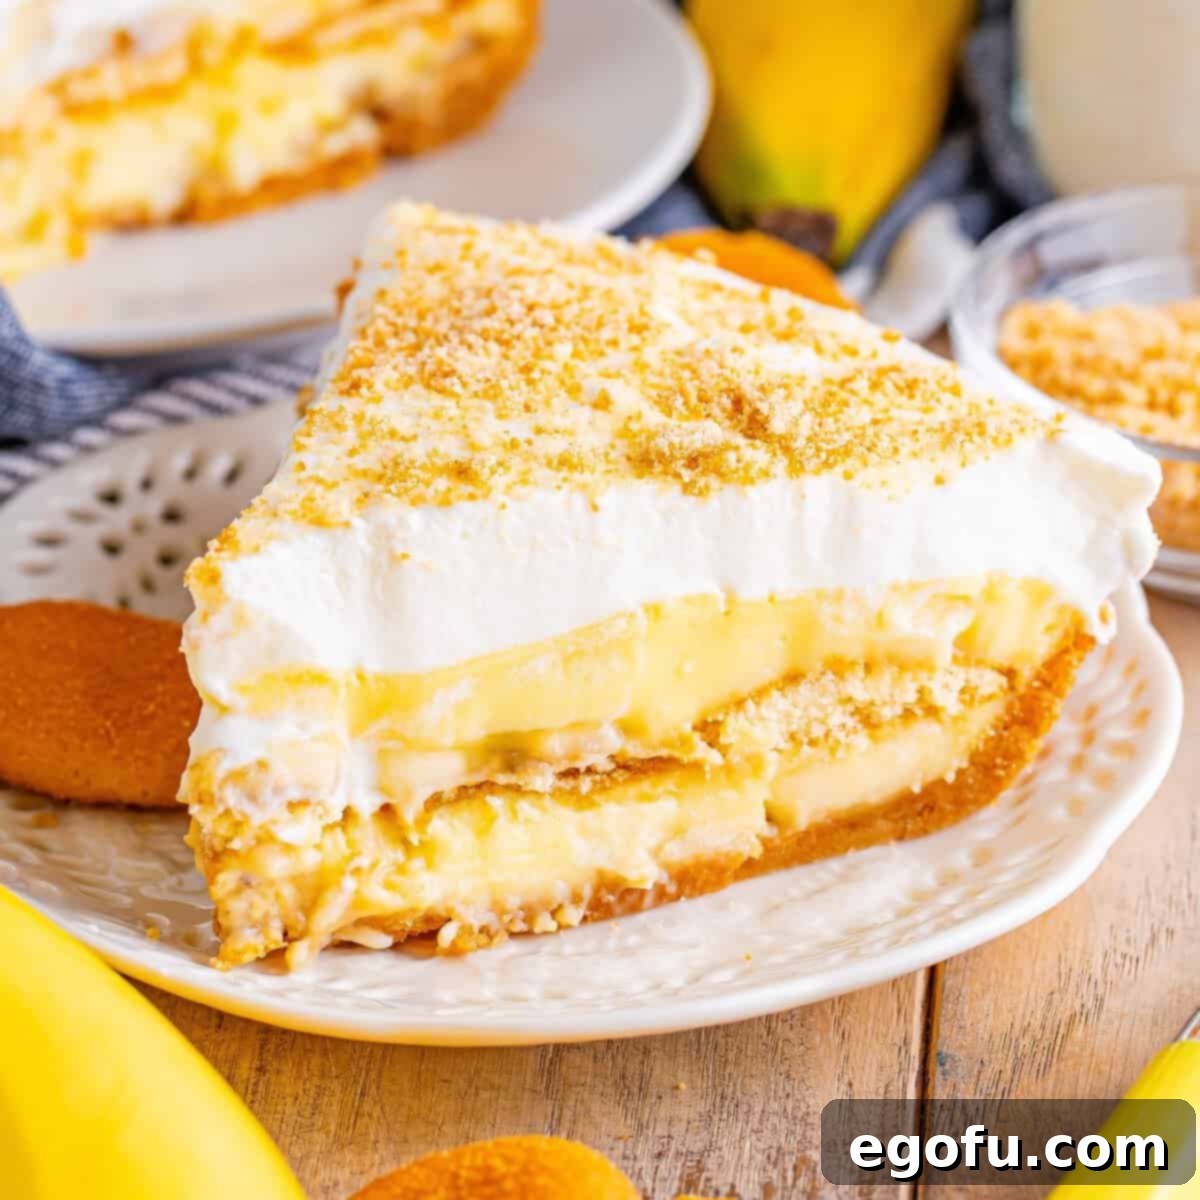
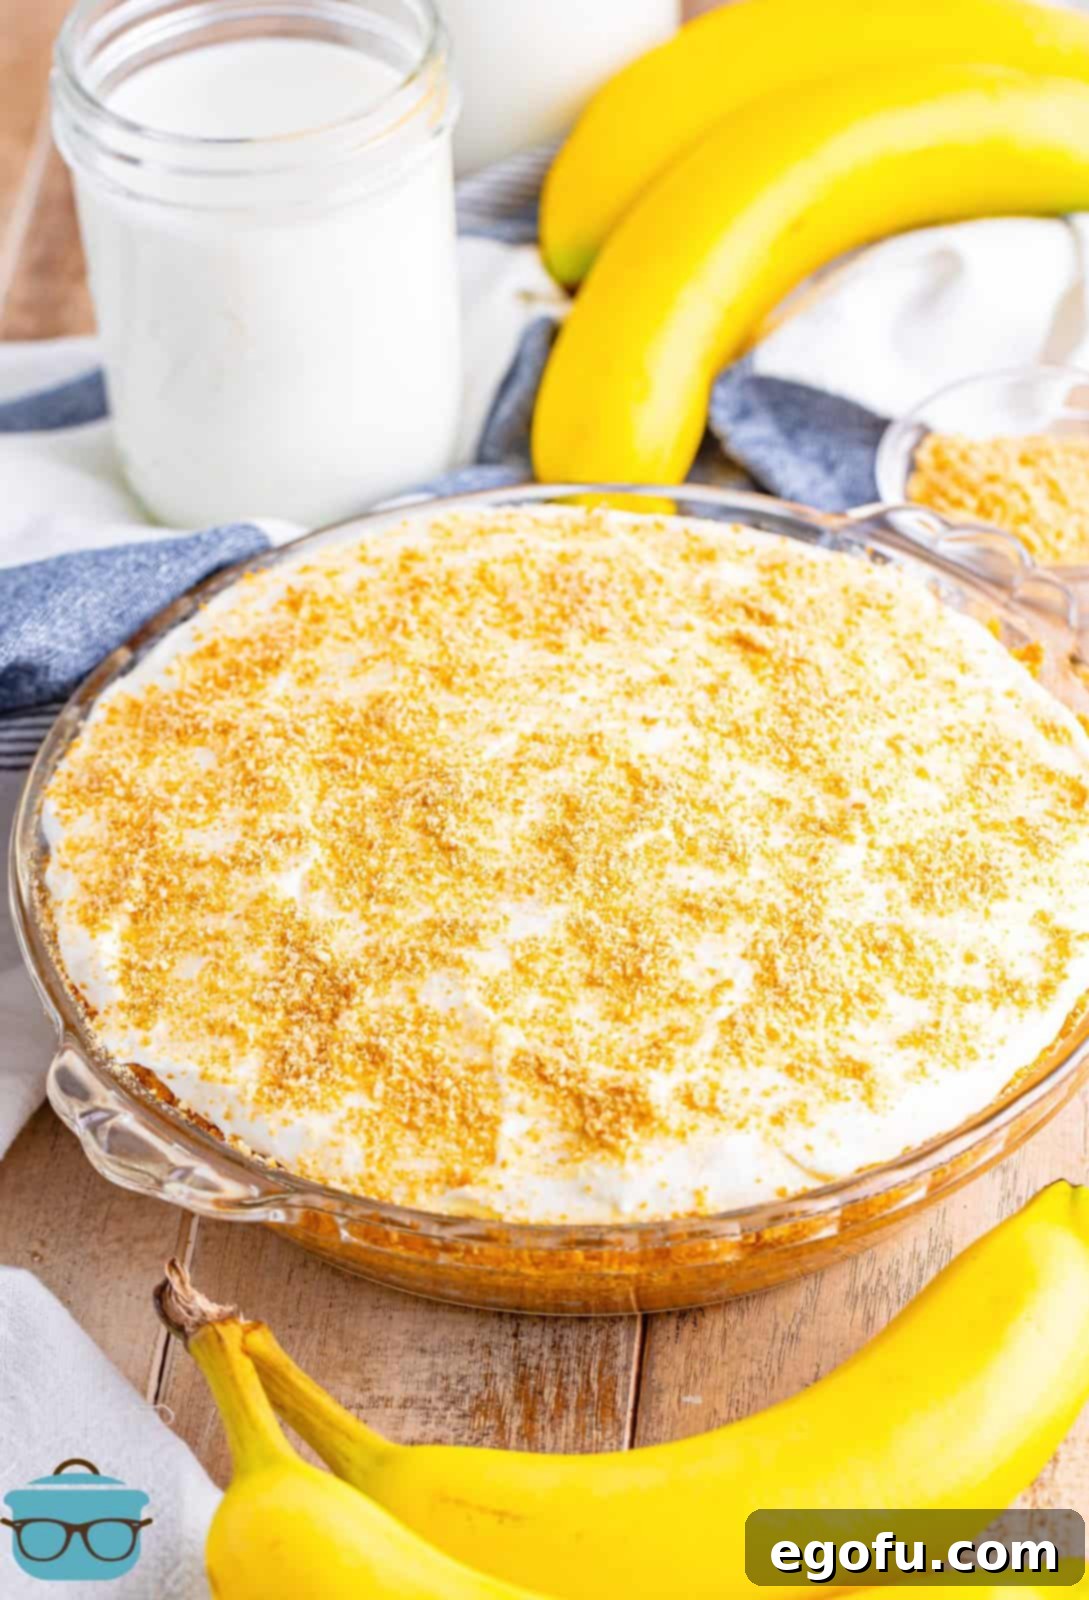
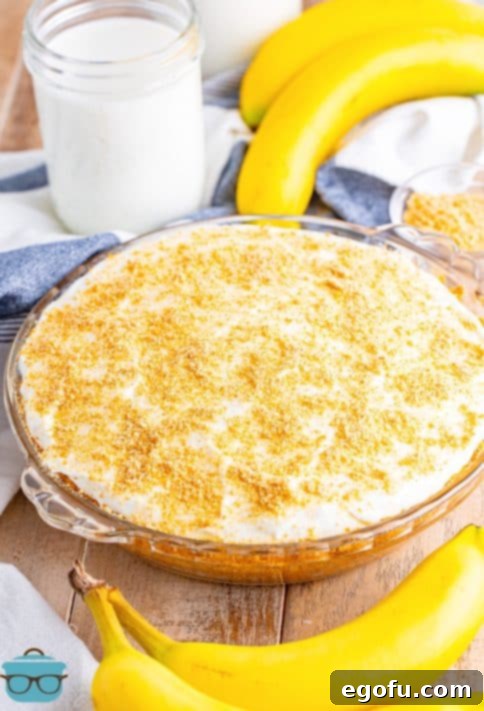
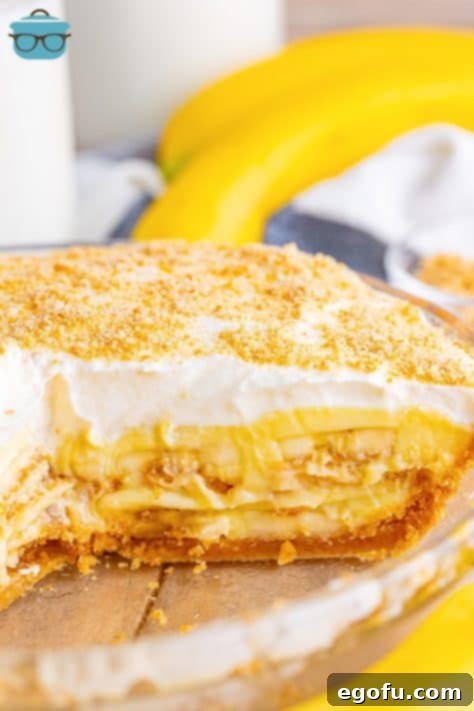
Indulge in the ultimate homemade dessert with this luscious Banana Pudding Pie! Featuring a buttery, crunchy Nilla wafer crust, layers of fresh sliced bananas, a rich, creamy homemade vanilla pudding, and crowned with a cloud of freshly whipped cream, this pie is a true delight for any occasion. Prepare to impress with this irresistible, Southern-inspired treat!
Irresistible Homemade Banana Pudding Pie: The Ultimate Southern Dessert
There’s something inherently comforting and celebratory about a classic Southern dessert, and few are as beloved as Banana Pudding. But what if you could elevate that nostalgic delight into an even more sophisticated and easy-to-serve form? Enter the Homemade Banana Pudding Pie. This recipe transforms the traditional layered dessert into a magnificent pie, combining all the beloved elements into a convenient, sliceable format that’s perfect for sharing. Whether you’re a lifelong fan of banana pudding or simply looking for a new dessert to master, this pie promises a truly decadent experience with every single bite. It’s rich, creamy, and undeniably delicious – a testament to the joy of homemade goodness.
Why This Banana Pudding Pie Is A Must-Try
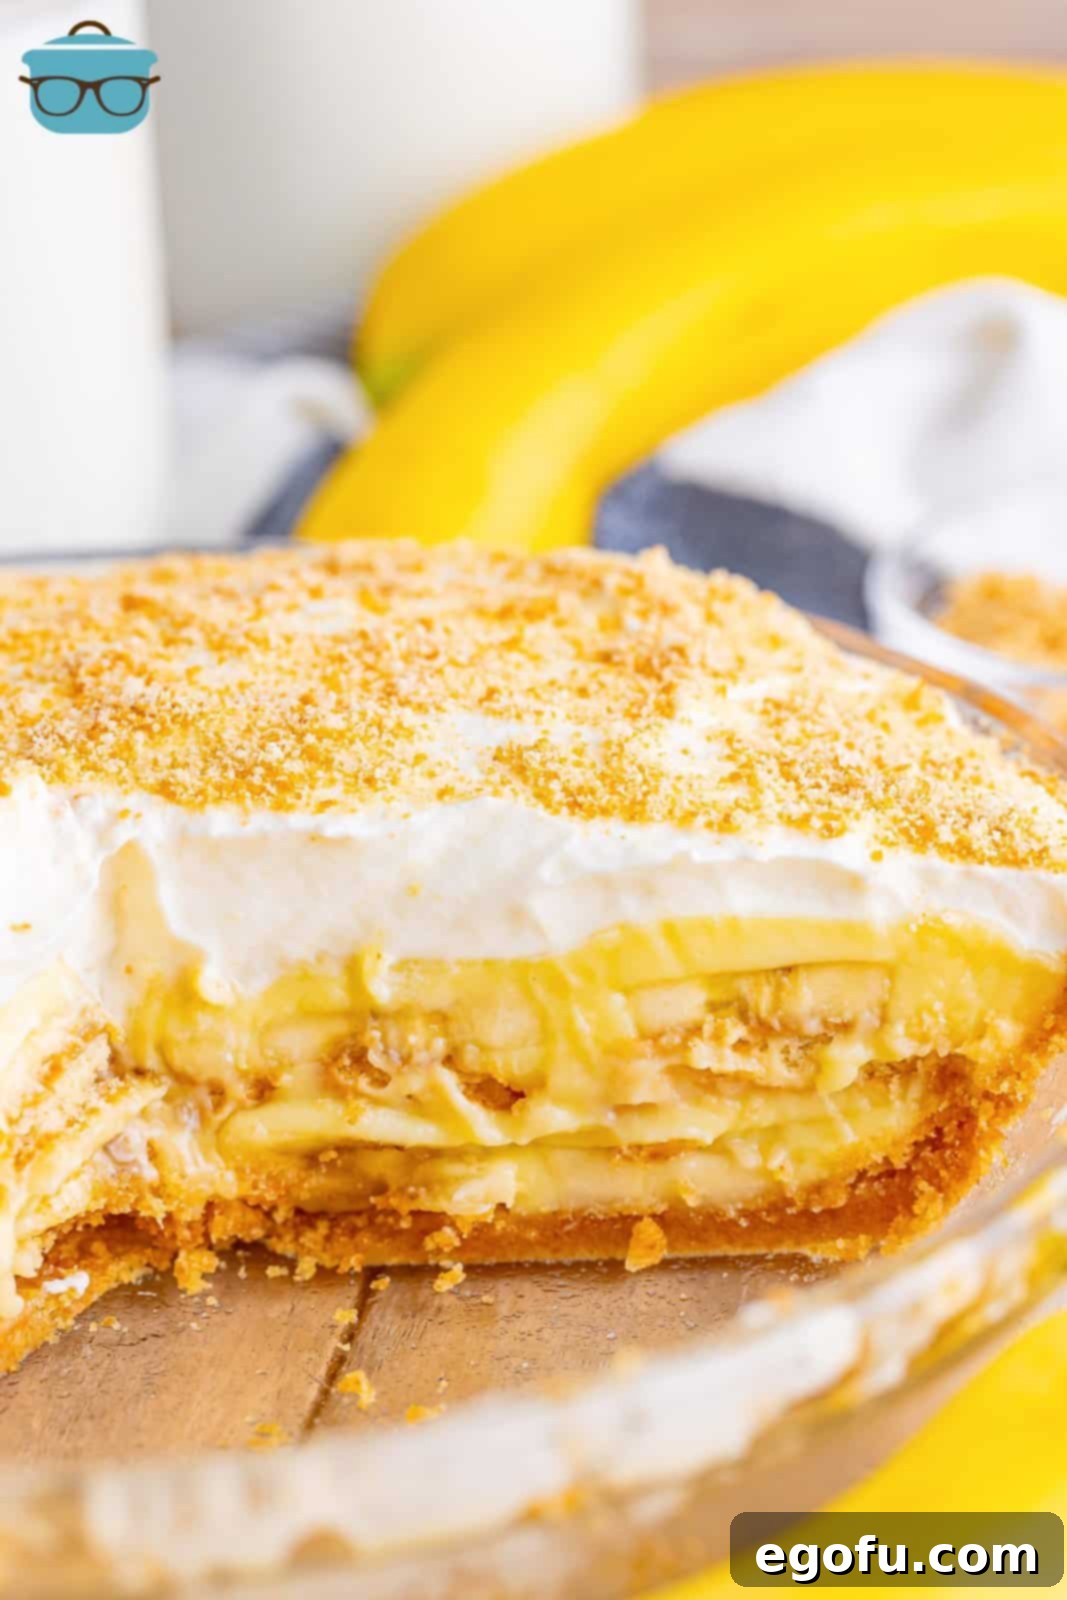
If you’re already a devotee of banana pudding, then this pie version is an absolute revelation. It takes everything you love about the classic – the sweet bananas, the tender vanilla wafers, and the silky custard – and presents it in a way that’s not only easier to portion and serve but also offers a more refined dessert experience. Unlike many banana puddings that can be a bit messy, the pie form holds its structure beautifully, making it an elegant addition to any dessert table.
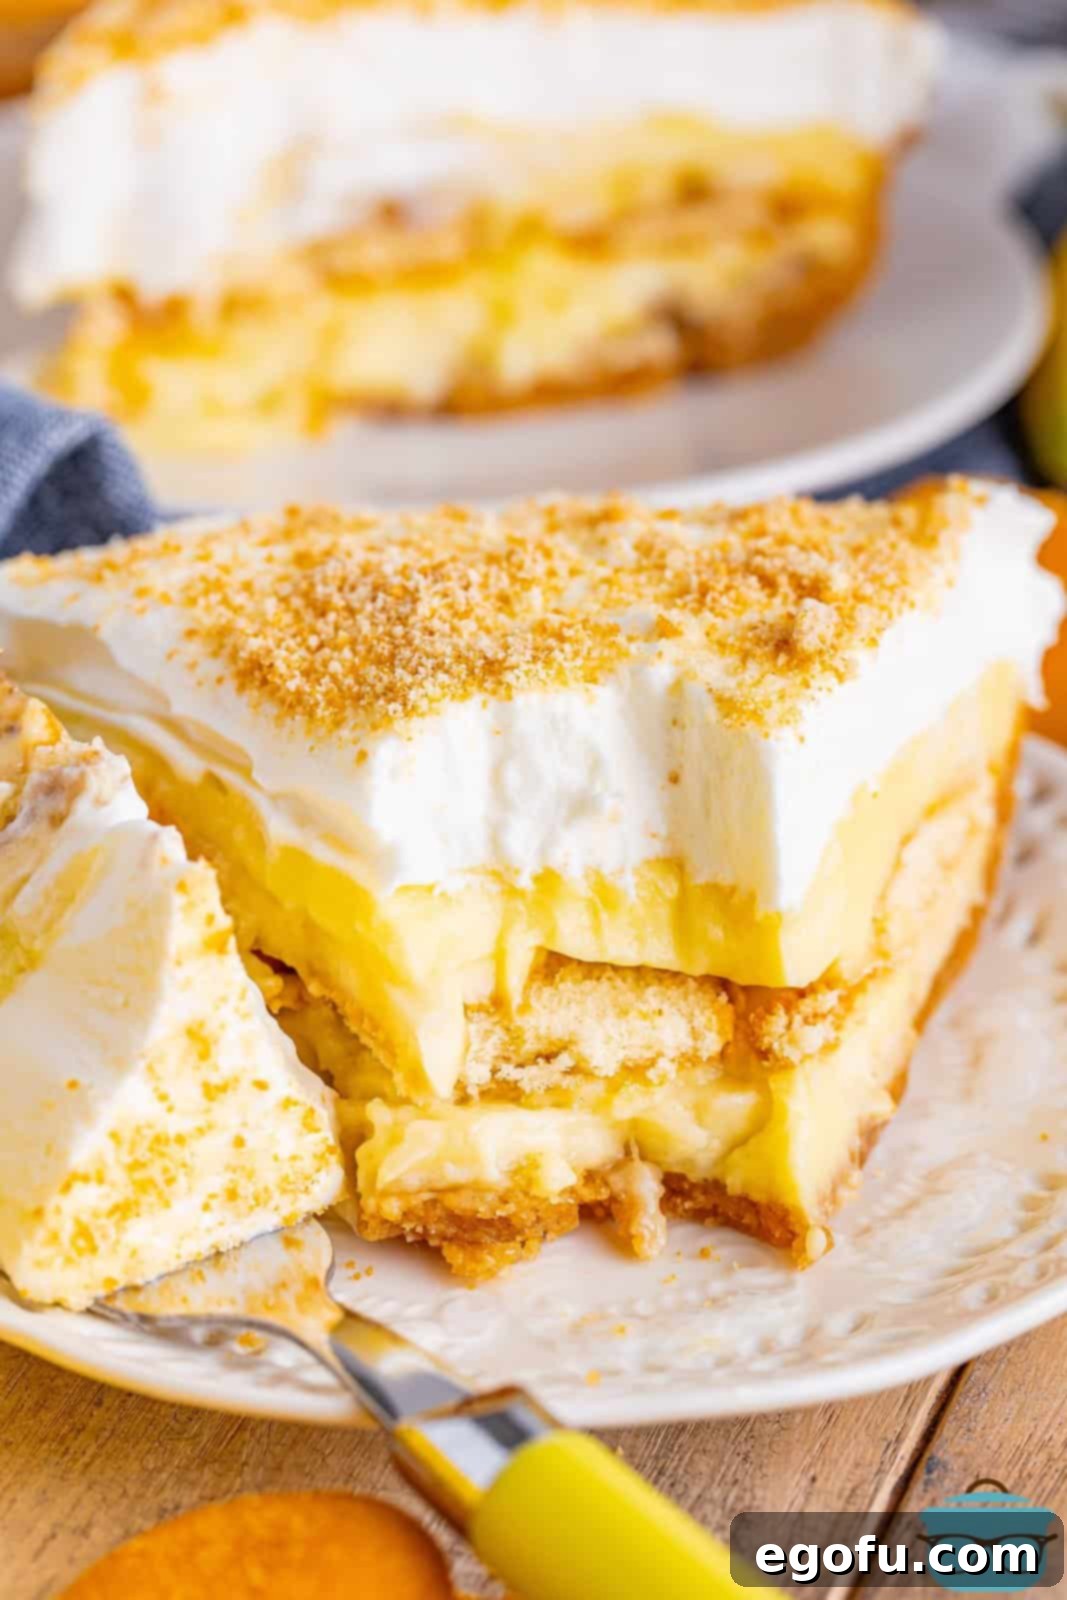
What truly sets this recipe apart is its commitment to being entirely homemade. While store-bought components or instant mixes might offer a shortcut, crafting each element from scratch ensures a depth of flavor and a superior texture that simply can’t be replicated. Imagine biting into a crisp Nilla wafer crust, perfectly baked to a golden brown, followed by the smooth, velvety embrace of a truly homemade pudding, studded with sweet, fresh banana slices. The whole experience is then crowned with a cloud of light, airy, and freshly whipped cream – a contrast that brings the entire dessert into perfect balance.
Each layer contributes to a symphony of flavors and textures: the satisfying crunch of the wafer crust and the subtle layer of whole wafers in the middle, the sweet softness of ripe bananas, and the rich, creamy pudding that binds it all together. This isn’t just a dessert; it’s a nostalgic journey to the heart of Southern comfort food, reimagined for contemporary palates. It’s an investment of time that pays off handsomely in unforgettable taste and rave reviews from your family and friends. Get ready to add this deliciously decadent pie to your list of go-to recipes!
Frequently Asked Questions for Banana Pudding Pie
Since this particular recipe for homemade pudding only calls for egg yolks, you will indeed have leftover egg whites. A popular and traditional option for banana pudding is to use these egg whites to create a delicate meringue topping. While many people adore meringue with banana pudding for its classic charm, others (like myself!) prefer the simplicity and lightness of whipped cream. If you choose the meringue route, there are numerous excellent tutorials available online to guide you in achieving a perfect, fluffy meringue. Alternatively, egg whites can be frozen for later use in other recipes like omelets, frittatas, or even macarons.
Absolutely not! The middle layer of Nilla wafers is entirely optional and can be omitted if you prefer. I personally find that this layer enhances the authentic “banana pudding” taste and adds another wonderful textural dimension to the pie. However, if you’re aiming for a slightly simpler construction or just prefer more bananas, feel free to skip it and simply add a thicker layer of sliced bananas or an extra layer of pudding instead. The beauty of homemade is that you can always customize it to your liking!
Certainly! While I highly recommend homemade whipped cream for its unparalleled fresh flavor and airy texture, using a store-bought whipped topping like Cool Whip is a perfectly acceptable and convenient alternative. It will still provide a delicious and fluffy topping, saving you a few minutes in the kitchen. Just ensure it’s fully thawed before spreading it over the pie.
No problem at all! You can easily crush the vanilla wafers without a food processor. Simply place the wafers into a large, sturdy Ziploc bag (or a similar sealable plastic bag). Use a rolling pin, a meat mallet, or even the bottom of a heavy glass to pound and roll over the wafers until they are finely crushed into crumbs. This method works just as effectively, though it might take a little more elbow grease!
This pie, like most desserts featuring fresh fruit and dairy, should be stored in the refrigerator. Due to the fresh banana slices in the layers, they will naturally start to brown and soften after about a day or so. For optimal freshness and appearance, it’s best consumed within 1-2 days. If you wish to extend the life of the pie (up to 3-4 days), consider adding the banana slices only when serving each slice, or omit the middle banana layer entirely. Also, remember that homemade whipped cream tends to break down and become less firm faster than stabilized whipped toppings like Cool Whip.
The best bananas for this pie are those that are perfectly ripe, showing some brown spots on their peel but still firm enough to slice without turning mushy. These bananas will offer the sweetest and most intense banana flavor, which is crucial for a truly delicious banana pudding. Avoid green or underripe bananas, as they will be starchy and lack the characteristic sweetness. Similarly, overly soft or bruised bananas might make your pie watery or have an undesirable texture.
Essential Ingredients for Your Homemade Banana Pudding Pie
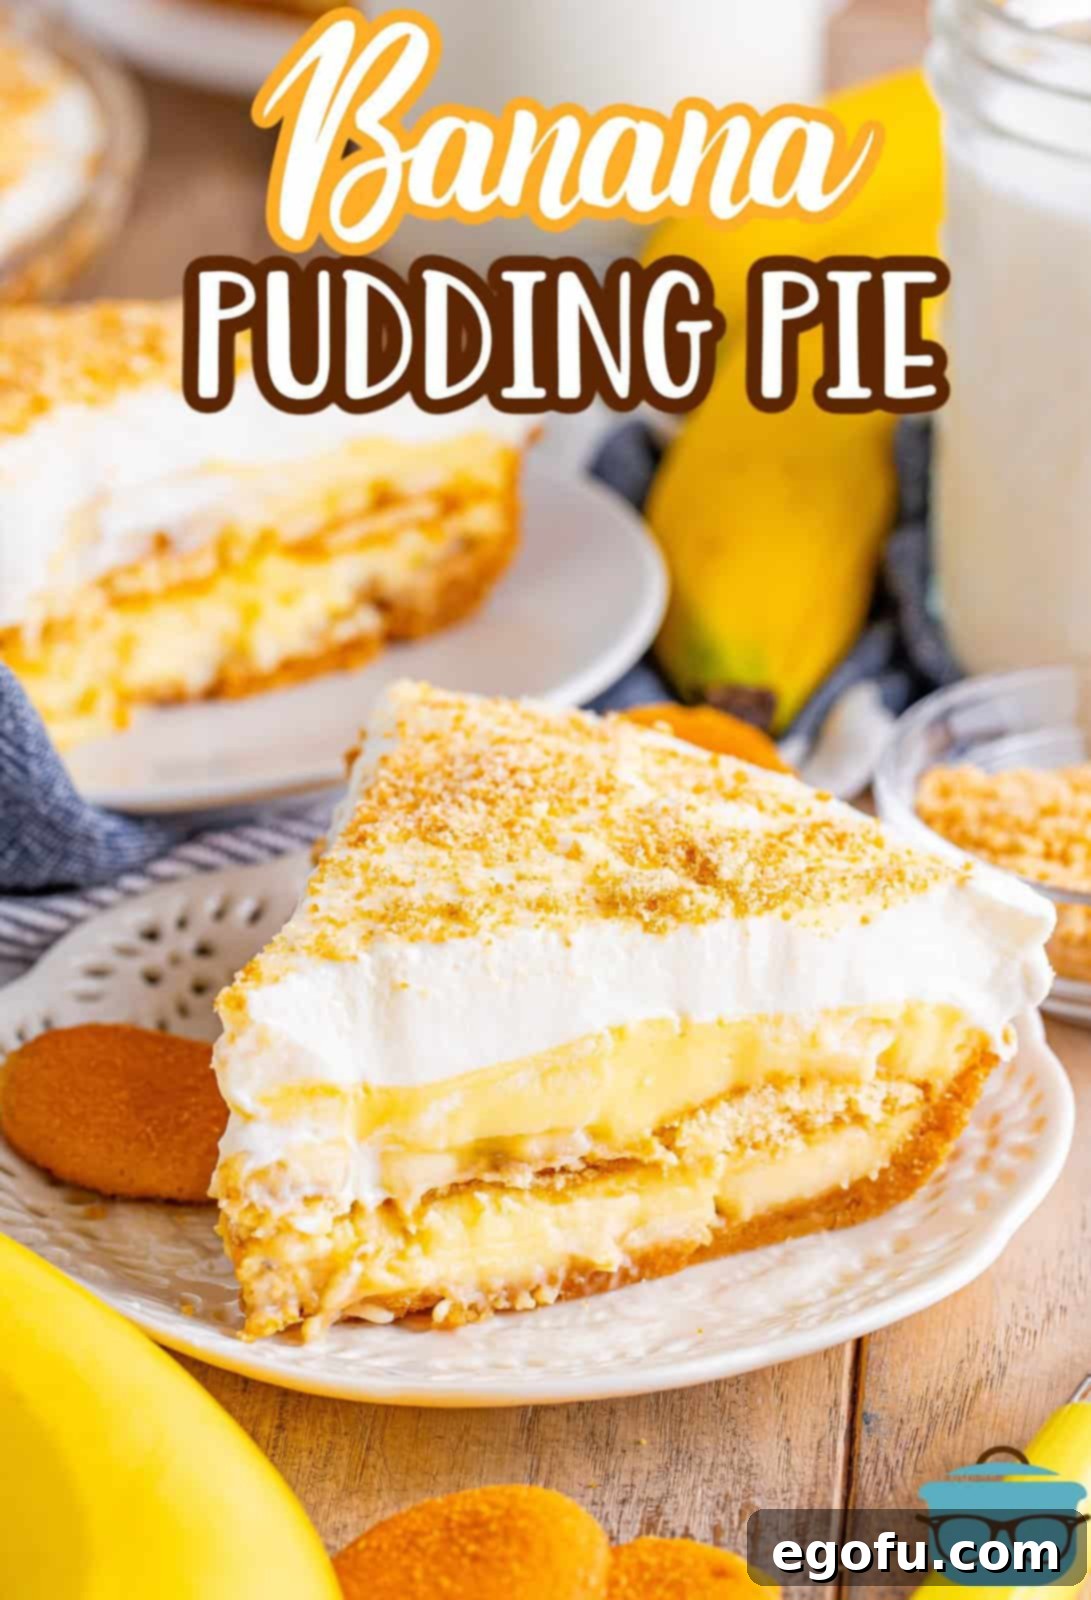
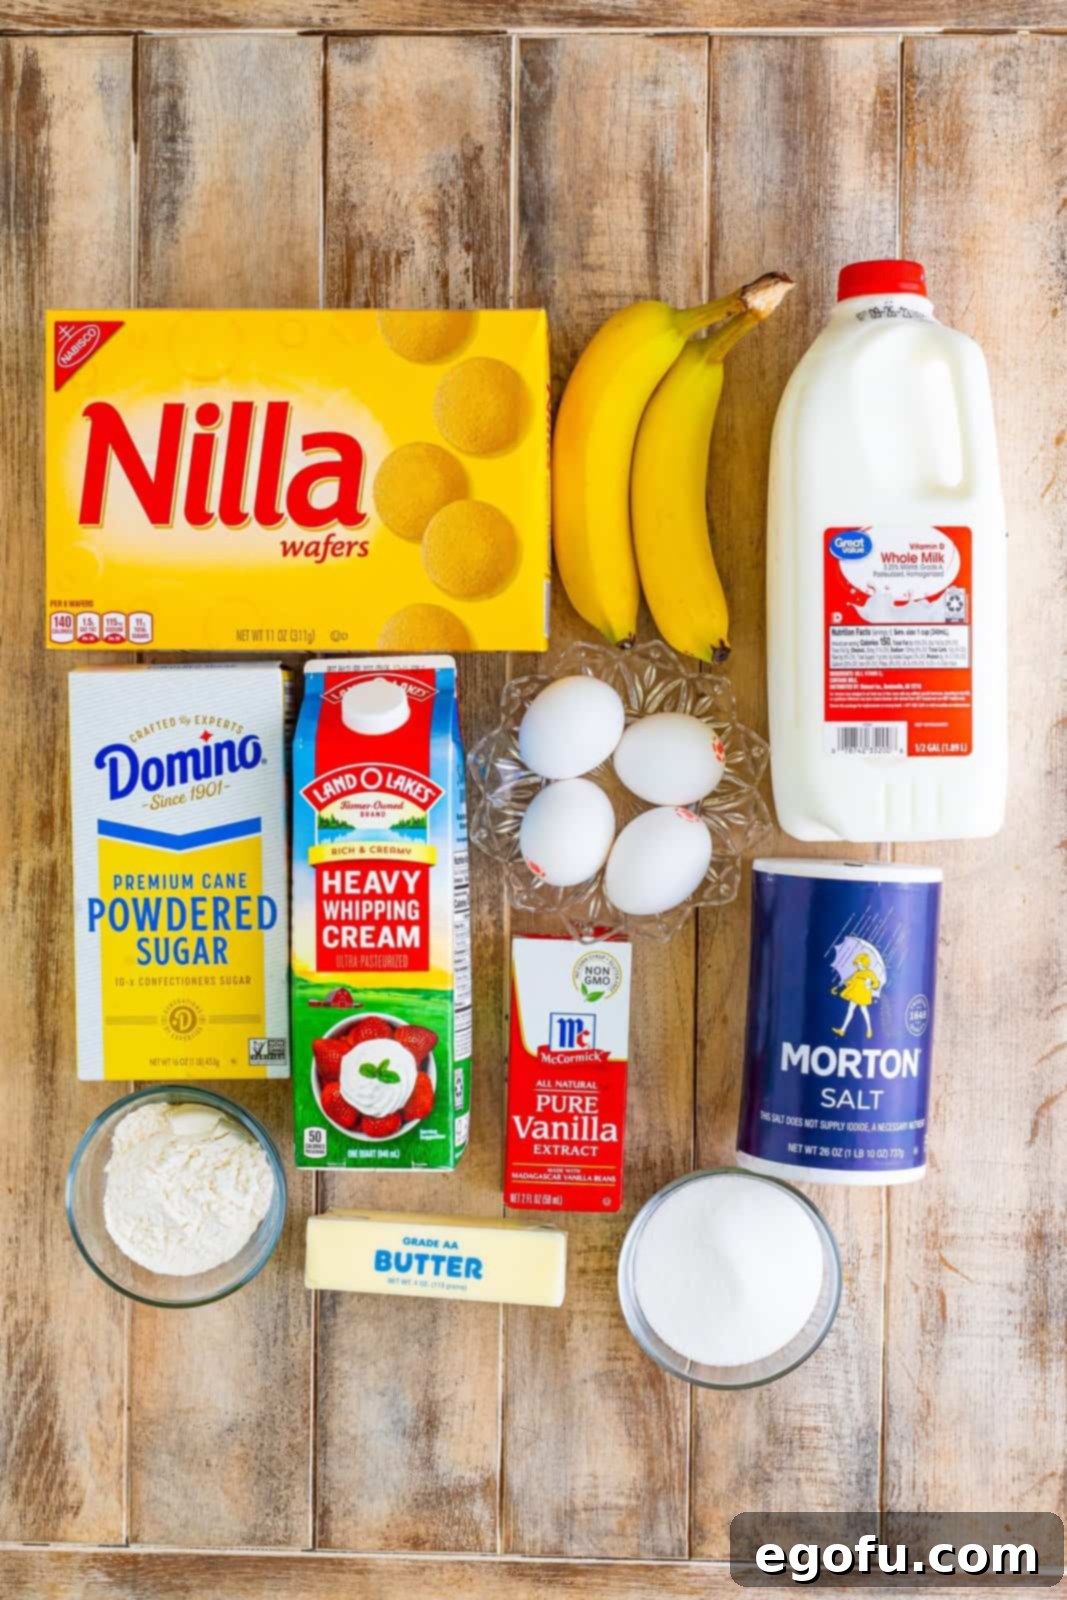
Crafting the perfect Banana Pudding Pie begins with selecting quality ingredients. Here’s a closer look at what you’ll need and why each component is crucial to achieving that irresistible taste and texture:
- Vanilla Wafers: These form the iconic base and a delightful textural layer in the pie. While name-brand Nilla wafers are a classic choice for their distinct flavor and texture, any good quality vanilla wafer will work perfectly for both the crunchy crust and the delightful middle layer. They provide a foundational sweetness and a satisfying textural contrast.
- Salted Butter: Melted butter binds the wafer crumbs together to form a sturdy and flavorful crust. Using salted butter enhances the overall flavor balance, adding a subtle counterpoint to the sweetness. However, if all you have is unsalted butter, that is perfectly fine; just add about ½ teaspoon of fine salt to your graham cracker crust mixture to achieve a similar flavor profile.
- Ripe Bananas: The secret to truly flavorful banana pudding lies in using perfectly ripe bananas. Look for bananas with some brown spots on the peel; these are sweeter, have a softer texture, and boast a more intense banana flavor compared to green, unripe ones. Avoid overly soft or mushy bananas as they can make the pie watery.
- Granulated Sugar: This provides the essential sweetness for both the rich homemade pudding and, subtly, for the whipped cream topping. While I have never made this specific recipe with a sugar substitute, the recipe structure should generally allow for them, though flavor and texture might vary slightly.
- All-Purpose Flour: This versatile ingredient is a key thickening agent for our luscious homemade pudding, ensuring it achieves that desirable creamy, rich, and stable consistency that holds its shape beautifully in the pie.
- Milk: I typically use whole milk for its higher fat content, which contributes to an incredibly rich and creamy pudding that is truly indulgent. However, 2% milk can also be used, resulting in a slightly lighter but still very delicious pudding.
- Large Egg Yolks: The egg yolks are crucial for giving the pudding its smooth, silky texture and a rich, custard-like flavor. They also act as a natural emulsifier. Remember, this recipe calls specifically for yolks, so refer to the FAQ section above for excellent ideas on what you can do with the leftover egg whites!
- Vanilla Extract: A splash of good quality vanilla extract is essential as it enhances and rounds out all the other flavors in the pudding, adding warmth and depth. For an even more pronounced and specific banana profile, you could experiment with a high-quality banana extract as a substitution for part of the vanilla, or as an addition.
- Heavy Cream and Powdered Sugar: These two ingredients are the magic behind a light, airy, and exquisitely fresh homemade whipped cream topping. Heavy cream provides the necessary fat content for whipping, while powdered sugar (also known as confectioners’ sugar) dissolves easily, providing a smooth sweetness without any grittiness. As an alternative for convenience, a store-bought whipped topping like Cool Whip can be used, but homemade whipped cream truly elevates this dessert to gourmet status.
Step-by-Step Guide to Making the Best Homemade Banana Pudding Pie
Get ready to create a dessert masterpiece! Follow these detailed instructions to assemble your own decadent Banana Pudding Pie, from the crispy Nilla wafer crust to the fluffy whipped cream topping. Precision and patience are key to achieving perfection.
Crafting the Nilla Wafer Crust
The foundation of our incredible pie is a simple yet perfectly crunchy Nilla wafer crust. This step sets the stage for the layers of creamy goodness to come, providing a delightful textural contrast.
- First things first, preheat your oven to 350°F (175°C) so it’s ready when your crust is. Next, take a standard 9-inch pie plate and lightly coat it with a nonstick cooking spray. This crucial step ensures your crust won’t stick and will release easily when serving, preventing any crumbly mishaps.
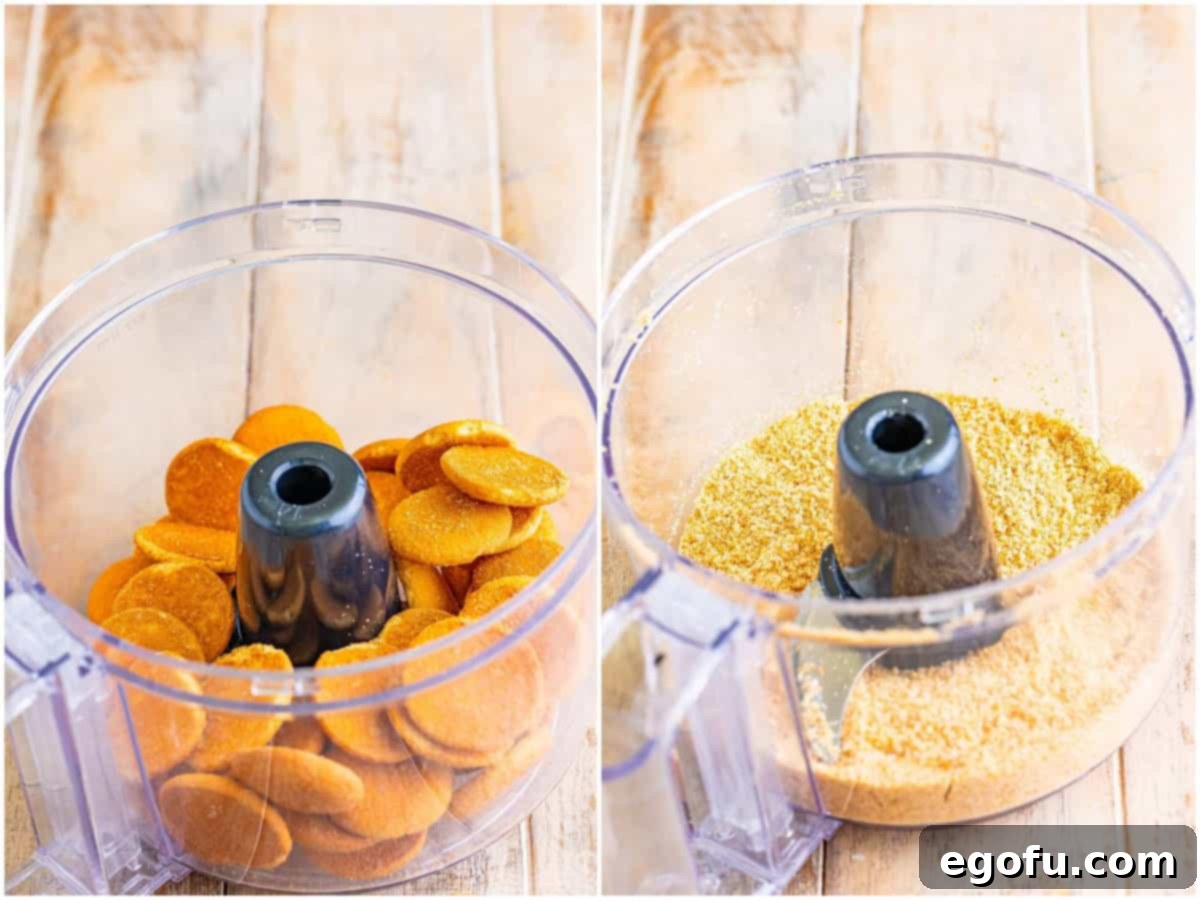
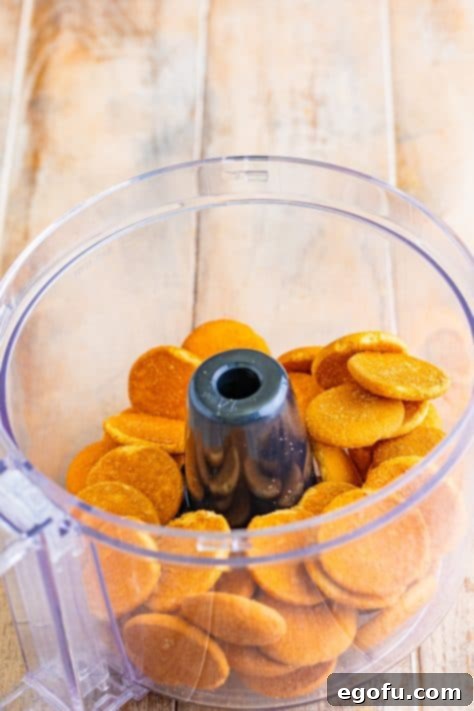
- Carefully count out approximately 45 of your vanilla wafers and place them into a food processor. Pulse the wafers until they are finely crushed, resembling coarse sand or fine breadcrumbs. This consistent texture is vital for a uniform crust. Be sure to reserve ¼ cup of these finely crushed crumbs in a separate small bowl; these will be used to sprinkle on top of your finished pie later for a beautiful garnish and extra crunch.

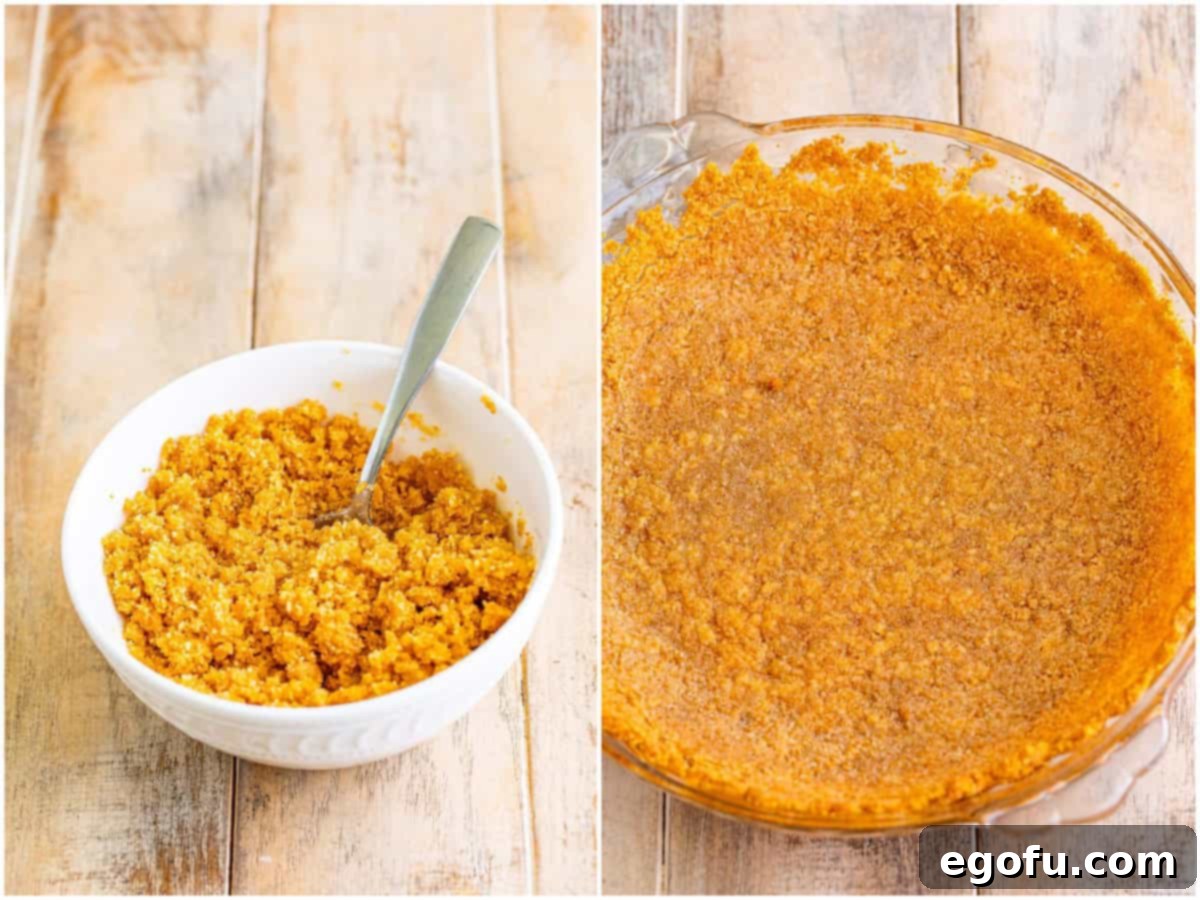
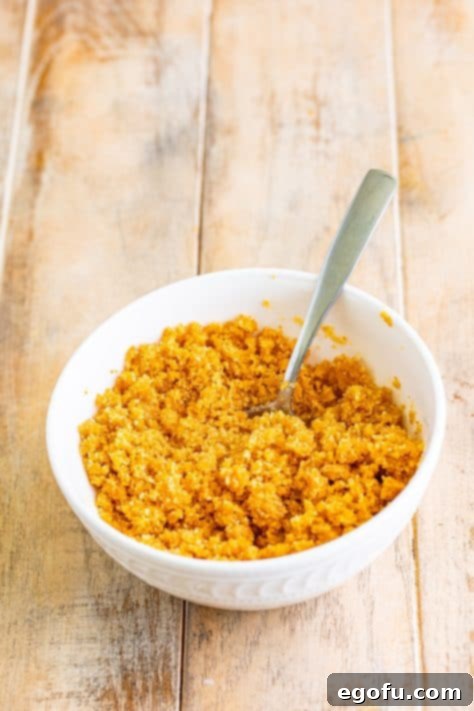
- In a medium-sized mixing bowl, combine the remaining crushed wafer crumbs with the melted butter. Stir thoroughly with a spoon or spatula until the crumbs are uniformly moistened and evenly coated with the butter. The butter acts as a binding agent, helping the crust hold its shape once baked.
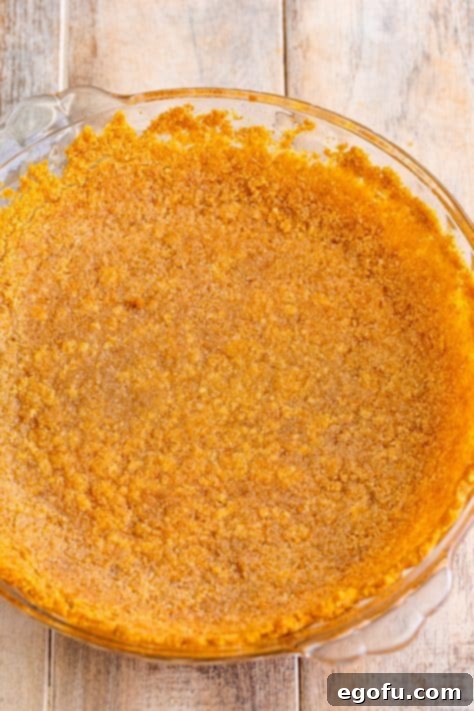
- Transfer the buttered crumbs into your prepared 9-inch pie plate. Using the back of a spoon or your fingertips, firmly and evenly press the mixture across the bottom and slightly up the sides of the pie plate. A compact and even crust is key for stability and ensures that your pie slices will hold together beautifully.
- Bake the pressed crust in the preheated oven for 10-12 minutes. This brief bake time helps to set the crust, making it crispier and more durable, preventing it from becoming soggy later. Once baked to a light golden brown, remove it from the oven and allow it to cool completely on a wire rack before proceeding to the next steps. Patience here ensures a perfect base.

Preparing the Velvety Homemade Pudding
The heart of this pie is its rich, creamy, and utterly delightful homemade vanilla pudding. It’s surprisingly simple to make and yields a far superior flavor and texture to any instant mix.
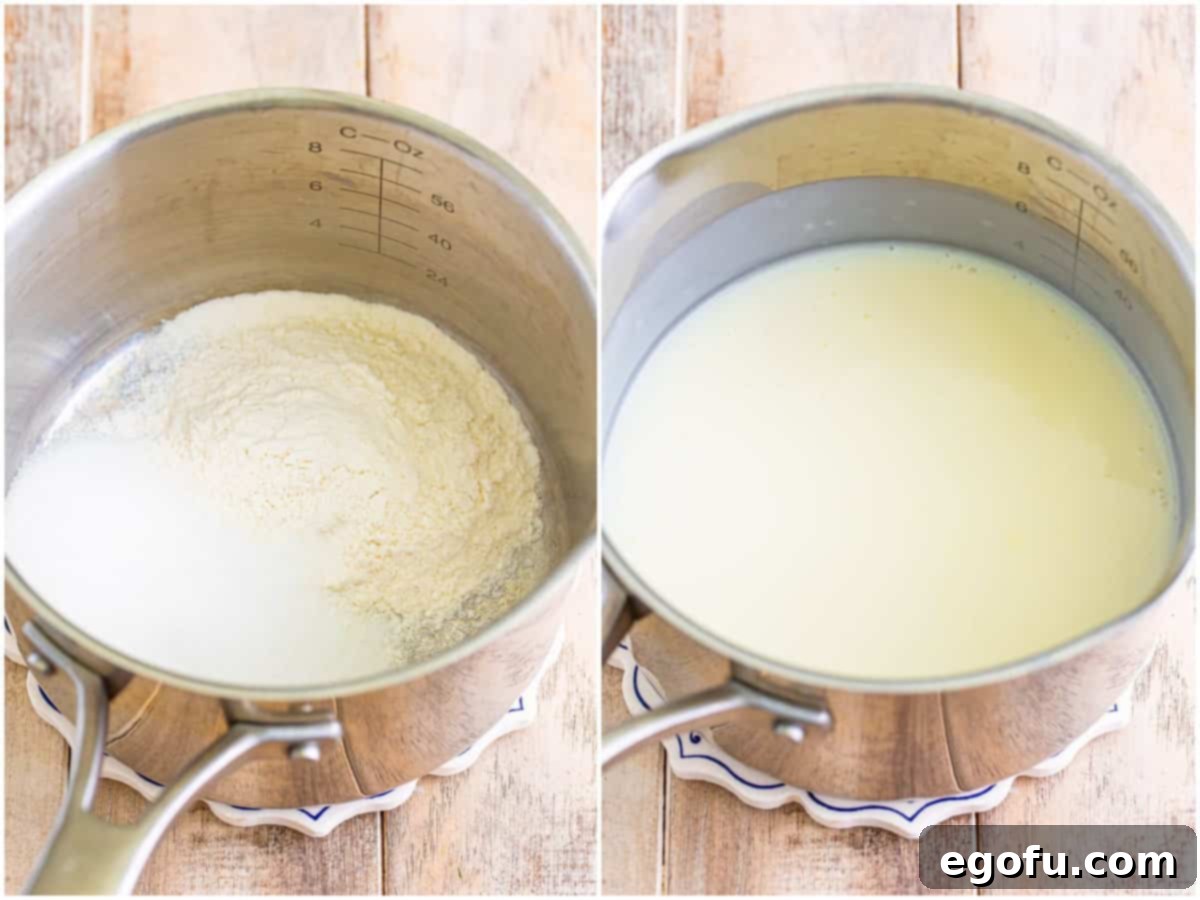
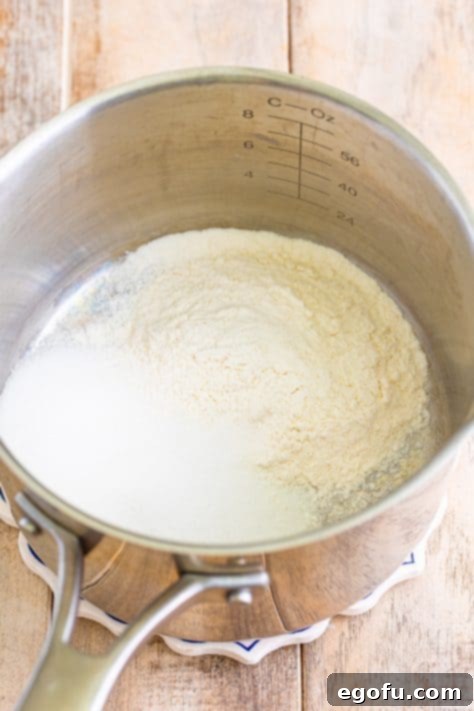
- In a medium-sized, heavy-bottomed saucepan, whisk together the granulated sugar, all-purpose flour, and a pinch of salt. Ensure these dry ingredients are thoroughly combined to prevent lumps in your pudding.
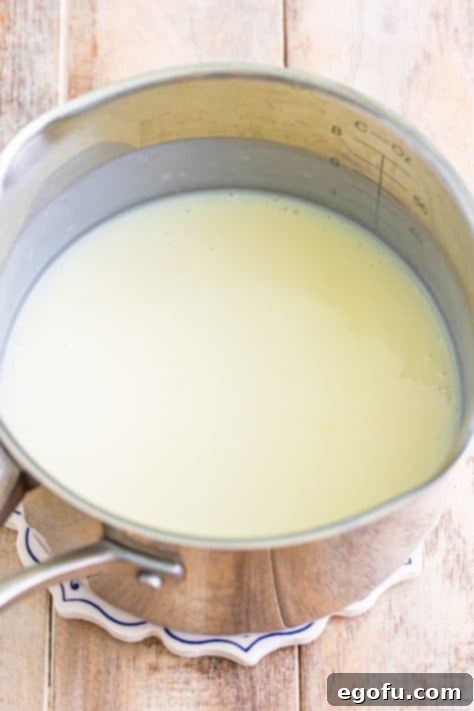
- Gradually pour in the milk, whisking continuously until the mixture is completely smooth and free of any flour lumps. Place the saucepan over medium heat and stir constantly with a whisk. Continue stirring until the mixture comes to a gentle simmer (small bubbles forming around the edges) and visibly thickens, which typically takes about 7-10 minutes. The consistency should be like a thick sauce, coating the back of a spoon. Once thickened, reduce the heat to very low to prevent any scorching.

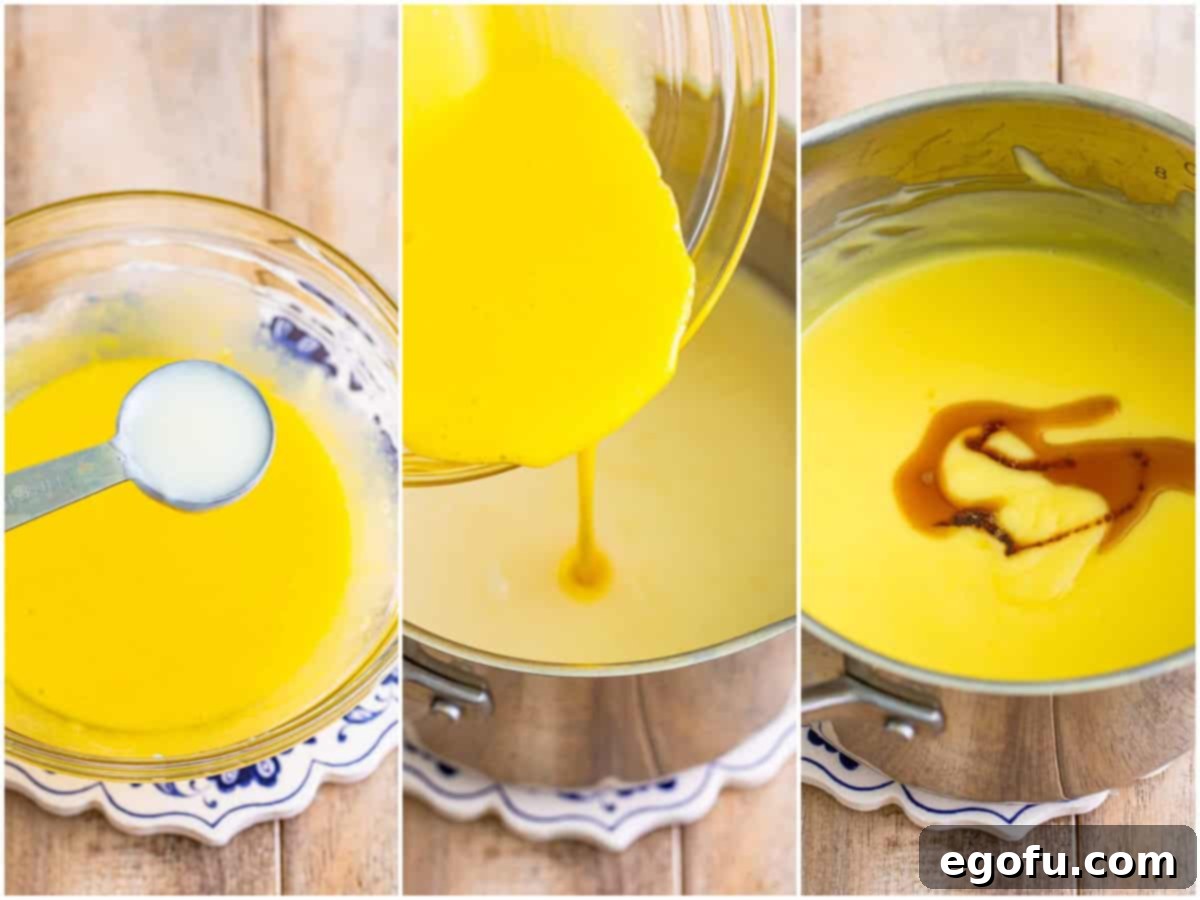
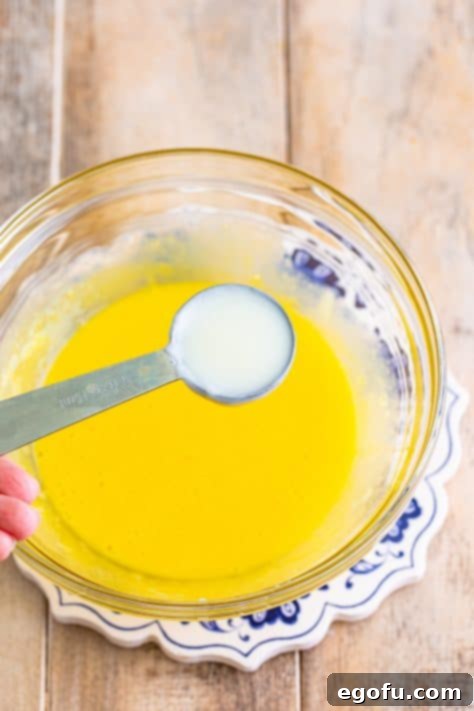
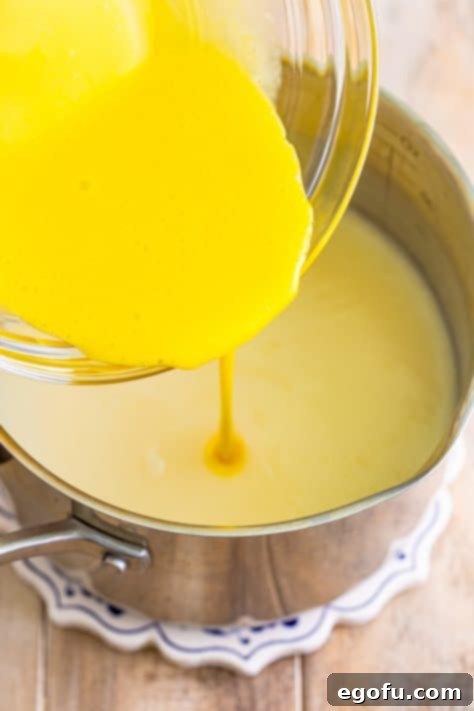
- In a separate, heat-proof bowl, lightly beat your egg yolks. To temper the egg yolks (a critical step to prevent them from scrambling when added to the hot pudding base), slowly add a couple of tablespoons of the hot milk mixture from the saucepan to the egg yolks, whisking constantly and vigorously. This gradually raises the temperature of the yolks, preventing shock.
- Now, very slowly stream the tempered egg yolk mixture back into the saucepan with the pudding base, stirring vigorously and constantly. Continue to stir over very low heat for another 3-4 minutes, or until the pudding reaches a thick, luxurious, custard-like consistency. It should coat the back of your spoon thickly. You may need to slightly increase the heat for a minute or two to achieve the desired thickness, but be careful not to boil it. Once it’s perfectly thick, remove the saucepan from the heat and stir in the vanilla extract until fully incorporated.

Assembling Your Banana Pudding Pie Layers
Now for the exciting part – building those delicious layers! The strategic combination of crust, bananas, wafers, and pudding creates a harmonious blend of textures and flavors that is truly irresistible.
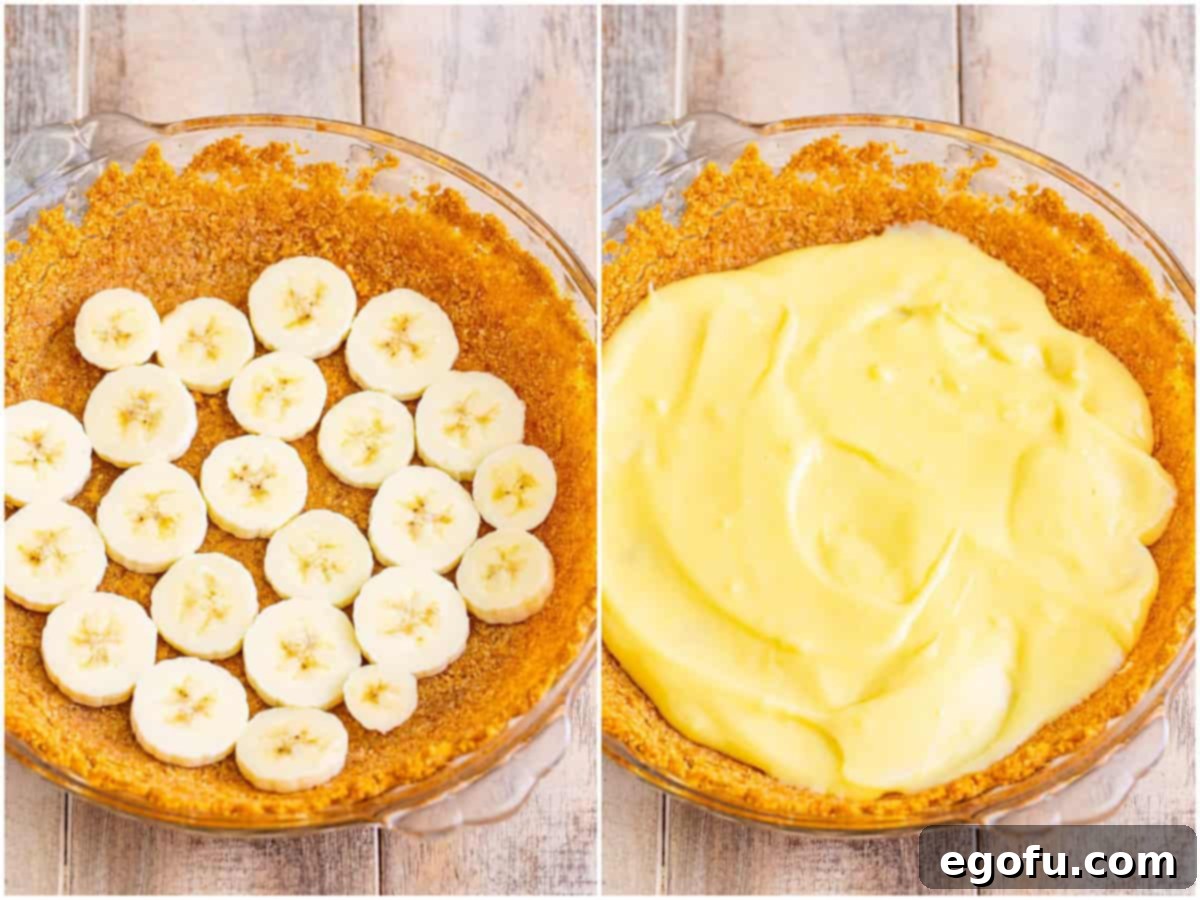
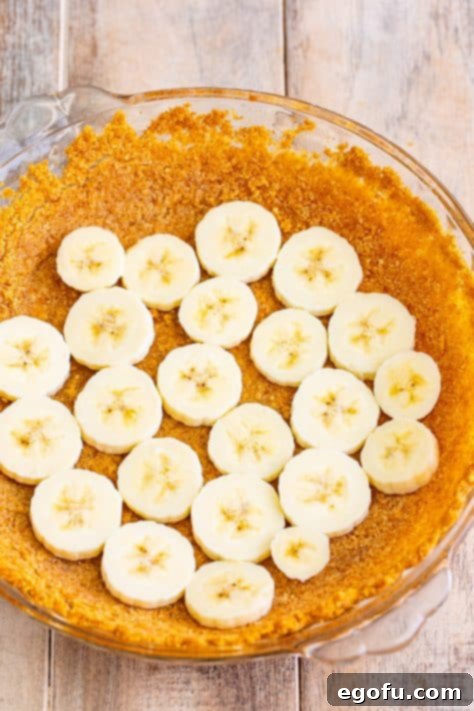
- Once your baked Nilla wafer crust has completely cooled, begin layering. Arrange half of your freshly sliced ripe bananas in an even, single layer over the bottom of the crust. Ensure good coverage for flavor in every bite.
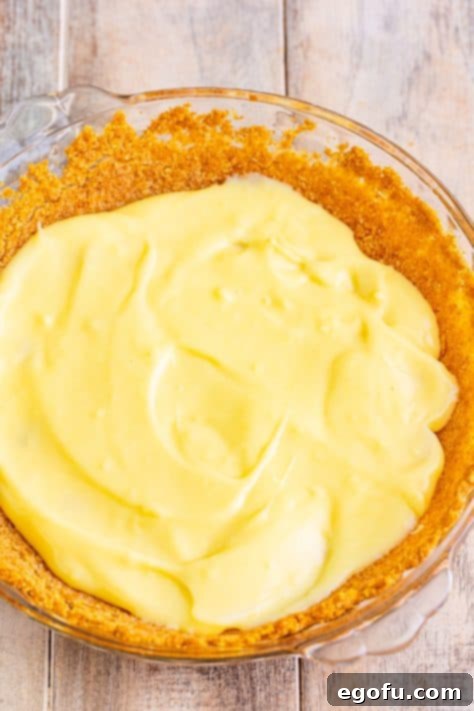
- Carefully spoon and gently spread half of the still-warm (but not piping hot) homemade pudding mixture over the banana slices. Use an offset spatula or the back of a spoon to ensure an even coating, sealing in the bananas.

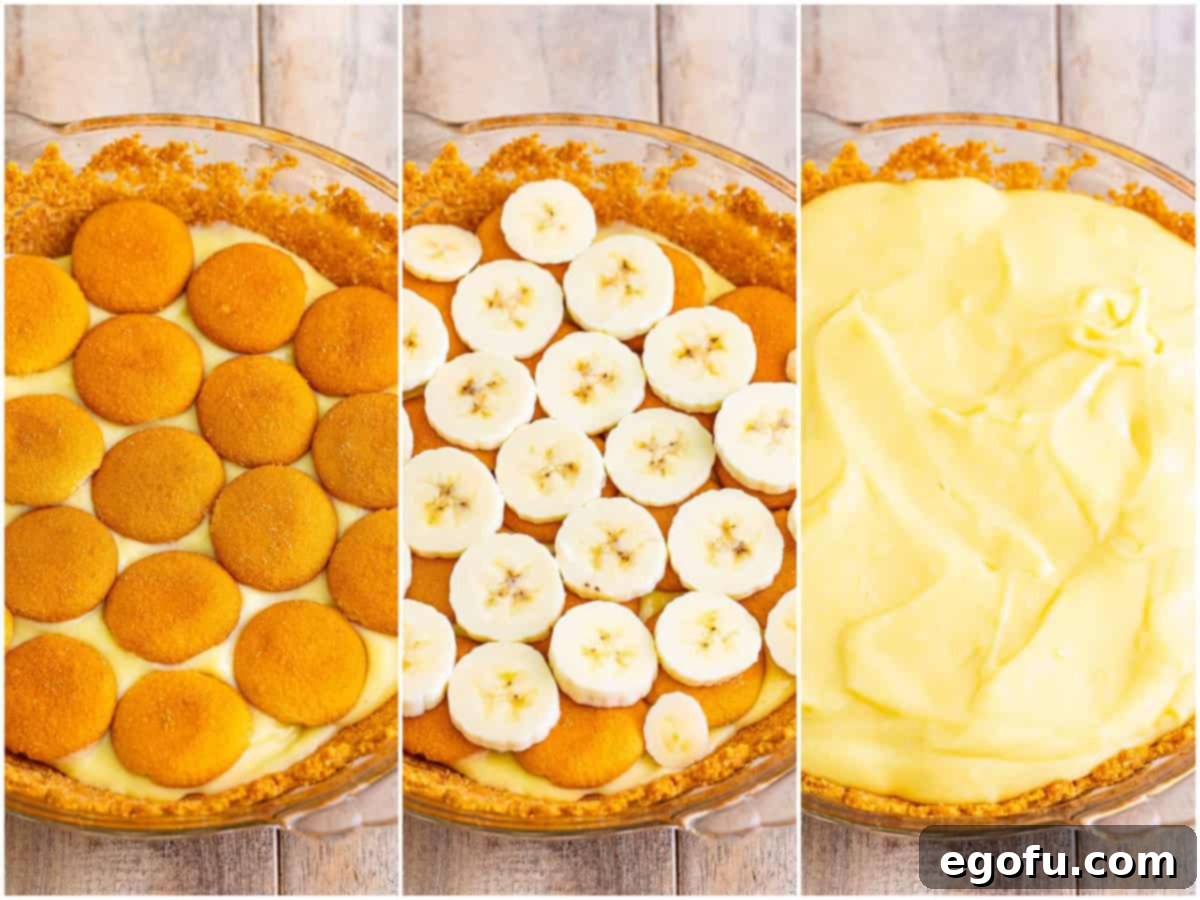
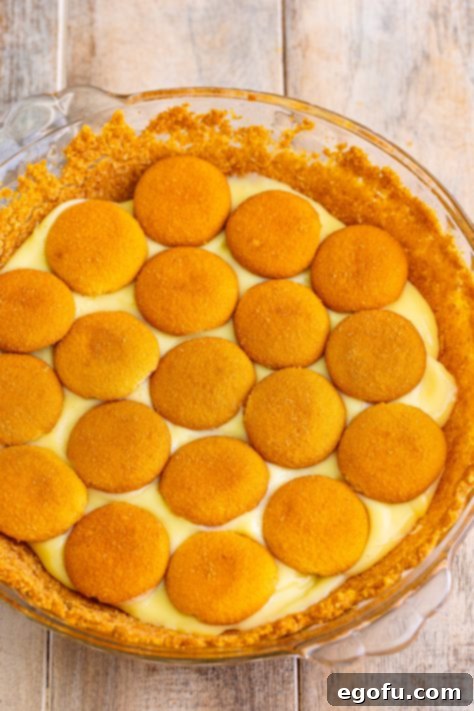
- Evenly scatter the remaining 20 whole vanilla wafers that you set aside earlier on top of the first pudding layer. This adds another delightful layer of crunch and classic banana pudding flavor, creating a delightful textural surprise.
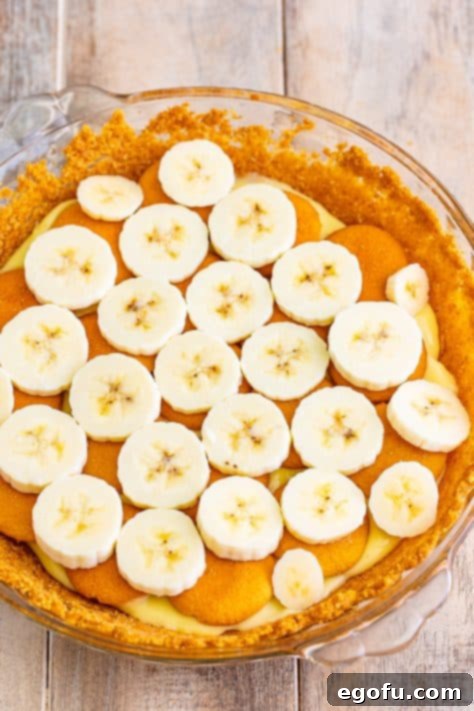
- Next, arrange the rest of your freshly sliced bananas over the wafer layer. Try to distribute them as evenly as possible to ensure that each slice of pie gets a good amount of banana.
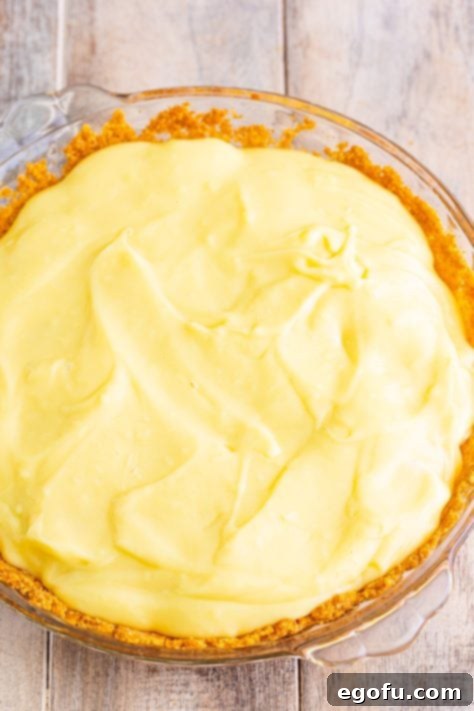
- Finally, carefully spoon and spread the remaining homemade pudding mixture over this last layer of bananas. Use your spatula to make sure it’s smooth and completely covers all the components, creating a beautiful, uniform top layer.
- Place the assembled pie into the refrigerator to cool completely. This chilling period is absolutely crucial for the pie’s success; it allows the pudding to fully set and firm up, and more importantly, gives all the flavors ample time to develop and meld beautifully. This will take at least several hours, or ideally, overnight, for the best results.

Whipping Up the Fresh Cream Topping
A generous dollop of freshly whipped cream is the perfect crowning glory for this delectable pie, adding a light, airy contrast to the rich pudding and a touch of elegance.
- Once your banana pudding pie is thoroughly chilled and the pudding layers are completely set, it’s time to prepare the luxurious whipped cream topping. For the absolute best results, ensure your mixing bowl and whisk attachment (whether for a stand mixer or a hand mixer) are very cold. You can achieve this by placing them in the freezer for about 10-15 minutes before you begin whipping.
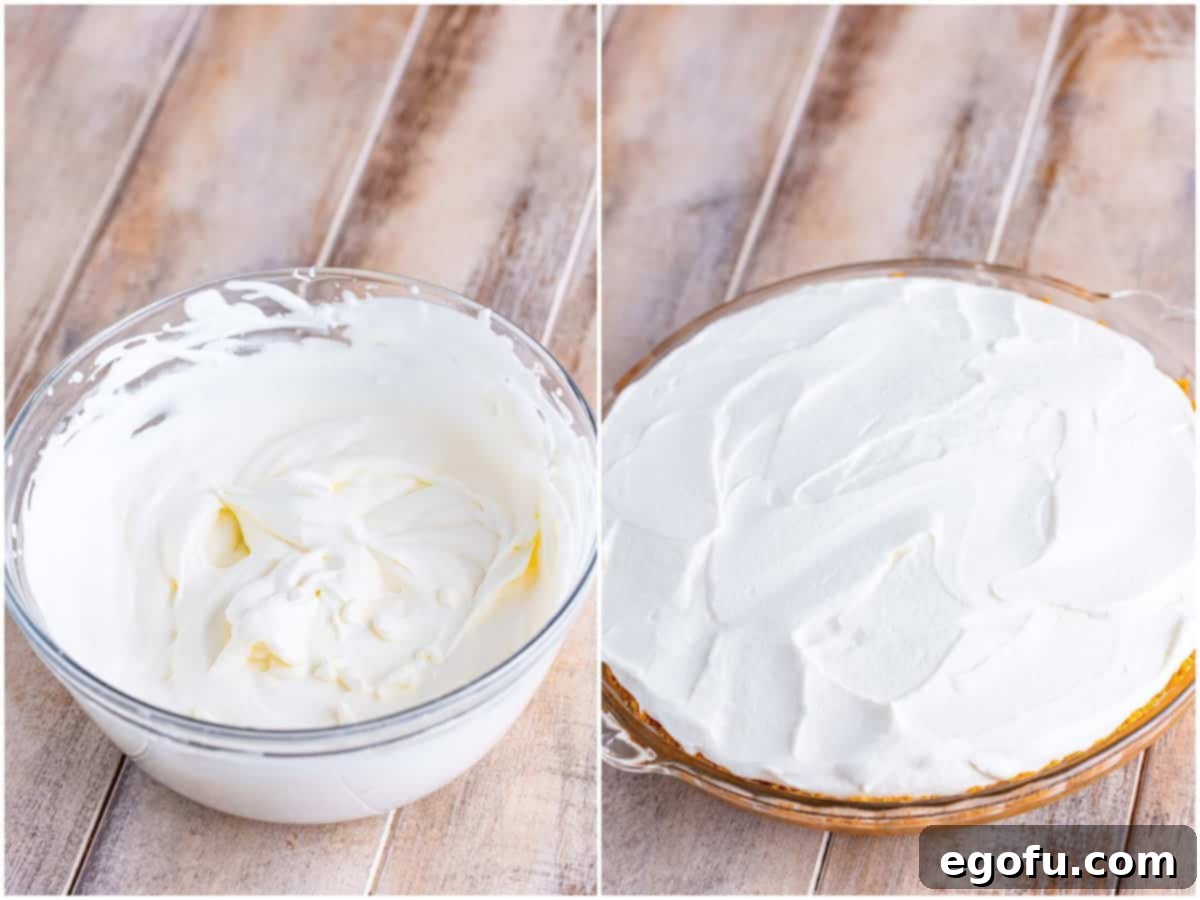
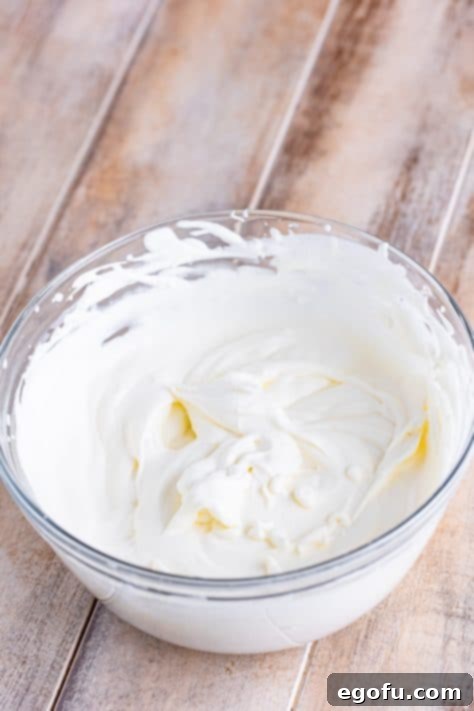
- Pour the cold heavy cream into your chilled mixing bowl. Add the powdered sugar and vanilla extract. Begin beating on medium-high speed until soft peaks form. The cream should be fluffy, light, and hold its shape when the whisk is lifted. Be vigilant and careful not to overbeat, or you risk turning your beautiful whipped cream into butter!
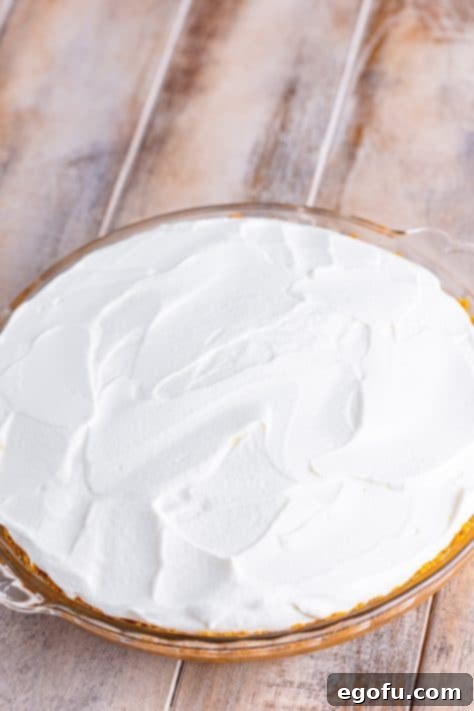
- Gently and evenly spread the freshly whipped cream over the top of the completely cooled and set pie. You can use an offset spatula to create a smooth surface or swirl it artfully for a more rustic look.

- For a final touch of elegance and a whisper of extra flavor and texture, sprinkle the reserved ¼ cup of vanilla wafer crumbs over the freshly whipped cream topping. This adds visual appeal and a lovely, subtle crunch.
- Your magnificent Homemade Banana Pudding Pie is now complete and ready to be sliced and enjoyed! Carefully slice into generous portions, ensuring each piece showcases those beautiful layers. Remember to keep any leftovers stored tightly covered in the refrigerator to maintain freshness and quality.


Tips for a Flawless Banana Pudding Pie
Achieving banana pudding pie perfection is easier with a few insider tips. Keep these in mind as you embark on your baking adventure:
- Chill Time is Crucial: This cannot be emphasized enough! Do not rush the chilling process. The pudding needs ample time (at least 4 hours, but preferably overnight) to fully set, thicken, and allow all the wonderful flavors to develop and meld beautifully. A well-chilled pie is not only more delicious but also much easier to slice and serve cleanly, without the layers sliding apart.
- Prevent Banana Browning: While the natural browning of fresh bananas is inevitable over time due to oxidation, you can slow it down considerably. A common trick is to very lightly toss your sliced bananas in a tiny amount of lemon juice or orange juice (about a teaspoon per banana). Be aware, however, that this might slightly alter the pie’s overall flavor profile, adding a subtle tang. For the best presentation, aim to assemble and serve the pie within a day, or consider adding the bananas only when serving each individual slice if possible.
- Ideal Banana Ripeness: As highlighted in the ingredients section, the key to truly flavorful banana pudding is using perfectly ripe bananas. Look for bananas with noticeable brown spots on their peel; these are at their peak sweetness and have the most intense banana flavor. Avoid green, underripe bananas, as they will be starchy and lack flavor, while overly soft or mushy bananas can make the pie watery and have an unpleasant texture.
- Homemade Whipped Cream vs. Store-Bought: While Cool Whip or other store-bought whipped toppings offer undeniable convenience, homemade whipped cream truly elevates this pie to another level. Its fresh, rich flavor and lighter, airier texture provide a sublime contrast to the dense pudding. If you are making the pie ahead of time, consider adding the whipped cream topping just a few hours before serving for the freshest and most visually appealing result.
- Adjust Sweetness to Taste: Everyone has a different preference for sweetness. Before you add the egg yolks to the pudding mixture (as the yolks themselves aren’t sweet), give the pudding base a quick taste. If you prefer a sweeter or less sweet pudding, this is your opportunity to adjust the sugar accordingly. Remember that the vanilla wafers and ripe bananas also contribute to the overall sweetness of the dessert.
Serving and Storage Suggestions
This Homemade Banana Pudding Pie is a guaranteed showstopper, making it perfect for any family gathering, holiday meal, potluck, or simply as a special treat to brighten your week. For the best experience, serve it chilled directly from the refrigerator, allowing the layers to present beautifully and the flavors to truly shine.
To ensure clean and attractive slices, use a sharp knife that has been warmed by running it under hot water and then quickly wiped dry between each cut. This helps to glide through the creamy layers without dragging.
For storing any leftover pie, it is essential to keep it tightly covered with plastic wrap or in an airtight container and refrigerate promptly. Due to the fresh banana slices embedded within the layers, the pie is best enjoyed within 1-2 days. After this time, the bananas will naturally begin to brown and soften significantly, which can affect both the appearance and texture. If you anticipate needing to stretch the pie’s life to 3-4 days, consider an alternative approach: either add the banana slices only to the top of the pie just before serving, or omit the middle banana layer entirely, replacing it with an additional layer of vanilla wafers if desired. It’s also worth noting that homemade whipped cream, while delicious, will typically break down and lose its airy structure faster than a more stabilized store-bought whipped topping, so for optimal freshness of the topping, consume soon after assembly.
Craving More Southern-Inspired Recipes?
If you loved creating and tasting this classic Homemade Banana Pudding Pie, you’re in for a treat with these other delightful recipes. Explore more comforting and flavorful dishes that truly capture the essence of Southern hospitality and bring warmth to your table:
- Classic Cooked Southern Banana Pudding
- Decadent Banana Pudding Poke Cake
- Easy No-Bake Banana Pudding Dessert
- The Best Ever Banana Bread
- Moist Banana Cake with Fluffy Buttercream Frosting
- Elegant Banana Pudding Layered Dessert
- Fun Walking Banana Pudding
- Chewy Banana Pudding Cookies
- Authentic Southern Banana Pudding
- Festive Punch Bowl Cake
- Rich Kentucky Derby Pie
- Sweet & Savory Peanut Pie
Originally Published: June 2011
Updated with New Photos & Republished: September 2023

Banana Pudding Pie
Print Recipe
Pin Recipe
Add Your Review
Ingredients
For the crust:
- 65 vanilla wafers, divided use
- 5 ⅓ Tablespoons unsalted butter, melted
For the pie:
- 2 ripe bananas, sliced
For the pudding:
- ½ cup sugar
- ⅓ cup flour
- ¼ teaspoon salt
- 2 cups milk
- 4 large egg yolks, lightly beaten
- 2 teaspoons vanilla extract
For the whipped cream:
- 1 cup heavy cream
- 2 Tablespoons powdered sugar
- 1 teaspoon vanilla extract
Instructions
For the crust:
- Preheat oven to 350°F (175°C). Spray a 9-inch pie plate with nonstick spray.
- Place 45 vanilla wafers into a food processor and pulse until cookies are finely crushed (reserve ¼ cup of the crumbs for topping the pie later).

- Mix the remaining crumbs with the melted butter. Firmly press the mixture into the prepared pie plate, ensuring an even layer on the bottom and sides.

- Bake for 10-12 minutes, then remove from oven and allow to cool completely on a wire rack.

For the pudding:
- In a medium saucepan over medium heat, combine the sugar, flour, and salt. Whisk well to remove any lumps.

- Gradually whisk in the milk. Continue to whisk constantly as the mixture heats to a low boil and visibly thickens, which should take about 7-10 minutes. Once thickened, reduce the heat to very low.

- To temper the egg yolks, take a separate bowl where your egg yolks are lightly beaten. Add a couple of tablespoons of the hot milk mixture to the egg yolks, whisking continuously. This prevents the eggs from scrambling when added to the hot pudding.

- Slowly pour the tempered egg mixture back into the saucepan with the pudding base, stirring constantly. Continue to stir over very low heat for about 3-4 minutes until the mixture thickens to a true pudding consistency. You may need to slightly increase the heat for a moment to achieve the desired thickness. Remove from heat and stir in the vanilla extract.

To assemble the pie:
- Arrange half of the sliced ripe bananas in an even layer over the cooled crust.

- Evenly spread half of the still-warm pudding mixture over the layer of bananas.

- Scatter the remaining 20 vanilla wafers on top of the pudding layer.

- Add the rest of the sliced bananas over the wafer layer.

- Generously spread the remaining pudding mixture over the top, creating a smooth finish. Place the pie in the refrigerator to cool completely for several hours, or preferably overnight.

For the whipped cream topping:
- Once the pie has thoroughly cooled and set, prepare the whipped cream. Using an electric mixer with a very cold bowl and whisk attachment, beat the heavy cream, powdered sugar, and vanilla extract until soft peaks form.

- Gently spread the whipped cream evenly over the top of the chilled pie.

- For a beautiful finish, sprinkle the reserved ¼ cup of vanilla wafer crumbs over the whipped cream topping.

- Slice and serve your delectable Homemade Banana Pudding Pie immediately. Keep any remaining pie refrigerated.

Video
Notes
- For more detailed insights on ingredient choices and answers to common questions, please refer to the comprehensive FAQ section and the ingredient breakdown located earlier in this article.
- This pie is best enjoyed within 1-2 days when stored properly in the refrigerator, as the fresh banana slices will naturally begin to brown and soften over time. While a light coating of lemon juice or orange juice can deter this browning, it may subtly alter the pie’s overall flavor profile. For a pie that lasts longer (up to 3-4 days), consider an alternative: add the banana slices only when serving each portion, or omit the middle banana layer entirely. Keep in mind that homemade whipped cream typically breaks down and loses its airy texture faster than more stabilized store-bought whipped toppings.
Nutrition Information (Estimated Per Serving)
Nutritional Disclaimer
“The Country Cook” is not a dietician or nutritionist, and any nutritional information shared is an estimate. If calorie count and other nutritional values are important to you, we recommend running the ingredients through whichever online nutritional calculator you prefer. Calories and other nutritional values can vary quite a bit depending on which brands were used. This information is provided for convenience and general guidance only.
