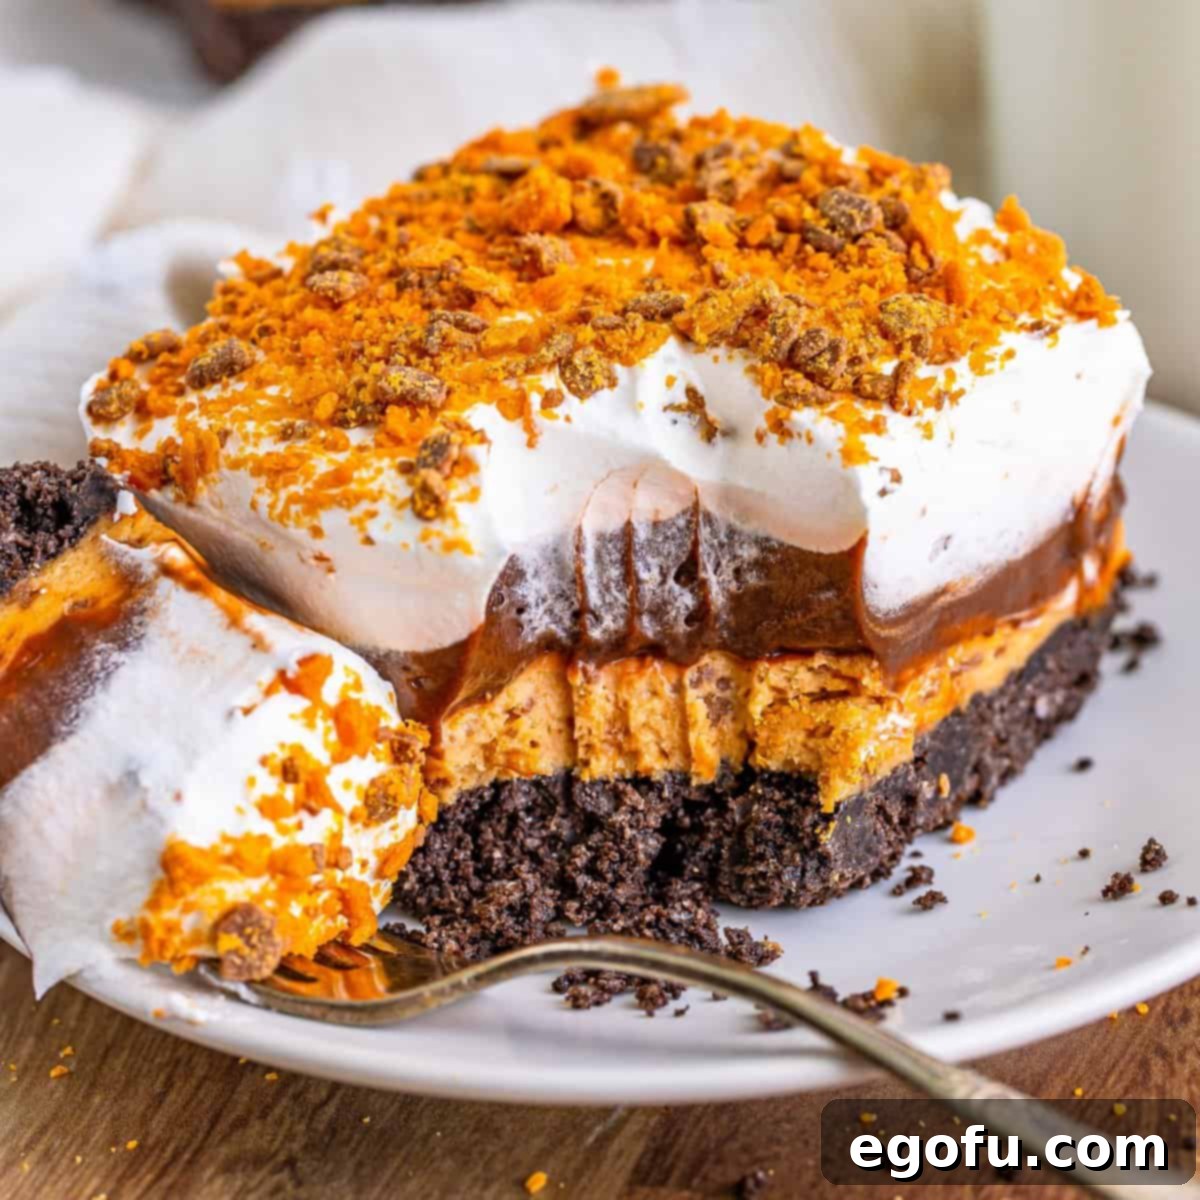
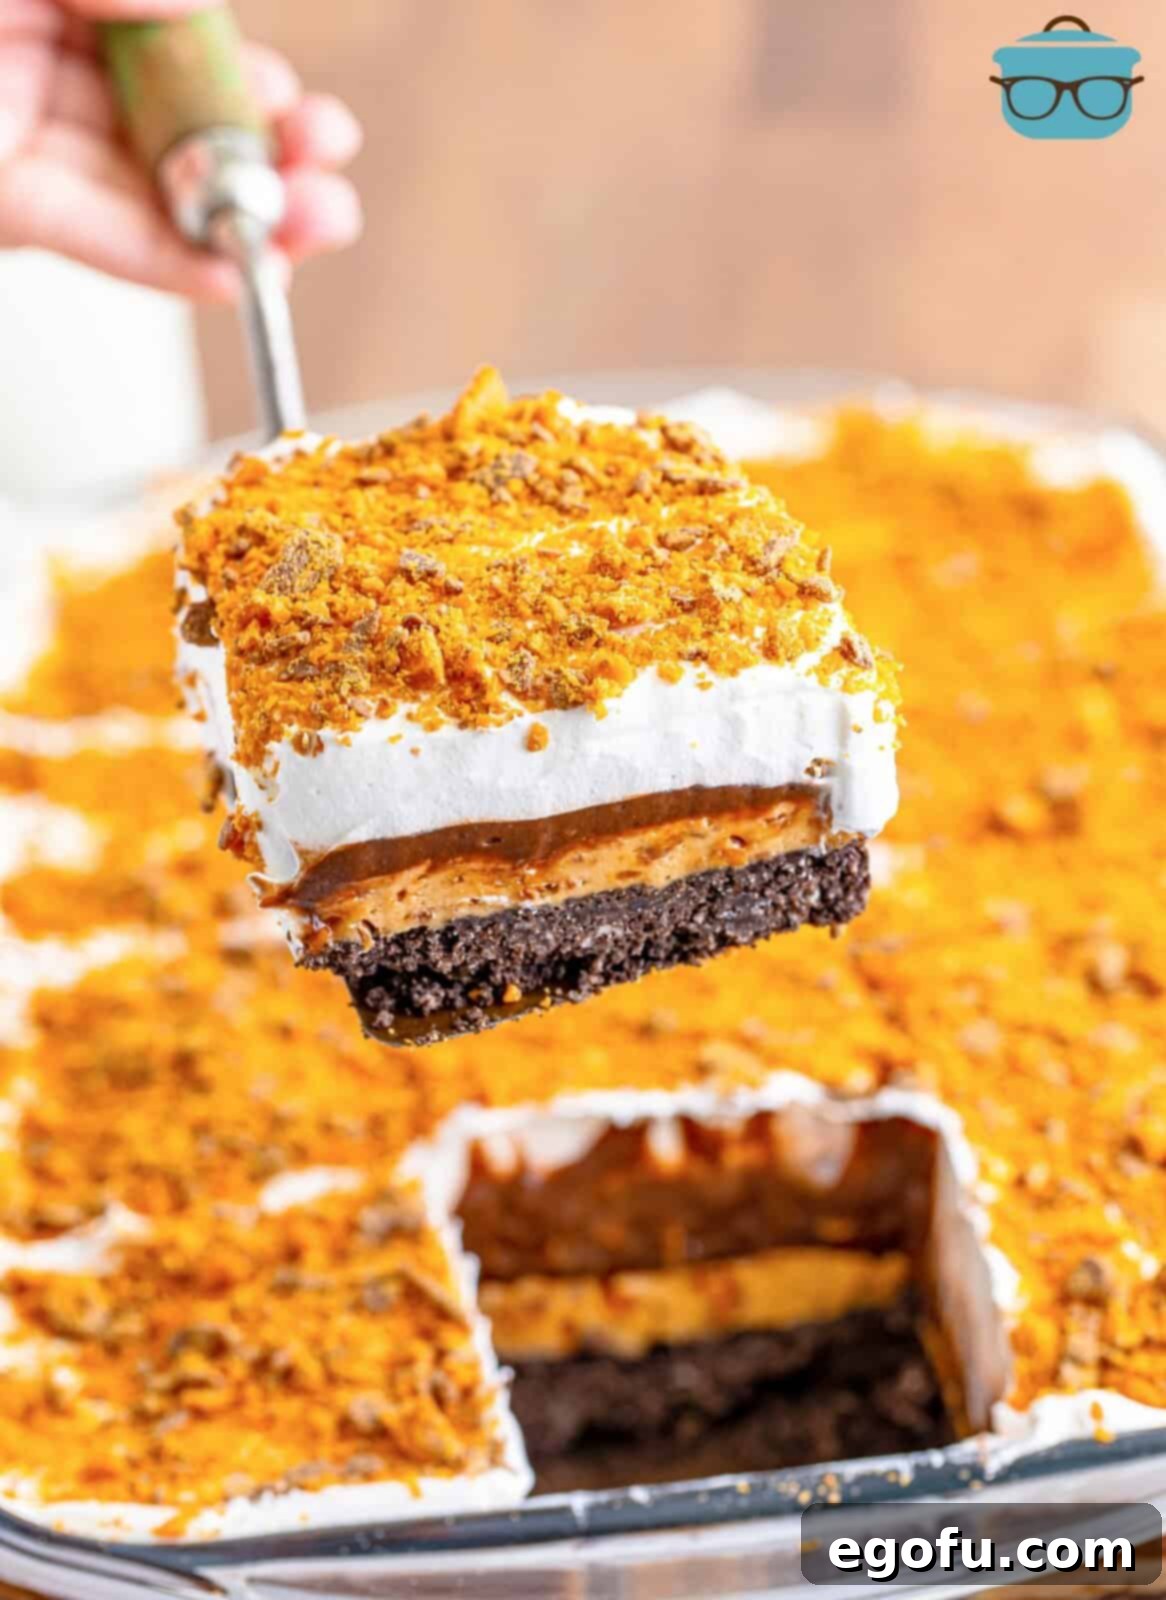
Experience a symphony of textures and flavors with Butterfinger Lush, a truly irresistible no-bake layered dessert. This delightful confection boasts a rich Oreo cookie crust, a luscious chocolate pudding layer, a creamy peanut butter and Cool Whip cream cheese blend, all crowned with crunchy Butterfinger candy bits. It’s an easy-to-make treat that promises to be a showstopper at any gathering!
Indulge in the Ultimate No-Bake Butterfinger Lush Dessert
Are you searching for a dessert that’s not only incredibly delicious but also remarkably simple to prepare? Look no further than this magnificent Butterfinger Lush! It’s the quintessential no-bake dessert, requiring minimal effort but delivering maximum flavor impact. Each decadent bite transports you straight to the heart of a Butterfinger candy bar, featuring that iconic combination of crisp, flaky peanut butter and rich chocolate. This layered sensation is designed for convenience, making it the ideal candidate for potlucks, family gatherings, or simply a delightful weekend treat. When I first introduced this dessert to my family, it was an immediate and resounding success – a true crowd-pleaser that vanished in record time!
Why This No-Bake Butterfinger Lush Is a Must-Try
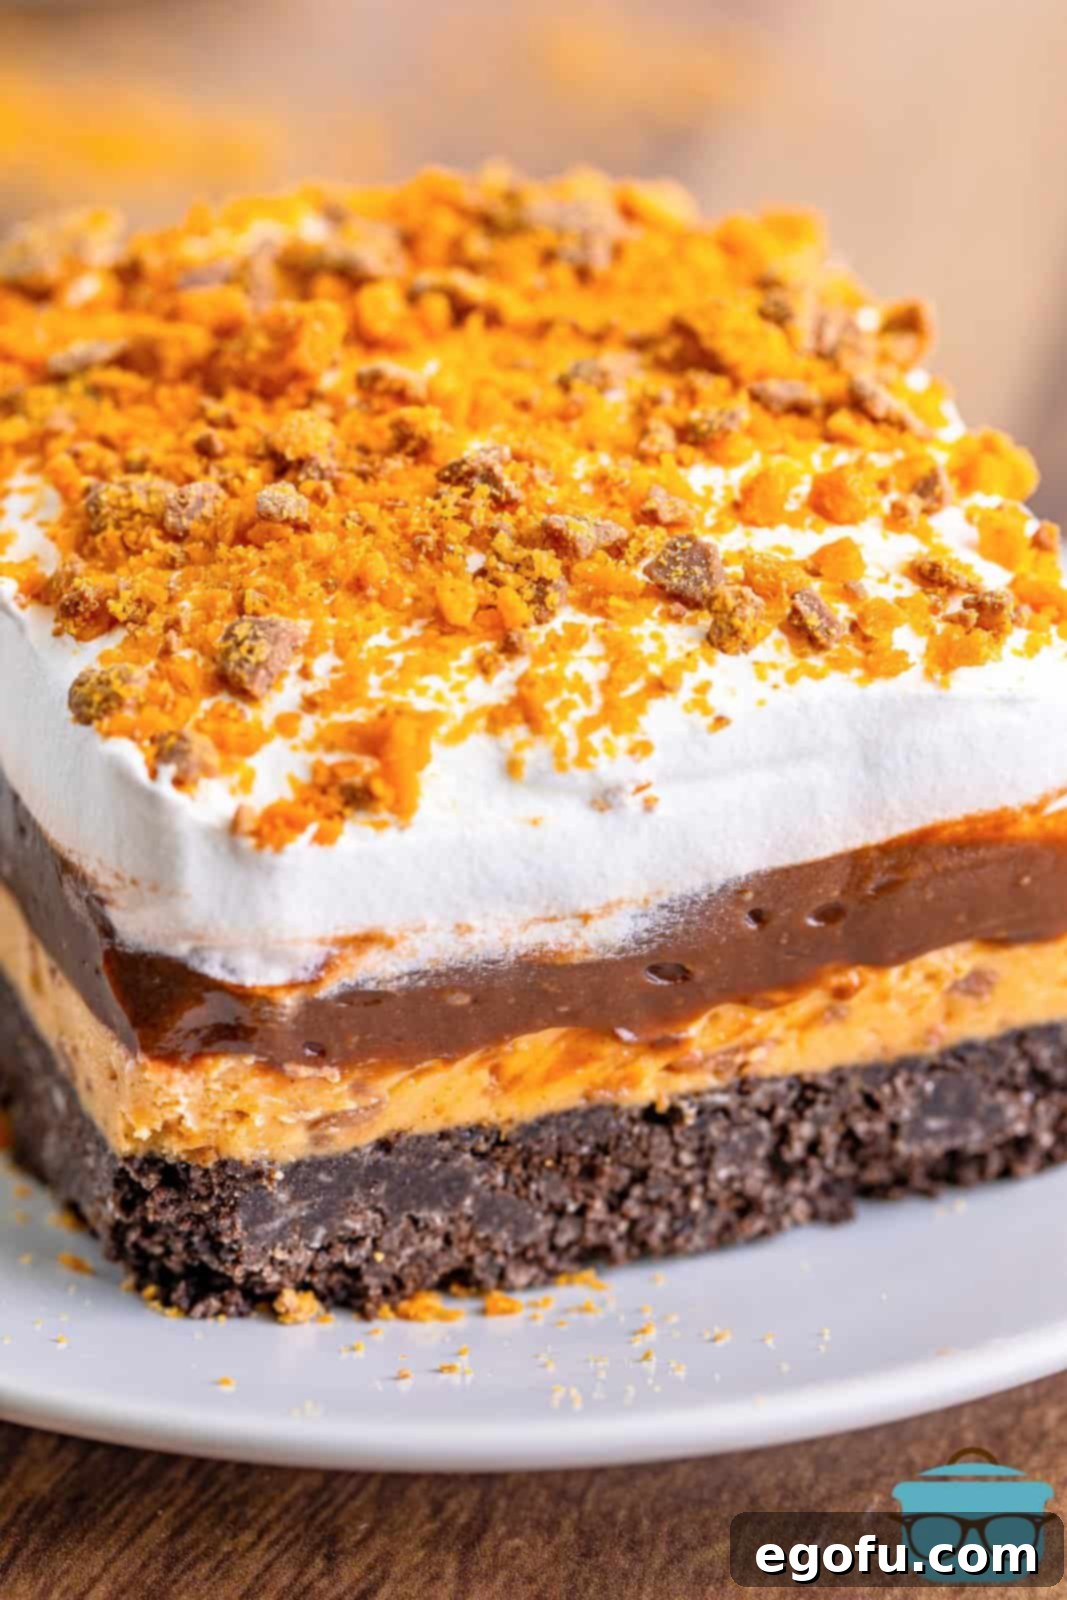
The beauty of a “lush” dessert lies in its harmonious layers and effortless preparation. This Butterfinger Lush embodies that philosophy perfectly. It’s an ode to the classic candy bar, transforming its beloved flavors into a sophisticated yet approachable dessert. The base provides a sturdy foundation, the cream cheese layer offers a smooth, tangy counterpoint, the pudding brings a comforting chocolatey depth, and the whipped topping adds an airy lightness, all enhanced by the unmistakable crunch of Butterfinger. This dessert is not just easy; it’s a celebration of convenience and incredible taste.
One of the greatest advantages of a no-bake dessert like this is its ability to free up your oven, especially during holidays or when entertaining a large crowd. It’s also a fantastic option for warmer months when you want a cool, refreshing treat without heating your kitchen. Its visually appealing layers make it a dessert that looks as good as it tastes, effortlessly impressing guests. Whether you’re a seasoned baker or a kitchen novice, this recipe is designed for success, promising a stunning dessert with minimal stress.
Essential Ingredients for Your Butterfinger Lush
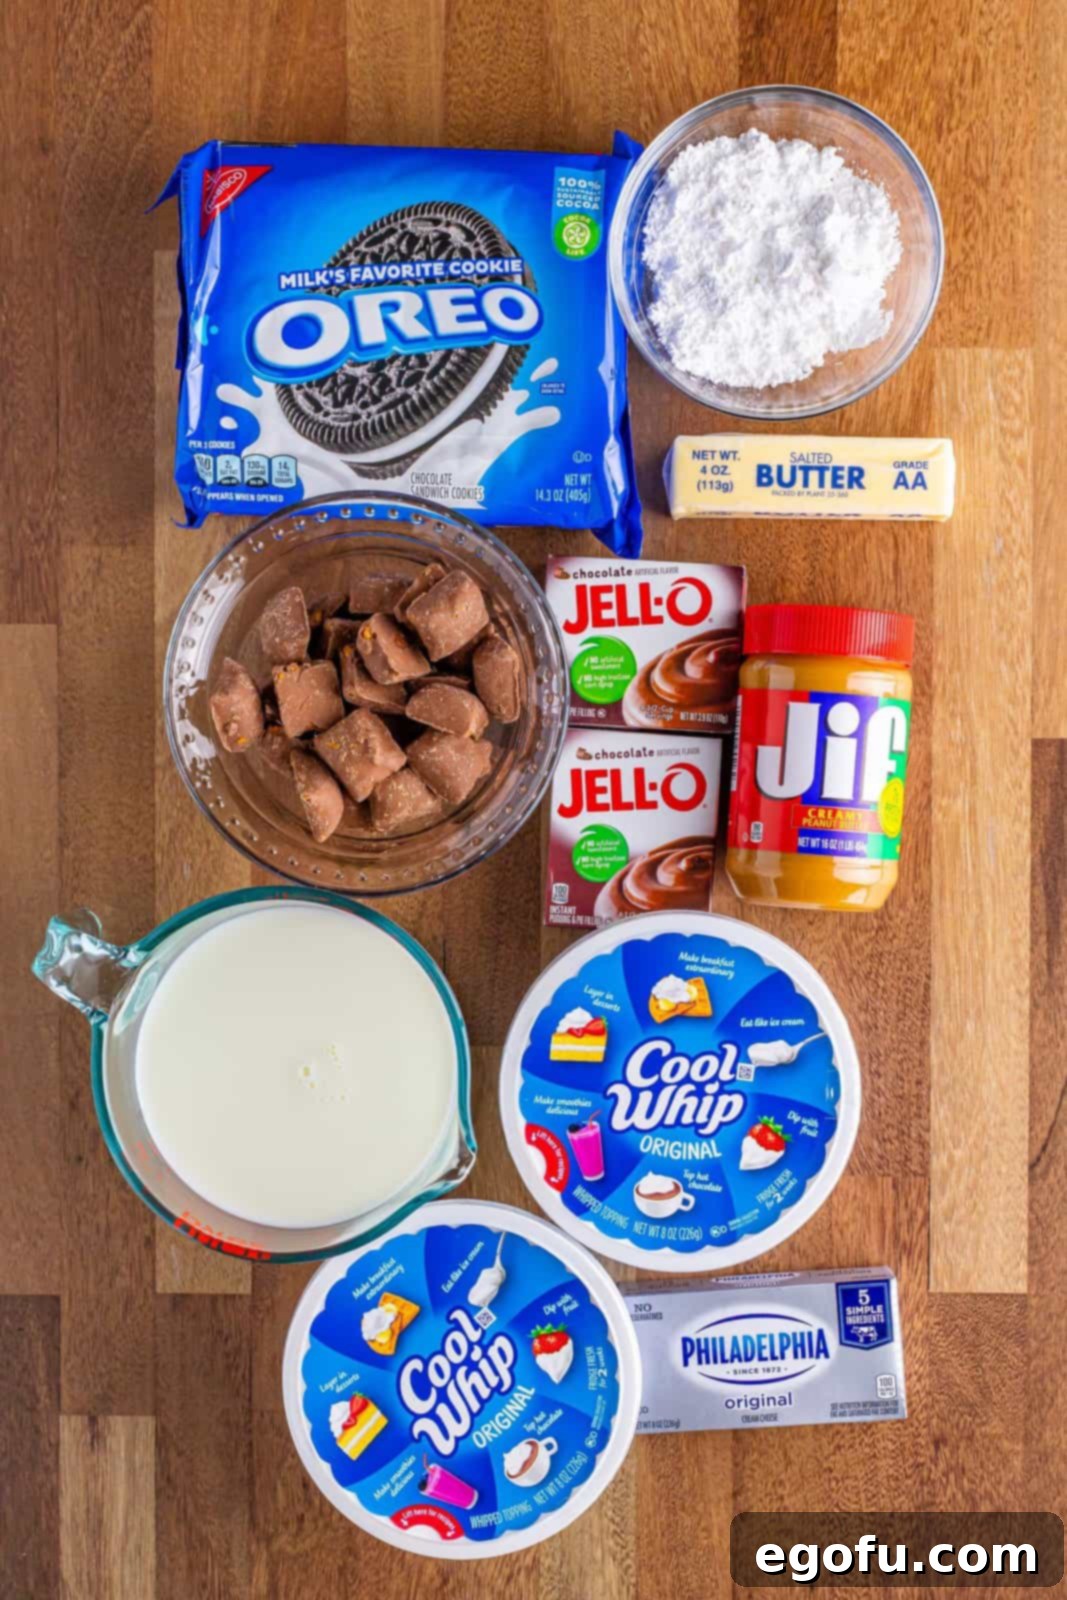
Creating the perfect Butterfinger Lush relies on a few key ingredients, each playing a crucial role in building its irresistible layers. Understanding the nuances of each component will help you achieve the best possible results.
- Oreo Cookies: For the ultimate crust, regular Oreos are preferred. Using the entire cookie, including the cream filling, adds an extra layer of flavor and helps bind the crust. While Double Stuf Oreos could work, they might result in a slightly creamier rather than a perfectly crunchy crust.
- Salted Butter: Melted and cooled, salted butter is crucial for binding the Oreo crumbs into a firm crust. The subtle hint of salt wonderfully balances the sweetness of the other layers, enhancing the overall flavor profile. If you only have unsalted butter, a pinch of fine salt can be added to the crust mixture.
- Cream Cheese: It is absolutely imperative that your cream cheese is softened to room temperature. This ensures a silky-smooth, lump-free mixture when beaten with the powdered sugar and peanut butter. Cold cream cheese will result in a clumpy, uneven layer, affecting both texture and appearance. Plan ahead by taking it out of the refrigerator at least an hour before you start baking.
- Powdered Sugar: Also known as confectioners’ sugar, this fine-grained sugar dissolves seamlessly into the cream cheese mixture, providing sweetness without a grainy texture.
- Creamy Peanut Butter: The classic choice for this recipe, creamy peanut butter integrates smoothly into the cream cheese layer, delivering that essential nutty flavor. If you’re a fan of extra texture, crunchy peanut butter could be a delightful alternative. However, this recipe has not been tested with natural peanut butter, which often has a different consistency and oil separation, so results may vary.
- Butterfinger Candy Bars: The star of the show! Whether you use mini Butterfingers or chop up regular-sized bars, these candies provide the iconic crispy, peanut butter crunch. Crushing them into small bits ensures an even distribution and delightful texture throughout the dessert.
- Whipped Topping (Cool Whip): This light and airy topping forms two key parts of the dessert: a portion is blended into the cream cheese layer for added fluffiness, and the rest creates the final cloud-like top layer. Since Cool Whip is typically sold frozen, remember to thaw it completely in the refrigerator overnight before you plan to make your dessert.
- Cold Milk: Essential for activating and setting the instant pudding. Using cold milk helps the pudding thicken properly and quickly. I typically use 2% or higher milk fat for optimal richness, though skim milk can be used. This recipe has not been tested with alternative milk products.
- Instant Chocolate Pudding Mix: This is a critical distinction! You MUST use instant pudding mix. “Cook and Serve” pudding requires heat to set and will not work in this no-bake recipe. Always double-check the packaging to ensure you have the correct type for proper setting.
How to Prepare Your Irresistible Butterfinger Lush: A Step-by-Step Guide
Follow these detailed instructions to create a flawless Butterfinger Lush that will impress everyone.
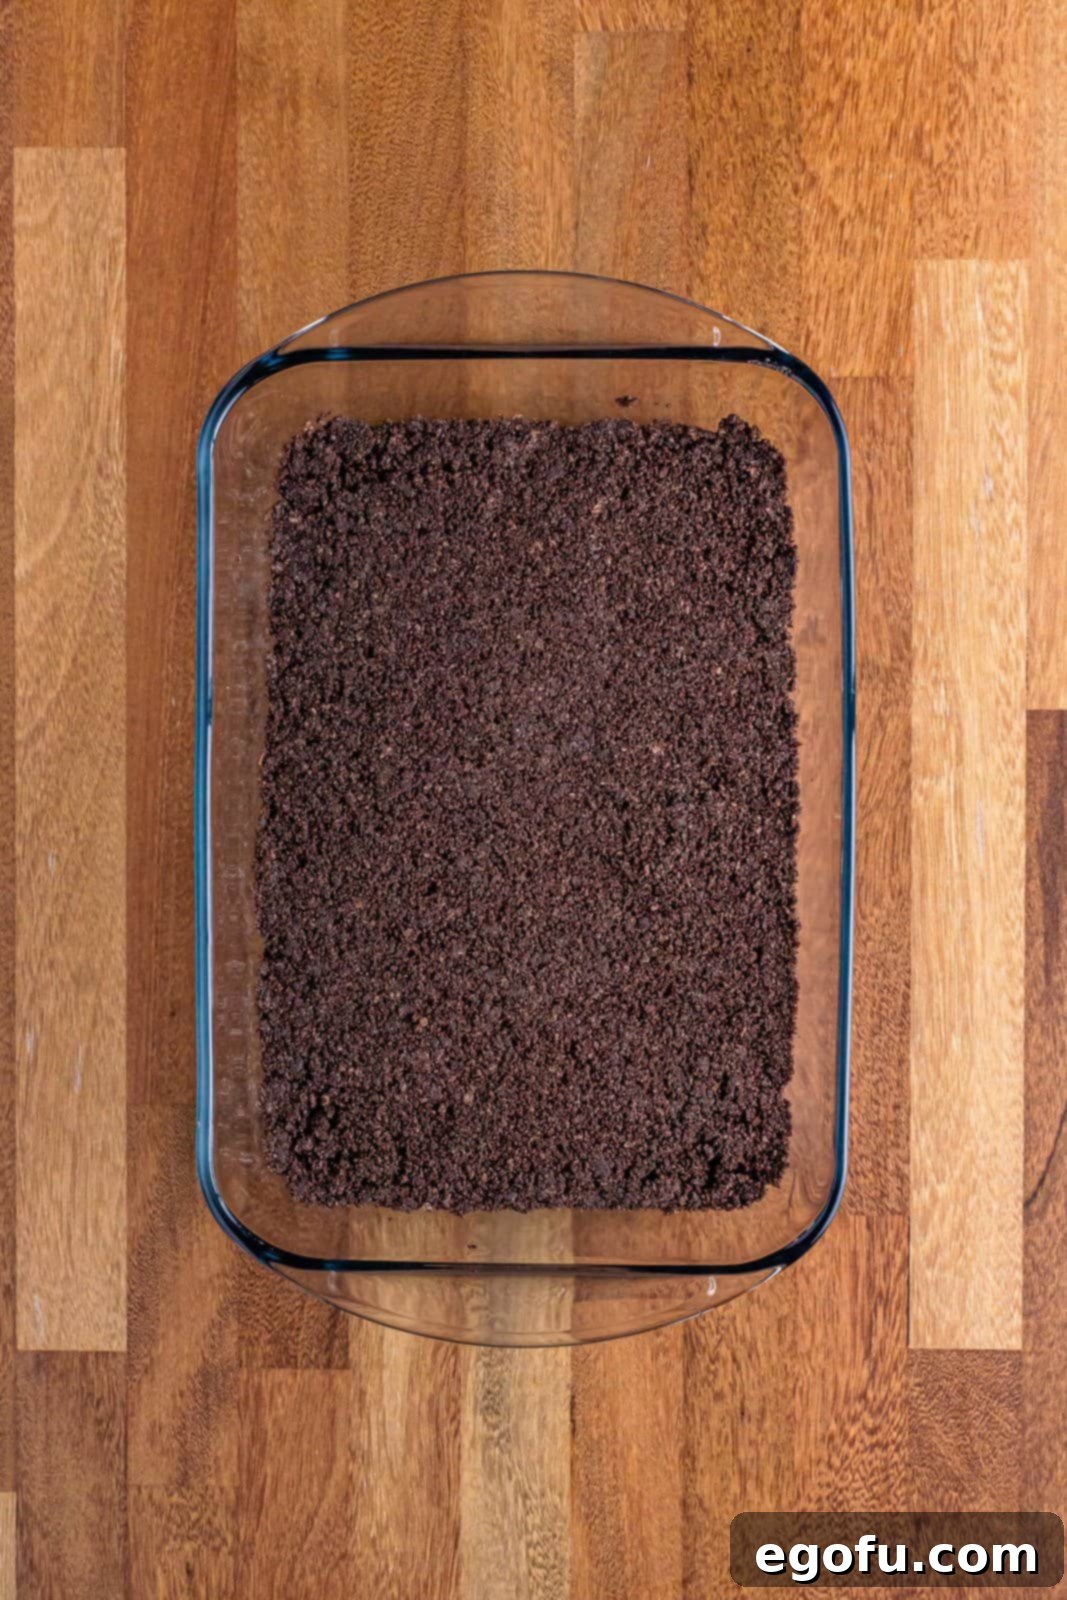
- Prepare the Oreo Crust: Begin by finely crushing your Oreo cookies. You can achieve this by pulsing them in a food processor until they resemble fine crumbs, or by placing them in a sturdy plastic ziploc bag and crushing them with a rolling pin. Ensure there are no large chunks remaining for an even crust.
- Combine Crust Ingredients: In a large mixing bowl, combine the finely crushed Oreos with the cooled, melted salted butter. Mix thoroughly until all the crumbs are moistened and resemble wet sand. This ensures a cohesive crust.
- Form the Crust Base: Press the Oreo mixture firmly and evenly into the bottom of a 9×13-inch baking dish. Use your hands or the back of a spatula or a flat-bottomed glass to compact it tightly. A well-compacted crust will hold its shape when sliced. Place the dish in the refrigerator to chill and firm up while you prepare the remaining layers. This chilling step is crucial for a stable crust.
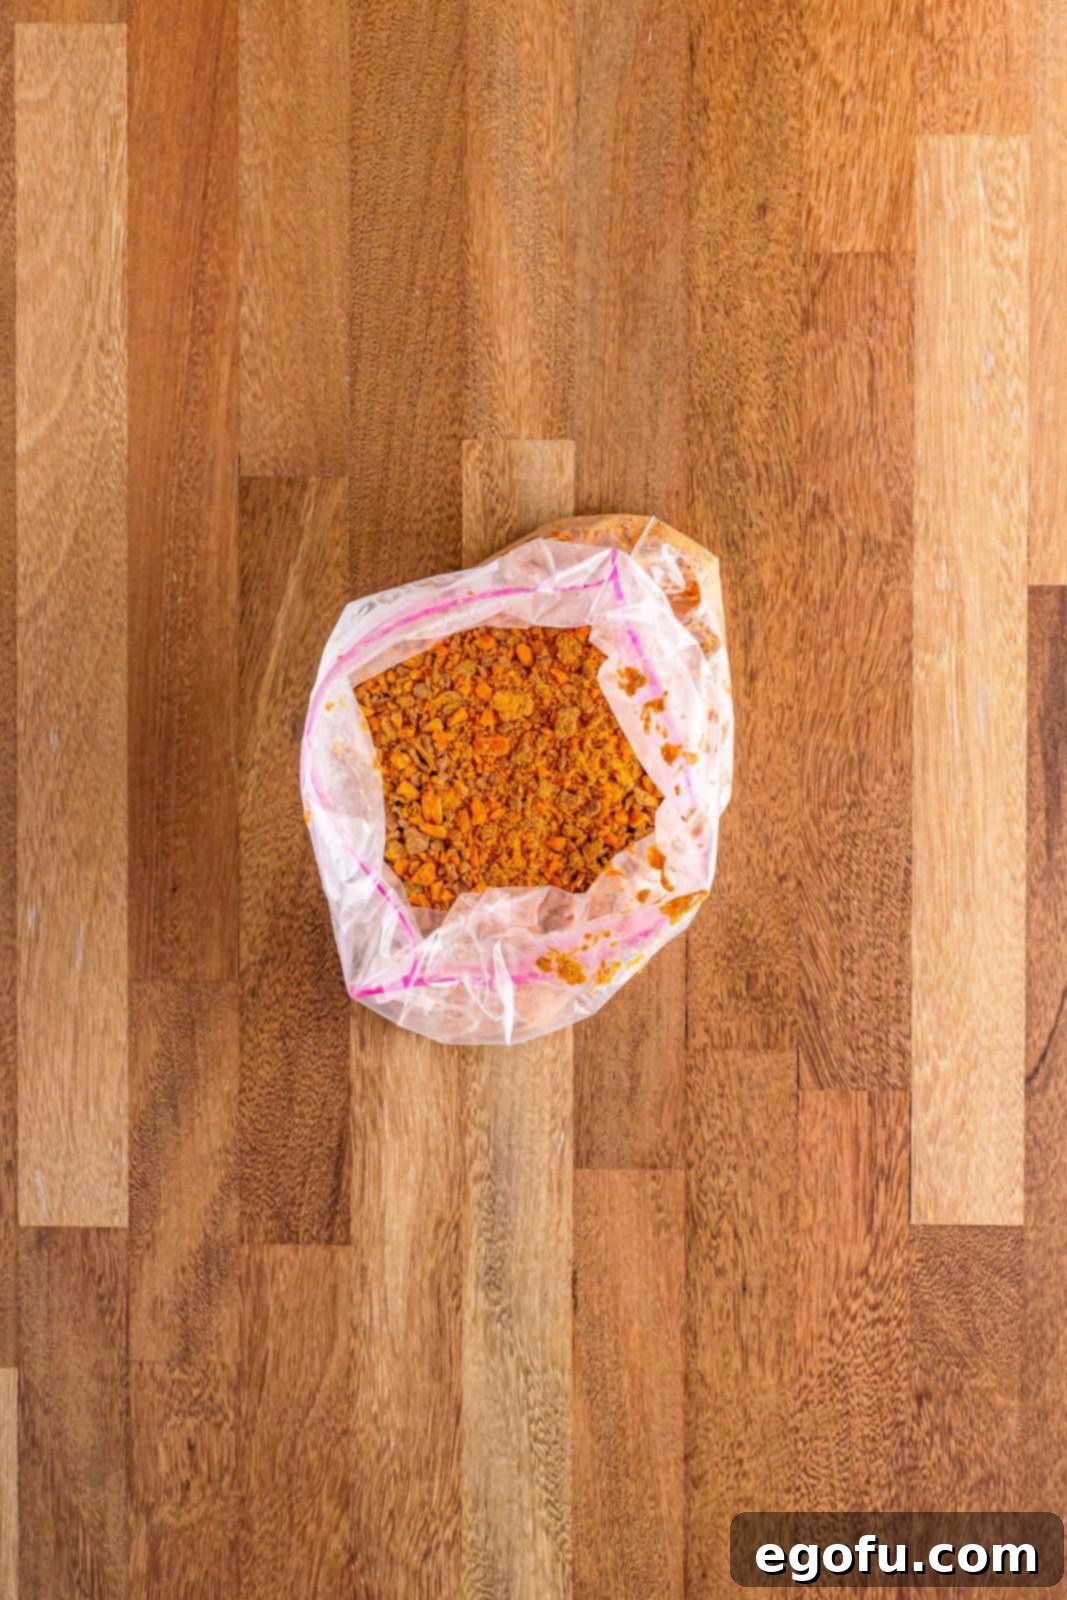
- Crush Butterfinger Candy: Unwrap your mini Butterfinger bars (or chop regular ones) and crush them into small pieces. A ziploc bag and a rolling pin work perfectly for this. Set aside these delightful candy bits; they will be used in two different layers.
- Prepare the Cream Cheese Peanut Butter Layer: In another large mixing bowl, using an electric mixer, beat the softened cream cheese, powdered sugar, and creamy peanut butter until the mixture is completely smooth and creamy. Ensure there are no lumps of cream cheese. Once smooth, gently fold in ¾ of the crushed Butterfinger candy bits and one cup of the thawed whipped topping. This creates a fluffy, flavorful, and slightly textured layer.
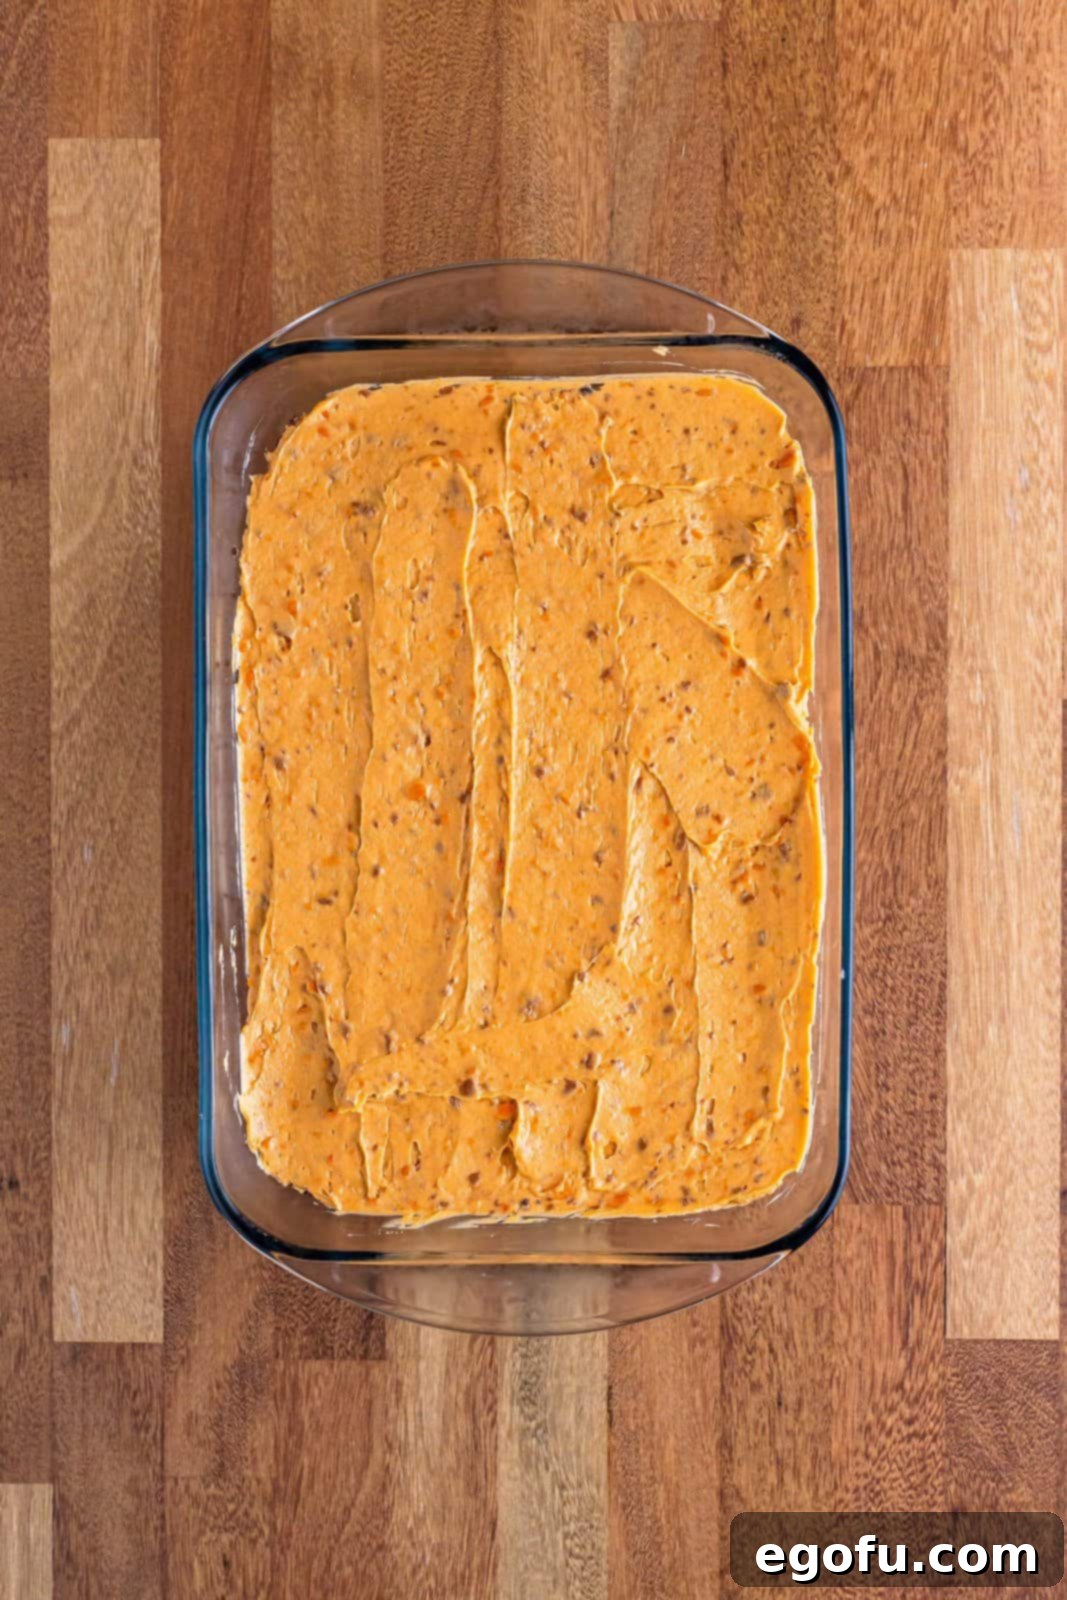
- Spread the Cream Cheese Layer: Carefully and evenly spread the prepared cream cheese mixture over the chilled Oreo crust. Use an offset spatula or the back of a spoon to create a smooth layer, being mindful not to disturb the crust below. Return the dish to the refrigerator to chill while you prepare the next layer. This helps the layers set properly and prevents them from melding together.
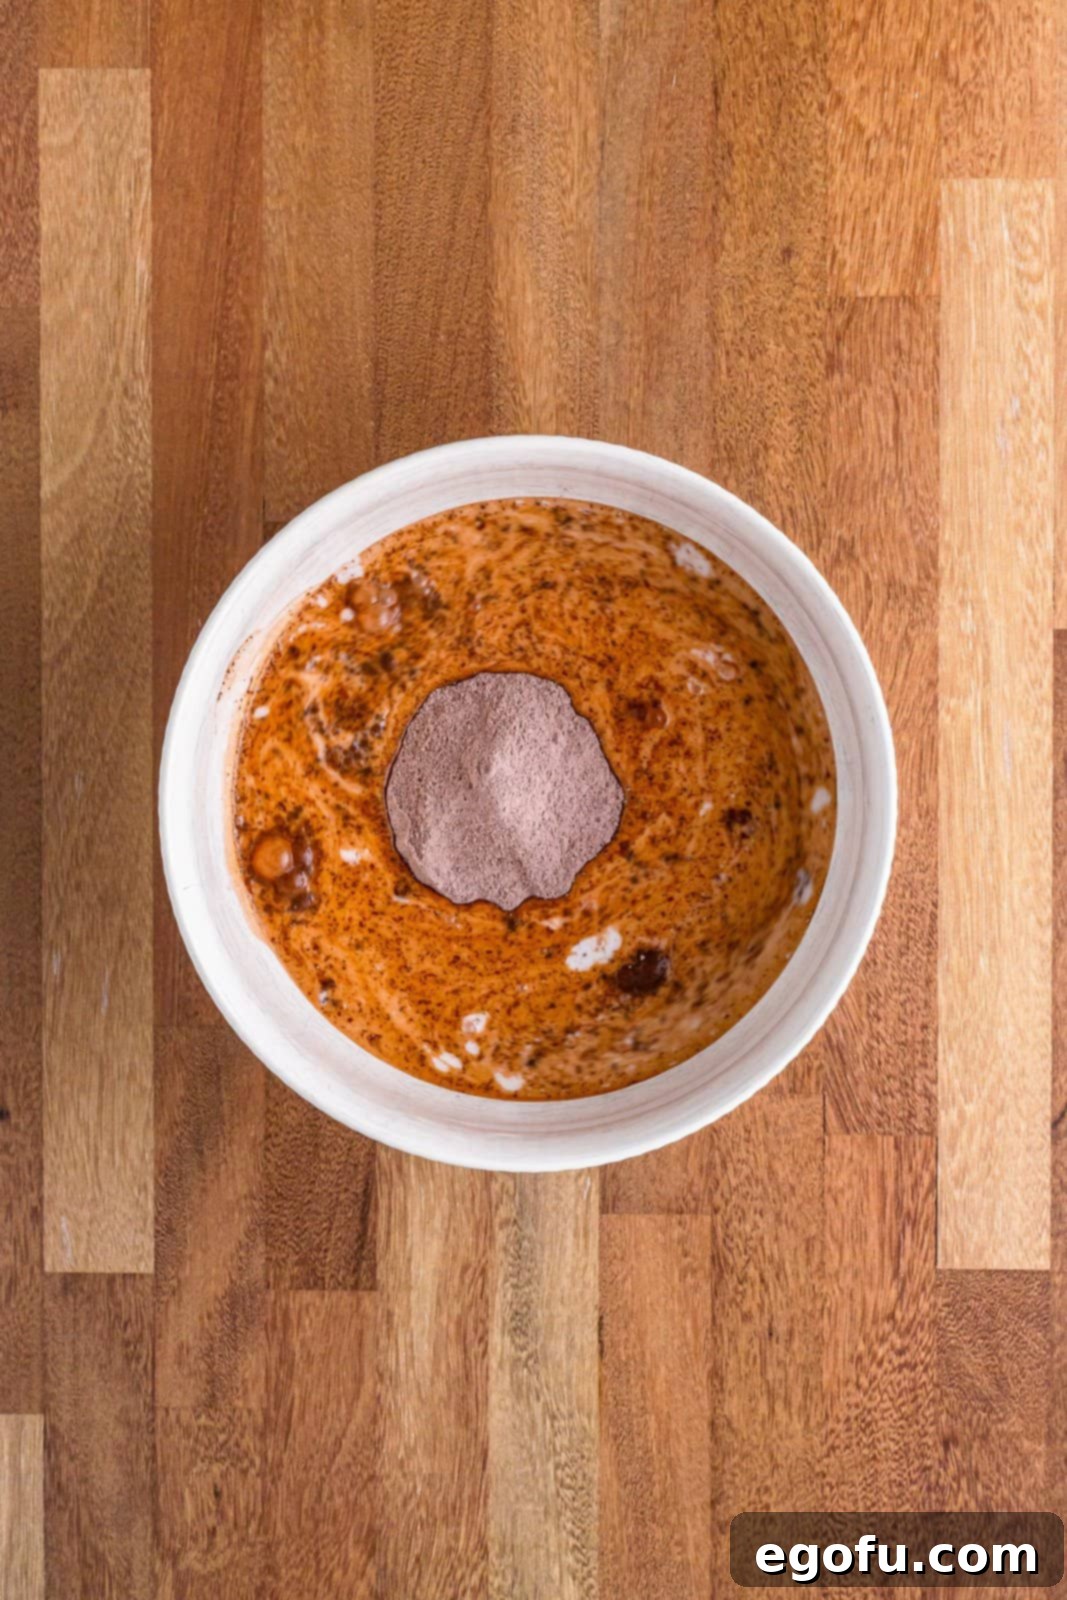
- Whisk the Chocolate Pudding: In a medium bowl, whisk together the instant chocolate pudding packets with the specified amount of cold milk. Continue whisking vigorously for about 2-3 minutes until the mixture thickens and becomes smooth. It should be noticeably thicker than when you started.
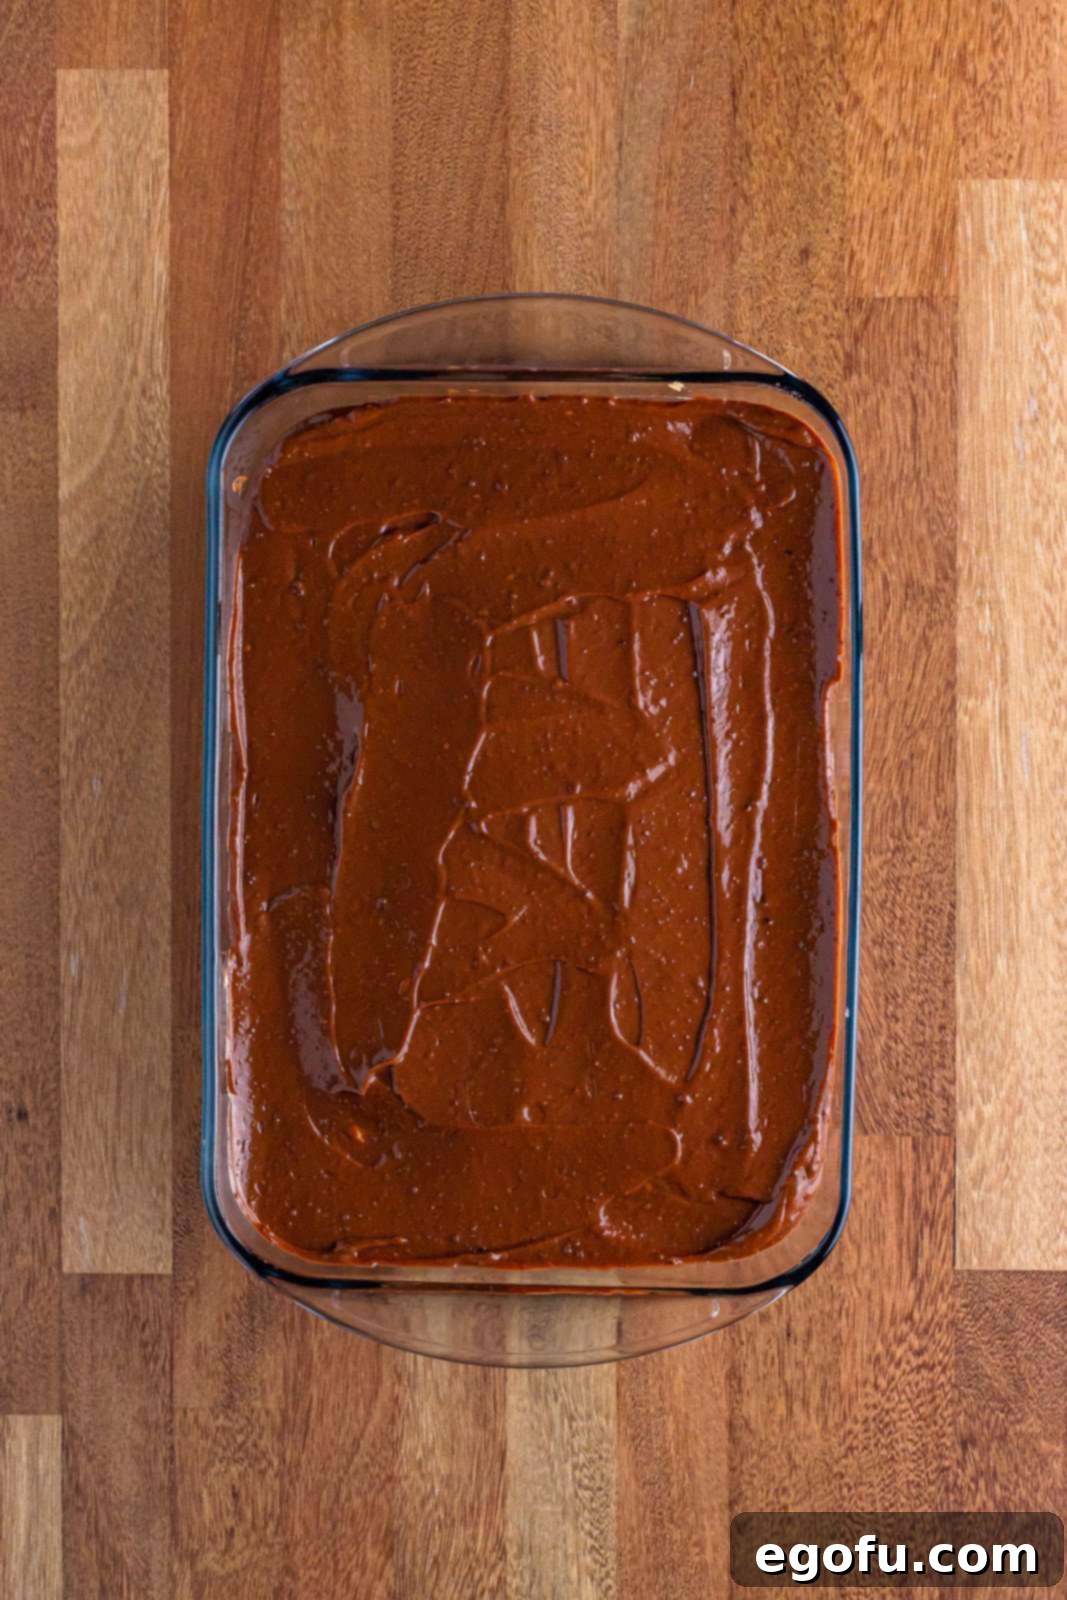
- Add the Pudding Layer: Gently spread the thickened chocolate pudding layer over the top of the chilled cream cheese layer. Take care to spread it evenly from edge to edge.
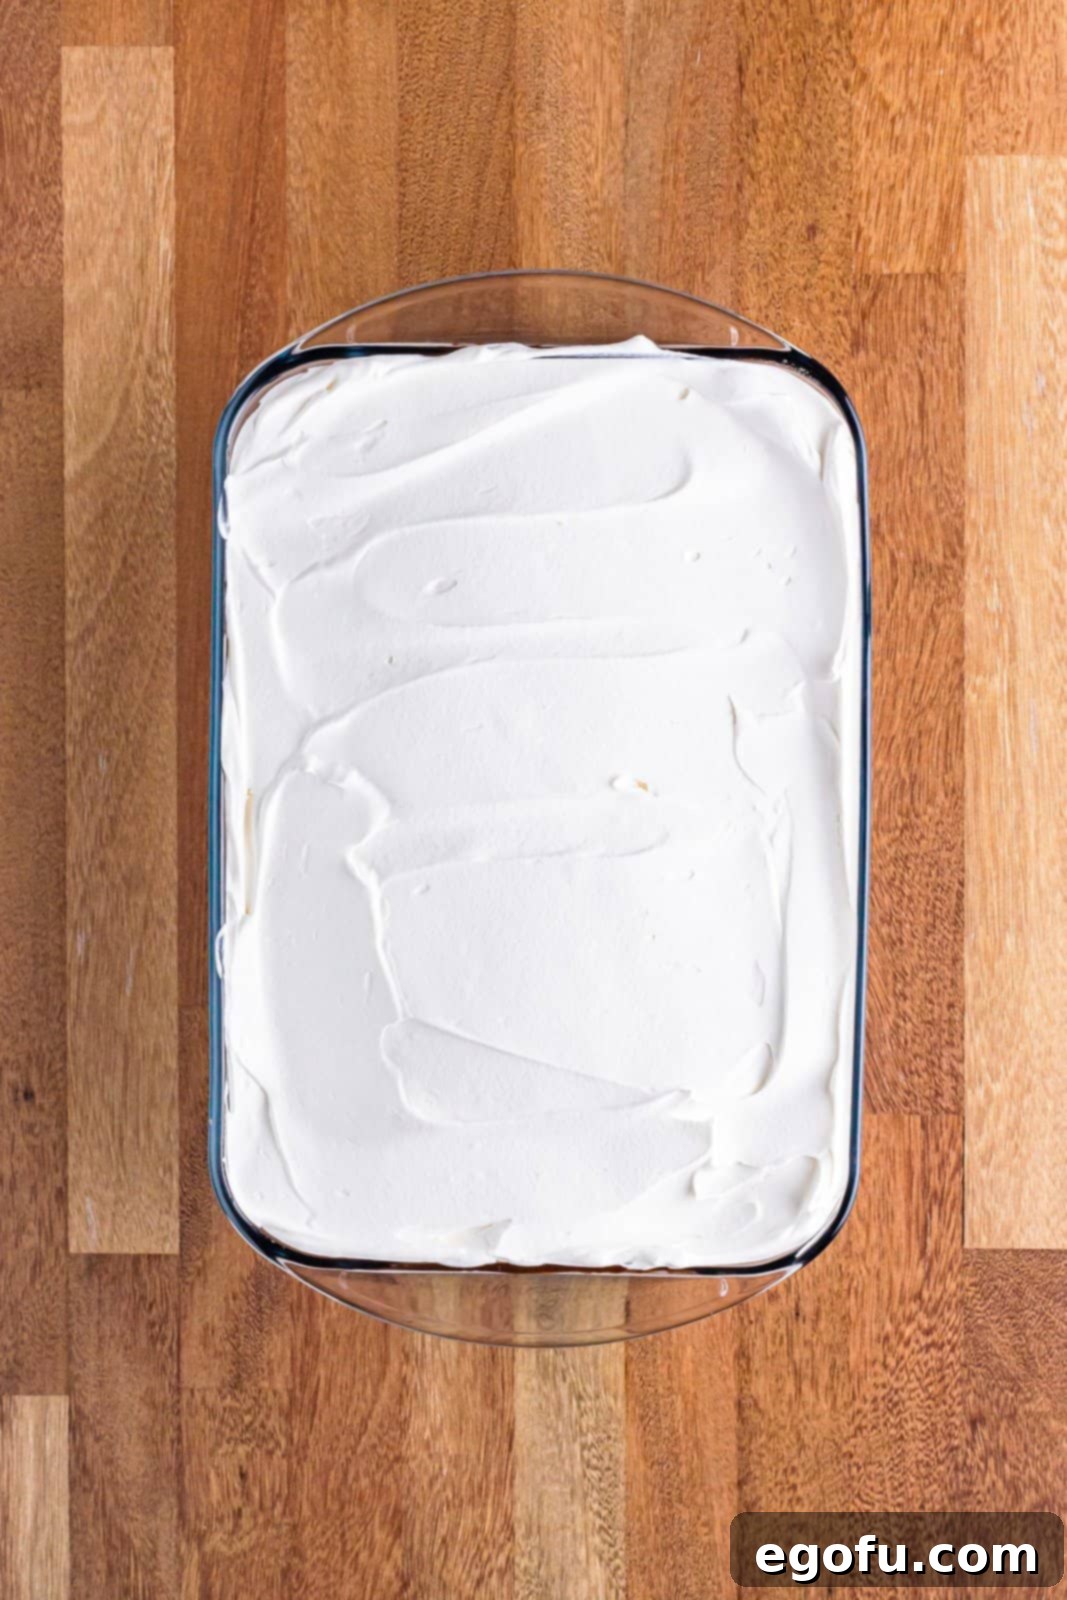
- Top with Whipped Topping: Carefully spread the remaining thawed whipped topping over the chocolate pudding layer. This creates a light, airy, and visually appealing top for your dessert.
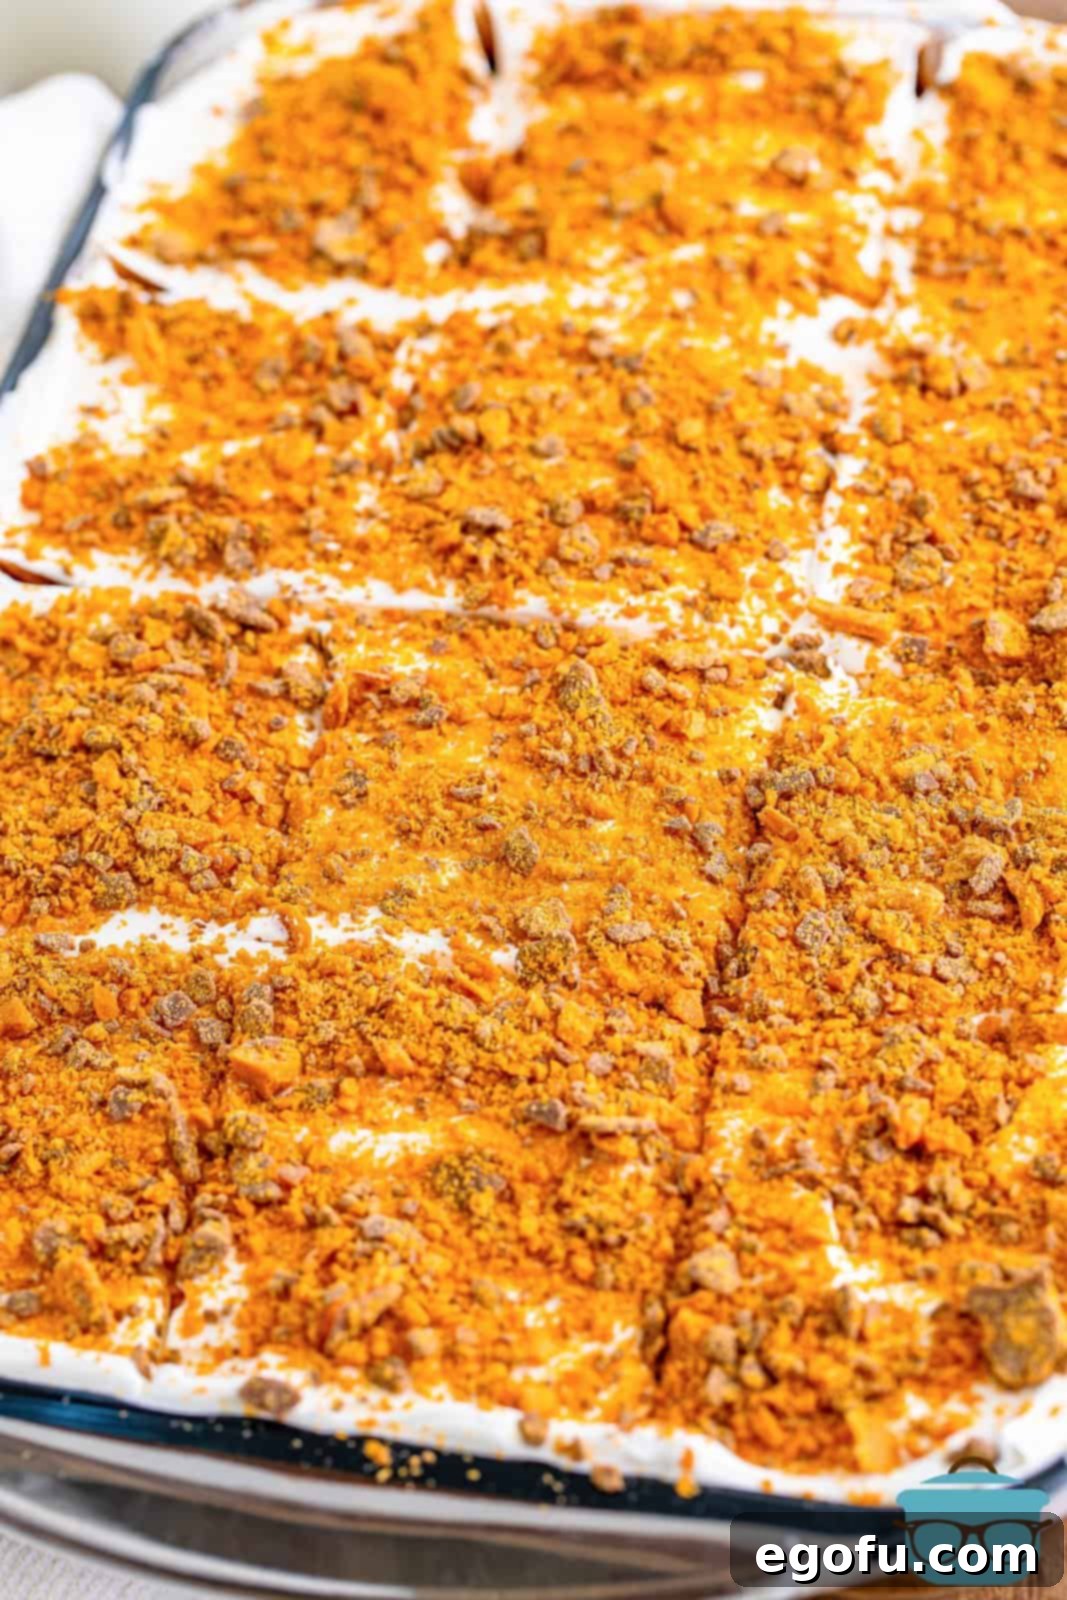
- Garnish and Chill: Generously sprinkle the remaining crushed Butterfinger candy bits over the top of the whipped topping. This adds the final touch of crunch and classic Butterfinger flavor.
- Final Chill and Serve: Place the entire dish back into the refrigerator to chill for at least 1-2 hours, or ideally, overnight. This allows all the layers to firm up completely and the flavors to meld beautifully. Once thoroughly chilled, slice into servings and enjoy this heavenly no-bake creation!




Frequently Asked Questions for Butterfinger Lush Success
Here are some common questions to ensure your Butterfinger Lush turns out perfectly every time:
What kind of peanut butter should I use?
I highly recommend using creamy peanut butter for a smooth, uniform texture in your cream cheese layer. This ensures it blends seamlessly with the other ingredients. If you prefer a more pronounced texture, crunchy peanut butter can certainly be used, but I tested the recipe for optimal creaminess with the smooth variety. I have not experimented with natural peanut butter, which often has a different consistency, so I cannot guarantee the same results.
What kind of chocolate pudding mix do I need?
This is a critical detail: you must use instant chocolate pudding mix. Do not use “Cook & Serve” pudding mix, as it requires heating to set properly and will not firm up in this no-bake recipe. The packaging can sometimes be similar, so always double-check to confirm it states “Instant” for best results.
Can I make this in an 8×8 or a 9×9-inch pan?
Absolutely! If you need a smaller portion of this delightful dessert, you can easily halve all the ingredients and prepare it in an 8×8 or 9×9-inch pan. The layers will be thicker, but the flavor will remain just as incredible. Adjust chilling times slightly if the layers are much thicker.
Do I remove the cream from the Oreos before making the crust?
No need to! For this recipe, use the whole Oreo cookies, cream filling and all. The cream not only adds extra flavor but also contributes to the binding properties of the crust, creating a richer, more cohesive base for your layered dessert.
Can I make this Butterfinger Lush ahead of time?
Yes, this is an excellent make-ahead dessert! In fact, preparing it the night before you plan to serve it allows all the layers to set perfectly and the flavors to meld beautifully. Simply cover the dish tightly with plastic wrap and store it in the refrigerator until ready to serve.
How do I store leftovers?
Leftovers of Butterfinger Lush can be stored in an airtight container in the refrigerator for up to 3-4 days. For longer storage, you can freeze individual slices or the entire dessert (well-wrapped) in a freezer-safe container for 2-4 weeks. To serve from frozen, transfer it to the refrigerator the night before to allow it to thaw gradually.
Serving Suggestions and Creative Variations
While Butterfinger Lush is fantastic on its own, here are a few ideas to elevate your dessert experience:
- Perfect Pairing: Serve slices with a dollop of extra whipped cream, a drizzle of chocolate sauce, or a scoop of vanilla bean ice cream for an ultimate indulgent treat.
- Coffee Companion: This rich dessert pairs wonderfully with a hot cup of coffee, a glass of cold milk, or an iced latte.
- Customize Your Candy: Not a Butterfinger fan? No problem! This “lush” recipe is incredibly versatile. Experiment with other crushed candy bars like Heath bars, Snickers, Reese’s peanut butter cups, or even chopped M&Ms for a different flavor profile.
- Pudding Play: While chocolate pudding is classic, you could try vanilla, banana, or even white chocolate instant pudding for a unique twist.
- Nutty Alternatives: If peanut butter isn’t your preference, consider using an alternative nut butter (if consistent with no-bake properties) or even a hazelnut spread for a different creamy layer.
Craving More Delicious Recipes?
If you loved this no-bake Butterfinger Lush, be sure to explore more of our delightful dessert recipes:
- Butterfinger Poke Cake
- Butterfinger Brownies
- Coconut Cream Lush
- Fruity Pebbles Layered Dessert
- Cookie Monster Layered Dessert
- Pistachio Layered Dessert
- Oreo Layered Dessert
- Lemon Delight
Recipe: Butterfinger Lush
A spectacularly easy no-bake dessert featuring an Oreo crust, rich chocolate pudding, a creamy peanut butter and Cool Whip cream cheese layer, all generously topped with crunchy Butterfinger candy bits!

- Prep Time: 20 minutes
- Chill Time: 1 hour
- Total Time: 1 hour 20 minutes
- Servings: 12 servings
- Author: Brandie Skibinski
Ingredients
- 40 Oreo cookies
- ½ cup (1 stick) salted butter, melted and cooled
- 8 ounce block cream cheese, softened to room temperature
- ½ cup powdered sugar
- ½ cup creamy peanut butter
- 10.2 ounce bag mini Butterfingers, divided use (or 5 regular size bars)
- 16 ounces whipped topping, divided use (Cool Whip, thawed)
- 3 cups cold milk
- 2 (3.4 ounce) boxes instant chocolate pudding mix
Instructions
- Crumble the Oreo cookies in a food processor or crush in a plastic ziploc bag with a rolling pin until fine crumbs.
- In a large mixing bowl, combine the crushed Oreos and cooled melted butter.
- Spread the Oreo mixture into a 9×13 baking dish, pressing the crust base down firmly with your hands or the back of a spatula. Place in the refrigerator to chill and firm up.
- Unwrap and crush the mini Butterfingers in a ziploc bag; set aside.
- In a large mixing bowl, beat the softened cream cheese, powdered sugar, and peanut butter with an electric mixer until smooth. Stir in ¾ of the crushed Butterfingers and one cup of the whipped topping.
- Spread the cream cheese mixture evenly across the top of the chilled Oreo crust. Return the dish to the refrigerator while you prepare the next layer.
- In a medium bowl, whisk together the instant chocolate pudding packets with the cold milk until smooth and thickened (about 2-3 minutes).
- Spread the pudding layer across the top of the cream cheese layer.
- Next, spread the remaining whipped topping over the top of the pudding layer.
- Garnish the top of the lush cake with the remaining crushed Butterfingers.
- Chill in the refrigerator for at least 1-2 hours, or overnight, before serving. Slice and serve, enjoy!
Video
Notes
- Always use instant chocolate pudding mix, not the cook and serve variety, for proper setting.
- This dessert is perfect for making the night before to allow flavors to fully develop and layers to set.
- Leftovers can be stored in an airtight container in the refrigerator for 3-4 days. It can also be frozen for 2-4 weeks; thaw in the fridge overnight before serving.
Recipe Details
- Course: Dessert
- Cuisine: American
Nutrition Information (Estimated Per Serving)
- Calories: 534 kcal
- Carbohydrates: 63g
- Protein: 11g
- Fat: 27g
- Sodium: 680mg
- Fiber: 2g
- Sugar: 46g
Nutritional Disclaimer
The nutritional information provided is an estimate. “The Country Cook” is not a registered dietitian or nutritionist. Calorie counts and other nutritional values can vary significantly based on ingredient brands and specific preparation methods. If precise nutritional values are important to you, we recommend using your preferred online nutritional calculator with the exact ingredients you use.
Did you make this recipe? Share your delicious creation on Instagram! Tag us @thecountrycook and use the hashtag #thecountrycook!
