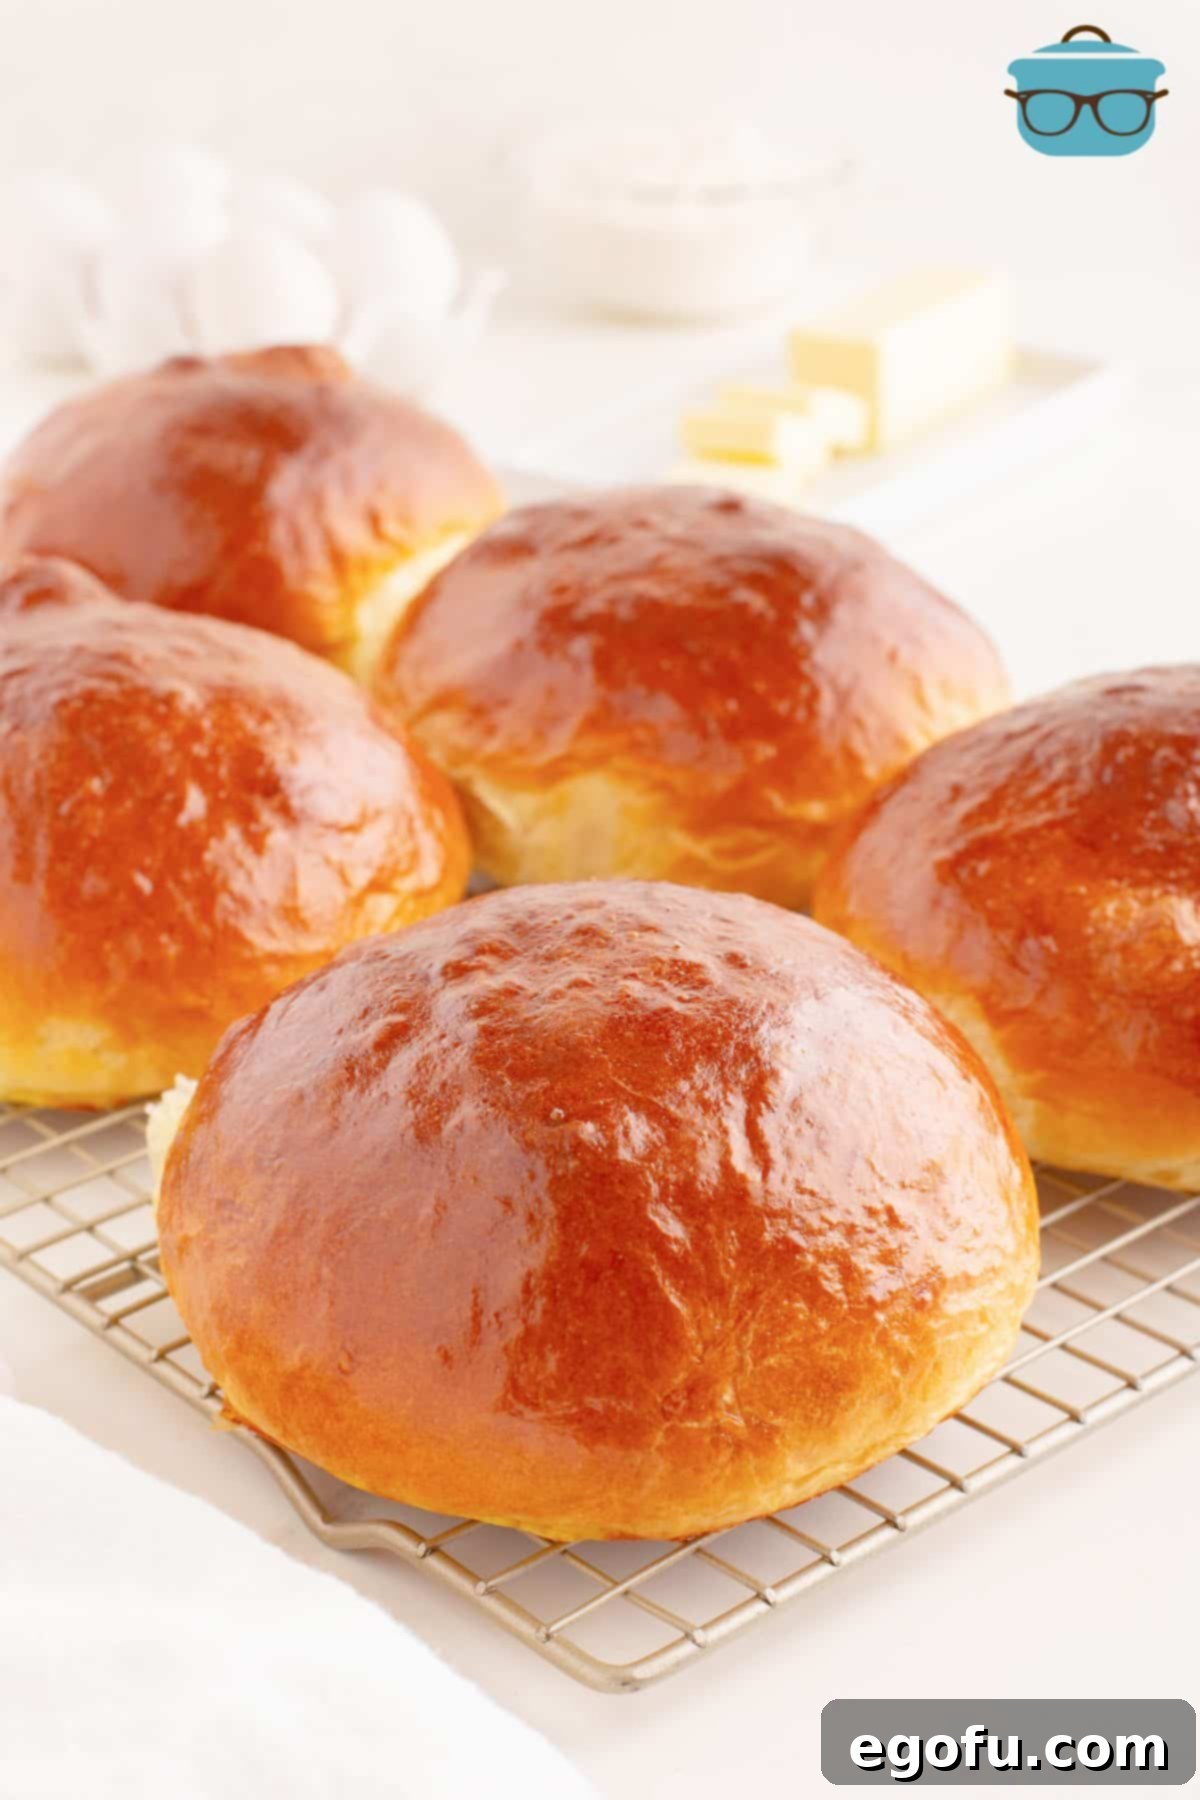
Experience the unparalleled delight of baking your own Homemade Brioche Buns – soft, buttery, and delicately sweet, they boast a light, fluffy texture that will elevate any meal. Perfect for juicy hamburgers, gourmet sandwiches, or even enjoyed simply with a smear of jam, these enriched yeast buns are a game-changer for your culinary repertoire.
Crafting the Perfect Brioche Bun: A Beginner-Friendly Recipe
Diving into the world of yeast baking might seem daunting, but mastering Homemade Brioche Buns from scratch is surprisingly straightforward. Forget any intimidation you might feel; this recipe is designed to guide you effortlessly to golden, pillowy perfection. These rich, buttery buns are destined to become a beloved staple in your kitchen, transforming everyday meals into extraordinary dining experiences. Imagine sinking your teeth into a perfectly crafted burger nestled within a bun that’s far superior to anything store-bought – that’s the magic of homemade brioche. They are an absolute must-try for your next Homemade Steakburger or any elevated sandwich creation.
Frequently Asked Questions About Brioche Buns
Brioche is a classic French enriched bread, renowned for its tender crumb and rich flavor profile. Unlike traditional lean breads, brioche incorporates a generous amount of butter and eggs into its dough, which gives it its distinctive characteristics. The high fat and protein content results in a bread that is incredibly soft, moist, and slightly sweet, with a beautiful golden-yellow interior and a deep, glossy golden-brown crust. This enrichment sets it apart from simpler breads like Homemade Dinner Rolls, offering a more luxurious and decadent experience.
Dry milk powder, also known as milk powder or dehydrated milk, is a common ingredient that enhances the texture and flavor of baked goods. You’ll typically find it in the baking aisle of most grocery stores, often alongside other dry ingredients like flour, sugar, and baking powder. Sometimes, it might also be located near flavored milk powders or hot chocolate mixes.
While it is technically possible to make brioche dough by hand, a stand mixer equipped with a dough hook is undeniably the best tool for this recipe. Brioche dough requires a prolonged period of kneading – often 15 minutes or more – to develop strong gluten bonds. The significant amount of butter in brioche tends to coat the gluten strands, making it harder for them to form these essential bonds. A stand mixer provides the consistent, vigorous kneading necessary to overcome this, resulting in a well-developed dough that yields a superior rise and a wonderfully soft, tender crumb. If you absolutely must knead by hand, be prepared for a good arm workout and plenty of patience. You might need to add a little extra flour to your work surface to manage the stickiness and prevent the dough from adhering excessively.
Brioche dough, due to its richness, can sometimes be slow to rise. Providing an optimal environment is key to a successful proof. A fantastic method is to create a makeshift proofing oven using your regular oven. Place oven racks on the lowest and middle levels. On the lowest level, place a shallow baking pan filled with about 3 cups of boiling water. Then, place your covered bowl of dough on the middle shelf. The steam from the hot water creates a warm, moist environment that yeast absolutely thrives in, encouraging a strong and steady rise. If your kitchen is particularly cool, this method is highly recommended, as colder temperatures will significantly extend rising times.
Absolutely! Preparing the dough ahead of time is a great way to break up the baking process. To do so, follow the recipe instructions through step 5 (after the first kneading but before the initial 90-minute rise). Instead of allowing it to rise at room temperature, cover the bowl tightly with plastic wrap and refrigerate it overnight, or for at least 6-8 hours. When you’re ready to bake, remove the dough from the refrigerator and let it sit at room temperature for about 90 minutes to warm up and begin its first rise. Then, you can continue with step 6 of the recipe as written.
Once cooled, store your brioche buns at room temperature in an airtight container or a sealed plastic bag. This will help maintain their freshness and softness for up to 4 days. If you wish to store them for longer, brioche buns freeze exceptionally well. Simply wrap them tightly in plastic wrap and then aluminum foil, and they’ll keep in the freezer for up to 3 months. Thaw at room temperature or gently warm in the oven before serving.

Essential Ingredients for Perfect Brioche Buns
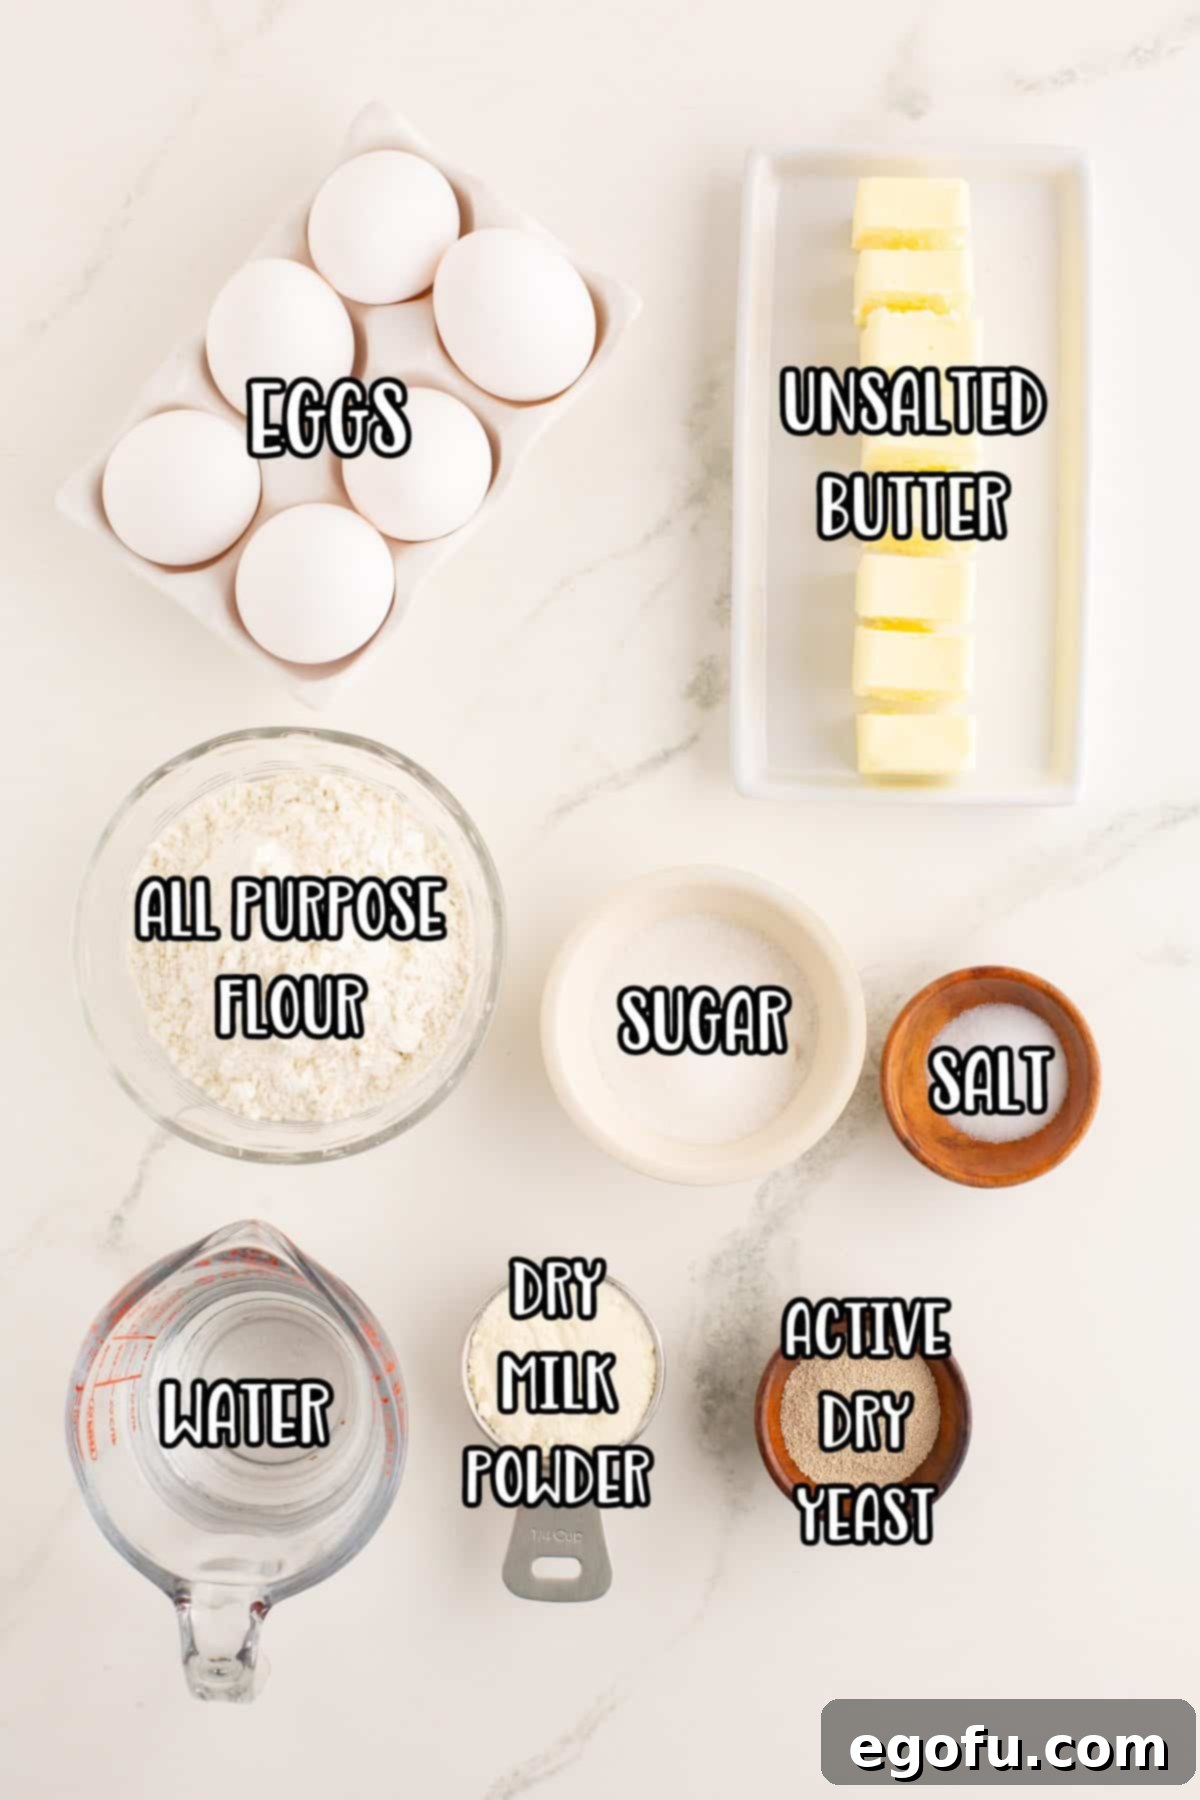
Every great recipe begins with quality ingredients. Here’s a breakdown of what you’ll need and why each component is crucial for achieving the ultimate brioche bun. (For the full recipe card with exact measurements, please scroll down.)
- All-Purpose Flour: Opt for unbleached all-purpose flour for the best results. Bleached flour can sometimes inhibit yeast activity, potentially affecting the dough’s rise and overall texture. Accurate measurement is paramount in baking, so we highly recommend weighing your flour with a kitchen scale. If you’re measuring by volume, use the “spoon and level” method: gently stir the flour in its container to aerate it, then use a spoon to lightly scoop it into your measuring cup until it overflows slightly. Level off the excess with the straight edge of a butter knife, being careful not to pack the flour down. Never use self-rising flour, as it contains leavening agents that would interfere with the yeast in this recipe.
- Dry Milk Powder: This often-overlooked ingredient plays a vital role in brioche. Milk powder contributes protein, which strengthens the dough and allows it to support the richness and weight of the butter and eggs, leading to a better rise and a softer, more stable crumb. It also enhances the flavor and promotes a beautiful golden-brown crust. If you don’t have it on hand, you can omit it, but for optimal results, consider substituting the ½ cup of water with ½ cup of whole milk instead.
- Water: The temperature of your water is critical for activating the yeast. It needs to be warm, ideally between 100-110 degrees Fahrenheit (38-43 degrees Celsius). Water that is too hot will kill the yeast, preventing any rise, while water that is too cool may not activate the yeast at all, leading to a sluggish or non-existent rise. Using a kitchen thermometer is highly recommended for precision.
- Granulated Sugar: Sugar serves multiple purposes in brioche. It provides a subtle sweetness that balances the richness of the butter and eggs, contributes to the lovely deep golden-brown color of the crust through caramelization, and most importantly, it acts as food for the yeast, ensuring robust yeast development and a strong, airy rise.
- Yeast: Yeast is the leavening agent responsible for the light and fluffy texture of your buns. This recipe works well with either active dry yeast or instant yeast. Always check the expiration date on your yeast packet to ensure it’s fresh and active, as expired or dormant yeast will fail to produce a proper rise.
- Salt: Salt is more than just a seasoning; it’s an essential component in yeast breads. It enhances the overall flavor of the brioche, preventing it from tasting bland, and also plays a crucial role in regulating the rate of yeast activity. Too little salt can lead to an overly rapid rise, while too much can inhibit it.
- Eggs: Eggs are a key enriching ingredient in brioche. They add significant richness, flavor, and a beautiful yellow hue to the crumb. The proteins in eggs also contribute to the dough’s structure, providing strength and elasticity that is essential for a high-fat dough, helping it rise and hold its shape beautifully.
- Unsalted Butter: The generous amount of butter is what truly defines brioche, imparting its characteristic tenderness, moistness, and luxurious flavor. It’s crucial that your butter is very soft, at room temperature, but not melted. If the butter is too firm, it won’t incorporate smoothly into the dough, leading to a lumpy texture. If you forgot to set out your butter in advance, don’t worry! You can quickly soften it using methods like those found in Tips to Soften Butter Quickly. If you opt for salted butter, remember to reduce the amount of added salt in the recipe to 1 teaspoon to prevent the buns from becoming overly salty.
- Egg Wash: A simple mixture of whisked egg and water, the egg wash is brushed over the buns just before baking. This step is essential for giving the brioche buns their signature shiny, deep golden-brown, glossy crust that is so appealing.
How to Make Homemade Brioche Buns: Step-by-Step Guide
Follow these detailed steps to create perfectly soft, buttery, and irresistible brioche buns from scratch.
-
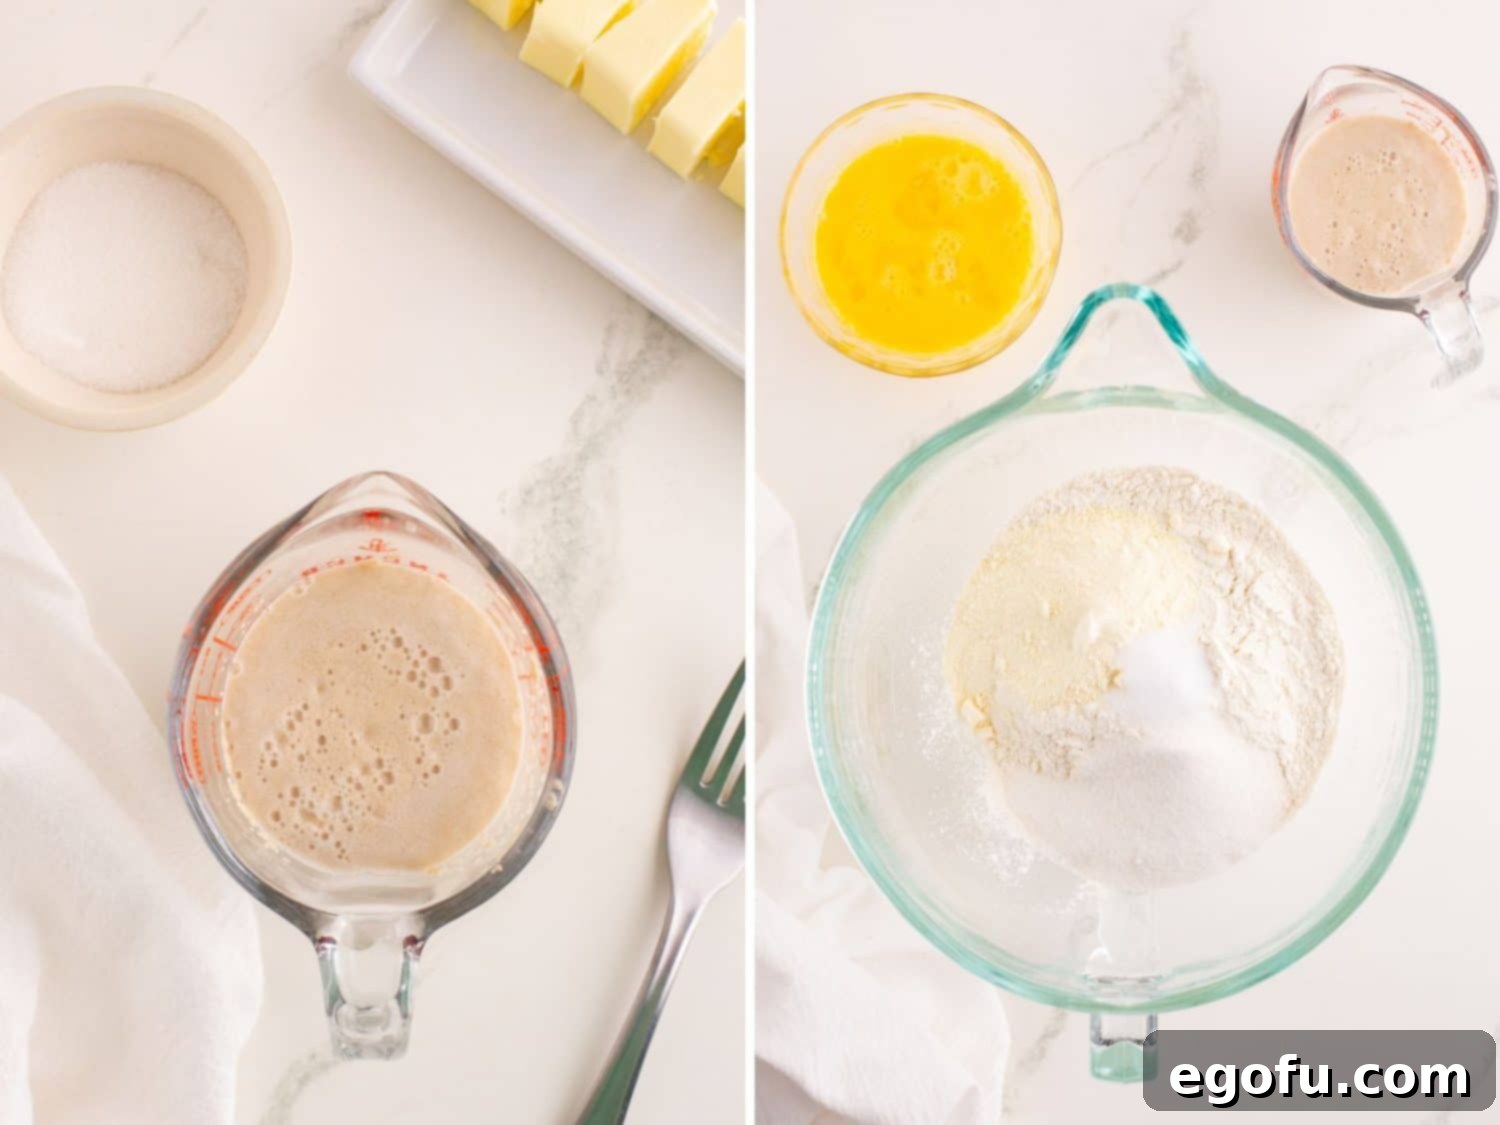
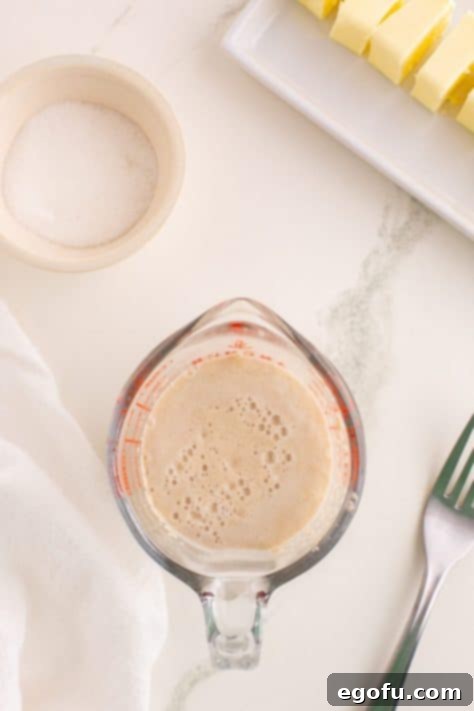
Activate the Yeast: In a small bowl or liquid measuring cup, combine the warm water, 1 Tablespoon of granulated sugar, and the active dry yeast. Stir gently until combined, then let the mixture sit undisturbed for 4-5 minutes. You’ll know the yeast is active and ready when it becomes foamy and bubbly on the surface. This indicates your yeast is alive and ready to work its magic.

-
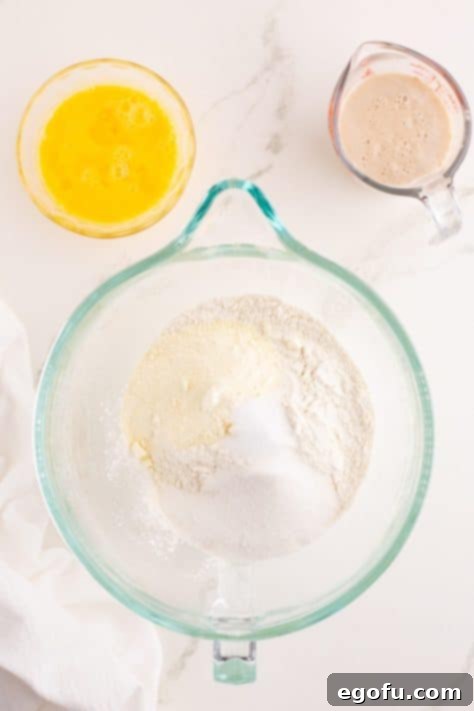
Combine Dry Ingredients: In the large bowl of a stand mixer (or a spacious mixing bowl if you’re kneading by hand), add the all-purpose flour, the remaining 2 Tablespoons of granulated sugar, dry milk powder, and salt. Use a whisk to thoroughly combine these dry ingredients, ensuring an even distribution.

-
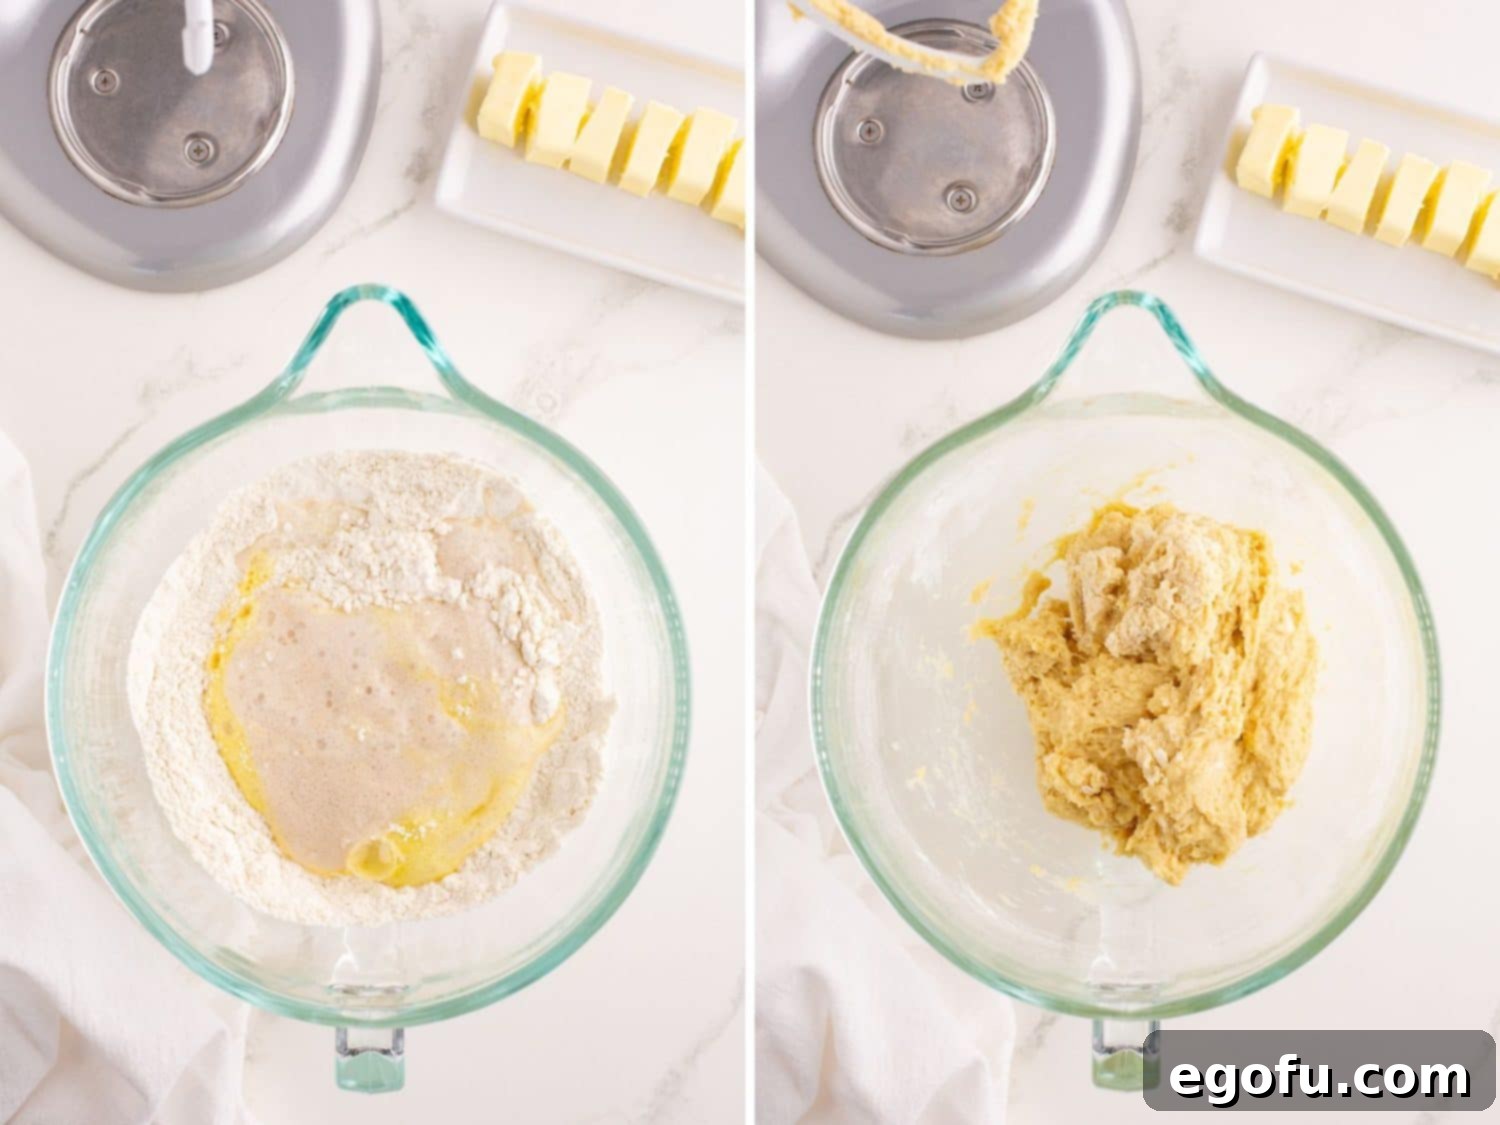
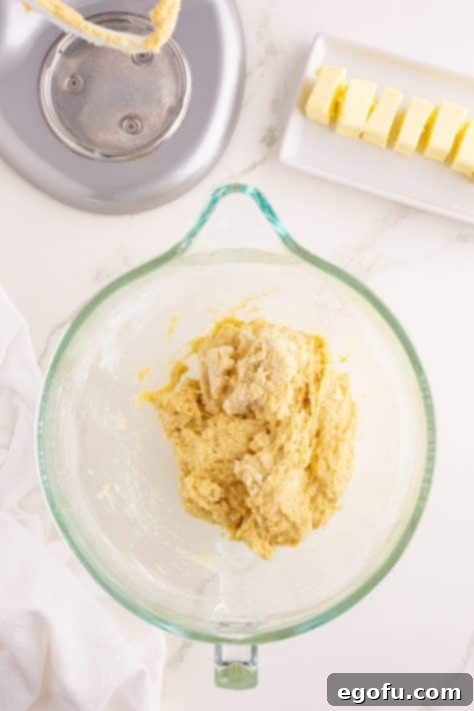
Form a Shaggy Dough: Add the whisked room temperature eggs and the activated yeast mixture to the dry ingredients in the stand mixer bowl. Attach the dough hook (or use a sturdy spoon if kneading by hand). Mix on low speed for 1-2 minutes until a shaggy, somewhat sticky dough forms. At this stage, it’s normal to see some streaks of flour remaining in the mixture.

-
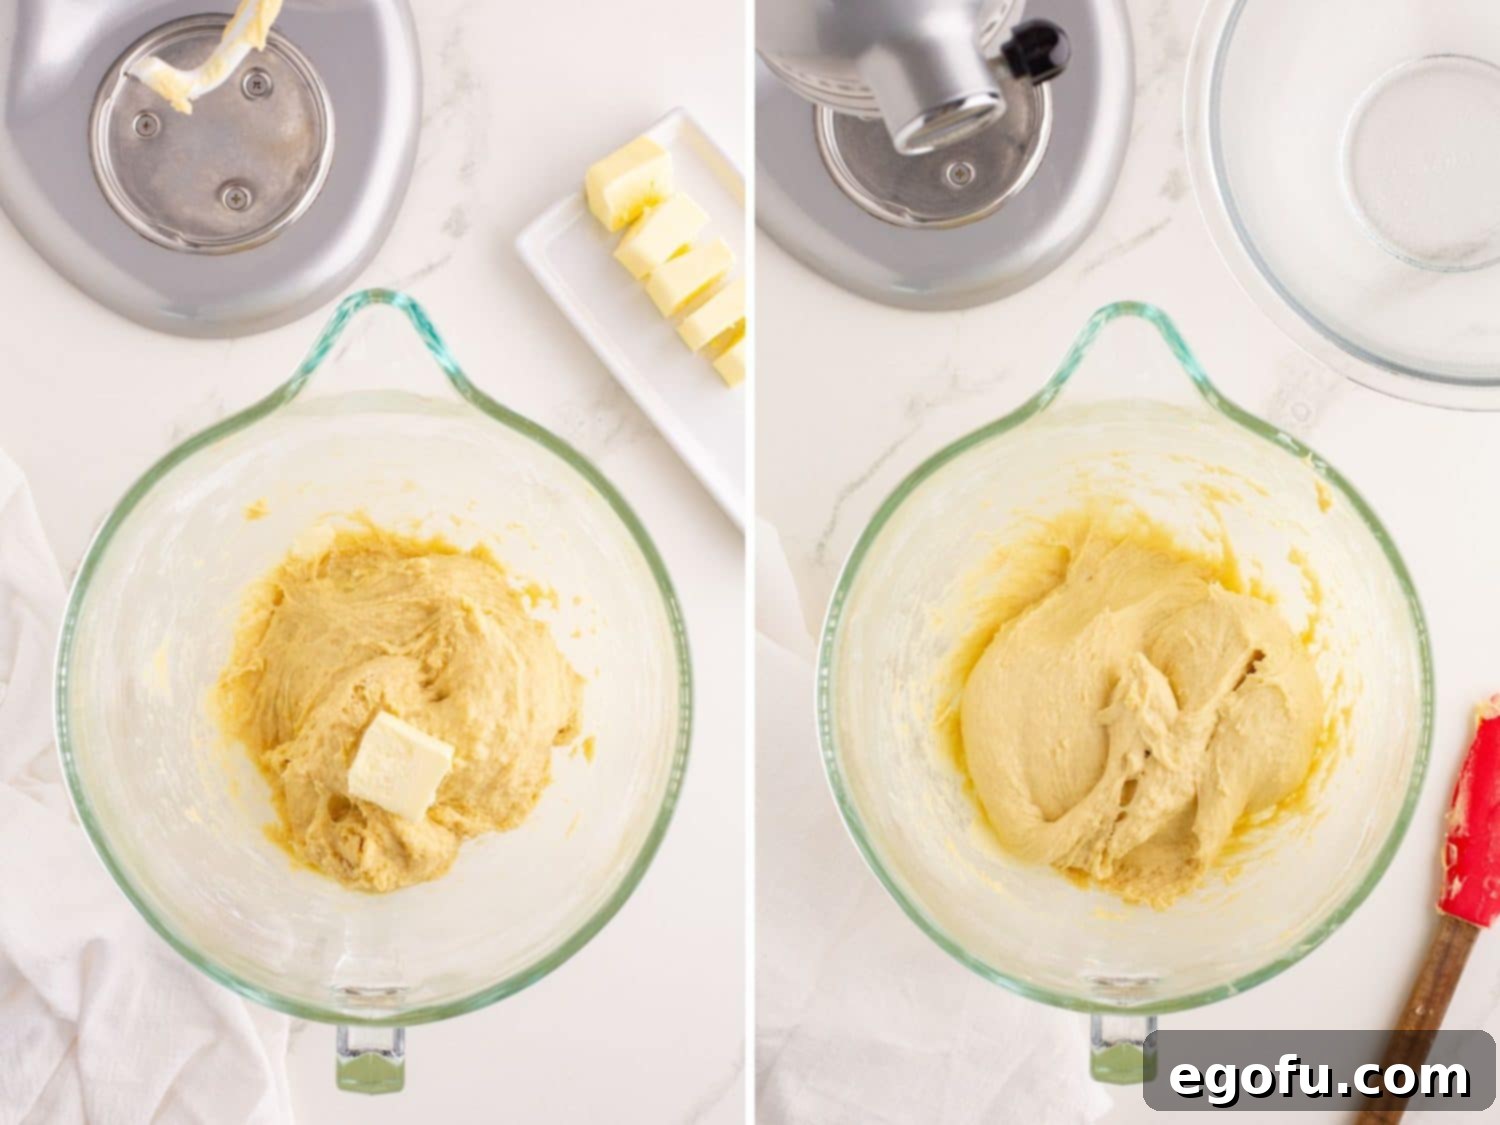
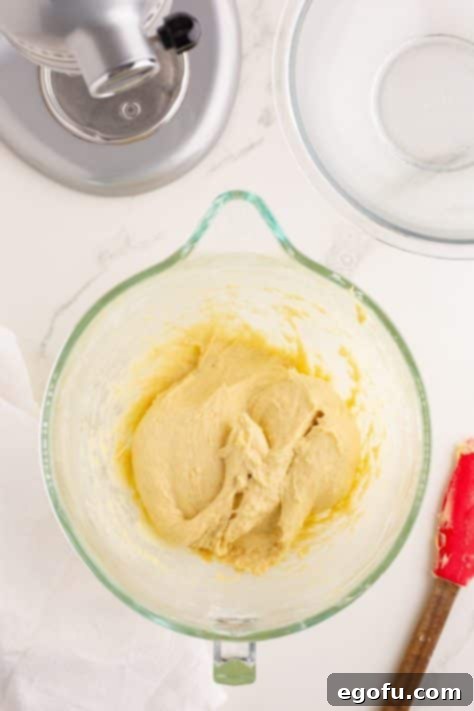
Incorporate Butter and Knead: Increase the mixer speed to medium-low. Begin adding the very soft, room temperature butter, one Tablespoon at a time. Allow about 30-60 seconds between each addition, letting each portion of butter fully incorporate into the dough before adding the next. Once all the butter has been added and absorbed, continue to knead the dough for a full 15 minutes. During this extended kneading period, the dough will transform from sticky and shaggy to soft, smooth, elastic, and slightly tacky but not overly sticky. If using a stand mixer, make sure to stop and scrape down the sides of the bowl and the dough hook 2-3 times to ensure everything is evenly mixed.

-
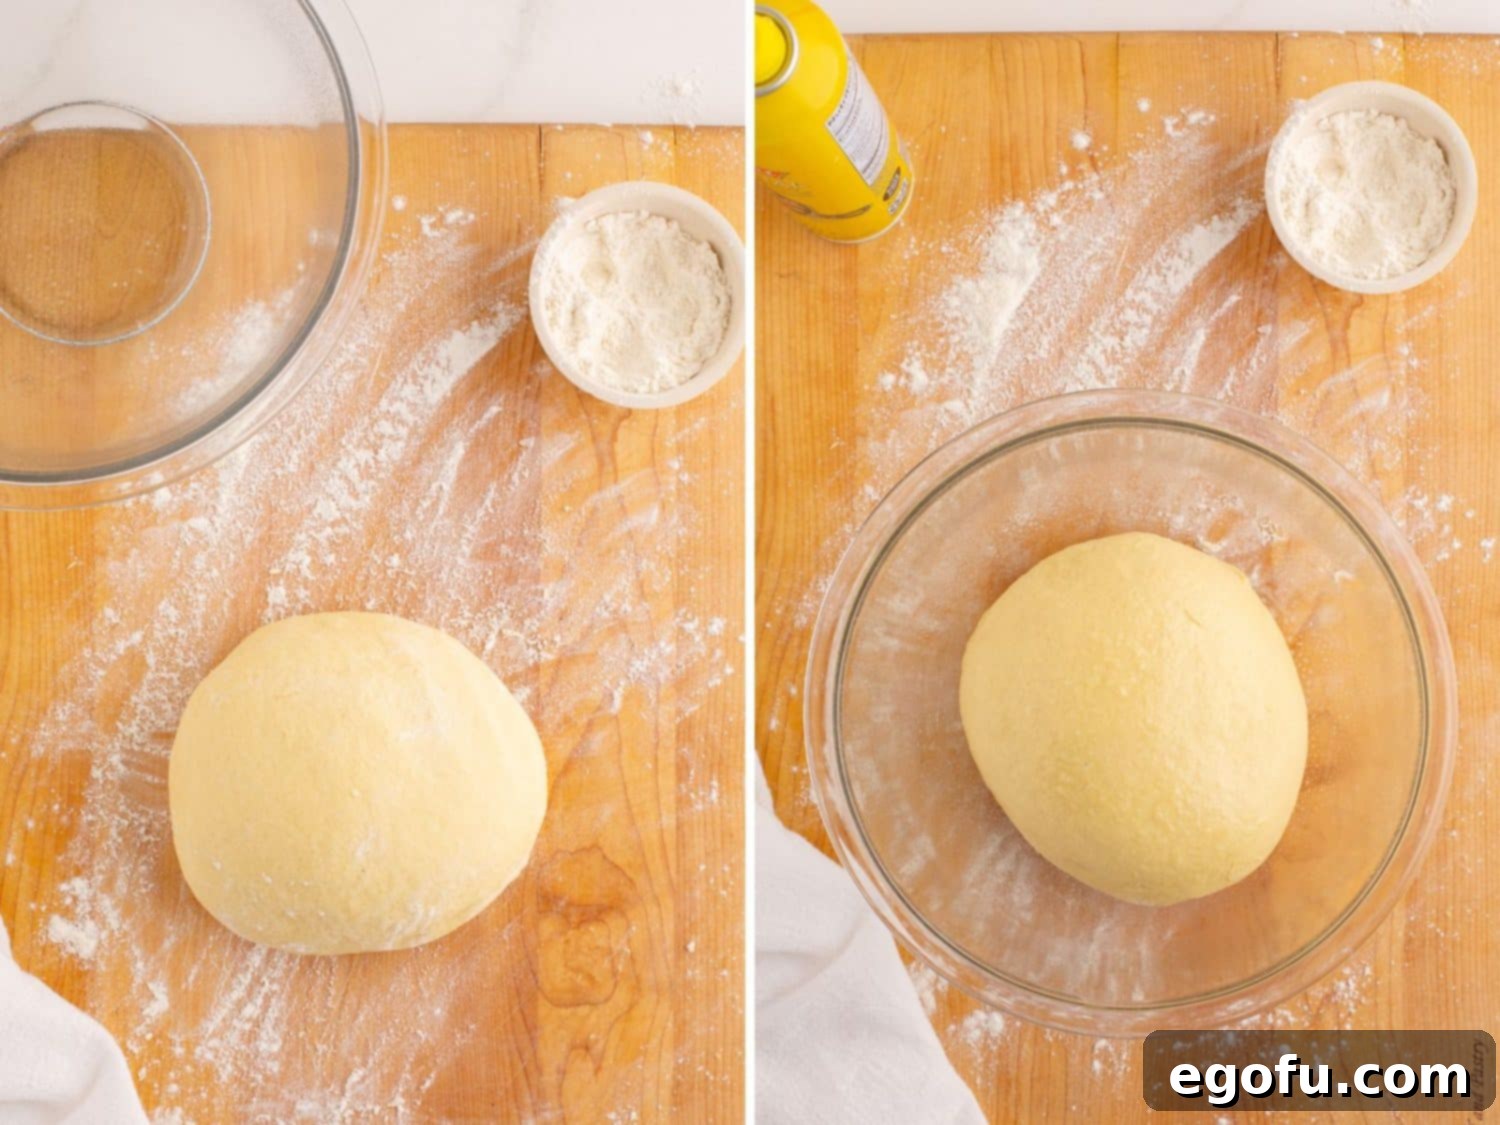
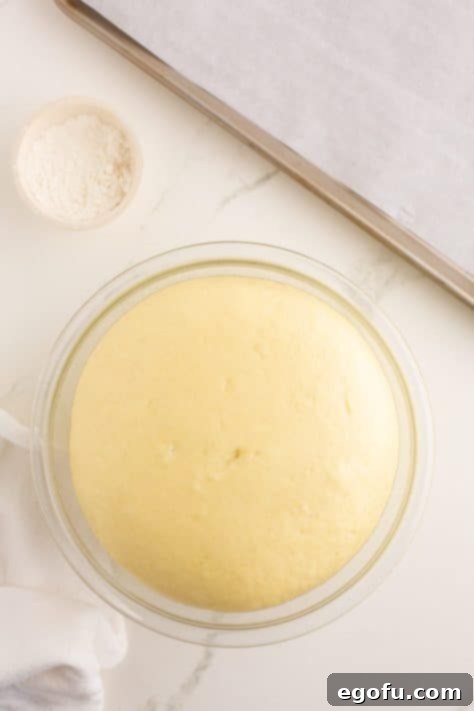
First Rise (Bulk Fermentation): Turn the newly formed, smooth dough out onto a lightly floured surface. Gently knead it by hand for about a minute to form it into a neat ball. Lightly grease a clean large bowl with cooking spray or a touch of oil. Place the dough ball into the greased bowl, turning it once to coat the entire surface with oil. Cover the bowl tightly with plastic wrap or a clean kitchen towel. Allow the dough to rise in a warm, draft-free place until it has doubled in size. This typically takes about 1 hour and 30 minutes, but the exact time can vary depending on the ambient temperature of your kitchen.

- Prepare Baking Sheet: While the dough is on its first rise, prepare a large baking sheet. You can either spray it lightly with cooking spray or line it with parchment paper to prevent sticking.
-
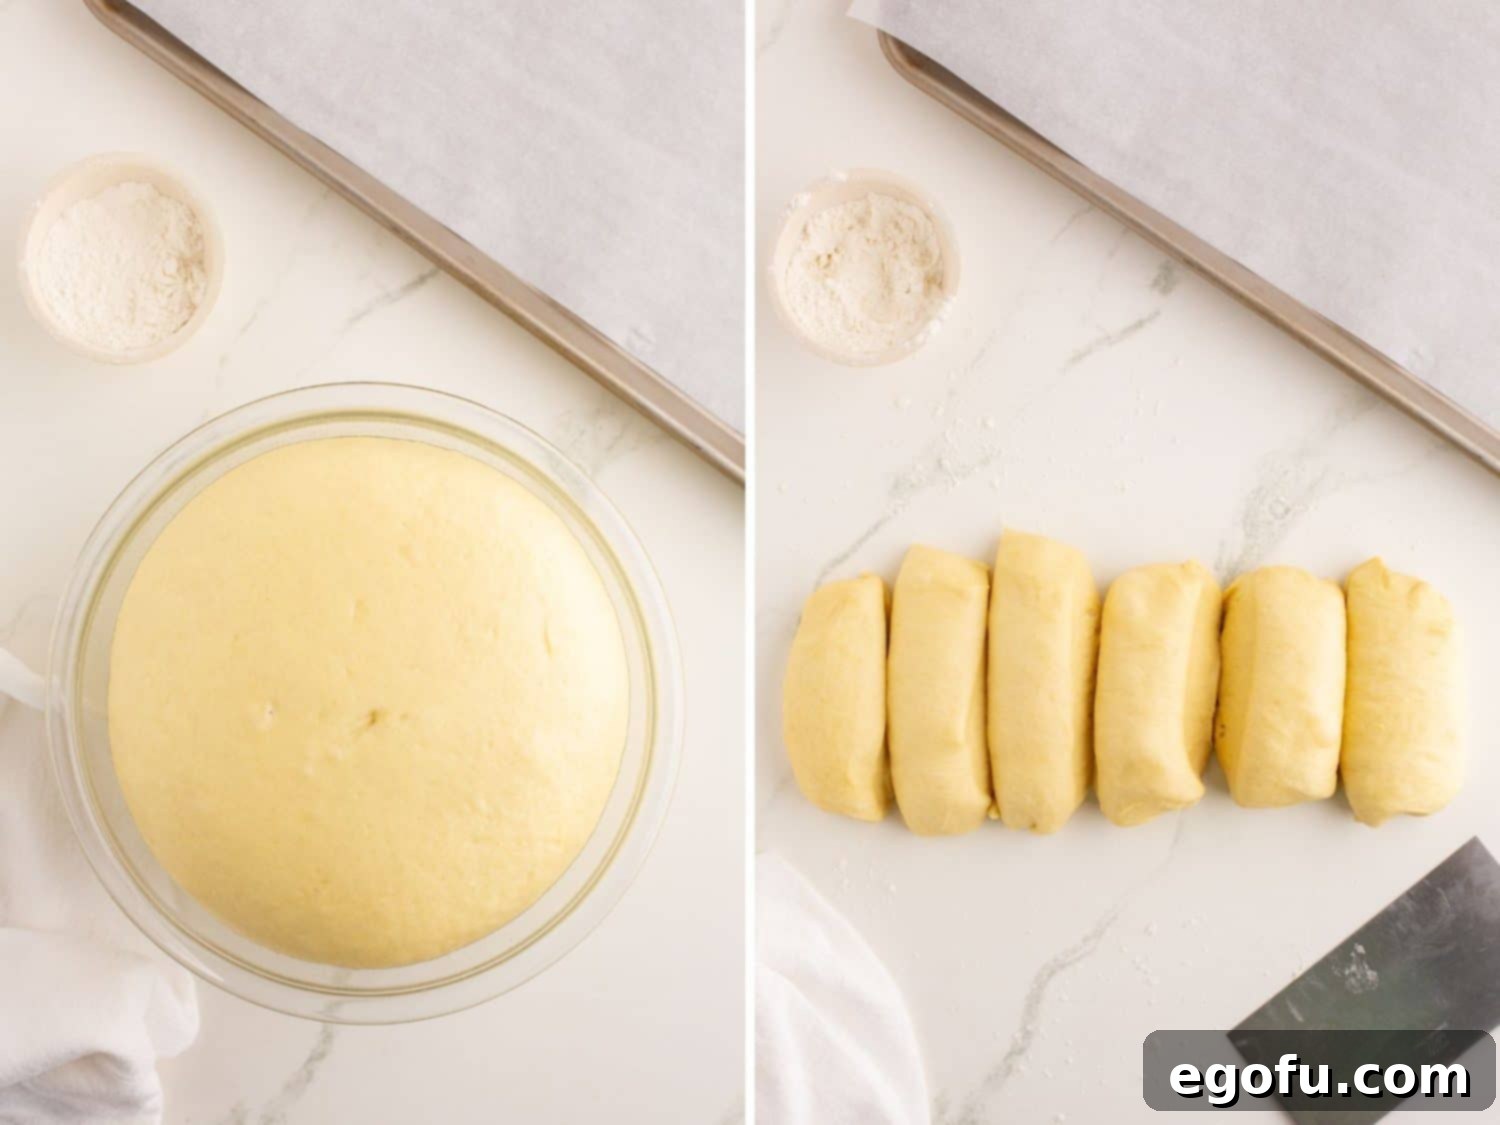
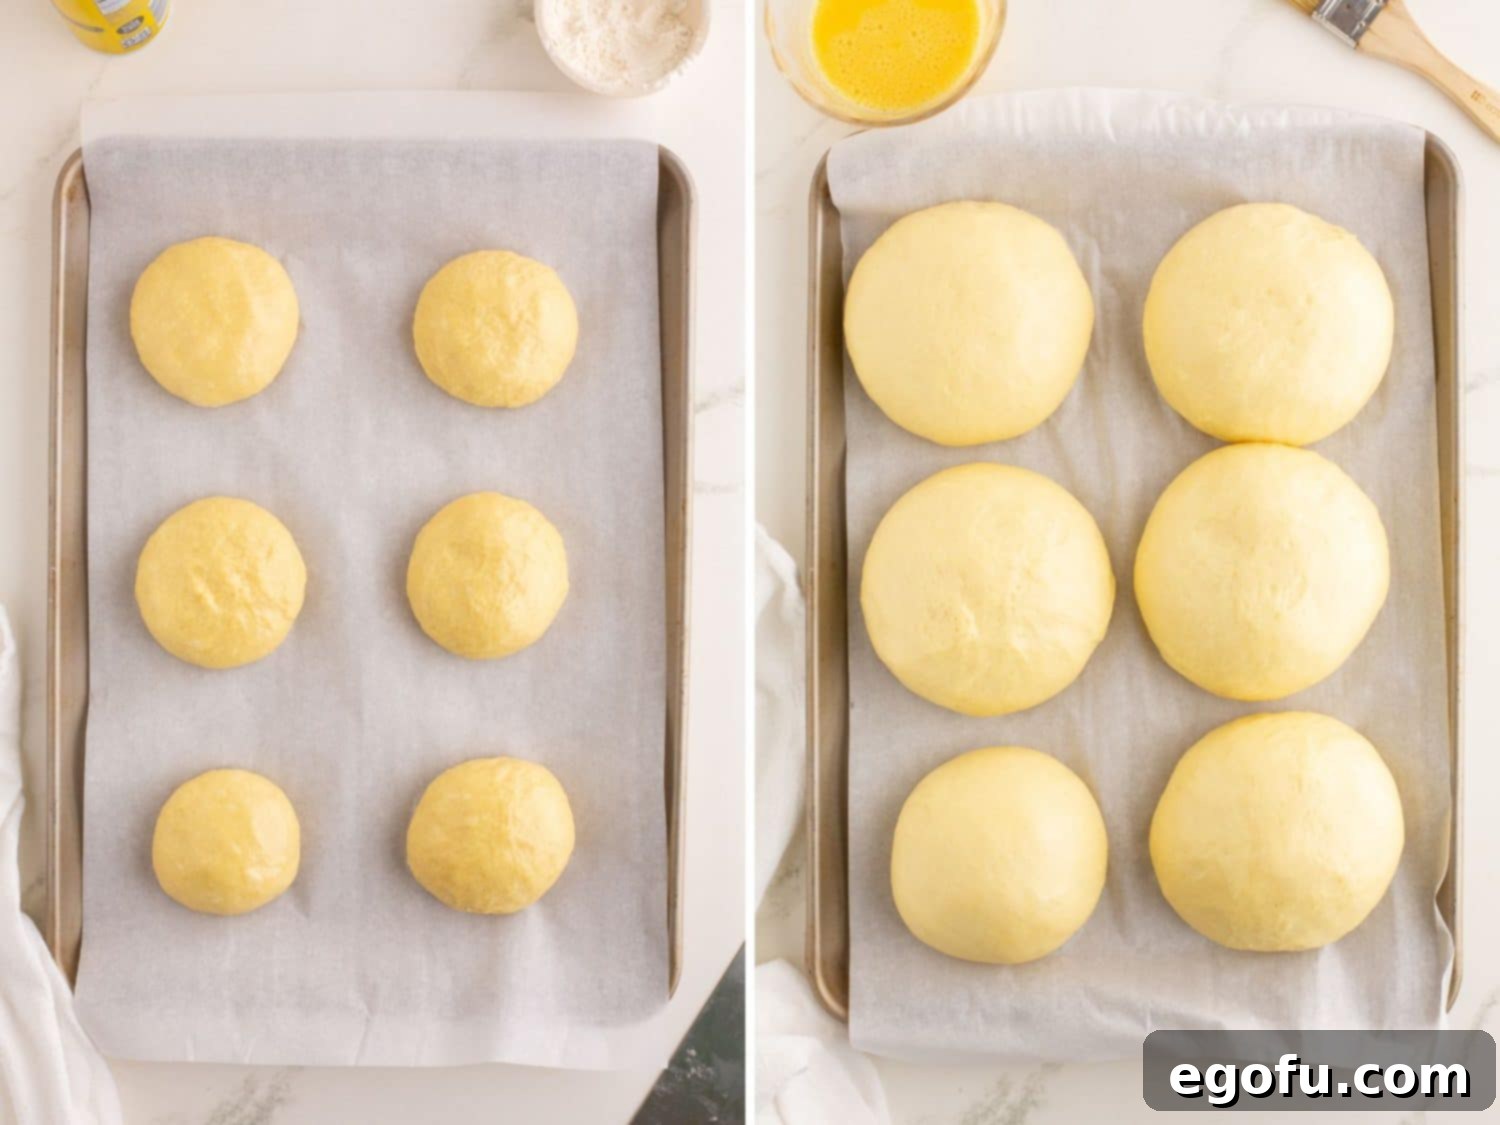
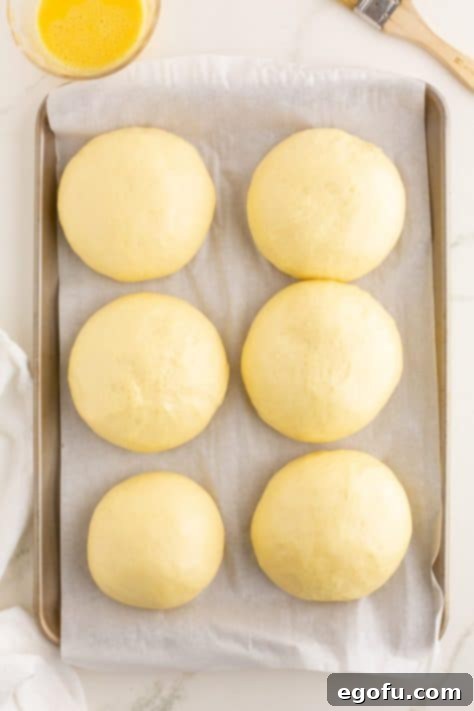
Shape the Buns and Second Rise: Once the dough has doubled, gently punch it down to release the air. Turn the dough out onto a lightly floured surface. Roll the dough into a log approximately 6 inches long. Using a sharp knife or bench scraper, cut the log into 6 equally sized pieces for large buns, 8 pieces for medium-sized buns, or 12 pieces for slider-sized buns. To shape each piece into a smooth ball, place it on the counter, cup your hand gently over the dough, and move your hand in a circular motion with light pressure until a smooth, taut ball is formed. Arrange the shaped dough balls on your prepared baking sheet, ensuring they are spaced about 3 inches apart to allow for expansion. Gently press down on each ball with your hand to slightly flatten them. Cover the baking sheet with plastic wrap or a clean kitchen towel and allow the buns to rise for a second time, for approximately 1 hour. They should look noticeably puffy.


-
Preheat Oven and Prepare Egg Wash: About 20 minutes before the buns are ready for baking (when they are almost done with their second rise), preheat your oven to 375°F (190°C). In a small bowl, whisk together the large egg and 1 Tablespoon of water until thoroughly combined. This is your egg wash.

- Bake the Buns: Just before placing them in the oven, gently brush the tops of the risen brioche buns with the prepared egg wash. Bake on the middle oven rack for 16-18 minutes, or until the buns are beautifully puffed, cooked through, and boast a rich, deep golden-brown color on top. Keep an eye on them towards the end of baking to prevent over-browning.
-
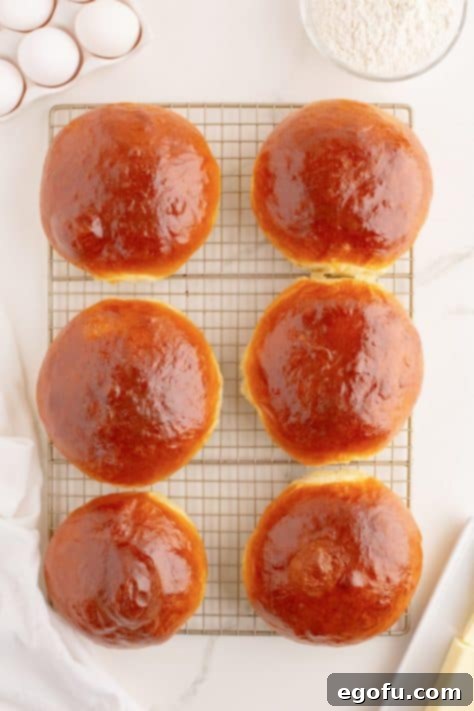
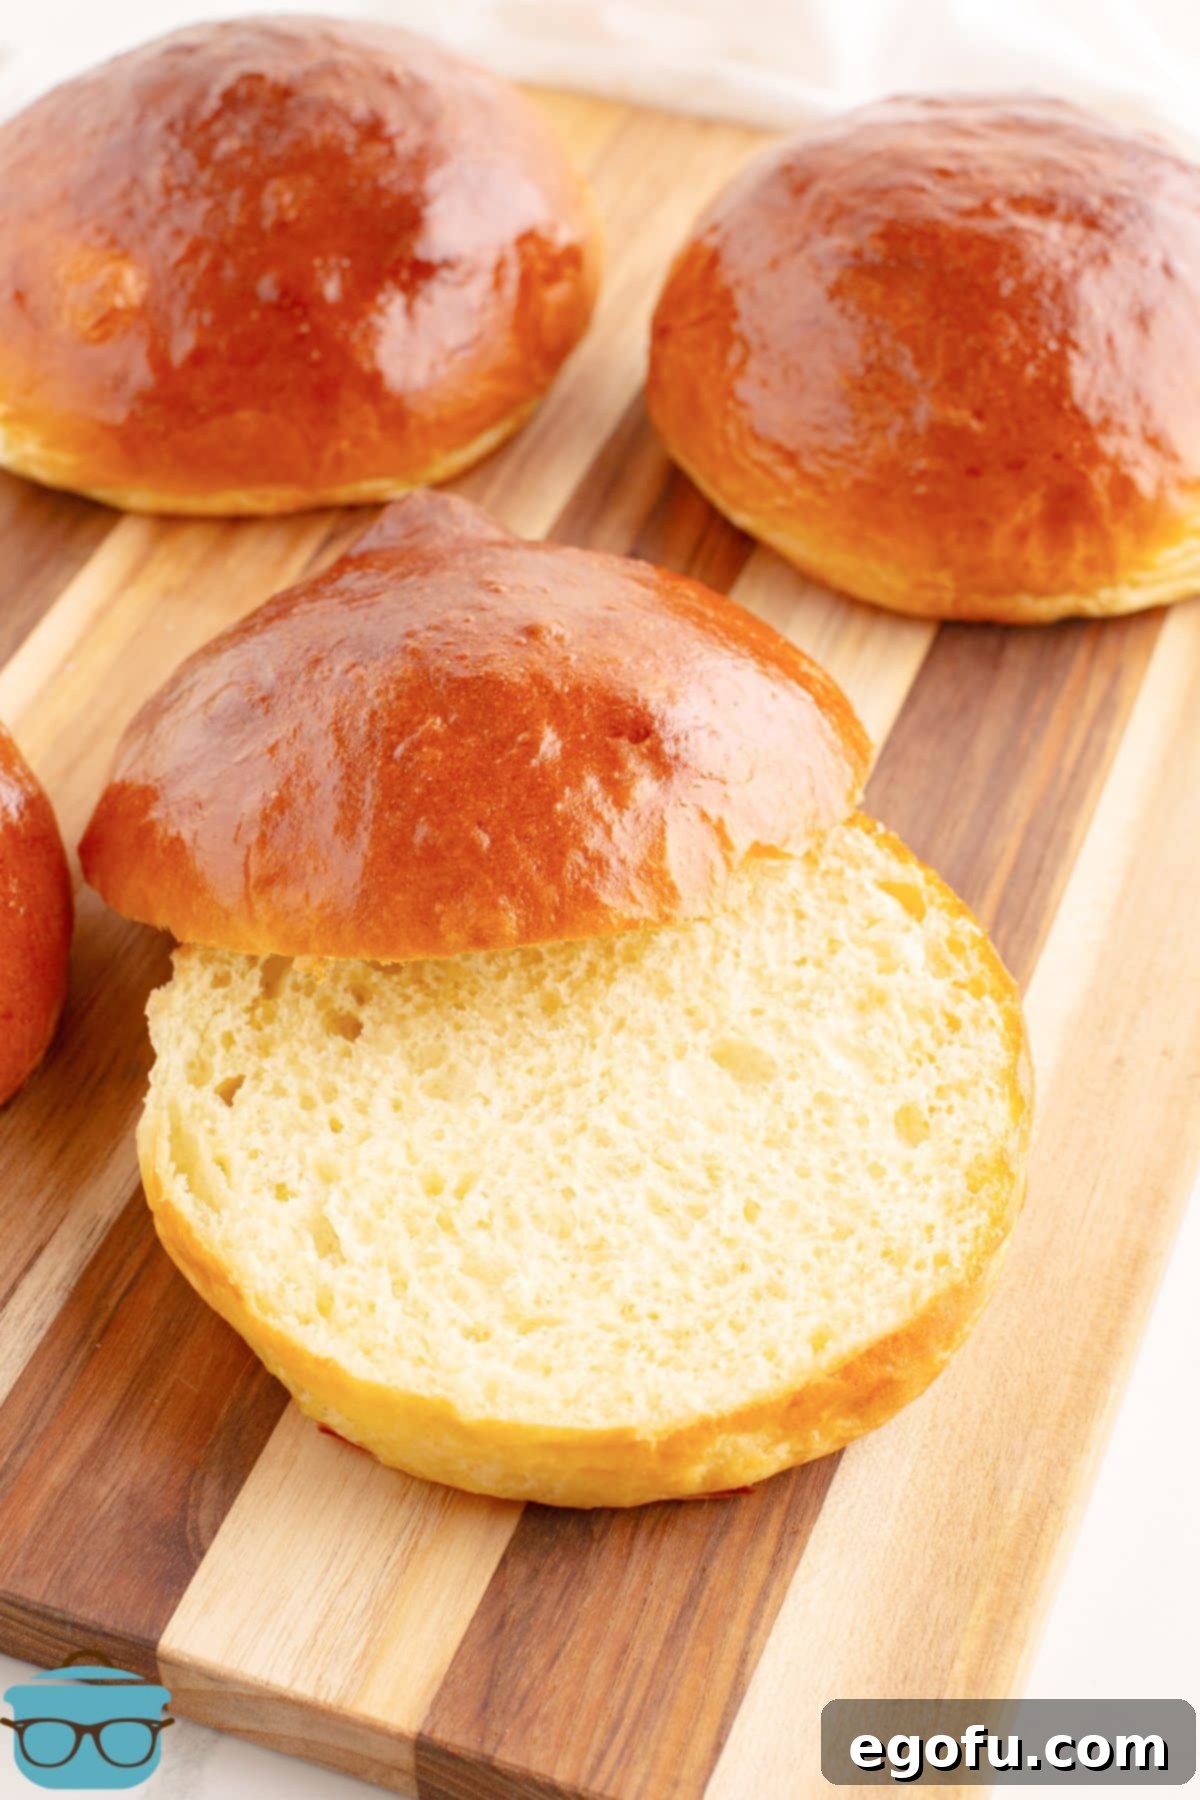
Cool and Serve: Once baked, remove the pan from the oven. Carefully transfer the hot buns from the baking sheet to a wire cooling rack. Allow them to cool completely for at least an hour before slicing. Cooling is important as it allows the internal structure of the bread to set. Using a serrated knife, slice horizontally through the center of each bun. Serve your exquisite homemade brioche buns warm or at room temperature. This recipe yields 6 large buns, 8 medium-sized buns, or 12 smaller slider buns.

Looking for More Delicious Recipes?
- Homemade Dinner Rolls
- Honey Wheat Rolls
- Butter Swim Biscuits
- Pizza Hut Breadsticks
- Little Caesar’s Crazy Bread
- Cheesy Garlic Bread
- Buttermilk Biscuits
- Yeast Roll Biscuits
- 7Up Biscuits
- Homemade Crescent Rolls
- 2 Ingredient Biscuits
- Butter Swim Yeast Rolls
- Homemade White Bread
- Hot Cross Buns
- Homemade Whipped Butter
- No Knead Dutch Oven Bread
- Beer Bread

Homemade Brioche Buns
Golden brown, buttery, and incredibly soft buns made from scratch that are perfect for hamburgers, sandwiches, and much more!
Print Recipe |
Pin Recipe |
Rate This Recipe
Ingredients
- ½ cup warm water
- 3 Tablespoons granulated sugar (divided use)
- 1 packet active dry yeast (2 ¼ teaspoons)
- 3 ¼ cups all-purpose flour
- ¼ cup dry milk powder
- 1 ½ teaspoons salt
- 3 room temperature eggs, whisked
- 8 Tablespoons (1 stick) unsalted butter, softened to room temperature
For the Egg Wash:
- 1 large egg
- 1 Tablespoon water
Instructions
Activate the yeast. In a small bowl or measuring cup, add ½ cup warm water, 1 Tablespoon sugar, and 1 packet active dry yeast; stir to combine. Allow to sit 4-5 minutes until foamy.

In the bowl of a stand mixer (or a large bowl if kneading by hand), add 3 ¼ cups all-purpose flour, 2 Tablespoons sugar, ¼ cup dry milk powder, and 1 ½ teaspoons salt. Stir with a whisk until thoroughly combined.

Add 3 room temperature whisked eggs and the yeast mixture. Mix on low speed (with your stand mixer or electric hand mixer, or by hand) until a shaggy dough forms. Some streaks of flour may still be visible, which is normal at this stage, about 1-2 minutes.

Increase speed to medium-low. Add 1 Tablespoon of softened butter at a time, allowing 30-60 seconds between each addition for the butter to incorporate. Once all the butter is fully absorbed, continue to knead the dough for about 15 minutes (with the dough hook attachment if using a stand mixer or vigorously by hand), until a soft, smooth, and elastic dough forms. If using a stand mixer, remember to scrape down the bowl and dough hook 2-3 times during kneading to ensure even mixing.

Turn the dough out onto a lightly floured surface. Knead by hand for about a minute to form it into a smooth ball. Place the dough in a greased bowl, turning once to coat with oil. Cover and allow to rise until doubled in size (this typically takes about 1 hour 30 minutes, but can vary based on your kitchen’s temperature).

Prepare a large baking sheet by spraying it with cooking spray or lining it with parchment paper.
To form the buns, gently punch down the risen dough and turn it out onto a lightly floured surface. Form the dough into roughly a 6-inch log, then cut the log into 6 equally sized pieces for large buns, 8 pieces for medium-sized buns, or 12 pieces for slider buns. Shape each piece into a smooth ball: place the ball on the counter, gently cup your hand over it, and move your hand in a circular motion until a smooth, taut ball is formed. Place these balls on the prepared baking sheet, ensuring they are about 3 inches apart. Gently press the dough balls with your hand to flatten them slightly. Cover and allow to rise for a second time, for 1 hour.

Preheat your oven to 375°F (190°C) for 20 minutes before the buns are ready to bake. Prepare the egg wash: in a small bowl, whisk together 1 large egg and 1 Tablespoon water until fully combined.

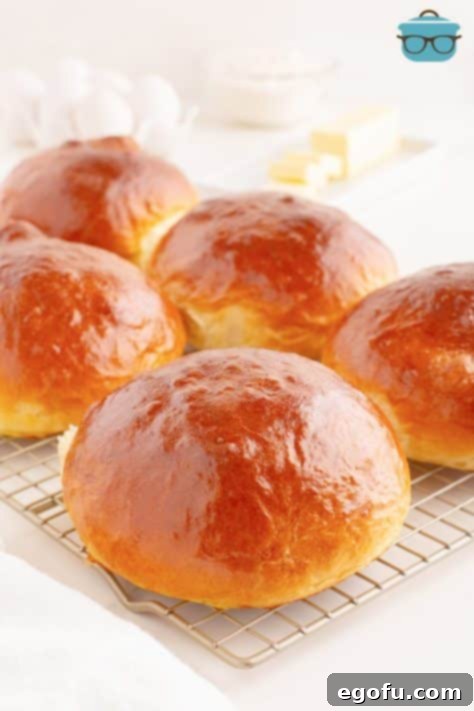
Brush the tops of the risen buns generously with the egg wash. Bake on the middle oven rack for 16-18 minutes, or until the buns are beautifully puffed, cooked through, and have achieved a deep golden-brown color. Remove the pan from the oven, carefully transfer the hot buns from the baking sheet to a baking rack, and allow them to cool for an hour.
Using a serrated knife, cut horizontally through the center of each cooled bun. Serve and enjoy your homemade brioche masterpieces! This recipe yields 6 large buns, 8 medium-sized buns, or 12 slider buns.

Notes
- For further guidance on substitutions or common questions, please refer to the “Frequently Asked Questions” and ingredient list provided above in the article.
- This recipe is versatile and can make 6 large buns, 8 medium-sized buns, or 12 slider buns, depending on how you portion the dough.
Nutrition
Calories: 446kcal | Carbohydrates: 58g | Protein: 11g | Fat: 19g | Sodium: 628mg | Fiber: 2g | Sugar: 6g
Nutritional Disclaimer
“The Country Cook” is not a dietician or nutritionist, and any nutritional information shared is an estimate. If calorie count and other nutritional values are important to you, we recommend running the ingredients through whichever online nutritional calculator you prefer. Calories and other nutritional values can vary quite a bit depending on which brands were used.
Did you make this recipe?
Share it on Instagram @thecountrycook and mention us #thecountrycook!
