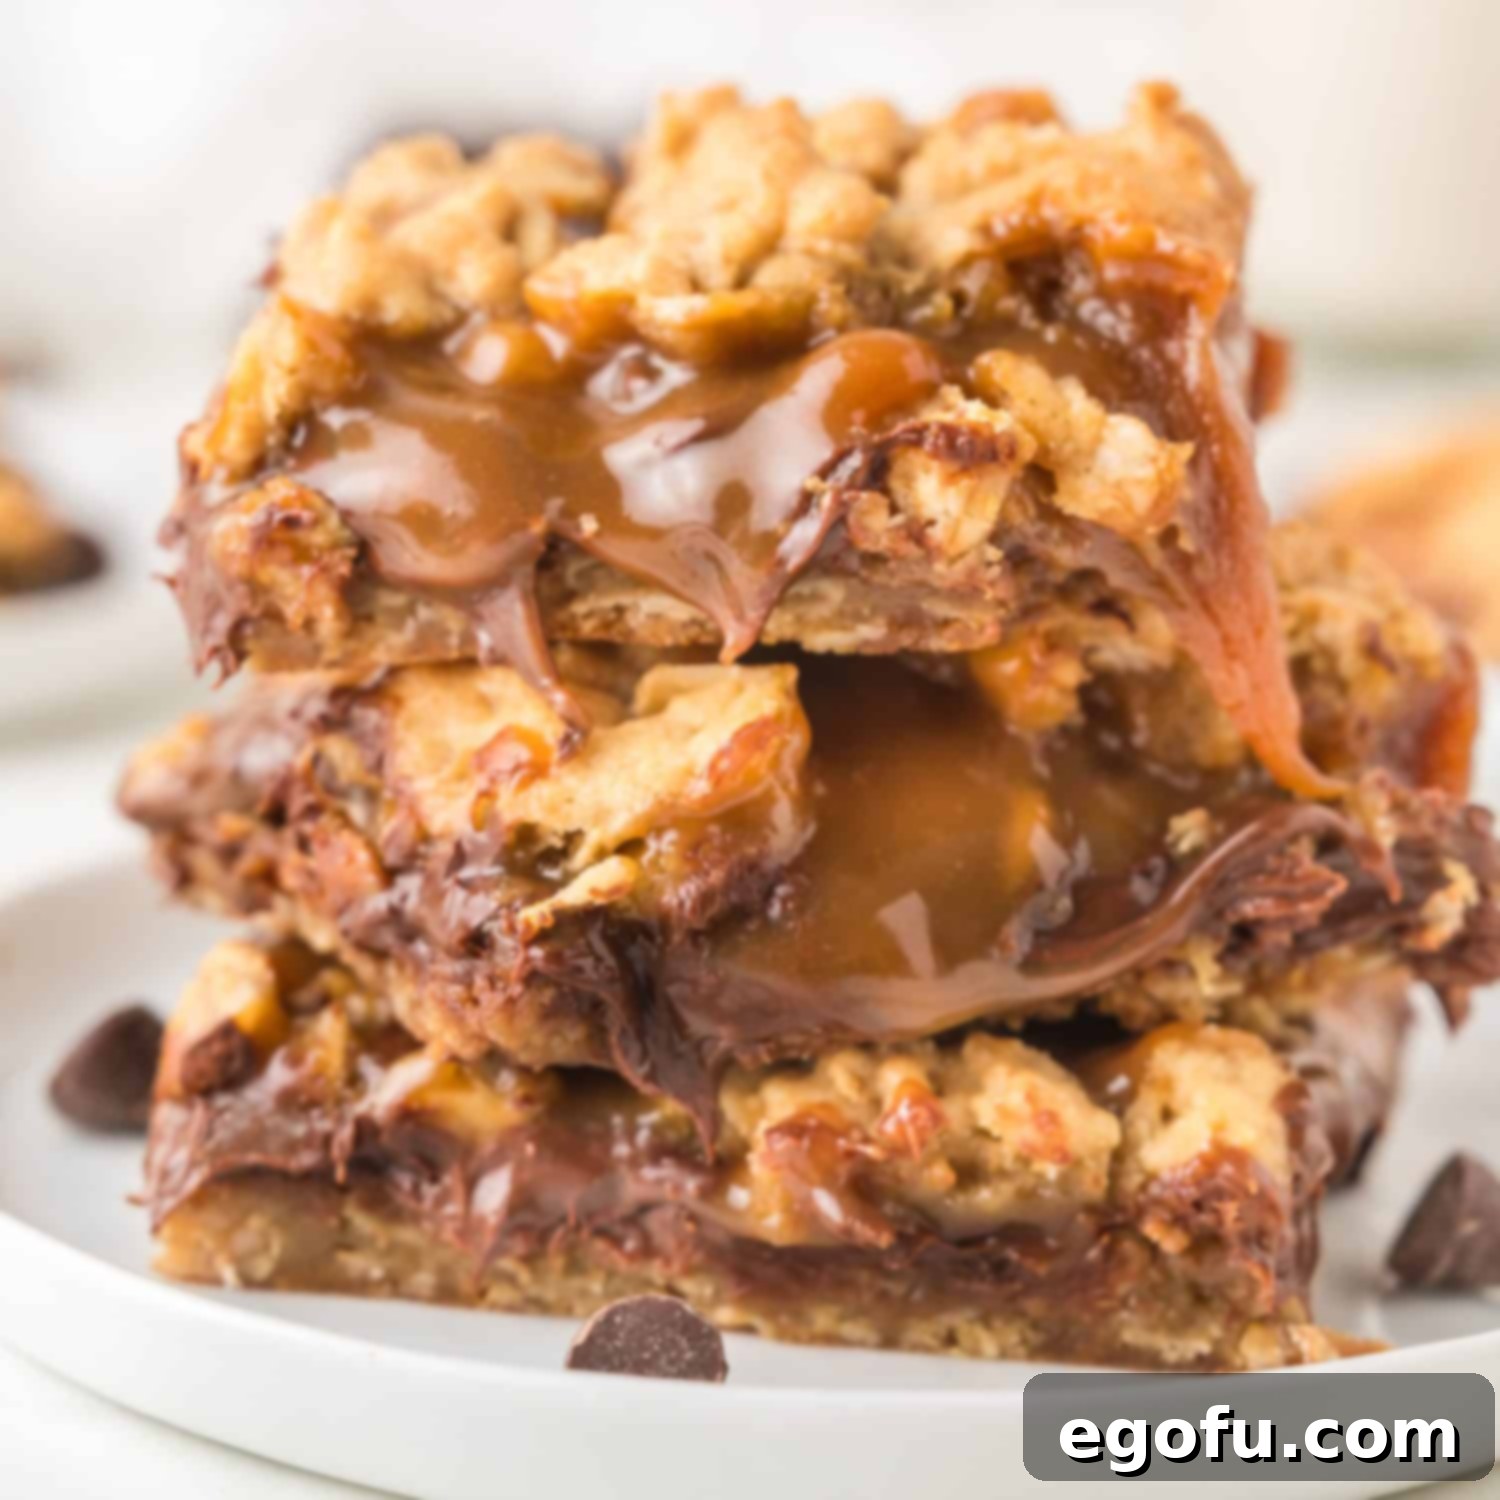
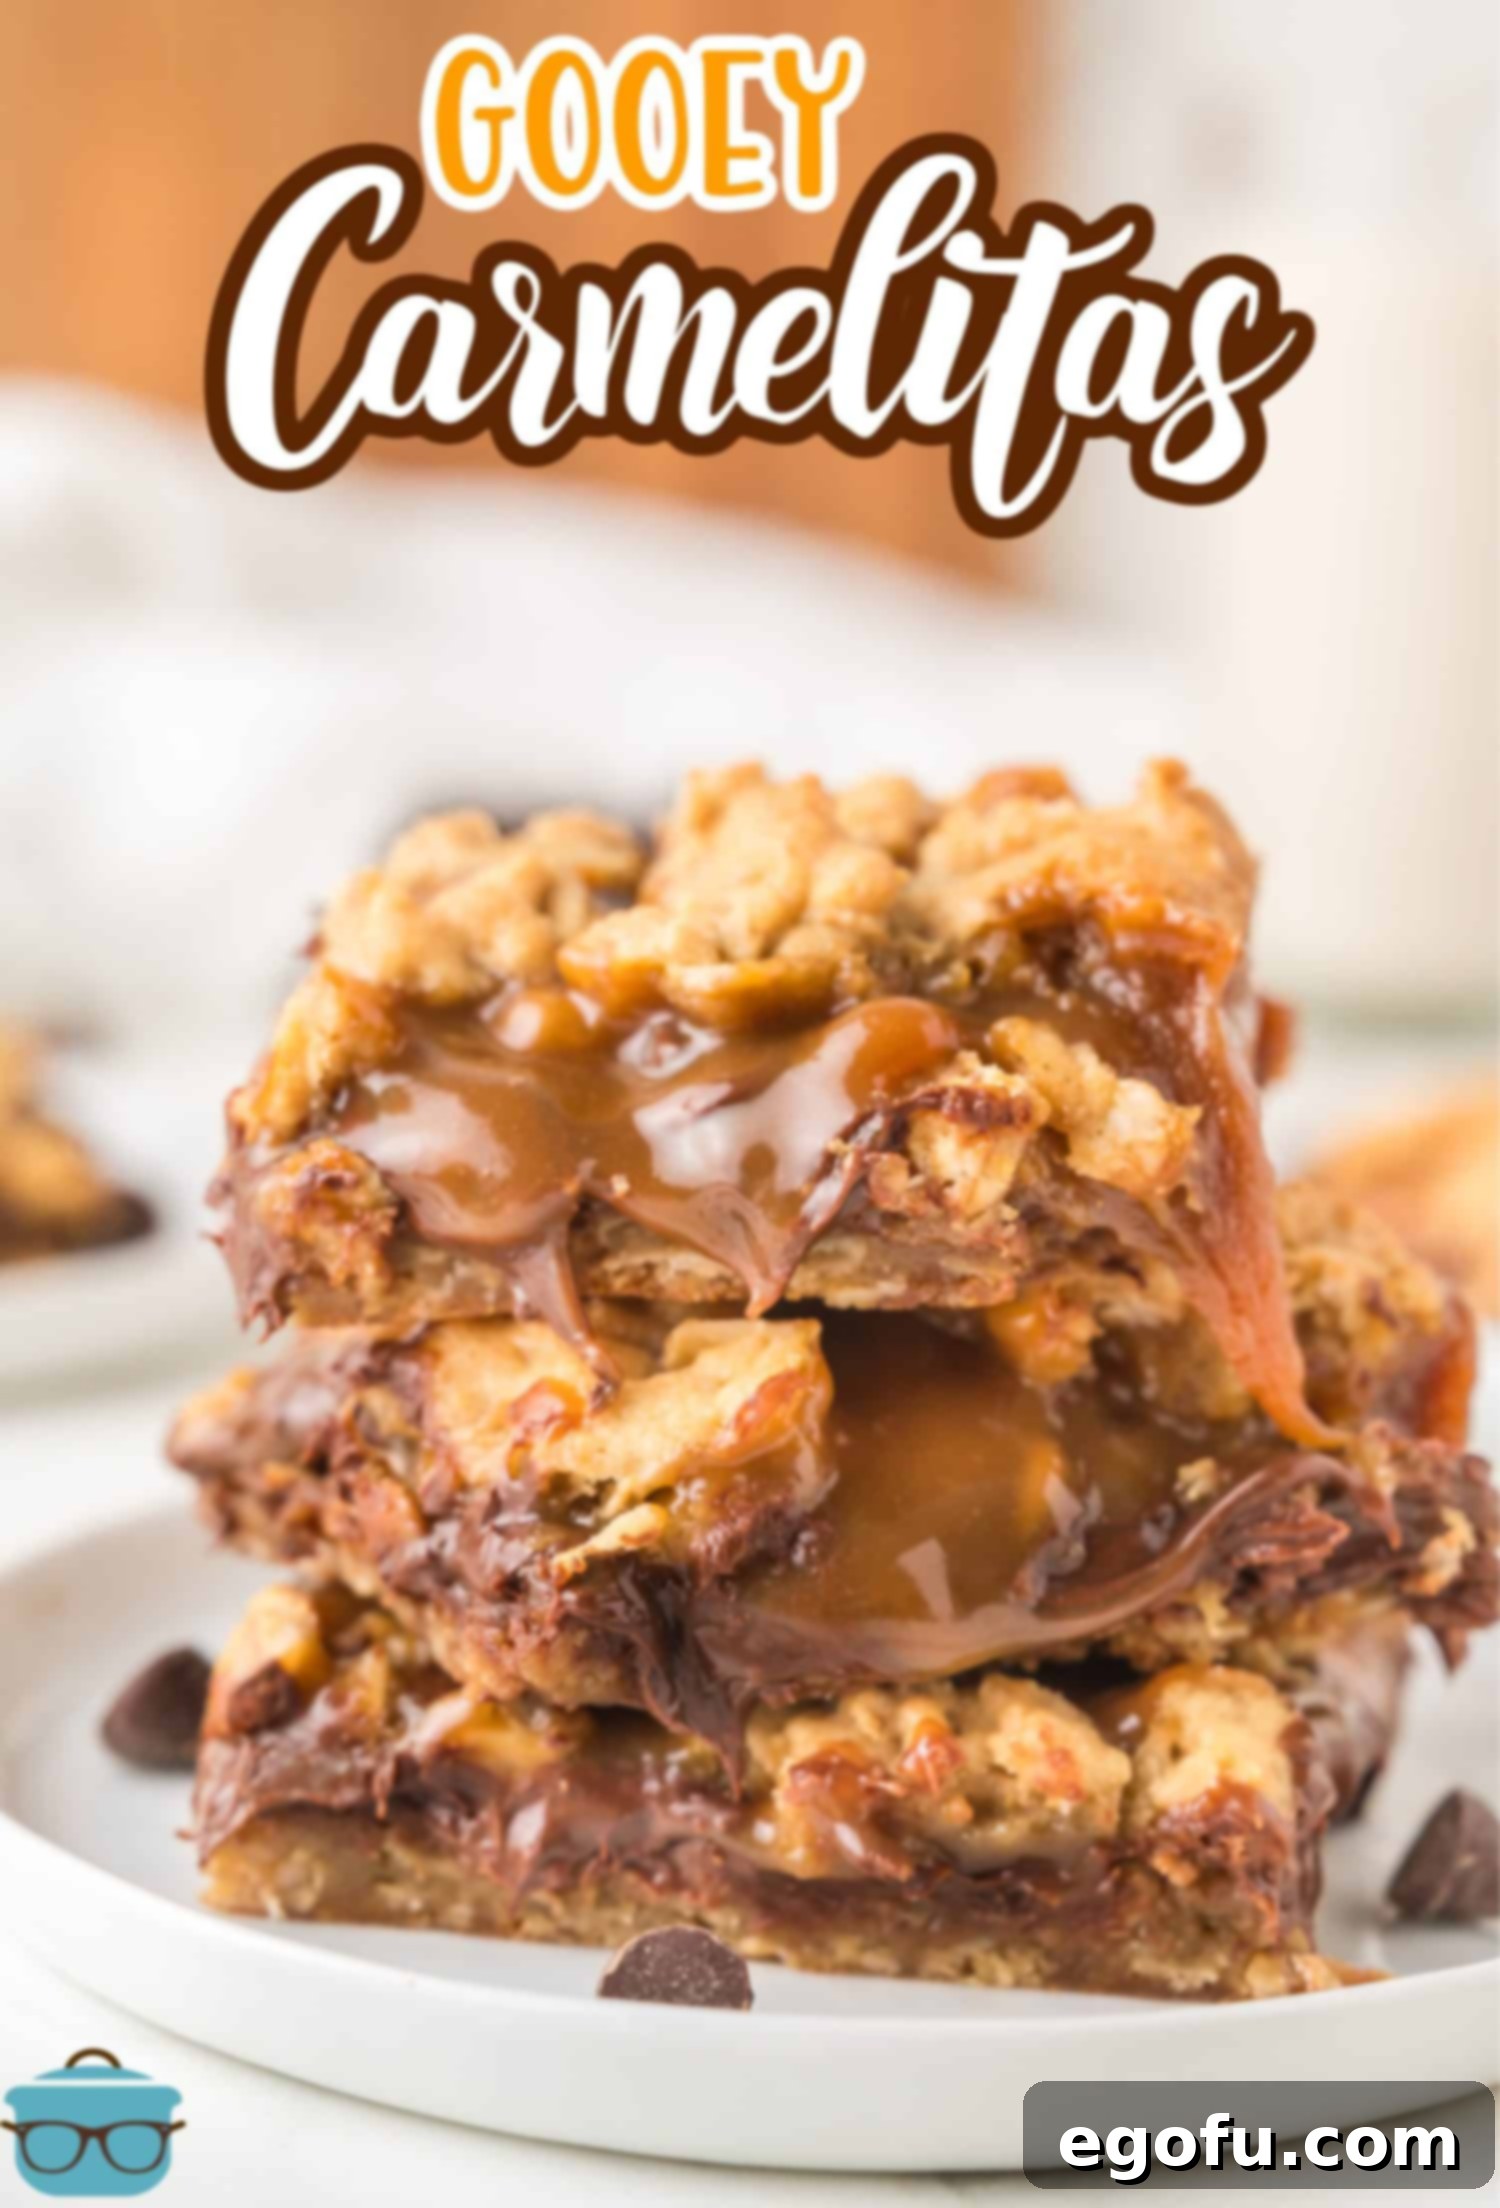
Carmelitas are rich dessert bars with gooey caramel, melted chocolate, and a buttery oat crumble topping. Easy to make and perfect for any occasion!
Decadent Carmelitas: Your Ultimate Gooey Caramel Chocolate Oat Bars
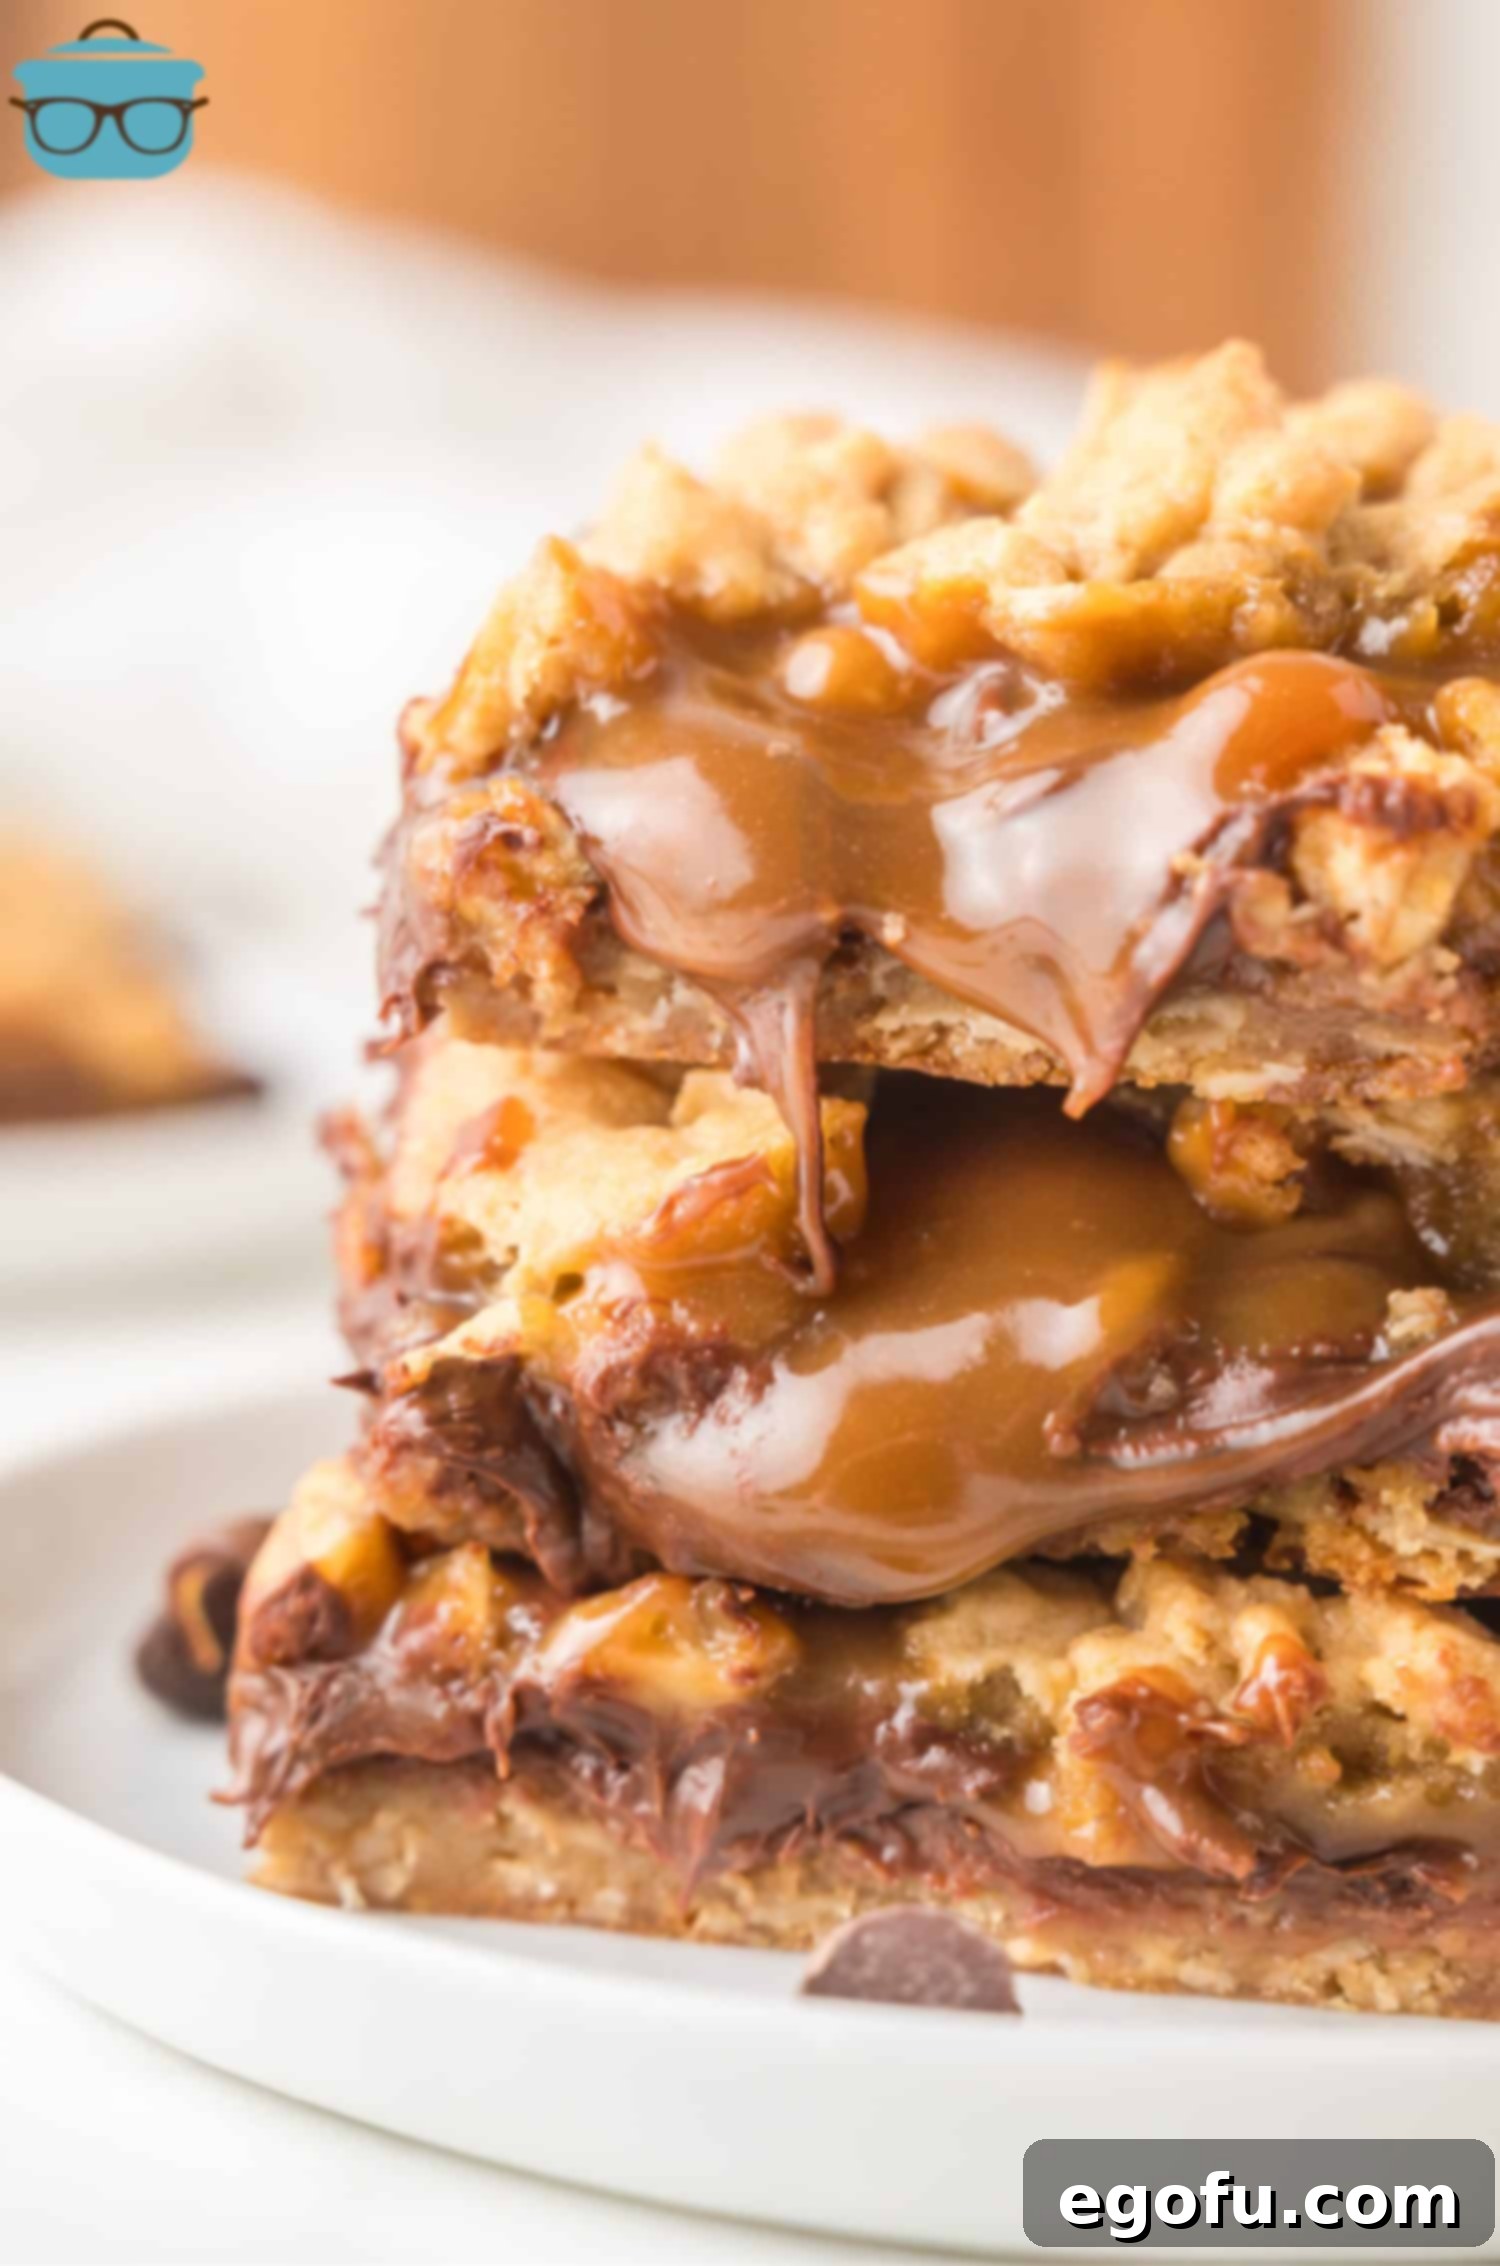
Prepare to fall in love with Carmelitas – the dessert bars that redefine “ooey-gooey” indulgence! If you’re a fan of the irresistible combination of sweet caramel and rich chocolate, these bars are about to become your new obsession. Featuring distinct layers of a golden, buttery oatmeal crumble that perfectly sandwiches a generous layer of melted chocolate and a simple, delectable homemade caramel sauce, Carmelitas offer a unique blend of textures and flavors. Each bite delivers a slightly chewy, incredibly rich experience, making them the perfect showstopper dessert for holidays, family gatherings, potlucks, or simply a luxurious treat for yourself. Be warned: these irresistible bars tend to disappear remarkably fast!

“These are absolutely decadent! I think they even taste better the next day when the flavors have time to meld together!”
– Sarah
Why Carmelitas Are Your Next Favorite Dessert Bar
Carmelitas aren’t just a dessert; they’re an experience. Imagine a buttery, slightly crisp oat cookie base, generously topped with a melted layer of rich chocolate chips, all drenched in a sweet, sticky homemade caramel. Then, another layer of that delightful oat crumble bakes on top, creating a perfect crust. The contrast of the tender-chewy crumble with the gooey, melting center is what truly sets these bars apart. They offer a comforting, nostalgic flavor profile that appeals to everyone, making them an ideal choice for holiday dessert tables, casual get-togethers, or as a delightful surprise for guests. Their irresistible combination of textures and flavors guarantees they’ll be a hit at any gathering.
The Anatomy of a Perfect Carmelita
Understanding the layers of a Carmelita is key to appreciating its delicious complexity:
- Buttery Oat Crumble: This versatile element forms both the sturdy base and the delicious, crumbly topping. Made with melted butter, wholesome old-fashioned oats, rich brown sugar, and flour, it provides a tender yet firm foundation and a delightful textural contrast as a crown. The oats contribute a satisfying chewiness that is essential to the Carmelita experience.
- Melted Chocolate Layer: A generous scattering of semi-sweet chocolate chips transforms into a smooth, decadent layer once baked. This rich chocolate stratum perfectly complements the sweetness of the caramel, offering a balanced flavor profile that prevents the bars from becoming overly sugary. It adds a luxurious depth that chocolate lovers will adore.
- Gooey Caramel Sauce: The luscious heart of the Carmelita is its simple yet utterly irresistible homemade caramel. Crafted from easy-to-melt caramel bits and rich heavy cream, this sauce ensures a perfectly soft, chewy, and intensely flavorful center that oozes with every bite. Its sticky, sweet embrace is what truly makes a Carmelita shine.
Frequently Asked Questions About Carmelitas
Carmelitas offer an explosion of rich, sweet, and incredibly satisfying flavors. They are predominantly caramely and chocolatey, with deep, comforting notes from the brown sugar and vanilla, reminiscent of a gourmet candy bar. The base and top layers contribute a pleasant, slightly crisp and wonderfully chewy texture, much like a delicious oatmeal cookie. The true magic happens in the middle, where the melted chocolate and homemade caramel create an incredibly soft, gooey, and almost molten center. This delightful combination of textures—crisp, chewy, soft, and profoundly gooey—makes each bite utterly irresistible and uniquely indulgent.
For optimal results and utmost convenience, we highly recommend using an 11-ounce bag of Kraft brand caramel bits. These small, unwrapped caramels melt exceptionally smoothly and quickly, creating a luscious, velvety sauce without the tedious process of unwrapping individual candies. While other brands of caramel bits might work, Kraft is a tried-and-true choice known for delivering consistent texture and delightful flavor. Fortunately, these caramel bits are now widely available in the baking aisle of most major grocery stores, making them easy to find for your Carmelita creation.
Yes, patience is an absolute virtue when it comes to Carmelitas! Allowing them to cool completely for at least 2 to 2.5 hours at room temperature, or even longer, before attempting to slice is critically important. If you try to cut them while they are still warm, the caramel and chocolate layers will be extremely fluid, leading to a very messy and difficult cutting experience, and your bars won’t hold their shape. The extended cooling period gives the gooey center time to set properly, resulting in clean, beautiful slices that remain wonderfully soft and chewy. For those eager to indulge, chilling them in the refrigerator can accelerate the setting process, but still, ensure they are fully firm before making that first cut to prevent any disappointment.
While the thought of using jarred caramel sauce for convenience is understandable, it has not been tested with this specific Carmelita recipe. Commercial jarred caramel sauces typically have a thinner consistency than the rich, thick caramel sauce created by melting caramel bits with heavy cream. This difference in viscosity might result in a less stable and potentially overly runny caramel layer within your bars, affecting their structure and overall gooeyness. For the authentic, dense, and perfectly chewy texture that Carmelitas are known for, we strongly recommend adhering to the recipe’s method of making caramel from bits and heavy cream. If you do decide to experiment with jarred sauce, we’d love to hear about your results!
Carmelita bars are famously gooey, which is precisely what makes them so incredibly delicious but can also make them a bit sticky to handle! If you prefer to keep your fingers clean or have sensory sensitivities, grabbing a fork is definitely the recommended approach when digging into these delightful treats. For a firmer bar that’s slightly less gooey and easier to pick up, consider keeping your Carmelitas chilled in the refrigerator. The cooler temperature helps the caramel and chocolate layers set more firmly, offering a slightly different, yet equally delightful, texture and a cleaner eating experience. A scoop of vanilla ice cream alongside a slightly warmed (but still set) bar is also a heavenly combination!
The old-fashioned oats are a fundamental and irreplaceable component of the Carmelita crumble. They contribute significantly not only to its signature chewy texture but also act as a crucial binder, helping the base layer hold its shape perfectly. While we understand some individuals might prefer to avoid oats in desserts due to texture preferences, it’s genuinely challenging to recommend a suitable substitute that would provide the same structural integrity, flavor, and chewiness. Without oats, the crumble might not hold together as well during baking and slicing, and the overall texture of the bar would be substantially altered from the classic Carmelita. We have not tested alternative ingredients for this role, so for the authentic and guaranteed Carmelita experience, we strongly advise sticking with old-fashioned oats. If seeking a slight variation, quick-cooking oats could be a closer alternative, but traditional rolled oats are always preferred for their robust texture and chewiness.
To maintain the freshness and delightful gooeyness of your Carmelitas, store any leftover bars in an airtight container at room temperature. They will retain their peak quality and wonderful texture for up to 5-6 days. If you prefer a firmer texture or wish to extend their freshness slightly longer, you can certainly store them in the refrigerator. Just remember that chilled bars will be less gooey initially, but still incredibly delicious once they’ve had a moment to warm up slightly before serving.
Ingredients for Heavenly Carmelitas
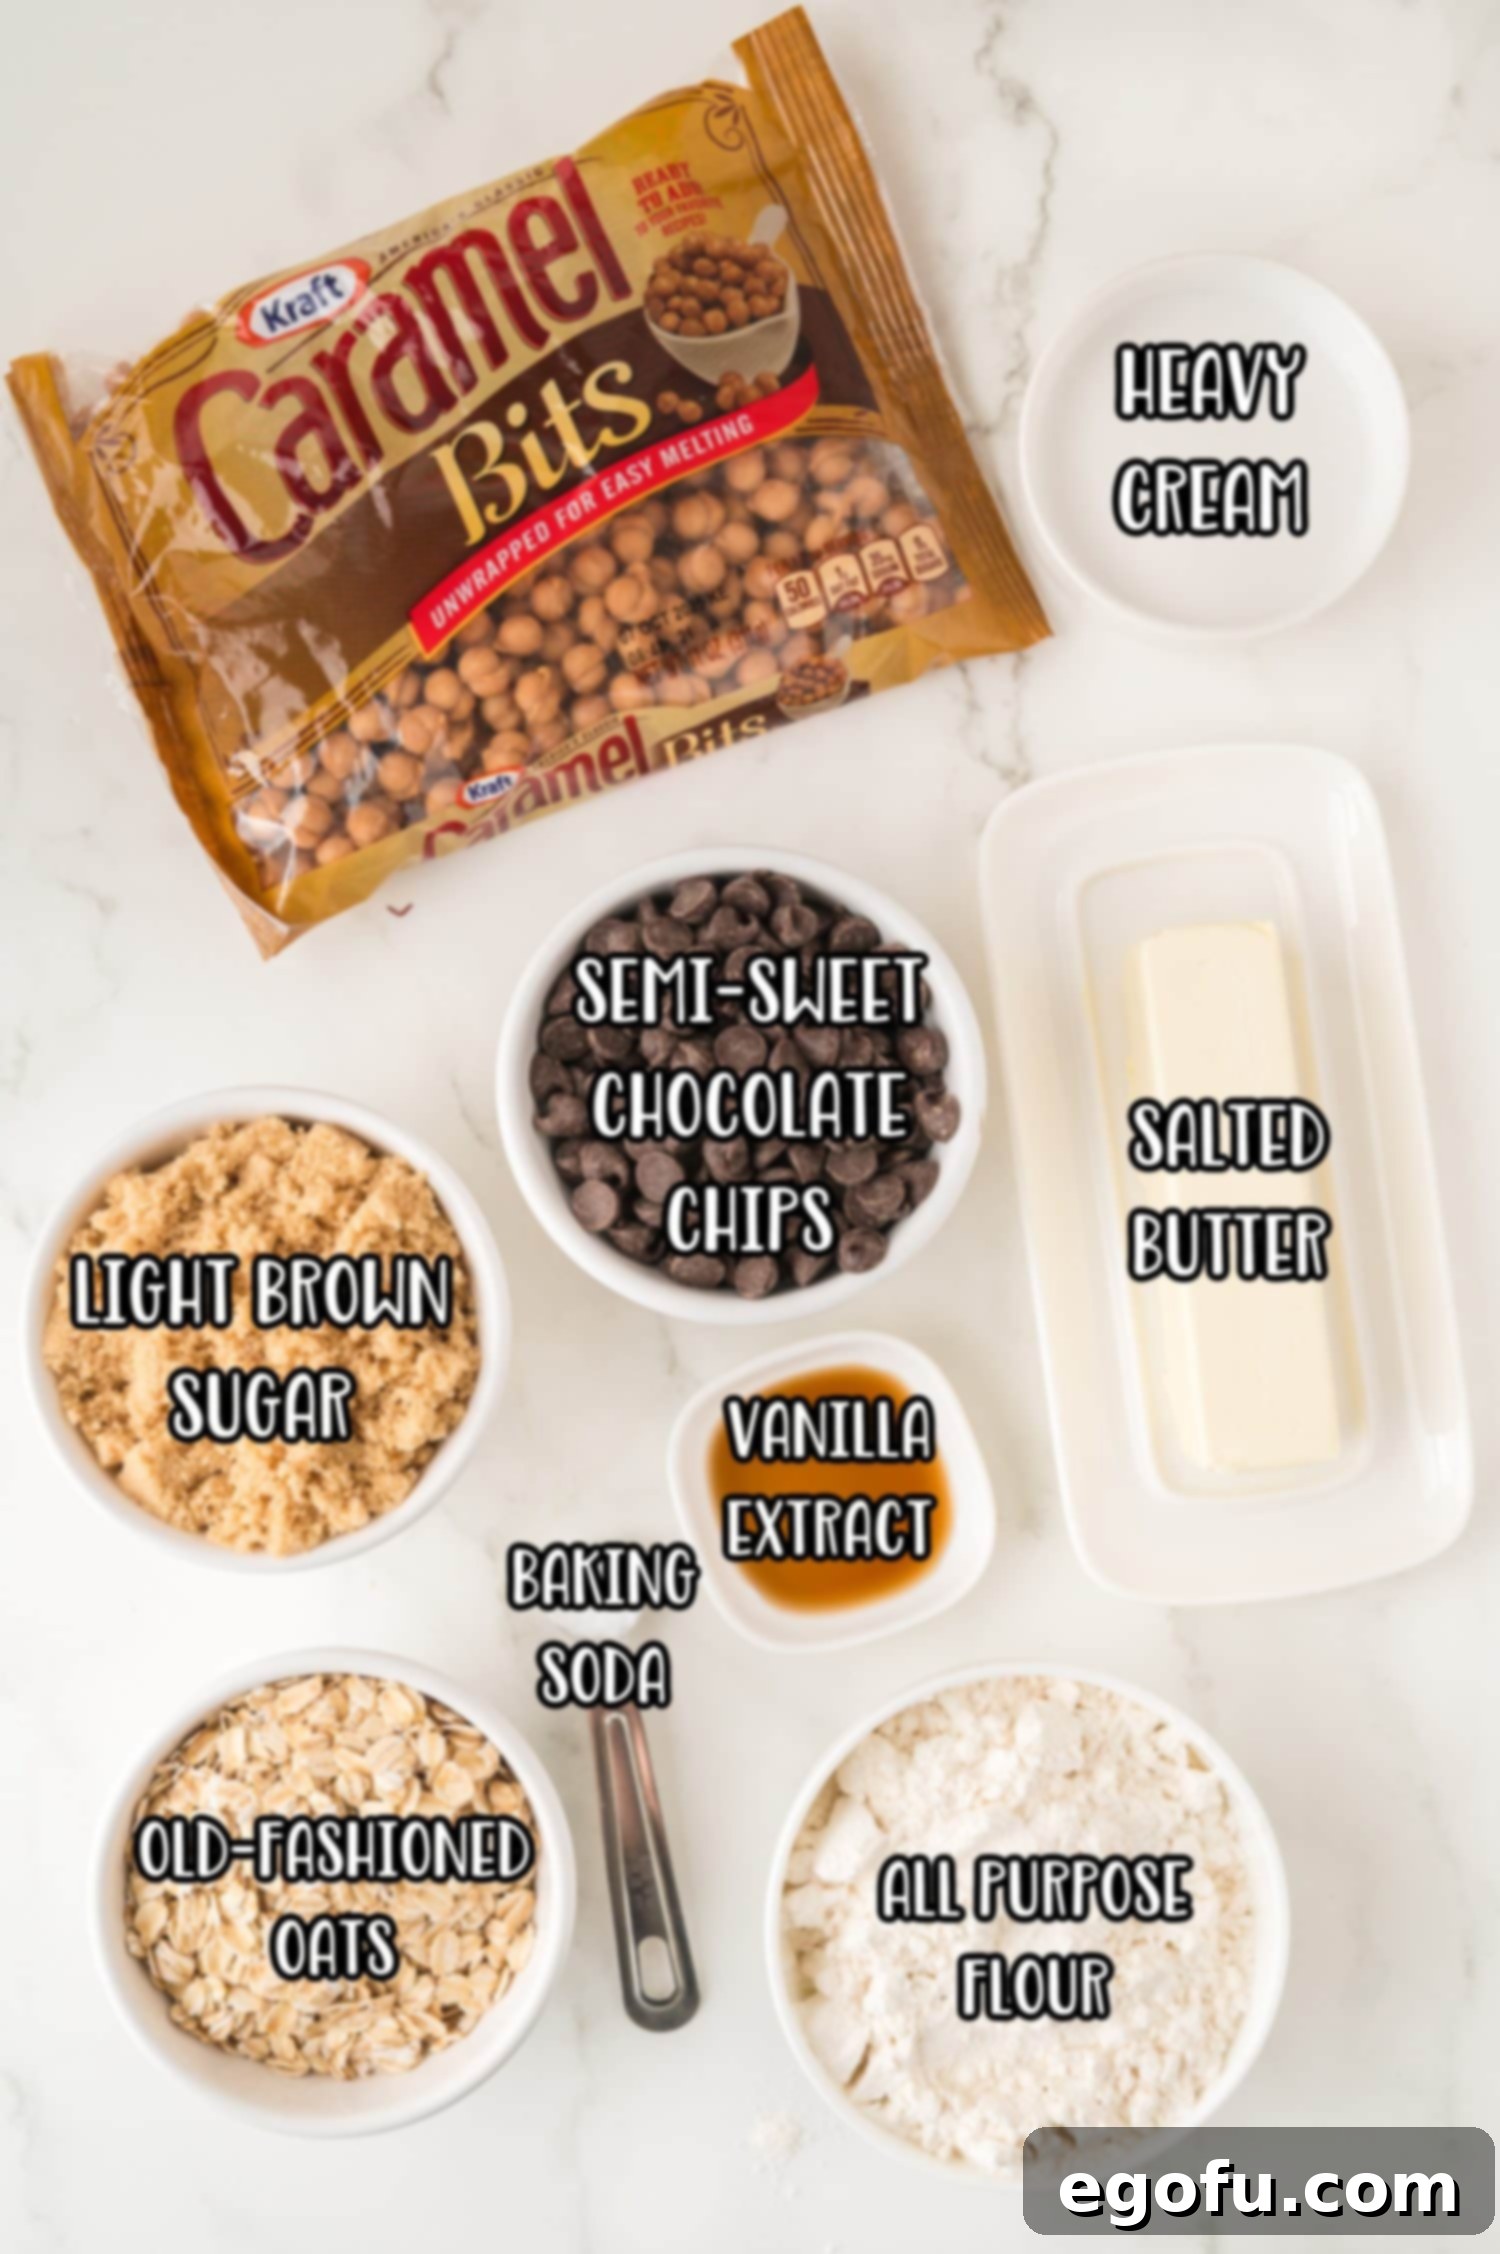
Crafting the perfect Carmelitas starts with selecting the right ingredients. Each component plays a vital role in achieving that signature gooey, chewy, and utterly delicious outcome. Here’s a closer look at what you’ll need, along with some helpful notes to ensure your bars turn out perfectly every time:
- Salted Butter:
You’ll need ½ cup (or one stick) of melted salted butter. This forms the rich, flavorful foundation of our oat crumble. The salt in the butter helps to perfectly balance the sweetness from the caramel and chocolate, enhancing the overall taste. If your pantry only contains unsalted butter, simply use it and add an extra ¼ teaspoon of fine sea salt to the crumble mixture to achieve that ideal flavor balance.
- Packed Light Brown Sugar:
¾ cup of packed light brown sugar is essential for both the taste and texture of the crumble. Brown sugar provides a deeper, molasses-rich sweetness compared to white sugar, and its moisture content is crucial for the bars’ signature moistness and tender-chewy consistency. While white sugar could theoretically be used, it would alter the flavor profile and texture significantly, and this specific recipe has not been tested with it.
- All-Purpose Flour:
1 cup of all-purpose flour provides the necessary structure and body for the oat crumble. It ensures that both the base and topping hold together beautifully while baking, contributing to the bar’s stability and delightful chew.
- Old-Fashioned Oats:
¾ cup of old-fashioned oats are a non-negotiable ingredient for achieving that classic Carmelita texture. These larger, rolled oats add a hearty chewiness and are critical for binding the crumble mixture, giving it substance. Quick-cooking oats can be used as a last resort, but they may result in a slightly less robust and chewy texture. This recipe relies heavily on the oats for structure, so we do not recommend omitting them or substituting them with other ingredients.
- Baking Soda:
A mere ½ teaspoon of baking soda acts as a gentle leavening agent in the crumble. It contributes to a slight lift and helps create a tender, not-too-dense texture in both the bottom and top layers of the bar.
- Vanilla Extract:
1 teaspoon of pure vanilla extract is a flavor enhancer that ties all the sweet components together. It adds a warm, aromatic note that deeply enriches the overall taste profile of the Carmelitas. Opt for pure vanilla extract for the best flavor results.
- Caramel Bits:
An 11-ounce bag of caramel bits is the secret to our perfectly gooey, hassle-free caramel layer. These small, unwrapped caramels melt incredibly smoothly and easily when combined with cream, saving you considerable time and effort compared to unwrapping individual caramel candies. You’ll typically find them conveniently located in the baking aisle of most well-stocked grocery stores.
- Heavy Cream:
⅓ cup of heavy cream is absolutely crucial for creating the luscious, thick, and perfectly pourable caramel sauce. Its high fat content provides the necessary richness and body for the caramel to achieve its signature gooey consistency that sets just right within the bars. It’s imperative to use heavy cream here; milk or half-and-half are too thin and lack the fat required for the caramel to perform correctly.
- Semi-Sweet Chocolate Chips:
1 cup of semi-sweet chocolate chips melts into a delightful, rich layer that balances the intense sweetness of the caramel. Semi-sweet chocolate provides a balanced flavor that prevents the bars from becoming overly cloying, pairing exquisitely with the sticky caramel. If you have a profound sweet tooth and prefer a much sweeter bar, milk chocolate chips can be used, but be aware that Carmelitas are already quite sweet on their own.
How to Make Perfect Carmelita Bars: A Step-by-Step Guide
Creating these heavenly Carmelita bars is surprisingly straightforward, despite their impressive appearance. Follow these clear and simple steps, and you’ll soon be enjoying a truly decadent dessert that will wow everyone:
Prepare Your Baking Dish: Begin by preheating your oven to 350°F (175°C). Take an 8×8-inch baking dish and line it with parchment paper. Ensure you leave an overhang of parchment paper on two opposite sides; this ingenious parchment paper sling will make it incredibly easy to lift the entire slab of cooled bars out of the pan, allowing for neat and effortless slicing later.

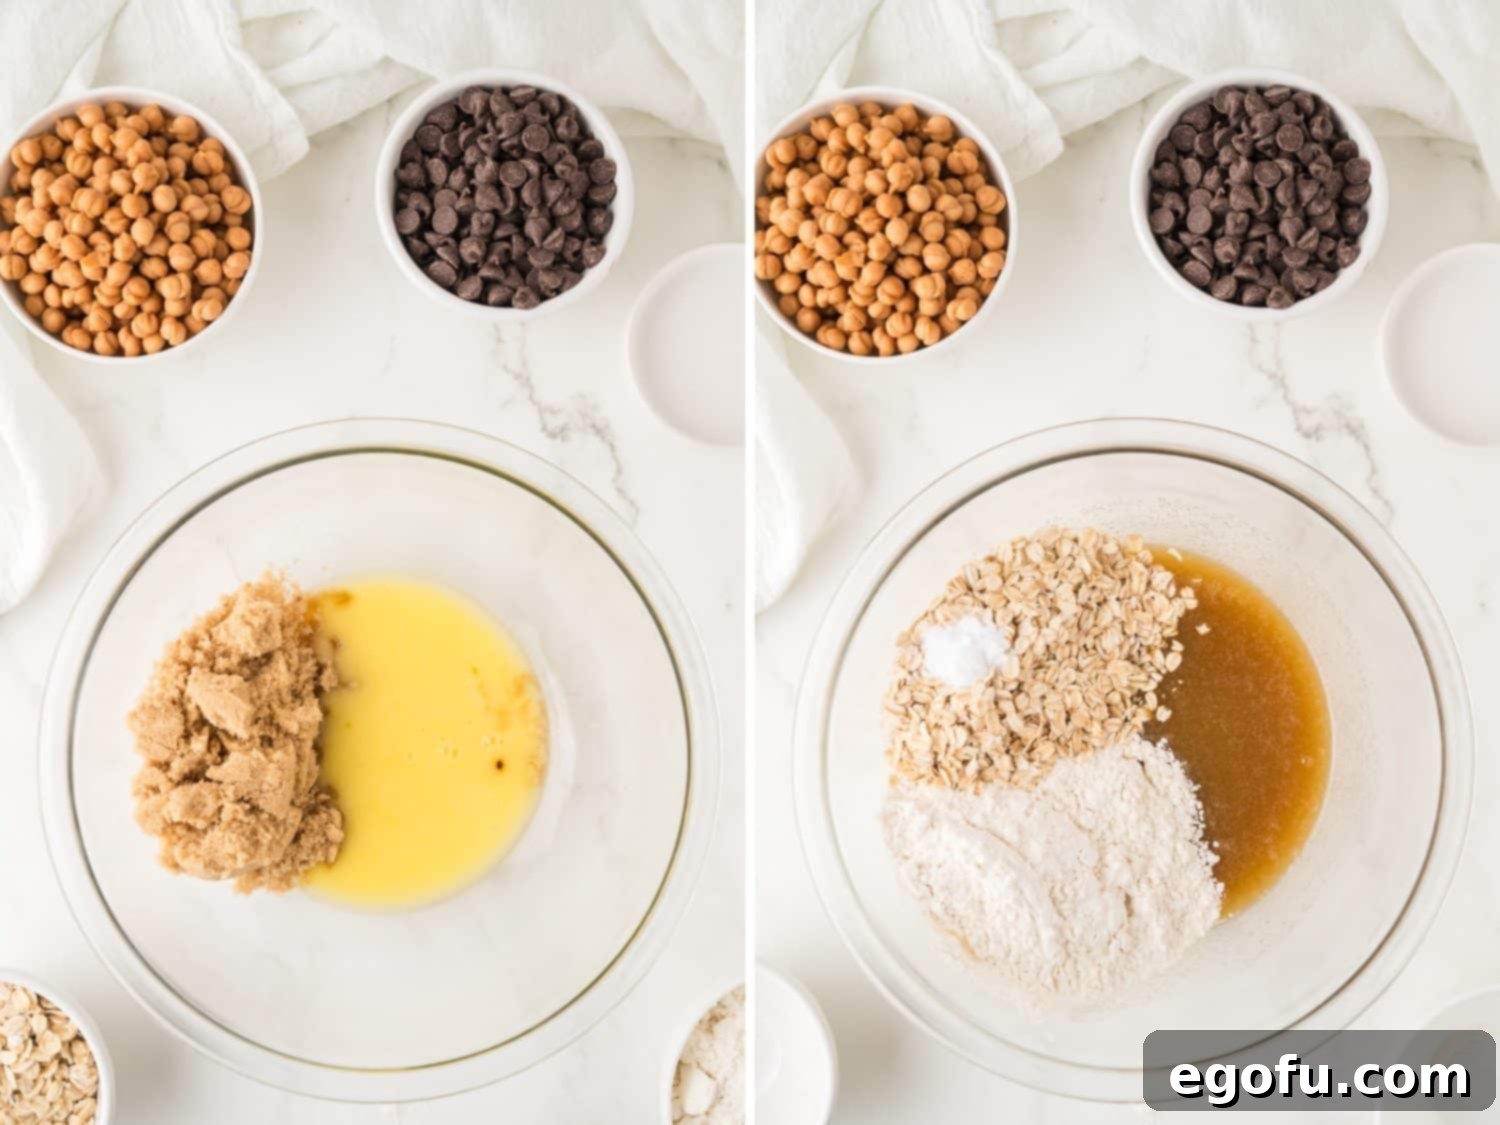
Combine the wet ingredients before adding the dry ones for the crumble mixture. Make the Oat Crumble Dough: In a large mixing bowl, combine the melted salted butter, packed light brown sugar, and vanilla extract. Stir these wet ingredients together thoroughly until they are well combined and smooth. Next, add in the all-purpose flour, old-fashioned oats, and baking soda. Mix all the ingredients well until a cohesive, yet crumbly, dough forms. Make sure there are no dry spots and that all ingredients are evenly distributed throughout the mixture.

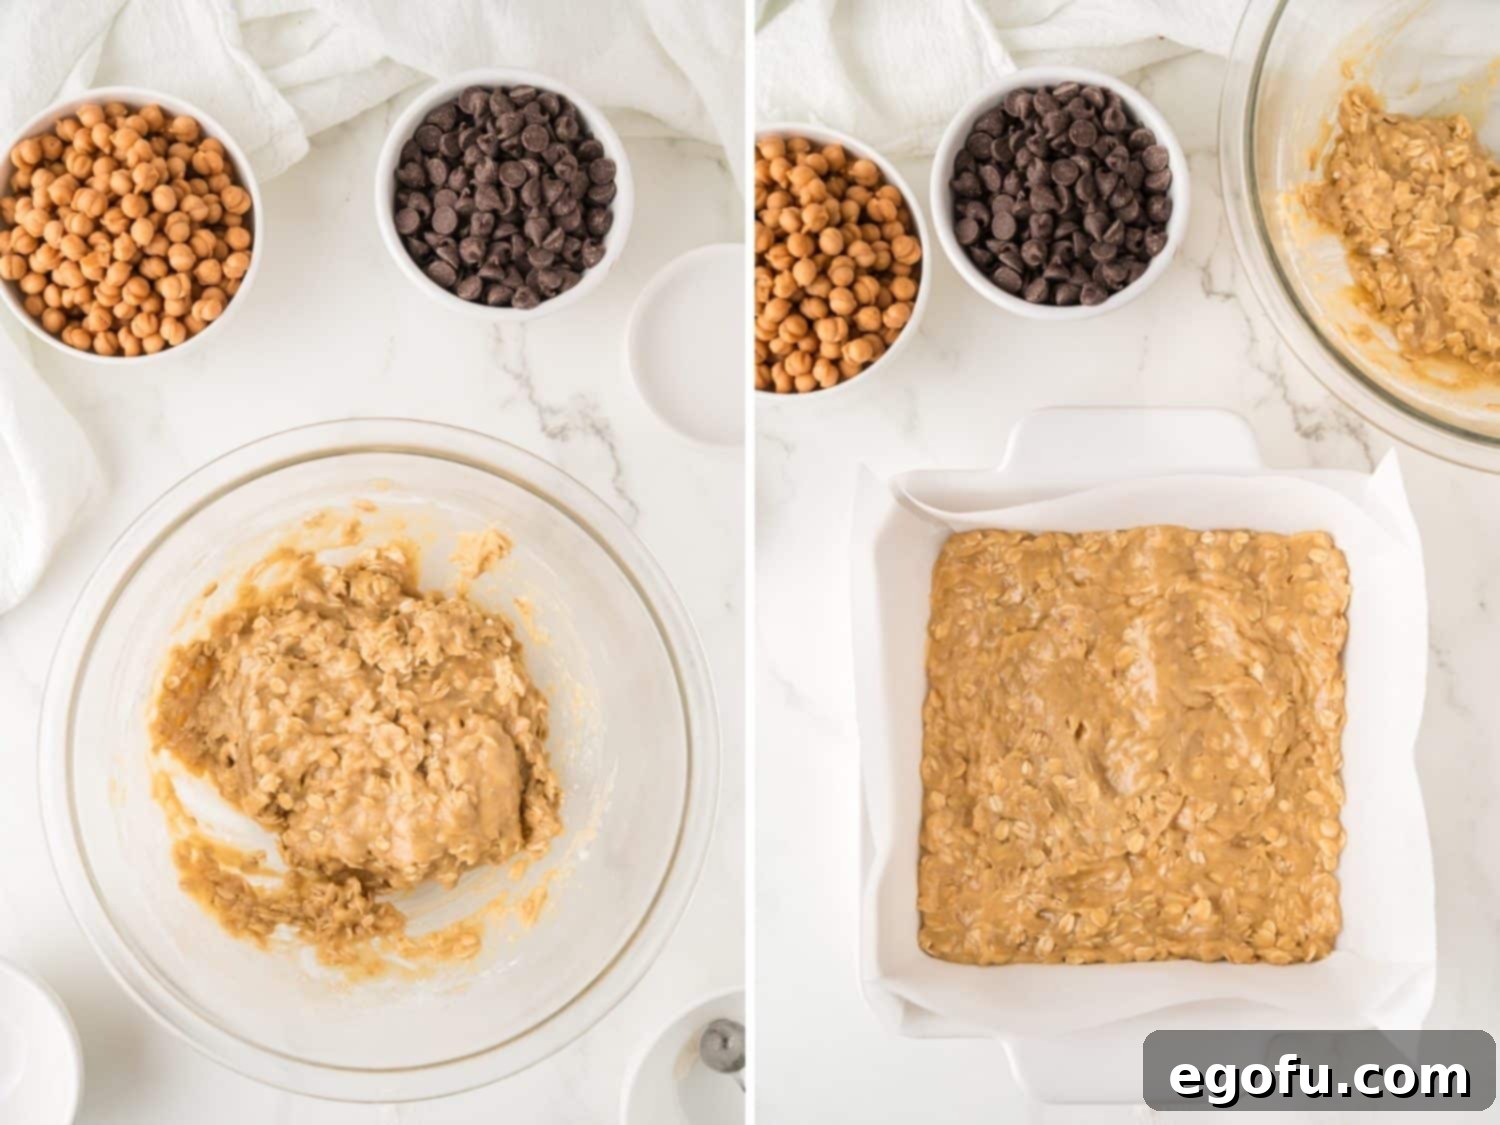
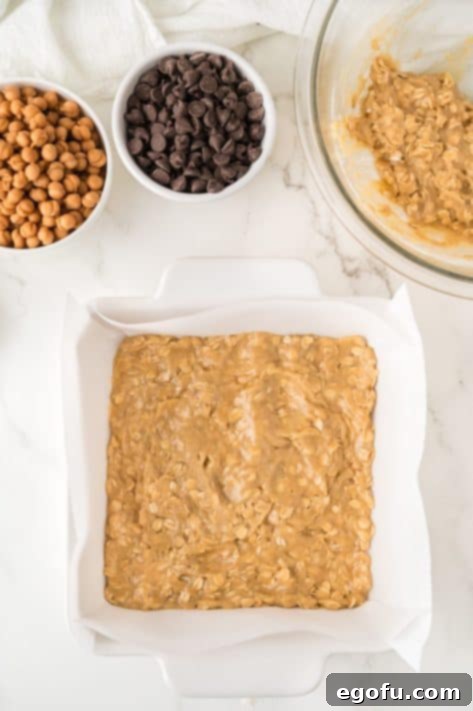
Press half of the crumble mixture firmly into the prepared baking dish. Bake the Base Layer: Take precisely half of the prepared oat crumble dough mixture. Press this portion firmly and evenly into the bottom of your parchment-lined baking dish, forming a compact and level base. Place the dish into the preheated oven and bake for 10 minutes. This crucial initial bake helps to set the base, creating a sturdy foundation before the luscious, gooey layers are added.

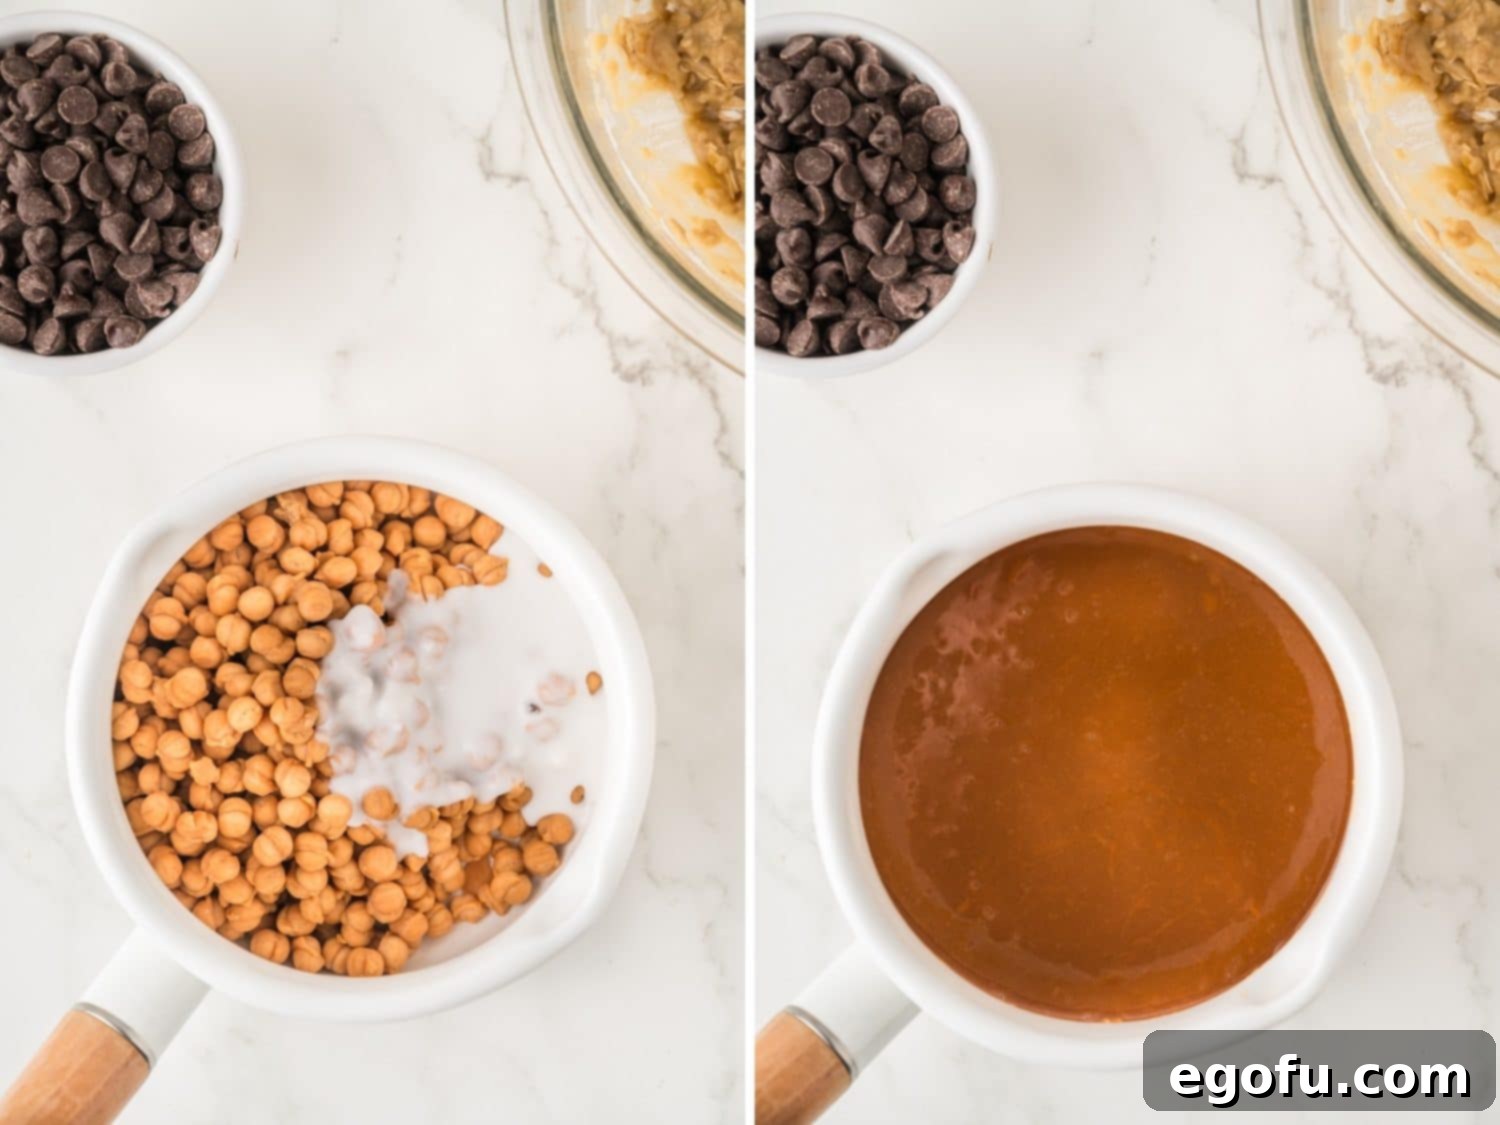
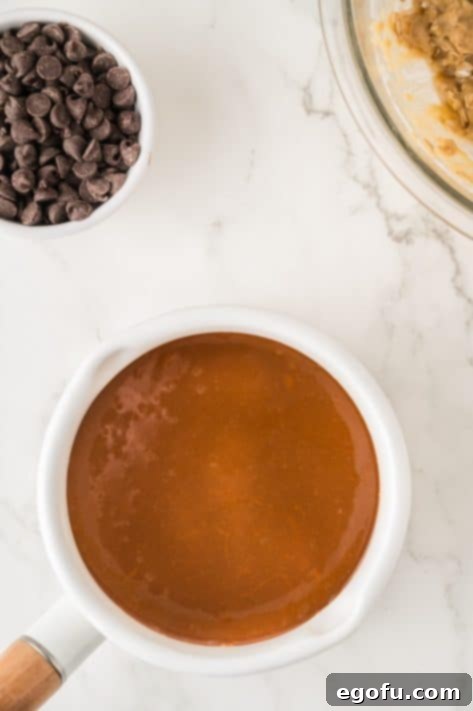
Gently melt the caramel bits with heavy cream over low heat. Prepare the Caramel Sauce: While the base layer is baking in the oven, you can start preparing your irresistible caramel sauce. In a medium saucepan, combine the entire 11-ounce bag of caramel bits with the ⅓ cup of heavy cream. Place the saucepan over medium-low heat and stir constantly and diligently until all the caramels are completely melted and the sauce achieves a beautifully smooth, creamy consistency. This process typically takes about 7 to 10 minutes. It is vital to avoid using high heat, as this can easily cause the caramel to burn or become grainy.

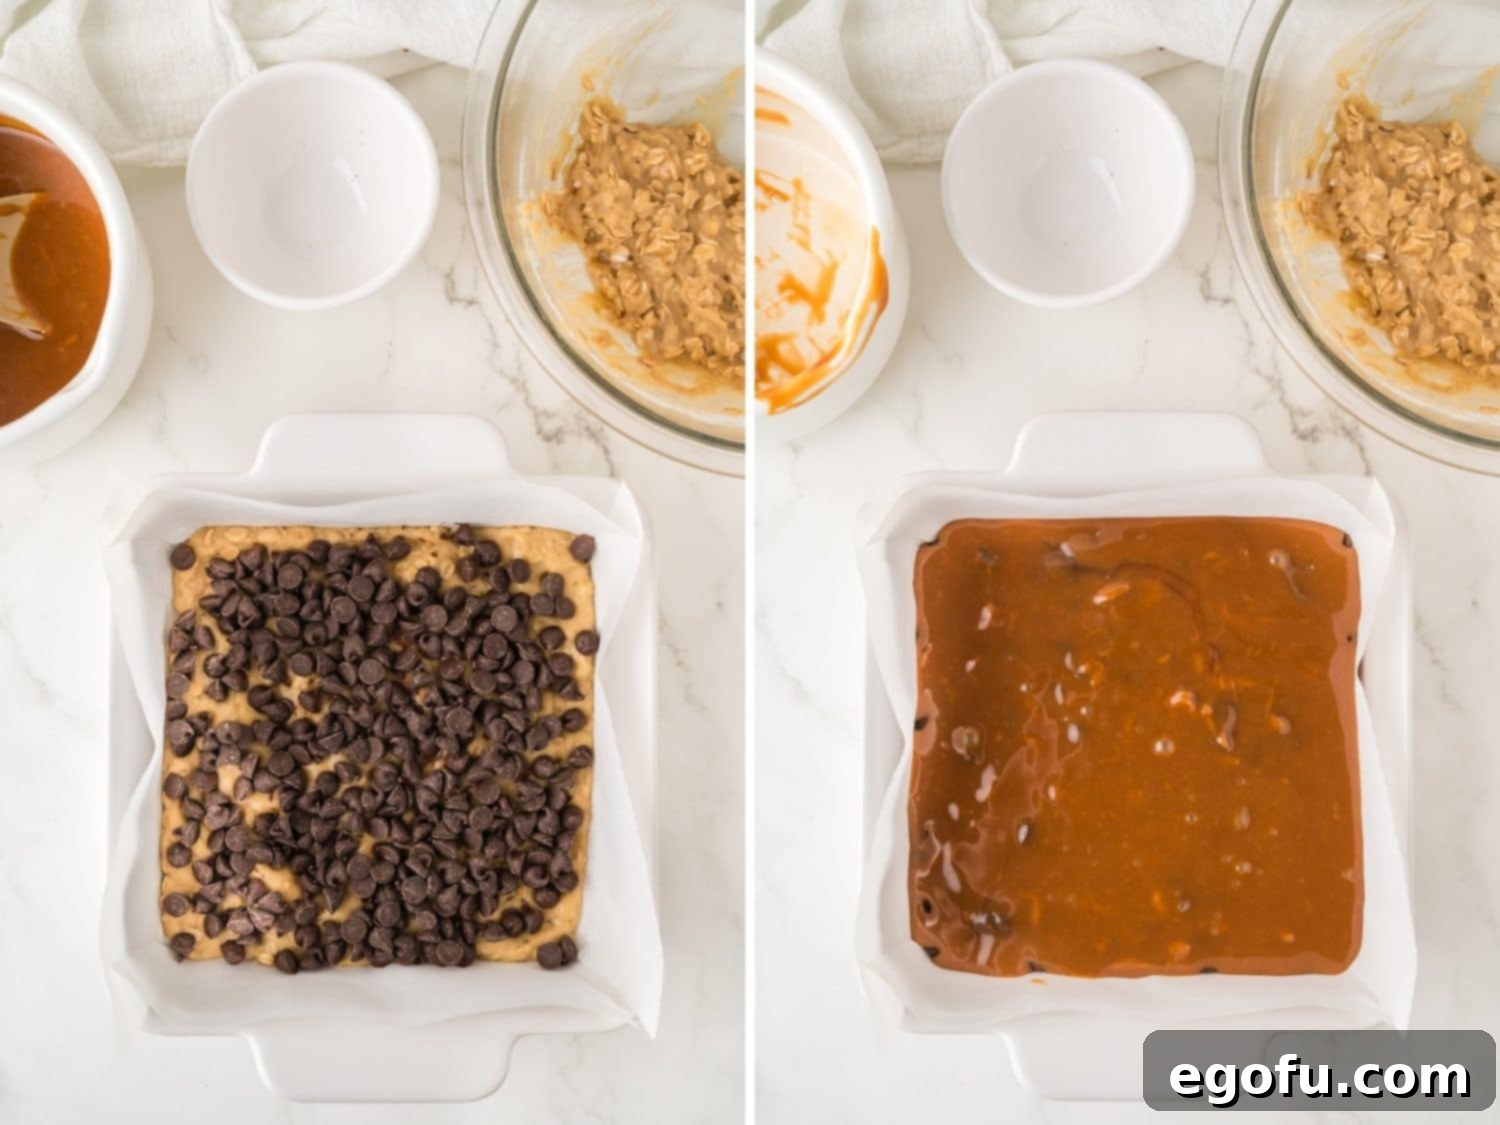
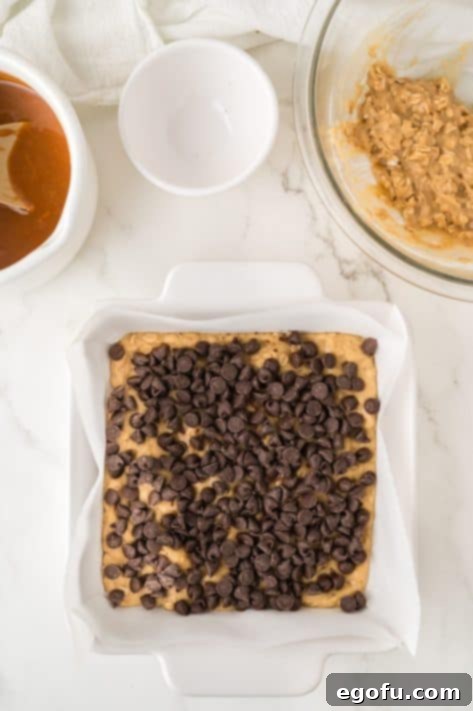
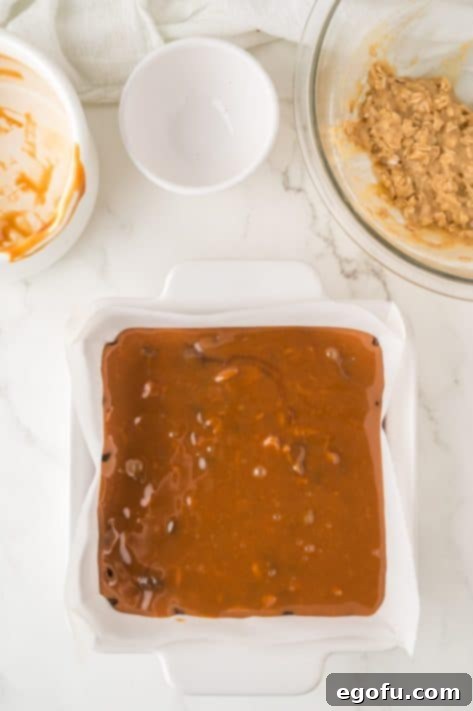
Layering chocolate chips and warm caramel sauce over the baked base. Layer Chocolate and Caramel: Once the base layer has completed its initial 10-minute bake, carefully remove the baking dish from the oven. Immediately and generously sprinkle the 1 cup of semi-sweet chocolate chips evenly over the warm base. The residual heat from the baked crust will gently start to melt the chocolate. Then, with care, pour the freshly made, warm caramel sauce directly over the chocolate chips, gently spreading it with a spoon or spatula to ensure it covers the entire surface.

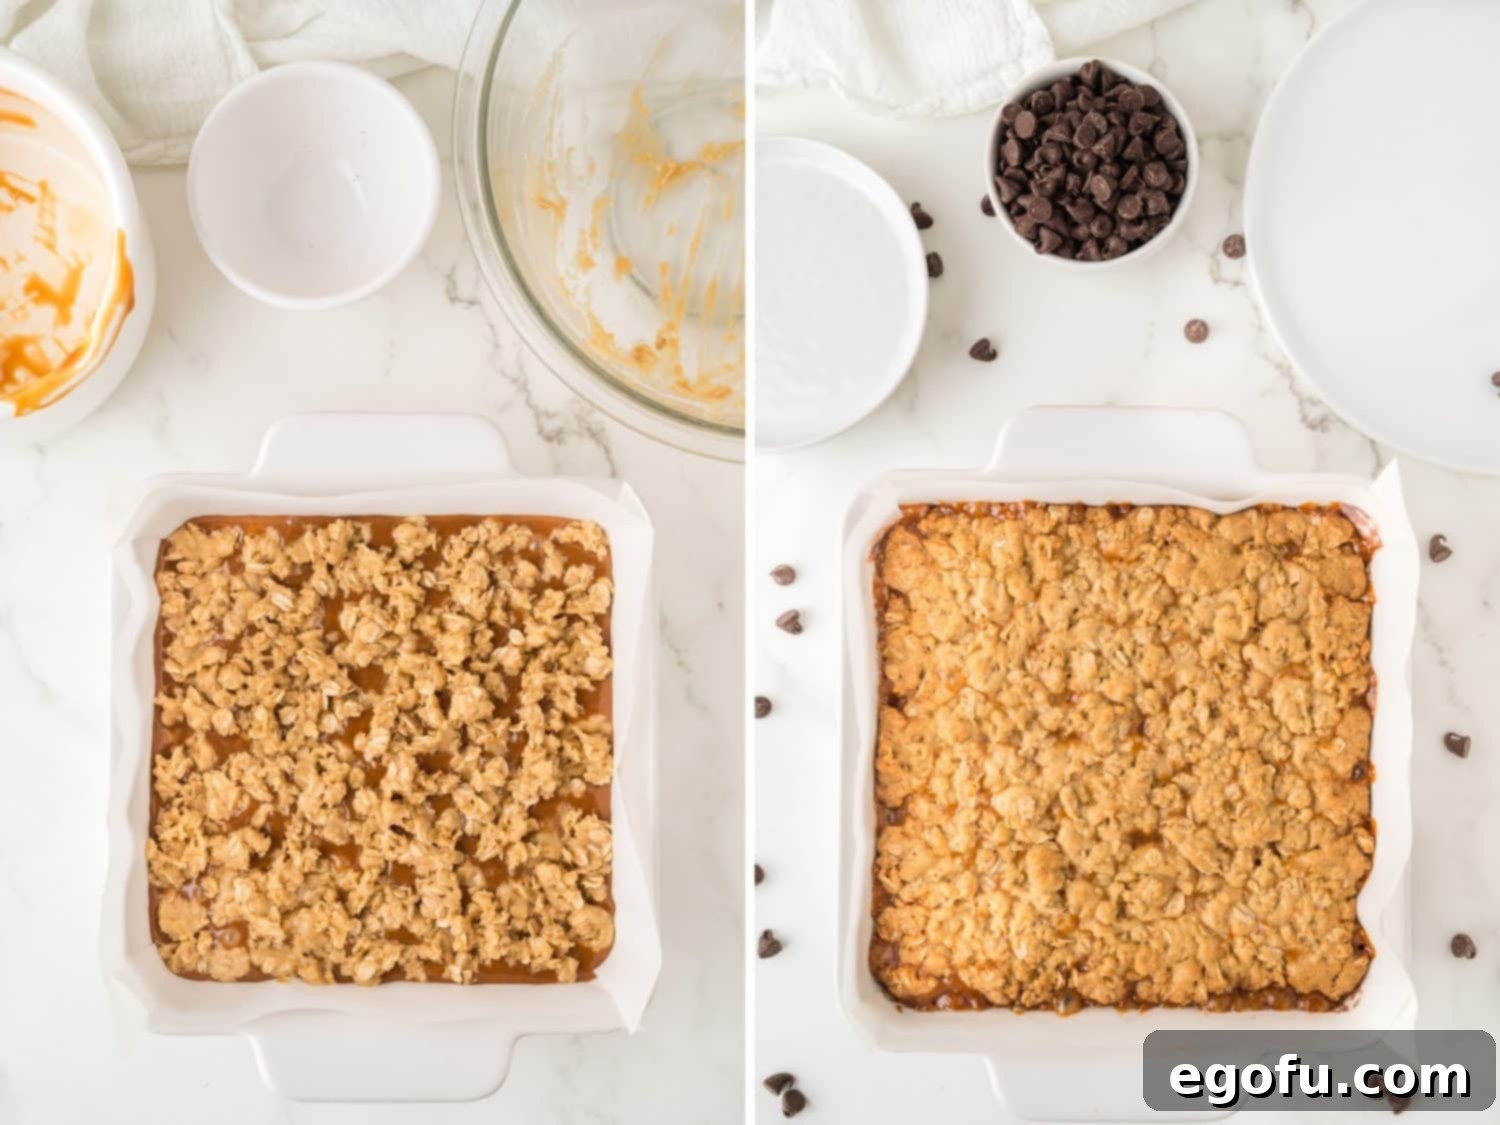
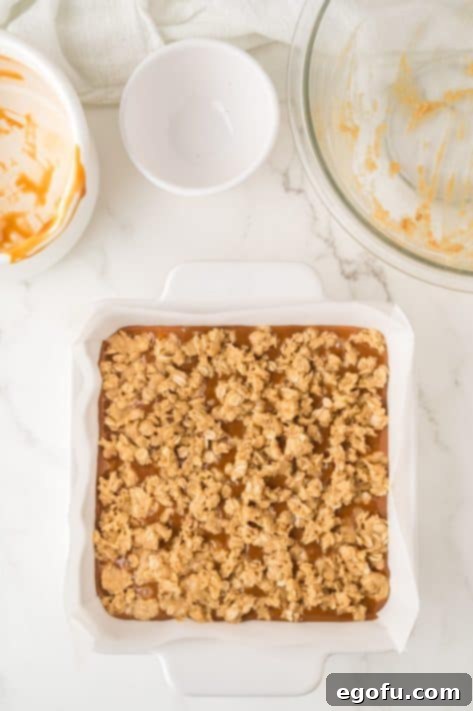
Evenly distribute the remaining crumble mixture for the topping. Add the Top Crumble Layer: Gently and evenly sprinkle the remaining half of the oat crumble mixture over the caramel layer. Try not to press it down too much; a light, loose sprinkle creates a beautifully textured and slightly crisp topping that adds another dimension to these bars.

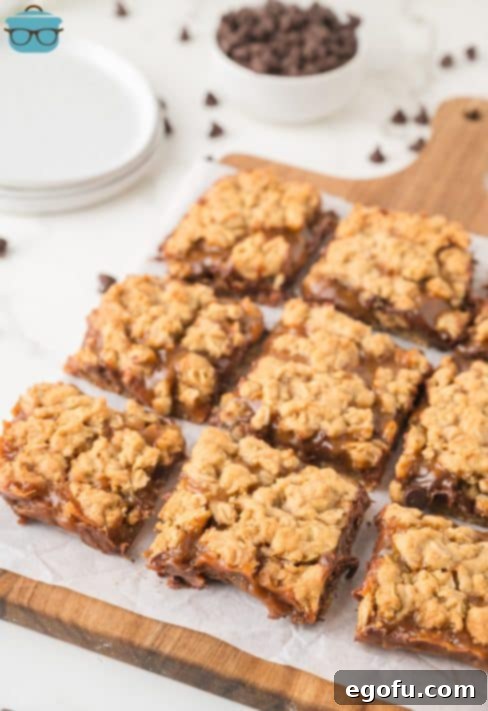
Allow the Carmelitas to cool completely before slicing. Final Bake and Cooling: Return the baking dish to the preheated oven and bake on the middle rack for an additional 20 to 25 minutes, or until the top crumble is beautifully golden brown and the filling is visibly bubbly around the edges. Once baked, remove the dish from the oven. Now comes the most critical step: let the Carmelitas cool *completely* at room temperature for at least 2.5 hours. Resisting the urge to cut them early is paramount to achieving perfectly set, non-messy bars. For quicker cooling, you can transfer them to the refrigerator after about an hour at room temperature. Once fully cooled and firm, use the parchment paper overhangs to lift the entire slab out of the dish, place it on a cutting board, and carefully slice into 9 even squares to enjoy your magnificent creation.
Tips for Perfect Carmelita Bars Every Time
Achieving Carmelita perfection is easier than you think with a few insider tips. These pointers will help ensure your dessert bars are always irresistibly gooey, beautifully structured, and a guaranteed crowd-pleaser:
- Embrace the Chill (Cooling Time): We simply cannot stress this enough – cooling is paramount! Warm Carmelitas will be an impossible, gooey, and disheartening mess. The minimum 2 to 2.5 hours cooling time (or even longer, overnight is best if you have the patience!) allows the caramel and chocolate layers to fully set and solidify. This crucial step is what guarantees you neat, firm bars that are still wonderfully gooey and delicious when you finally take a bite. Patience truly pays off here.
- The Magic of Parchment Paper: The parchment paper sling is your absolute best friend when making these bars. It simplifies the process of removing the entire baked slab from the baking dish, preventing any sticky situations or potential damage to your beautiful layers. This effortless removal then makes clean and precise slicing an absolute breeze.
- Choose the Right Oats: For the most authentic and satisfying Carmelita texture, always opt for old-fashioned (also known as rolled) oats. They provide the ideal hearty chewiness and contribute significantly to the structural integrity of the crumble. While quick-cooking oats might technically work, they tend to result in a slightly less chewy and somewhat softer crust. It’s best to avoid instant oats entirely, as their fine texture won’t give you the desired crumble.
- Stir Caramel Constantly: When melting the caramel bits and heavy cream for your luscious filling, it’s essential to stir continuously and diligently over low to medium-low heat. Constant stirring prevents the caramel from scorching at the bottom of the pan and ensures that you achieve a beautifully smooth, lump-free caramel sauce that will flow perfectly over your chocolate layer.
- Tailor Chocolate Sweetness to Your Liking: Semi-sweet chocolate chips are recommended for this recipe, as they provide a balanced sweetness that prevents the overall bar from becoming overly cloying, especially when paired with the intensely sweet caramel. However, if you possess a particularly robust sweet tooth and prefer an even sweeter dessert, milk chocolate chips can be used. Conversely, if you enjoy a delightful bittersweet contrast, dark chocolate chips would be an excellent choice to cut through the richness.
- Mastering Storage Secrets: To keep your delicious Carmelitas fresh and maintain their delightful gooeyness, store any leftover bars in an airtight container. At room temperature, they will maintain their quality for up to 5-6 days. For a firmer texture and potentially a slightly extended shelf life, you can also store them in the refrigerator. Just note that chilled bars might be firmer initially.
- Elevate Your Serving Suggestion: While Carmelitas are absolutely divine on their own, a simple accompaniment can elevate them to an extraordinary dessert experience. A generous scoop of creamy vanilla bean ice cream, strategically placed alongside a slightly warmed (but still fully set!) Carmelita bar, creates a stunning hot-and-cold contrast. Alternatively, a dollop of freshly whipped cream can add a light, airy touch that perfectly complements the bars’ richness.
Craving More Irresistible Dessert Recipes?
If you’ve loved these incredibly gooey and decadent Carmelitas, you’re in for an absolute treat! Explore some of our other favorite bar cookie recipes and delightful desserts that are sure to satisfy your sweet tooth and become new staples in your baking repertoire:
- No-Bake Chocolate Peanut Butter Oatmeal Bars
- Chocolate Chip Caramel Butter Bars
- Homemade Snickers Bars
- Autumn Pumpkin Streusel Bars
- Salted Caramel Chocolate Chip Cookie Bars
Carmelitas: Gooey Caramel Chocolate Oat Bars
Rich and indulgent dessert bars featuring layers of buttery oat crumble, decadent chocolate, and luscious caramel. An ultimate treat for any occasion.
Prep Time:
Cook Time:
Cooling Time:
Total Time:
Servings: 9 bars
Author: Brandie Skibinski
Ingredients
- ½ cup (1 stick) salted butter, melted
- ¾ cup packed light brown sugar
- 1 teaspoon vanilla extract
- 1 cup all purpose flour
- ¾ cups old fashioned oats
- ½ teaspoon baking soda
- 11 ounce bag caramel bits (Kraft recommended)
- ⅓ cup heavy cream
- 1 cup semi-sweet chocolate chips
Instructions
Preheat the oven to 350°F (175°C) and line an 8×8-inch baking dish with parchment paper, allowing an overhang on two sides for easy removal.
In a medium bowl, stir together the melted salted butter, packed light brown sugar, and vanilla extract until well combined. Add the all-purpose flour, old-fashioned oats, and baking soda, mixing until a crumbly dough forms.

Mixing the crumble ingredients. Press half of the prepared mixture evenly into the bottom of the lined baking dish. Bake for 10 minutes to set the base.

The baked bottom crust. While the base is baking, combine the 11-ounce bag of caramel bits and ⅓ cup heavy cream in a medium saucepan. Cook over medium-low heat, stirring constantly, for 7 to 10 minutes until all caramels are melted and smooth. Do not use high heat to prevent burning.

The perfectly smooth caramel sauce. Once the base is done baking, remove it from the oven. Immediately sprinkle the 1 cup semi-sweet chocolate chips evenly over the warm base layer.

Chocolate chips melting over the warm crust. Carefully pour the warm caramel sauce over the chocolate chips, spreading it gently to cover the entire surface.

Pouring the rich caramel layer. Sprinkle the remaining half of the flour/oat mixture evenly over the caramel layer to form the top crumble.

Adding the final crumble topping. Bake on the middle rack for an additional 20 to 25 minutes, until the topping is golden brown and the filling is bubbly. Let cool completely for at least 2.5 hours at room temperature before cutting into 9 slices. Chilling in the refrigerator can speed up the cooling process, but ensure they are fully set.

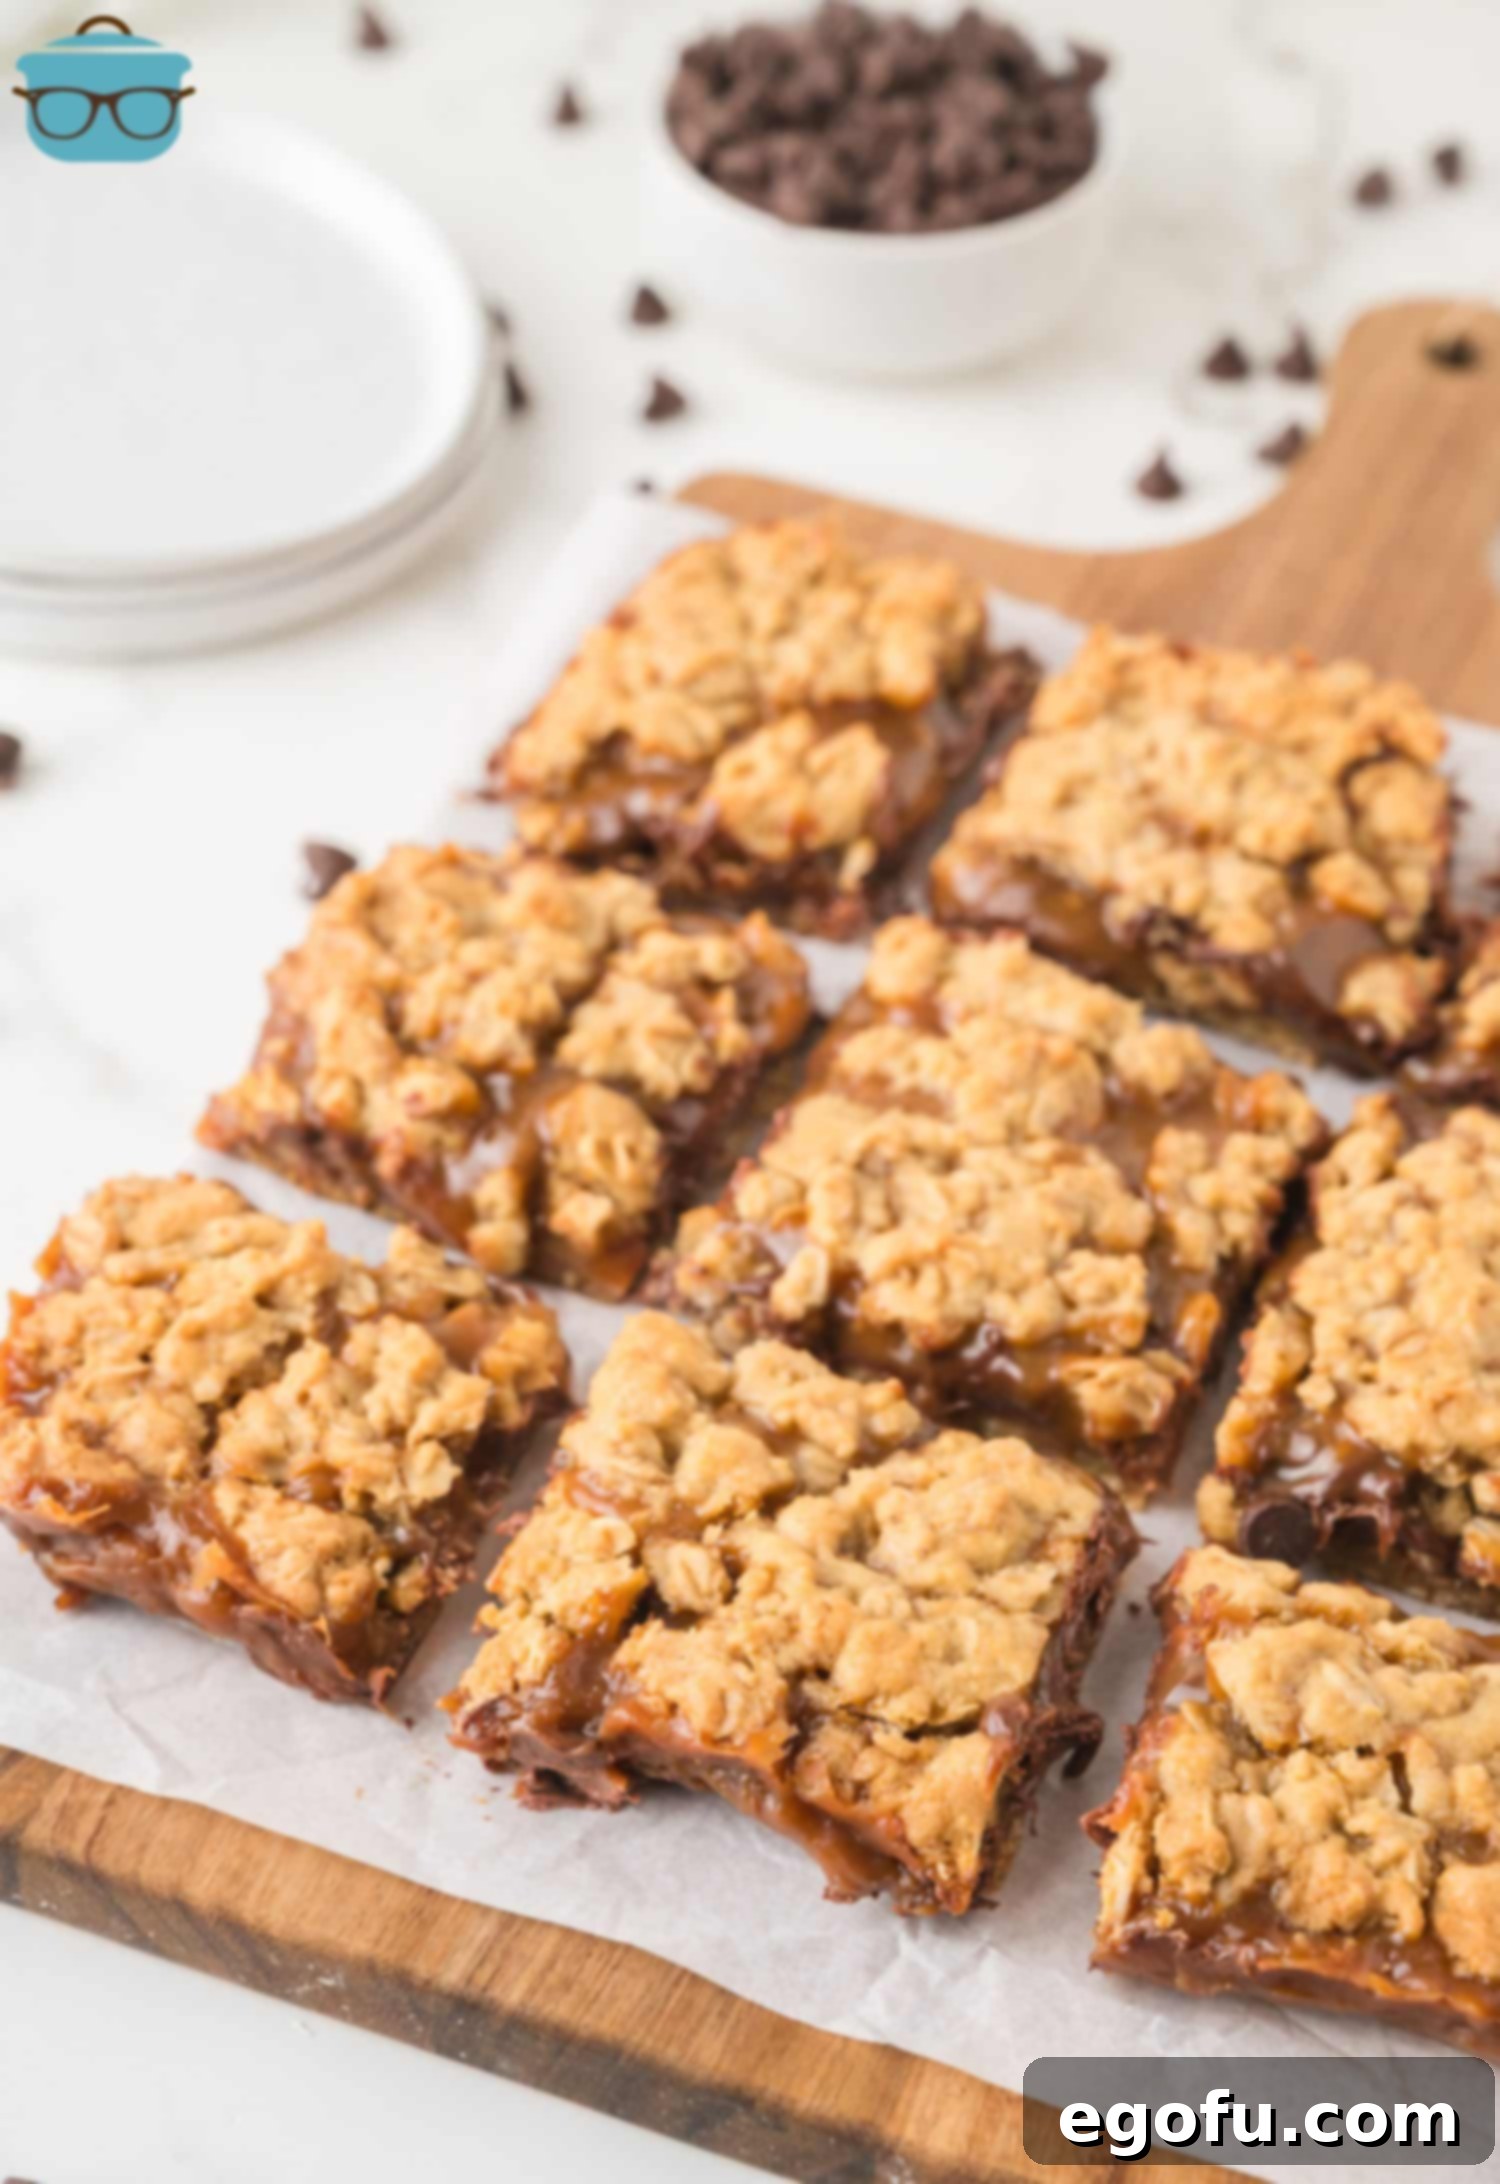
The finished, cooled Carmelitas, ready for slicing.
Notes
- Refer to the “Frequently Asked Questions” and “Ingredients” sections above for common substitutions and more detailed answers to your queries.
- Using parchment paper with a slight overhang simplifies the process of removing the entire slab of baked bars from the pan and makes clean slicing effortless once they are fully cooled. While nonstick cooking spray can be used, it will make removal and slicing significantly more challenging and potentially messy.
Nutrition
Calories: 516 kcal
Carbohydrates: 71g
Protein: 6g
Fat: 24g
Sodium: 237mg
Fiber: 3g
Sugar: 48g
Nutritional Disclaimer
“The Country Cook” is not a dietician or nutritionist, and any nutritional information shared is an estimate. If calorie count and other nutritional values are important to you, we recommend running the ingredients through whichever online nutritional calculator you prefer. Calorie and other nutritional values can vary quite a bit depending on which brands and precise measurements were used in preparation.
Did you make this recipe?
Share your delicious creations on Instagram by tagging us @thecountrycook and using the hashtag #thecountrycook! We love seeing what you bake!
