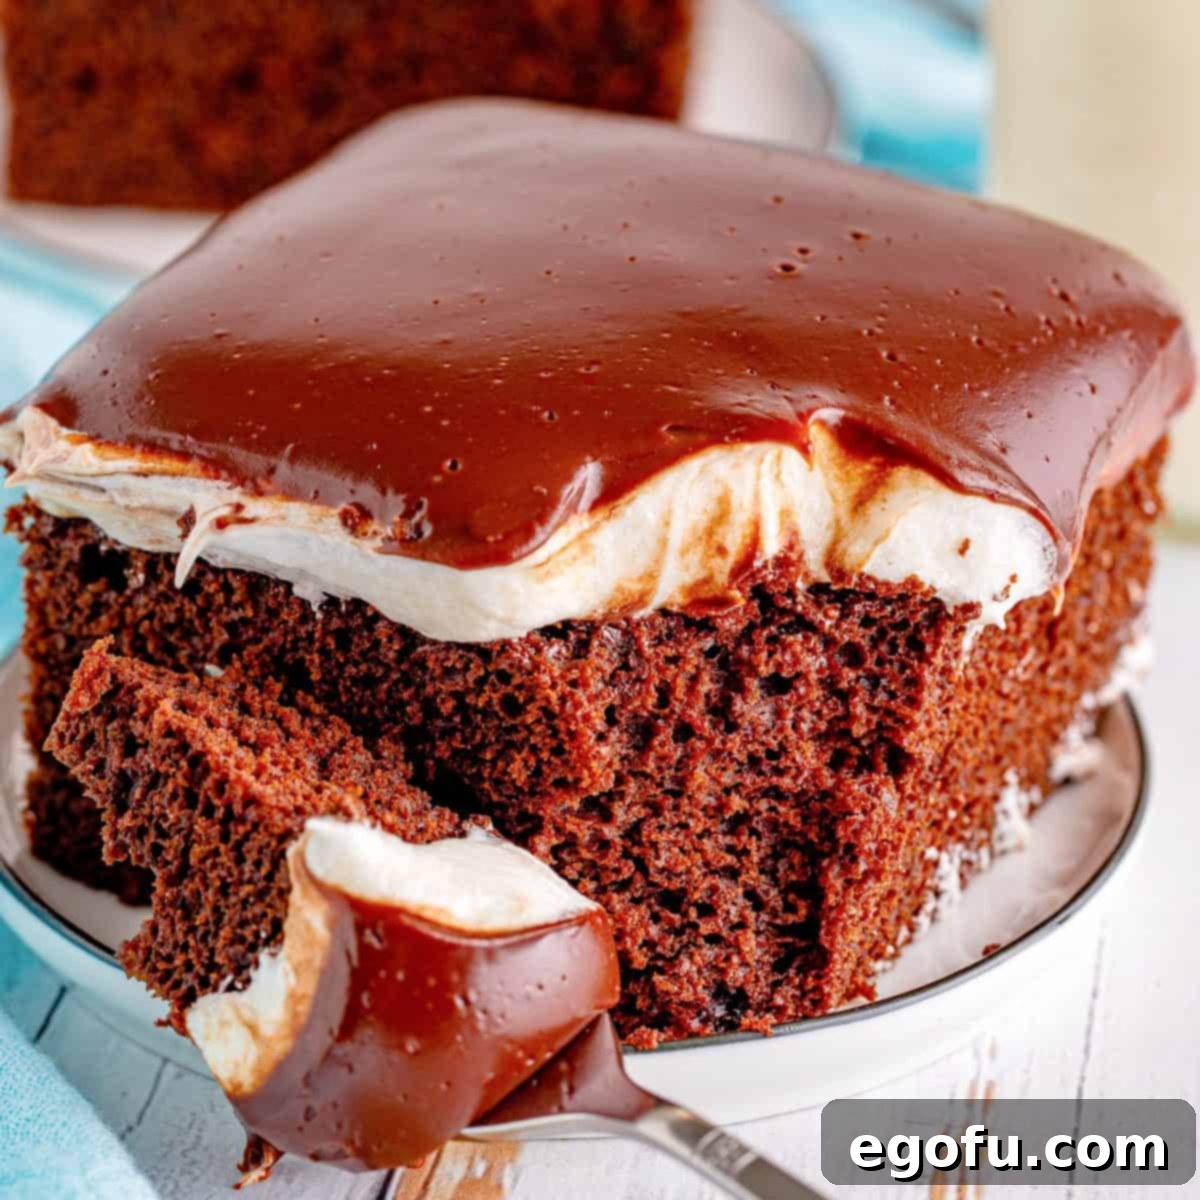
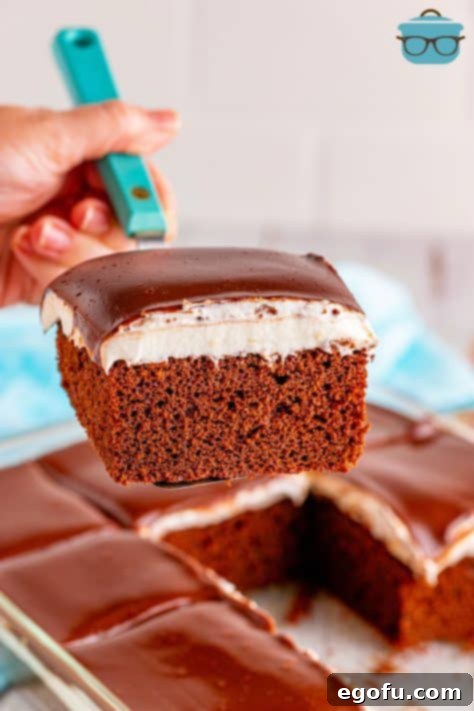
This Ding Dong Cake will whisk you back to the cherished memories of childhood, transforming a classic chocolate and cream snack into a decadent, single-layer homemade cake. It’s a delightful and indulgent dessert that promises to be both fun to make and incredibly delicious to savor!
Indulge in Nostalgia: The Ultimate Homemade Ding Dong Cake
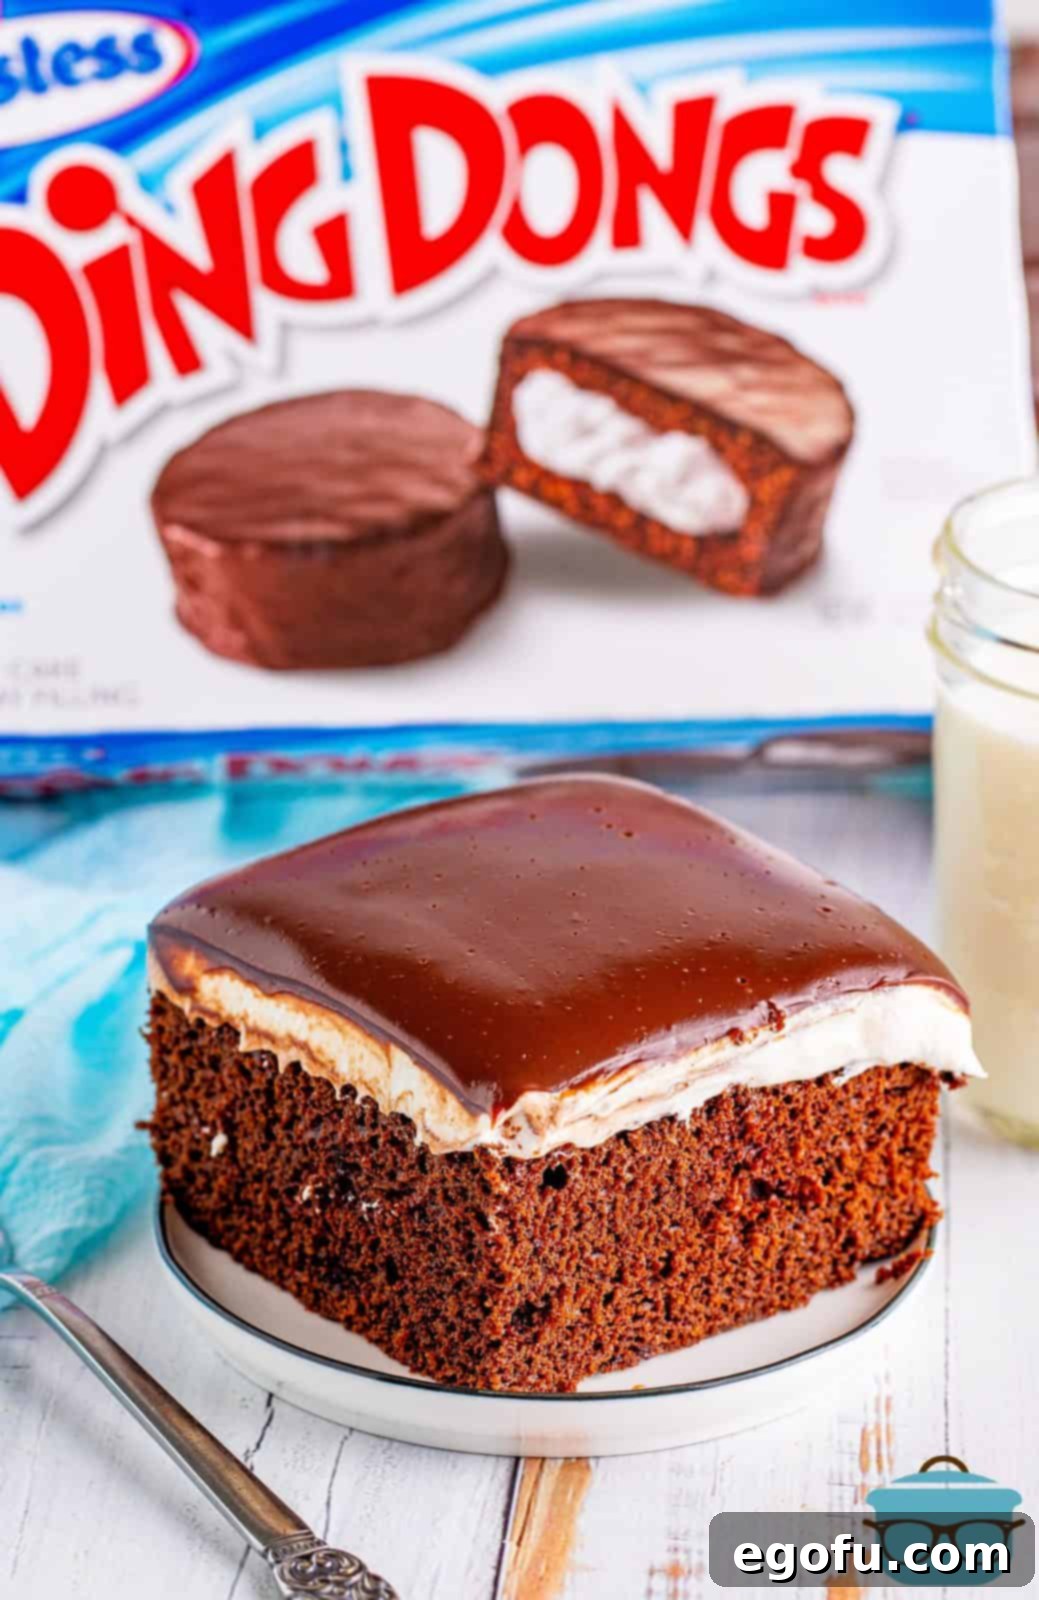
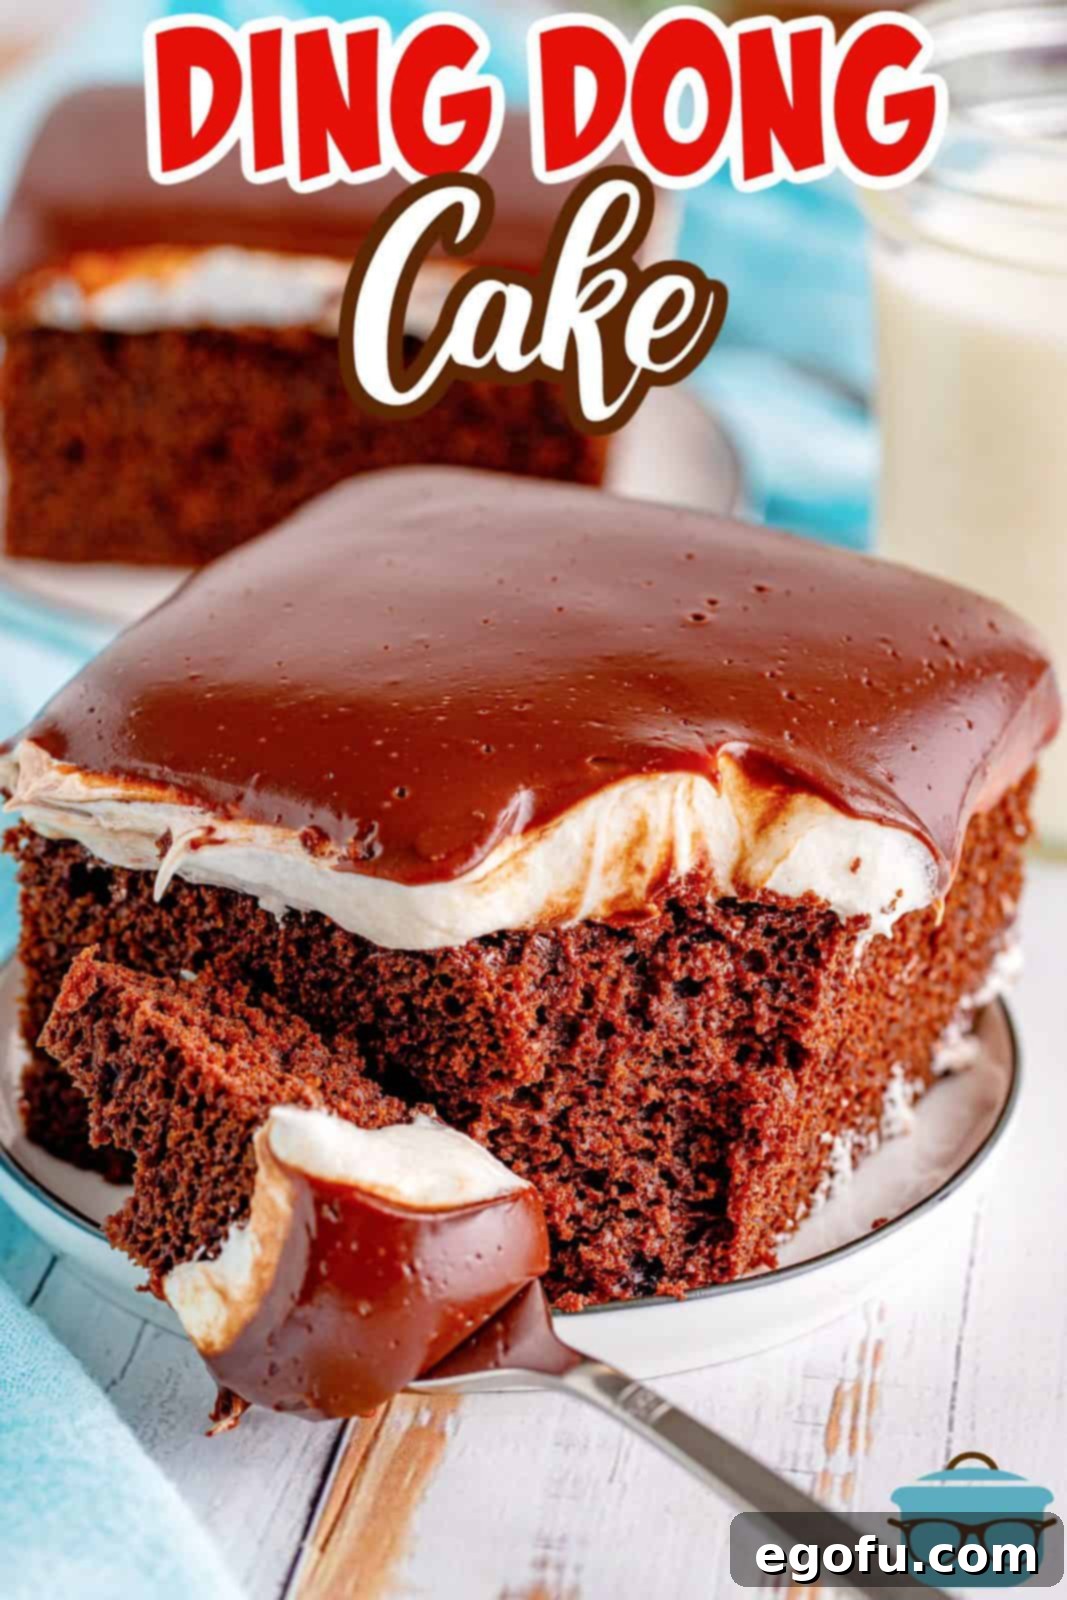
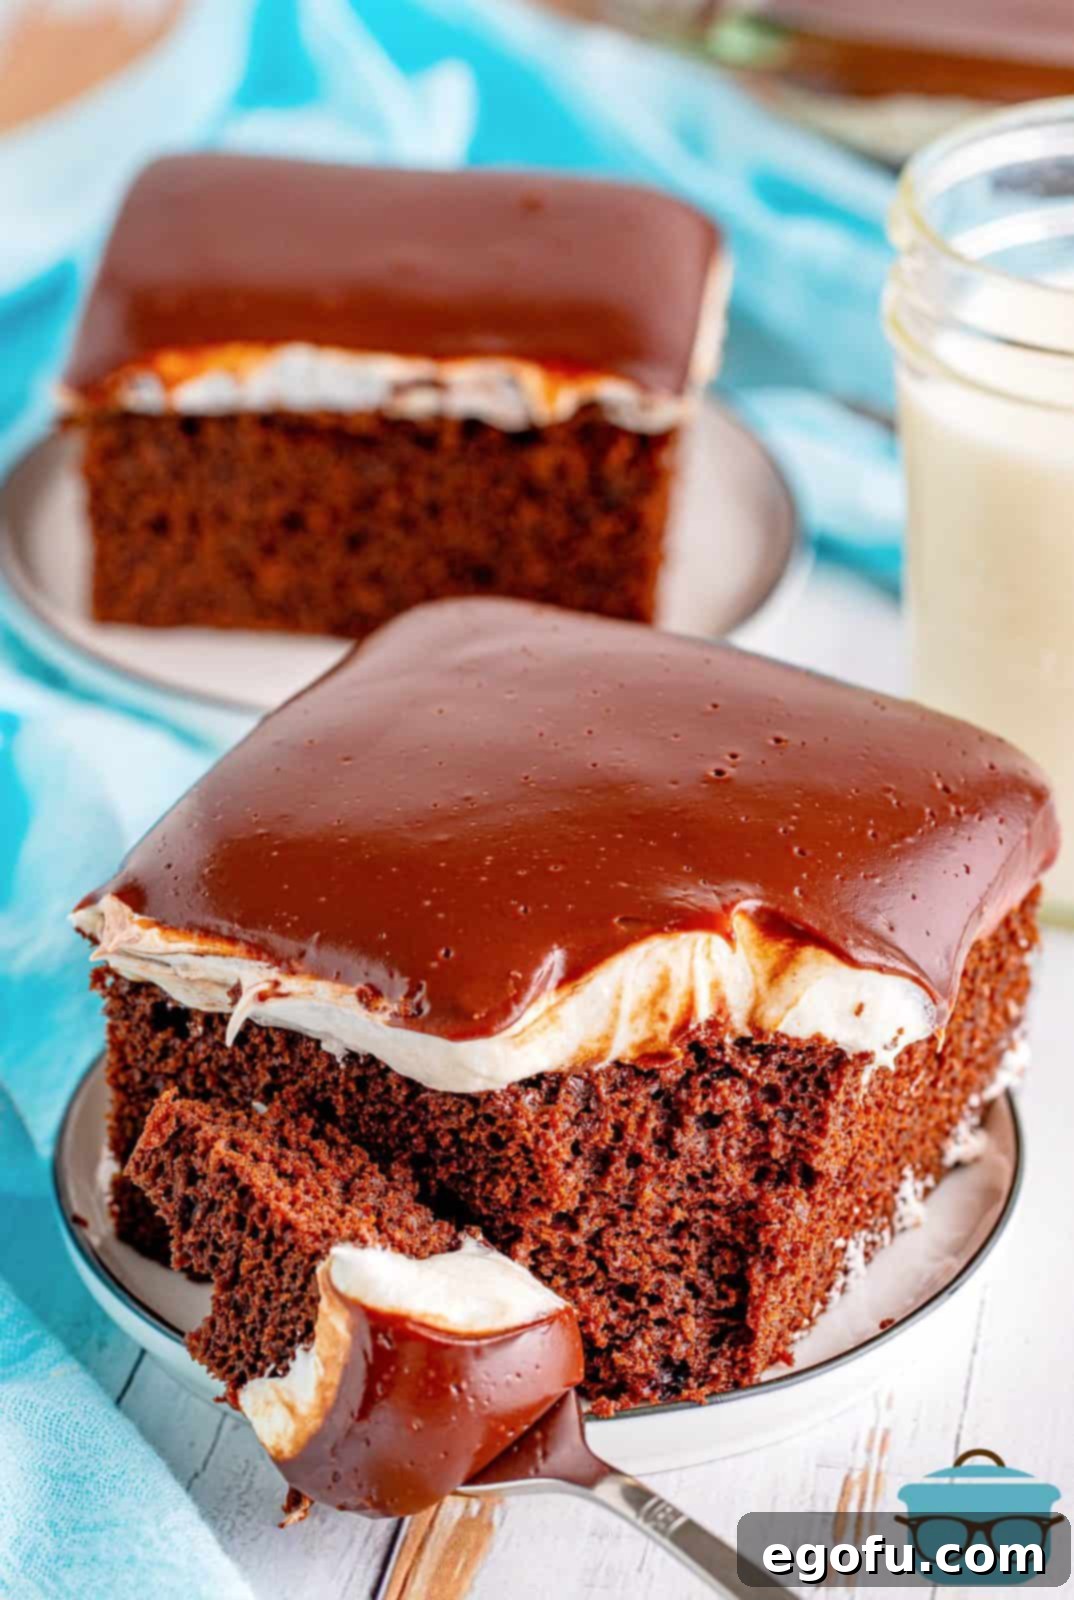
For anyone who grew up savoring the iconic Hostess Ding Dong snack cakes, prepare to rediscover that joy in an even grander, more luxurious form. This Ding Dong Cake is not just a dessert; it’s a culinary journey back in time, elevated with rich, homemade flavors and textures. Imagine a tender, moist chocolate cake, generously topped with a cloud-like, sweet cream filling, all enveloped in a glossy, irresistible chocolate ganache. Each forkful is a symphony of flavors and sensations that will transport you straight to dessert heaven.
We believe this homemade rendition surpasses the original in every way, offering a depth of flavor and freshness that only a scratch-made cake can provide. If you’re searching for a unique yet undeniably amazing dessert that captures the essence of a beloved classic, then this Ding Dong Cake recipe is an absolute must-try. It’s perfect for celebrations, family gatherings, or simply treating yourself to a truly special chocolate experience.
Frequently Asked Questions About Ding Dong Cake
What does this Ding Dong Cake taste like?
Prepare for an out-of-this-world delicious experience! This cake features an incredibly rich and moist chocolate base, crowned with a super light and fluffy cream filling, and finished with a decadent, addictive chocolate ganache. The combination is simply irresistible. The star of the show is undoubtedly the cream filling, which boasts an airy, smooth texture. We highly recommend using shortening as specified in the recipe, as it’s key to achieving that perfectly fluffy consistency. While you can opt for an all-butter filling, be aware that it might result in a slightly less ethereal texture.
Do I have to make my own ganache?
While a homemade ganache truly elevates this cake to a gourmet level with its rich, velvety texture, we understand that sometimes convenience is key. As an alternative, you can absolutely use a can of store-bought chocolate frosting. Simply remove the lid and foil, gently heat it in the microwave until pourable, and then drizzle it over the cake. This method works wonderfully for recipes like our Boston Cream Poke Cake, and it still yields a fantastic taste, making your Ding Dong Cake delicious with less fuss.
Can I use a cake mix for this Ding Dong Cake?
Absolutely! If you’re short on time or prefer a simpler approach, a good quality boxed cake mix is a perfectly acceptable substitute for the homemade cake batter. We’ve had great success with Duncan Hines dark chocolate fudge mix, but feel free to choose any chocolate cake mix flavor that you love. Just follow the package instructions for baking the cake layer, then proceed with our homemade filling and ganache recipes for that signature Ding Dong flavor.
How long does this cake need to set up?
After assembling your beautiful Ding Dong Cake, it’s crucial to give it time to set properly. We recommend refrigerating the cake for approximately 45 minutes. This chilling period allows the chocolate ganache topping to firm up to a delightful, slightly hardened state and ensures the creamy filling thickens just enough to hold its shape perfectly when sliced. Patience is a virtue here, as it truly makes a difference in the final presentation and enjoyment.
Can I use all-purpose flour instead of cake flour?
Cake flour is specifically chosen for this recipe because its lower protein content contributes to a wonderfully light, tender, and fluffy cake texture, mimicking the delicate crumb of the original snack. However, if cake flour isn’t readily available, you can certainly substitute it with all-purpose flour. To achieve the best possible result, we strongly advise sifting or whisking the all-purpose flour very well before incorporating it into your batter. This helps to aerate the flour and prevent a dense cake.
How do I store leftovers?
To keep your Ding Dong Cake fresh and delicious, store any leftovers covered tightly in the refrigerator. It will maintain its quality for up to 6 days. If you wish to extend its life, this cake freezes beautifully! For best results, cut the cake into individual slices before freezing. Wrap each slice securely in plastic wrap, then wrap again with freezer-safe foil. Stored this way, the cake can keep in the freezer for 2 to 3 months. To defrost, simply transfer the desired number of slices to the refrigerator overnight, then allow them to sit on the countertop for a short while to bring them slightly to room temperature before enjoying.
Crafting Your Dream Ding Dong Cake: A Step-by-Step Guide
Creating this iconic Ding Dong Cake is a rewarding experience that combines simple techniques with incredible flavors. We’ll guide you through each layer, from the rich chocolate cake to the cloud-like cream filling and the luscious ganache, ensuring a perfect result every time. Gathering your ingredients and setting up your workspace before you begin will make the process smooth and enjoyable.
Key Ingredients for Each Delicious Layer
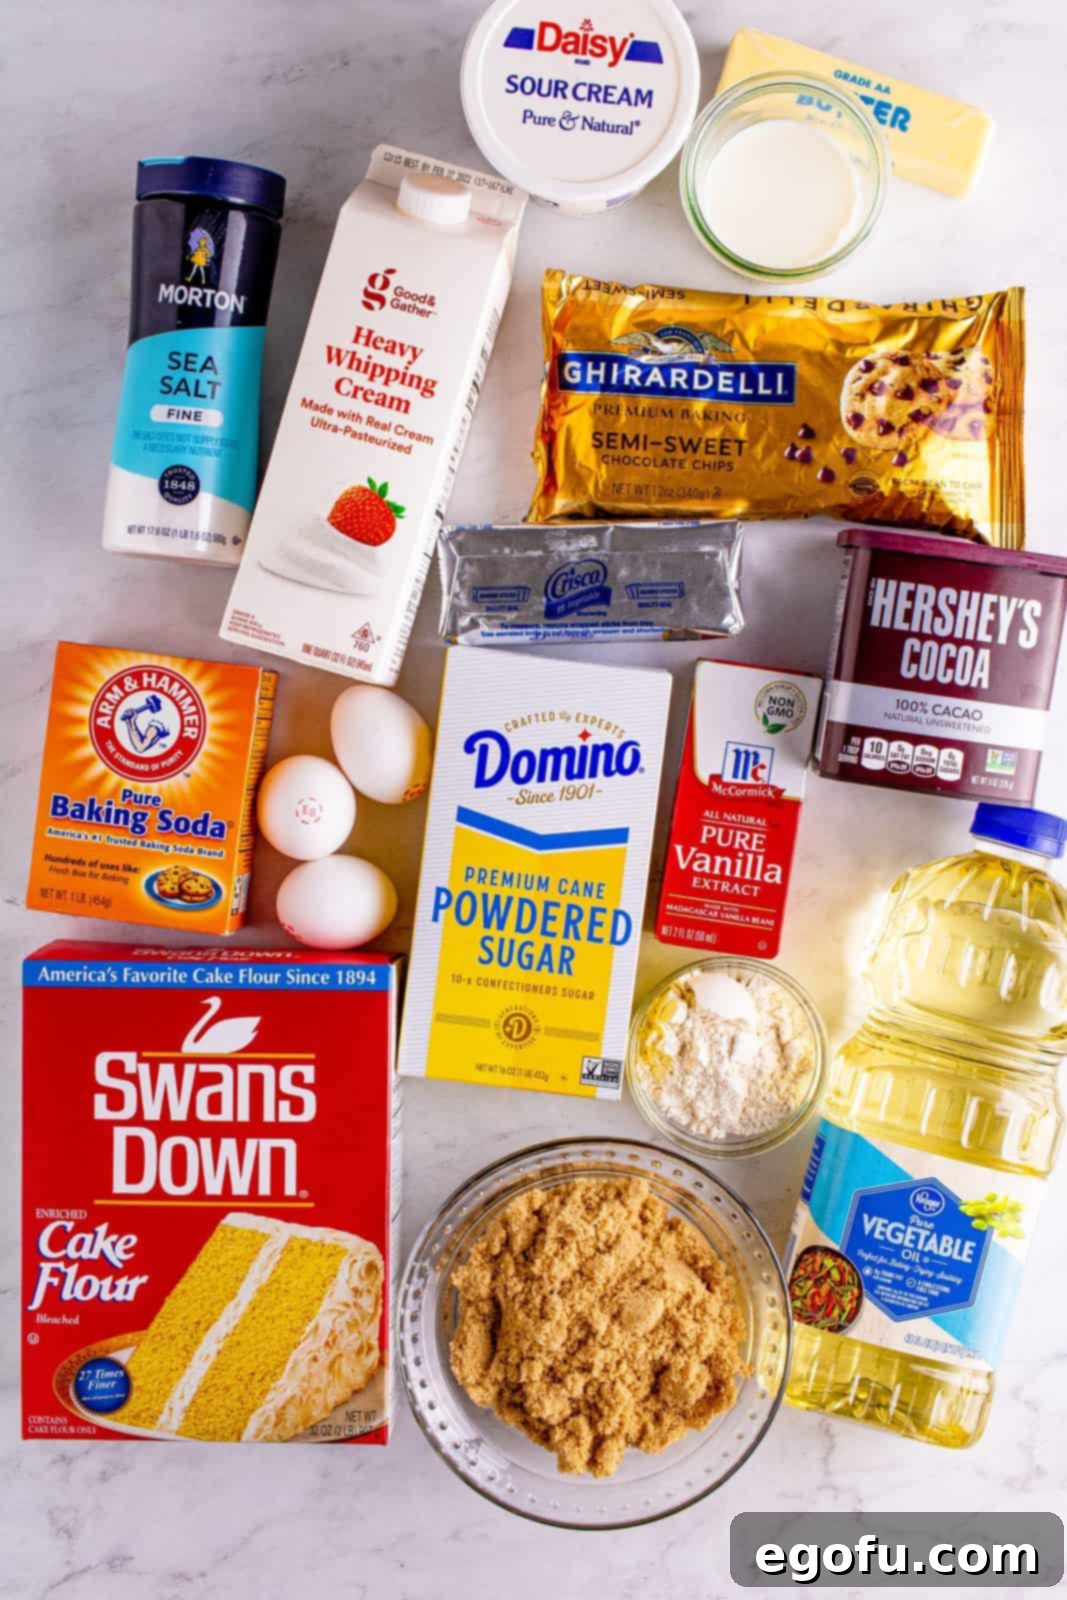
How to Make a Ding Dong Cake: Detailed Instructions
Let’s dive into the process of assembling this magnificent dessert. We’ll start with the chocolate cake base, then move on to the signature cream filling, and finally, the glorious chocolate ganache. Follow these steps for a perfect Ding Dong Cake every time!
Preparing the Rich Chocolate Cake Base
First, preheat your oven to 350°F (175°C). Prepare a 9×13-inch baking dish by thoroughly spraying it with baking spray; this ensures your cake releases easily after baking. Set the prepared dish aside. In a medium-sized heatproof bowl, place your semi-sweet chocolate chips. Gently warm the whole milk in the microwave until it reaches approximately 180-190°F (82-88°C), taking care not to let it boil over. Pour the hot milk directly over the chocolate chips and allow it to sit undisturbed for about 5 minutes. This allows the heat from the milk to melt the chocolate chips evenly.
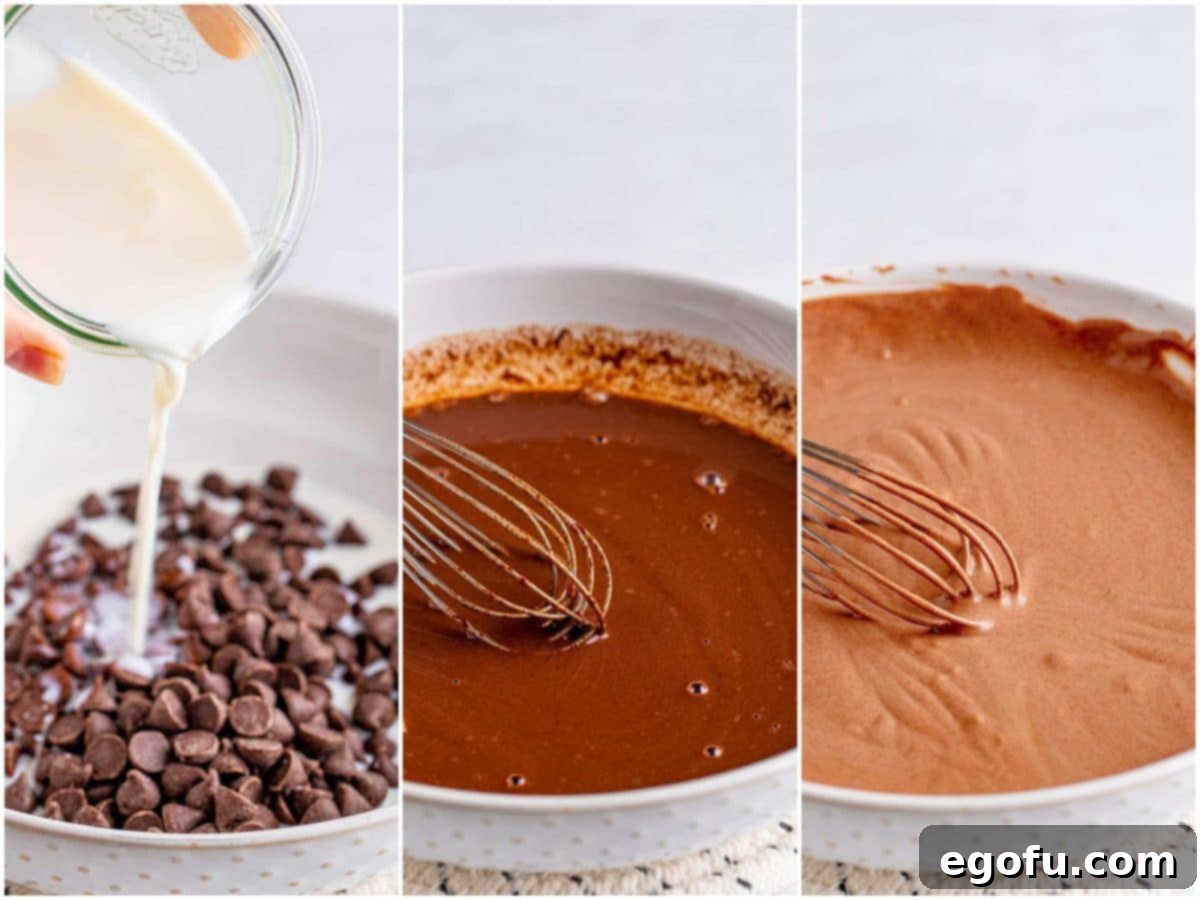
After 5 minutes, whisk the chocolate and milk mixture until it is completely smooth and thoroughly combined. Next, add the sour cream to this chocolate mixture and whisk again until it is smooth and fully integrated. The sour cream adds an incredible moisture and tenderness to the cake. Set this wet chocolate mixture aside.
In a separate medium-sized bowl, combine all your dry ingredients: cake flour, unsweetened cocoa powder, baking soda, and fine sea salt. Stir these together well to ensure they are evenly distributed, then set this dry mixture aside. In a large mixing bowl, using an electric hand mixer, cream together the light brown sugar (packed) and vegetable oil until they are well combined and lightened. This combination creates a rich, moist crumb.
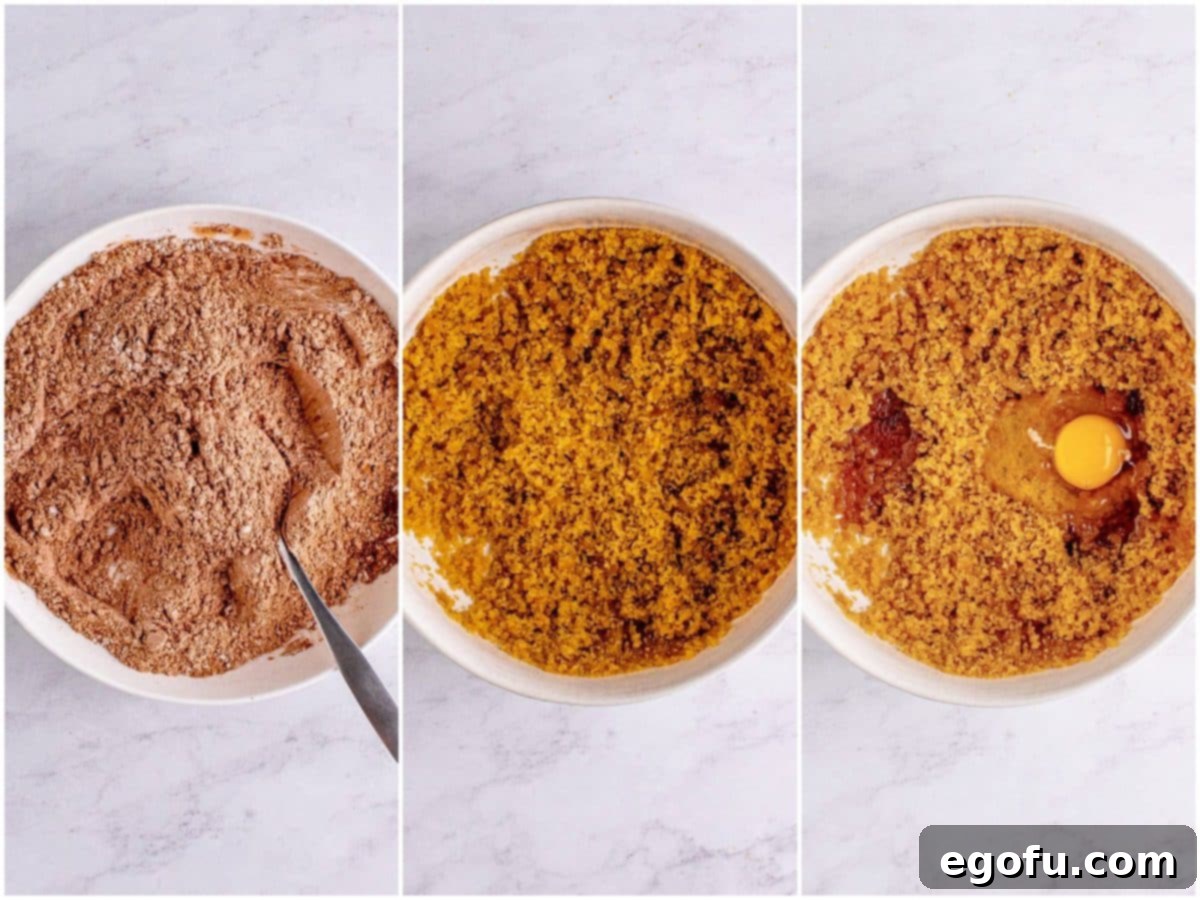
Now, add the vanilla extract and the eggs, one at a time, mixing thoroughly after each addition until fully incorporated. Scrape down the sides of the bowl as needed to ensure everything is well mixed. This step builds the foundation of your cake batter.
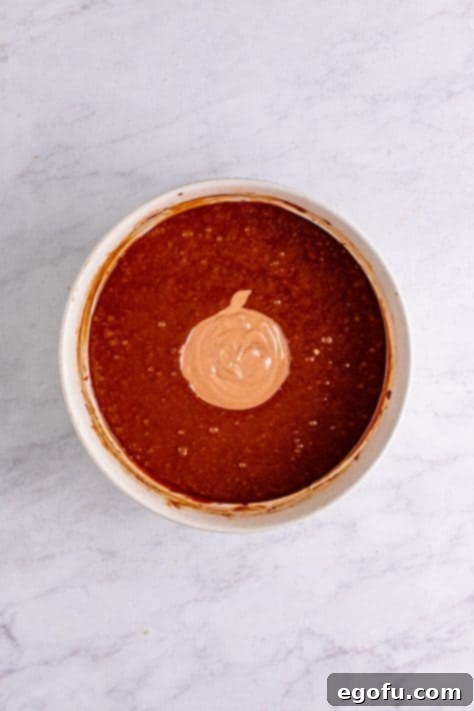
Begin combining your wet and dry ingredients in stages. Add half of the dry flour mixture to the wet brown sugar-egg mixture, and mix on low speed until just combined. Overmixing can lead to a tough cake, so mix until no streaks of flour remain. Next, add half of the chocolate and sour cream mixture, and mix until just combined. Repeat this process with the remaining dry and wet ingredients until your batter is uniform and smooth. The batter should have a rich, luscious consistency.
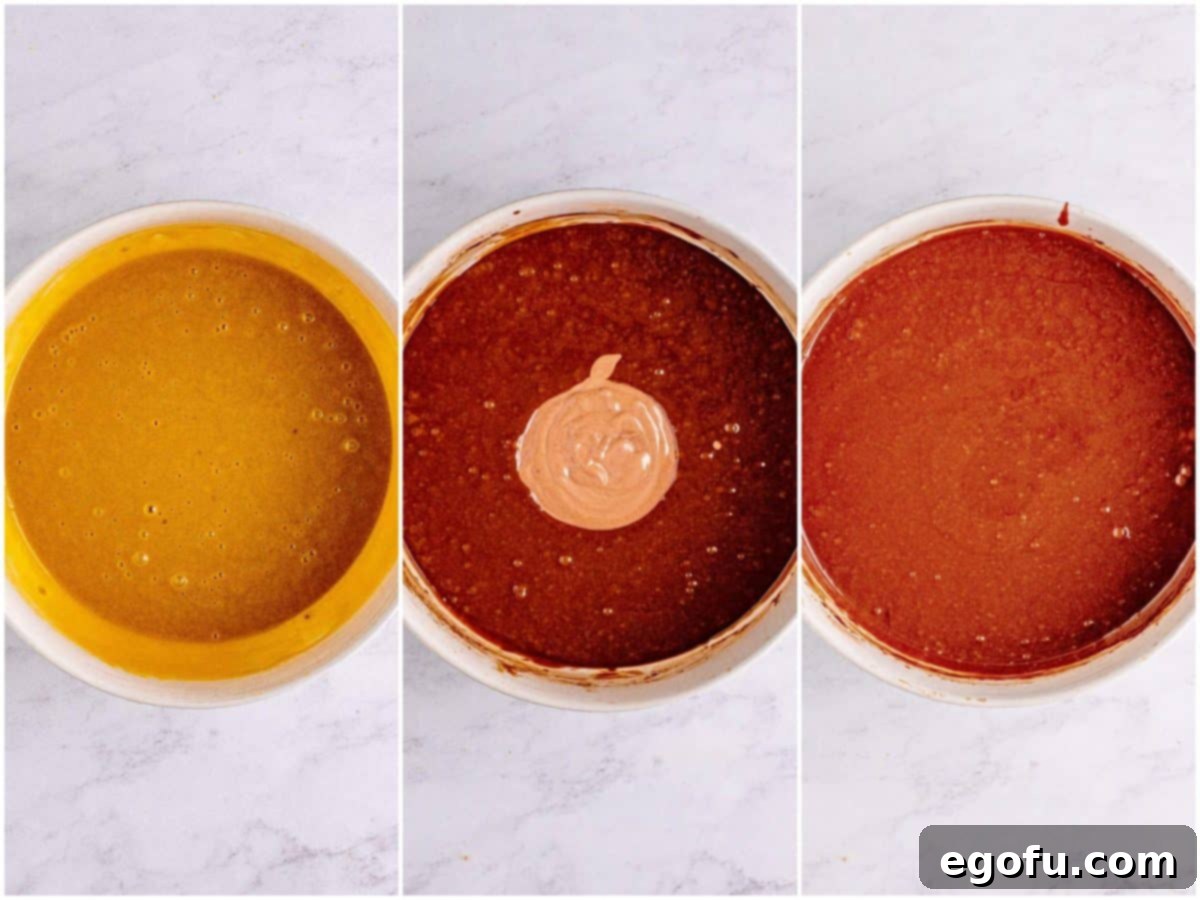
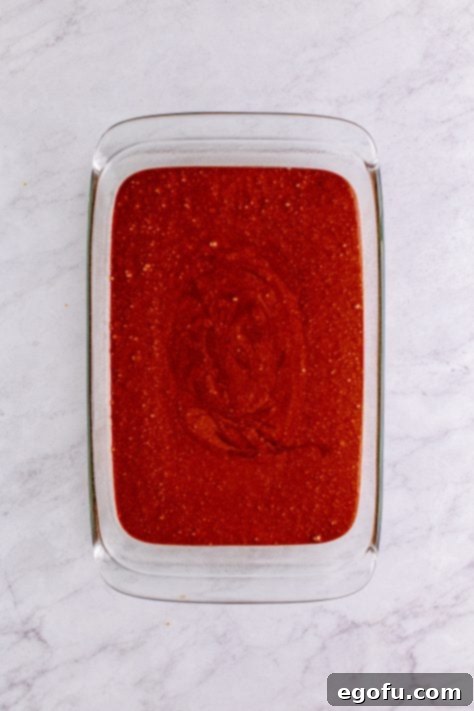
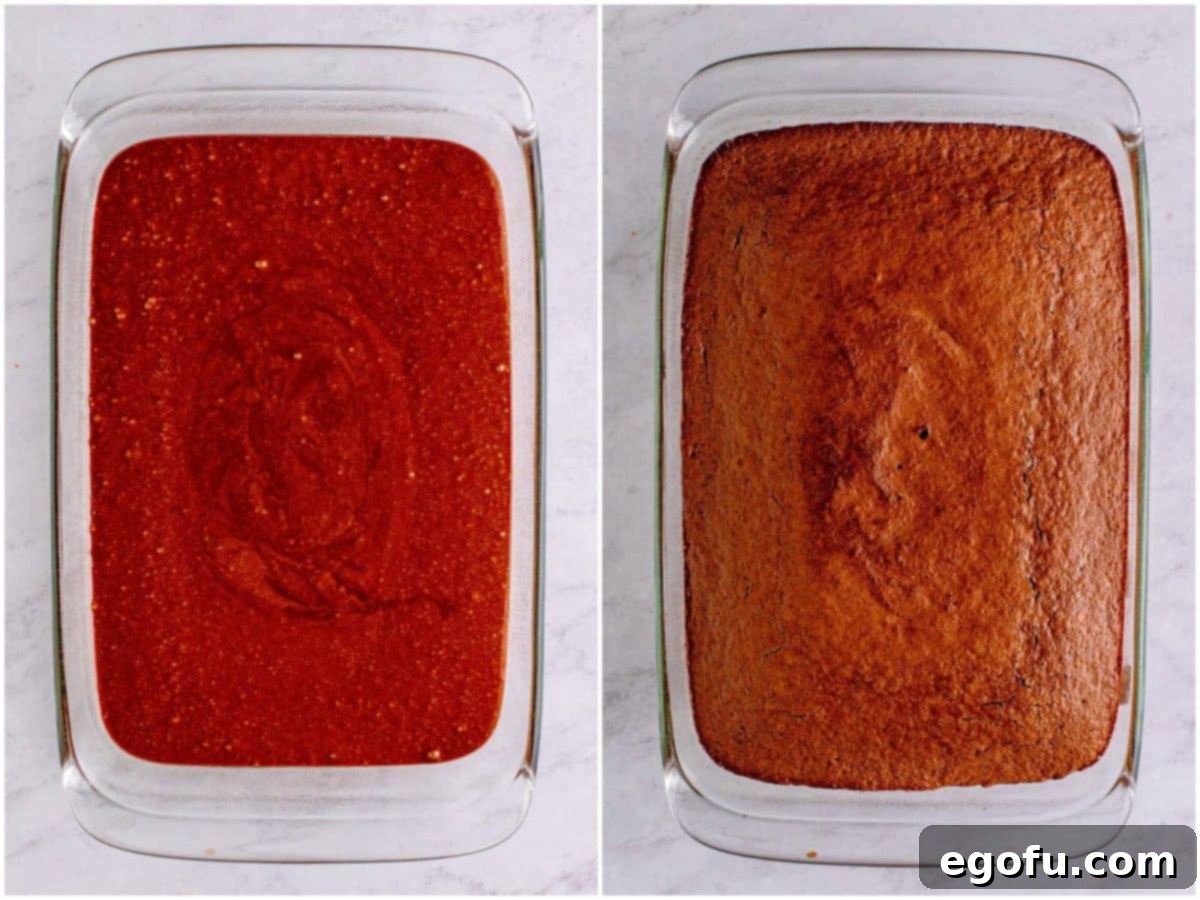
Pour the prepared cake batter evenly into your greased 9×13-inch baking dish. Bake on the middle rack of your preheated oven for approximately 30-35 minutes, or until a wooden toothpick inserted into the center of the cake comes out clean. This indicates it’s fully baked. Once baked, remove the cake from the oven and let it cool completely on a wire rack. While the cake is cooling, you can begin preparing the delightful cream filling.
Crafting the Dreamy Cream Filling
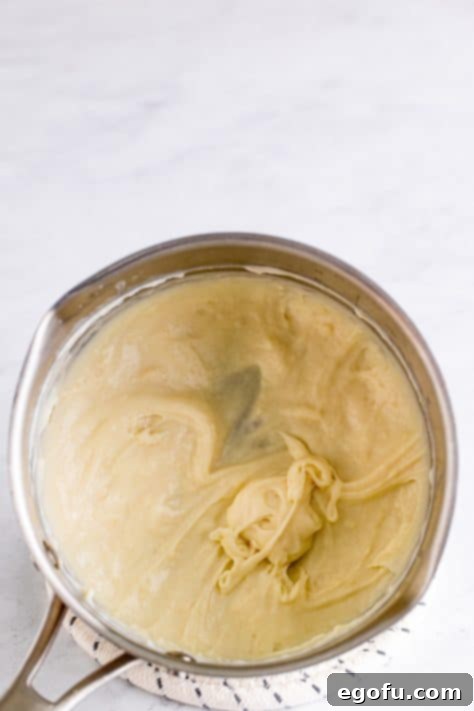
For the iconic cream filling, start by combining the whole milk and all-purpose flour in a small saucepan, whisking them together until smooth. Place the saucepan over medium heat and cook, stirring constantly, until the mixture thickens into a thick paste-like consistency. This is a crucial step to create the stable base for your fluffy cream. Once thickened, remove it from the heat and allow this mixture to cool completely to room temperature. It’s important that it’s cool before adding to the butter and shortening.
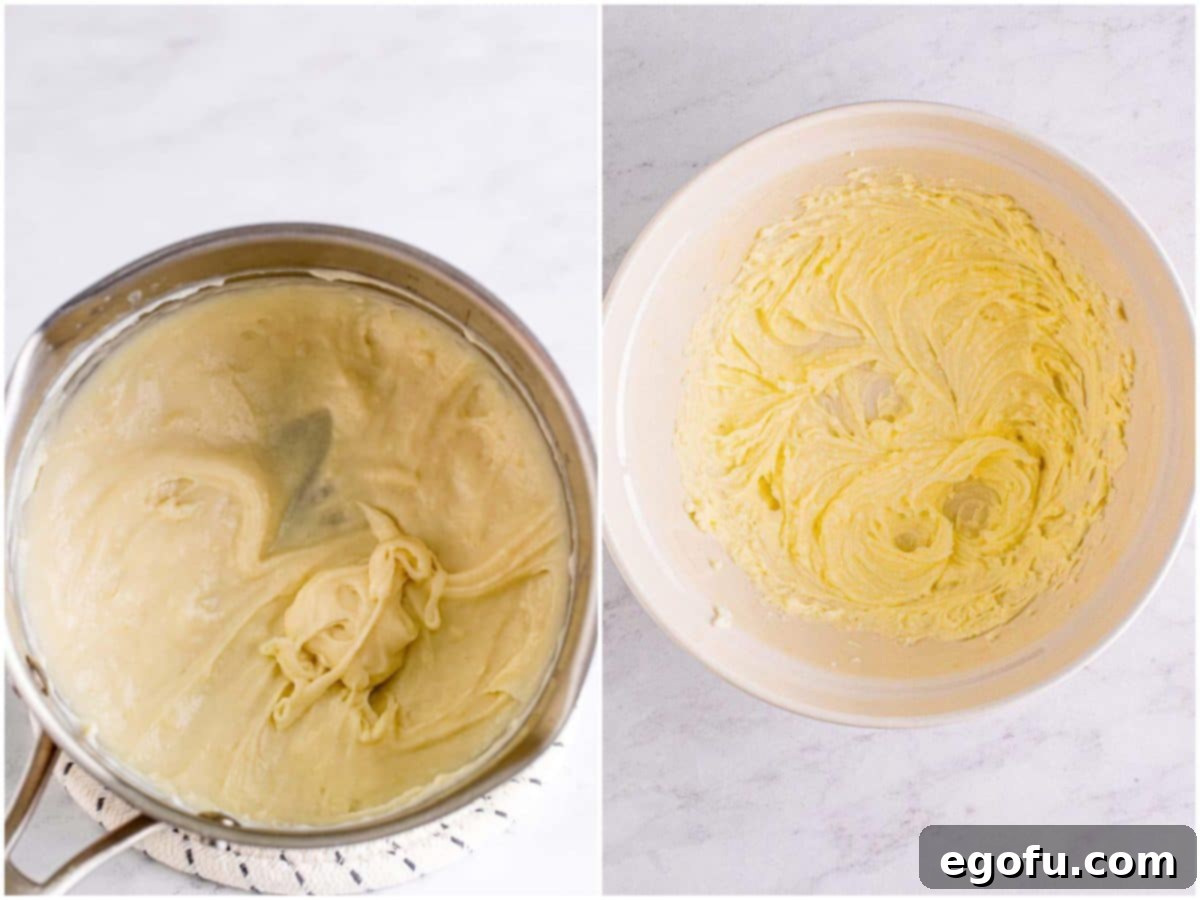
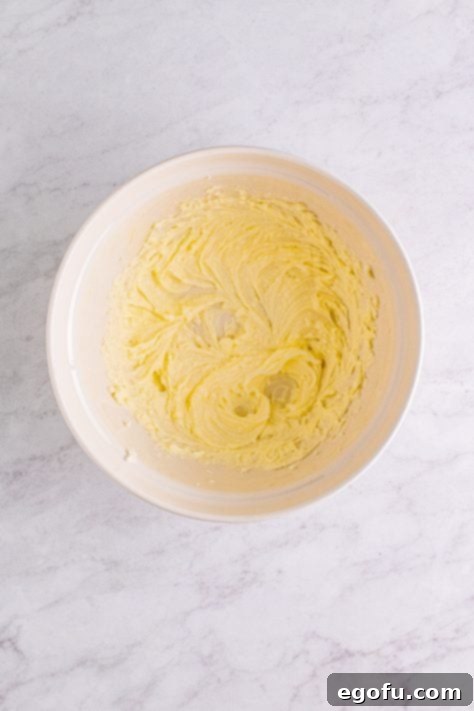
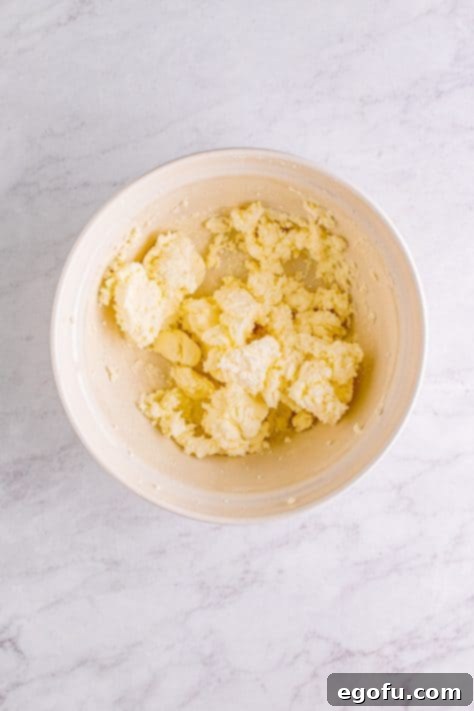
In a large mixing bowl, combine the softened unsalted butter and vegetable shortening. Using an electric hand mixer, whip these together until they are well combined and fluffy. The shortening helps achieve that distinct light and airy texture. Gradually add the powdered sugar, a little at a time, mixing on low speed until it is fully incorporated into the butter and shortening mixture. The mixture will become quite thick at this stage.
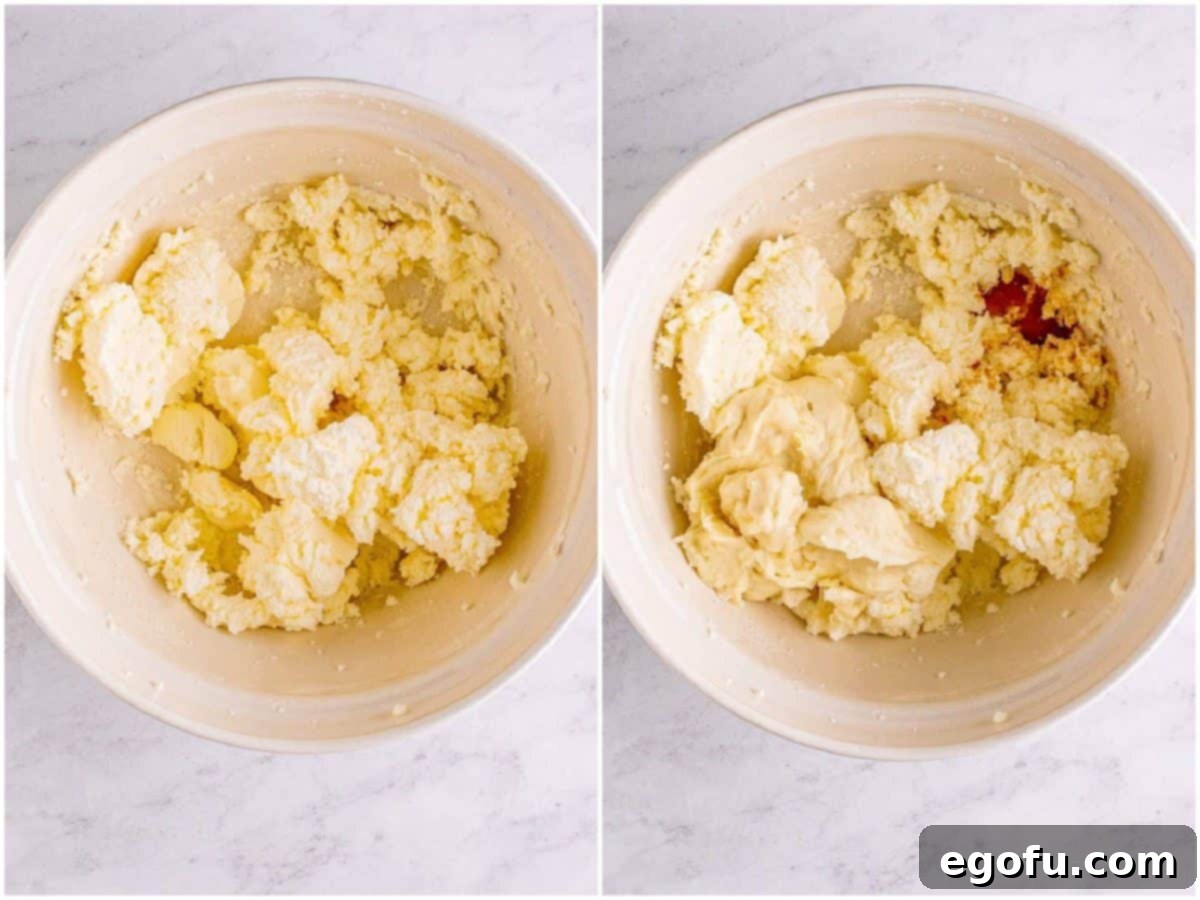
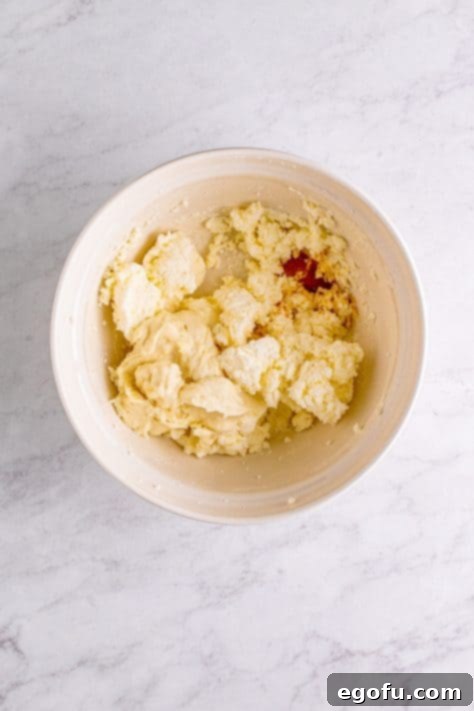
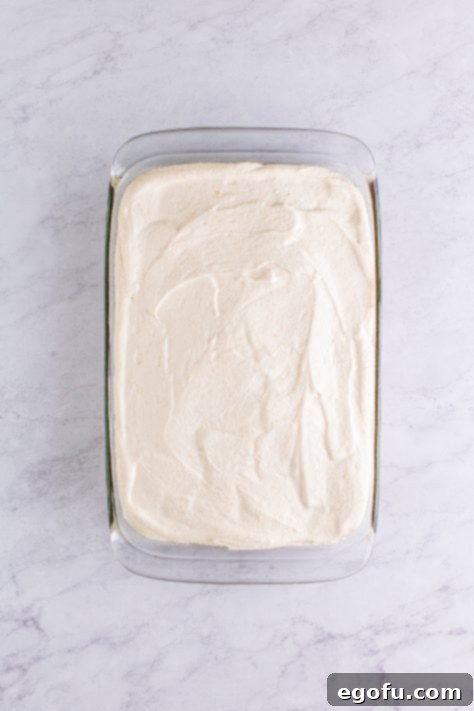
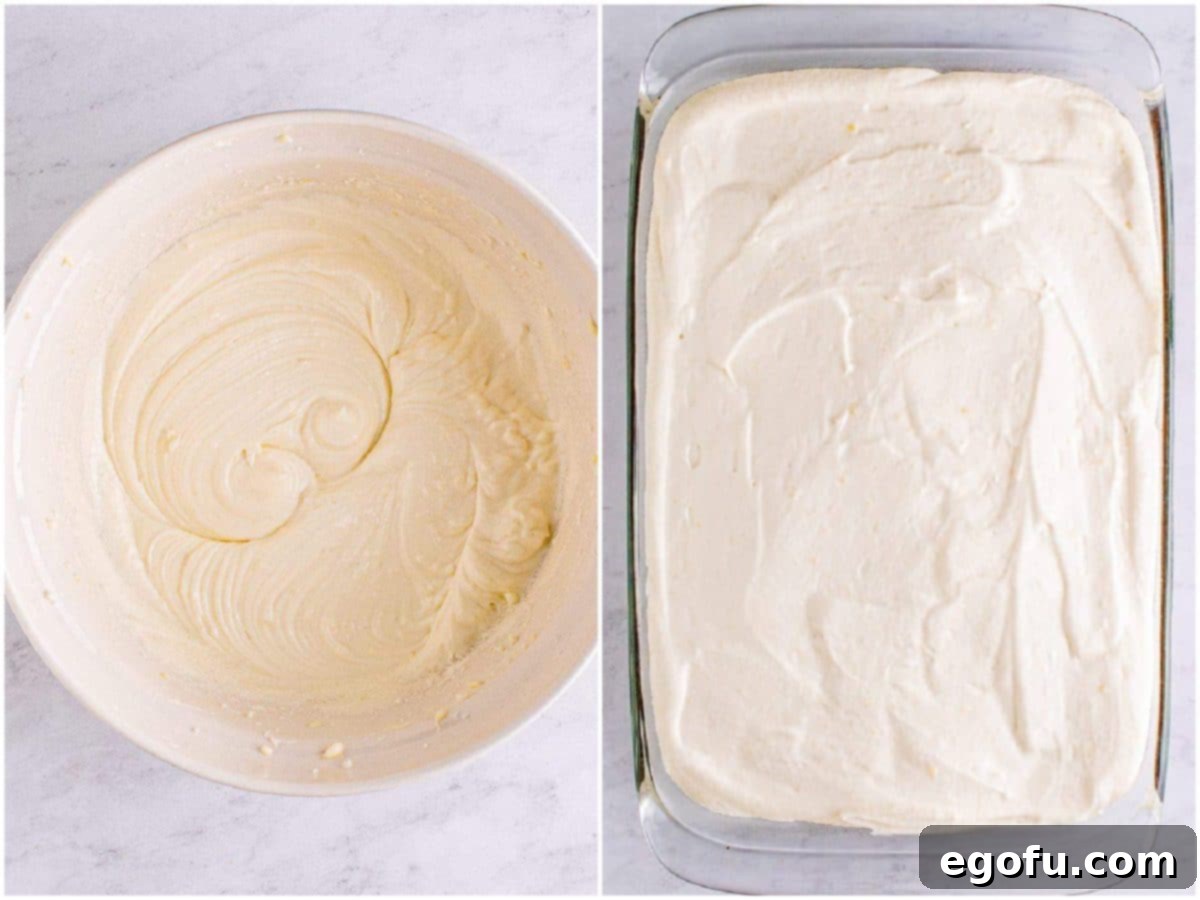
Finally, add the cooled milk and flour paste, along with the vanilla extract, to the bowl. Stir everything together until just incorporated. Then, increase the mixer speed to medium-high and whip the filling for a full 3 minutes. This prolonged whipping is essential to achieve a light, airy, and luscious consistency that truly resembles a whipped cream, yet is stable enough to hold its shape beautifully. Once the filling is perfectly fluffy, spread it evenly over your completely cooled chocolate cake, creating a thick, inviting layer. Place the cake into the refrigerator while you prepare the ganache topping to allow the filling to set slightly.
The Glossy Chocolate Ganache Topping
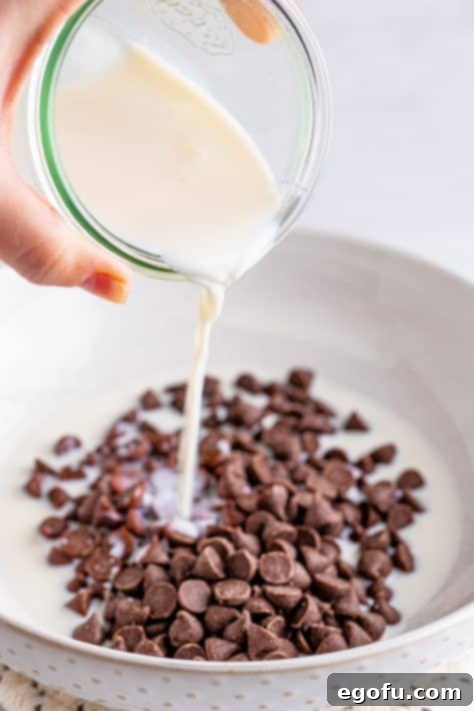
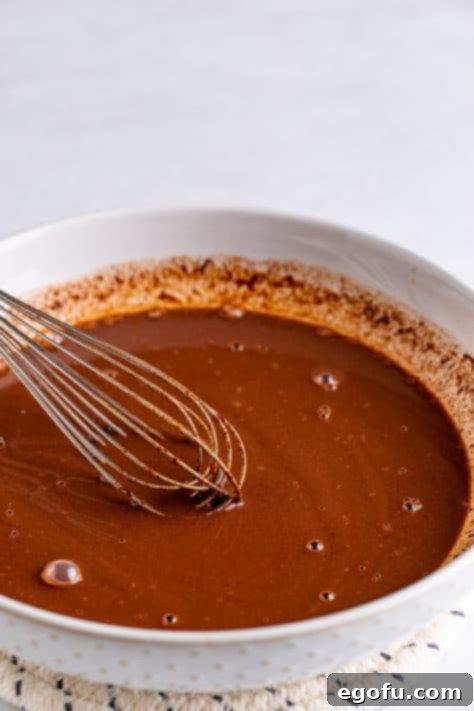
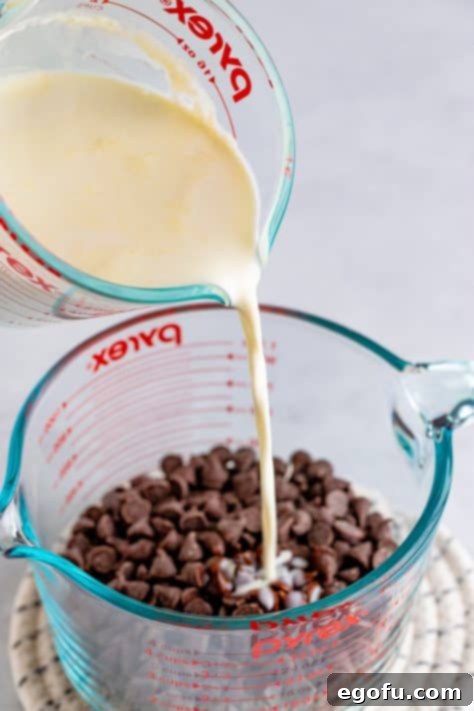
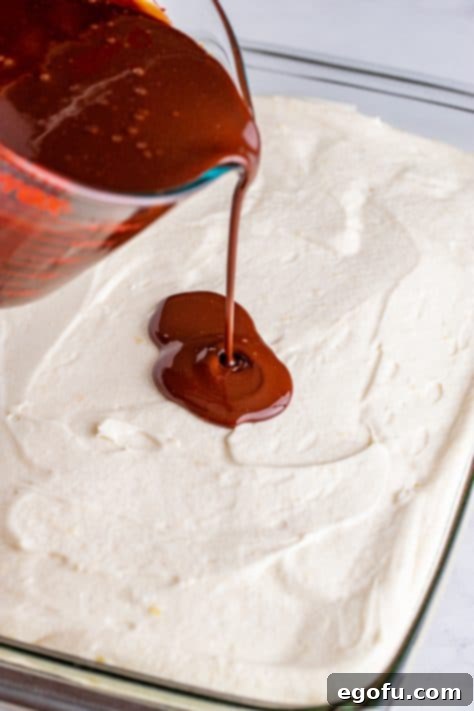
For the show-stopping chocolate ganache, place the 12-ounce bag of semi-sweet chocolate chips into a medium-sized heatproof bowl or a large measuring cup. Heat the heavy cream in the microwave until it reaches 180-190°F (82-88°C), again, being careful not to let it boil. Pour the hot cream directly over the chocolate chips. Let this mixture sit undisturbed for 5 minutes; this allows the residual heat to melt the chocolate perfectly. After 5 minutes, whisk the mixture until it is completely smooth, glossy, and lump-free. Stir in the vanilla extract for an extra layer of flavor.
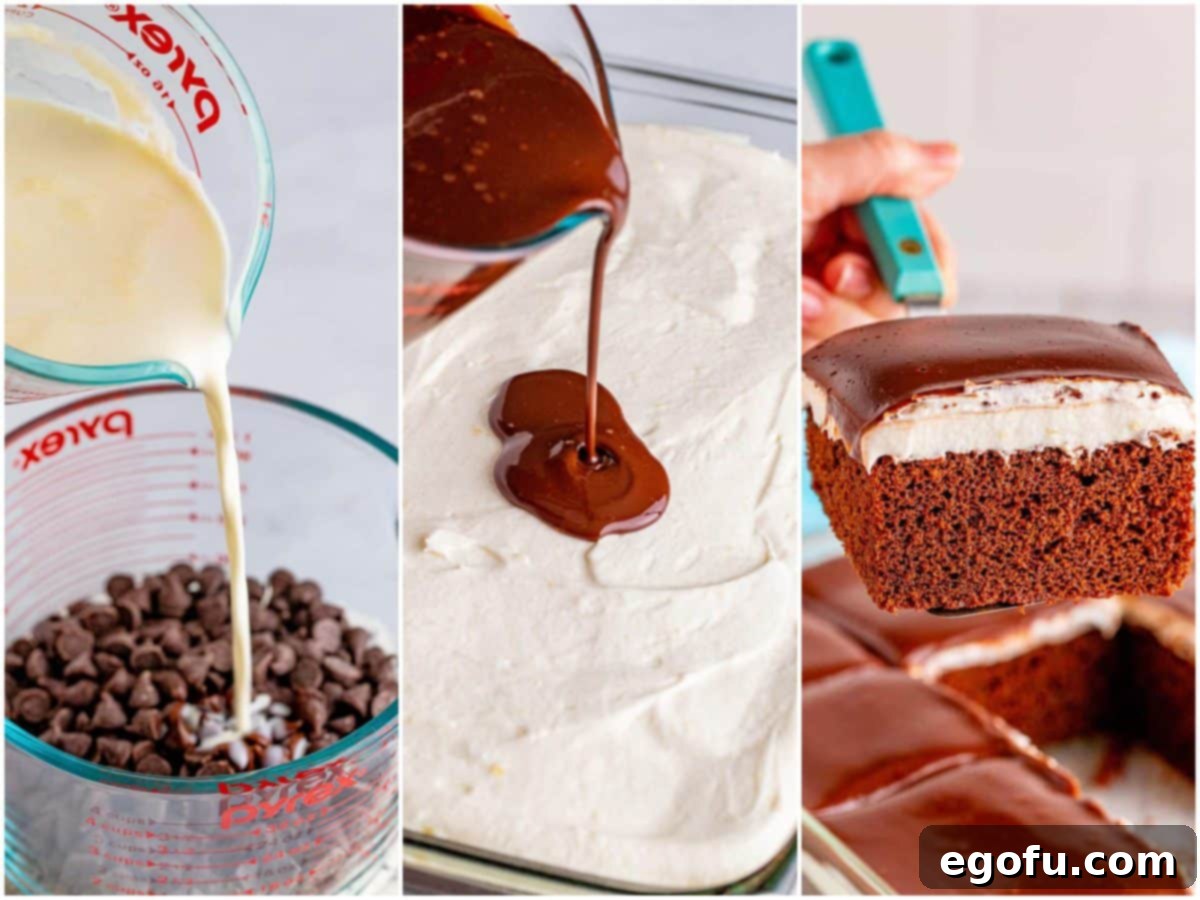
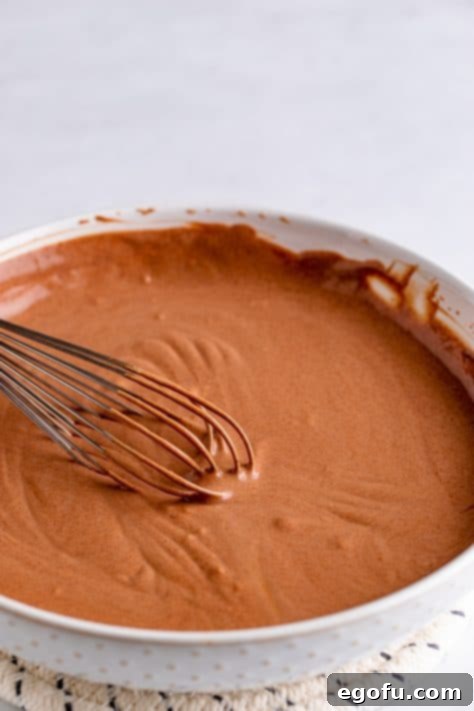
Allow the ganache mixture to stand for an additional 10 minutes to cool slightly. This prevents it from being too hot and melting the cream filling. Once slightly cooled, carefully pour the luscious ganache over the top of the cake, spreading it gently to cover the entire surface. Depending on the depth of your pan, you might have a small amount of ganache leftover. Place the cake back into the refrigerator, uncovered, for about 45 minutes to allow the ganache to set and firm up. Once set, your magnificent Ding Dong Cake is ready to be sliced and served.
Enjoy every delightful bite of this homemade classic!
Explore More Delicious Recipes!
- No-Bake Twinkie Cake
- Swiss Roll Cake
- Suzy-Q Brownies
- Twinkie Poke Cake
- Easy Homemade Chocolate Cake
- Homemade Cinnamon Roll Cake
- Sock It To Me Cake
- Italian Cream Cake
- Chocolate Sheet Cake
- Southern Caramel Cake
Originally published: March 2022
Republished: September 2025
Ding Dong Cake (Single Layer)
This Ding Dong Cake will take you back to your childhood! A classic chocolate and cream treat turned into a moist and layered cake. Fun, easy and delicious!
Pin
Rate
Ingredients
- 4 ounces semi-sweet chocolate chips (measured by weight not volume, about 3/4 cup)
- ½ cup whole milk
- ¾ cup sour cream
- 1 ½ cups cake flour (see notes below)
- ½ cup unsweetened cocoa powder
- ¾ teaspoon baking soda
- ½ teaspoon fine sea salt
- 1 ½ cup light brown sugar, packed
- ½ cup vegetable oil
- 2 teaspoons vanilla extract
- 3 large eggs
For the filling:
- 1 cup whole milk
- 5 Tablespoons all-purpose flour
- ½ cup unsalted butter, softened to room temperature
- ½ cup vegetable shortening (Crisco)
- 4 cups powdered sugar
- 1 teaspoon vanilla extract
For the ganache topping:
- 12 ounce bag semi-sweet chocolate chips
- 1 ½ cups heavy cream
- 1 teaspoon vanilla extract
Instructions
For the cake:
Preheat the oven to 350°F (175°C). Spray a 9×13-inch baking dish with baking spray, then set it aside.
Place 4 ounces semi-sweet chocolate chips in a medium-sized bowl. Warm ½ cup whole milk in the microwave until it reaches 180-190°F (82-88°C), watching carefully. Pour the hot milk over the chocolate chips and let it sit for 5 minutes.

Whisk the chocolate and milk until combined and smooth.

Add ¾ cup sour cream and whisk until smooth. Set this mixture aside.

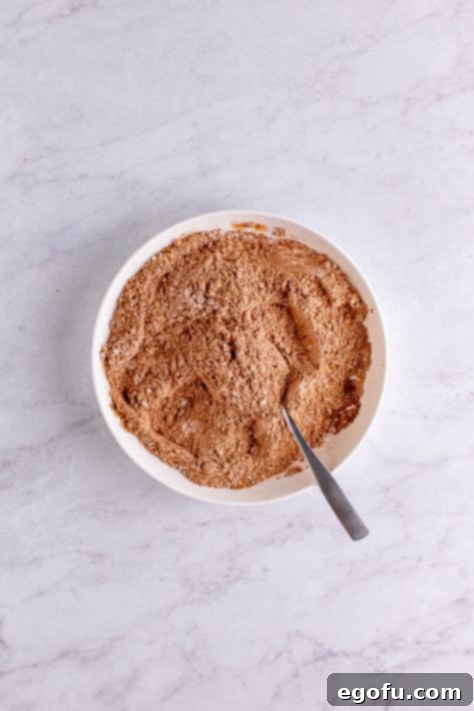
In a separate medium-sized bowl, stir together 1 ½ cups cake flour, ½ cup unsweetened cocoa powder, ¾ teaspoon baking soda, and ½ teaspoon fine sea salt. Set aside.

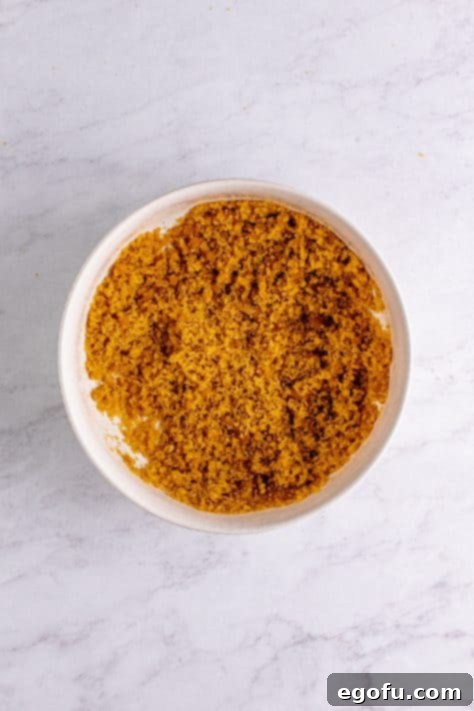
In a large bowl, using an electric hand mixer, mix 1 ½ cup light brown sugar, packed with ½ cup vegetable oil until thoroughly combined.

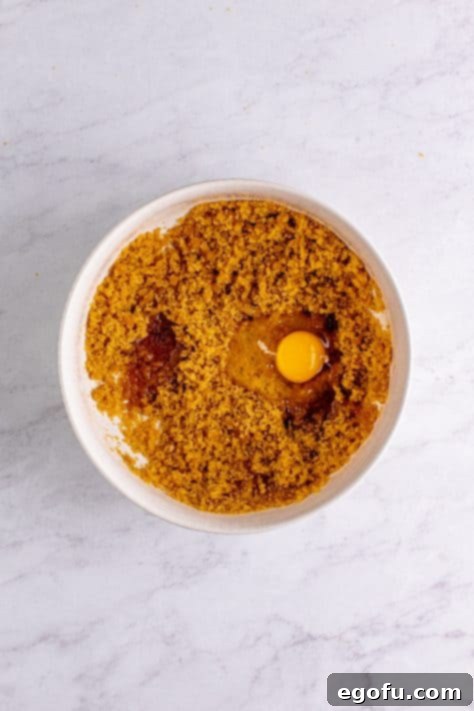
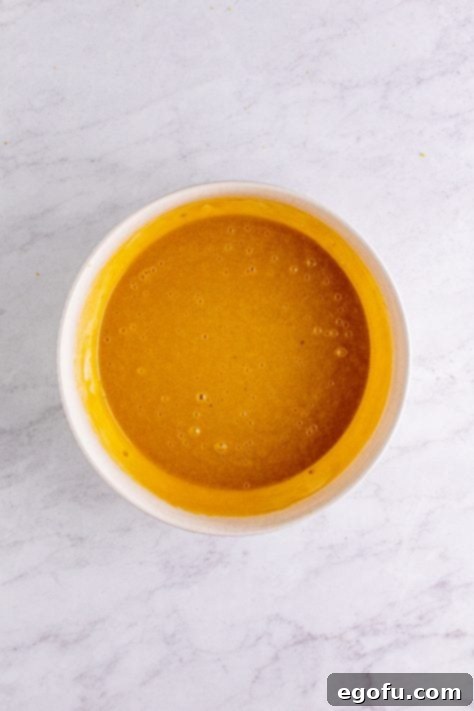
Add 2 teaspoons vanilla extract and 3 large eggs (one at a time), mixing until each is fully incorporated.

Add half of the dry flour mixture to the wet mixture, and mix until just combined.

Next, add half of the chocolate/sour cream mixture, and mix until just combined. Repeat with the remaining dry and wet ingredients until the batter is smooth.

Pour the cake batter into the prepared baking dish. Bake for 30-35 minutes, or until a toothpick inserted into the center comes out clean. Let the cake cool completely.

While the cake is cooling, proceed to make the filling.
For the filling:
Add 1 cup whole milk and 5 Tablespoons all-purpose flour to a small saucepan. Whisk to combine. Place over medium heat and cook, stirring constantly, until thickened to a paste. Allow this mixture to cool completely to room temperature.

In a large bowl, add ½ cup unsalted butter, softened to room temperature, and ½ cup vegetable shortening. Whip with an electric hand mixer until well combined and fluffy.

Gradually add 4 cups powdered sugar a little at a time, mixing until fully incorporated. The mixture will be thick.

Add the cooled milk/flour paste and 1 teaspoon vanilla extract to the bowl. Stir until incorporated, then whip for 3 minutes on medium-high speed until it resembles a light, whipped cream-like consistency.

Smooth the fluffy filling evenly over the cooled cake. Place the cake into the fridge while you prepare the ganache topping.

For the ganache topping:
Place a 12 ounce bag semi-sweet chocolate chips into a medium-sized bowl. Warm 1 ½ cups heavy cream in the microwave until it reaches 180-190°F (82-88°C), watching carefully. Pour the hot cream over the chocolate chips. Wait 5 minutes, then whisk until smooth. Stir in 1 teaspoon vanilla extract. Let this mixture stand for 10 minutes to cool slightly.

Pour the ganache over the top of the cake, spreading it gently to cover. There may be a small amount leftover depending on your pan depth.

Place the cake back into the refrigerator, uncovered, for 45 minutes to allow the ganache to set. Slice and serve your delicious Ding Dong Cake!

Video Tutorial
Recipe Notes
- For convenience, you can use a boxed cake mix. We prefer Dark Chocolate Fudge, but any chocolate flavor you enjoy will work well.
- This cake freezes beautifully. Refer to the storage tips above for detailed instructions on freezing slices.
- Chilling the cake for 45 minutes after applying the ganache is crucial for the topping to set properly.
- Using cake flour is recommended for a lighter, fluffier cake. If using all-purpose flour, be sure to sift it thoroughly to achieve a similar delicate texture.
Nutrition Information (Estimated Per Serving)
Calories: 753 kcal |
Carbohydrates: 84g |
Protein: 7g |
Fat: 45g |
Sodium: 185mg |
Fiber: 4g |
Sugar: 66g
Nutritional Disclaimer
“The Country Cook” is not a dietician or nutritionist, and any nutritional information shared is an estimate. If calorie count and other nutritional values are important to you, we recommend running the ingredients through whichever online nutritional calculator you prefer. Calories and other nutritional values can vary quite a bit depending on which brands were used.
Did you make this recipe?
Share it on Instagram @thecountrycook and mention us #thecountrycook!
