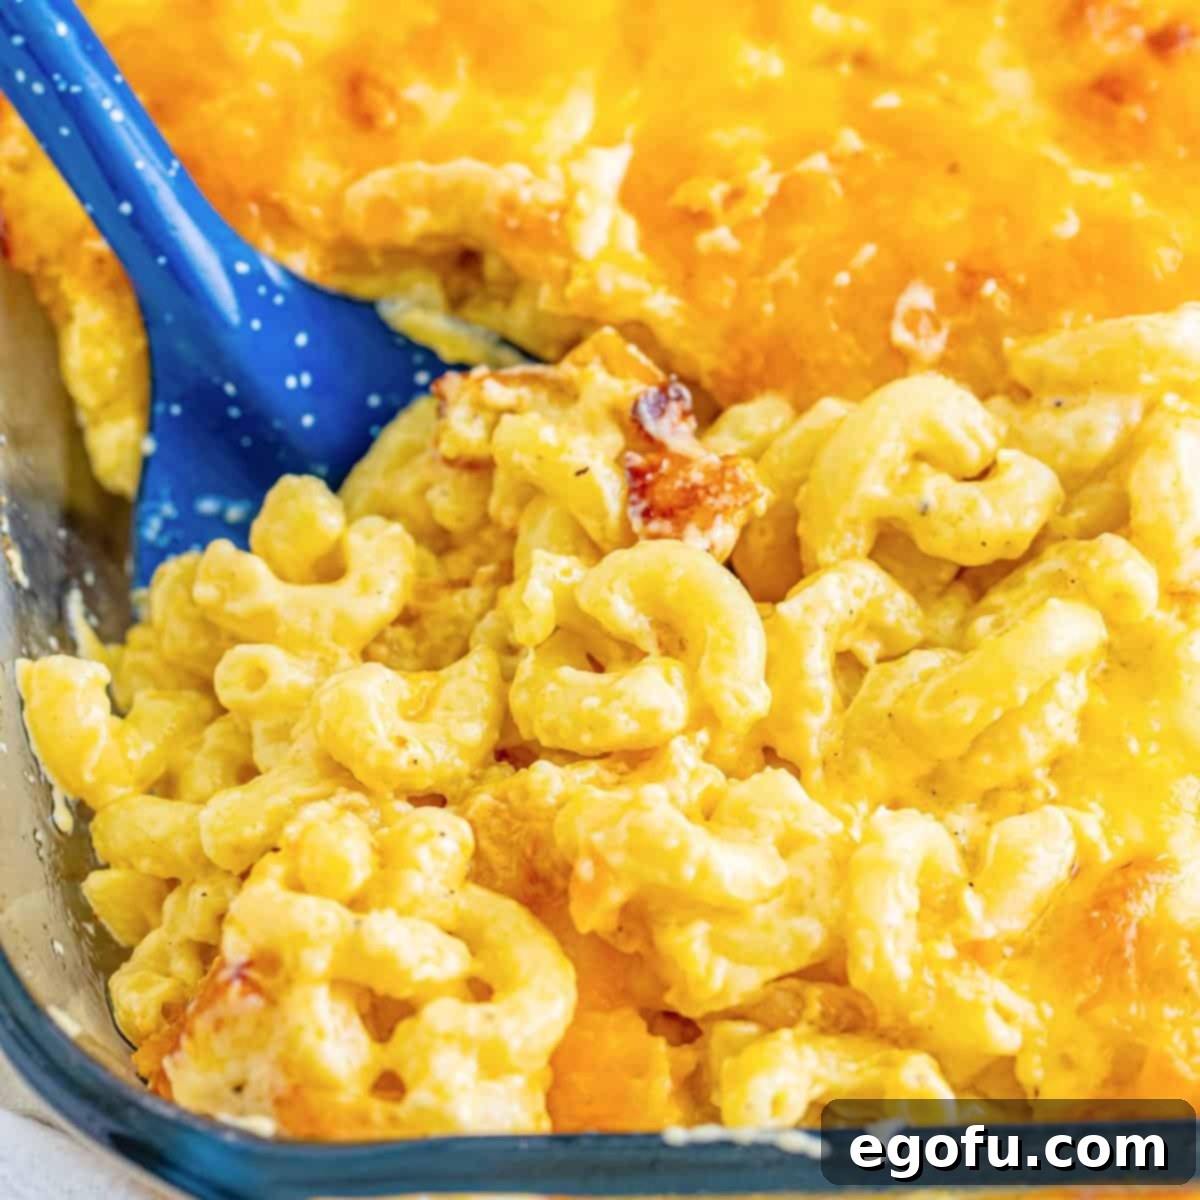
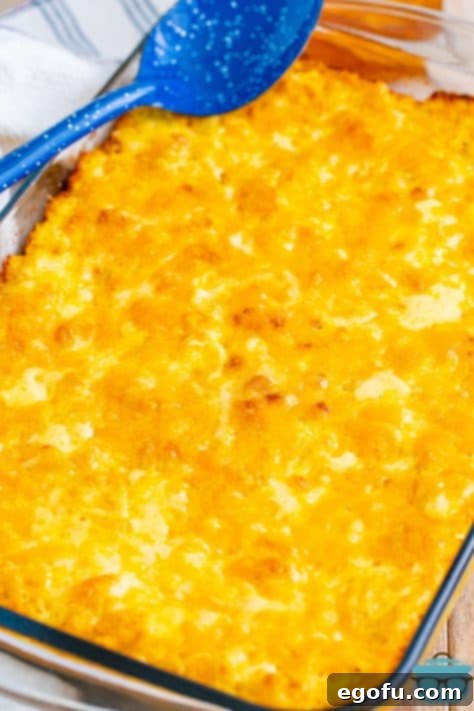
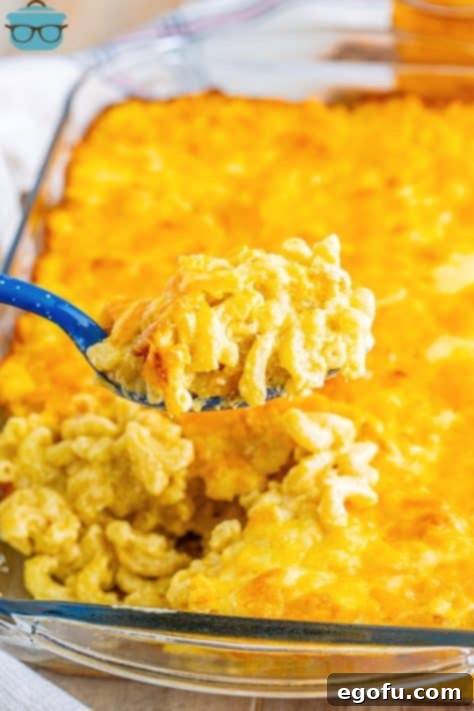
Experience the ultimate comfort food with this incredibly easy and utterly delicious homemade baked macaroni and cheese recipe. Forget complicated steps and lengthy prep times; this foolproof guide promises a cheesy, creamy, and perfectly golden mac and cheese that will become an instant family favorite. Indulge in rich flavors and a comforting texture that makes every bite a pure delight.
The Quest for the Perfect Homemade Mac and Cheese
Macaroni and cheese holds a special place in the hearts of many, a timeless classic that evokes feelings of warmth and nostalgia. While the boxed versions offer convenience, nothing compares to the rich, nuanced flavors and unparalleled creaminess of a homemade baked mac and cheese. For those who might feel intimidated by the idea of making it from scratch, fear not! This recipe is designed to be straightforward and accessible, guiding you through each step to ensure success, even if it’s your first time venturing into homemade cheesy goodness.
On this site, we celebrate the versatility of mac and cheese, offering a variety of methods to suit your cooking style and schedule. Whether you prefer the slow simmer of a crock pot mac and cheese for hands-off ease, the lightning-fast results of an Instant Pot version, or the crispy edges from an air fryer mac and cheese, we have a recipe for you. We even explore stove-top methods and innovative approaches like our no-boil mac and cheese for those busy days. However, for sheer decadence and that irresistible golden-brown crust, nothing beats a classic baked mac and cheese. This particular recipe focuses on delivering that perfect balance of gooey cheese and tender pasta, crowned with a delightfully crisp topping.
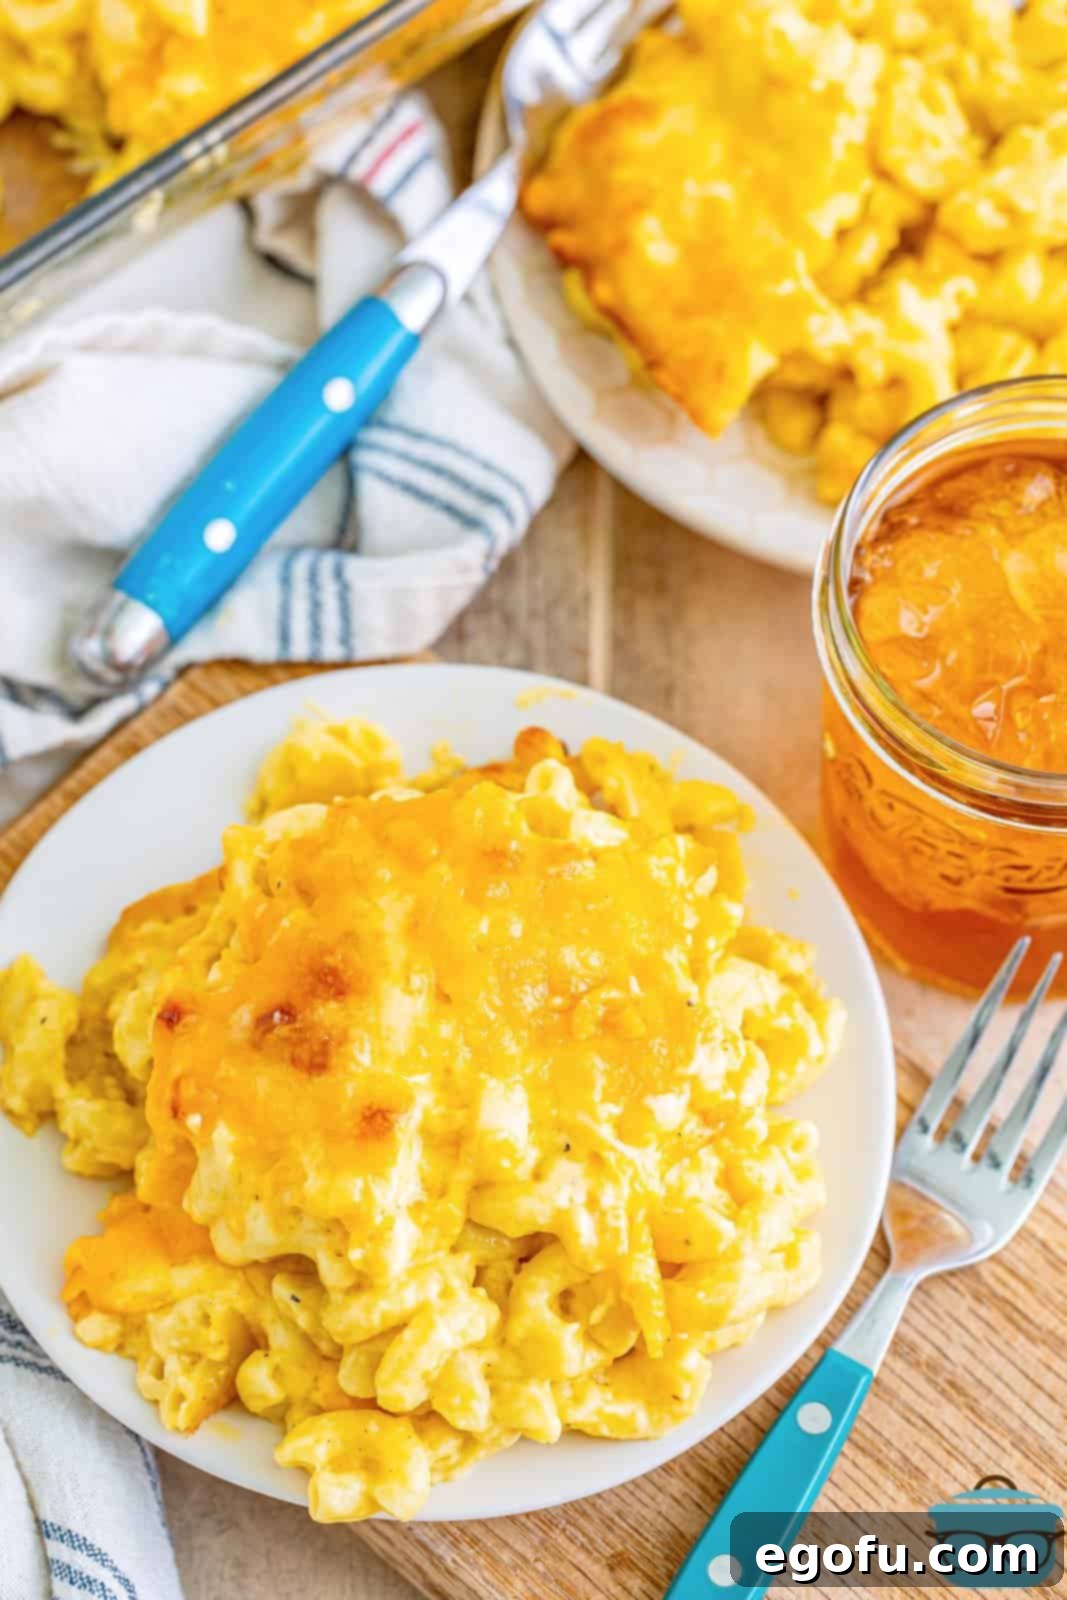
Frequently Asked Questions About Baked Mac and Cheese
Let’s address some common queries to ensure your mac and cheese journey is as smooth as possible:
For this particular recipe, we recommend baking your mac and cheese uncovered. This allows the top layer of cheese to achieve that beautiful golden-brown color and slightly crispy texture that makes baked mac and cheese so desirable. However, if you notice the cheese browning too quickly for your preference, you can certainly cover the dish loosely with aluminum foil for the remainder of the baking time to prevent further darkening. If you prefer a consistently soft and creamy top with no browning, you can bake it covered for the entire duration.
While the combination of whole milk and heavy cream is what truly elevates this recipe, providing an unmatched richness and exceptional creaminess, you can absolutely make substitutions if heavy cream isn’t available. If you’re out of heavy cream, simply use an equivalent amount of whole milk. You could also use half-and-half as a good middle-ground option. While 2% milk can work in a pinch, we highly recommend sticking to whole milk or the whole milk/heavy cream blend for the most luxurious and authentic homemade mac and cheese experience.
The key to an incredible mac and cheese lies in selecting cheeses that melt beautifully to create a smooth, velvety sauce. For this recipe, we utilize a blend of sharp cheddar and Gruyere, a pairing that offers both classic tanginess and sophisticated nuttiness. Other excellent melting cheeses to consider include Gouda, Muenster, Fontina, and Monterey Jack. Each offers a unique flavor profile. For a truly traditional taste, you could stick to all sharp cheddar. Don’t forget, always shred your own cheese from a block – pre-shredded cheeses often contain anti-caking agents that can hinder smooth melting.
Using a combination of cheeses, especially cheddar and Gruyere, adds depth and complexity to the flavor profile that a single cheese might miss. Gruyere, though it sounds “fancy,” is a wonderfully mild and nutty cheese that pairs exceptionally well with the sharp, familiar taste of cheddar, creating a more sophisticated and well-rounded sauce. It’s surprisingly affordable and readily available in most grocery stores. However, if you prefer, using all sharp cheddar cheese will still yield a delicious, classic mac and cheese. Alternatively, you can experiment with other fantastic melting cheeses like mozzarella, Colby Jack, or even a spicy pepper jack if you enjoy a little heat.
Absolutely! Seasoning is a wonderful way to personalize your mac and cheese to your exact preferences. In this recipe, we suggest a modest touch of garlic powder and onion powder, which enhance the savory notes without overpowering the rich cheese flavor. These subtle additions complement the dish beautifully. If you prefer a simpler profile, feel free to stick to just salt and freshly ground black pepper. For those who like a bolder taste, consider a pinch of smoked paprika, a dash of mustard powder (which enhances cheese flavor without tasting like mustard), or even a tiny amount of cayenne pepper for a subtle kick.
This recipe is designed for true cheese lovers who appreciate an exceptionally cheesy mac and cheese. However, remember that this is your dish to customize! If you prefer a less intensely cheesy experience, or if you’re trying to reduce dairy intake, you can certainly scale back the amount of cheese used. Reduce the quantities of both cheddar and Gruyere by half a cup or even a full cup, and adjust to your desired cheesiness level. The beauty of homemade cooking is tailoring it to your taste.
Yes, homemade baked mac and cheese freezes remarkably well! To ensure the best quality, wrap it tightly in a layer of plastic wrap and then a layer of aluminum foil to protect against freezer burn. It can be stored in the freezer for up to 3 months. A smart tip for smaller households or meal prepping is to divide the mac and cheese into two smaller baking pans before baking. Bake one for immediate enjoyment and freeze the other unbaked for a quick future meal. When ready to bake the frozen portion, thaw it overnight in the refrigerator and then bake as directed, possibly adding an extra 10-15 minutes to the baking time.
To maintain its freshness and deliciousness, store any leftover baked mac and cheese in an airtight container or tightly covered with plastic wrap in the refrigerator. It will keep well for up to 5 days. For longer storage, as mentioned, it can also be frozen for up to 3 months. Reheating is best done gently in the microwave or oven, sometimes with a splash of milk to restore creaminess.
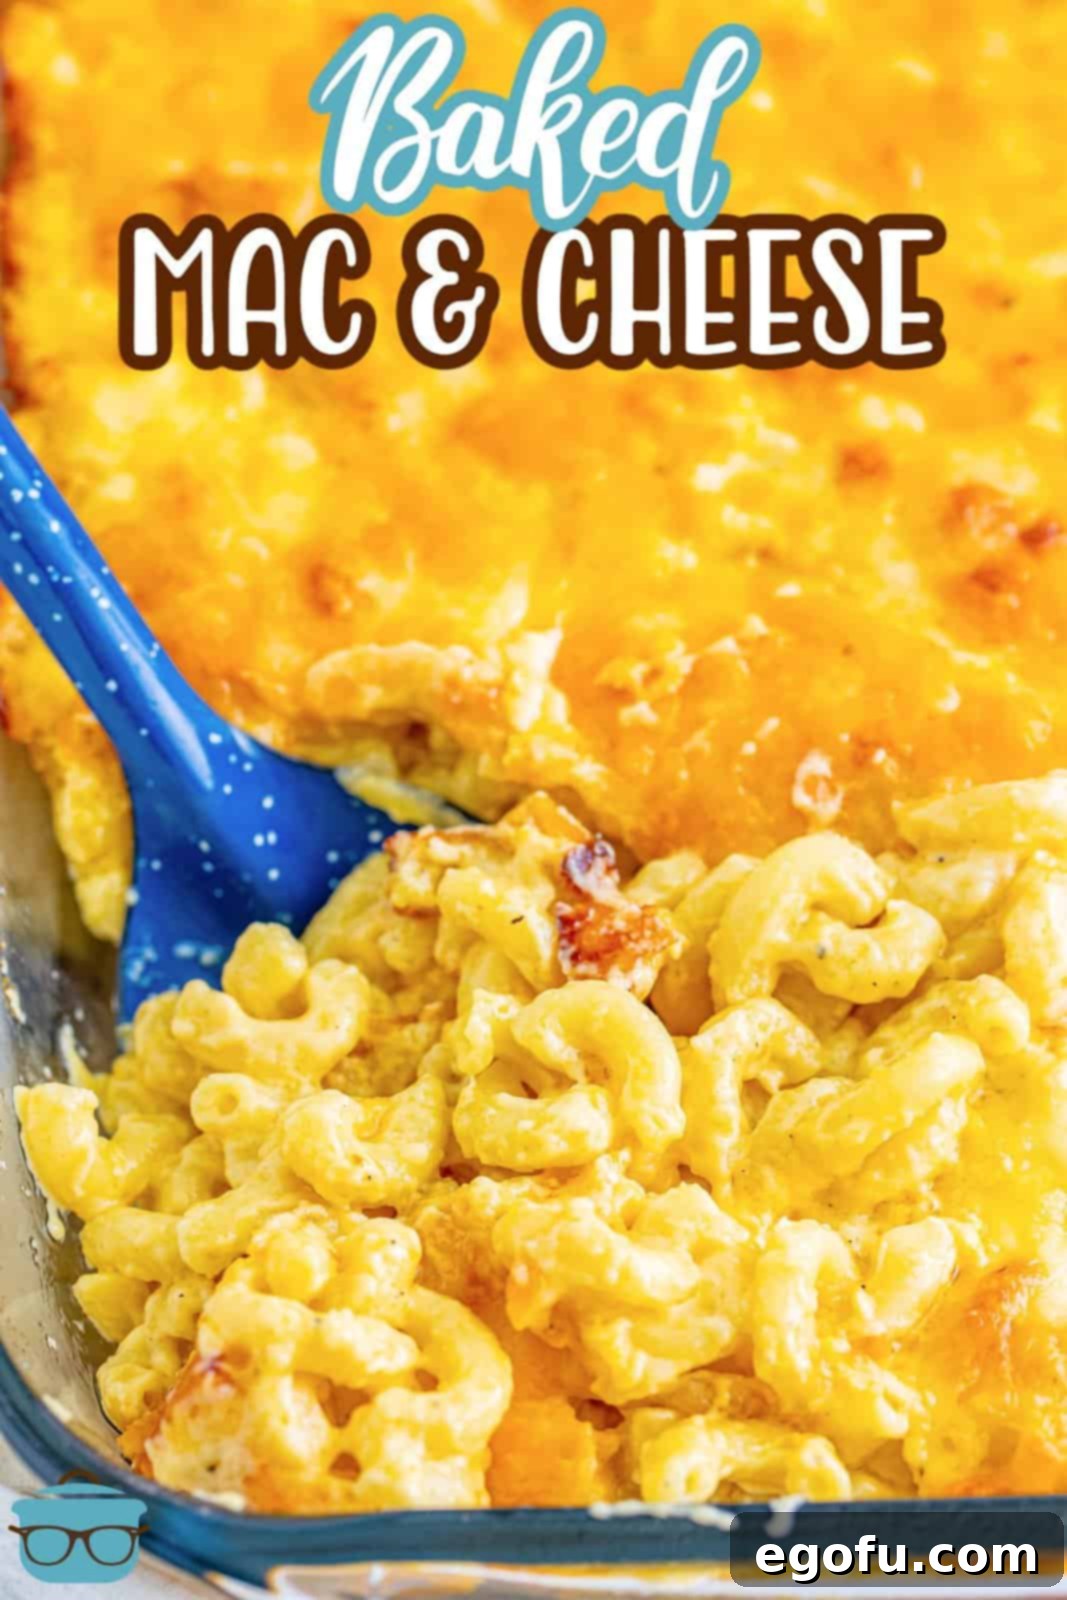
Essential Ingredients for Your Creamy Baked Mac and Cheese
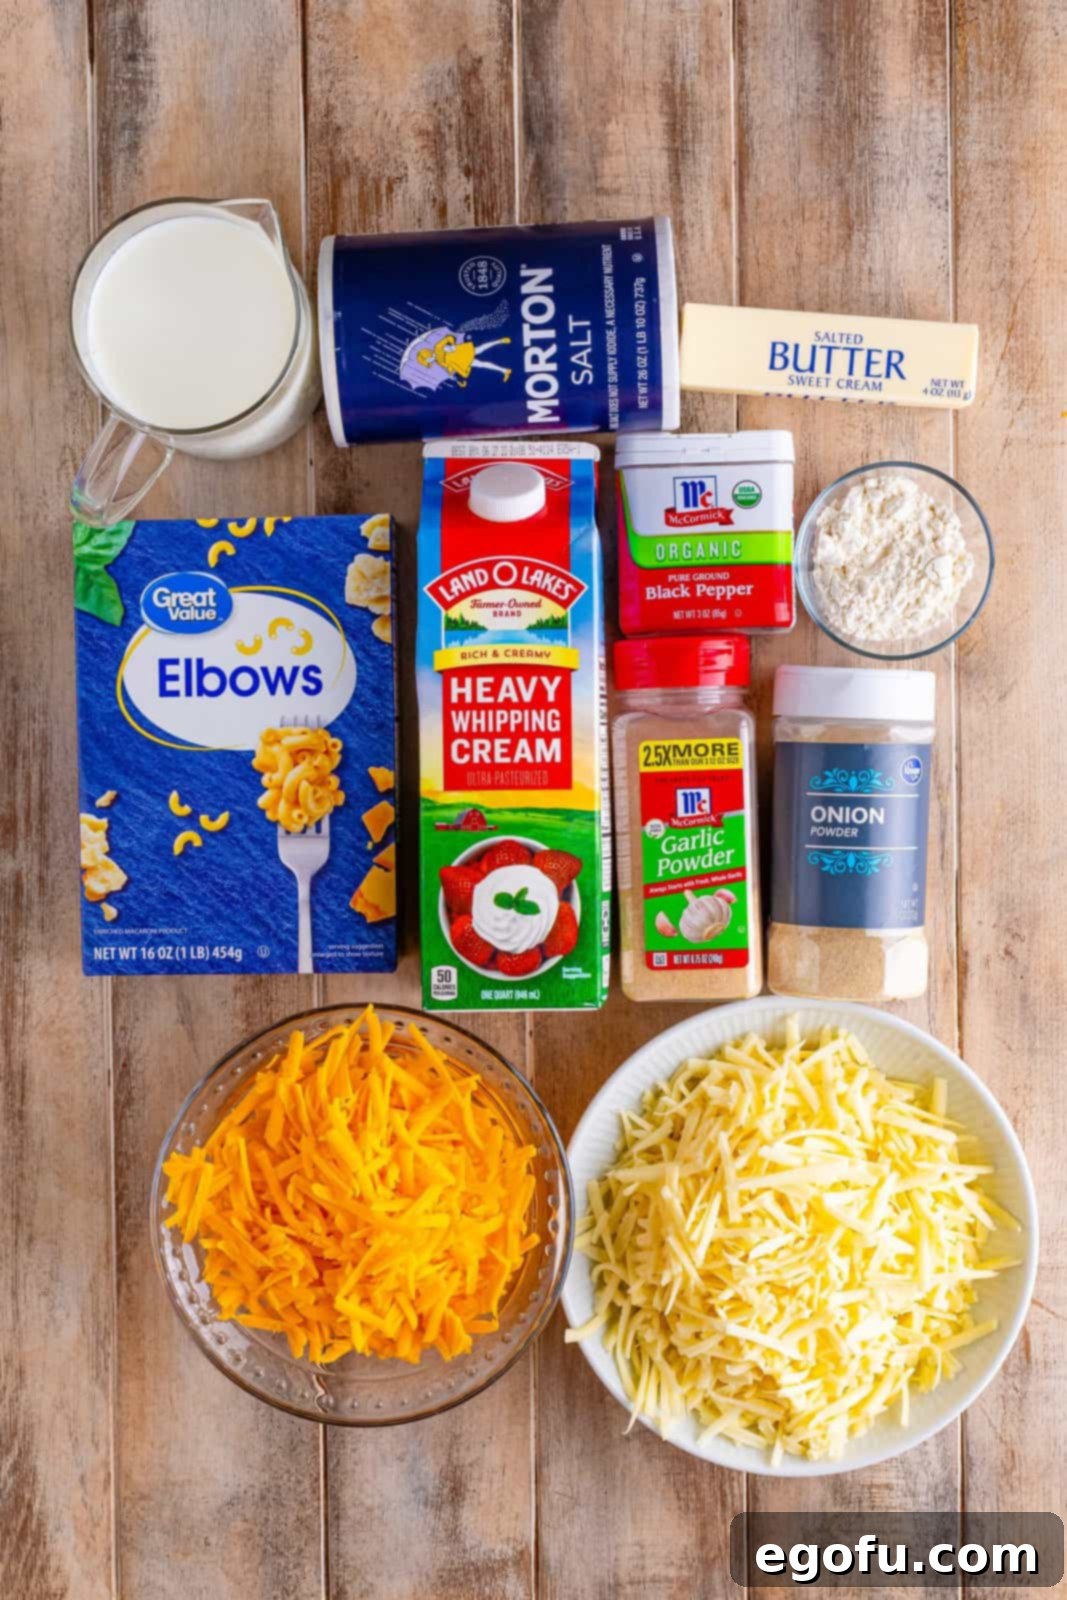
Crafting the perfect baked mac and cheese starts with selecting quality ingredients. Here’s a detailed look at what you’ll need and why:
- Elbow Pasta: The classic choice for mac and cheese, elbow macaroni’s curved shape is ideal for capturing and holding onto the rich cheese sauce. However, feel free to substitute with other small, sturdy pasta shapes like medium shells, cavatappi, or ditalini, all of which work beautifully.
- Salted Butter: Butter forms the base of our roux, contributing rich flavor and a smooth texture to the cheese sauce. We specify salted butter, and while it might seem like a lot, pasta absorbs salt, and a proper balance is crucial for a well-seasoned dish. Rest assured, the overall saltiness will be balanced.
- All-Purpose Flour: This is the key component for creating a roux, which thickens our sauce and gives it a luxurious body. The flour will be cooked with the butter to eliminate any raw flour taste.
- Salt, Black Pepper, Garlic Powder, Onion Powder: These seasonings are carefully chosen to enhance the overall savory profile without overpowering the star of the show: the cheese. The garlic and onion powder add a subtle aromatic depth. If you prefer a simpler flavor profile, a generous amount of salt and pepper alone will also suffice.
- Whole Milk: For an exceptionally creamy and rich cheese sauce, whole milk is highly recommended. Its higher fat content contributes significantly to the sauce’s luxurious texture. While 2% milk can be used, skim milk is not advised as it will result in a much thinner and less flavorful sauce. We haven’t tested this recipe with non-dairy milk substitutes.
- Heavy Cream: This ingredient is the secret to an unbelievably decadent and velvety smooth cheese sauce. Adding heavy cream alongside whole milk elevates the creaminess to another level, making your mac and cheese truly restaurant-worthy. If you don’t have heavy cream, half-and-half is a suitable substitute, or you can use all whole milk as mentioned in the FAQ.
- Shredded Sharp Cheddar Cheese & Shredded Gruyere Cheese: This dynamic duo is what makes our cheese sauce truly special. Sharp cheddar provides that beloved tangy, robust “mac and cheese” flavor, while Gruyere adds a nutty, earthy complexity and an incredible melt. This combination creates a depth of flavor that is both familiar and gourmet. Remember to always shred your own cheese from blocks for the best melting consistency and flavor. If you only have cheddar, that will still make a fantastic dish.
Crafting Your Dream: A Step-by-Step Guide to Baked Mac and Cheese
Follow these detailed steps to create a homemade baked mac and cheese that will impress everyone at your table:
- Prepare Your Oven and Dish: Begin by preheating your oven to 350°F (175°C). Lightly spray a 9×13 inch baking dish with cooking spray to prevent sticking, and set it aside. This ensures your dish is ready when your cheesy mixture is.
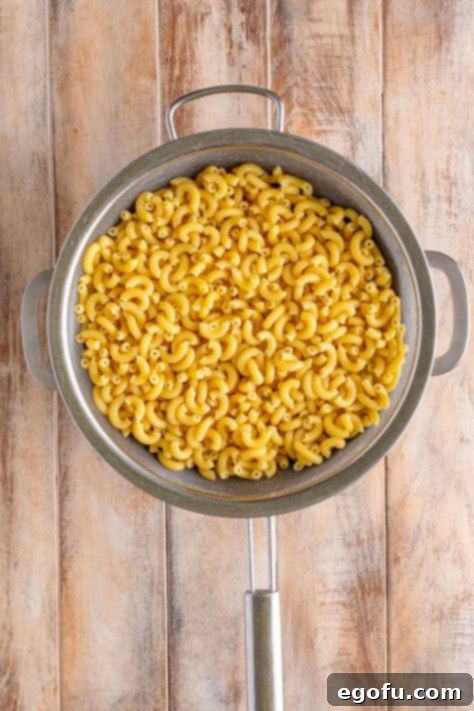
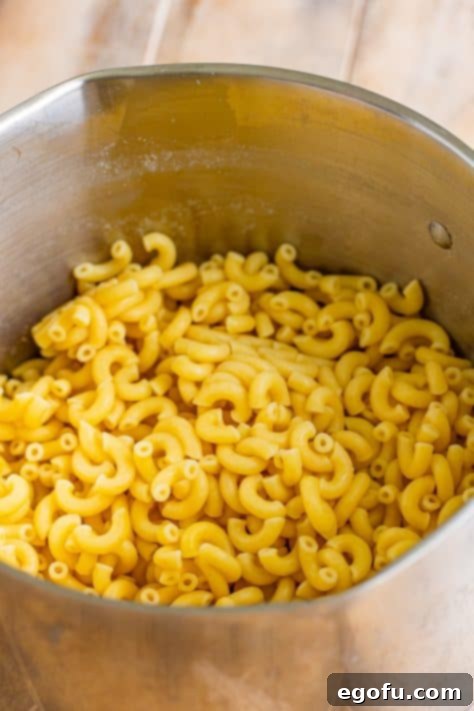
- Cook the Pasta Al Dente: Bring a large pot of generously salted water to a rolling boil. Add the elbow macaroni and cook according to the package directions until it’s al dente – slightly firm to the bite. It will continue to cook slightly in the oven, so don’t overcook it now. Once cooked, drain the pasta thoroughly and immediately rinse it under cold water. This crucial step stops the cooking process and prevents the noodles from becoming mushy. Let them drain completely while you prepare the sauce.
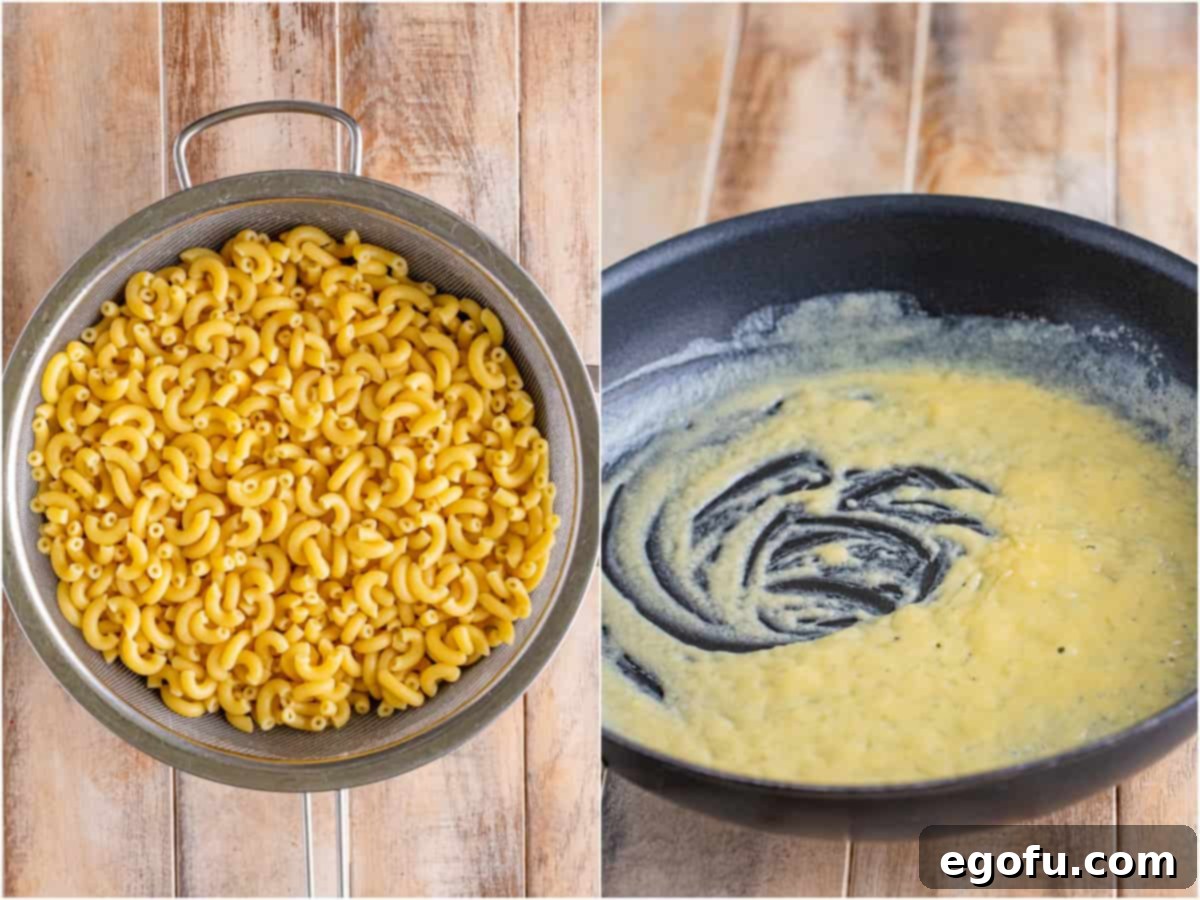
- Begin the Roux: In a large, heavy-bottomed skillet or Dutch oven over medium heat, melt the salted butter until it’s fully liquefied. Once melted, sprinkle in the all-purpose flour. Whisk continuously for about 1 minute. This creates a roux, a paste that will thicken your sauce. Cooking it for a minute helps to cook out the raw flour taste.
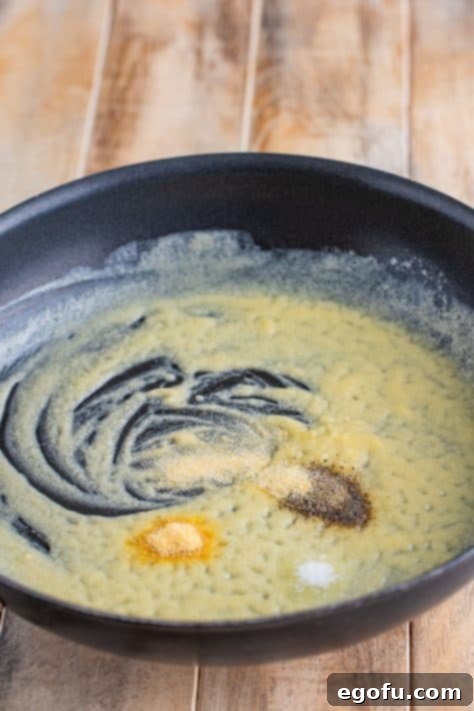
- Infuse with Spices: Add the salt, black pepper, garlic powder, and onion powder to the roux. Whisk these spices in and continue to cook, whisking constantly, for another minute. This allows the spices to bloom in the hot butter, releasing their full aroma and flavor, which will be deeply incorporated into the sauce.
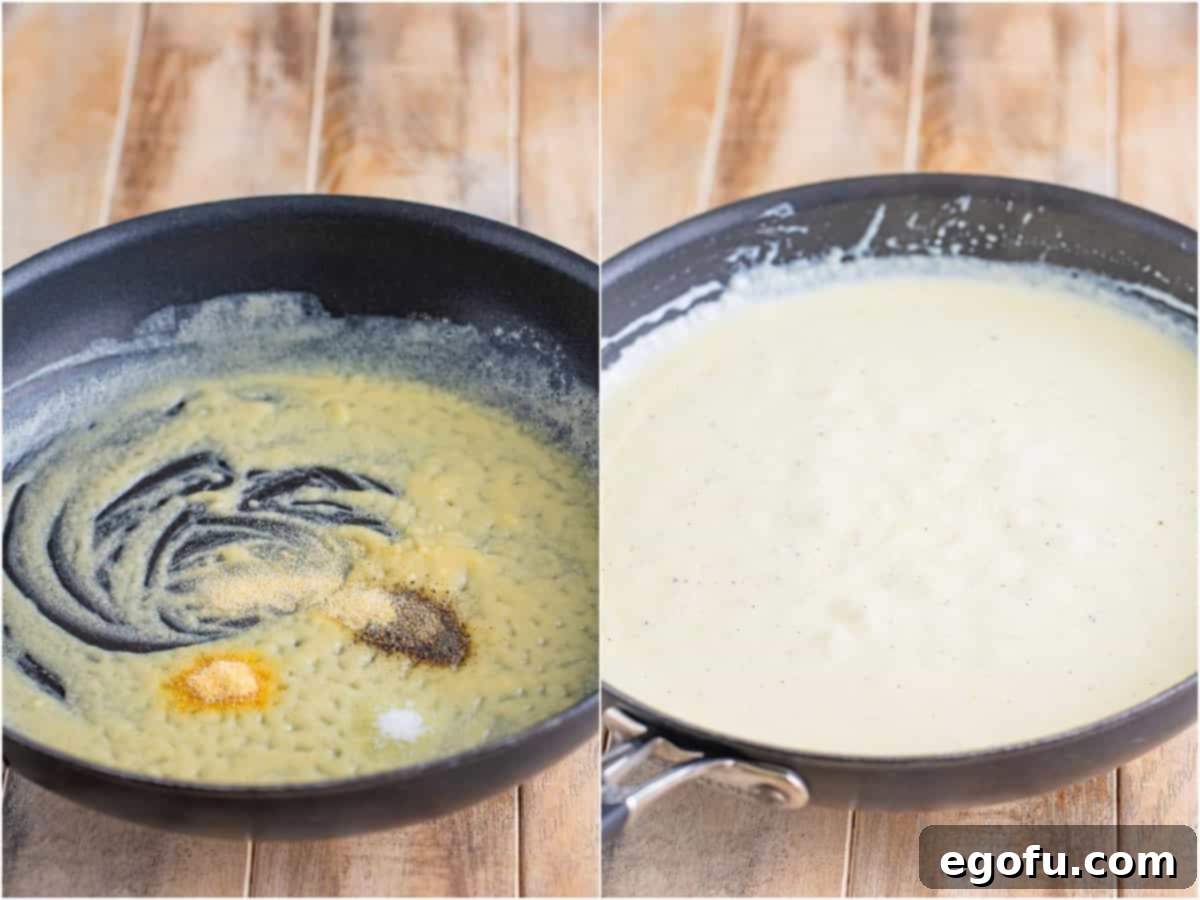
- Build the Creamy Base: This is a critical step for a smooth sauce! Very slowly, while whisking constantly and vigorously, stream in the whole milk. Pouring it slowly and whisking continuously prevents lumps from forming, ensuring a perfectly smooth béchamel base. Once all the milk is incorporated, repeat the process by slowly adding the heavy cream while continuing to whisk.
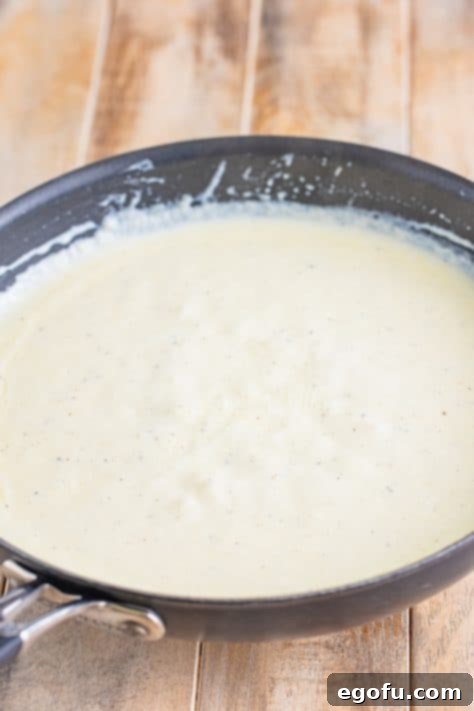
- Thicken the Sauce: Bring the milk and cream mixture to a gentle simmer over medium heat, still whisking occasionally. Let it simmer, continuing to whisk, until the sauce visibly thickens, which typically takes about 3 minutes. It should be thick enough to coat the back of a spoon.
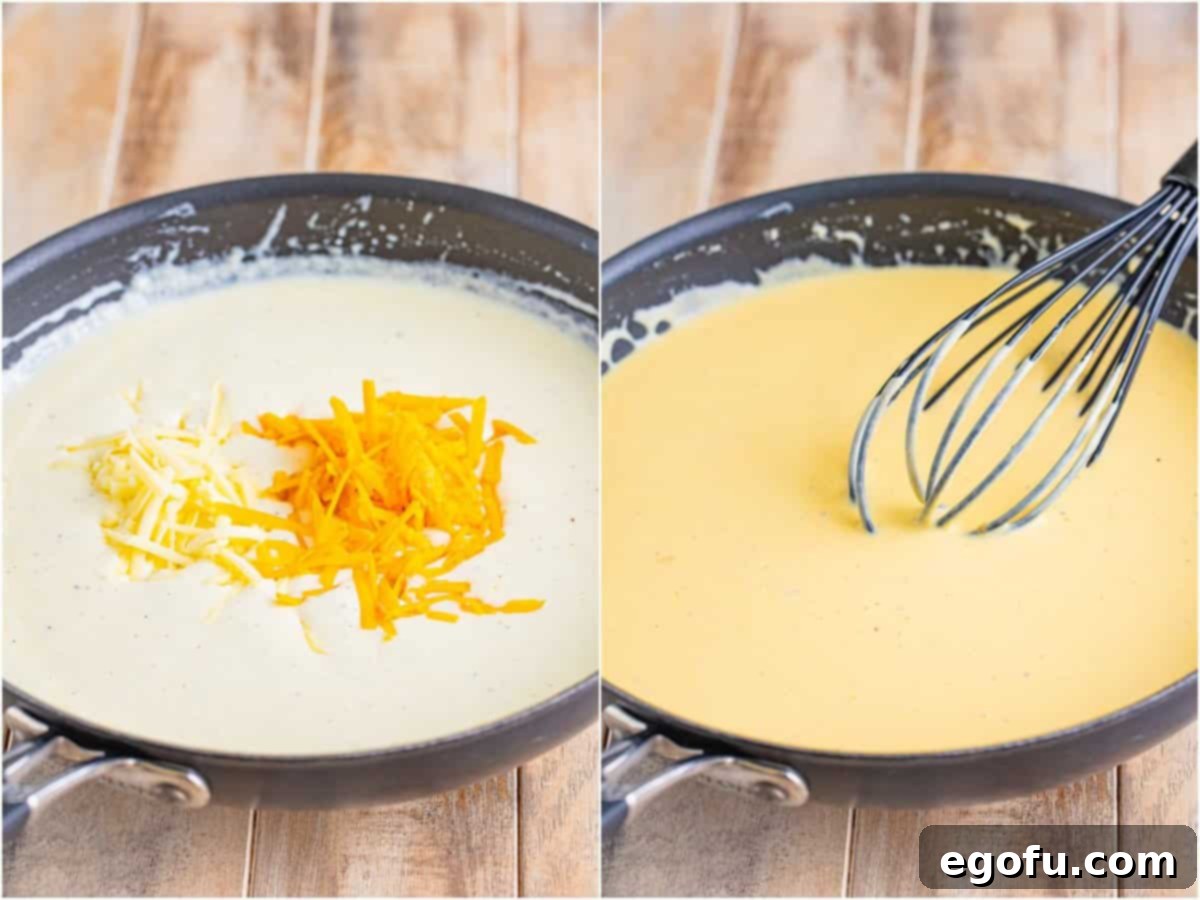
- Melt in the Cheese: Remove the skillet from the heat. Now, it’s time for the star ingredient! Add 2 ½ cups of the shredded sharp cheddar cheese and 2 ½ cups of the shredded Gruyere cheese to the warm sauce, a little at a time. Whisk thoroughly after each addition until the cheese is completely melted and smoothly incorporated into the sauce before adding more. This gradual process ensures a perfectly smooth and lump-free cheese sauce.
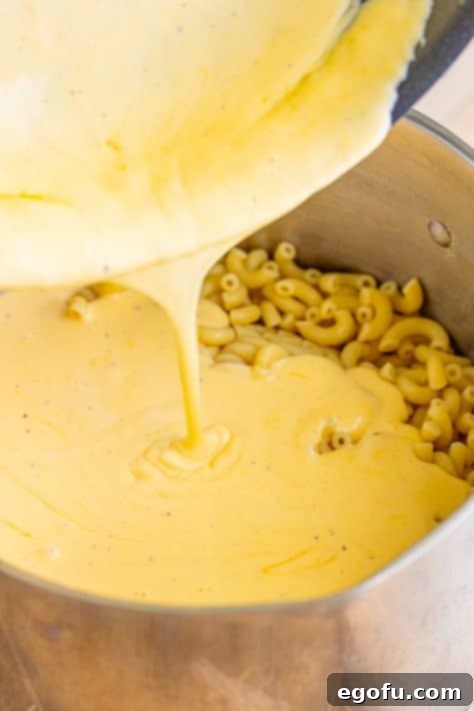
- Combine with Pasta: Return the drained, cooked noodles to the large pot they were cooked in (or a very large mixing bowl). Pour the freshly made, rich cheese sauce over the noodles. Using a large spoon or spatula, gently mix everything together, ensuring every single noodle is thoroughly coated in the luxurious cheese sauce.
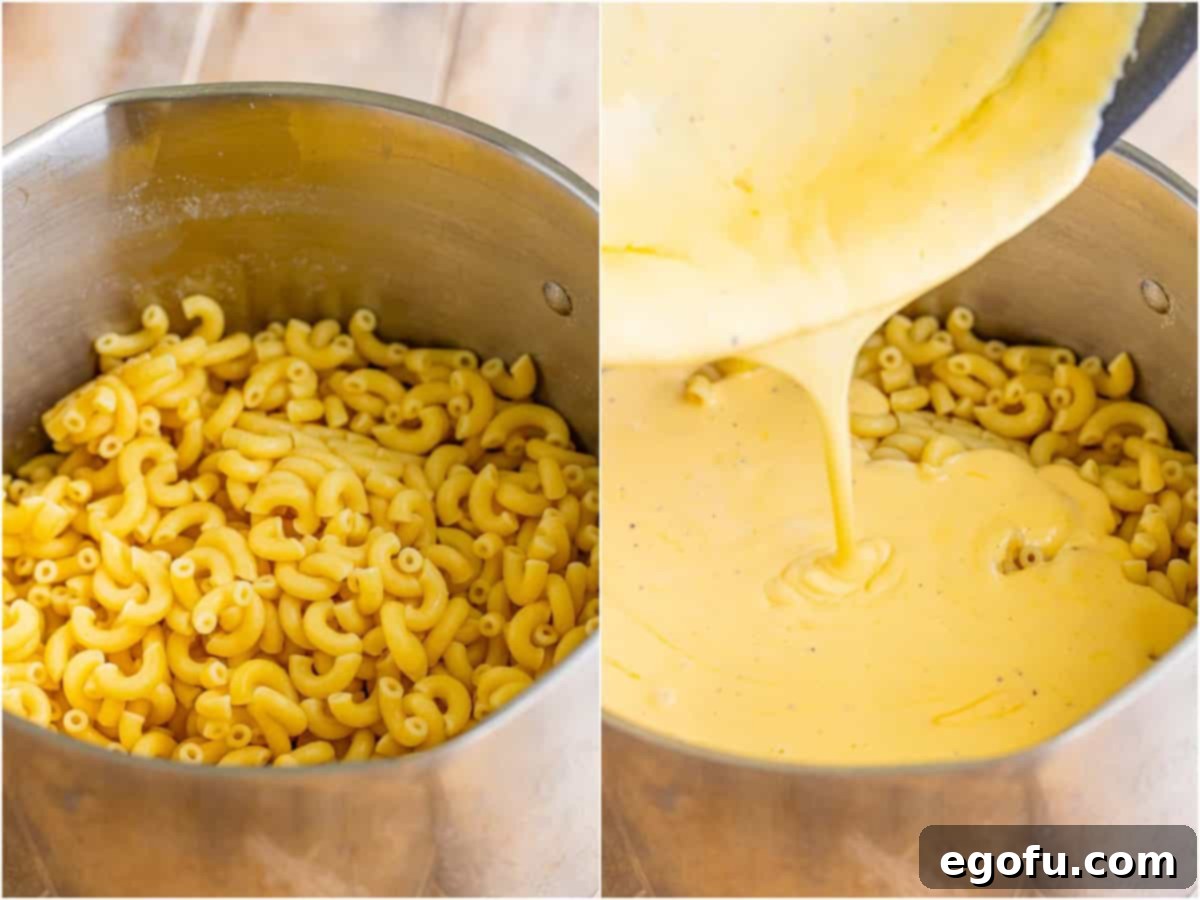
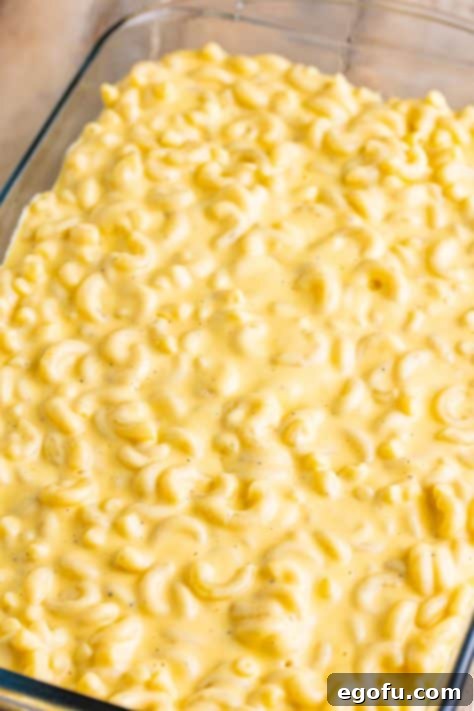
- Transfer to Baking Dish: Carefully pour the entire macaroni and cheese mixture into your prepared 9×13 inch baking dish. Spread it evenly to ensure consistent baking.
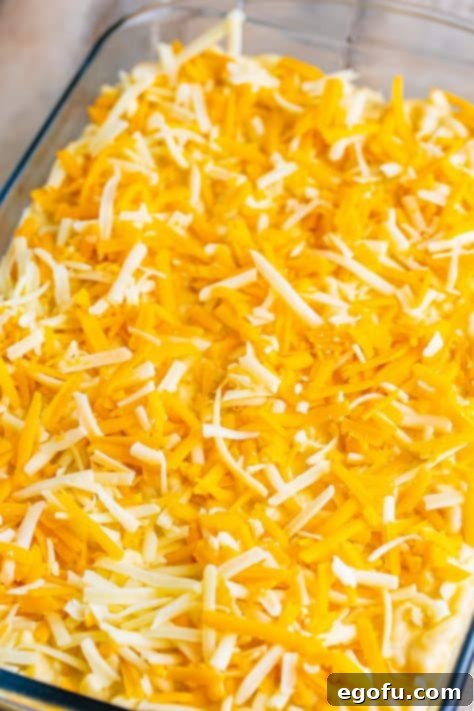
- Add the Final Cheese Topping: Generously sprinkle the remaining cheese (the last 1 cup of cheddar and 1 cup of Gruyere) over the top of the macaroni mixture in the baking dish. This creates that irresistible, bubbly, golden crust we all love.
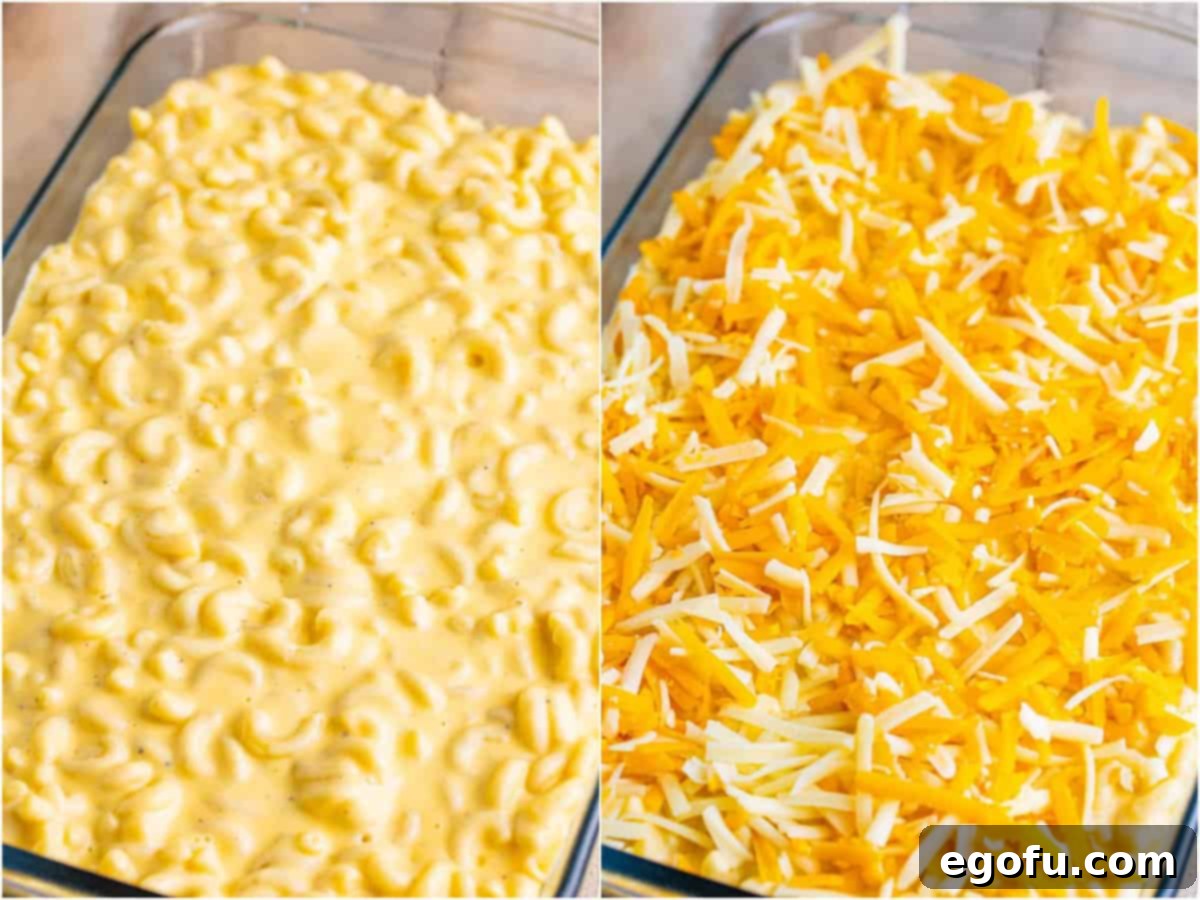
- Bake to Golden Perfection: Place the baking dish in your preheated oven and bake uncovered for 40-50 minutes. You’re looking for a bubbly sauce around the edges and a beautifully golden-brown, slightly crispy cheese topping. Keep an eye on it – if the cheese on top starts to brown faster than you’d like, you can loosely cover the pan with aluminum foil for the remaining bake time. If you prefer no browning at all, you can bake the entire dish covered with foil.
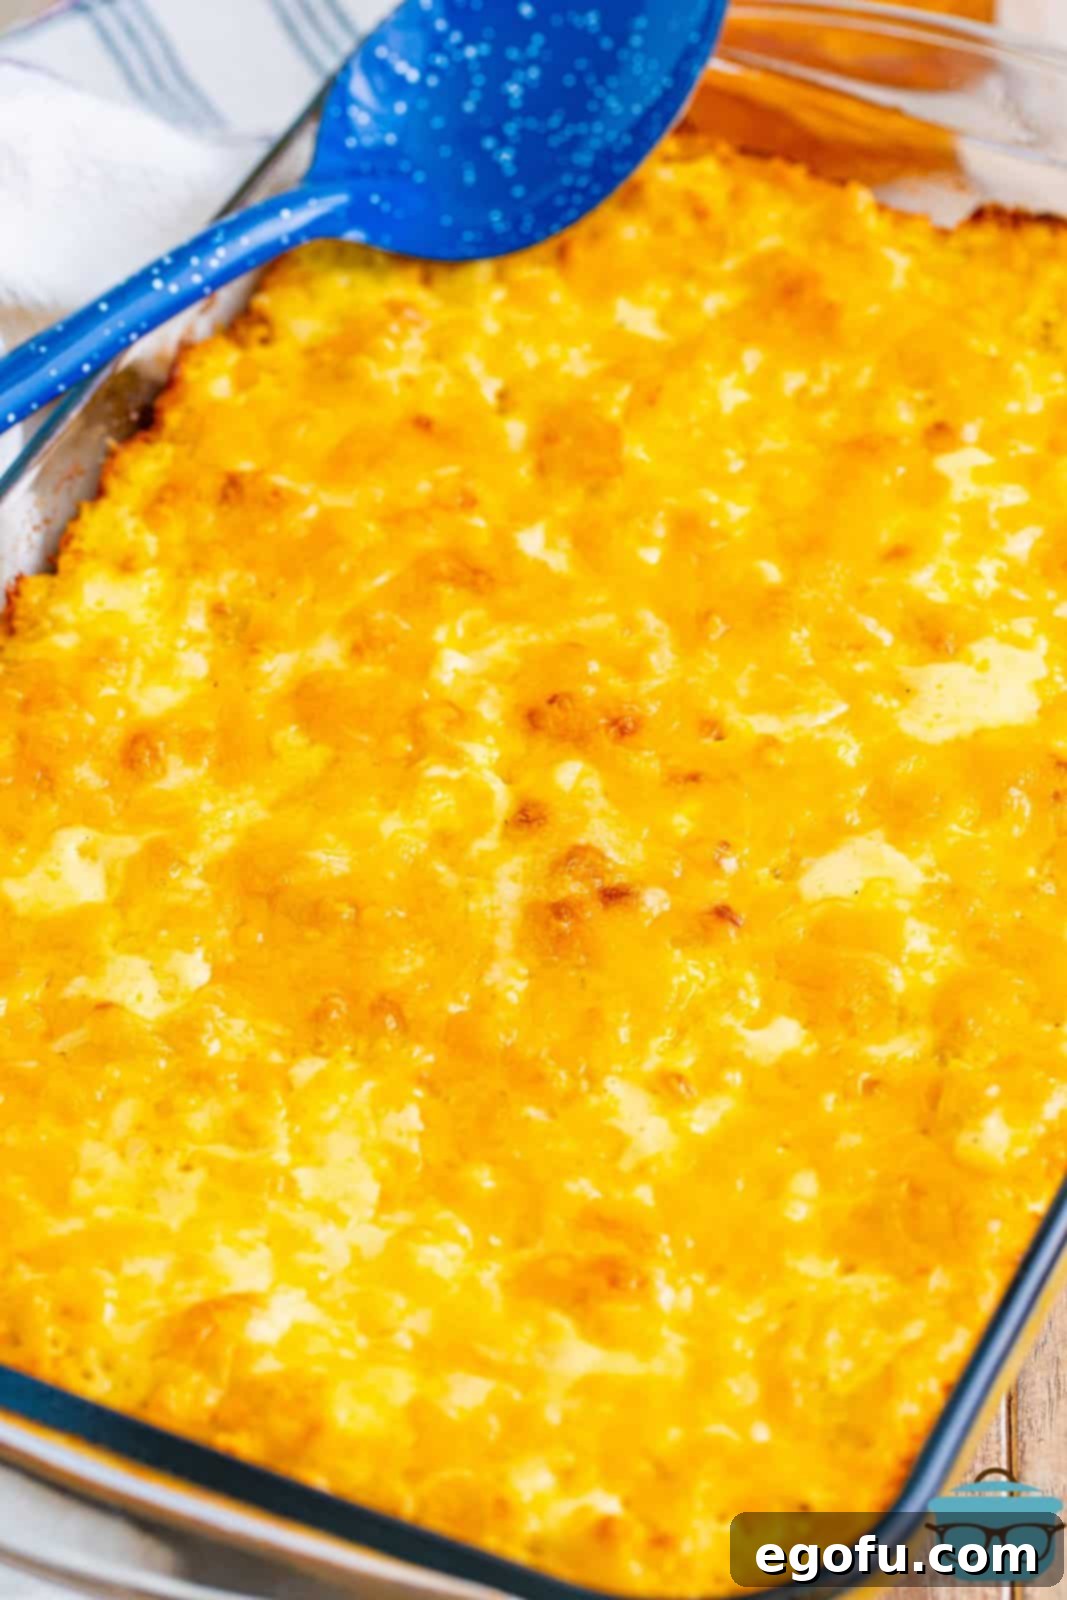
- Rest and Serve: Once removed from the oven, allow the baked mac and cheese to cool for about 10 minutes before serving. This resting period allows the sauce to set slightly, making it easier to scoop and ensuring it retains its creamy texture.
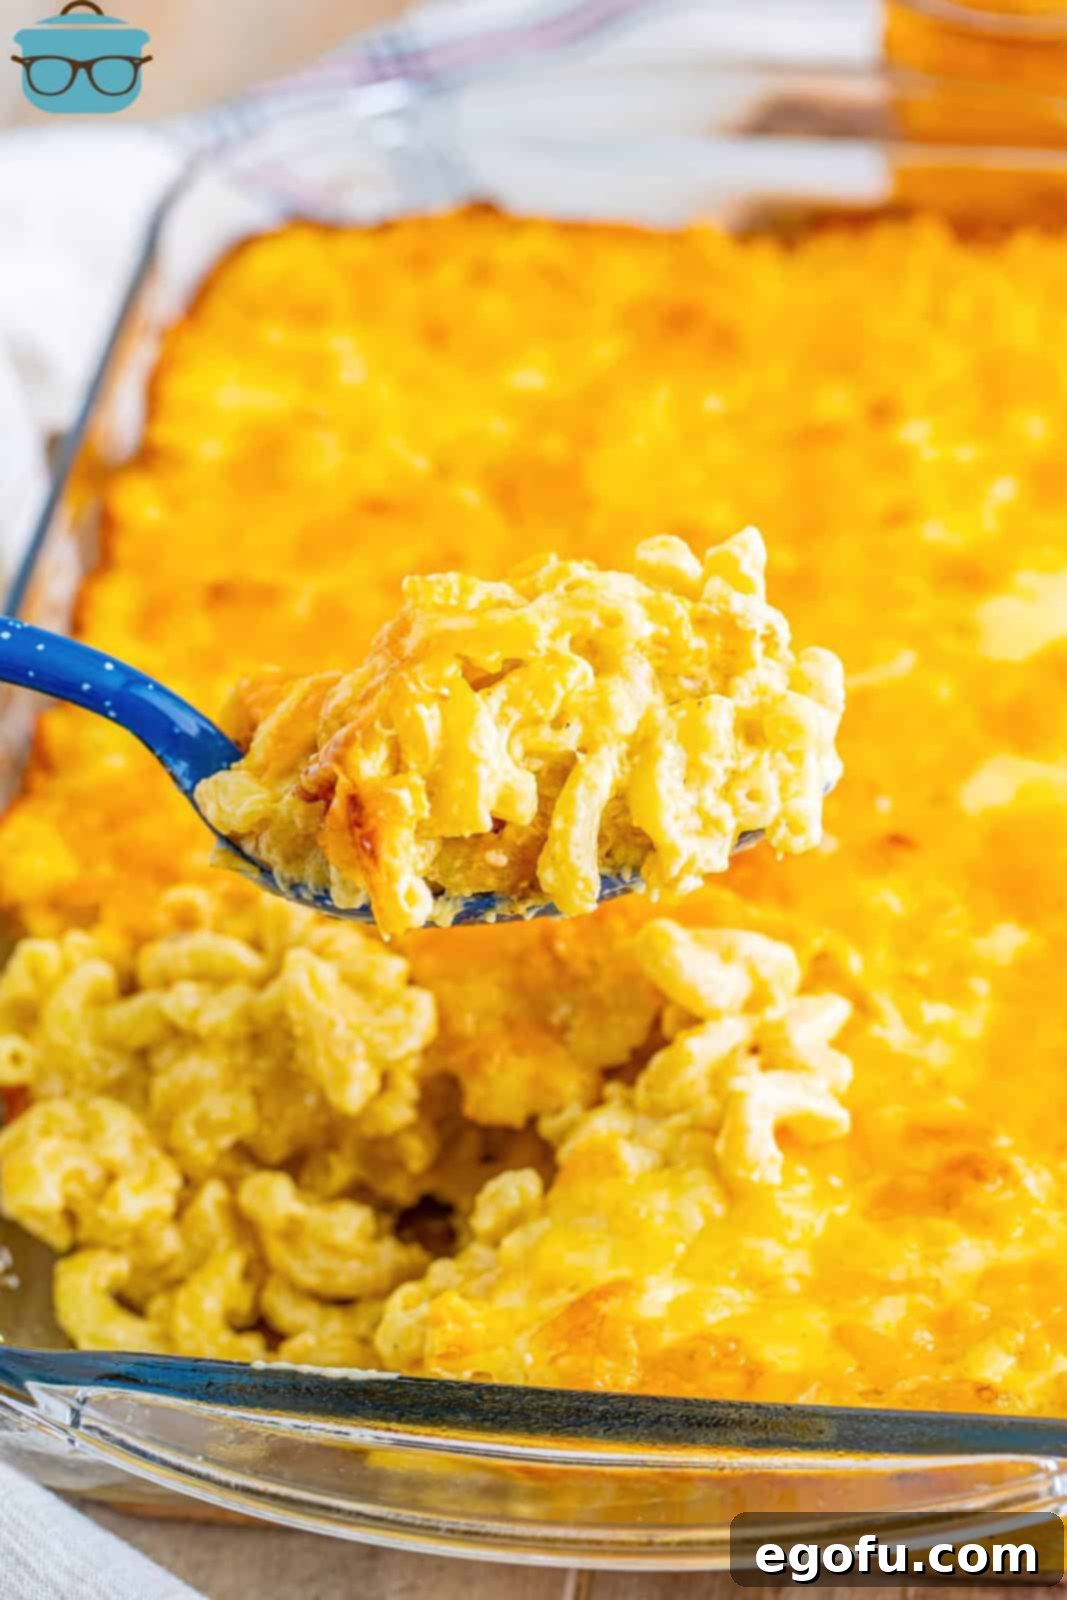
Craving More Comfort Food?
If you loved this baked mac and cheese recipe, you’ll want to explore these other delicious and comforting dishes. Each offers a unique twist or a different method to enjoy your favorite flavors:
- Crock Pot Mac and Cheese (+Video): Perfect for busy days, let your slow cooker do all the work.
- Air Fryer Mac and Cheese: Achieve crispy edges and a quick cook time with this trendy method.
- White Cheddar Mac and Cheese: A sophisticated twist on the classic, featuring sharp white cheddar.
- Instant Pot Mac and Cheese: Get creamy mac and cheese on the table in minutes.
- Instant Pot Sausage Mac and Cheese: A hearty, flavorful meal with the addition of savory sausage.
- Easy Sweet Potato Casserole: A delightful sweet and savory side, perfect for any gathering.
- Fried Turkey: For those special occasions, learn how to fry a juicy turkey.
- Thanksgiving Recipe Roundup: A collection of festive dishes to complete your holiday table.

Baked Mac and Cheese
Macaroni and cheese doesn’t have to be hard or time consuming. With this foolproof recipe, you can make a cheesy, creamy homemade baked mac and cheese everyone will love!
10 minutes
1 hour
1 hour 10 minutes
12 servings
Brandie Skibinski
Ingredients
- 1 pound macaroni noodles
- 4 Tablespoons salted butter
- 4 Tablespoons all-purpose flour
- ½ teaspoon salt
- ½ teaspoon black pepper
- ¼ teaspoon garlic powder
- ¼ teaspoon onion powder
- 2 cups whole milk
- 1 ½ cups heavy cream
- 3 ½ cups shredded sharp cheddar cheese, divided use (2.5 cups for sauce, 1 cup for topping)
- 3 ½ cups shredded Gruyere cheese, divided use (2.5 cups for sauce, 1 cup for topping)
Instructions
- Preheat the oven to 350°F (175°C). Spray a 9×13 baking dish with cooking spray and set aside.
- Cook the noodles according to package directions until al dente. Drain well and rinse with cold water to stop cooking. Let them drain thoroughly until ready to use.

- In a large skillet over medium heat, melt the butter. Add the flour and whisk it in; cook for 1 minute while whisking to create a roux.
- Add the salt, pepper, garlic powder, and onion powder to the roux, whisking constantly. Cook for an additional 1 minute to bloom the spices.

- Very slowly, while whisking constantly, stream in the whole milk to prevent lumps. Once incorporated, slowly add the heavy cream, whisking continuously.
- Bring the mixture to a gentle simmer and cook, whisking occasionally, until it starts to thicken, about 3 minutes.

- Remove the skillet from the heat. Add 2 ½ cups of shredded cheddar cheese and 2 ½ cups of shredded Gruyere cheese, a little at a time, whisking until each addition melts smoothly into the sauce before adding more.

- Add the cooked and drained noodles back to the large pot.

- Pour the prepared cheese sauce into the pot with the noodles and mix thoroughly until all noodles are evenly coated.

- Pour the macaroni and cheese mixture into the prepared baking dish.

- Top generously with the remaining 1 cup of shredded cheddar and 1 cup of shredded Gruyere cheese.

- Bake uncovered for 40-50 minutes, or until the sauce is bubbly and the cheese topping is lightly golden brown. If the topping browns too quickly, cover loosely with aluminum foil. For a non-browned top, bake fully covered.

- Let cool for about 10 minutes before serving. This allows the sauce to set slightly for easier serving.

Chef’s Notes & Tips
- For any ingredient substitutions or common questions, please refer to the detailed FAQ section and ingredient list above.
- Feel free to adjust the amount of cheese to your personal preference – use more for an extra-cheesy experience, or less if you prefer a milder flavor.
- If you desire an extra crispy, browned top, you can carefully broil the mac and cheese during the last few minutes of cooking. Watch it very closely, as it can go from perfectly golden to burnt in a matter of seconds!
- We do not recommend preparing this mac and cheese ahead of time and storing it unbaked in the fridge overnight, especially due to the heavy cream, which can cause the sauce to separate upon reheating. However, reheating already baked leftovers is perfectly fine. If you use all whole milk (no heavy cream), making it ahead might be more forgiving.
- Store leftovers in an airtight container in the refrigerator for up to 5 days, or freeze for up to 3 months for longer storage.
- Seasonings are entirely customizable. While we suggest garlic and onion powder for enhanced savory notes, simply using salt and pepper will also yield a delicious mac and cheese if you prefer a simpler flavor profile.
Side Dish, Main Dish
American, Comfort Food
Nutrition Information
Calories:
593
kcal
|
Carbohydrates:
33
g
|
Protein:
25
g
|
Fat:
41
g
|
Sodium:
662
mg
|
Fiber:
1
g
|
Sugar:
3
g
Nutritional Disclaimer
“The Country Cook” is not a dietician or nutritionist, and any nutritional information shared is an estimate. If calorie count and other nutritional values are important to you, we recommend running the ingredients through whichever online nutritional calculator you prefer. Calories and other nutritional values can vary quite a bit depending on which brands were used and specific ingredient choices.
