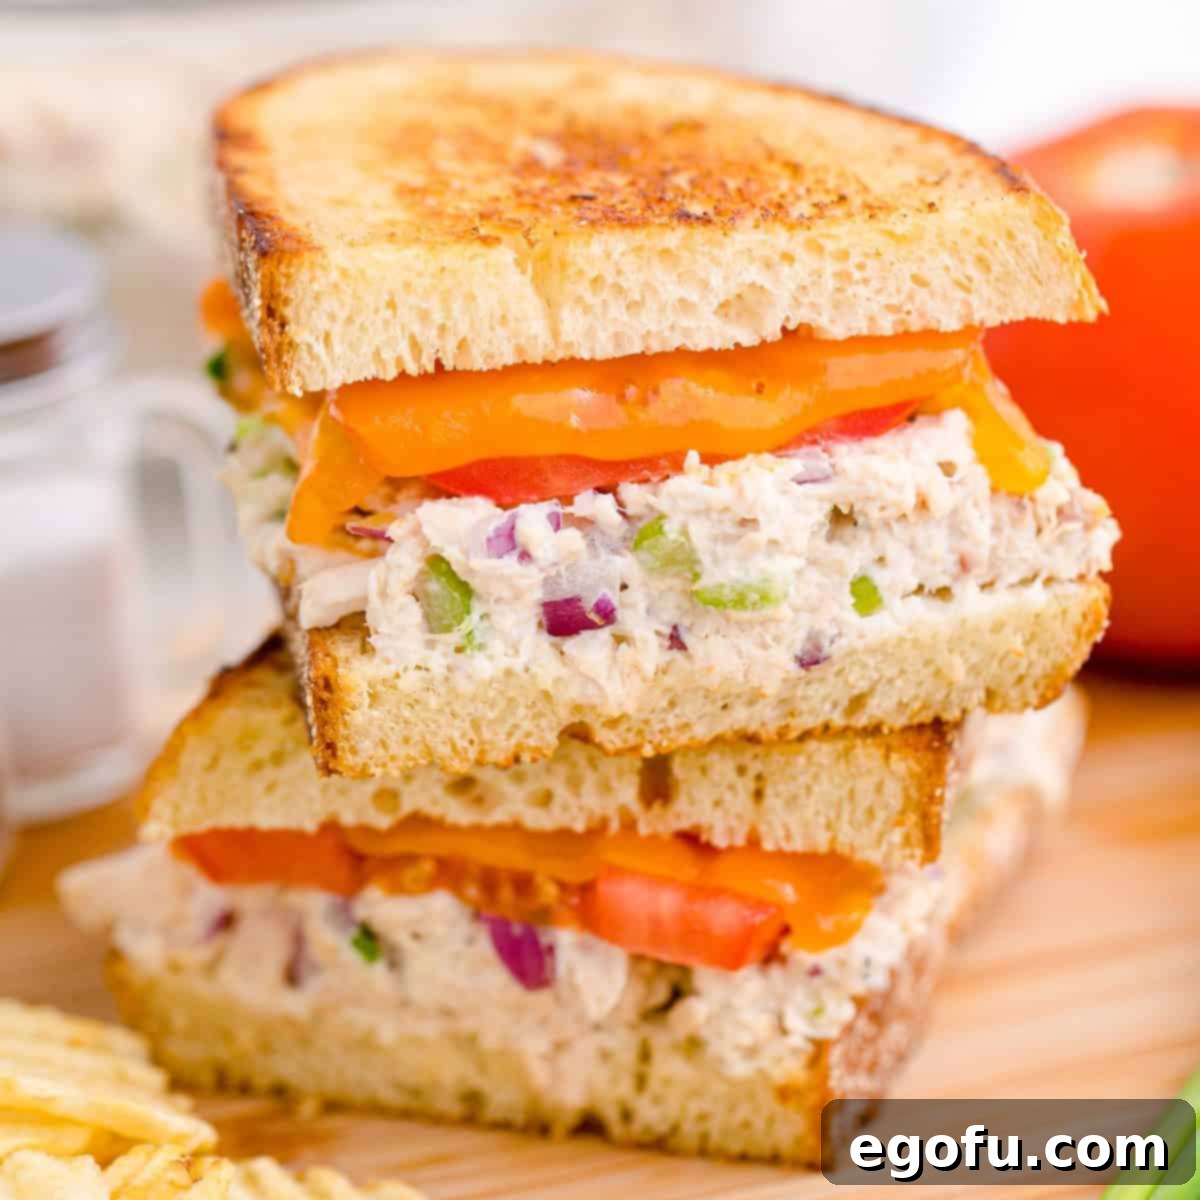
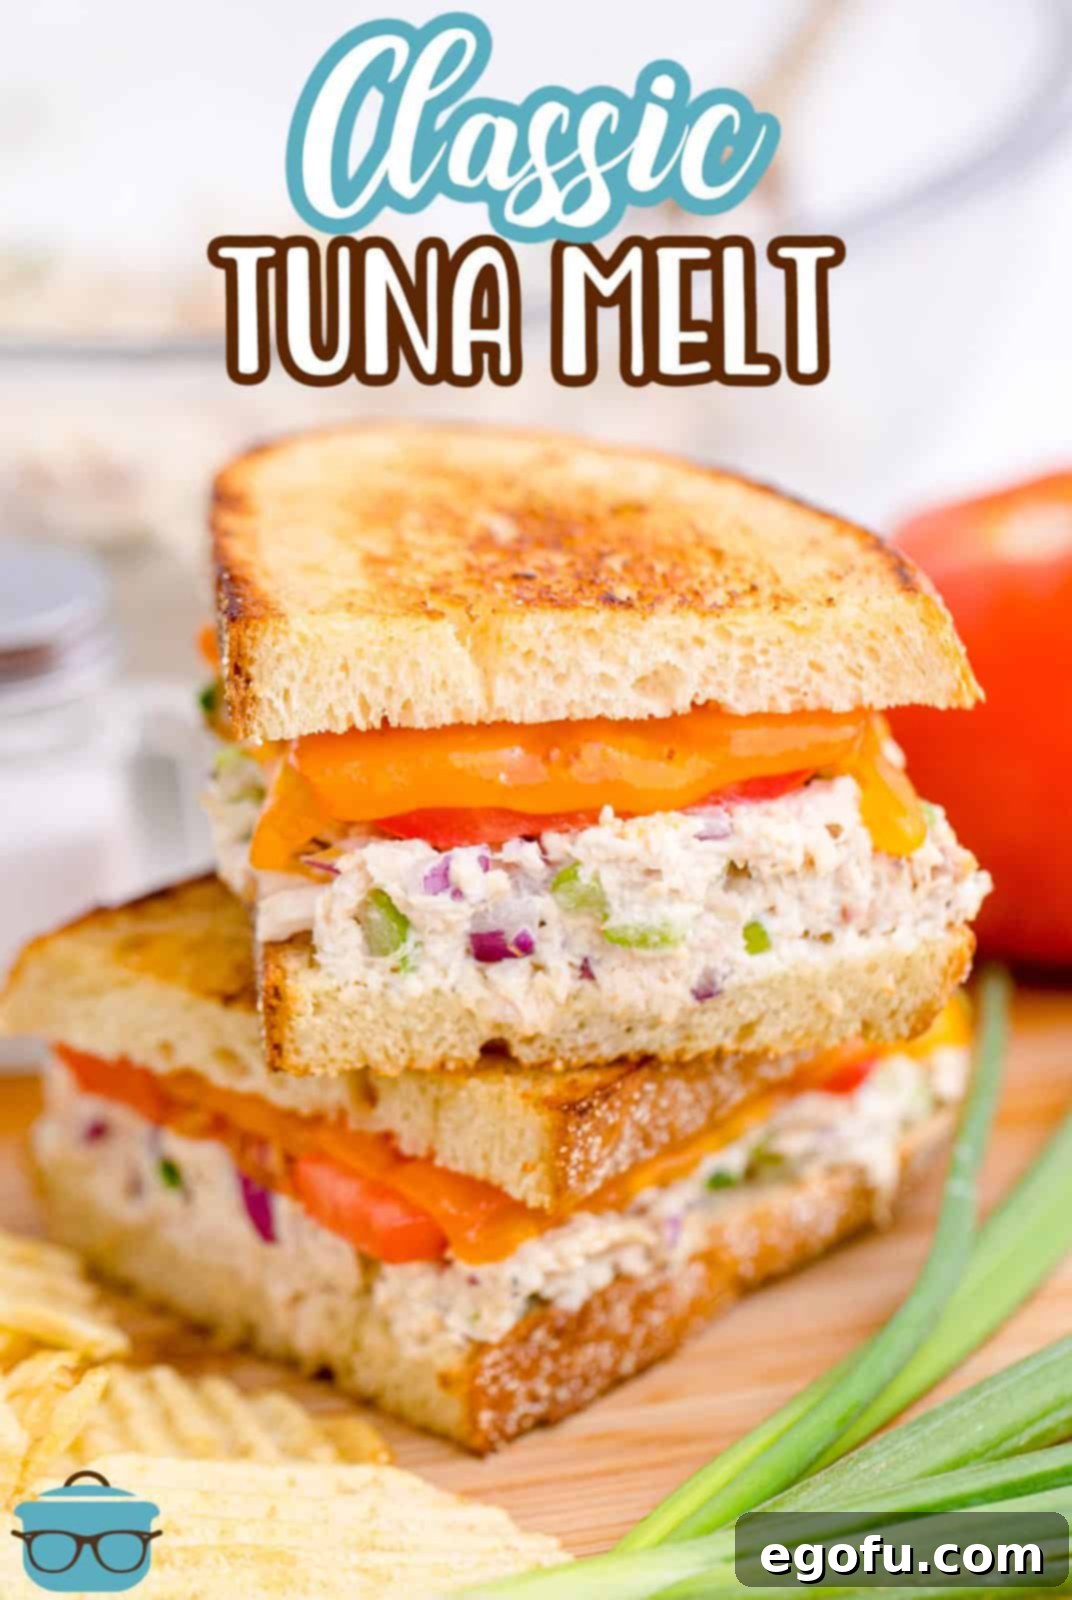
This beloved Classic Tuna Melt recipe takes you back to simpler times, offering a quick, satisfying, and utterly delicious diner-style lunch or dinner that’s incredibly easy to prepare. With its perfectly toasted bread, creamy tuna filling, melty cheese, and fresh tomato, it’s a comfort food icon that never disappoints.
The Ultimate Classic Tuna Melt Recipe: A Diner Favorite at Home
There’s a reason why some dishes stand the test of time, becoming beloved classics that evoke feelings of nostalgia and comfort. The tuna melt is undoubtedly one of them. For many, it’s more than just a sandwich; it’s a culinary hug, a quick fix, and a staple of countless childhoods and diner menus. This Classic Tuna Melt recipe brings that timeless taste right into your kitchen, promising a warm, cheesy, and satisfying experience that’s both effortless and incredibly delicious. Whether you’re short on time, craving something hearty yet light, or simply yearning for a taste of the good old days, this recipe delivers a tried-and-true sandwich that’s packed with flavor and easy to customize.
The beauty of a tuna melt lies in its simplicity and the delightful contrast of textures and temperatures. You get the crunch of toasted bread, the rich, savory flakiness of tuna salad, the refreshing tang of tomato, and, of course, the gooey, warm embrace of melted cheese. It’s a symphony of flavors and sensations that makes it a perfect choice for any meal, from a quick lunch to a casual weeknight dinner. Served on its own or alongside your favorite accompaniments, this classic sandwich is sure to become a regular in your rotation.
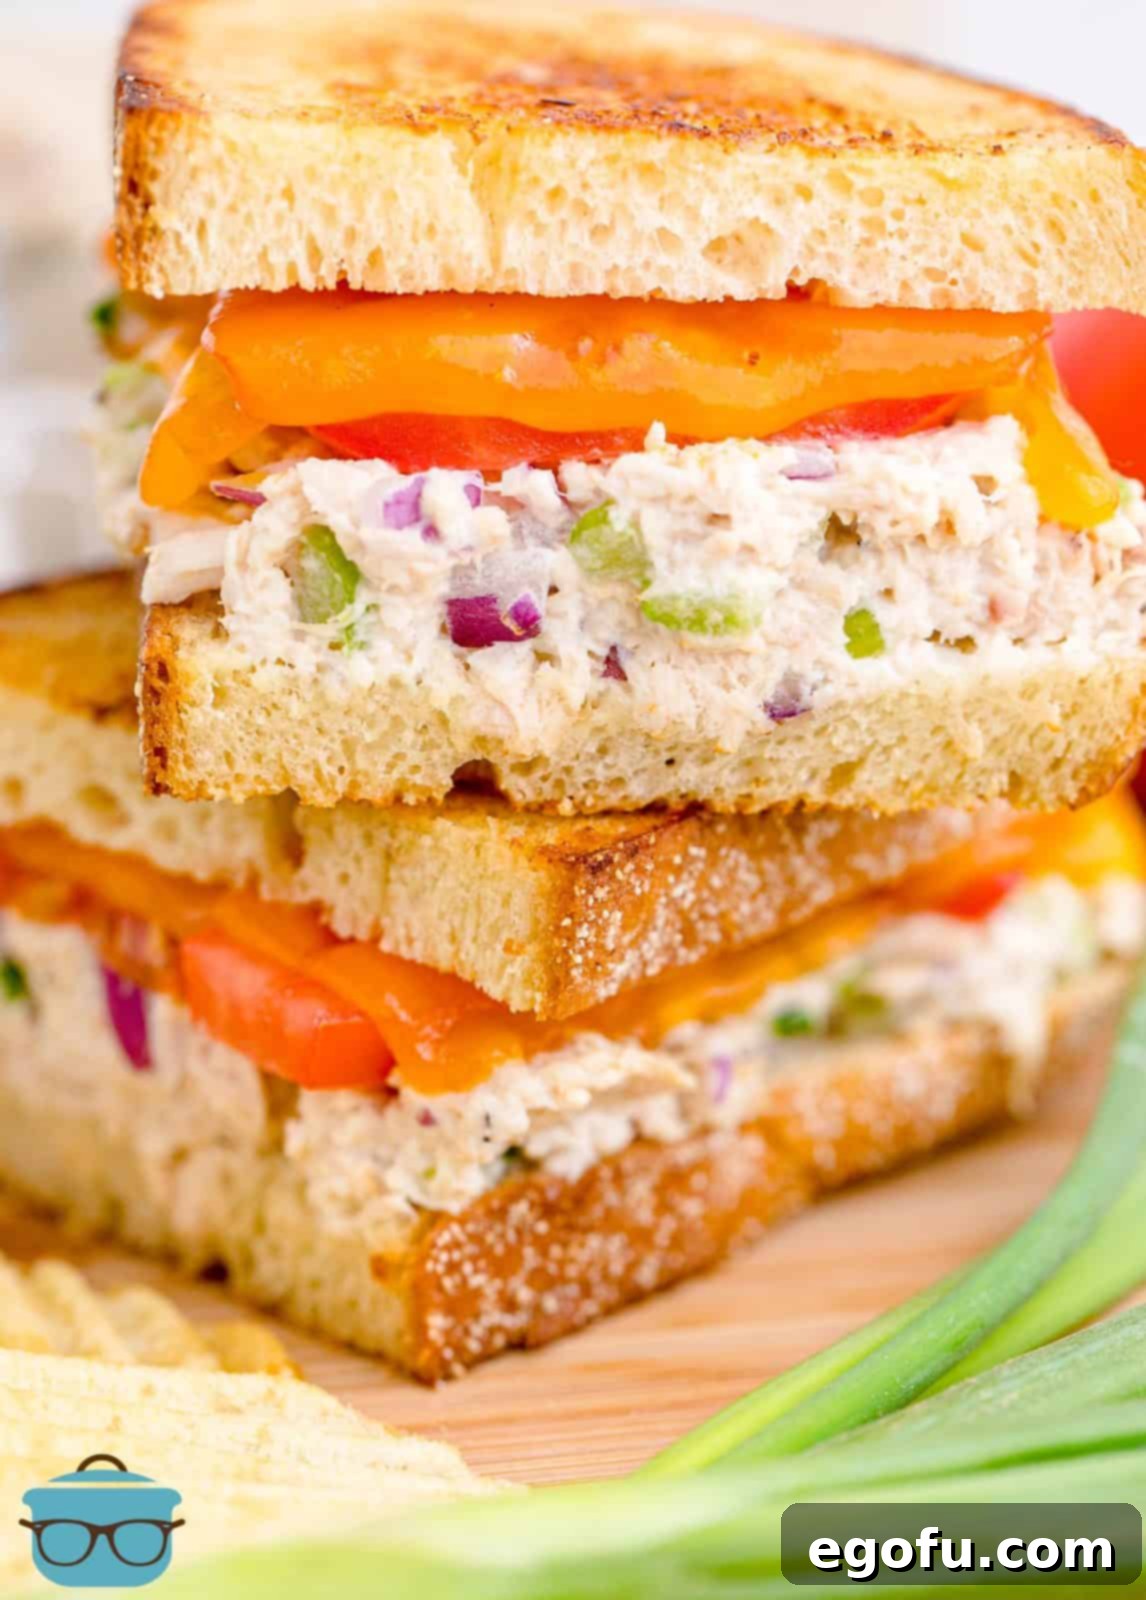
Why We Love the Tuna Melt: A History of Comfort
The tuna melt’s exact origins are a bit fuzzy, but the general consensus points to its emergence in the American diner scene during the early 20th century. Tuna fish, once considered a luxury, became more accessible with improved canning techniques, transforming into a pantry staple. Combining tuna salad with cheese and grilling it between slices of bread was a natural evolution, likely a frugal yet delicious way to elevate a simple tuna sandwich into something more substantial and comforting. It quickly gained popularity as an affordable, hearty, and quick meal, fitting perfectly into the fast-paced diner culture. Over the decades, it cemented its status as a quintessential comfort food, beloved by generations for its straightforward appeal and satisfying taste.
Today, the tuna melt continues to be a go-to choice for busy individuals and families. Its enduring popularity stems from its incredible versatility and ease of preparation. You can whip up a batch of tuna salad ahead of time, making assembly a breeze, especially on those days when you need a meal on the table in minutes. It’s also an economical dish, making the most of pantry ingredients like canned tuna and bread, which are often readily available. Beyond its practical benefits, there’s just something inherently satisfying about biting into a warm, gooey, perfectly toasted tuna melt – a simple pleasure that speaks volumes about home cooking and classic American cuisine.
Frequently Asked Questions About Tuna Melts
What exactly is a tuna melt?
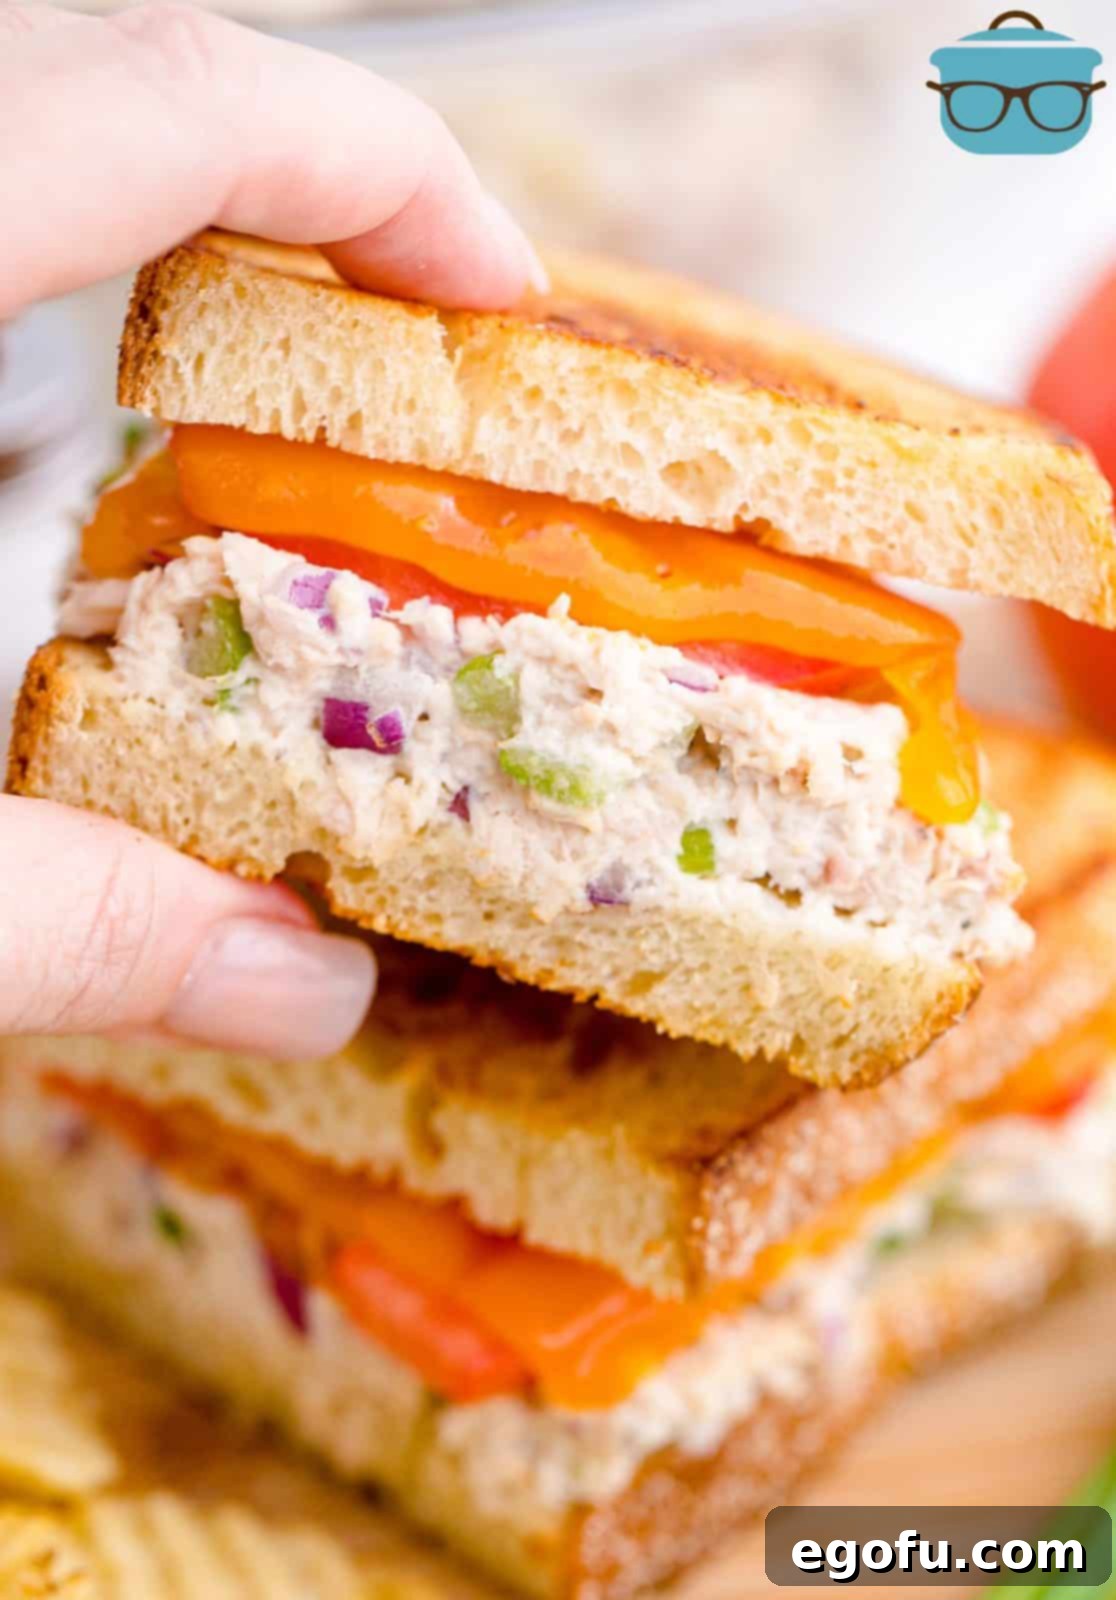
A tuna melt is a warm, toasted sandwich featuring a creamy, savory tuna salad mixture, often topped with fresh slices of tomato, and always finished with a generous layer of melted cheese. It’s essentially a grilled cheese sandwich elevated with a flavorful tuna filling, creating a harmonious blend of textures and tastes.
Why is it called a tuna melt?
The “melt” in “tuna melt” refers specifically to the melted cheese, which is a defining characteristic of this type of sandwich. A “melt” sandwich tradition generally involves grilling or toasting bread with a filling (typically meat or vegetables) and, most importantly, cheese that is heated until it becomes delightfully gooey and melted, binding the sandwich together and adding a rich, savory dimension.
What kind of bread is best for a tuna melt?
The best bread for a tuna melt is one that can stand up to the filling without becoming soggy and toasts beautifully. Sturdy options like rye, sourdough, or even a thick-cut artisanal white bread are excellent choices, offering a good balance of texture and flavor. Multigrain or whole wheat bread also work wonderfully for a heartier, nuttier taste. For a classic diner feel, plain white bread is always a nostalgic choice. Ultimately, select a bread you enjoy that crisps up well when grilled.
Can I use a different type of cheese instead of cheddar?
Absolutely! While sharp cheddar is a traditional and delicious choice for its robust flavor and excellent melting properties, many other cheeses work beautifully in a tuna melt. Havarti offers a creamy, mild flavor; provolone provides a subtle tang; Colby Jack gives a lovely marbled appearance and mild taste; Swiss adds a nutty complexity; and even classic American cheese can be used for an extra-gooey, familiar diner experience. Feel free to experiment with your favorite melting cheese to personalize your sandwich.
What if I don’t like celery or want to try a substitute?
Celery adds a wonderful crunch to tuna salad, but if you’re not a fan, there are plenty of alternatives. Chopped water chestnuts are an excellent substitute, providing a similar crisp texture without altering the flavor profile significantly. For a tangy twist, finely chopped dill pickles or sweet relish can be incorporated. Other options include finely diced bell peppers for a mild sweetness and crunch, or even a handful of chopped fresh herbs like parsley or chives for added freshness. You can also simply omit it altogether if you prefer a smoother tuna salad.
Do I have to use tuna in a tuna melt?
While it’s traditionally a “tuna” melt, the concept is easily adaptable! If you prefer, you can certainly use canned chicken (well-drained and shredded) in place of tuna to create a delicious “chicken melt.” The same principles of mixing with mayonnaise, vegetables, and seasoning, then grilling with cheese, apply perfectly. This offers a great alternative for those who might not be keen on tuna but still enjoy the comfort of a warm, cheesy sandwich.
What are some good sides to serve with a tuna melt?
Tuna melts pair wonderfully with a variety of sides, making them a versatile meal. For a classic diner experience, serve with crispy potato chips and a dill pickle spear. Other popular choices include golden French fries, sweet potato fries, or onion rings. If you’re looking for something lighter, a fresh side salad with a vinaigrette dressing, a cup of tomato soup, or some crunchy raw vegetables like carrot sticks and cucumber slices are excellent complements. A simple bowl of coleslaw also offers a delightful contrast in texture and flavor.
How do I store leftovers and reheat a tuna melt?
For optimal freshness, it’s best to store the tuna mixture separately from the bread if you’ve made extra. Place any unused tuna mixture in an airtight container and refrigerate for 3 to 5 days. You can also freeze the tuna mixture for up to a week, though the texture of the vegetables might soften slightly upon thawing. If you have an assembled tuna melt sandwich leftover, store it wrapped in the fridge for up to 2 days. To reheat, placing it in a preheated oven or toaster oven at 350°F (175°C) for about 5-10 minutes is ideal. This helps crisp up the bread and re-melt the cheese, preventing sogginess that can occur with microwave reheating.
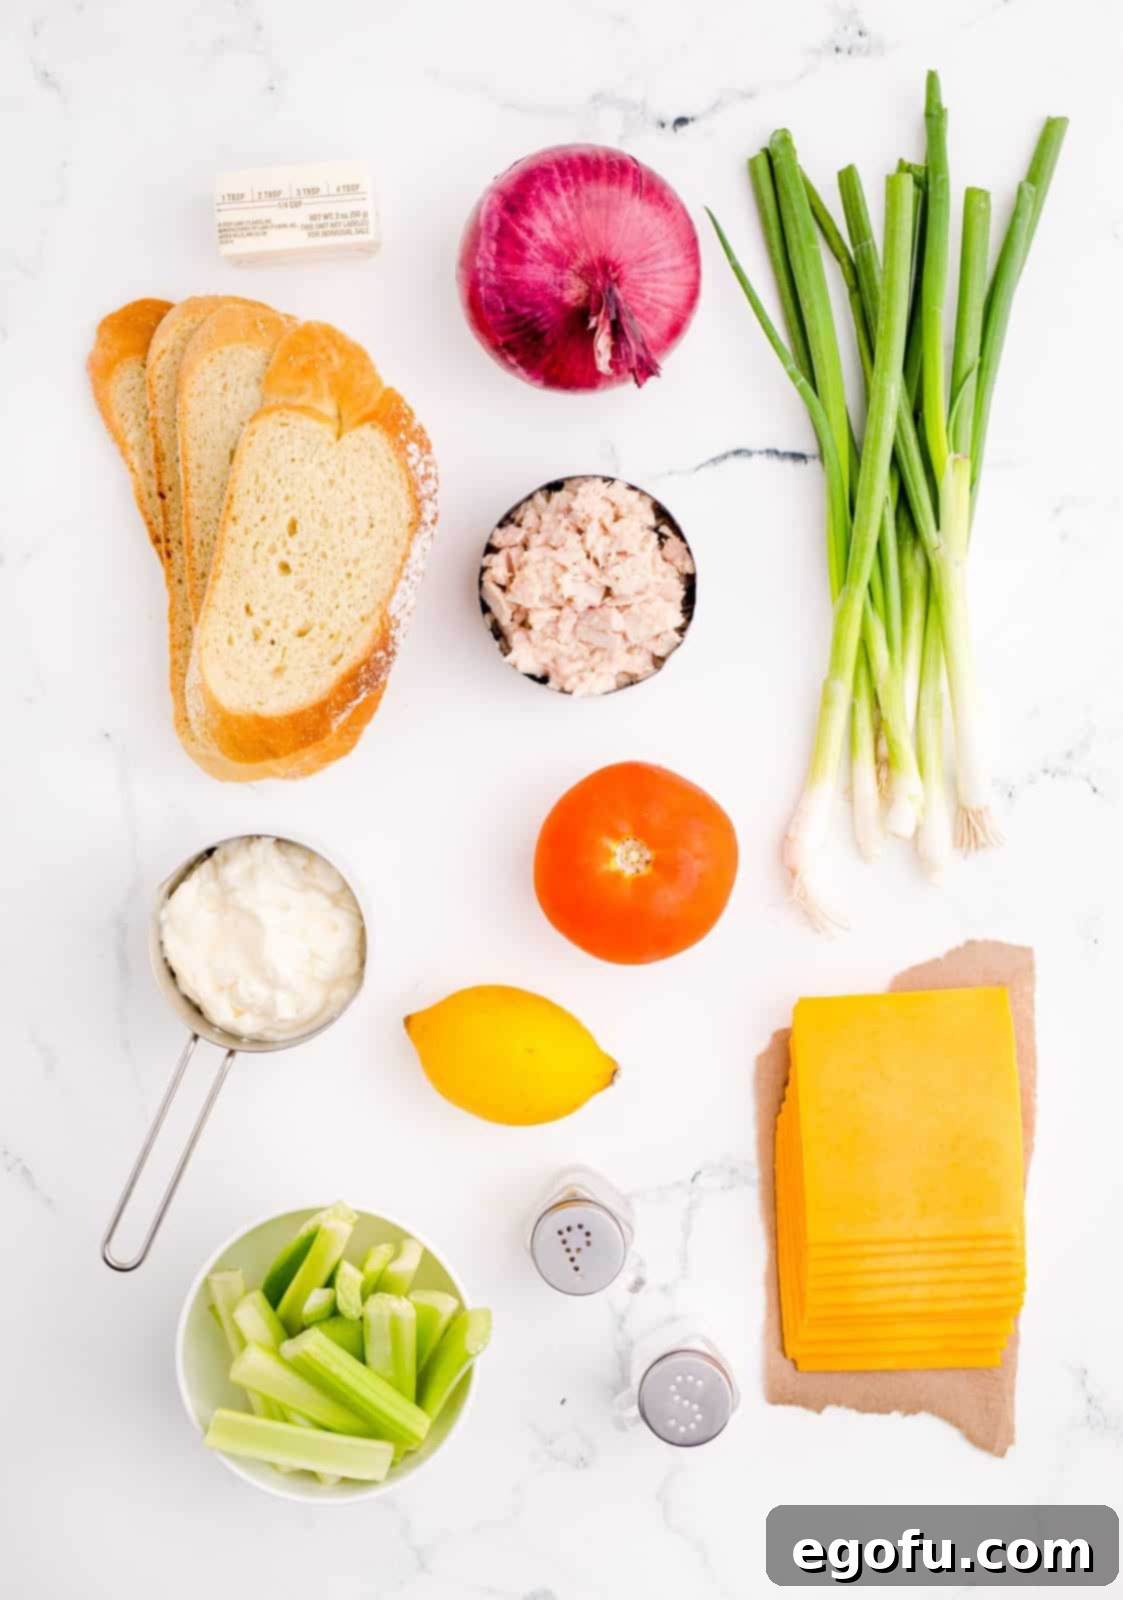
Essential Ingredients for Your Perfect Tuna Melt
Crafting the perfect Classic Tuna Melt starts with a selection of fresh, high-quality ingredients. Each component plays a vital role in building the sandwich’s beloved flavor profile and texture. Here’s what you’ll need to gather:
- Canned Tuna: Opt for high-quality tuna packed in water or olive oil. Ensure it’s thoroughly drained to prevent a soggy sandwich.
- Mayonnaise: The creamy binder that brings the tuna salad together. Use your favorite brand for the best flavor.
- Red Onion: Finely diced red onion adds a sharp, fresh bite that complements the richness of the tuna.
- Lemon Juice: A squeeze of fresh lemon juice brightens the flavors and adds a zesty tang.
- Salt and Pepper: Essential seasonings to enhance all the other ingredients. Adjust to your taste.
- Celery: Diced celery provides that classic, refreshing crunch that’s a hallmark of good tuna salad.
- Green Onion: Sliced green onion adds a milder onion flavor and a touch of color.
- Cheddar Cheese: Sliced cheddar cheese is traditional, offering a sharp taste and excellent meltability.
- Tomato: Slices of ripe tomato add a burst of freshness and a slight acidity, cutting through the richness.
- Bread: Choose a sturdy bread like sourdough, rye, or a good quality white bread that will toast well.
- Salted Butter: For grilling the bread to a beautiful golden-brown and adding rich flavor.
With these simple yet powerful ingredients, you’re well on your way to creating a tuna melt that rivals your favorite diner’s offering!
How to Make the Perfect Classic Tuna Melt: Step-by-Step
Making a delicious tuna melt is a straightforward process, but paying attention to a few key details will ensure your sandwich is perfectly toasted, beautifully melted, and bursting with flavor. Follow these steps for tuna melt perfection:
Step 1: Prepare the Tuna Mixture
Begin by thoroughly draining your canned tuna. This is a crucial step; excess water or oil can make your tuna salad watery and your sandwich soggy. Use a fork to break up the tuna flakes in a medium bowl until it reaches your desired consistency. Then, add the mayonnaise, finely diced red onion, fresh lemon juice, a pinch of salt, pepper, diced celery, and finely sliced green onion. Mix everything together gently until all ingredients are well combined and the tuna is coated in the creamy dressing. Taste and adjust seasonings as needed – you might want a bit more salt, pepper, or lemon juice depending on your preference.
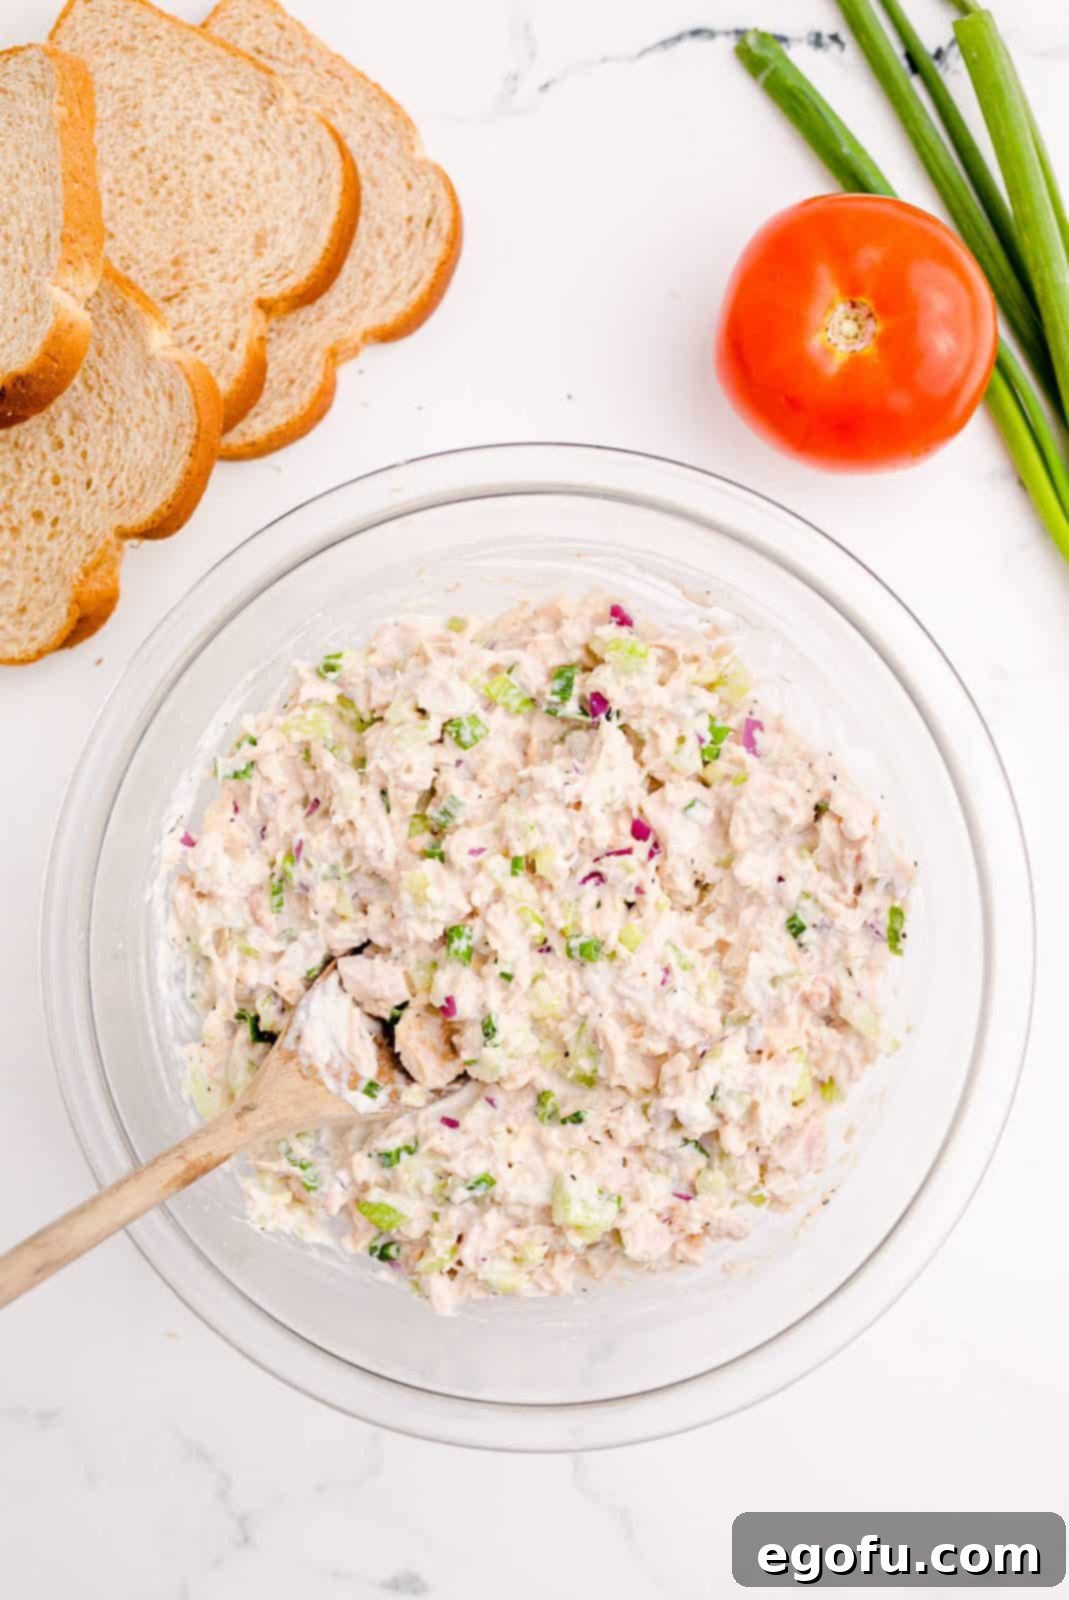
Step 2: Prepare the Bread for Grilling
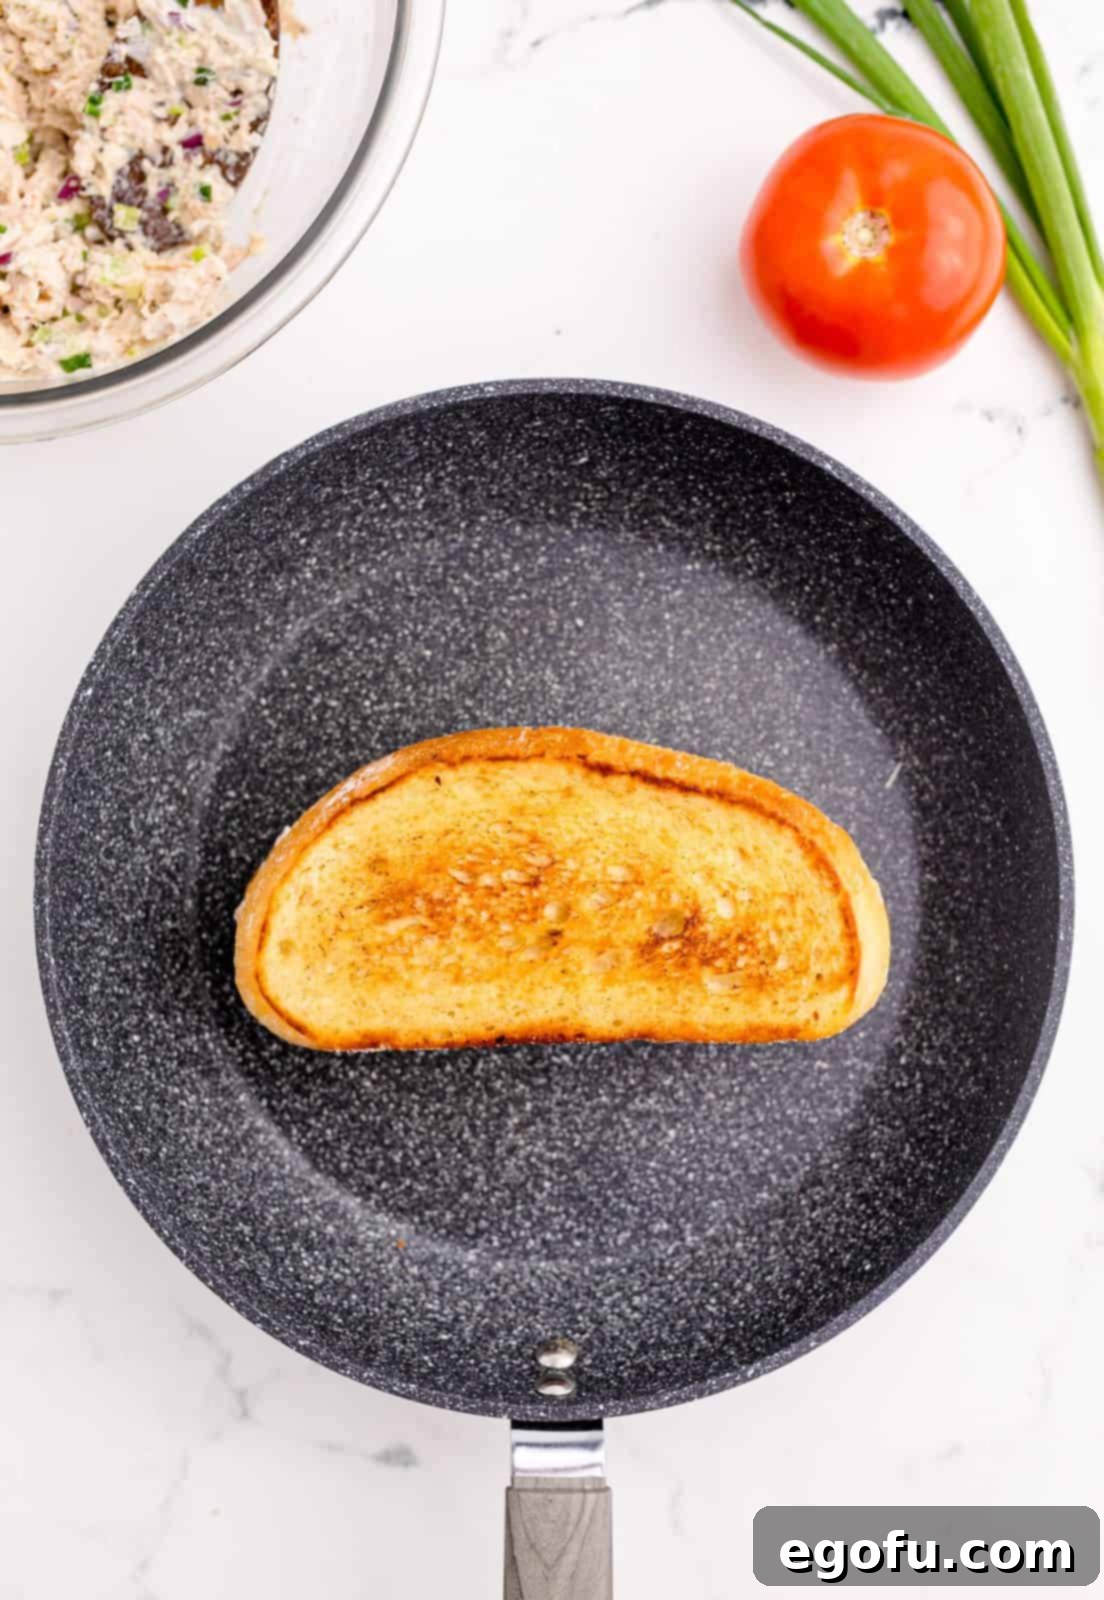
Heat a skillet (cast iron or non-stick works great) over medium-low heat. The key is medium-low heat to ensure the bread toasts slowly and evenly, allowing the cheese to melt fully without burning the outside. While the skillet heats, generously spread softened salted butter on one side of a slice of bread. This buttered side will be the exterior of your sandwich, ensuring a golden, crispy finish.
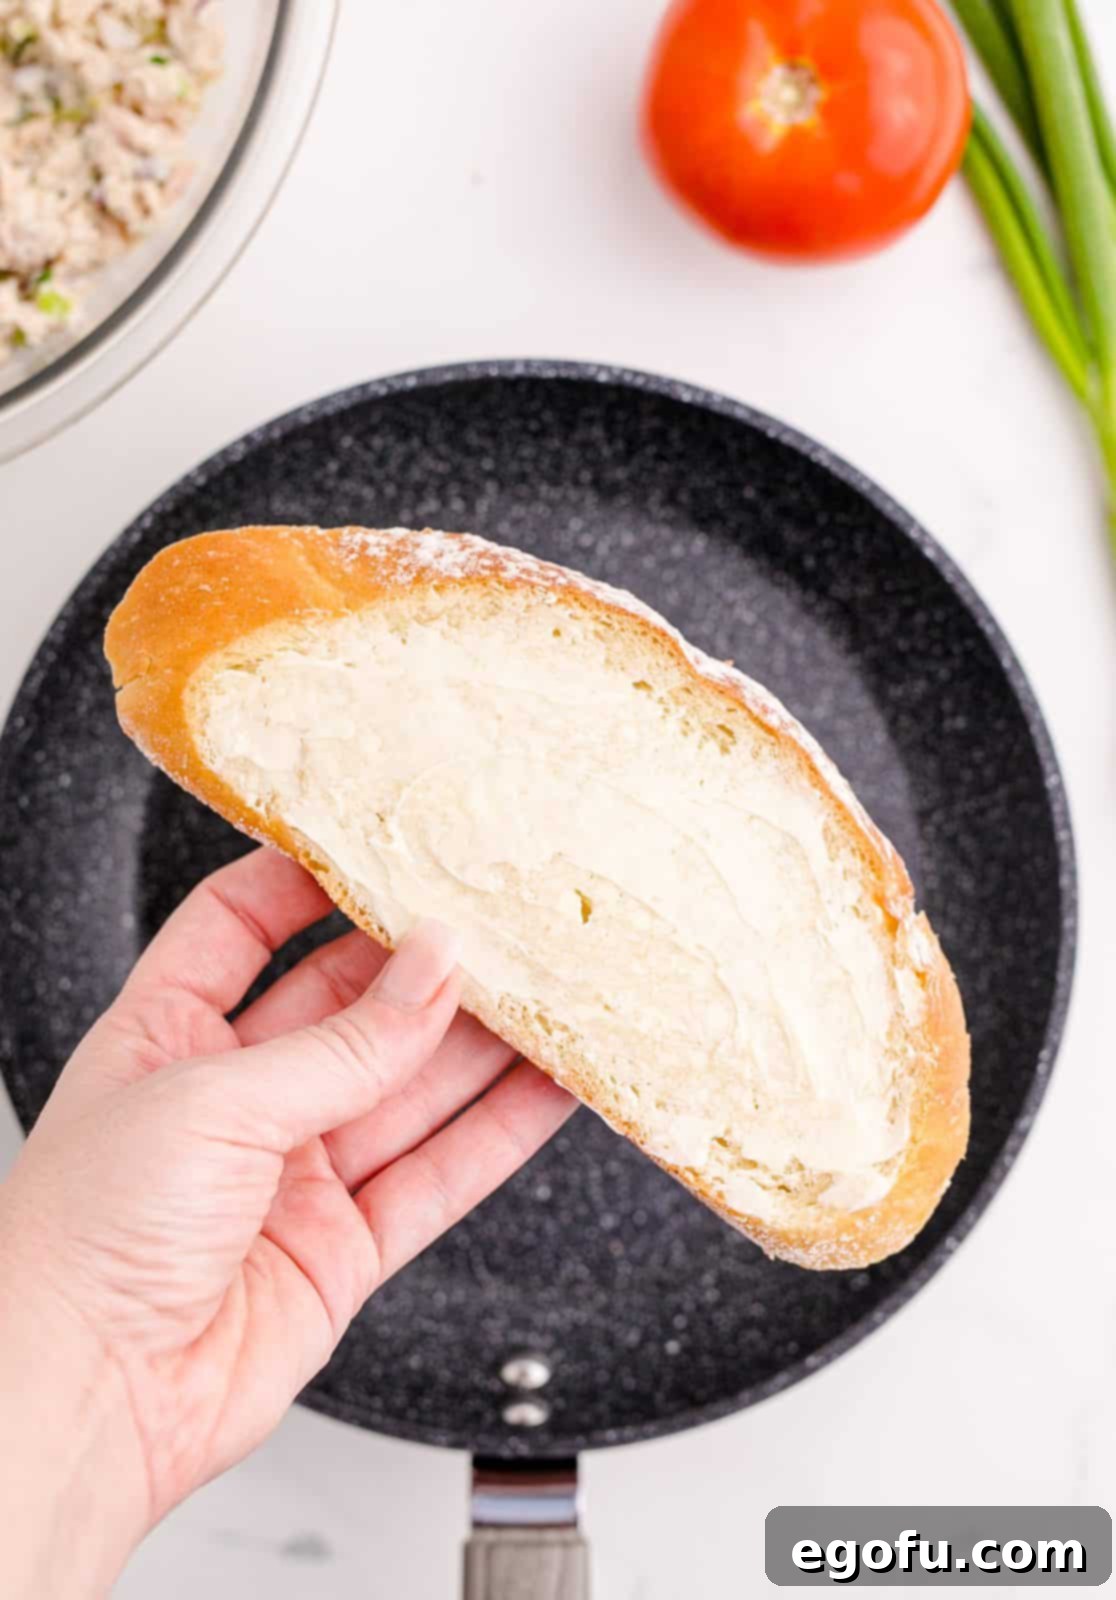
Step 3: Assemble the First Half in the Skillet
Place the buttered slice of bread into the preheated skillet, butter side down. Immediately add about ½ cup of your prepared tuna mixture onto this bread slice, spreading it evenly to the edges. Don’t overload the sandwich, as it can make flipping difficult.
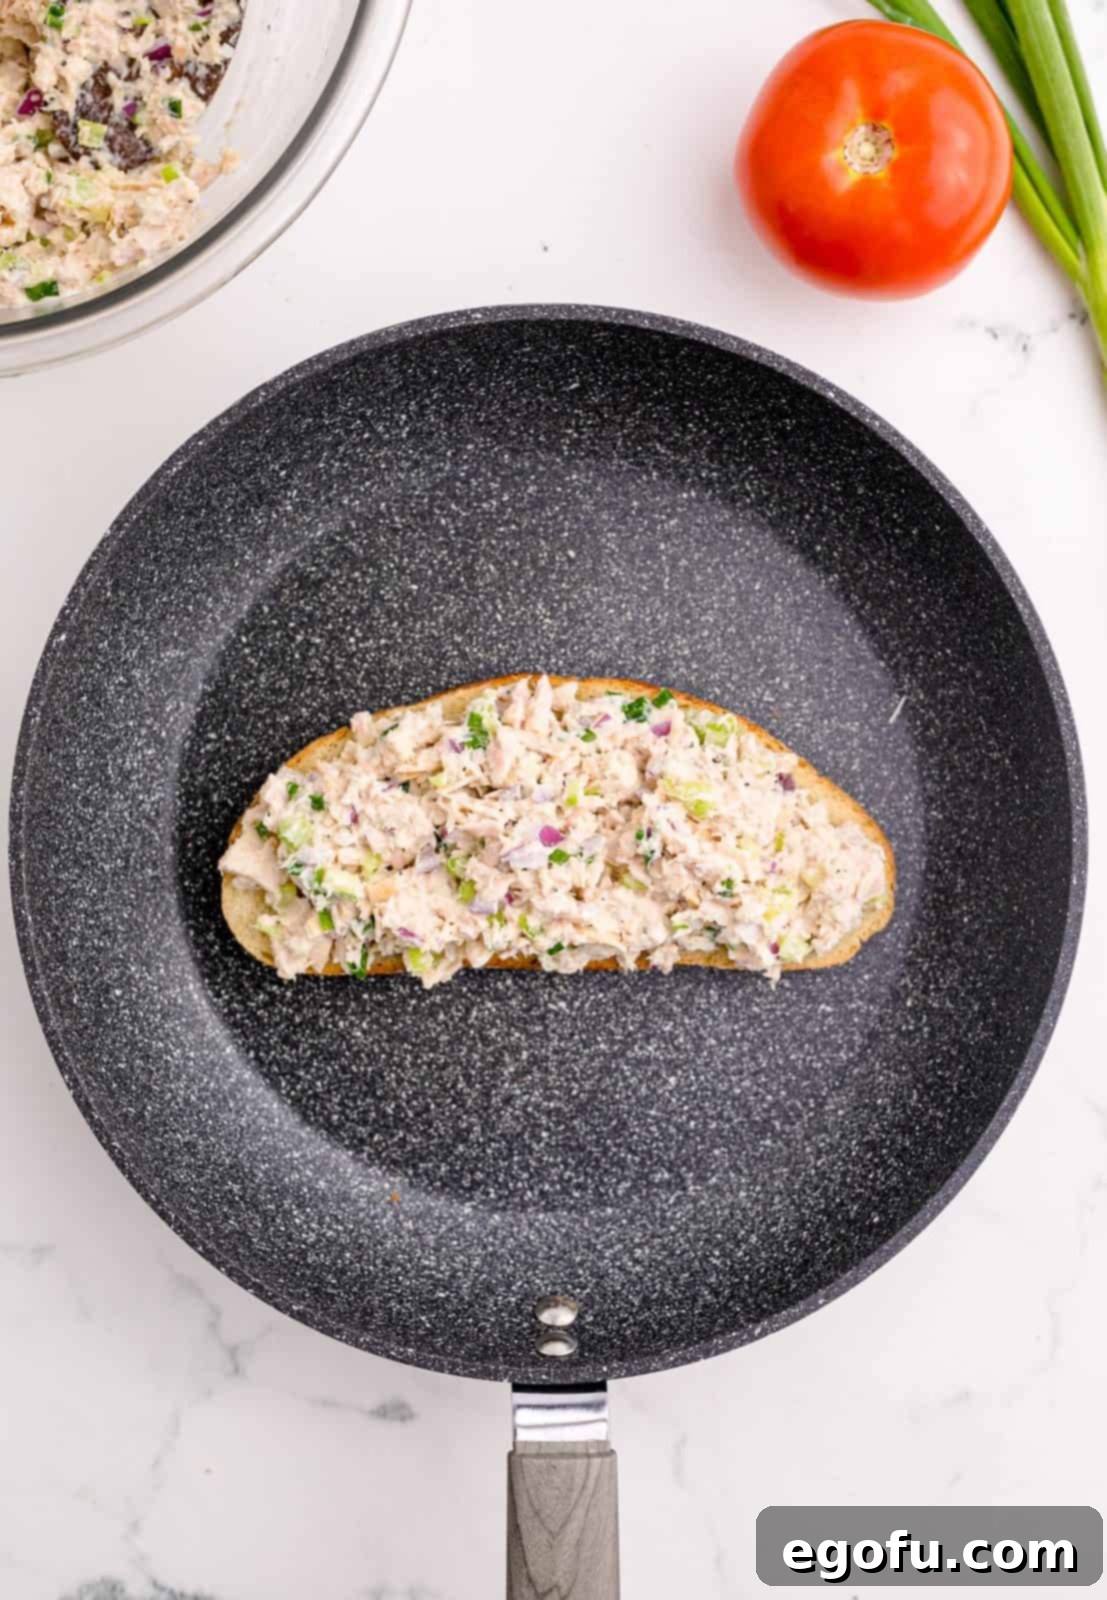
Step 4: Layer with Tomato and Cheese
On top of the tuna mixture, arrange slices of fresh tomato. Then, place a slice of your chosen cheese over the tomato and tuna. Creating these layers helps ensure even melting and a balanced bite in every part of the sandwich.
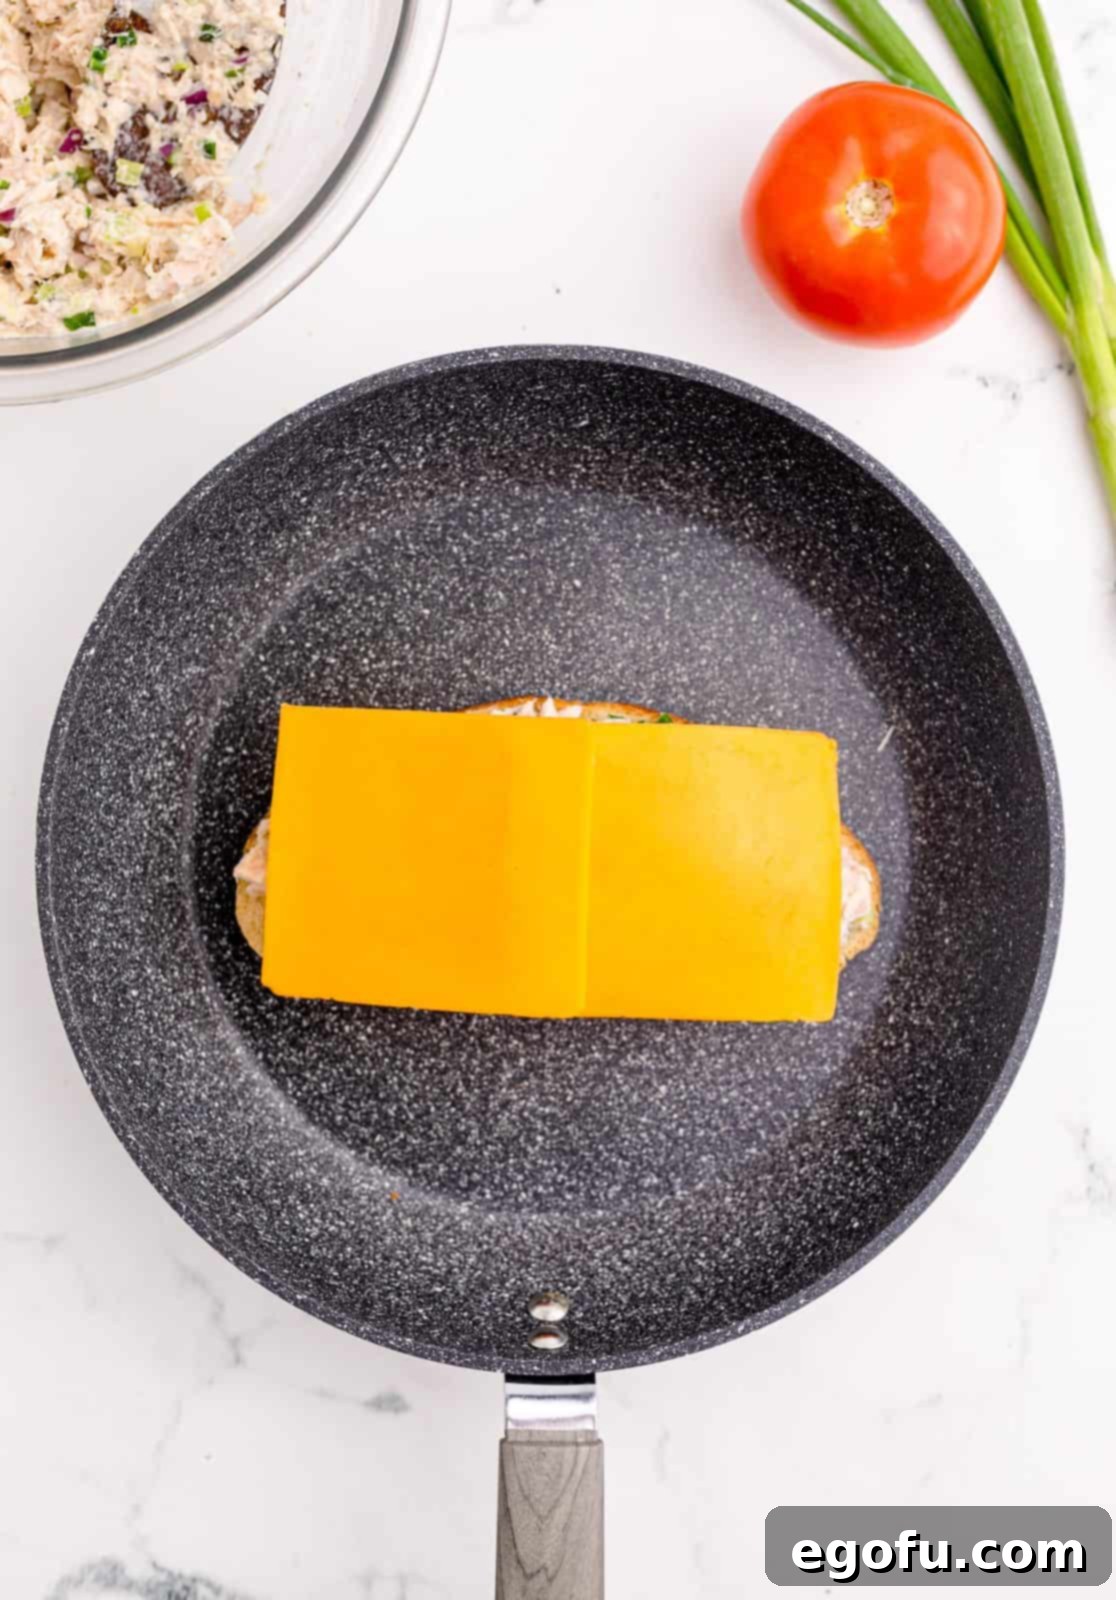
Step 5: Complete and Grill the Sandwich
Butter one side of another piece of bread. Place this second piece of bread on top of the cheese and tomato, with the buttered side facing upwards. This ensures both outer sides of the sandwich will become golden and crispy when grilled. Cook for a few minutes until the bottom slice is golden brown. Then, using a sturdy spatula, carefully flip the sandwich to grill the second side. Cook until the cheese is completely melted, gooey, and bubbling, and both sides of the bread are a beautiful golden brown. If the bread is browning too quickly, slightly reduce the heat.
Step 6: Serve and Enjoy!
Once the sandwich is perfectly toasted and the cheese is gloriously melted, remove it from the skillet. For easier eating and a classic presentation, you can slice the tuna melt diagonally. Serve immediately while it’s warm and the cheese is still wonderfully gooey. Enjoy your homemade classic tuna melt!
Pro Tips for the Best Tuna Melt Ever
- Drain Tuna Well: This cannot be stressed enough. Squeeze out as much liquid as possible from the canned tuna. A drier tuna mix ensures your sandwich won’t be soggy and allows the flavors to concentrate.
- Room Temperature Ingredients: Bringing your mayonnaise and butter to room temperature makes them easier to mix and spread evenly, leading to a smoother tuna salad and better grilled bread.
- Low and Slow Heat: Resist the urge to crank up the heat. Medium-low heat is ideal for grilling tuna melts. It allows the bread to toast slowly to a perfect golden brown, while giving the cheese ample time to melt thoroughly without burning the bread.
- Don’t Overfill: While it’s tempting to pile on the tuna salad, too much filling can make the sandwich difficult to flip and prone to falling apart. About ½ cup per sandwich is usually perfect.
- Press Gently: After flipping, gently press the sandwich with your spatula. This helps ensure good contact with the pan for even browning and helps the cheese adhere to both slices of bread.
- Cover the Skillet: For an even faster and more consistent melt, you can cover the skillet with a lid after flipping the sandwich for the last few minutes. This traps heat and creates a steamy environment that helps the cheese melt beautifully and quickly.
- Experiment with Add-ins: While the classic recipe is fantastic, feel free to add your personal touch. A pinch of paprika, a dash of hot sauce in the tuna mix, or even some thinly sliced red bell pepper can elevate the flavor.
Variations to Customize Your Tuna Melt
The Classic Tuna Melt is a canvas for culinary creativity. Here are a few ideas to shake things up:
- Spicy Tuna Melt: Add a teaspoon of Sriracha or a pinch of red pepper flakes to your tuna mixture for a kick. Jalapeño slices can also be added with the tomato.
- Mediterranean Melt: Incorporate chopped Kalamata olives, sun-dried tomatoes, and a sprinkle of dried oregano into the tuna salad. Feta or provolone cheese would be excellent here.
- Deluxe Diner Melt: Include crispy bacon or thin slices of avocado before adding the cheese for extra richness and flavor.
- Garden Fresh Melt: Mix in finely diced cucumber or grated carrots into the tuna salad for added freshness and nutrients.
- Open-Faced Tuna Melt: If you prefer less bread, make it open-faced! Toast one slice of bread, pile on the tuna salad, then cheese and tomato, and pop it under the broiler until the cheese is bubbly and golden.
Want More Delicious Sandwich and Salad Recipes?
If you love the ease and deliciousness of this Classic Tuna Melt, you’ll surely enjoy exploring other quick and satisfying meals. Here are some more recipes to inspire your culinary adventures:
- Tuna Macaroni Salad
- Tuna Noodle Casserole
- The Best Tuna Salad
- Chicken Philly Sandwiches
- Air Fryer Grilled Cheese Sandwiches
- The Best Egg Salad
- Roasted Chicken Salad
- Muffuletta Sandwiches
- Kmart Subs

Classic Tuna Melt
Print
Pin
Rate
10 minutes
10 minutes
20 minutes
4
Brandie Skibinski
Ingredients
- 10 ounces canned tuna drained (2 5 oz cans)
- ⅓ cup mayonnaise
- ¼ cup red onion diced
- 1 teaspoon lemon juice
- Pinch salt
- Pinch pepper
- 1 rib of celery diced
- 1 green onion finely sliced
- 4 slices cheddar cheese
- 8 slices tomato
- 8 slices bread
- 2 Tablespoons salted butter softened
Instructions
- After draining the tuna thoroughly, place it into a medium bowl. Use a fork to break it up really well.
- Mix mayonnaise, onion, lemon juice, salt, pepper, celery and green onion with the tuna.
- Heat a skillet to medium-low heat. Spread butter on one slice of bread.
- Place this piece of bread, butter side down, into the skillet. Add about ½ cup of the tuna mixture and spread it to the edges of the bread.
- Add slices of tomato and a slice of cheese.
- Butter on one side of another piece of bread. Place this piece of bread (butter side up) on top of the cheese. (The butter goes on the outside of the sandwich so that it will toast nicely.) Then carefully flip the sandwich with a spatula to grill both sides.
- Cook the sandwich in the skillet at medium-low heat until the cheese is melted and the bread is toasted.
Notes
- You can use a variety of breads for this recipe, see my ideas above.
- If you are not a fan of cheddar cheese, feel free to swap it out, there are more ideas above.
- The tuna salad itself can be frozen for up to 1 week.
- Easily double this recipe to serve more people.
Main Course, Sandwiches
American
Nutrition
Calories:
674
kcal
|
Carbohydrates:
70
g
|
Protein:
32
g
|
Fat:
29
g
|
Sodium:
1205
mg
|
Fiber:
4
g
|
Sugar:
8
g
Nutritional Disclaimer
“The Country Cook” is not a dietician or nutritionist, and any nutritional information shared is an estimate. If calorie count and other nutritional values are important to you, we recommend running the ingredients through whichever online nutritional calculator you prefer. Calories and other nutritional values can vary quite a bit depending on which brands were used.
Did you make this recipe?
Share it on Instagram @thecountrycook and mention us #thecountrycook!
