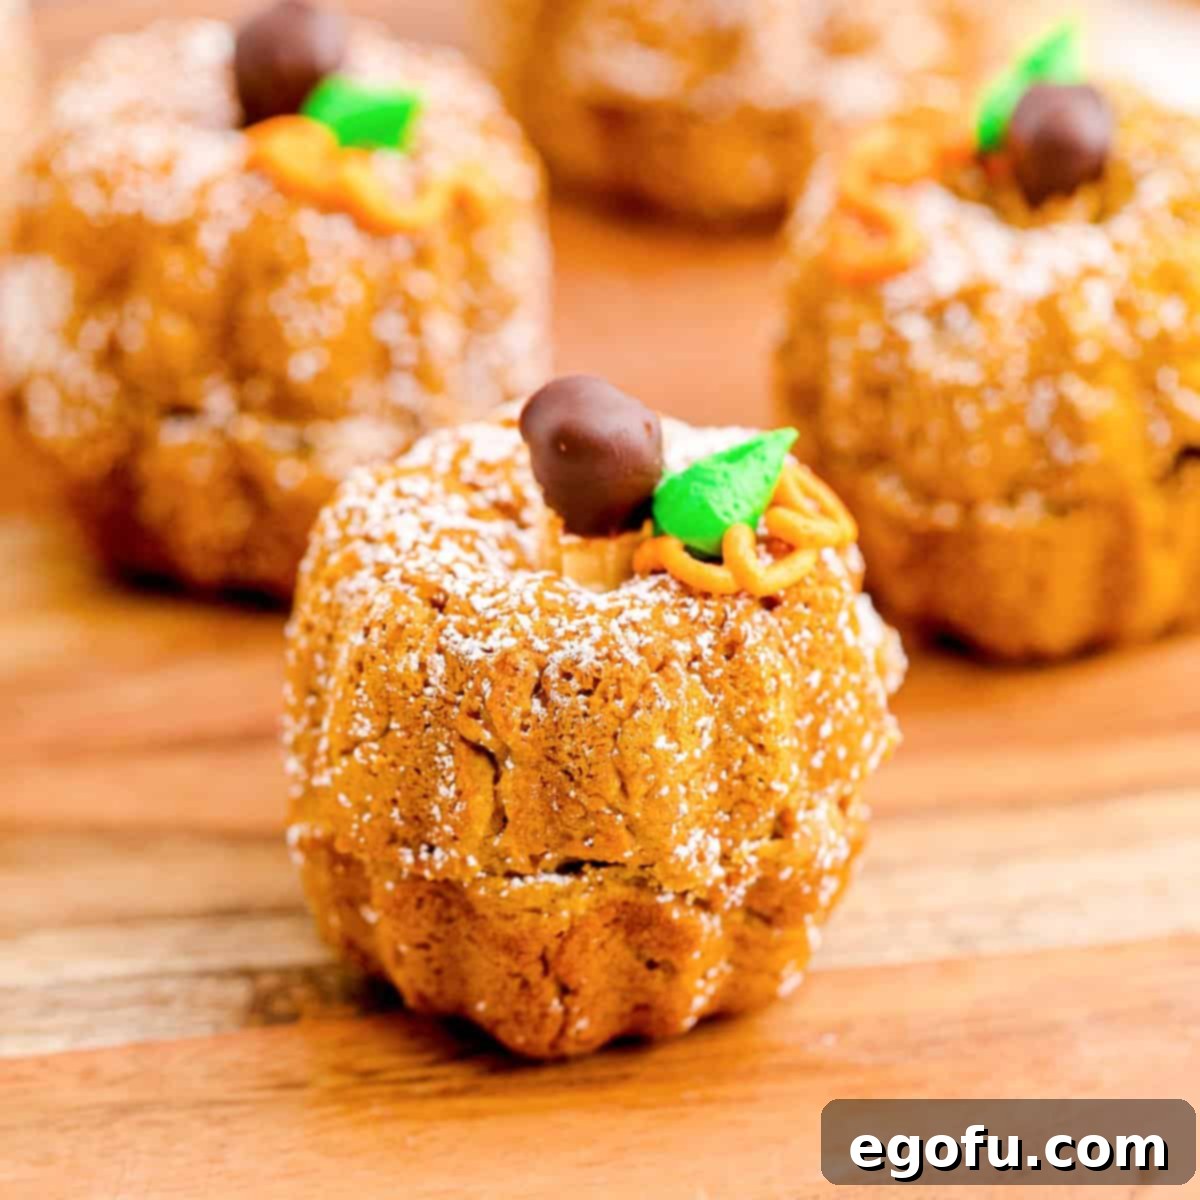
Welcome to a delightful autumn baking adventure! These Mini Pumpkin Bundt Cakes offer a perfectly portioned, incredibly flavorful, and beautifully festive dessert for any fall occasion. Say goodbye to complicated, time-consuming baking projects; these individual pumpkin bundt cakes are designed for ease, starting with a simple boxed cake mix, making them a fantastic choice for both novice and experienced bakers alike. They’re not just cute; they’re an explosion of fall flavors, guaranteed to impress guests at any gathering or simply bring a smile to your family’s faces.
Why You’ll Fall in Love with These Mini Pumpkin Bundt Cakes
These Mini Pumpkin Bundt Cakes are more than just a recipe; they’re a celebration of autumn in every bite. Here’s why they’ll become your new favorite fall dessert:
- Effortlessly Delicious: Starting with a convenient boxed cake mix drastically cuts down on prep time without compromising on taste. This means more time enjoying the delicious results and less time slaving away in the kitchen.
- Perfectly Portioned: Each bundt cake is a single-serving delight, making them ideal for parties, potlucks, bake sales, or simply enjoying a sweet treat without the hassle of slicing a large cake. Everyone gets their own adorable pumpkin!
- Rich Fall Flavors: Infused with real pumpkin puree and a hint of cinnamon (or pumpkin pie spice, if you prefer!), these cakes encapsulate the cozy, warm essence of autumn. The cream cheese frosting adds a luxurious, tangy sweetness that complements the pumpkin perfectly.
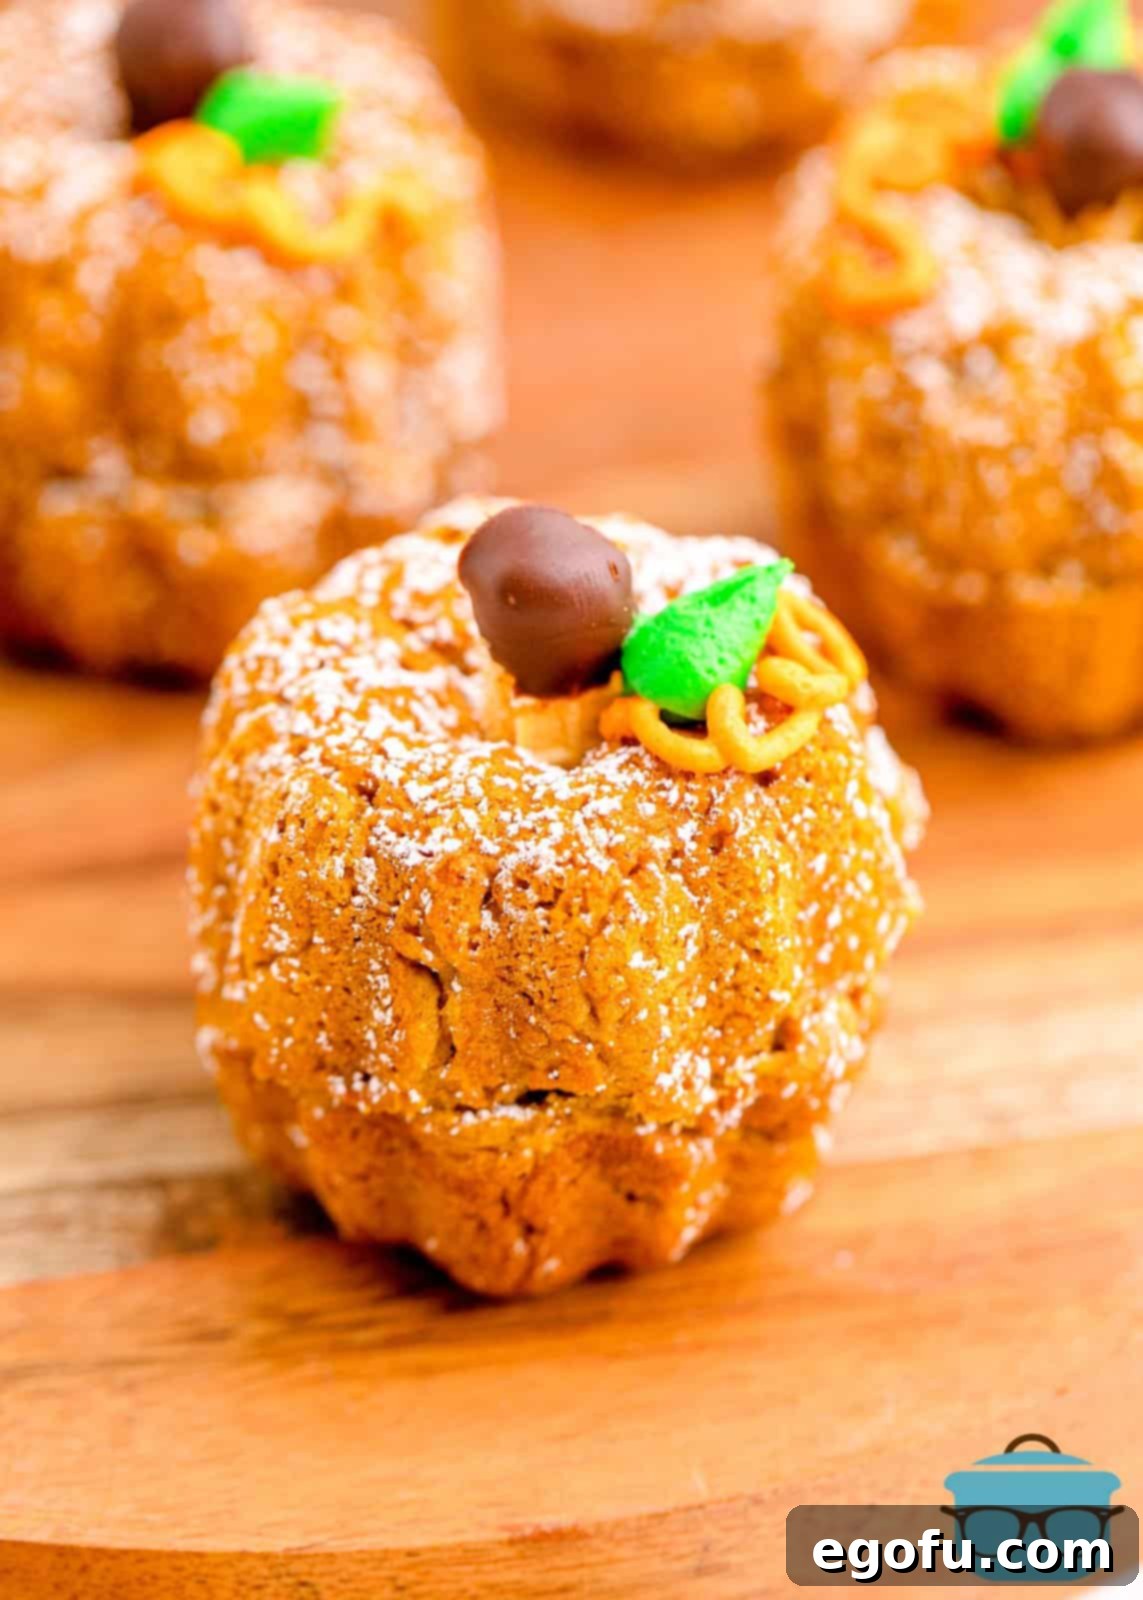
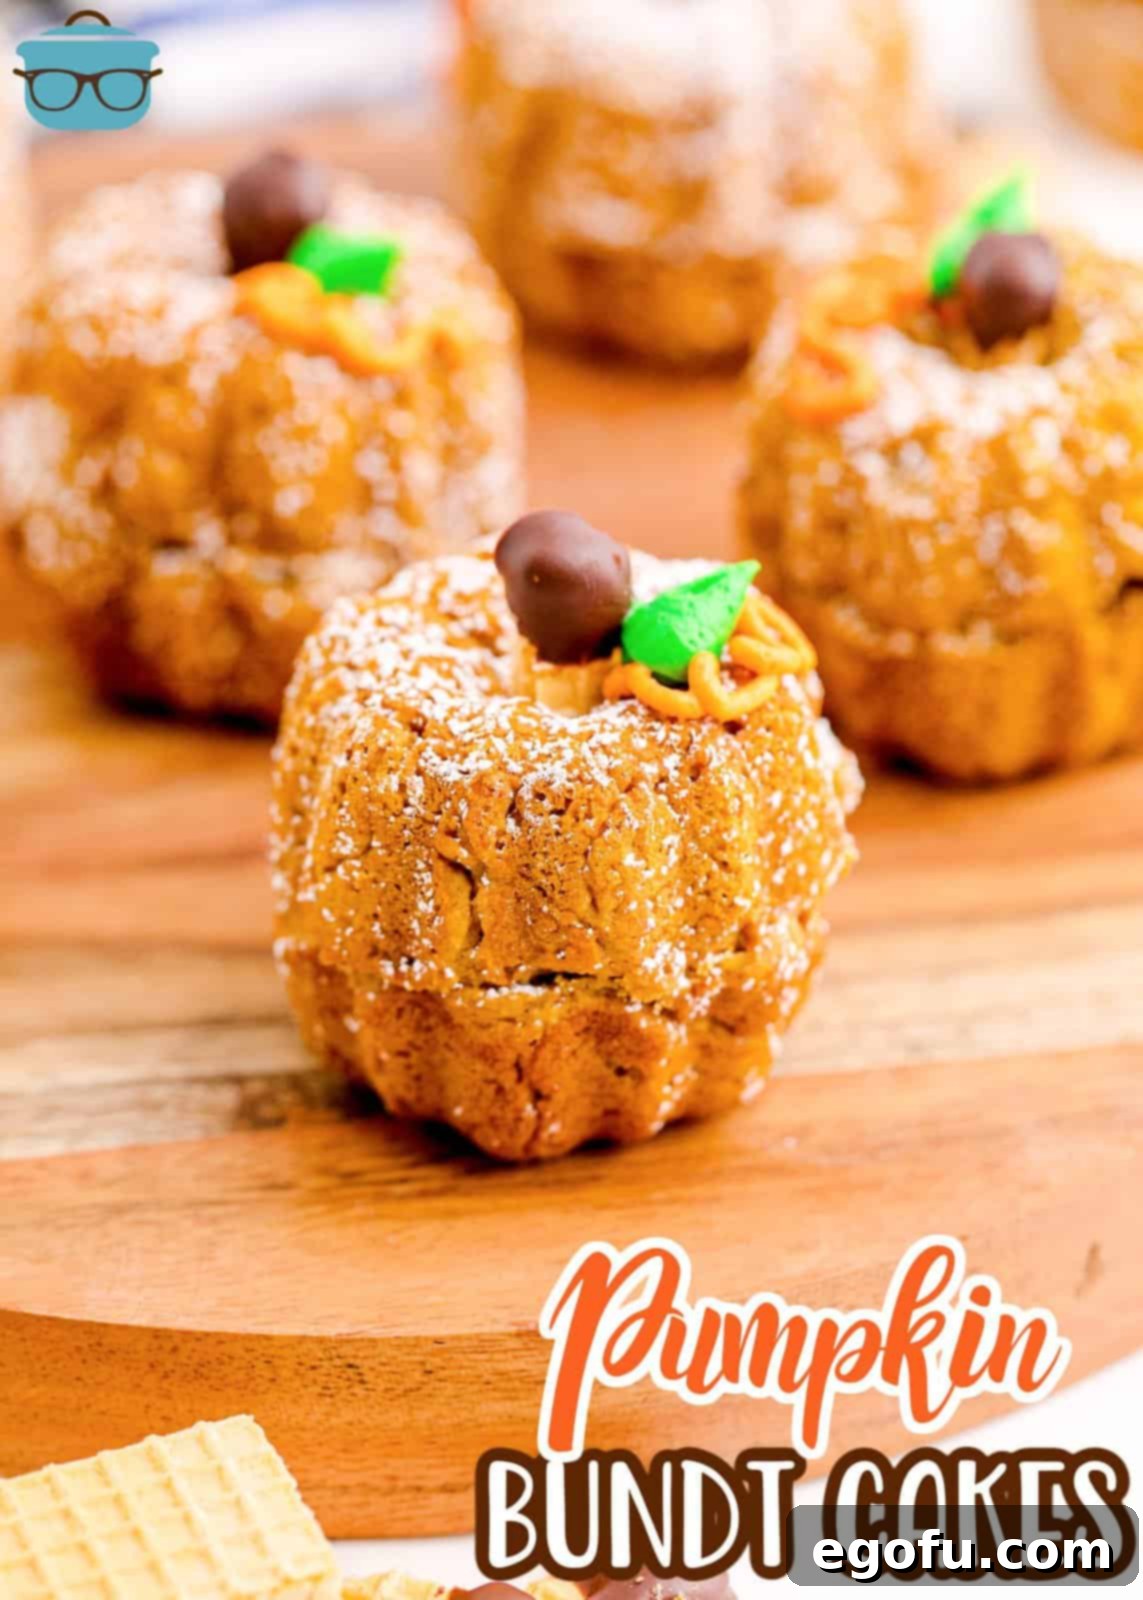
- Visually Stunning: Shaped like miniature pumpkins and adorned with vibrant orange and green frosting “vines” and “leaves,” these bundt cakes are a feast for the eyes as well as the palate. They make for a truly impressive presentation, especially when arranged on a festive platter.
- Customizable Creativity: While the recipe provides a clear guide, there’s ample room for personal touches. Experiment with different cake mixes, spices, or even frosting flavors to make these cakes uniquely yours. They’re a fantastic canvas for your fall baking creativity!
- Great for Gifting: Packaged individually, these mini bundt cakes make wonderful homemade gifts for friends, neighbors, or teachers during the holiday season. They show thoughtfulness and taste incredible!
Whether you’re hosting a Thanksgiving dinner, attending a Halloween gathering, or just looking for a fun weekend baking project, these mini pumpkin bundt cakes are the answer. Their charm, flavor, and simplicity make them an undeniable hit.
Essential Ingredients for Your Mini Pumpkin Bundt Cakes
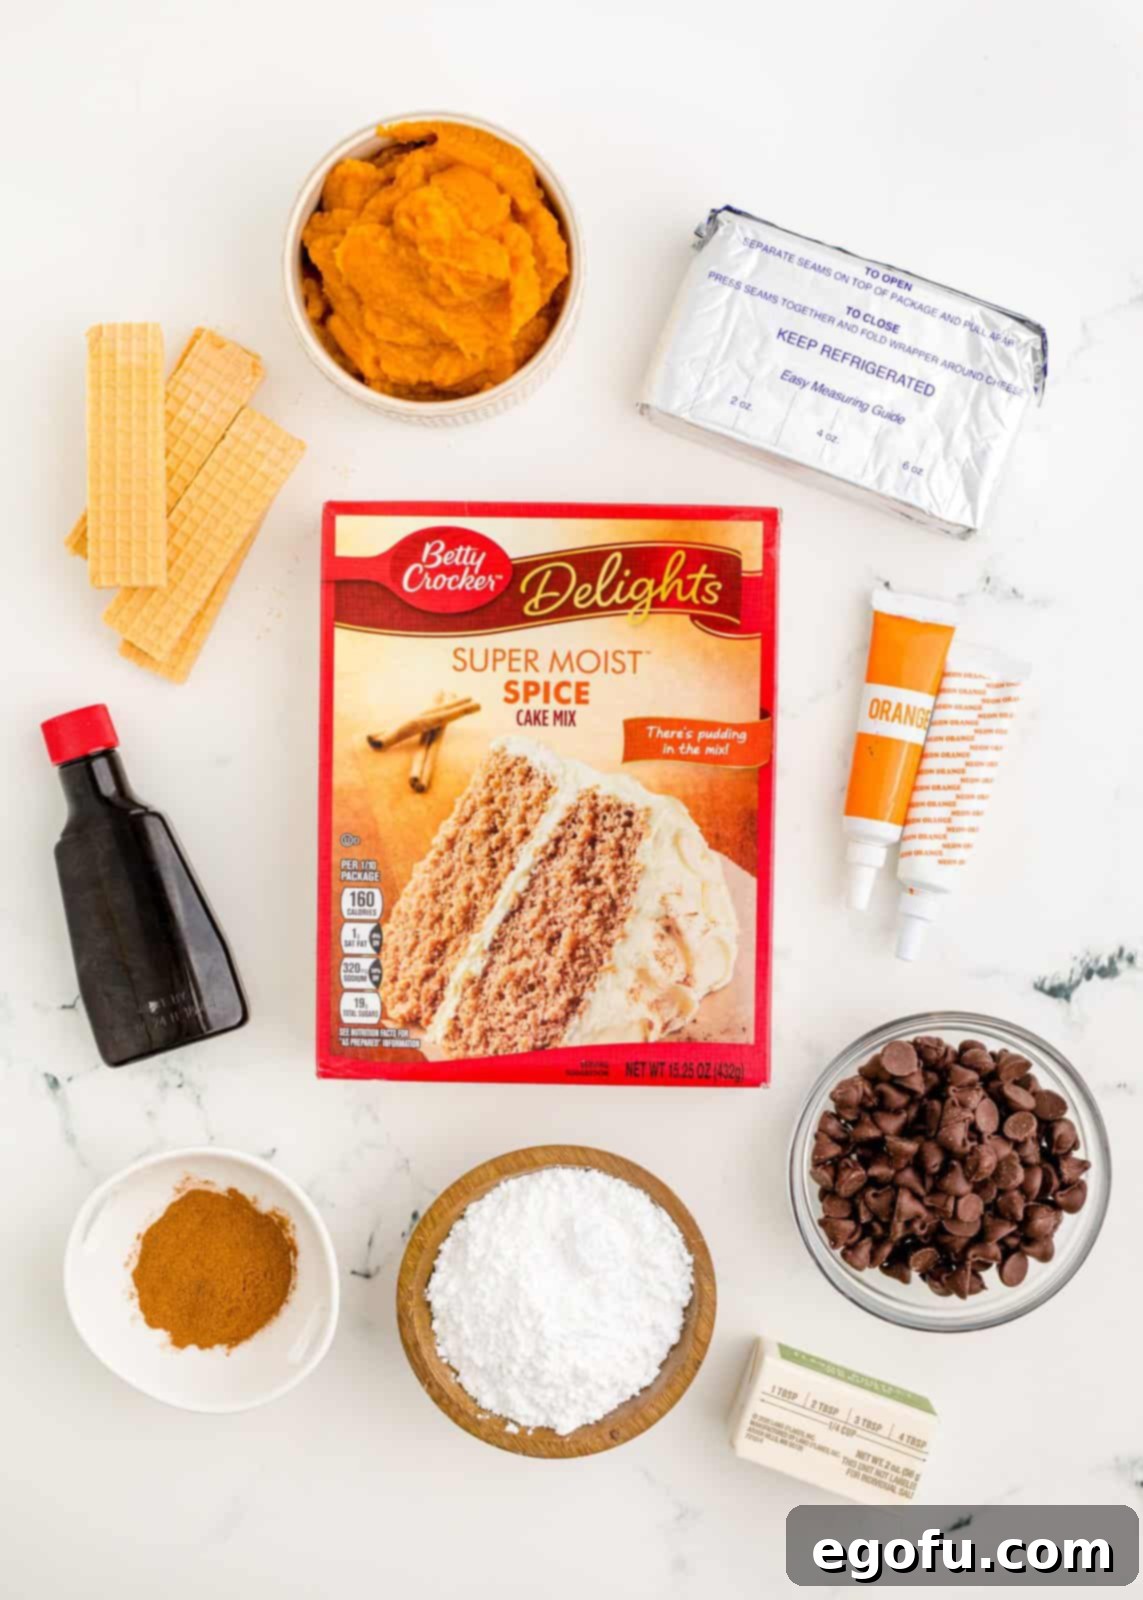
Crafting these adorable mini pumpkin bundt cakes requires a straightforward list of ingredients, many of which you likely already have in your pantry during the fall season. Each component plays a vital role in creating the perfect texture, flavor, and festive appearance.
Ingredients Needed:
- Spice Cake Mix: The foundation of our quick and easy bundt cakes. A spice cake mix already contains a delightful blend of fall spices, simplifying the flavoring process.
- Pumpkin Puree: Crucial for that authentic pumpkin flavor and moist texture. Ensure you pick up pumpkin puree and not pumpkin pie filling, as the latter contains added sugars and spices that will alter the recipe.
- Ground Cinnamon: To enhance the warm, inviting aroma and taste of pumpkin.
- Cream Cheese: The star of our rich and creamy frosting. It should be at room temperature for optimal smoothness.
- Orange and Green Food Coloring: Essential for transforming our frosting into vibrant pumpkin hues and decorative vines. Gel food coloring typically provides more intense colors.
- Salted Butter: Softened to room temperature, it’s key for a smooth and airy cream cheese frosting.
- Vanilla Extract: Adds a touch of warmth and depth to the frosting, complementing the cream cheese flavor.
- Powdered Sugar: The base for our frosting, providing sweetness and a silky texture. A little extra is also perfect for a dusting finish.
- Wafer Cookies: These will be transformed into realistic pumpkin “stems” with a simple chocolate dip. Vanilla or chocolate wafers work best.
- Semi-Sweet Chocolate Chips: Used to create the hardened chocolate coating for the wafer cookie stems.
Ingredient Substitutions and Flavor Variations:
Don’t have every ingredient on hand or looking to customize? Here are some flexible options:
- Cake Mix Alternatives: While a spice cake mix yields a beautiful, rich “pumpkin-y” color and flavor, you can absolutely use a yellow cake mix or even a carrot cake mix. If using a lighter mix, consider adding a few drops of orange food coloring to the batter for that classic pumpkin hue.
- Homemade vs. Store-Bought Frosting: Our homemade cream cheese frosting is divine, but if time is short, a good quality store-bought cream cheese frosting or vanilla buttercream can be used. Simply divide it and mix in your orange and green food colorings.
- Spiced Up Your Way: Instead of, or in addition to, ground cinnamon, feel free to use a teaspoon of pumpkin pie spice for an even more complex fall flavor profile in your cake batter.
- Butter & Cream Cheese Temperature: For the silkiest, lump-free frosting, ensure your cream cheese and butter are at room temperature. This allows them to cream together smoothly and incorporate the powdered sugar seamlessly.
How to Make Mini Pumpkin Bundt Cakes: A Step-by-Step Guide
Get ready to transform simple ingredients into enchanting mini pumpkin bundt cakes! Follow these clear, detailed steps to ensure your baking experience is as smooth and enjoyable as the finished dessert.
Step 1: Prepare Your Oven and Pan. Begin by preheating your oven to 350°F (175°C). This ensures the oven is at the correct temperature for even baking. Next, thoroughly spray a mini bundt pan with a non-stick baking spray, ideally one that contains flour. This crucial step prevents sticking and helps your beautiful mini cakes release cleanly from the intricate molds, preserving their signature bundt shape. Adequate greasing is key to avoiding frustration later on.
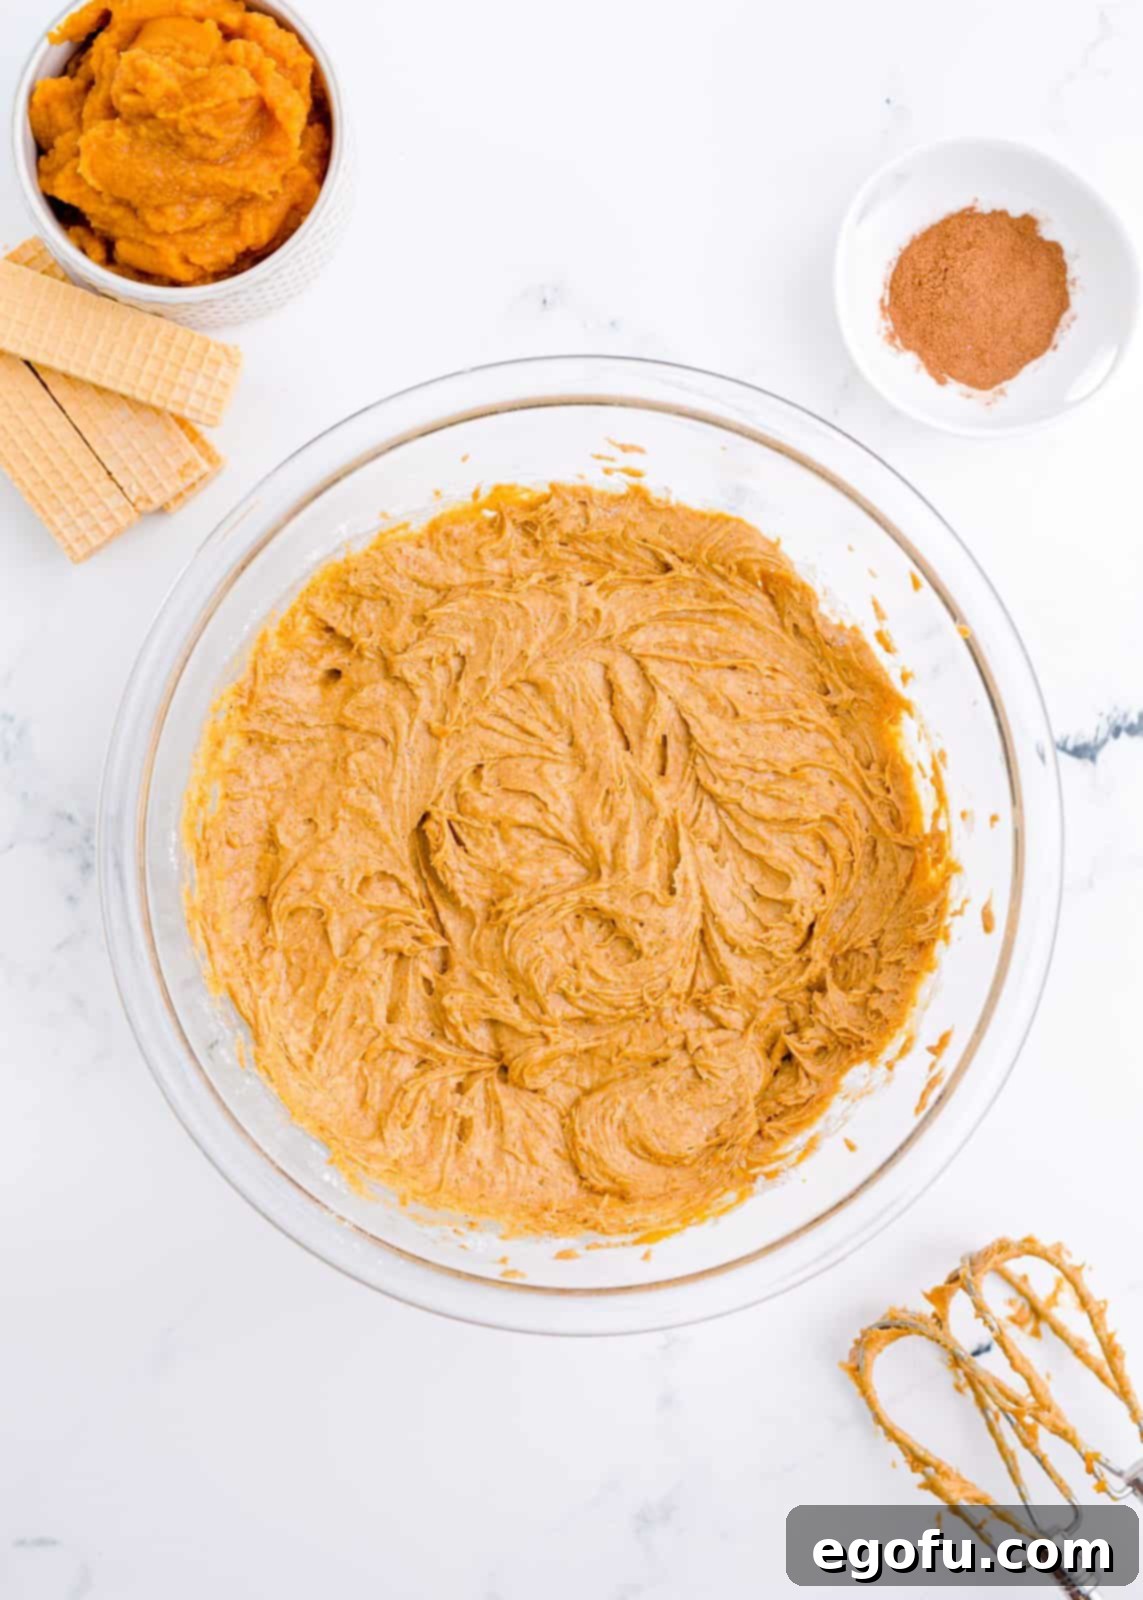
Step 2: Mix the Cake Batter. In a large mixing bowl, combine the spice cake mix, pumpkin puree, and ground cinnamon. It’s important to note: do NOT add any additional ingredients that might be listed on the cake mix box, such as eggs, oil, or water. The pumpkin puree provides all the moisture needed. Using an electric hand mixer, start on a low speed to incorporate the ingredients, then gradually increase the speed. Mix just until everything is combined and forms a very thick batter. Overmixing can lead to a tougher cake texture.
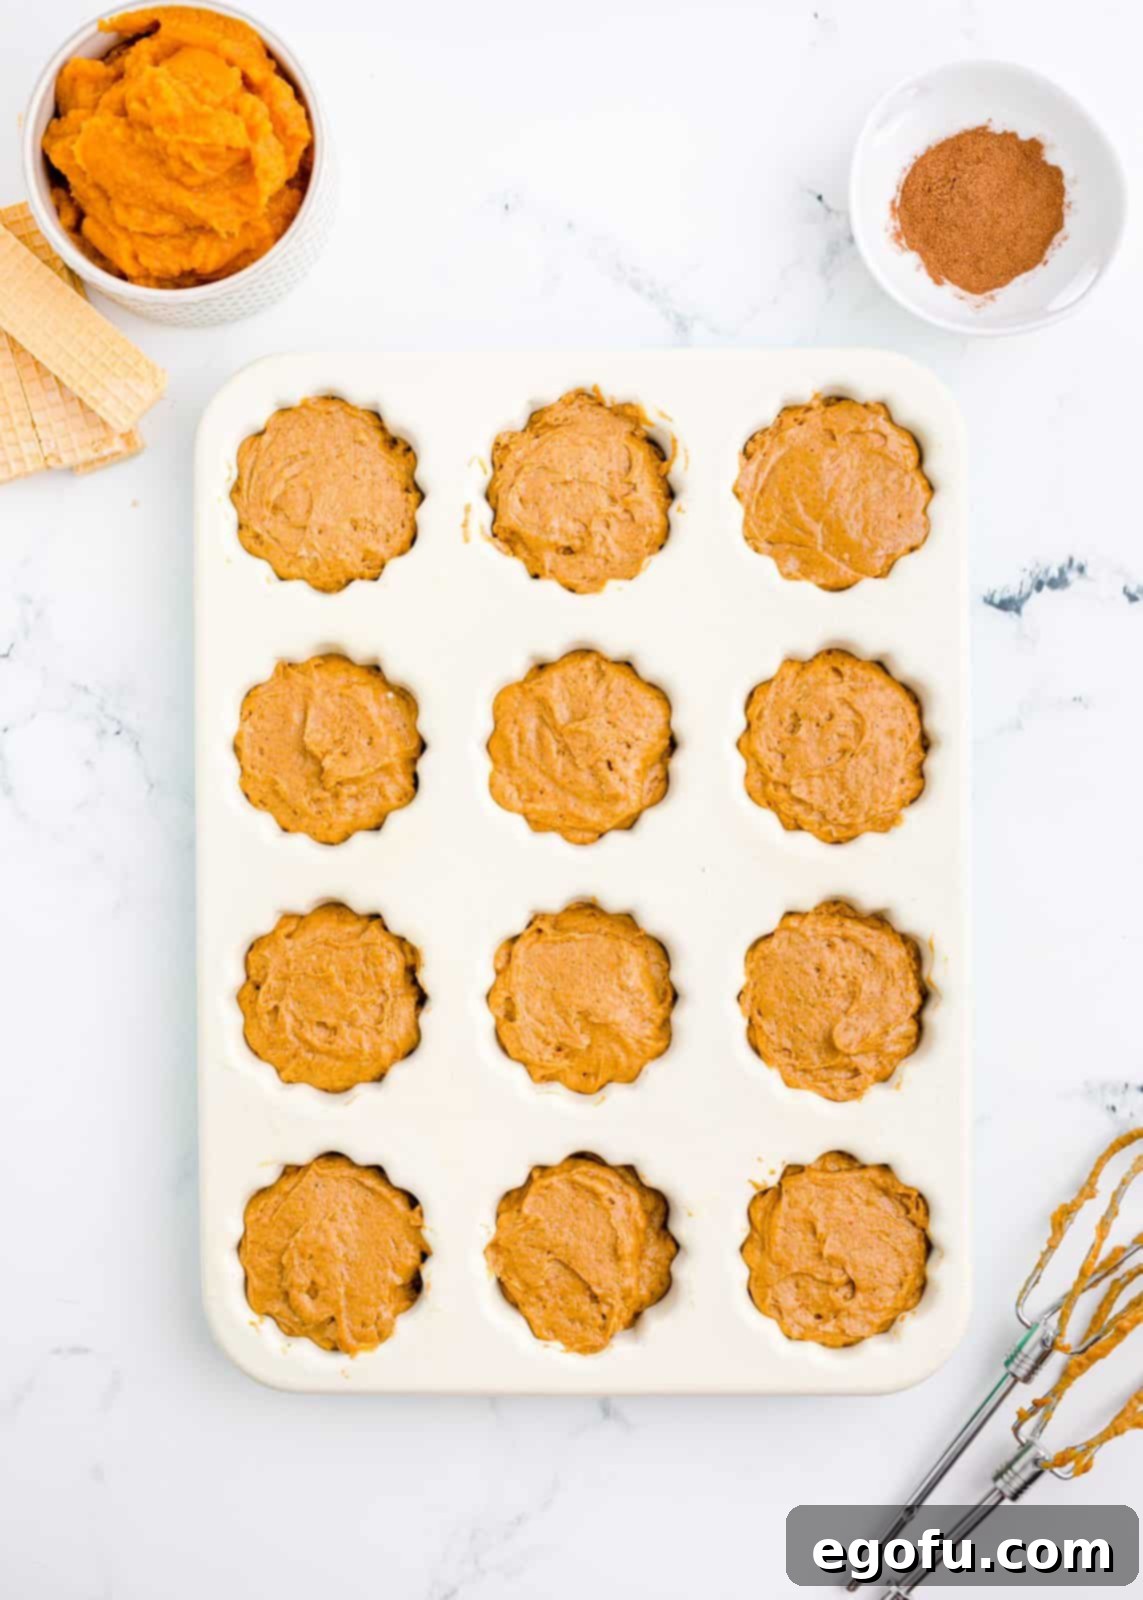
Step 3: Fill the Bundt Pan. Carefully spoon the thick pumpkin cake mixture evenly into each cavity of your prepared mini bundt pan. Fill each cavity approximately two-thirds full. This allows room for the cakes to rise without overflowing, maintaining their perfect mini bundt shape. Avoid overfilling, as this can cause the cakes to bake unevenly or become difficult to remove.
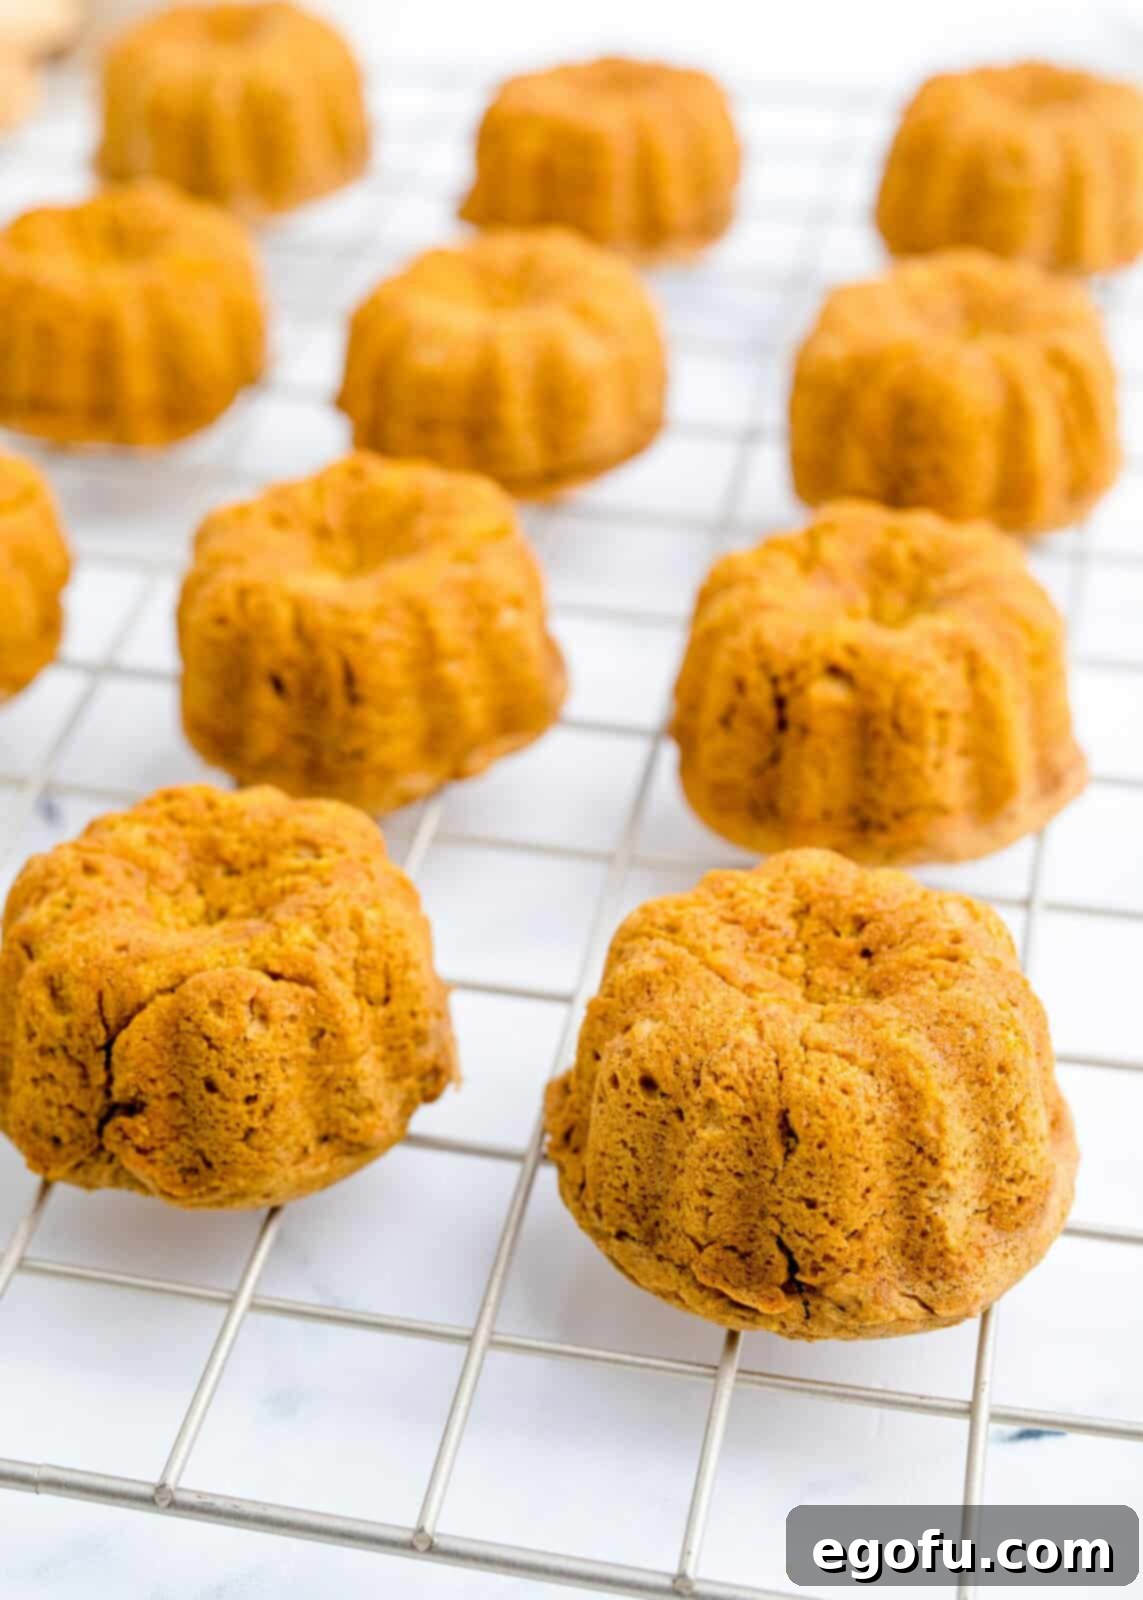
Step 4: Bake and Cool. Place the mini bundt pan into the preheated oven and bake for 15 to 20 minutes. Baking times can vary, so keep an eye on them. The cakes are done when a toothpick inserted into the center comes out clean, with no wet batter attached. Once baked, remove the pan from the oven and let the cakes cool in the pan for a few minutes before gently inverting them onto a wire rack. Allow them to cool completely on the wire rack. Patience during cooling is important for easy handling and decorating.
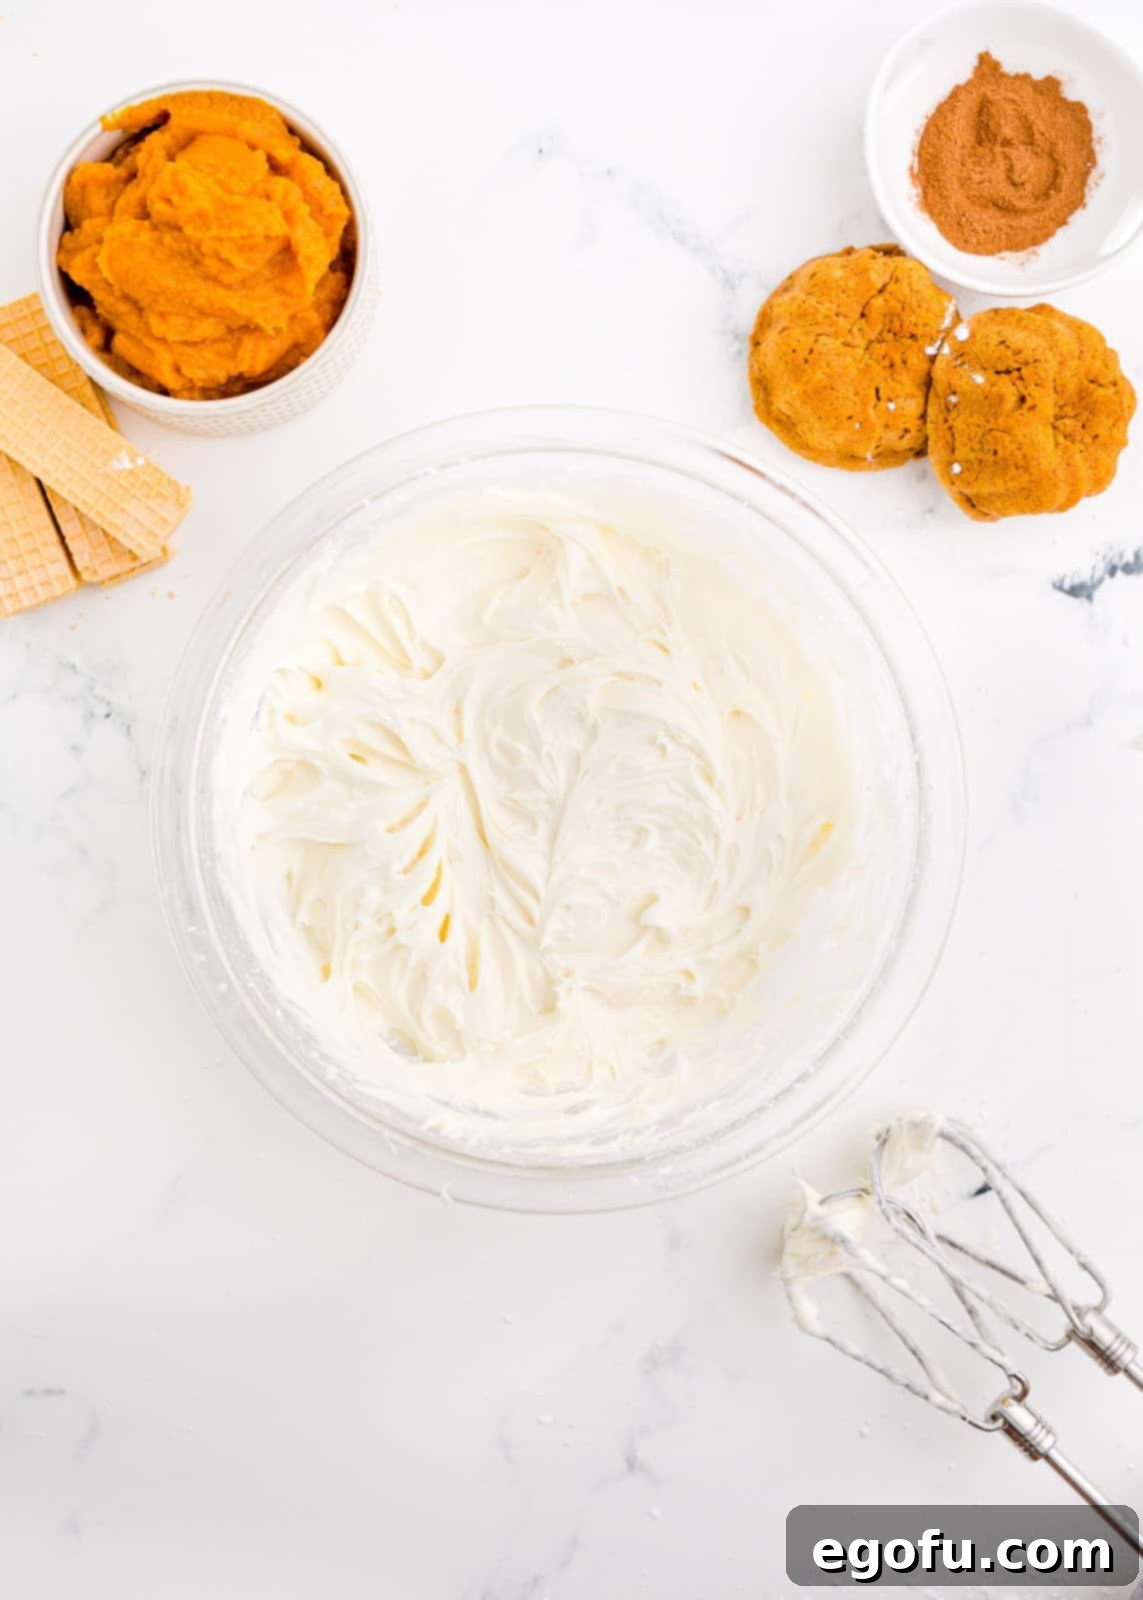
Step 5: Prepare the Cream Cheese Frosting. While the cakes are cooling, it’s time to whip up the luscious cream cheese frosting. In a medium bowl, use your electric mixer to cream together the softened salted butter and room-temperature cream cheese until light and fluffy. This step is crucial for achieving a smooth, lump-free frosting. Then, gradually add the vanilla extract and powdered sugar, mixing until the frosting is perfectly smooth and spreadable. Start with a low speed to prevent a cloud of powdered sugar in your kitchen!
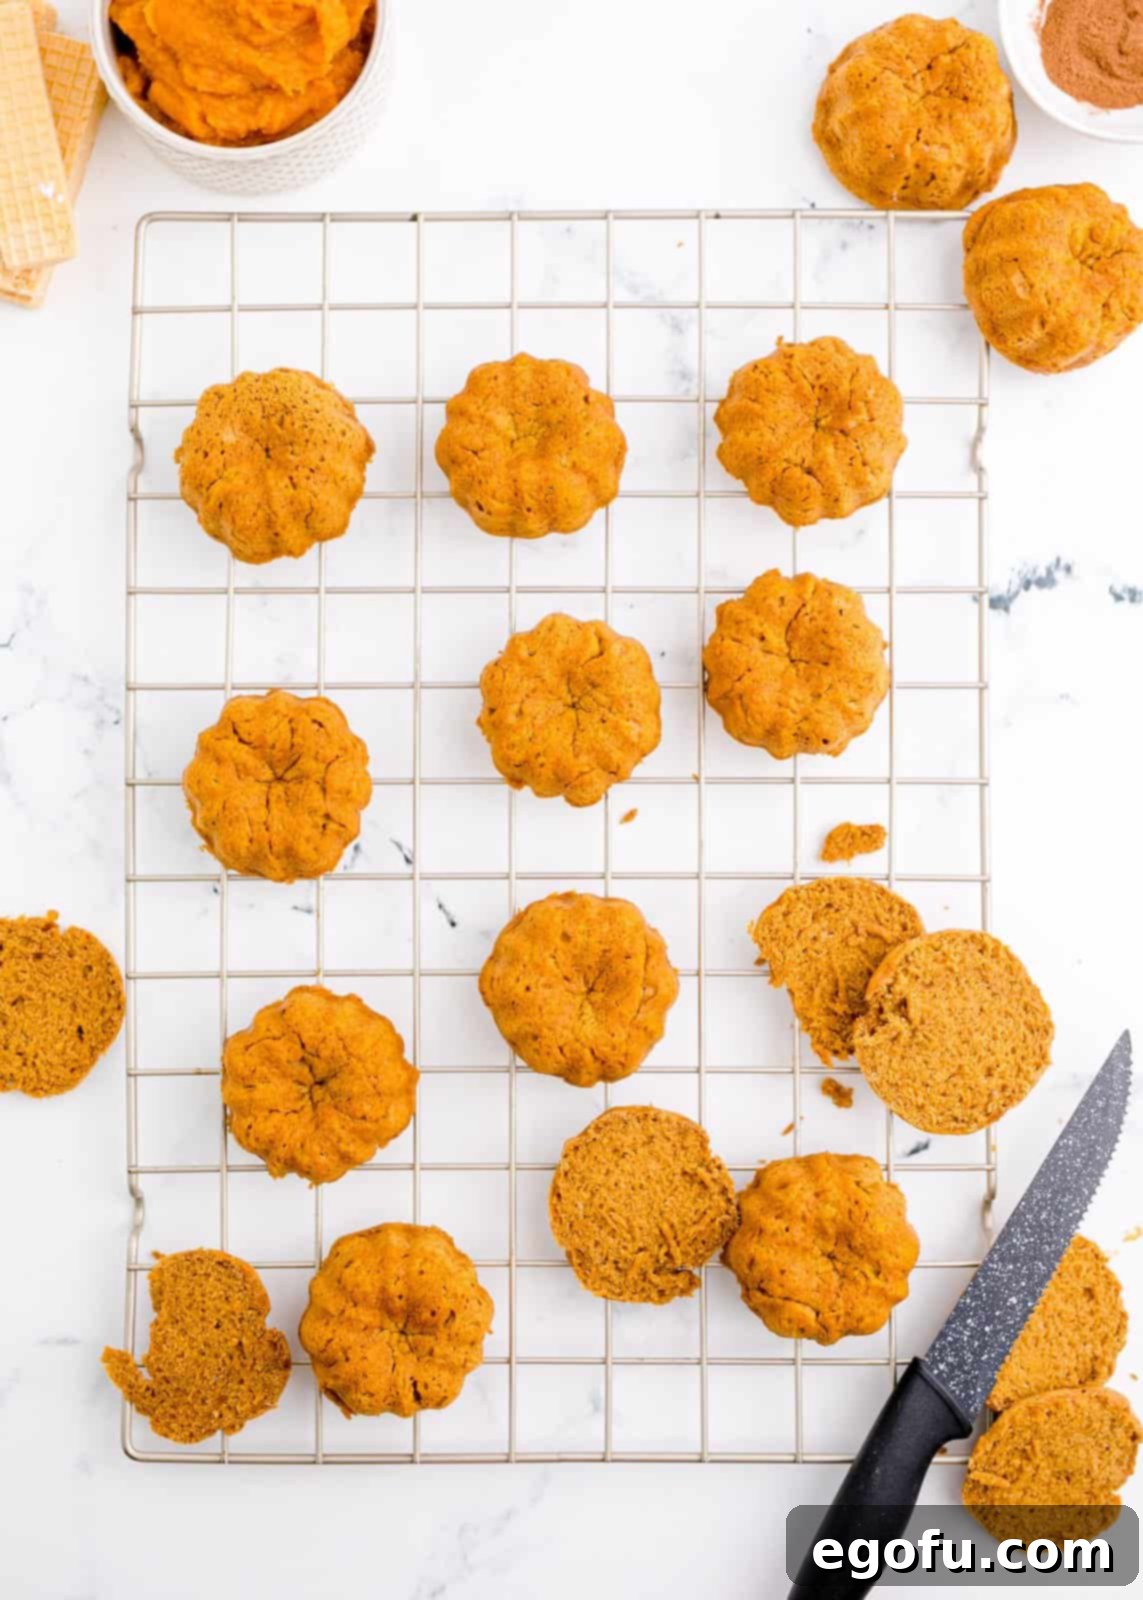
Step 6: Trim the Cakes. Once the mini bundt cakes are completely cool, gently trim the flat bottom side of each cake. The goal is to make these surfaces perfectly flat so that two halves can fit together seamlessly, creating a rounded pumpkin shape. You can discard the trimmings or, as a baker’s treat, snack on them! This step is essential for achieving the cohesive, pumpkin-like appearance.
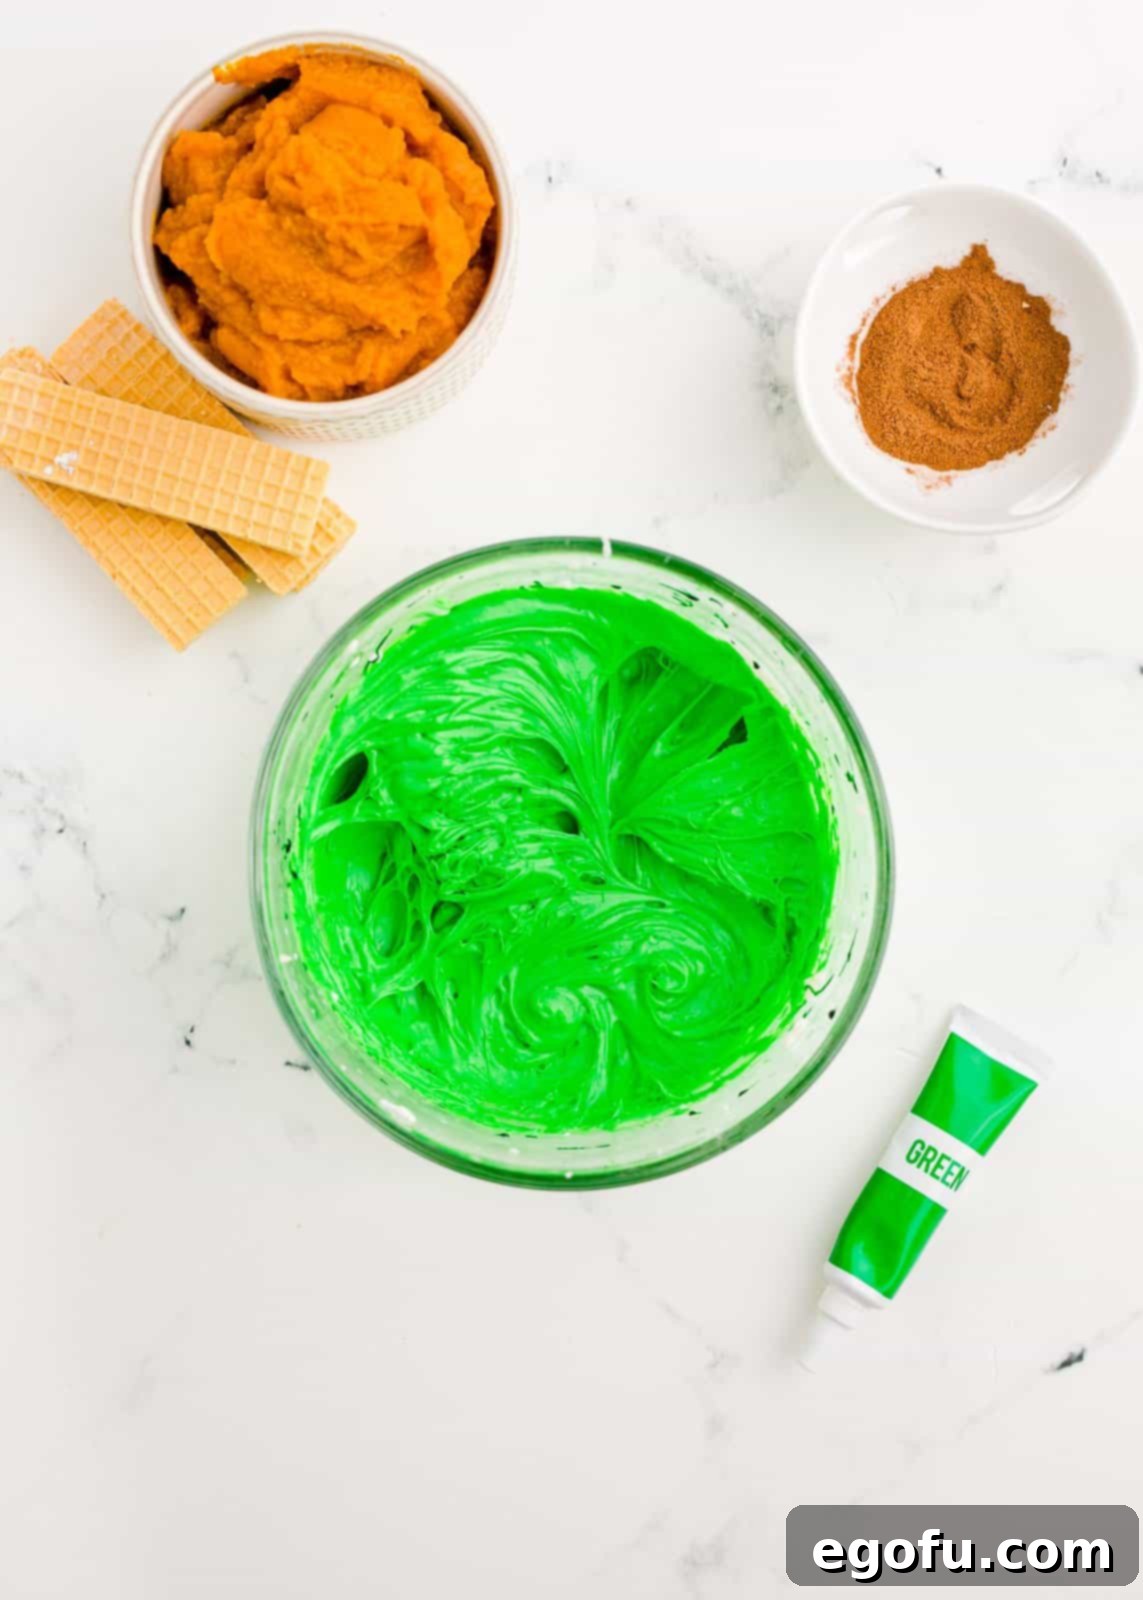
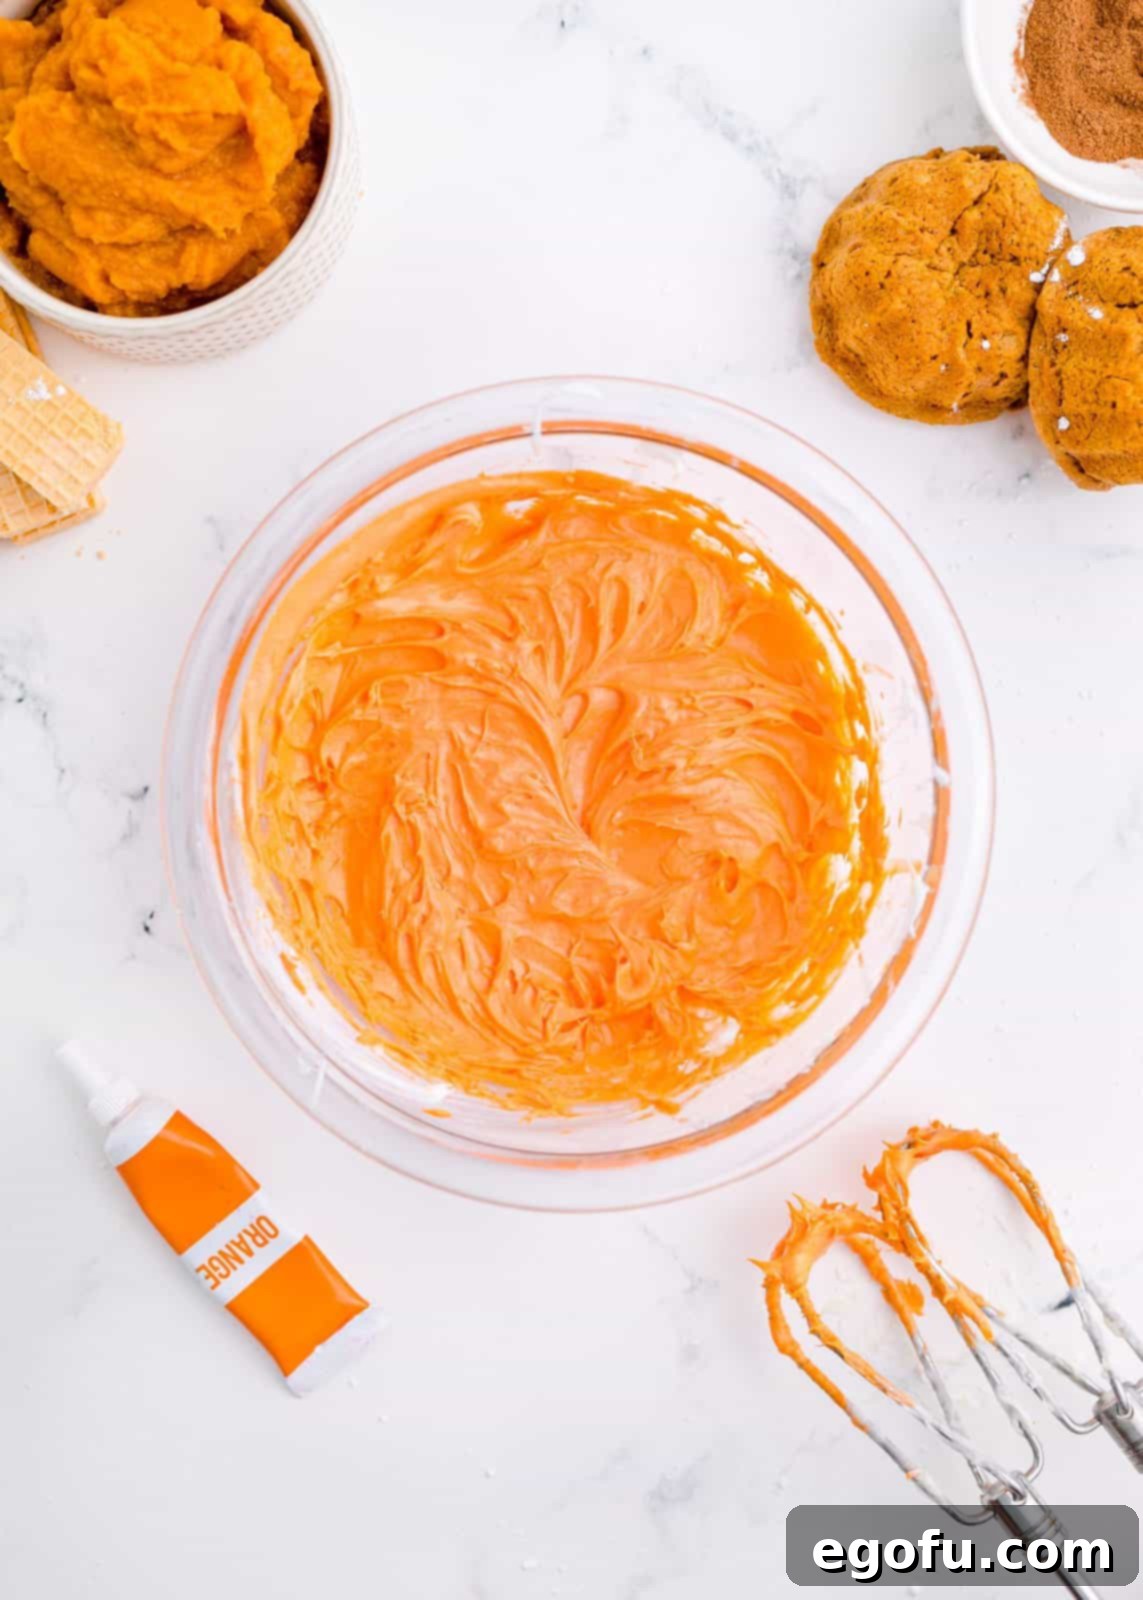
Step 7: Color the Frosting. Divide your prepared cream cheese frosting evenly into three separate bowls. In the first bowl, mix in green food coloring until you achieve your desired shade for vines and leaves. In the second bowl, add orange food coloring for the main pumpkin color. Leave the frosting in the third bowl plain (white) for the “glue” that holds the cake halves together.
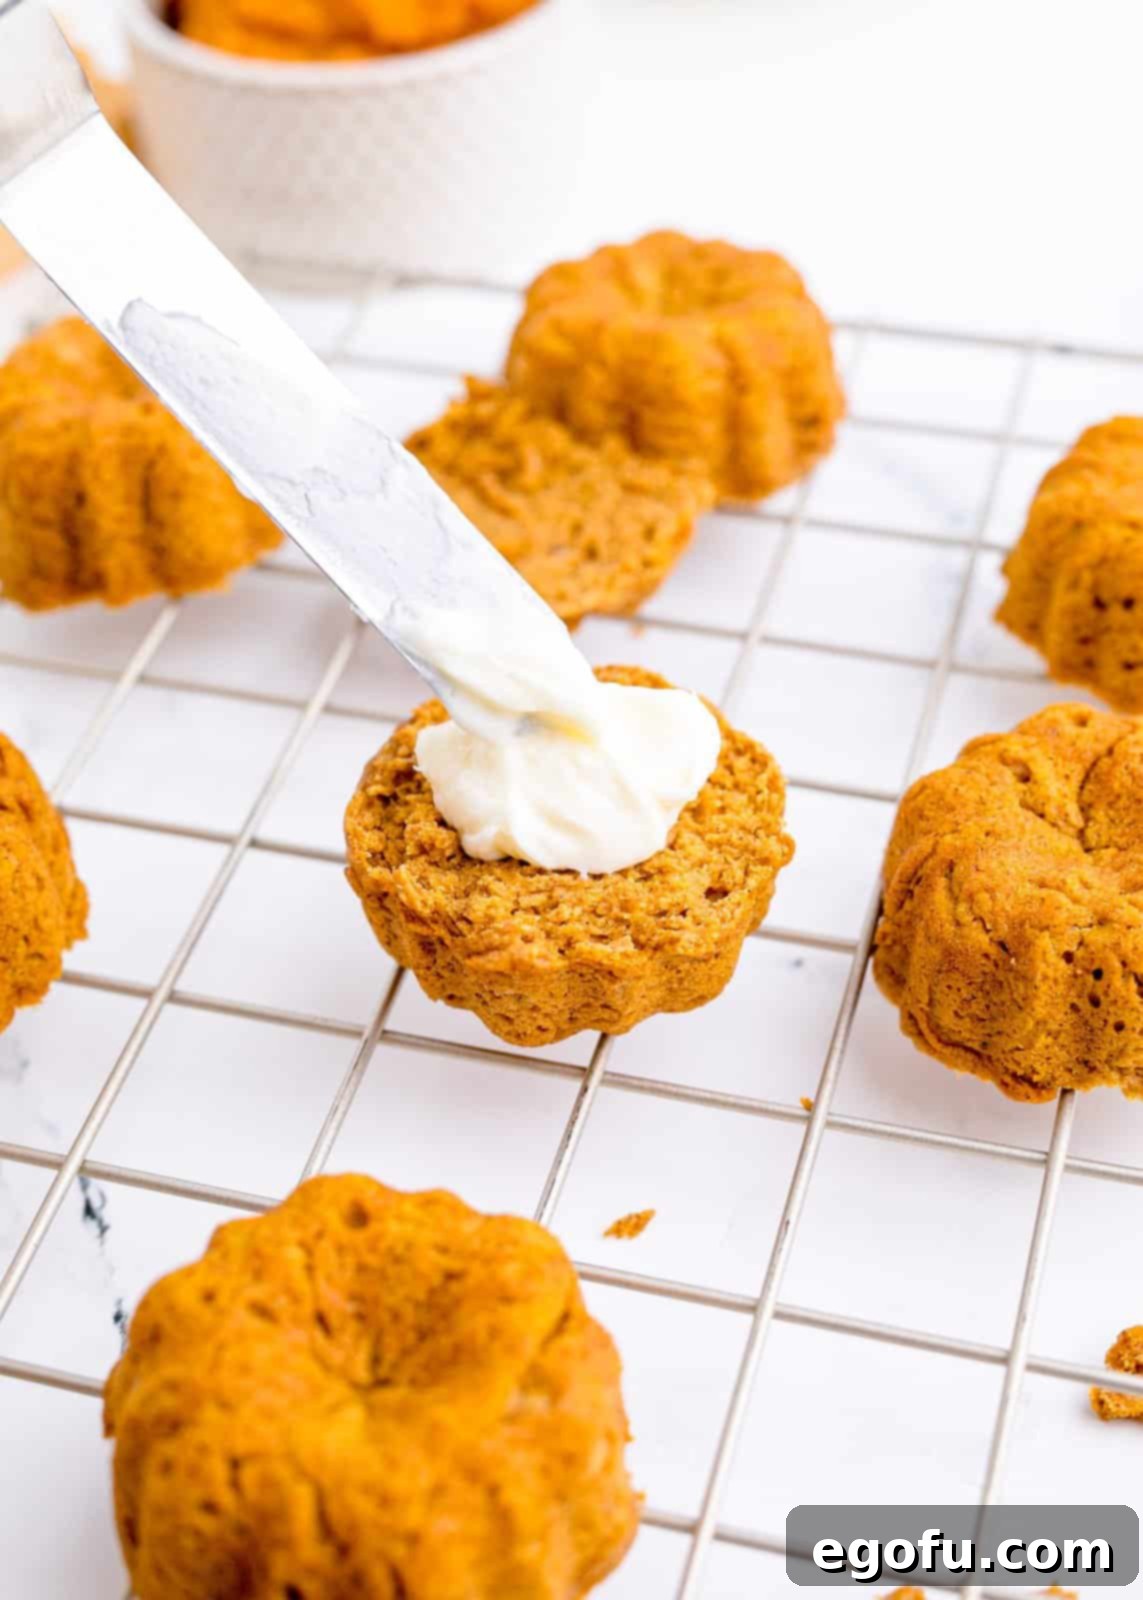
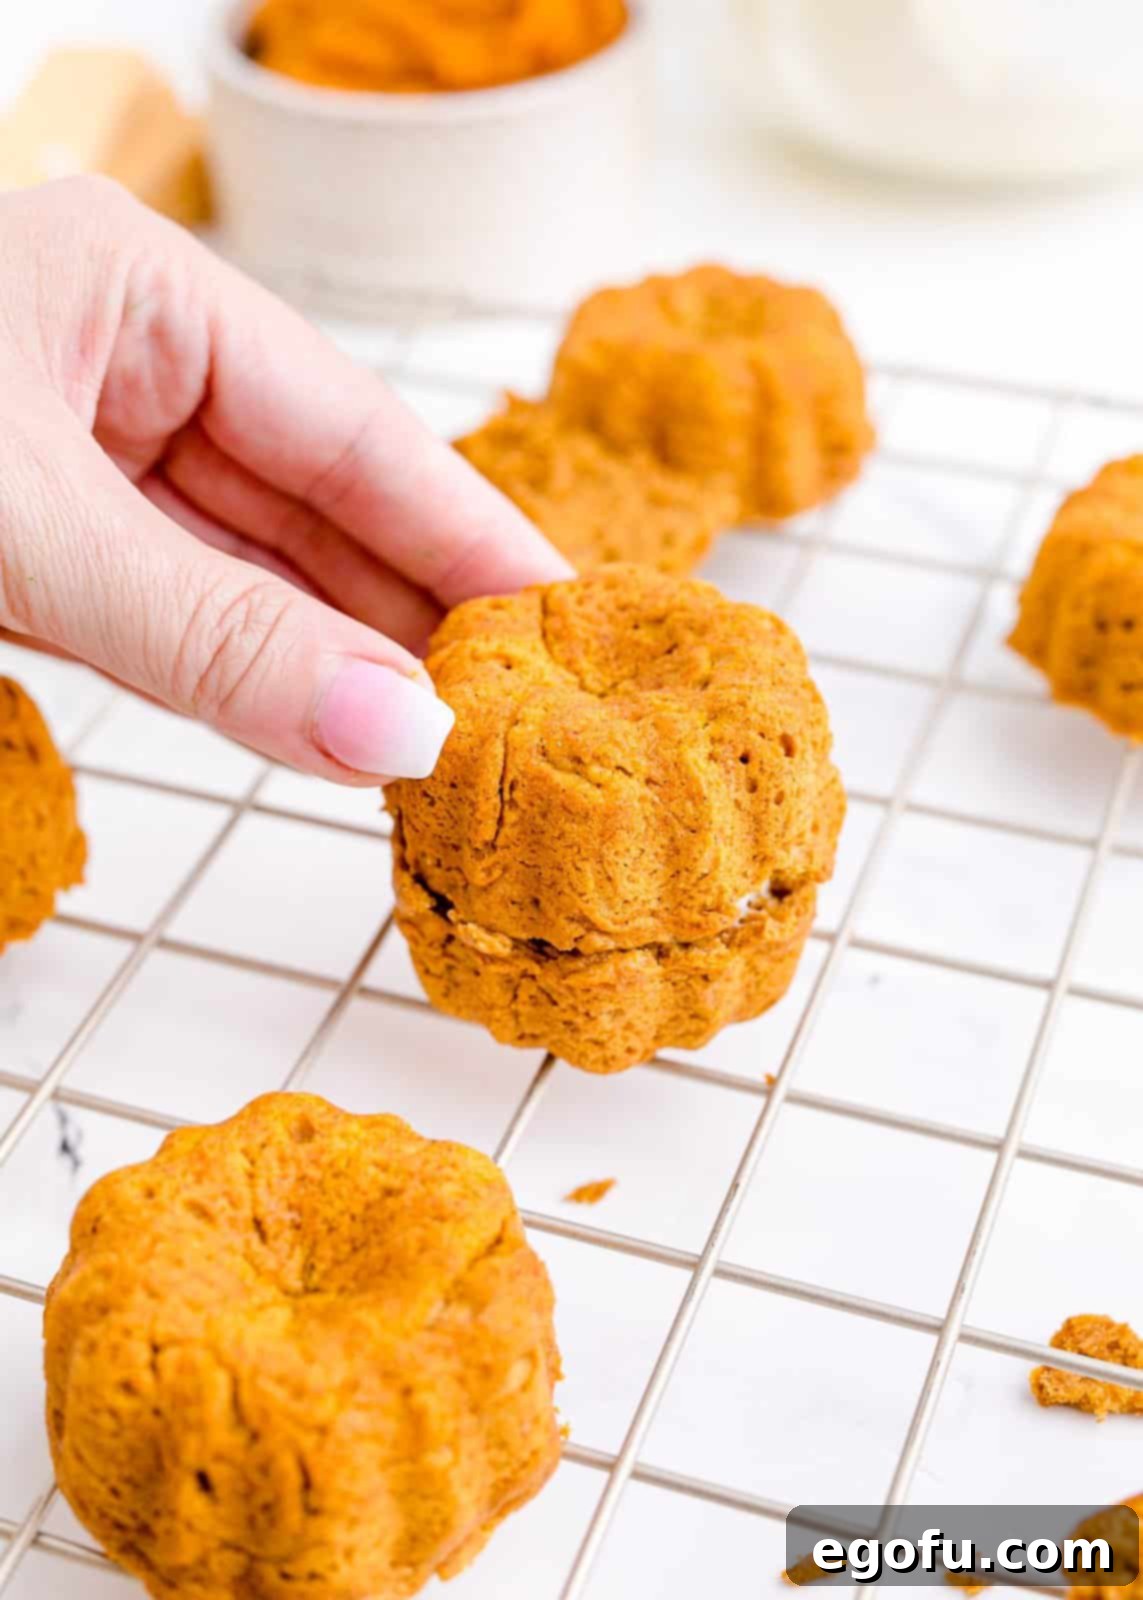
Step 8: Assemble the Pumpkins. Take two trimmed mini bundt cake halves. Spread a small amount of the plain (white) frosting on the flat, trimmed side of one cake. Carefully press the flat side of the second cake half onto the frosted side, gently sealing them together. This creates a full, rounded pumpkin shape. Repeat this process for all your cake halves, creating beautiful individual pumpkin cakes.
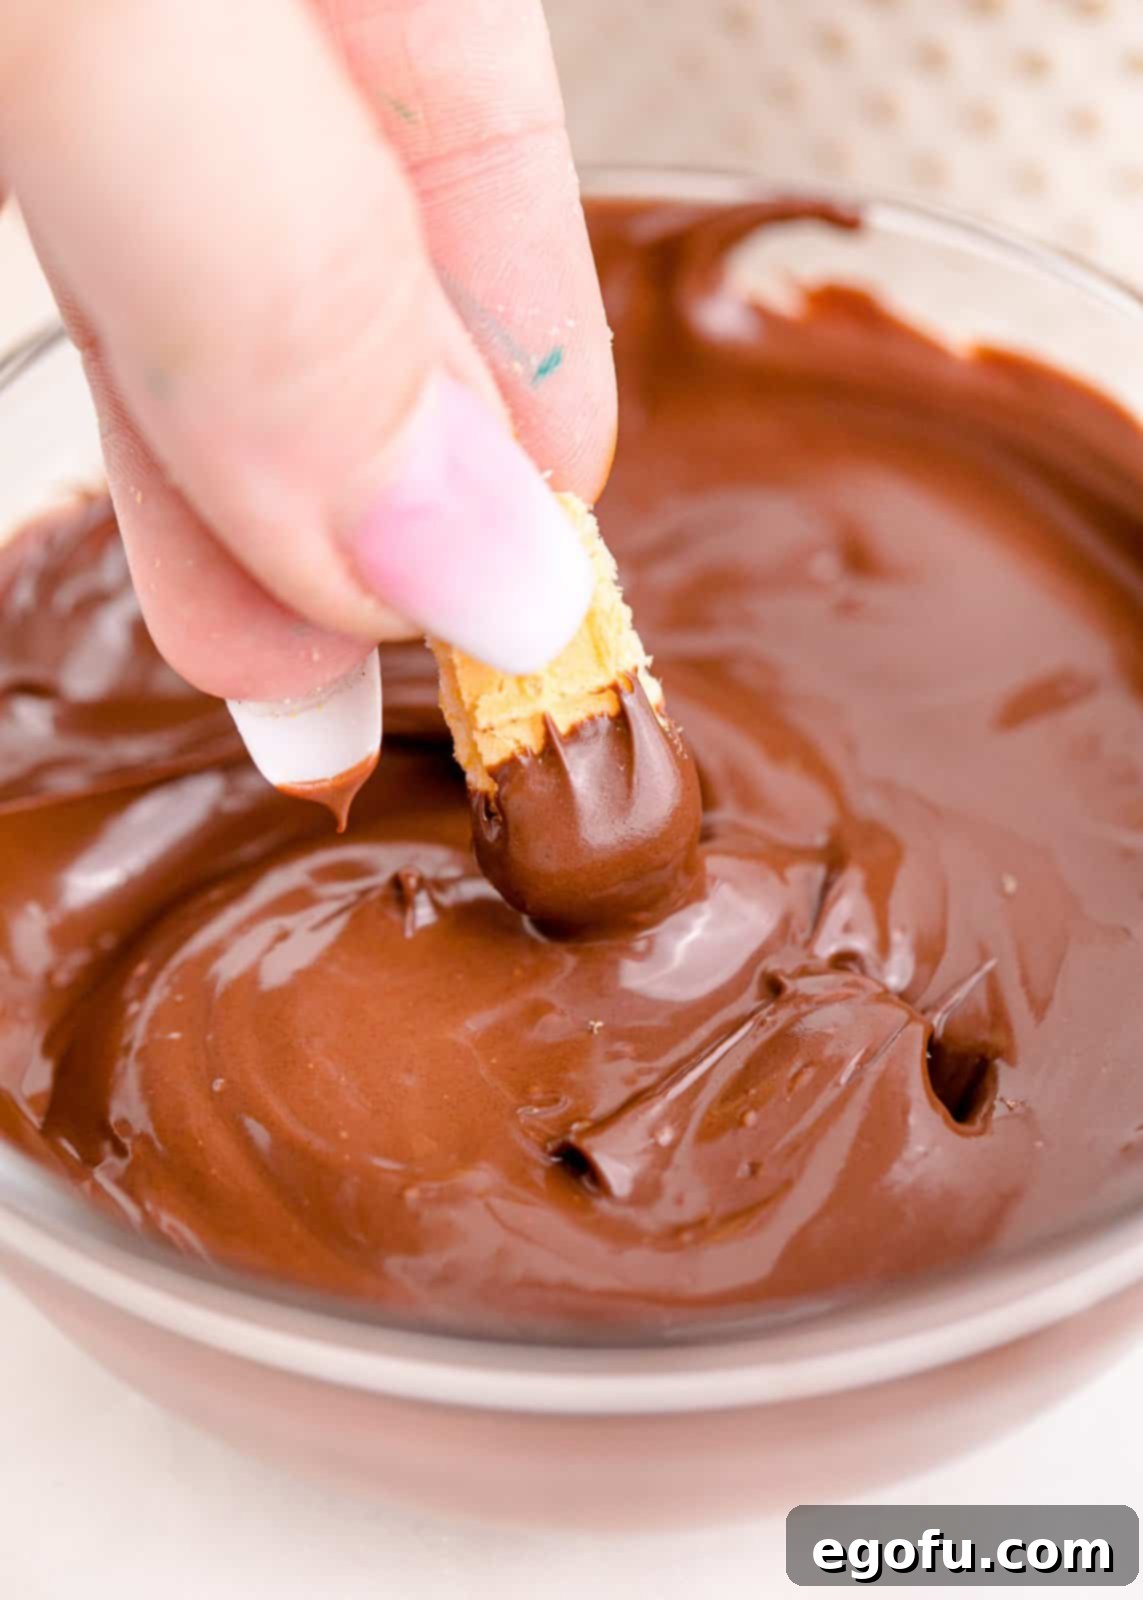
Step 9: Prepare the Chocolate Wafer Stems. Melt the semi-sweet chocolate chips in a microwave-safe bowl in 30-second intervals, stirring until smooth. Break your wafer cookies in half. Dip one end of each wafer half into the melted chocolate, coating about half an inch. Place the chocolate-dipped wafers on a piece of parchment paper and transfer them to the refrigerator for about 5 minutes to allow the chocolate to harden. These will become the realistic little stems for your pumpkins.
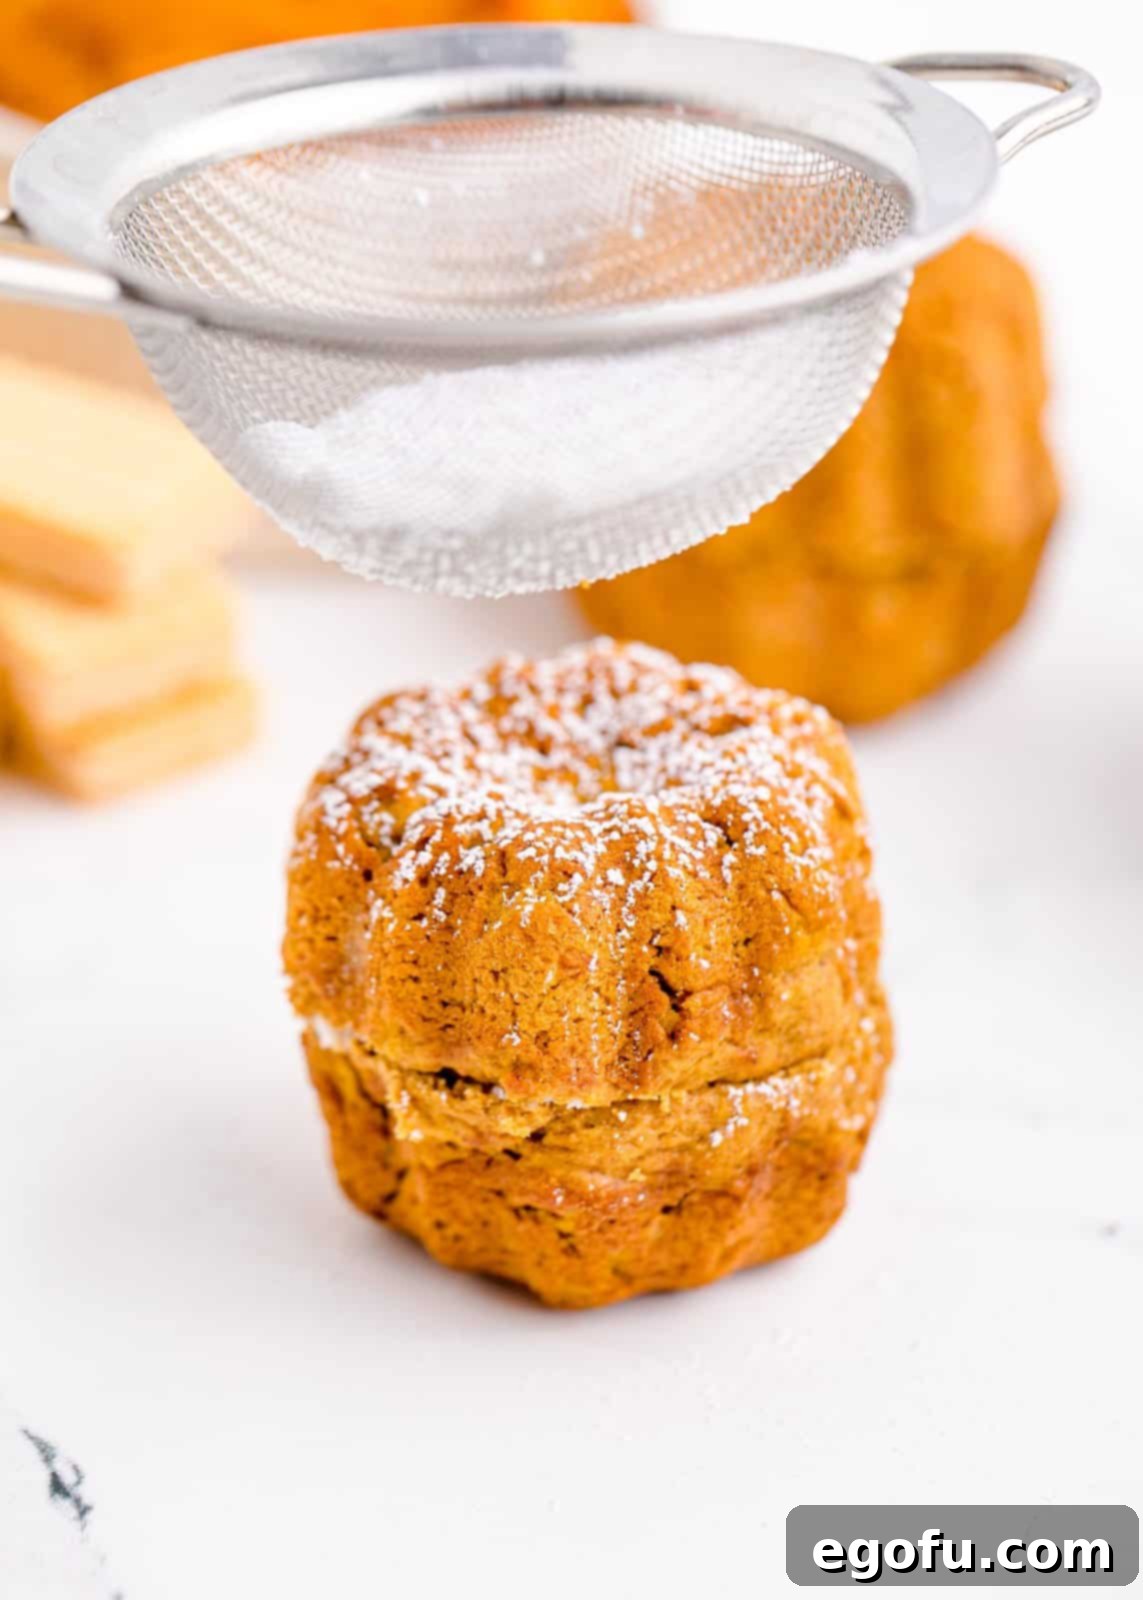
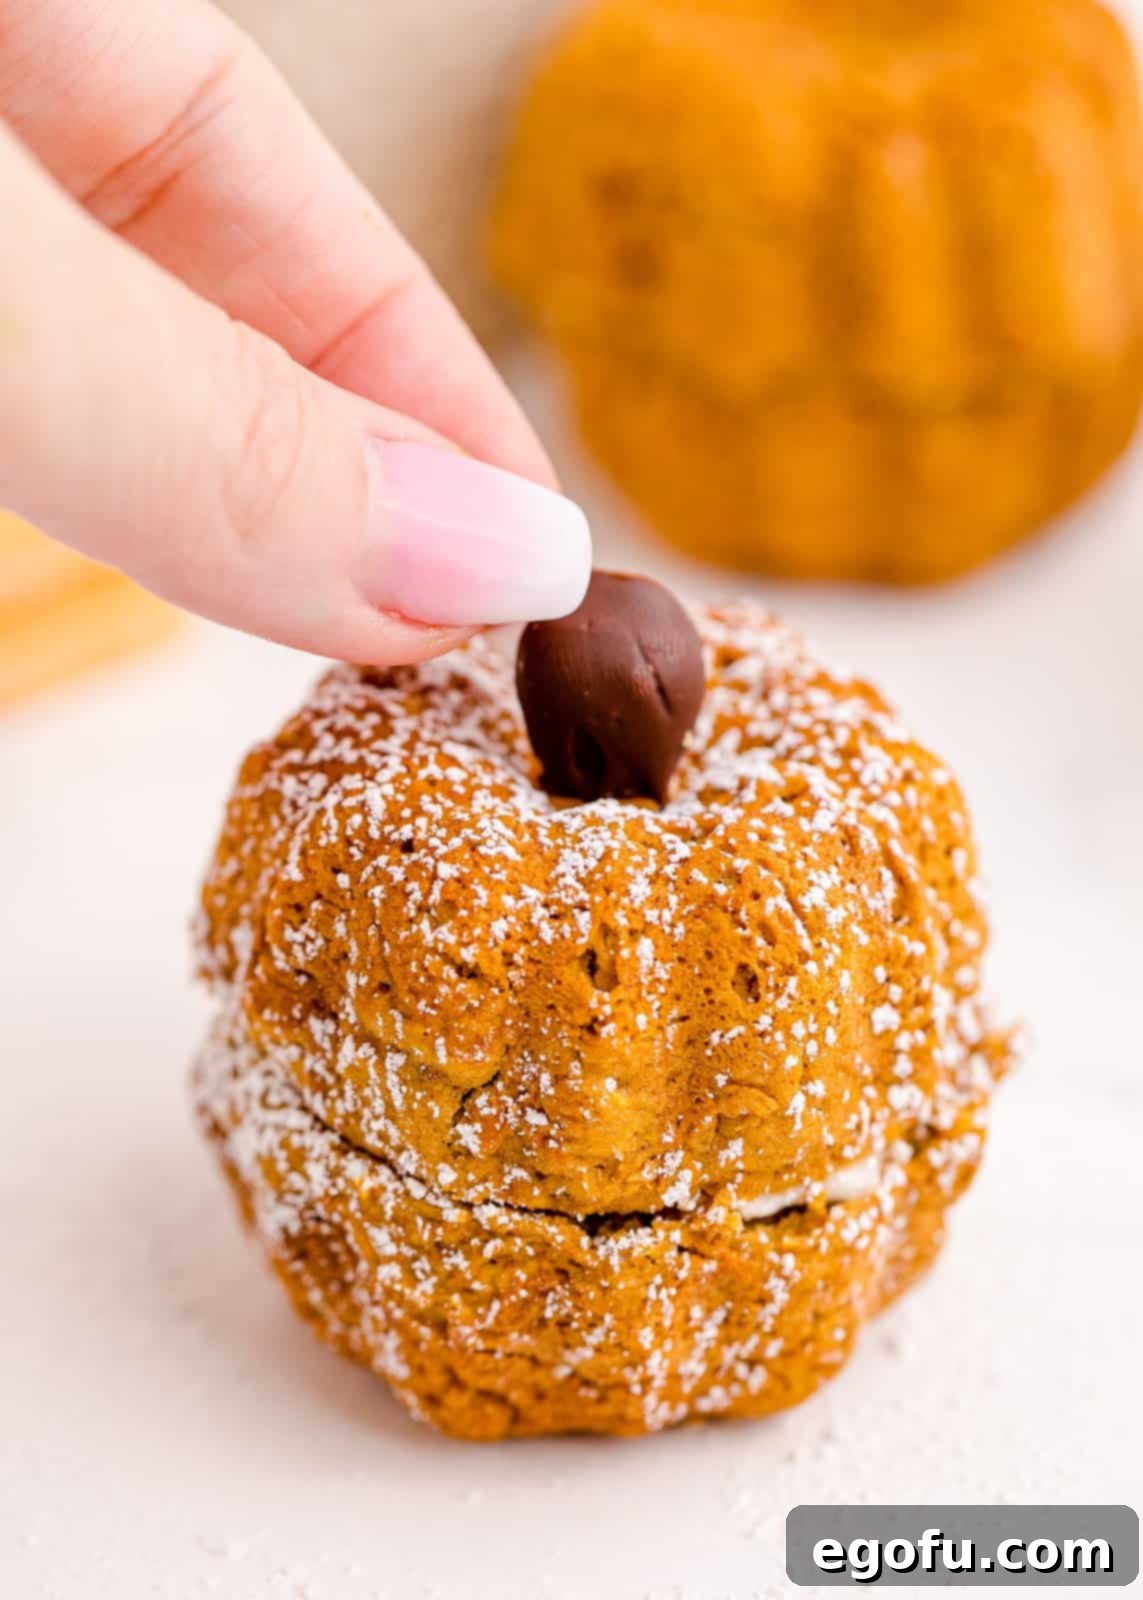
Step 10: Dust and Decorate with Stems. While the chocolate on the wafers hardens, lightly sprinkle your assembled pumpkin bundt cakes with a dusting of powdered sugar. This adds a delicate, snowy finish. Once the chocolate-covered wafer stems are firm, gently insert one into the top center of each mini pumpkin bundt cake, creating a realistic pumpkin stem.
Step 11: Pipe the Details. Now for the artistic touch! Transfer your orange and green colored frostings into separate piping bags. If you don’t have piping bags, a simple Ziploc bag works wonders: just push all the frosting into one corner of the bag, snip a small portion off the tip, and gently squeeze to pipe. Use the green frosting to pipe delicate leaves and winding vines around the base of the chocolate stem on each pumpkin bundt cake. Then, use the orange frosting to create decorative lines or patterns on the body of the pumpkin for added texture and visual appeal. This final step truly brings your mini pumpkins to life!
Your festive Mini Pumpkin Bundt Cakes are now complete! Each one is a delightful, edible work of art, ready to be enjoyed. These are perfect for fall gatherings, holiday celebrations, or simply as a special treat for yourself and loved ones. The combination of moist pumpkin cake, tangy cream cheese frosting, and charming decorations makes them irresistible.
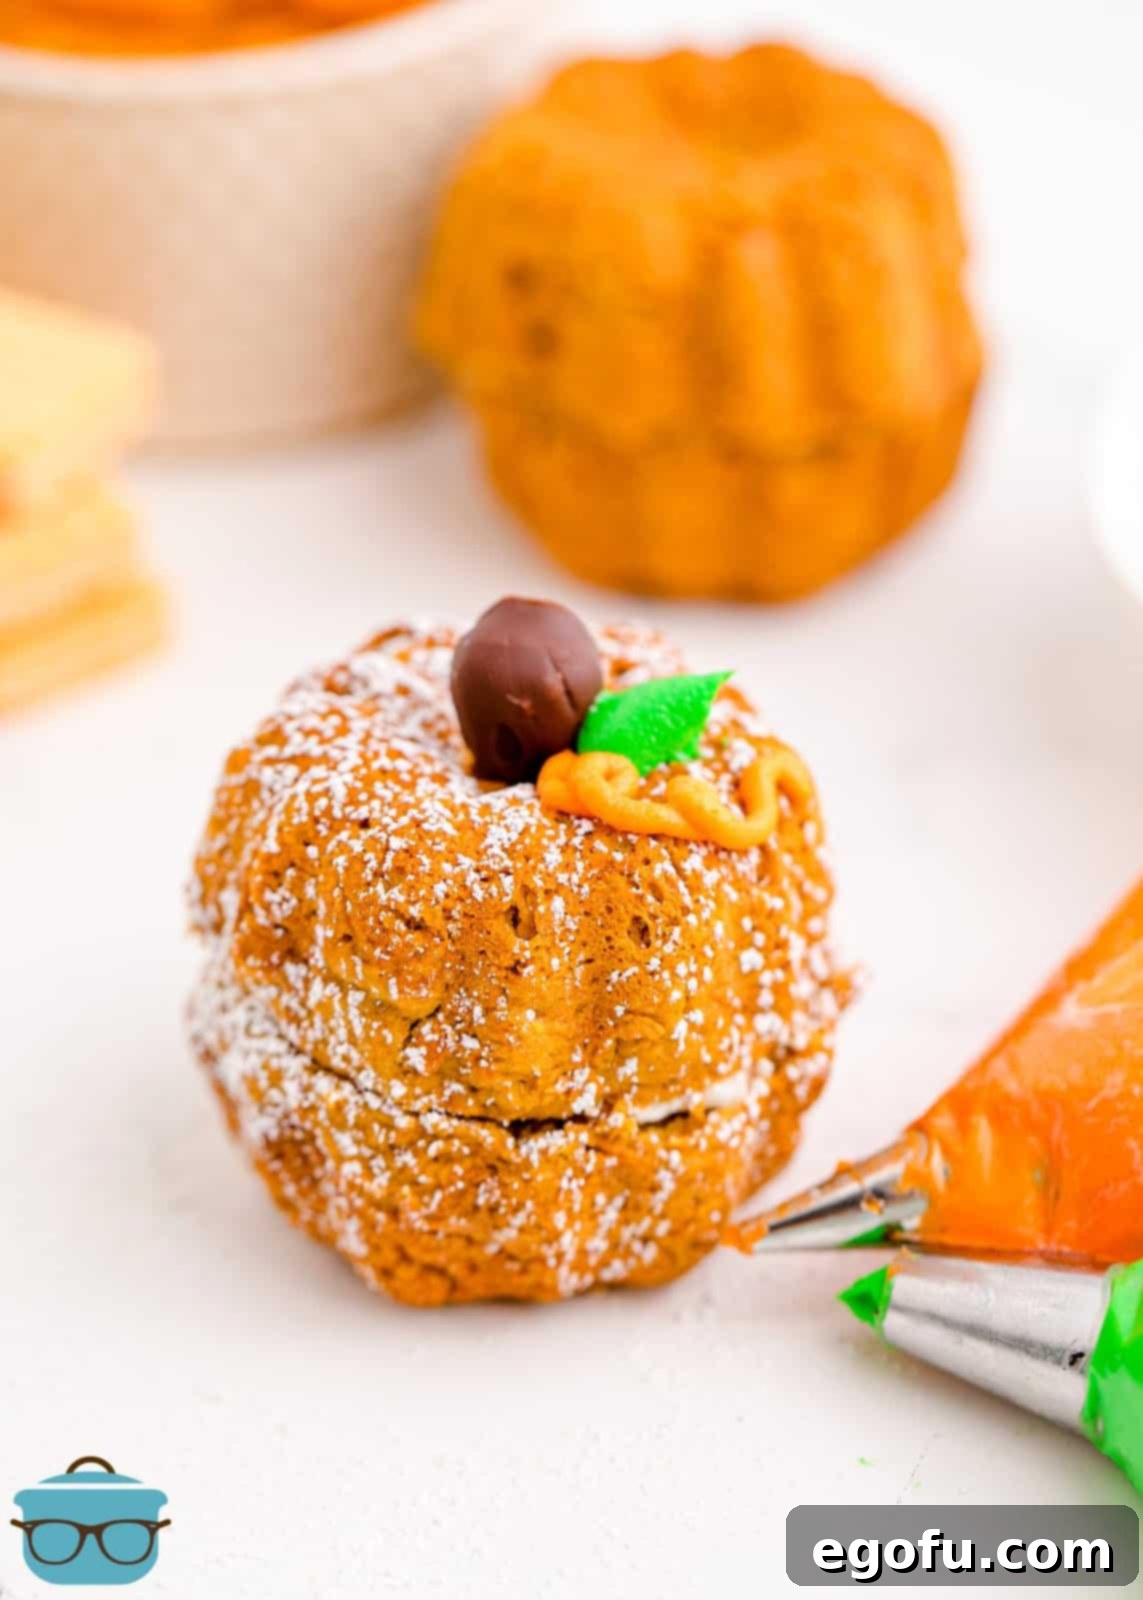
Enjoy these beautiful and tasty creations!
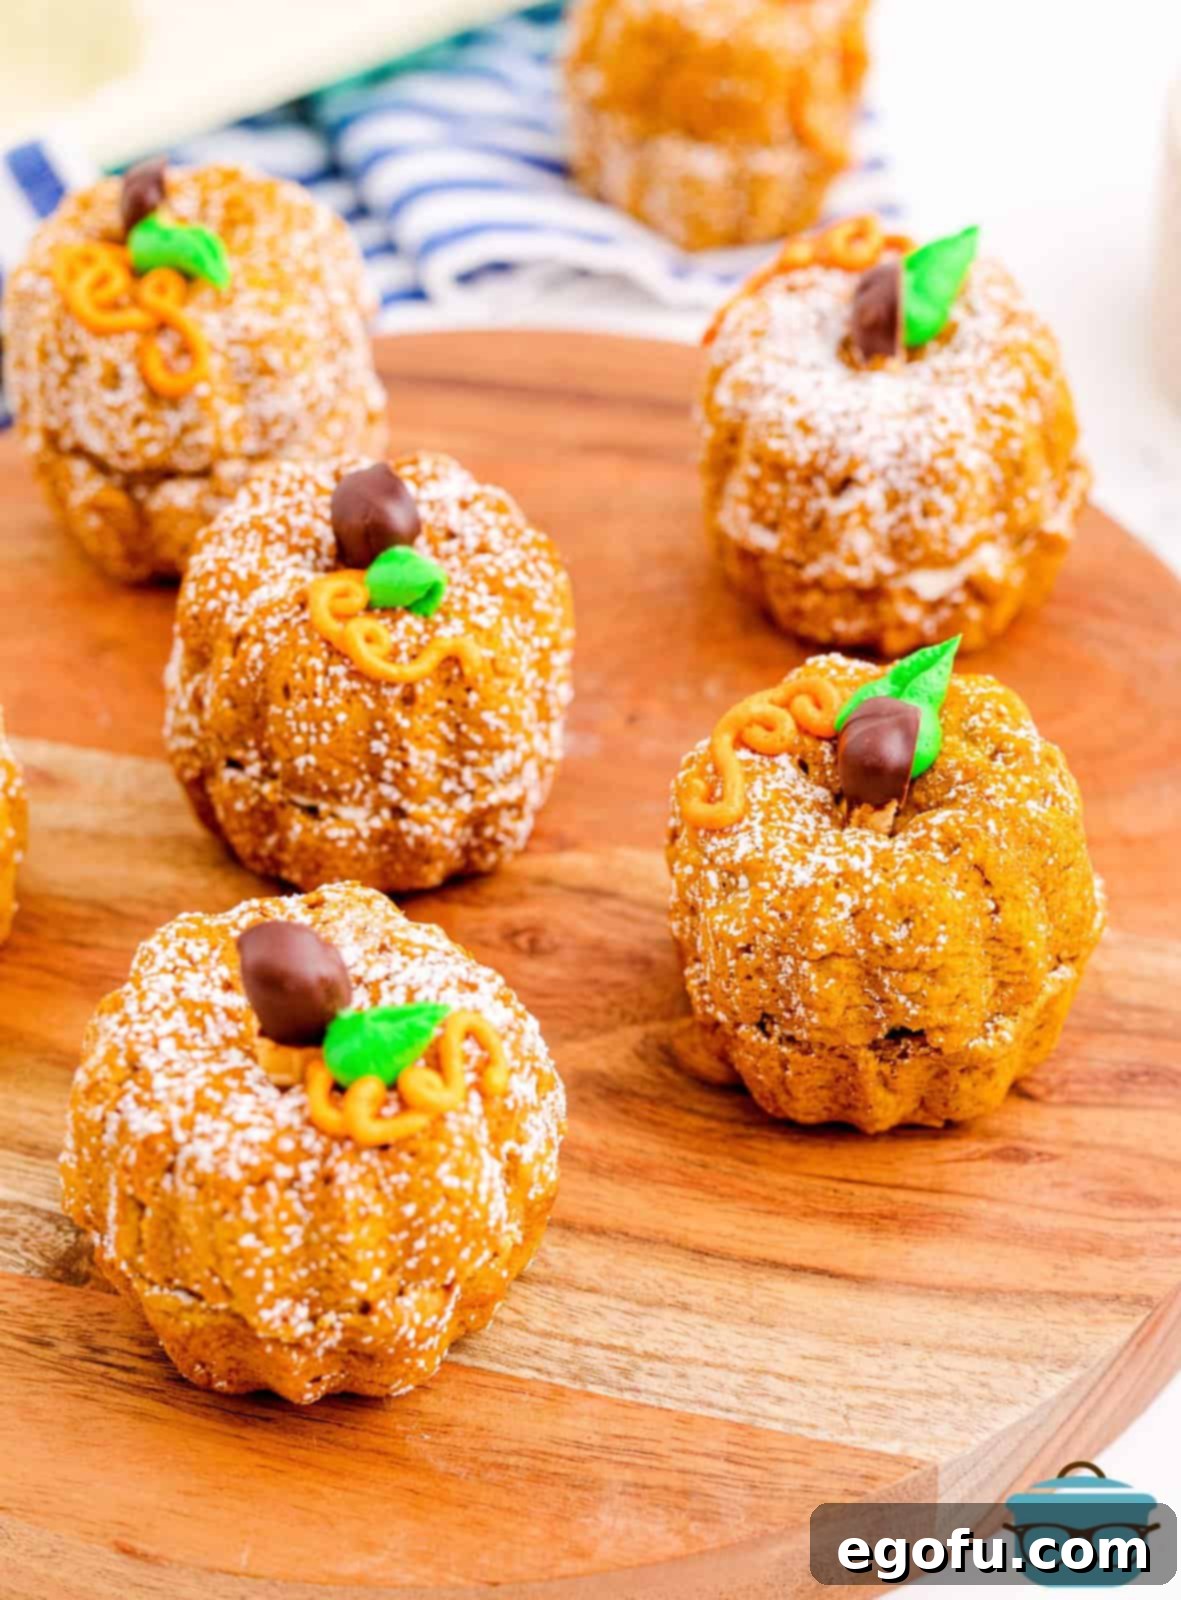
Frequently Asked Questions About Mini Pumpkin Bundt Cakes
Here are some common questions and helpful answers to ensure your mini pumpkin bundt cakes turn out perfectly every time.
Not at all! While a spice cake mix provides a rich, darker color and inherent fall flavors, you can certainly opt for a yellow cake mix or even a carrot cake mix. If you choose a lighter colored cake mix, we recommend adding a few drops of orange food coloring to the batter. This will help achieve that distinct “pumpkin-y” appearance that makes these cakes so charming.
While our homemade cream cheese frosting is a delicious highlight of this recipe, you absolutely don’t have to make it from scratch. Store-bought cream cheese frosting or even a good vanilla buttercream will work beautifully. Just remember to divide a portion of the frosting and mix in your orange and green food colorings for decorating, just as you would with homemade frosting.
No mini bundt pan? No problem! A standard muffin tin can be a great alternative. Simply fill the muffin cavities about two-thirds full with the cake batter. Once baked and cooled, if the muffins have a dome-like top, you can gently slice off the top to create a flat surface. This will allow two muffin halves to fit together, mimicking the rounded pumpkin shape. While they won’t have the distinctive ridges of a bundt cake, they will still be adorable and delicious. You can also slightly shave the bottom of the muffins to make them more rounded if desired for presentation.
Absolutely! Pumpkin pie spice is a fantastic choice and will infuse your cakes with an even more complex blend of fall flavors. You can use pumpkin pie spice in place of the ground cinnamon, or for an extra depth of flavor, feel free to use a little bit of both. Adjust the quantity to your personal taste preferences.
The cake trimmings from leveling your bundt cake halves are too delicious to waste! Many simply enjoy them as a delightful chef’s snack. Another creative option is to combine the trimmings with some extra frosting, mix it really well, and roll them into delicious cake balls. You can then coat these cake balls in melted chocolate or extra powdered sugar for another treat.
To keep these mini pumpkin bundt cakes fresh, store them in an airtight container in the refrigerator. They will maintain their deliciousness for up to 1 week. If you wish to store them for a longer period, these cakes freeze exceptionally well. Place them in a freezer-safe container, and they will keep for up to 3 months. To enjoy them after freezing, simply transfer them to the refrigerator overnight to thaw completely.
Tips for Baking Perfect Mini Pumpkin Bundt Cakes
Achieving bakery-quality results with these mini bundt cakes is easier than you think, especially with a few key tips:
- Room Temperature Ingredients are Key: For your cream cheese frosting, ensure both the cream cheese and butter are at room temperature. This is critical for achieving a smooth, creamy texture free of lumps. Cold ingredients won’t emulsify properly, resulting in a separated or grainy frosting. Plan ahead by taking them out of the refrigerator a few hours before you start baking.
- Choose the Right Pumpkin: Always use pumpkin puree, not pumpkin pie filling. Pumpkin pie filling contains added spices and sweeteners that will alter the flavor and consistency of your cake batter significantly. Double-check the label!
- Don’t Overmix the Batter: When combining the cake mix, pumpkin puree, and cinnamon, mix only until just combined. Overmixing can develop the gluten in the flour, leading to a tougher, less tender cake. A few small lumps are perfectly fine.
- Grease Your Pan Generously: Mini bundt pans have intricate designs, which can make cakes prone to sticking. Use a high-quality non-stick baking spray, preferably one that contains flour, and ensure every crevice is coated. This helps the cakes release perfectly, preserving their beautiful shape.
- Cool Completely: Before assembling or frosting, ensure your cakes are completely cooled on a wire rack. Attempting to frost warm cakes will cause the frosting to melt and slide off.
- DIY Piping Bags: No professional piping bags? No problem! As mentioned in the recipe, a sturdy Ziploc bag makes an excellent substitute. Fill a corner with frosting, snip a tiny bit off the very tip, and you’re ready to pipe delicate leaves and vines. Start with a very small snip; you can always make it larger if needed.
- Creative Decorating: Feel free to get creative with your decorations! Besides the wafer cookie stems, you could use a small pretzel stick for a more rustic look, or even tiny candy pumpkins. Edible glitter could add a magical touch.
Serving Suggestions for Your Festive Mini Bundt Cakes
These delightful mini pumpkin bundt cakes are a treat all on their own, but pairing them with the right accompaniments can elevate the experience even further.
- Warm Beverages: Serve them alongside a steaming mug of spiced apple cider, a creamy pumpkin spice latte, a rich hot chocolate, or a classic cup of coffee or tea. The warmth of the drink complements the comforting flavors of the cake beautifully.
- Ice Cream or Whipped Cream: For an extra indulgence, offer a dollop of vanilla bean ice cream or a swirl of freshly whipped cream on the side. A sprinkle of cinnamon on top of the cream would be a lovely finish.
- Dessert Platter: Arrange these mini bundt cakes on a beautiful autumn-themed dessert platter with other seasonal treats like candied nuts, caramel apples, or a selection of cheeses for a more elaborate spread.
- Holiday Gatherings: They are ideal for Thanksgiving, Halloween parties, or any fall celebration where individual portions are convenient and appreciated. Their festive appearance makes them a natural centerpiece.
- Afternoon Treat: Simple yet elegant, these mini cakes are perfect for an afternoon pick-me-up or a casual dessert after a family meal.
Want More Delicious Fall Recipes?
If you’ve enjoyed these Mini Pumpkin Bundt Cakes and are craving more autumn-inspired delights, explore these other fantastic recipes that celebrate the flavors of the season:
- Mini Pumpkin Cheesecakes
- Baked Pumpkin Donuts
- Pumpkin Swirl Brownies
- Frosted Soft Pumpkin Cookies
- Pumpkin Streusel Bars
- Pumpkin Roll
- Chocolate Pumpkin Snack Cake
- Pumpkin Honey Bun Cake
- Pumpkin Bundt Cake
- Pumpkin Poke Cake
- 40 Best Pumpkin Recipes
- Thanksgiving Charcuterie Board
Mini Pumpkin Bundt Cakes
A fun and tasty Fall treat, these Mini Pumpkin Bundt Cakes are a great single serving dessert that are cute, flavorful and easy!
Pin Recipe
Ingredients
- 1 box spice cake mix
- 15 ounce can pumpkin puree (not pumpkin pie filling)
- 1 teaspoon ground cinnamon
- 16 ounces (2 blocks) cream cheese, room temperature
- Orange and green food coloring
- ½ cup salted butter, softened to room temperature
- 1 teaspoon vanilla extract
- 2 cups powdered sugar (plus extra for dusting)
- 3 wafer cookies (each cut into half)
- ½ cup semi-sweet chocolate chips
Instructions
- Preheat the oven to 350°F (175°C). Spray a mini bundt pan generously with non-stick baking spray (a kind with flour works best).
- In a large bowl, combine the cake mix, pumpkin puree, and cinnamon. Do not add any other ingredients suggested on the cake mix box. Using an electric hand mixer, start on low speed and gradually increase. Mix until just combined; the batter will be very thick.
- Spoon the mixture evenly into the mini bundt pan cavities, filling each about ⅔ full.
- Bake for 15 to 20 minutes, or until a toothpick inserted into the center comes out clean.
- Remove the cakes from the pan and allow them to cool completely on a wire rack.
- While the cakes are cooling, prepare the cream cheese frosting by creaming together the softened butter and cream cheese until smooth and fluffy.
- Gradually add the vanilla extract and powdered sugar to the cream cheese mixture, mixing until the frosting is smooth and free of lumps.
- Once the cakes are cool, carefully trim the flat side of each cake so that they are completely flat and will fit together well. Discard trimmings or enjoy them as a snack.
- Divide the cream cheese frosting into 3 bowls. Mix green food coloring into one bowl for leaves and vines.
- Mix orange food coloring into another bowl for the pumpkin color, leaving the third bowl of frosting plain (white).
- Spread a little of the plain (white) frosting on the flat side of one cake half.
- Press the flat side of another cake half onto the frosted side, creating a full rounded pumpkin shape. Repeat for all cakes.
- Melt the semi-sweet chocolate chips in a bowl. Dip the top of each wafer half into the melted chocolate. Place them on parchment paper and refrigerate for 5 minutes to harden.
- Meanwhile, lightly sprinkle the assembled cakes with some powdered sugar for a snowy effect.
- Carefully place the hardened chocolate-covered wafer pieces into the top center of each pumpkin bundt cake to serve as the stem.
- Transfer the orange and green colored frosting into piping bags (or Ziploc bags with a snipped tip). Use the green frosting to pipe delicate leaves and vines around the stem, and the orange frosting to add decorative details to each pumpkin bundt cake.
Notes
- Ensure cream cheese and butter are at room temperature for smooth, lump-free frosting.
- A muffin tin can be used as an alternative if you don’t have a mini bundt pan (refer to the FAQ section above for details).
- Store-bought frosting can be used as a convenient substitute for homemade; ensure you have enough for the recipe.
- For piping without a professional bag, simply use a Ziploc bag. Push frosting to one corner, snip a small portion off the tip, and gently squeeze to pipe.
- These cakes can be frozen for up to 3 months; thaw overnight in the refrigerator.
- Always use pumpkin puree, not pumpkin pie filling, to avoid altering the taste and texture.
Nutrition (Estimated Per Serving)
Calories: 1060kcal | Carbohydrates: 125g | Protein: 10g | Fat: 60g | Sodium: 943mg | Fiber: 5g | Sugar: 91g
Nutritional Disclaimer
“The Country Cook” is not a dietician or nutritionist, and any nutritional information shared is an estimate. If calorie count and other nutritional values are important to you, we recommend running the ingredients through whichever online nutritional calculator you prefer. Calories and other nutritional values can vary quite a bit depending on which brands were used.
Did you make this recipe?
Share it on Instagram @thecountrycook and mention us #thecountrycook!
