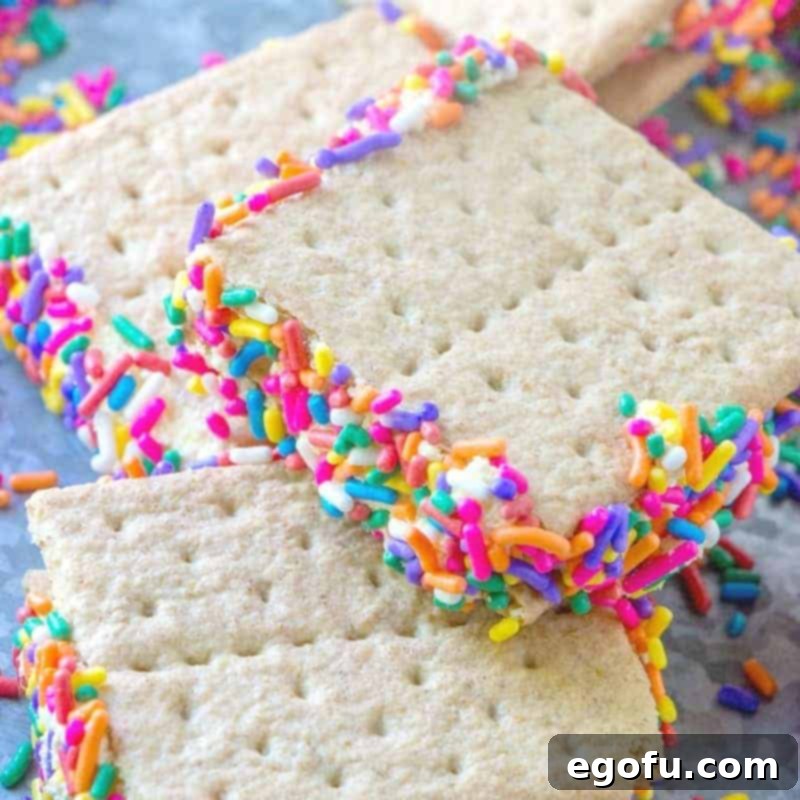
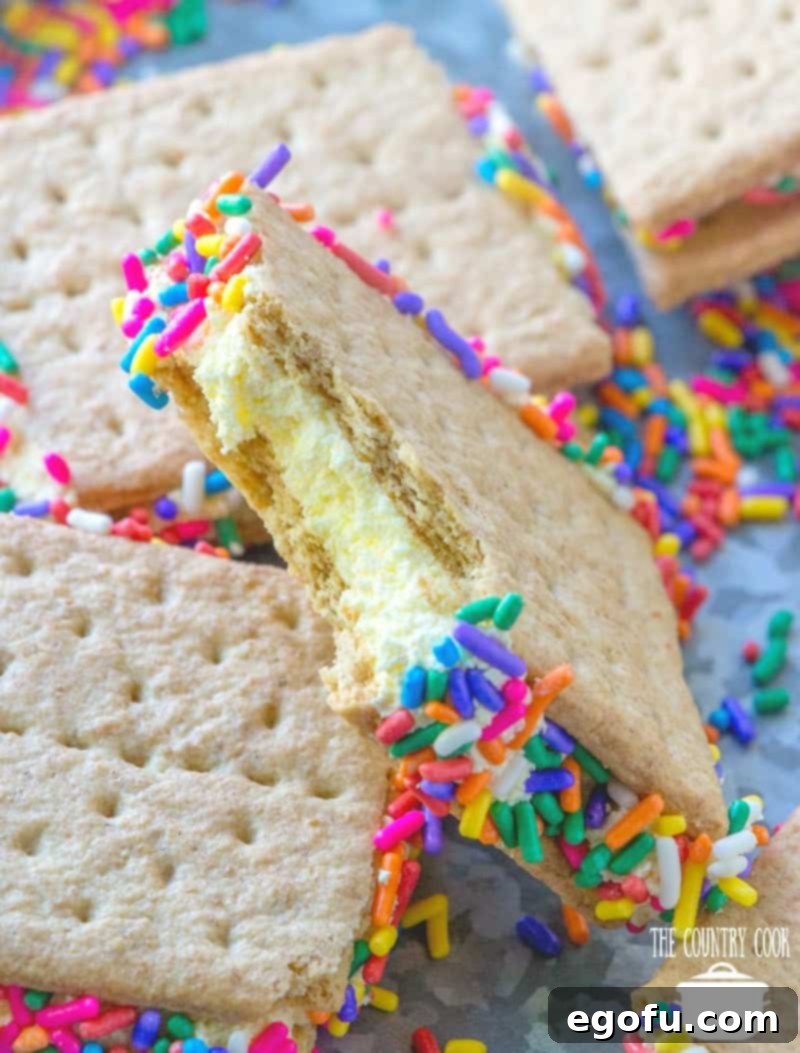
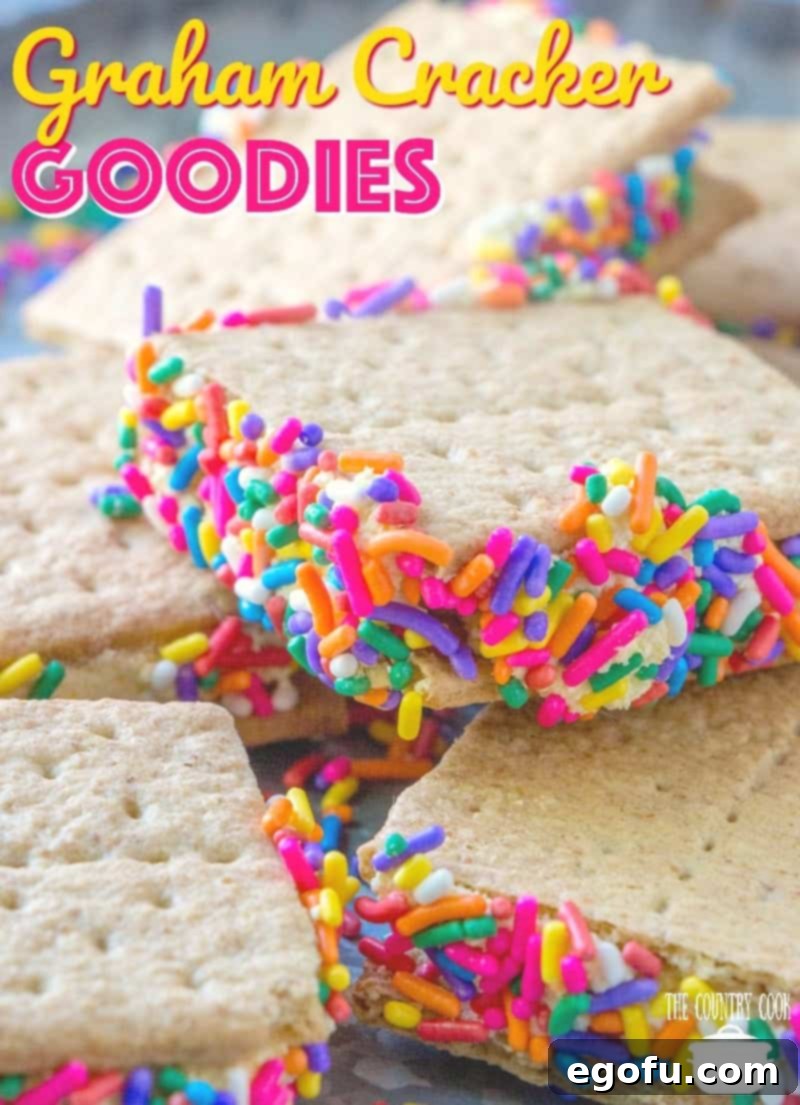
Graham Cracker Goodies are an easy no-bake treat! Graham crackers with a sweet, creamy filling made with whipped topping and instant pudding.
Graham Cracker Goodies: Your New Favorite No-Bake Summer Treat
Imagine a warm summer day, the sun shining, and the sweet relief of a chilled treat in your hand. That’s exactly what Graham Cracker Goodies offer! These delightful no-bake desserts are incredibly simple to make, requiring minimal effort and no oven at all. They combine the classic crunch of graham crackers with a luscious, creamy filling that tastes like a dream, making them an instant family favorite and the perfect solution for satisfying sweet cravings during those hot months. Get ready to create lasting memories and enjoy a truly irresistible snack that everyone will adore!
A Treasured Family-Favorite No-Bake Treat
Some of my most cherished childhood memories revolve around summer days spent outdoors. I’d hop on my bike first thing in the morning and practically live on it until dusk, only pausing for quick meals or a much-needed snack. My parents often fired up the grill, and we’d spend countless summer evenings laughing and eating under the open sky. It was a time of carefree joy, simple pleasures, and the comforting feeling of family togetherness. Now, as a parent myself, I find immense joy in recreating those simple, happy traditions with my own family.
And just like then, easy, delicious treats play a central role in our summer fun. There’s something truly special about a dessert that evokes happy memories and creates new ones with each bite. This particular recipe for Graham Cracker Goodies is more than just a dessert; it’s a taste of nostalgia, a sweet echo of those carefree days. Its effortless preparation means more time enjoying the sunshine and less time in the kitchen, making it truly ideal for busy family schedules and impromptu gatherings. It’s the kind of treat that brings everyone together, from the youngest helpers eager to dip sprinkles to the adults savoring a cool, creamy bite after a long day.
The Genius of Simplicity: Only Four Ingredients!
The true inspiration for these Graham Cracker Goodies comes from my Dad, a man who wasn’t known for his elaborate culinary prowess but certainly knew how to whip up a sweet delight. He had a knack for creating simple yet incredibly satisfying treats, often involving some kind of sweet filling sandwiched between graham crackers. His secret weapon? The freezer! He’d always stash his creations there, allowing us kids to grab a cold, refreshing snack whenever we needed a break from the summer heat.
Following in his footsteps, this recipe embraces ultimate simplicity. You only need four basic ingredients to assemble these delightful goodies, making them perfect for last-minute cravings, a fun activity with the kids, or simply a quick personal indulgence. The beauty of this recipe lies in its straightforward nature, proving that you don’t need a long list of fancy components to create something truly delicious and memorable. This minimalist approach not only saves time and effort but also ensures that even novice bakers can achieve perfect results every time. Gather your family, prepare for some fun, and don’t worry, your secret is safe if you sneak a few bites while no one’s looking!
Essential Ingredients for Your Graham Cracker Goodies:
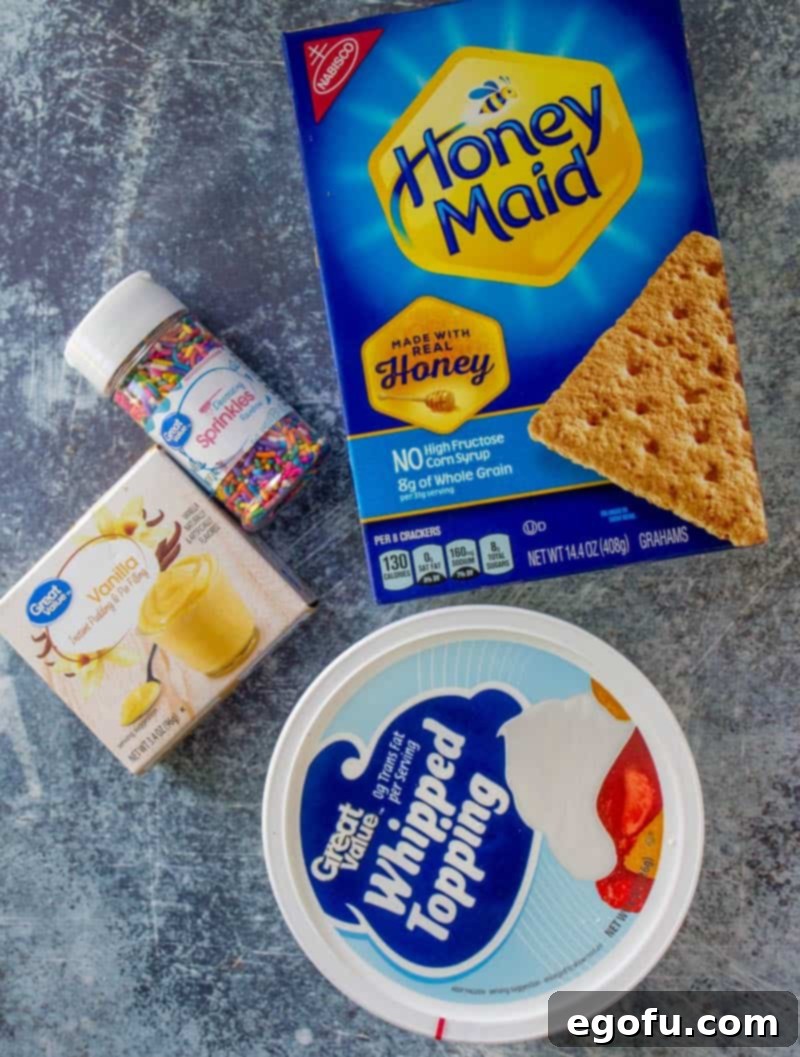
This recipe relies on a handful of readily available ingredients to create its signature creamy, sweet, and crunchy profile. Each component plays a crucial role in achieving the perfect balance of flavor and texture, ensuring a truly satisfying no-bake treat. Here’s what you’ll need to get started:
- Cool Whip (8 ounce tub), thawed: This acts as the luscious, airy base for our creamy filling. Ensure it’s completely thawed in the refrigerator before mixing to achieve a smooth consistency.
- Instant Vanilla Pudding (3.4 ounce box): The key to both flavor and structure! This powder not only infuses a delicious vanilla taste but also thickens and stabilizes the whipped topping, preventing it from becoming icy when frozen.
- Graham Cracker Squares (approximately 30): The quintessential crunchy outer layer. These provide the perfect structural integrity and a delightful counterpoint to the soft filling.
- Sprinkles: For that extra touch of fun, color, and a slight textural crunch! Any variety or color will do, making these treats appealing to all ages and adaptable for any occasion.
With these simple items, you’re well on your way to creating a batch of irresistible Graham Cracker Goodies that are as easy to make as they are delicious to eat!
How to Craft Perfect Graham Cracker Goodies: Step-by-Step Instructions
Creating these delightful no-bake treats is incredibly straightforward, perfect for a quick project with kids or a relaxed afternoon in the kitchen. The process is designed for ease and enjoyment, ensuring delicious results every time. Follow these simple steps for a batch of irresistible goodies:
1. Prepare the Creamy Filling:
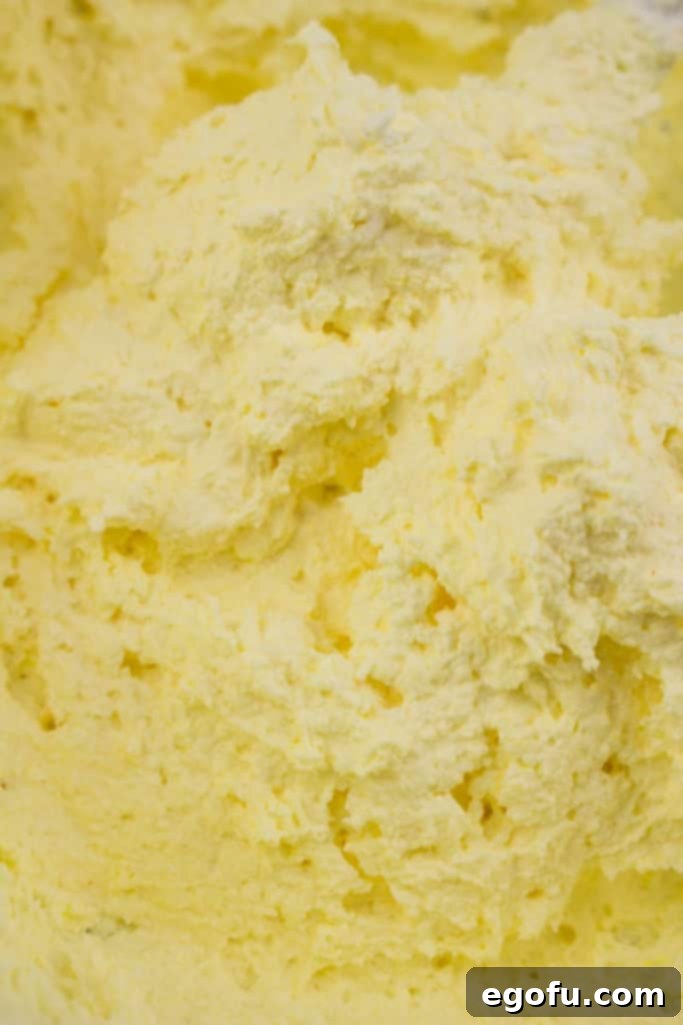
In a spacious mixing bowl, gently combine your thawed Cool Whip and the dry instant vanilla pudding mix. It’s crucial to use instant pudding, not the cook-and-serve variety, as it contains the necessary ingredients to thicken the mixture without heat. Stir these two ingredients together using a spoon or spatula until the pudding powder is completely incorporated into the whipped topping. The mixture should become smooth, slightly thicker, and uniform in color, with no grainy texture from the pudding mix remaining. This magical combination, by the way, also makes an incredibly delicious and easy frosting for cakes!
2. Assemble the Graham Cracker Sandwiches:
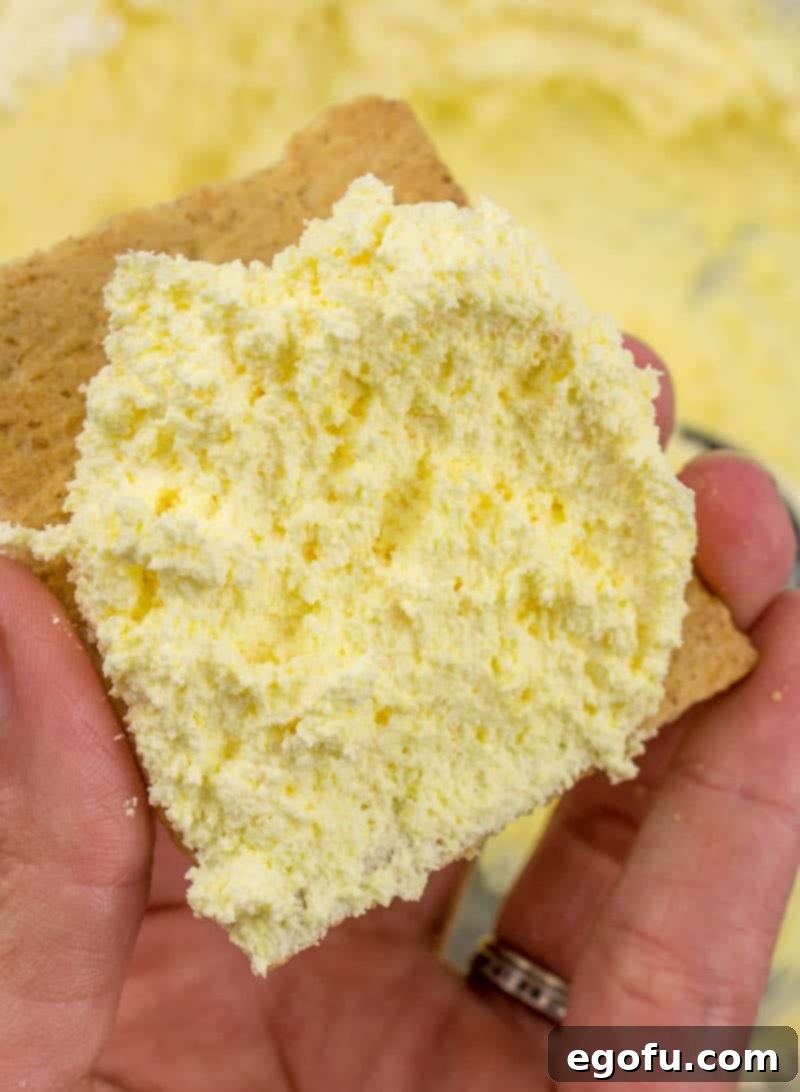
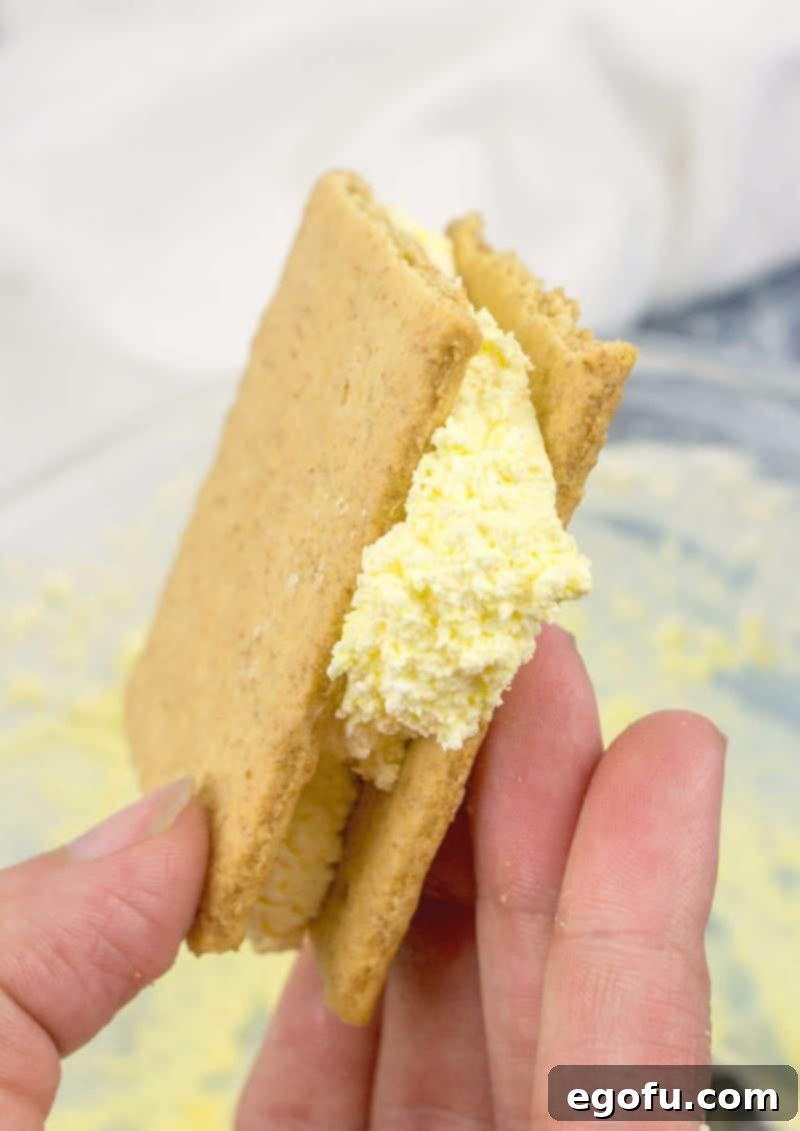
Take one graham cracker square and spread about 1 to 1 1/2 tablespoons of your prepared creamy filling evenly onto its surface. While you can measure precisely for consistency, we often just eyeball it for speed and simplicity! The goal is an even layer that will spread nicely across the cracker. Then, carefully place another graham cracker square directly on top of the filling, creating a sandwich. Gently press down on the top cracker just enough so that a small amount of the delicious filling slightly oozes out from the sides. This slight overflow is key for the next step!
3. Decorate with Sprinkles:
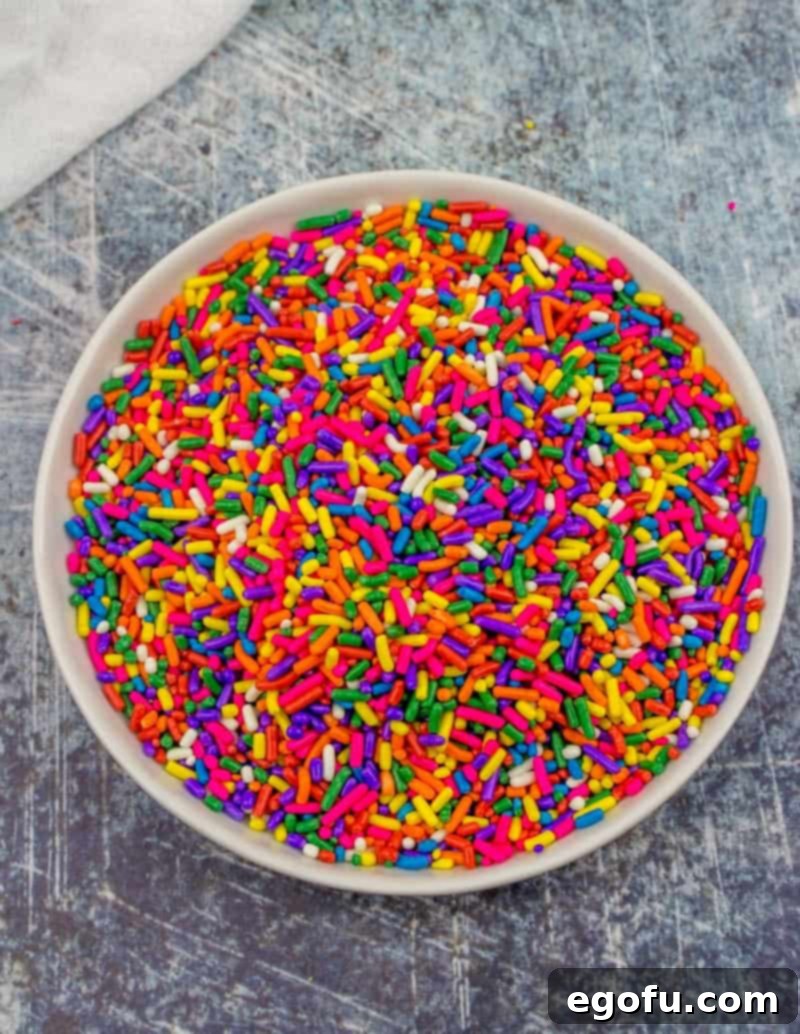
The slightly oozing filling from the previous step is precisely what you need for the sprinkles to adhere! Take each assembled graham cracker goodie and carefully dip each of its four sides into a shallow dish of sprinkles. This step is particularly fun for kids, and I often pour the sprinkles onto wide plates or into shallow bowls to make it easier for little hands to manage without making too much mess. The sprinkles not only add a burst of vibrant color and a festive look but also a delightful textural contrast that enhances the eating experience.
4. Chill and Enjoy:
Once decorated, carefully place your completed graham cracker goodies onto a baking sheet, ensuring they don’t touch each other too much. Continue this process until all your treats are assembled. This recipe typically yields around 15 goodies, though the exact number can vary depending on how generously you fill each one. Once your tray is full, transfer it to the freezer for at least one to two hours. This chilling time is absolutely crucial as it allows the creamy filling to firm up completely, transforming your creation into a delightful, ice cream sandwich-like dessert. Serve them cold and relish the refreshing sweetness!
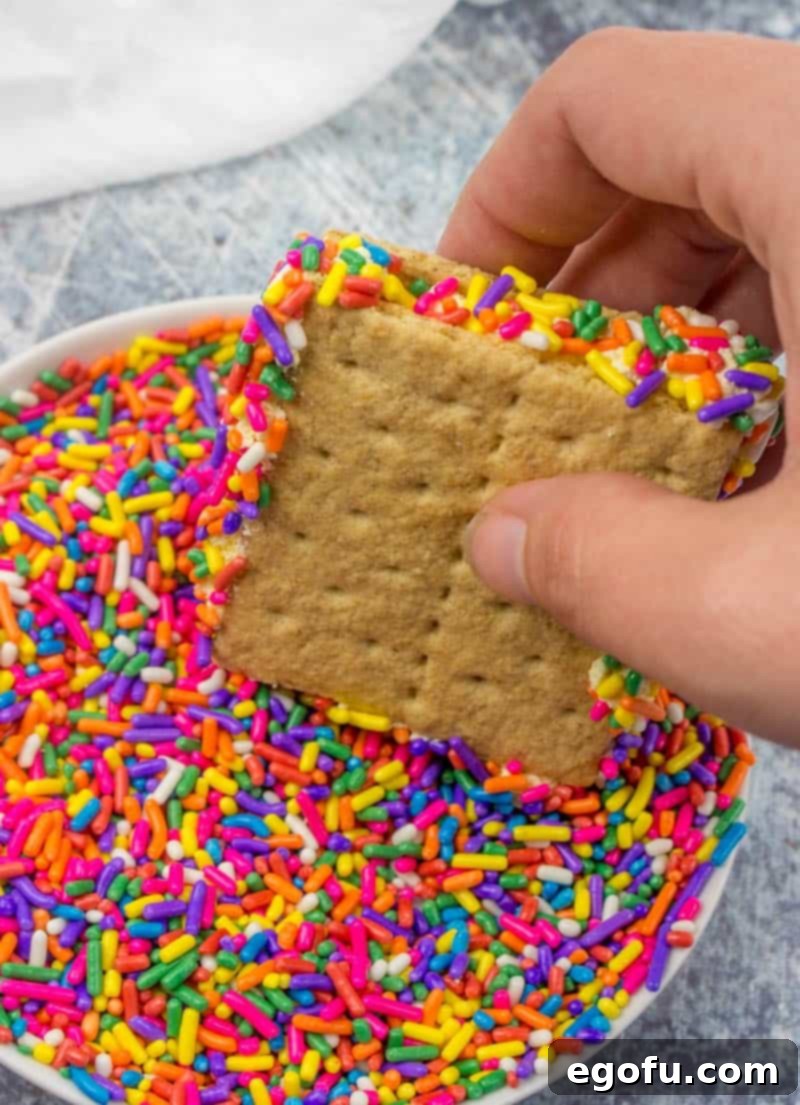
These goodies are absolutely perfect for those scorching summer days, tasting wonderfully like a classic ice cream sandwich without all the fuss of making one from scratch. Their cool, creamy texture is incredibly refreshing and satisfying. Any leftover treats can be stored for future enjoyment in an airtight, freezer-safe container. To prevent them from sticking together and preserve their perfect shape, be sure to separate the layers with wax paper. This ensures that each goodie remains pristine and ready to enjoy whenever a craving strikes. It’s a fun, easy, and undeniably delicious treat that adults and kids alike will adore, making it a staple for any warm-weather occasion!
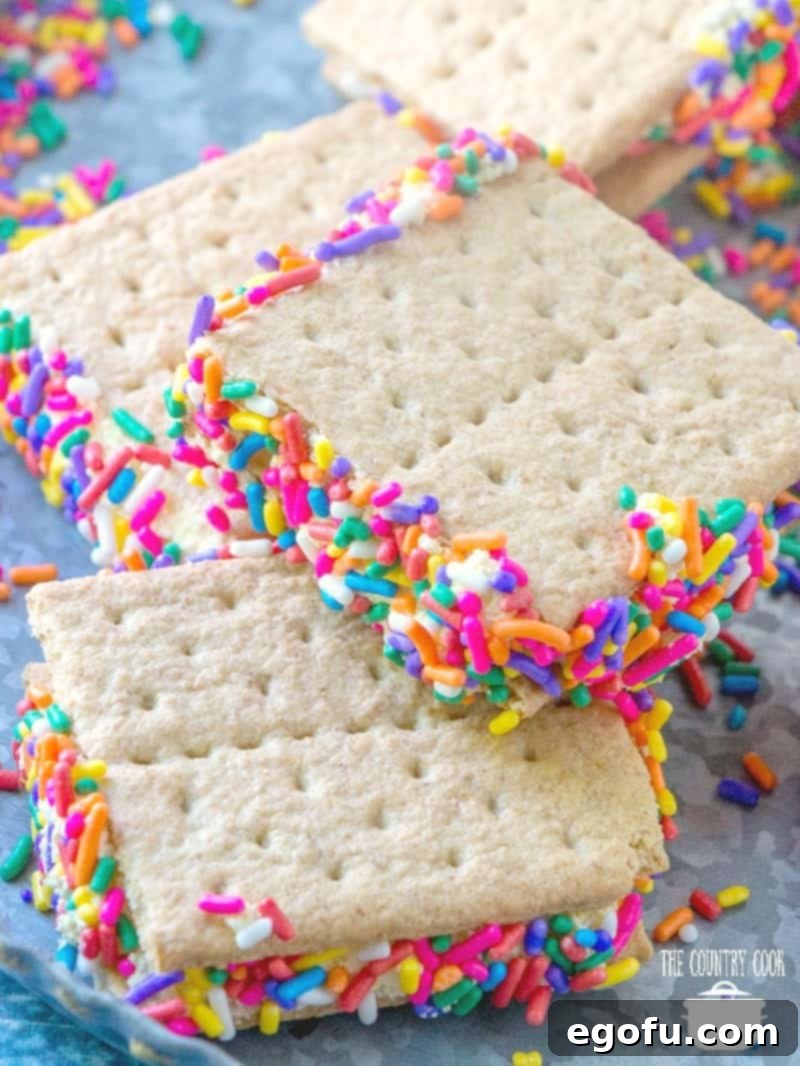
Graham Cracker Goodies: Tips, Tricks, and Delicious Variations
Expert Tips for Crafting the Best Goodies:
- Thaw Cool Whip Properly: For the smoothest and most homogenous filling, ensure your whipped topping is completely thawed in the refrigerator. Rushing this process (e.g., using a microwave) can result in a watery or lumpy filling.
- Don’t Overmix the Filling: Mix the Cool Whip and instant pudding just until the pudding powder is fully combined and no graininess remains. Overmixing can cause the whipped topping to lose its airy texture.
- Creative Sprinkle Application: While dipping is a fun and easy method, feel free to get creative! You can also gently roll the entire edge of the sandwich in sprinkles or simply sprinkle them over the top for a different look. Consider using themed sprinkles for holidays or special events.
- Freezing is Absolutely Key: The dedicated freezer time is not an optional step; it’s what transforms these simple ingredients into a firm, delicious, and easy-to-handle treat that perfectly mimics an ice cream sandwich. Don’t skip it!
Delicious Variations to Try:
- Flavor Swap: The vanilla pudding is classic, but feel free to experiment! Instant chocolate pudding, banana cream pudding, cheesecake pudding, or even lemon for a zesty twist can all create unique and delightful variations.
- Topping Alternatives: Beyond sprinkles, the possibilities are endless! Consider rolling the edges in mini chocolate chips, crushed nuts (like peanuts or pecans), shredded coconut, or even a fine dusting of cocoa powder. For an extra indulgent touch, drizzle with chocolate syrup or caramel before freezing.
- Spice It Up: For a warm and cozy note, a tiny pinch of cinnamon, nutmeg, or pumpkin pie spice mixed into the pudding filling can add a surprisingly delicious depth of flavor.
- Fruity Twist: Gently fold in a small amount of finely diced fresh berries (strawberries, raspberries) into the filling. Be mindful that this might slightly increase the chilling time needed for the filling to fully firm up.
Frequently Asked Questions About Graham Cracker Goodies
Can I use homemade whipped cream instead of Cool Whip?
While Cool Whip works best for its stability and ability to hold up when frozen without becoming icy, you can try homemade whipped cream. However, for best results, ensure your homemade whipped cream is heavily stabilized (e.g., by adding a bit of cream cheese, powdered sugar, or a touch of unflavored gelatin) to prevent it from becoming too soft or melting quickly when frozen.
What other instant pudding flavors work well in this recipe?
Many instant pudding flavors can be deliciously substituted for vanilla! Popular choices include chocolate, butterscotch, banana cream, cheesecake, or even pistachio. Just remember that the key is to use *instant* pudding mixes, not the cook-and-serve varieties, as they provide the necessary thickening properties.
How long do Graham Cracker Goodies last in the freezer?
When stored properly in an airtight, freezer-safe container with wax paper used to separate the layers, these goodies can maintain their quality for up to 2-3 weeks. Beyond that, the graham crackers might start to absorb moisture and soften slightly, though they will still be edible.
Can I make these ahead for a party or gathering?
Absolutely! These treats are perfect for making ahead, which makes them ideal for parties, picnics, or potlucks. Prepare them a day or two in advance and keep them frozen until serving time. They travel well if kept chilled in a cooler with ice packs.
Are there gluten-free options for Graham Cracker Goodies?
Yes! Many brands now offer gluten-free graham crackers, which can be a fantastic substitute for traditional graham crackers. Combine these with your regular instant pudding mix and whipped topping for a delicious and accessible gluten-free version of this classic treat, ensuring everyone can enjoy them.
Craving More Easy & Delicious Recipes?
If you loved the simplicity, nostalgic charm, and delicious flavor of these Graham Cracker Goodies, you’re in for a treat with these other fantastic recipes from our collection. They’re perfect for satisfying your sweet tooth with minimal effort!
- Graham Cracker Cake
- Strawberry Icebox Cake
- Graham Cracker Toffee
- Beach Party Cupcakes
- No-Bake Chunky Monkey Cake
Graham Cracker Goodies Recipe Card
Graham Cracker Goodies
Graham Cracker Goodies are an easy no-bake treat! Graham crackers with a sweet, creamy filling made with whipped topping and instant pudding.
Rating: 5 out of 5 stars (Based on 4 Reviews)
Print Recipe |
Pin Recipe |
Rate this Recipe
Prep Time: 10 minutes
Total Time: 10 minutes (plus freezing time)
Servings: 15 goodies
Author: Brandie Skibinski
Ingredients
- 8 ounce tub whipped topping, thawed (Cool Whip)
- 3.4 ounce box instant vanilla pudding mix
- 30 graham cracker squares
- Sprinkles
Instructions
- In a bowl, combine thawed Cool Whip and dry instant vanilla pudding mix.
- Stir thoroughly until pudding is completely combined and smooth, ensuring no graininess remains.
- Spread about 1 1/2 tablespoons of the creamy filling onto one graham cracker square.
- Place another graham cracker square on top and gently press down until some filling slightly oozes out the sides.
- Take each graham cracker goodie and dip each of the four sides into sprinkles, using the oozed filling as an adhesive.
- Place the completed goodies onto a cookie sheet.
- Continue assembling until all your goodies are finished (yields approximately 15).
- Place the cookie sheet in the freezer for at least 1-2 hours, or until thoroughly firm.
- Serve cold and enjoy your refreshing no-bake treat!
Video Tutorial
Notes
Any leftover Graham Cracker Goodies can be kept frozen in an airtight, freezer-safe container. To prevent them from sticking together, always use wax paper to separate the layers.
Course: Dessert
Cuisine: American
Nutrition Information
Calories: 117kcal | Carbohydrates: 20g | Protein: 1g | Fat: 3g | Sodium: 143mg | Sugar: 11g
Nutritional Disclaimer
“The Country Cook” is not a dietician or nutritionist, and any nutritional information shared is an estimate. If calorie count and other nutritional values are important to you, we recommend running the ingredients through whichever online nutritional calculator you prefer. Calories and other nutritional values can vary quite a bit depending on which brands were used.
Did you make this recipe? Share it on Instagram @thecountrycook and mention us #thecountrycook!
Originally published: November 2011
Updated photos and republished: July 2019
