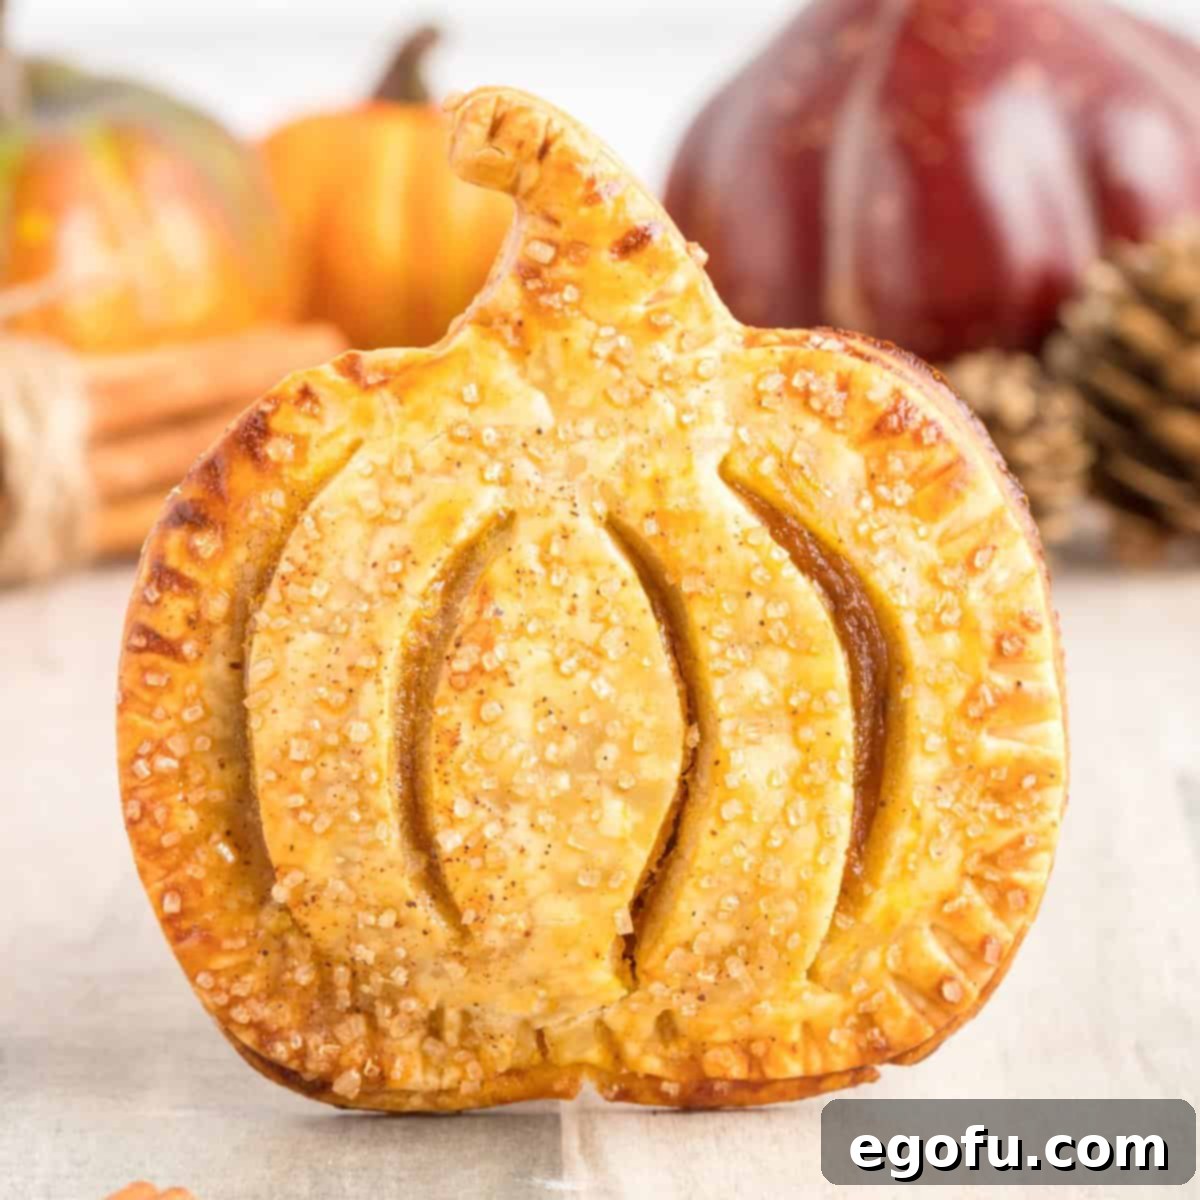
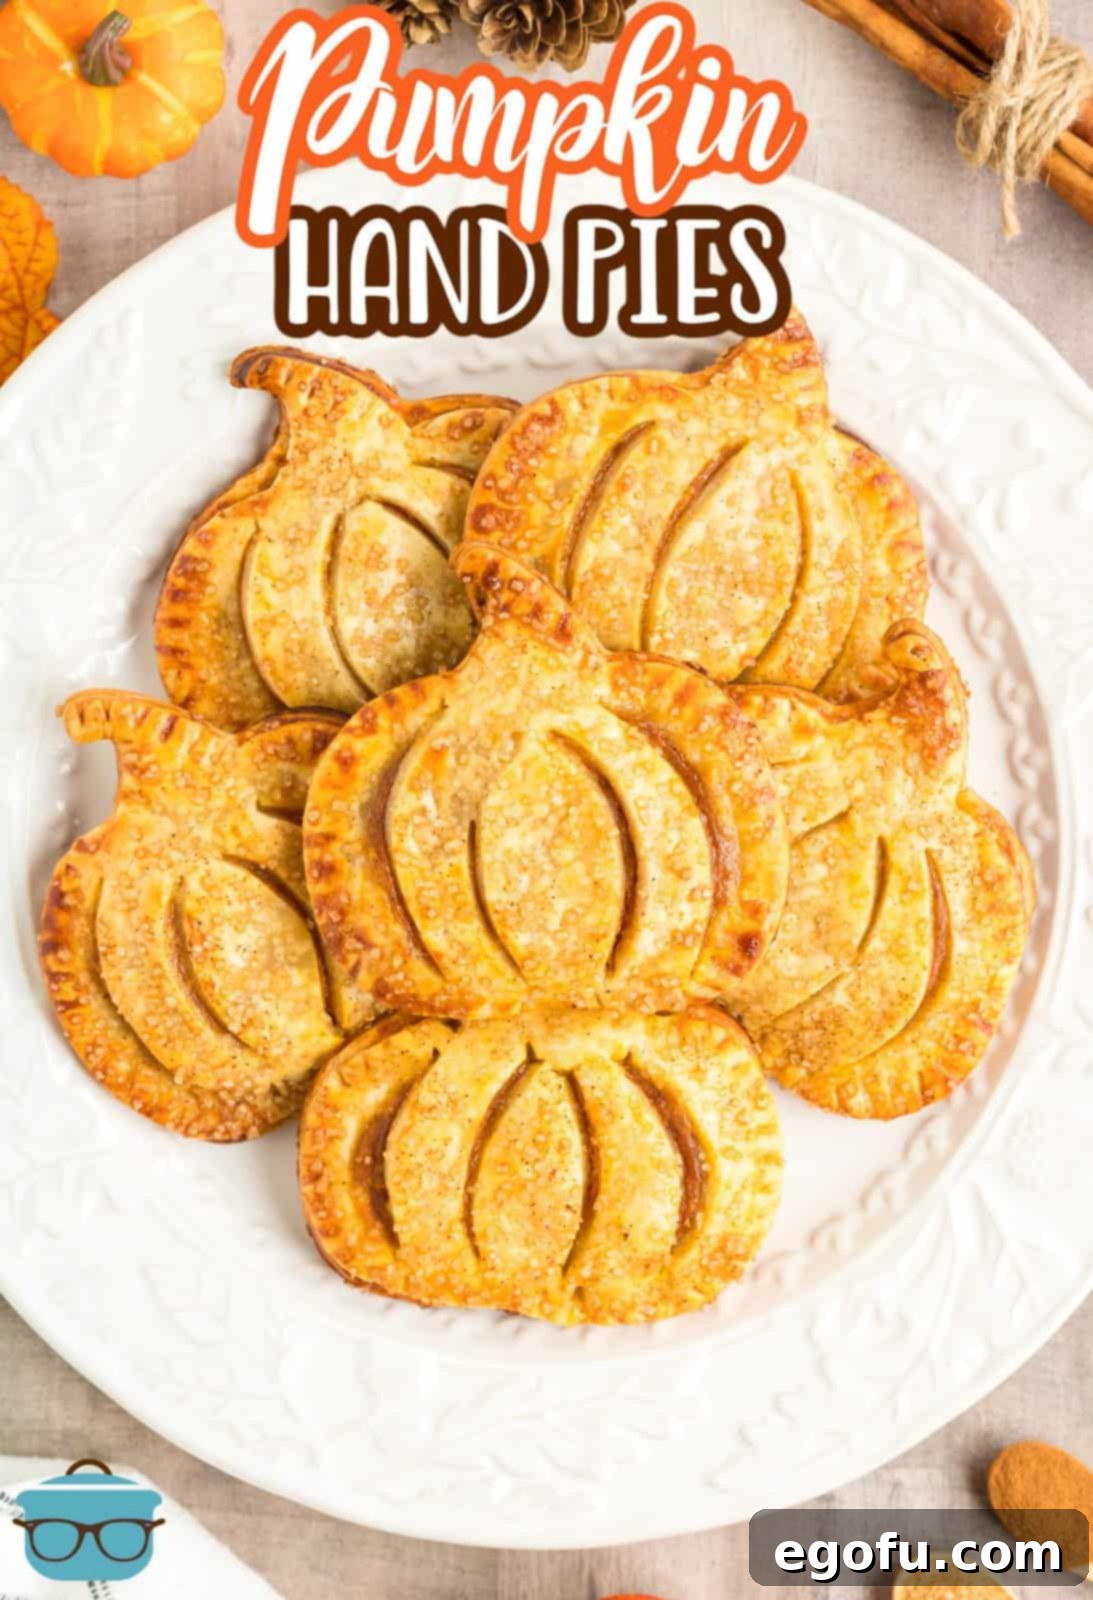
Experience the ultimate taste of autumn with these delightful Pumpkin Hand Pies. Crafted for convenience and bursting with flavor, these single-serving treats are a celebration of Fall baking, making them a perfect dessert for any occasion. Forget the fuss of traditional pies; these handheld wonders offer all the rich, spiced goodness in a charming, portable package.
Delightful Pumpkin Hand Pies: Your Go-To Fall Treat
There’s something uniquely comforting about a freshly baked pie, especially when the crisp air of autumn settles in. But what if you could enjoy that same warmth and flavor in a convenient, individual serving? Enter the Pumpkin Hand Pie – a truly irresistible creation that has quickly become a personal favorite. Having explored various hand pie recipes, from the sweet burst of blueberry and the classic comfort of apple to festive cherry versions, it was only natural to embrace the quintessential flavor of fall: pumpkin. These Pumpkin Hand Pies are not just super fun to make; they’re incredibly easy and unbelievably delicious, designed to bring a smile to every face.
What makes these pumpkin hand pies truly special is their perfect balance of simplicity and rich flavor. With a minimal list of readily available ingredients, you can whip up a batch in surprisingly little time, making them an ideal choice for last-minute gatherings or a spontaneous craving. Each pie is generously filled with a luscious, velvety pumpkin pie filling – a homemade blend that ensures a depth of flavor unmatched by store-bought alternatives. The golden, flaky crust, often adorned with a sprinkle of coarse sugar, adds a delightful crunch and extra sweetness, elevating the entire experience.
Whether you’re hosting a bustling party, a cozy family gathering, or preparing an impressive dessert spread for your Thanksgiving feast, these pumpkin hand pies are guaranteed to be a hit. Their individual size makes them easy to serve and even easier to devour, ensuring they won’t last long on any dessert table. Get ready to impress your guests and treat your loved ones to a taste of autumn that they’ll ask for again and again.
Frequently Asked Questions About Pumpkin Hand Pies
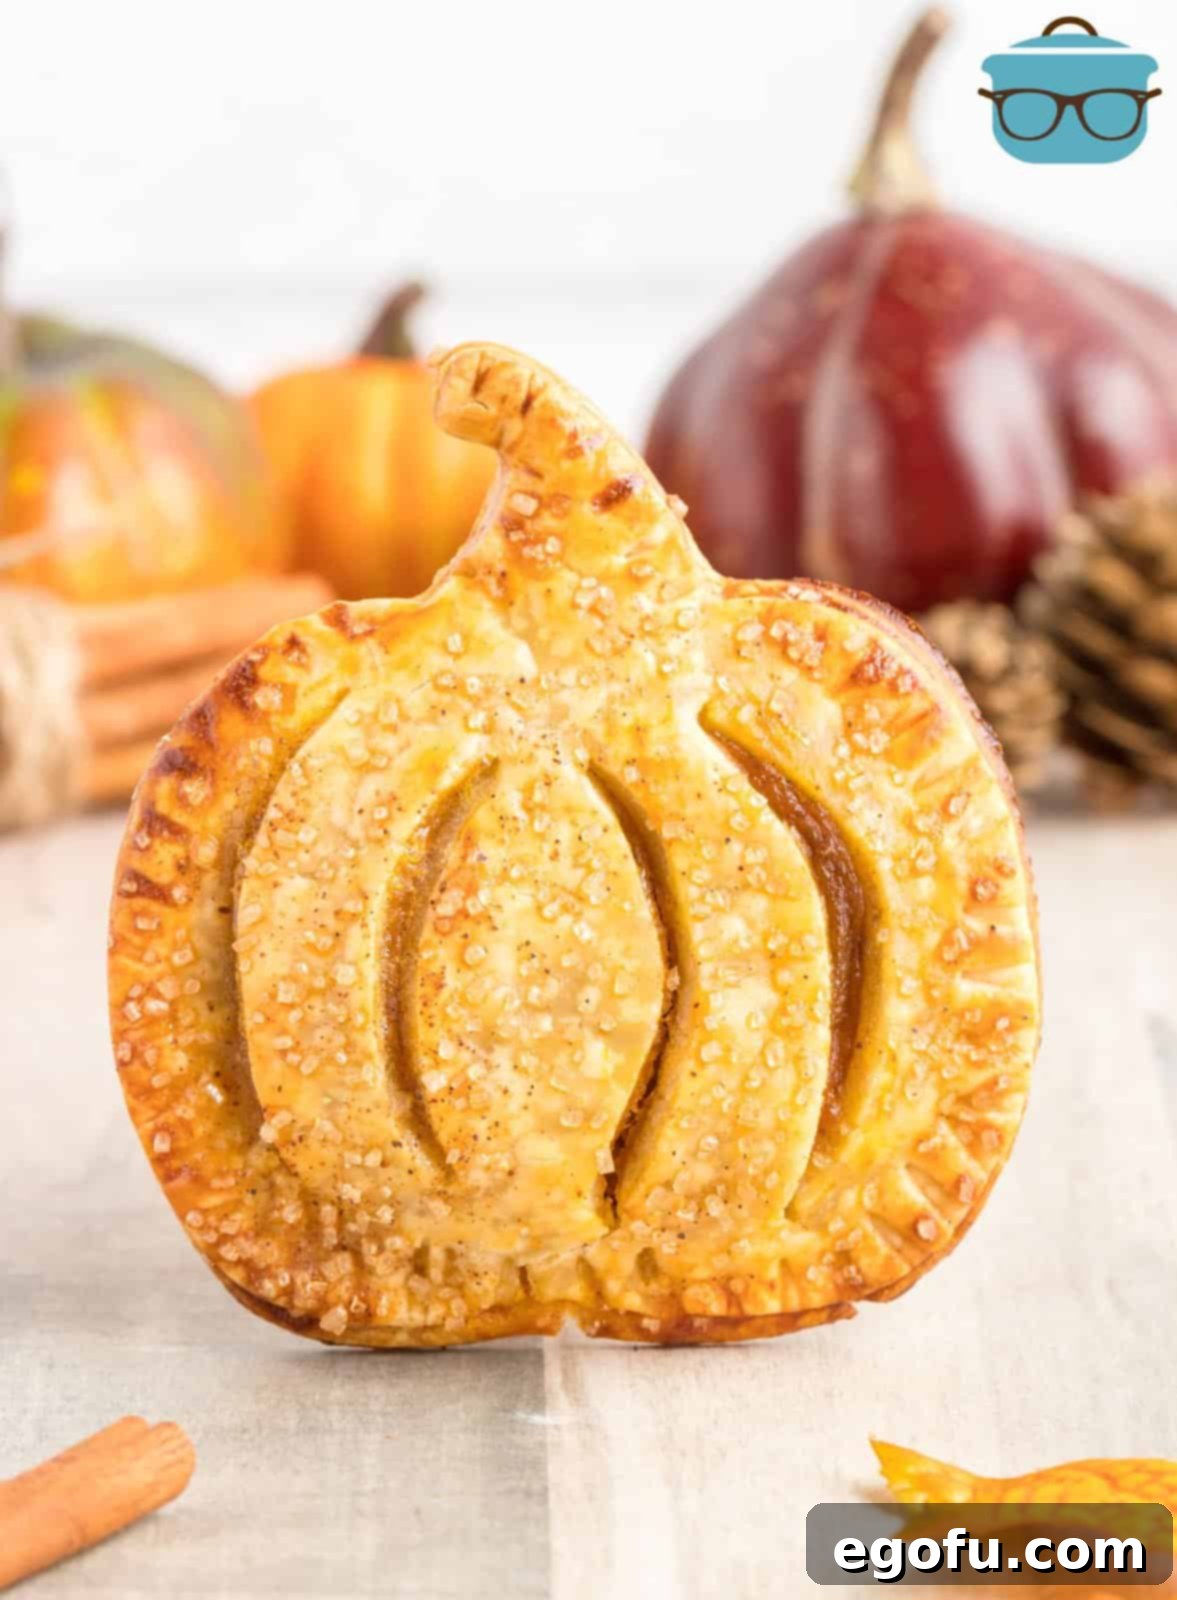
No pumpkin-shaped cookie cutter? No problem at all! While the pumpkin shape adds a festive touch, the true magic of these hand pies lies in their incredible flavor. You can absolutely use any 3 1/2-inch round cookie cutter or biscuit cutter you have on hand. Don’t limit yourself – heart shapes, stars, or even simple squares cut with a knife will work beautifully. The key is maintaining a consistent size so they bake evenly. Feel free to get creative with your shapes; it’s all about enjoying a delicious treat!
Yes, cutting slits in the top crust of your hand pies is an absolutely essential step that you should not skip. This isn’t just for aesthetics, although it does add a lovely touch to the finished product. The primary reason for these slits is to act as vents, allowing steam to escape from the pies as they bake in the oven. Without these vents, the trapped steam would build pressure, causing your beautifully crafted pies to potentially burst open, creating a messy situation and compromising their structure. A few small, curved slits are all it takes to prevent this, ensuring a perfectly baked and intact hand pie every time.
No, it is highly recommended that you do not use store-bought pumpkin pie filling for this recipe. While convenient, pre-made pie filling is typically much wetter and has a different consistency compared to pure pumpkin puree. Using it would result in a filling that is too runny and would likely ooze out of the crust during baking, creating a soggy mess. For the best results and a perfectly set, flavorful filling, it’s crucial to use plain pumpkin puree and prepare the homemade filling as specified in the recipe. This allows for control over the moisture content and spice balance, guaranteeing a delicious outcome.
Absolutely! This recipe yields a small batch of 9 pumpkin hand pies, which is perfect for a small family or intimate gathering. However, if you’re planning a larger party, a holiday celebration, or simply want more delicious treats to enjoy throughout the week, this recipe can easily be doubled. Simply multiply all the ingredients by two, and you’ll be set to make 18 hand pies. When doubling, you may need to bake in batches to avoid overcrowding your baking sheets, ensuring that each pie bakes evenly to golden perfection. It’s a fantastic way to ensure there are enough for everyone – and maybe even some leftovers!
Using coarse sugar on top of these hand pies is completely optional, but it’s a highly recommended addition for both flavor and texture. The coarse sugar provides a wonderful extra layer of sweetness and a delightful sparkle, enhancing their visual appeal. More importantly, it adds a satisfying little crunch with every bite, contrasting beautifully with the flaky crust and creamy filling. If you don’t have coarse sugar, you can substitute it with decorators sugar or turbinado sugar for a similar effect. If you prefer a less sweet topping or simply don’t have it, the pies will still be delicious without it.
Yes, absolutely! While refrigerated pie crusts offer fantastic convenience, making your own homemade pie crust for these hand pies is a wonderful option that can add an extra layer of flavor and flakiness. The key is to ensure you prepare enough dough to yield the equivalent of two store-bought pie crusts. This usually means a standard double-crust pie recipe. Remember to keep your dough chilled and avoid overworking it for the best, most tender results. If you’re a seasoned baker or simply enjoy the process, a homemade crust will certainly make these hand pies even more special.
Yes, these pumpkin hand pies are excellent for making ahead, which makes them perfect for busy schedules or holiday meal prep. You can assemble them up to the point where you would normally apply the egg wash and sugar. Once assembled, arrange the unbaked pies on a parchment-lined baking sheet. Cover them tightly with plastic wrap or aluminum foil, or place them in an airtight container, and store them in the refrigerator for up to 2 days. For longer storage, you can freeze the assembled, unbaked pies. Flash freeze them on a baking sheet until firm, then transfer them to a freezer-safe bag, where they’ll keep for up to 1-2 months. When ready to bake, you can often bake them directly from frozen, adding a few extra minutes to the baking time.
Proper storage ensures your delicious pumpkin hand pies remain fresh and enjoyable. Any leftover baked hand pies should be stored in an airtight container in the refrigerator, where they will keep well for up to 4 days. If you’d like to enjoy them warm, they can be easily reheated in the microwave for a quick treat. For longer storage, these hand pies also freeze beautifully. To prevent freezer burn, wrap each individual pie tightly in plastic wrap, then an additional layer of aluminum foil, and finally place them in a freezer-safe bag. They can be stored in the freezer for up to 2-3 months. When reheating from frozen, you can use the microwave for a softer texture, or warm them in the oven or air fryer for a crispier crust.
Essential Ingredients for Perfect Pumpkin Hand Pies
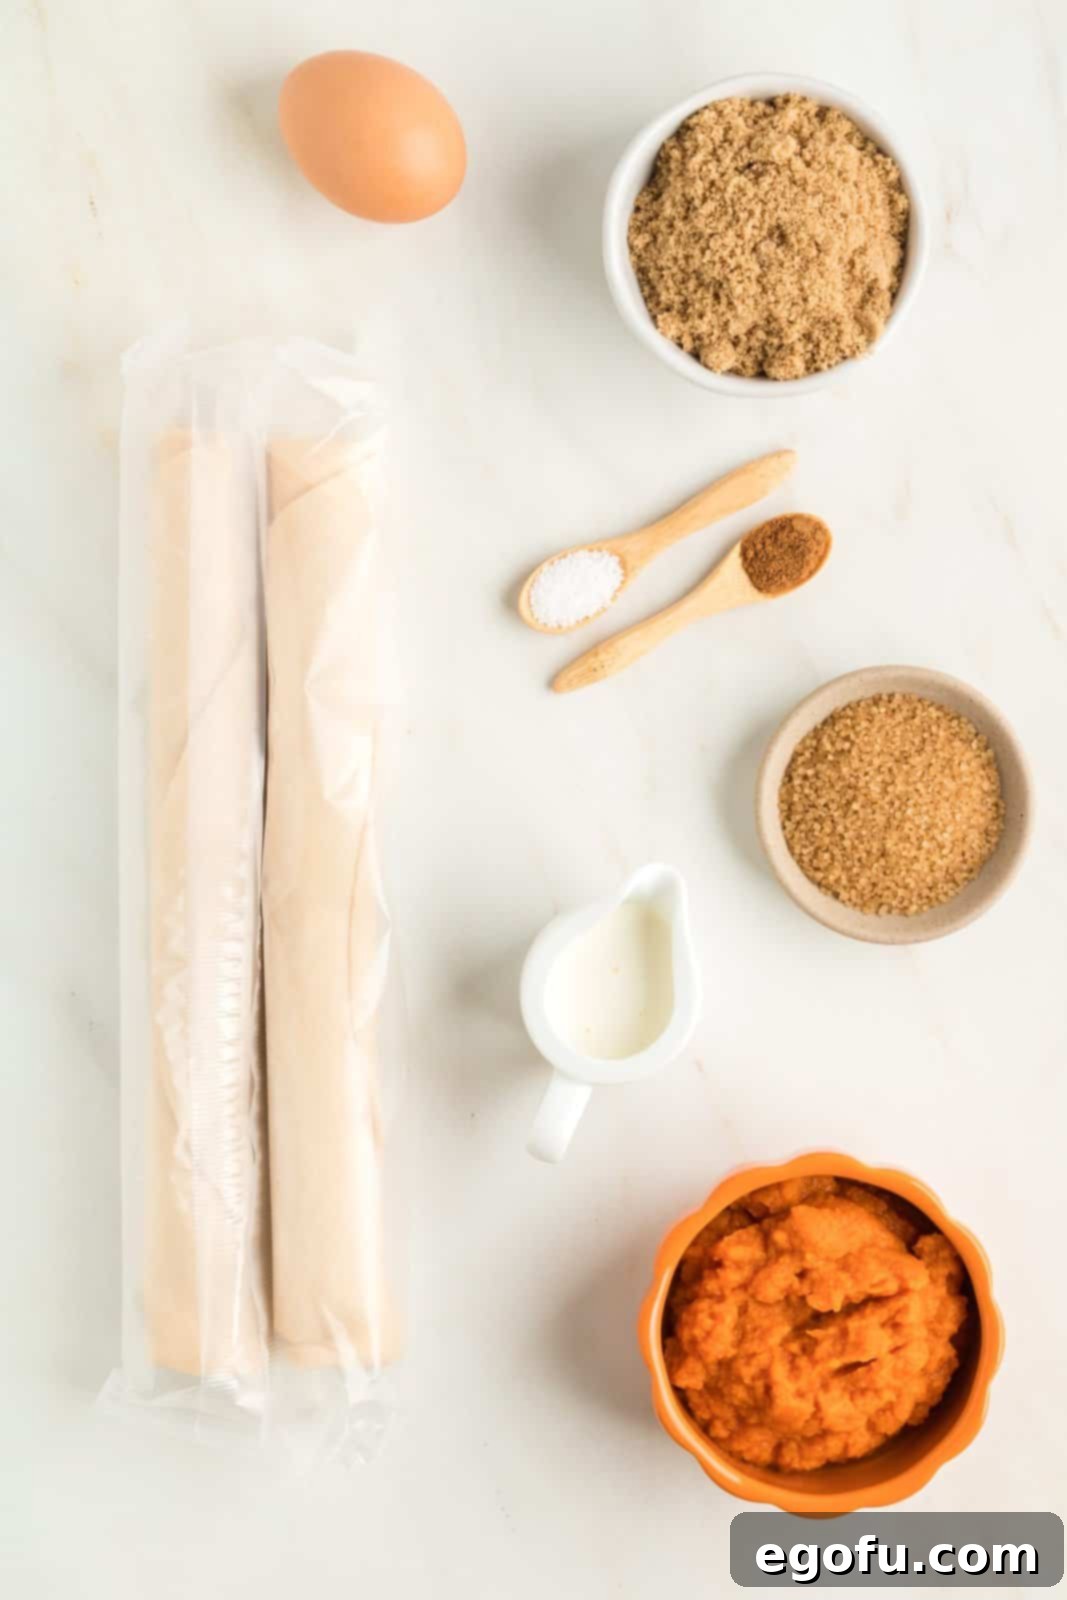
Creating these delightful pumpkin hand pies requires a handful of simple ingredients, each playing a crucial role in achieving that perfect balance of flaky crust and creamy, spiced filling. Here’s what you’ll need:
- Refrigerated Pie Crust: The ultimate shortcut for a quick and easy dessert, ensuring a perfectly flaky foundation. You’ll need one (2-count) package.
- Pumpkin Puree: The star of our filling! Make sure to use pure pumpkin puree, not pumpkin pie filling, which contains added spices and sweeteners and has a different consistency.
- Light Brown Sugar: This adds a rich, caramel-like sweetness and a touch of moisture to the pumpkin filling, enhancing its depth of flavor.
- Heavy Cream: Essential for a smooth, luscious, and truly creamy pumpkin filling, providing a luxurious mouthfeel.
- Pumpkin Pie Spice: The iconic flavor of Fall! This blend of cinnamon, nutmeg, ginger, and cloves gives the filling its signature warm, aromatic taste. We’ll use it divided for the filling and an optional topping.
- Salt: Just a pinch of salt helps to balance the sweetness and enhances all the other flavors in the filling.
- Egg: A single large egg is used to create an egg wash, giving the pies a beautiful golden-brown sheen and helping the coarse sugar adhere.
- Coarse Sugar (optional): For that extra special touch! Coarse sugar provides a delightful sparkle and a pleasant crunch on top of the baked pies. Turbinado or decorators sugar can be used as alternatives.
Crafting Your Pumpkin Hand Pies: A Step-by-Step Guide
Follow these detailed steps to create your own batch of irresistible Pumpkin Hand Pies, perfect for any autumn gathering or a cozy treat at home.
Step 1: Prepare Your Workstation. Begin by preheating your oven to a steady 400°F (200°C). This ensures your oven is at the correct temperature when your pies are ready to bake. Next, prepare two large baking sheets by lining them with parchment paper. This prevents sticking and makes for easy cleanup. Set them aside while you prepare the dough.
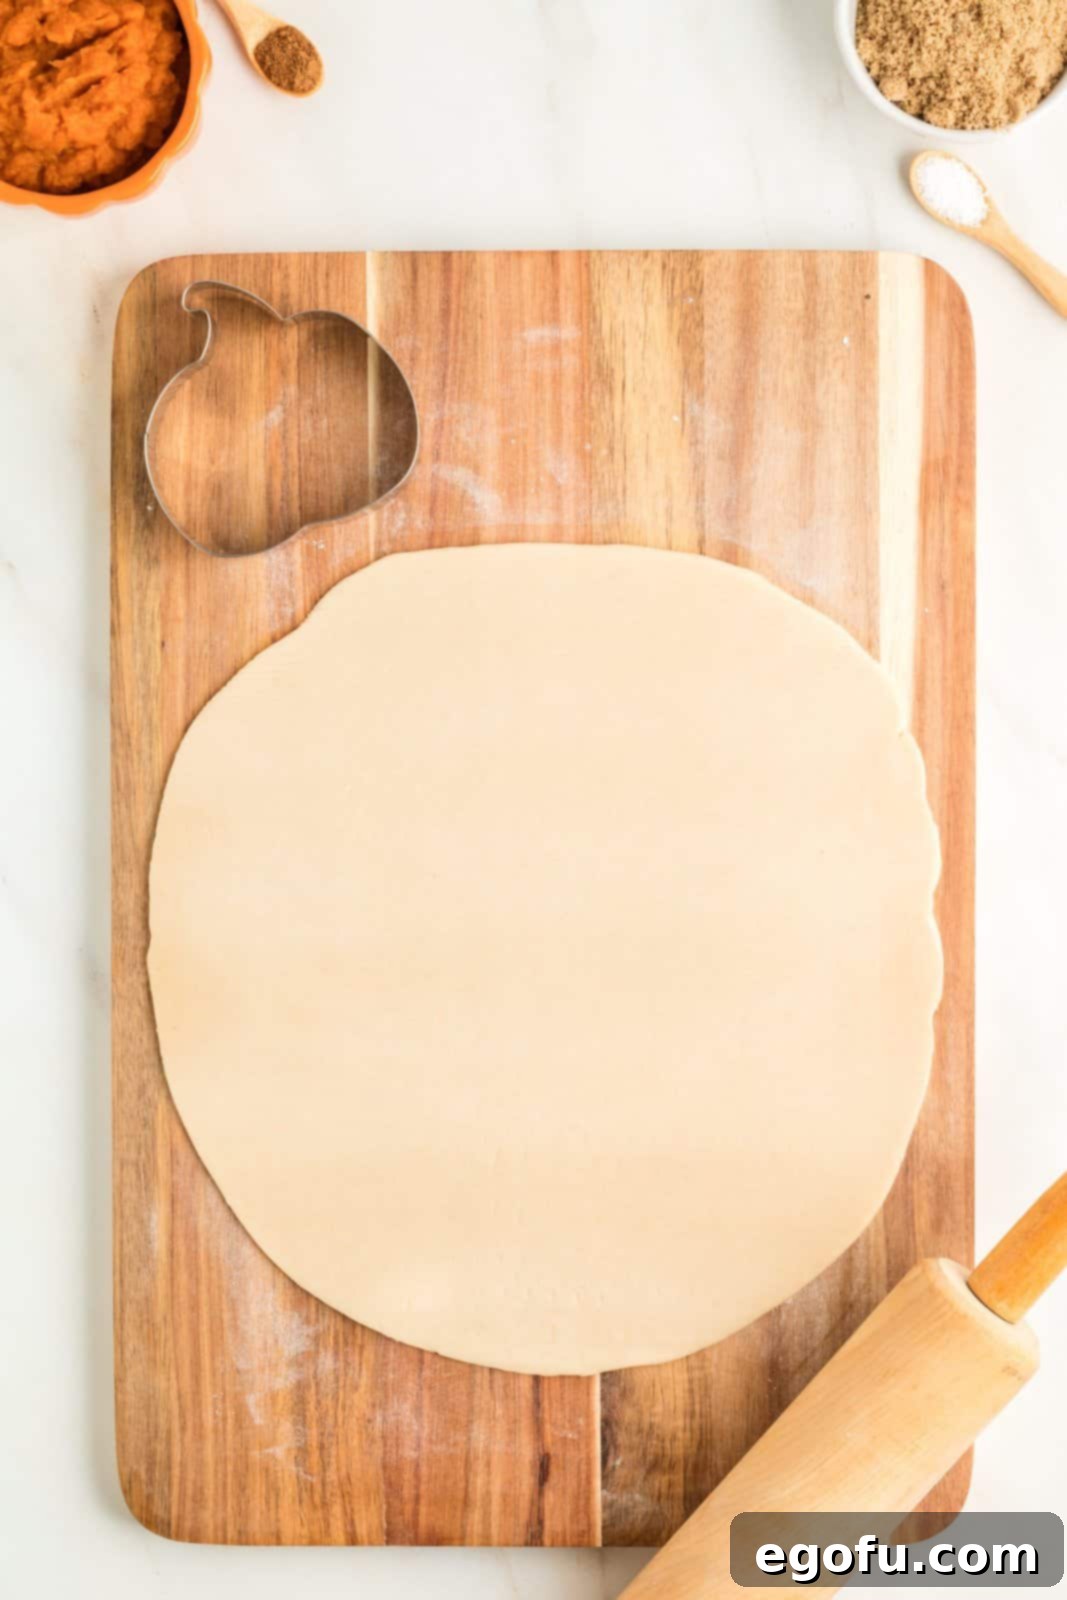
Step 2: Unroll and Cut the Pie Crusts. Gently unroll the refrigerated pie crusts onto a lightly floured surface. If your dough has developed any creases from being rolled, gently use a rolling pin to smooth them out. Be careful not to over-roll the dough, as this can make it too thin and difficult to work with. Using a 3 ½-inch cookie cutter – whether it’s pumpkin-shaped, round, or another festive design – cut out as many shapes as possible from each pie crust. Place these cut pieces onto your prepared parchment-lined baking sheets.
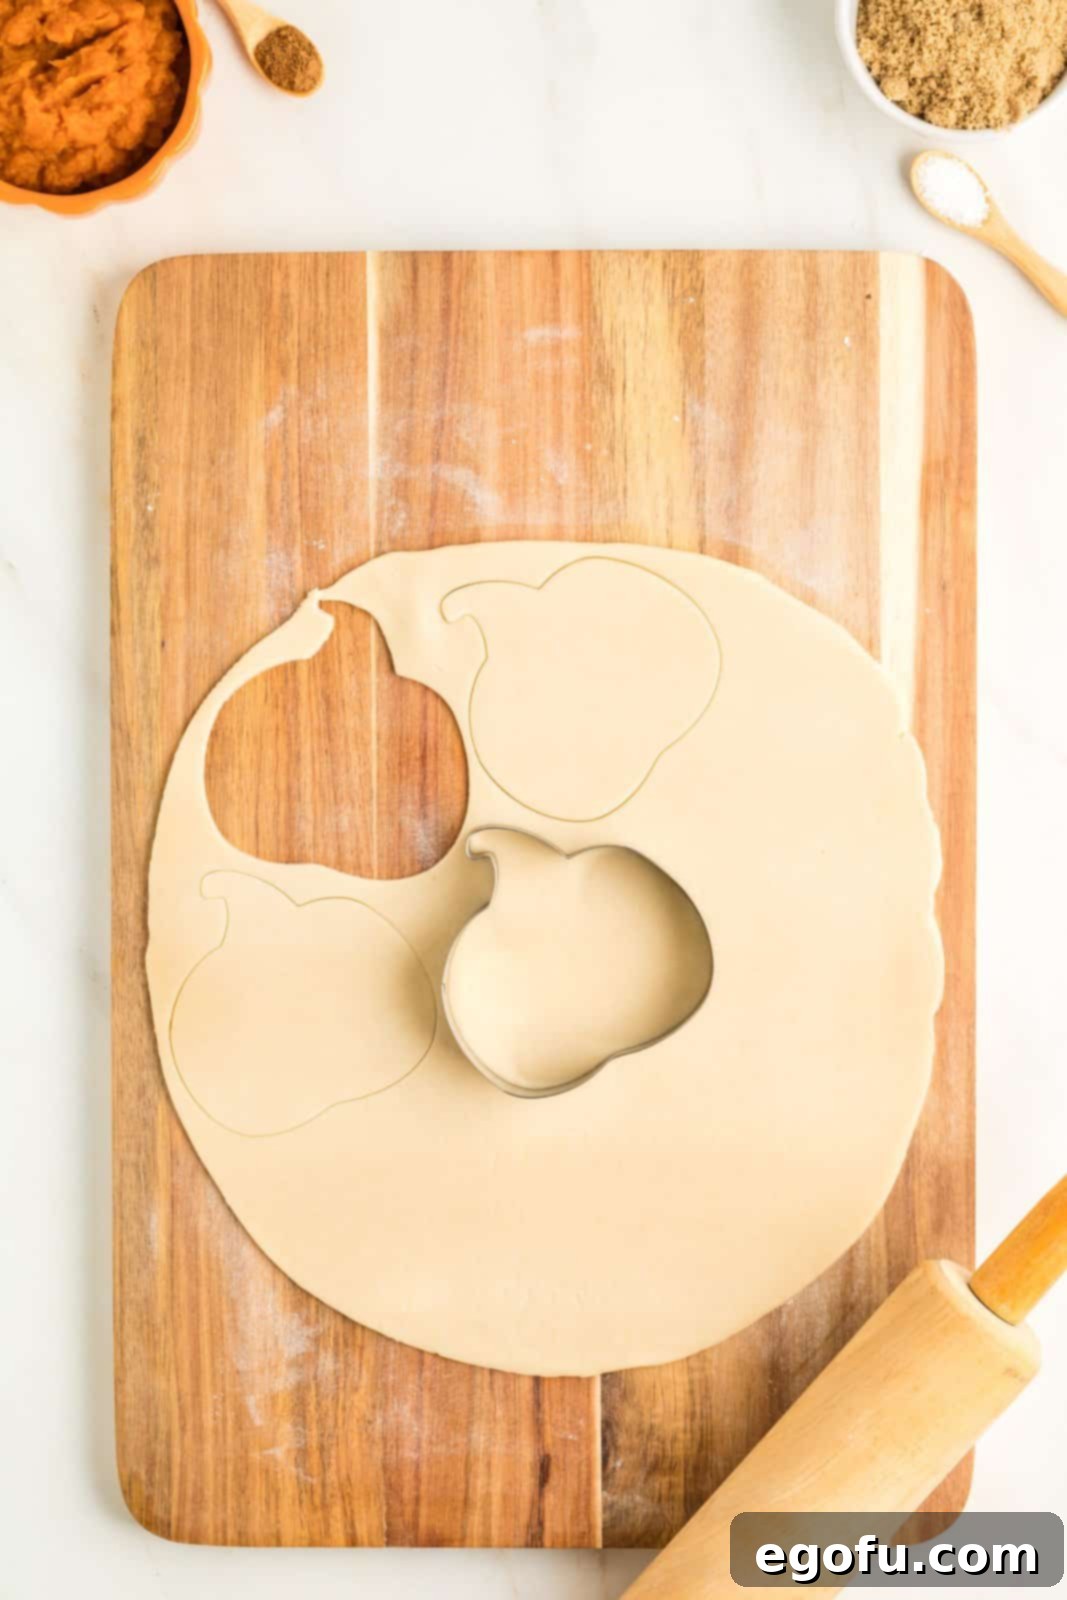
Step 3: Maximize Your Dough. After the initial cuts, gather the remaining dough scraps. Gently re-roll them together (avoiding overworking) and cut out additional pumpkin shapes until you’ve used as much dough as possible. You should aim for approximately 9 pumpkin cutouts from each roll of pie crust, totaling 18 pieces. Once all your shapes are cut, place them on the baking sheets and transfer them to the refrigerator to chill while you prepare the delicious pumpkin filling. Chilling the dough helps maintain its shape during filling and baking.
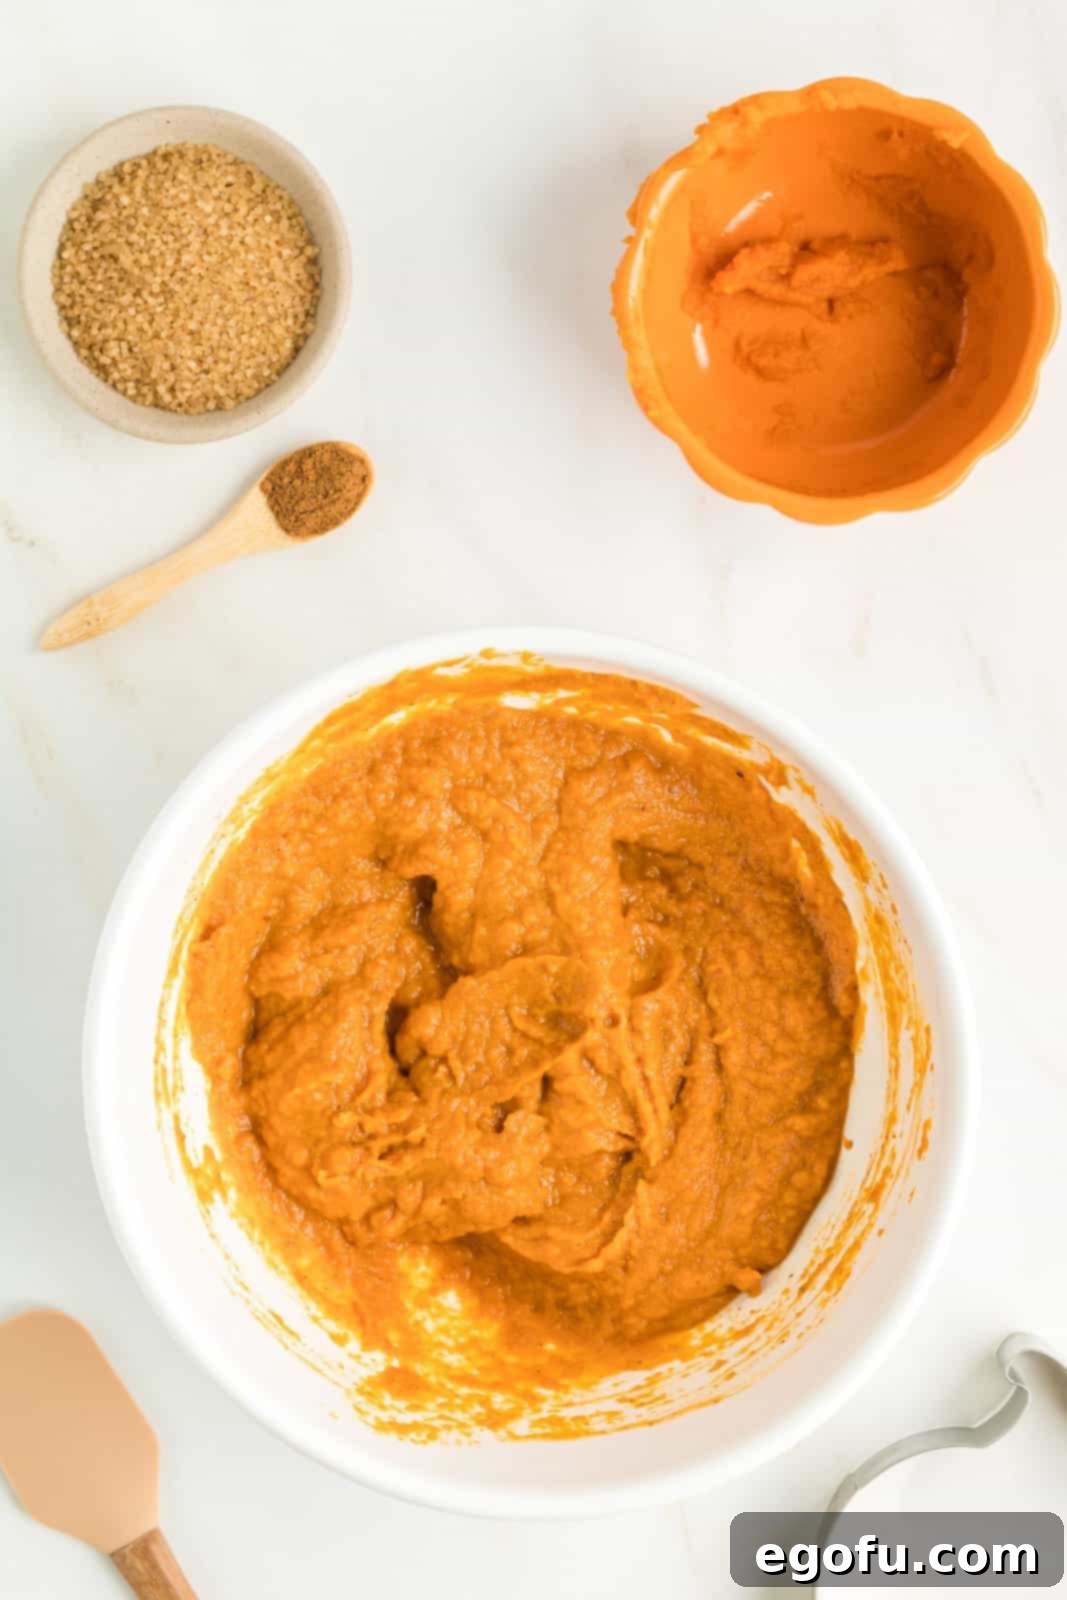
Step 4: Prepare the Luscious Pumpkin Filling. In a medium-sized mixing bowl, combine the pumpkin puree (ensure it’s pure puree, not pie filling), light brown sugar (packed), heavy cream, 1 teaspoon of pumpkin pie spice, and a pinch of salt. Whisk these ingredients together until they are thoroughly combined and the mixture is smooth and evenly colored. This homemade filling is the heart of your hand pies, offering a rich, perfectly spiced pumpkin flavor that truly shines.
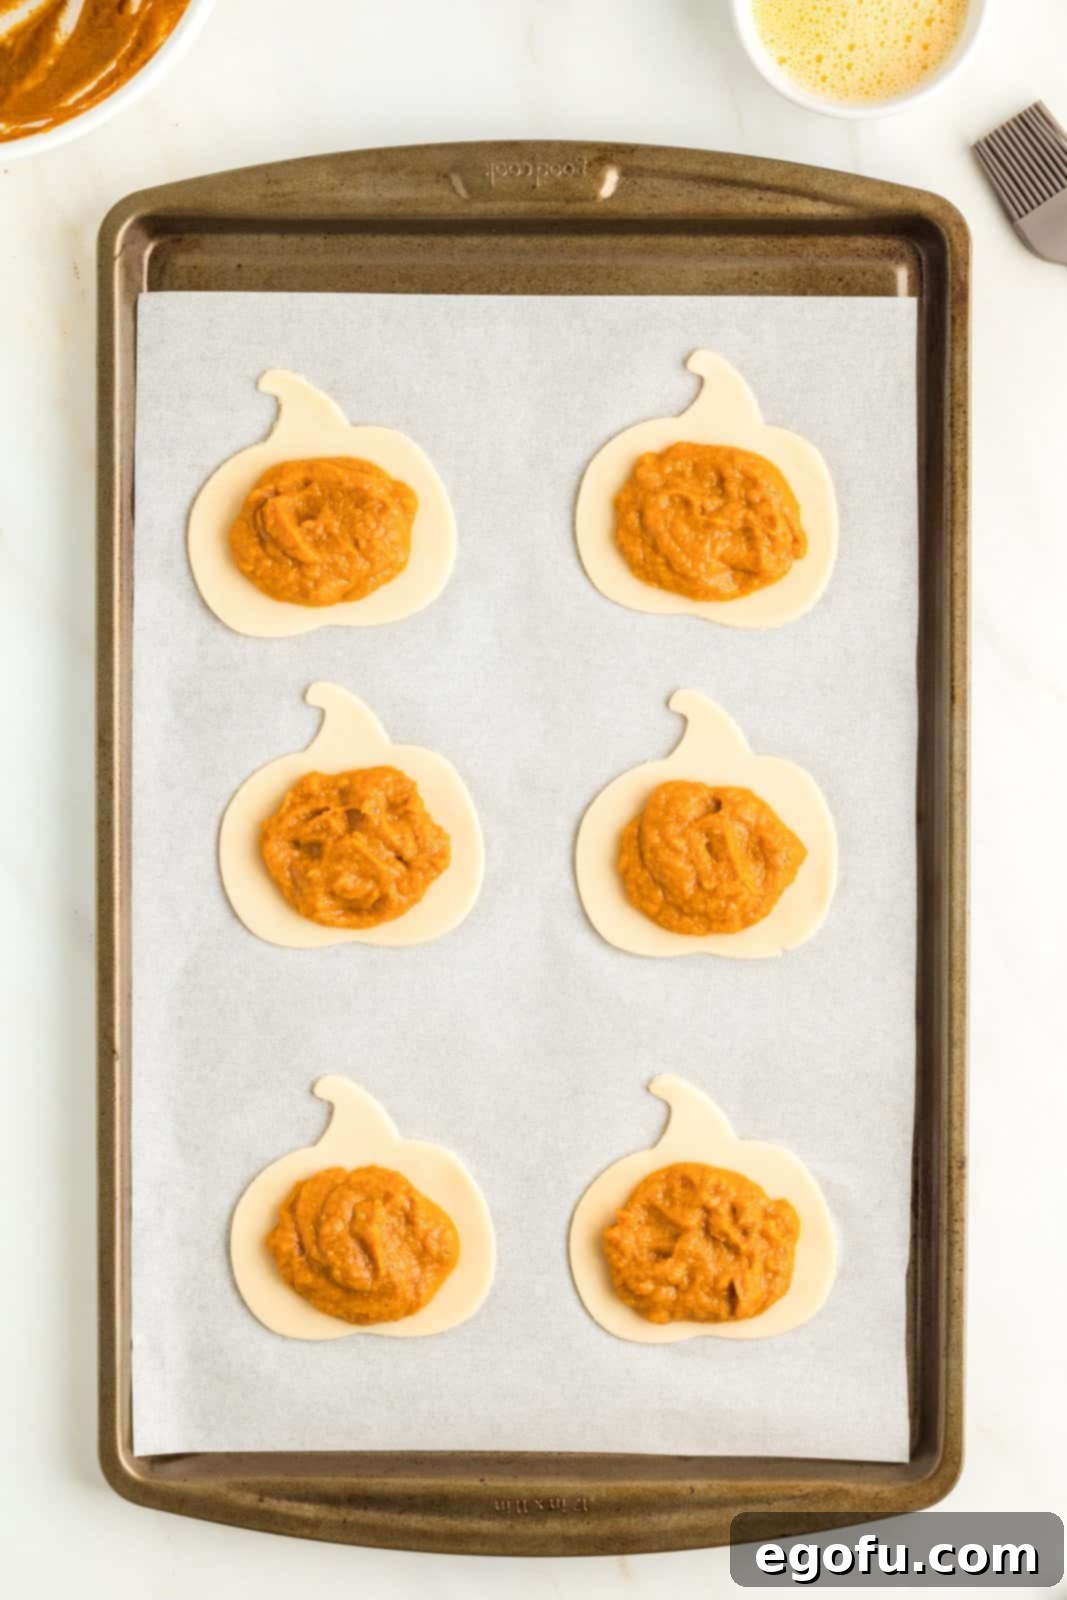
Step 5: Fill the Pie Bottoms. Retrieve your chilled pumpkin cutouts from the refrigerator. Arrange 9 of these cutouts on your parchment-lined baking sheets, spacing them evenly. Spoon about 2 tablespoons of the prepared pumpkin filling into the center of each of these 9 pumpkin shapes. It’s crucial to leave a clean border of about ⅓-inch around the edge of each pumpkin. This border will be used to seal the pies, preventing the delicious filling from oozing out during baking. Being precise with the filling amount helps maintain uniformity and ensures a neat finish.
Step 6: Create the Top Crusts. Take the remaining 9 pumpkin cutouts. Using a small, sharp knife, carefully cut four curved slits into each of these pieces. These slits are not only decorative, mimicking the ridges of a pumpkin, but more importantly, they serve as essential vents for steam to escape during baking. This crucial step prevents your pies from bursting open in the oven, ensuring a beautifully baked and structurally sound hand pie. Set these prepared tops aside briefly.
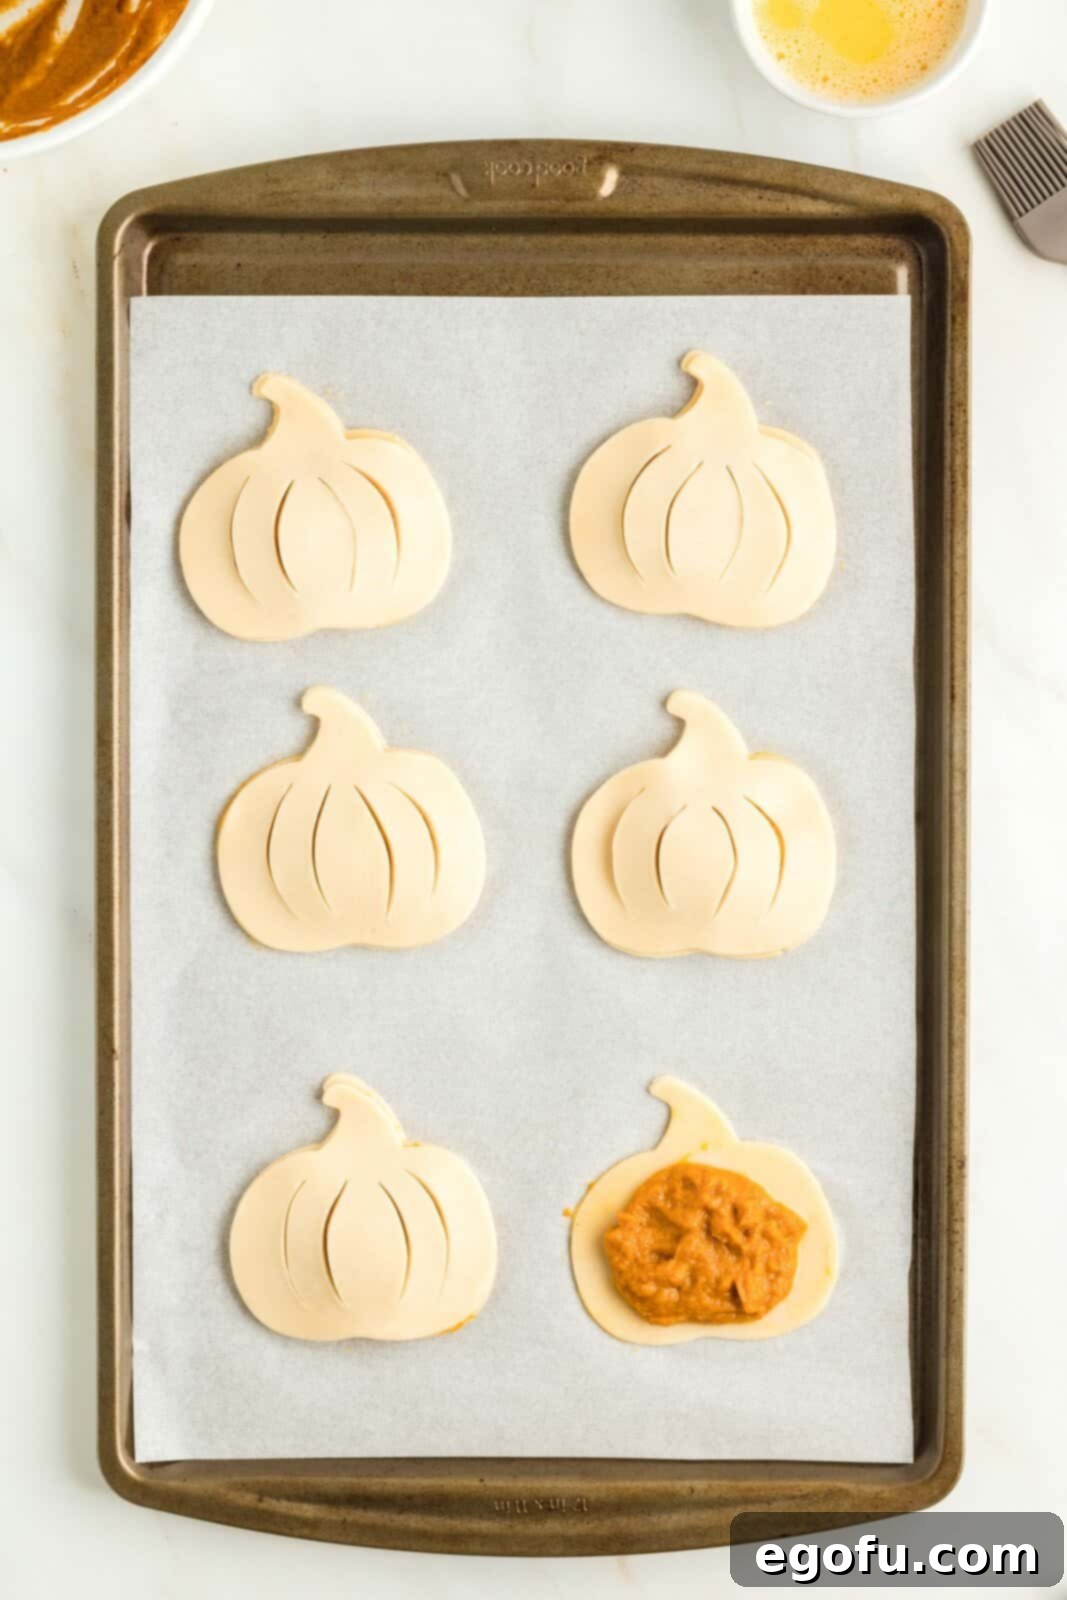
Step 7: Assemble and Seal the Hand Pies. In a small bowl, lightly beat the large egg with a splash of water to create an egg wash. Gently brush this egg wash around the clean border of the pumpkin cutouts that are already filled with pumpkin mixture. Carefully place one of the slit-cut pumpkin tops over each filled base, aligning the edges. Lightly press the seams together with your fingers to ensure the two crusts adhere. Then, using the tines of a fork, crimp the edges all around each pie. This decorative crimping not only adds a lovely finish but also helps to firmly seal the pie, keeping the delicious filling safely inside.
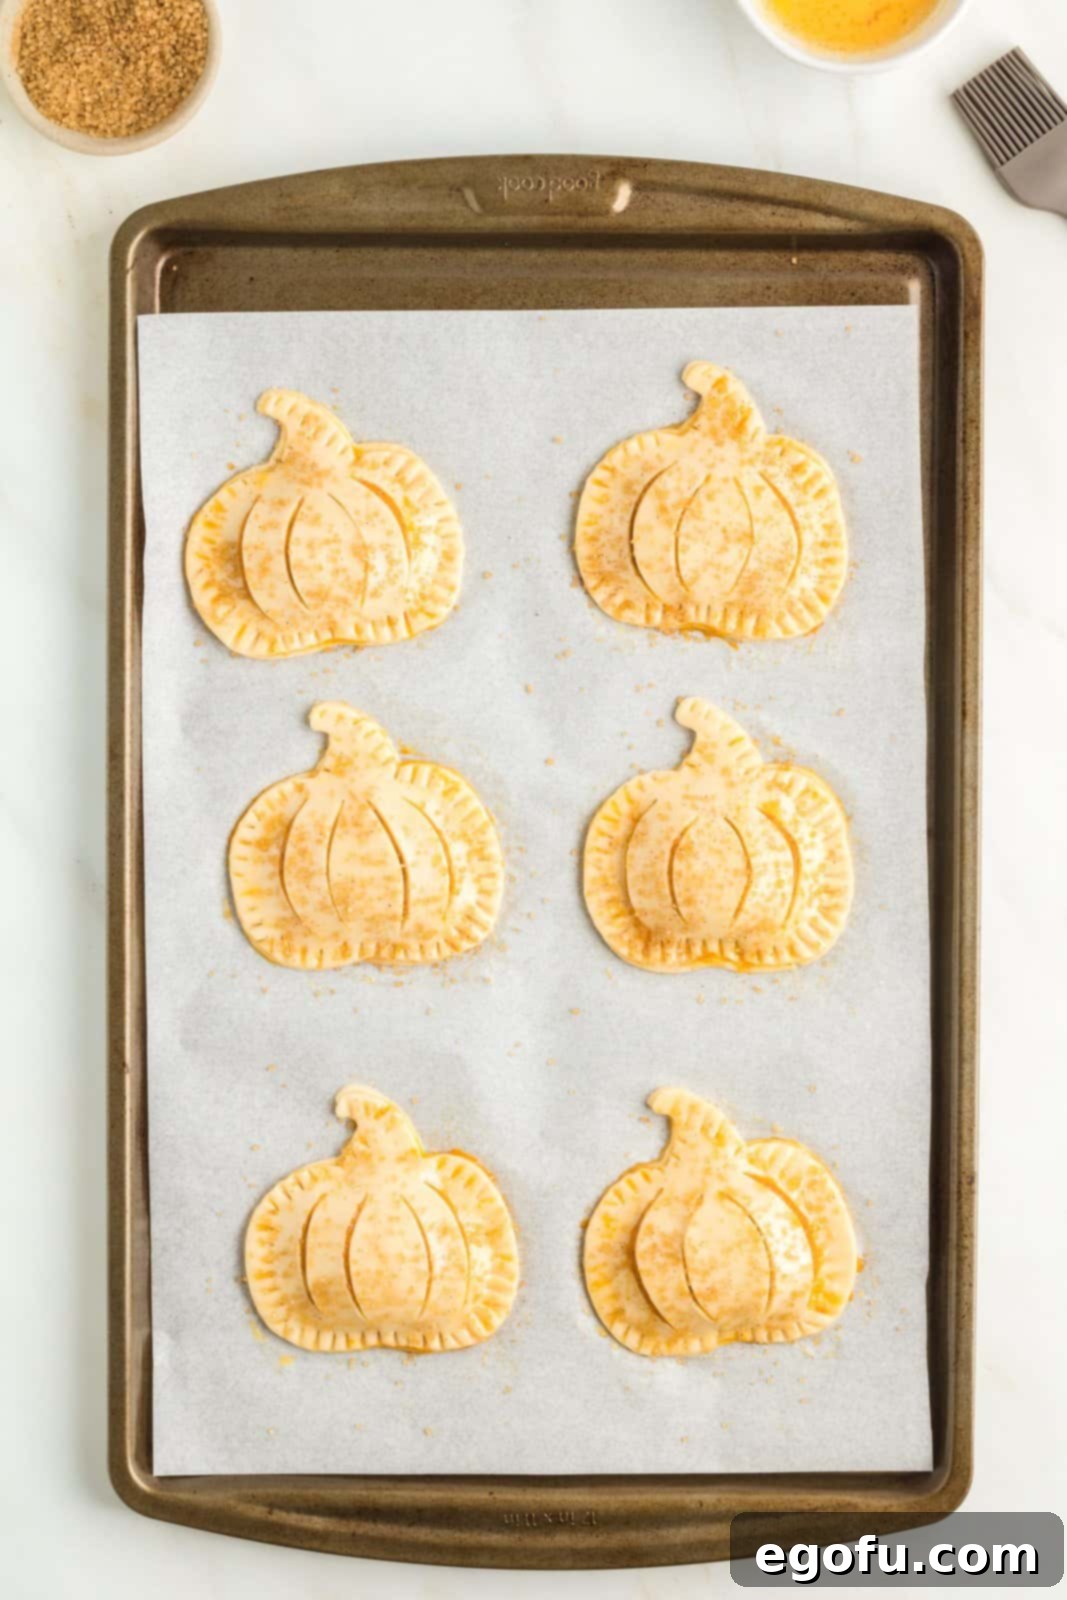
Step 8: Final Touches and Baking. Once all your pies are assembled and sealed, brush the tops of each pumpkin hand pie with the remaining egg wash. This will give them a beautiful golden shine as they bake. If you are using coarse sugar for an added crunch and sparkle, now is the time to apply it. In a separate small bowl, mix the coarse sugar with the remaining ½ teaspoon of pumpkin pie spice, then generously sprinkle this mixture over the egg-washed pies. This combination not only adds sweetness but also an extra layer of warm spice to the crust.
Step 9: Bake to Golden Perfection. Place your baking sheets in the preheated 400°F (200°C) oven and bake for 15-20 minutes. Keep a close eye on them, baking until the crusts are beautifully golden brown and the filling is bubbly. The exact baking time may vary slightly depending on your oven. Once baked, remove the pies from the oven and allow them to rest on the baking sheet for about 5 minutes. This brief resting period helps the pies set and prevents them from breaking when you move them. After resting, carefully transfer them to a wire rack to cool slightly before serving.
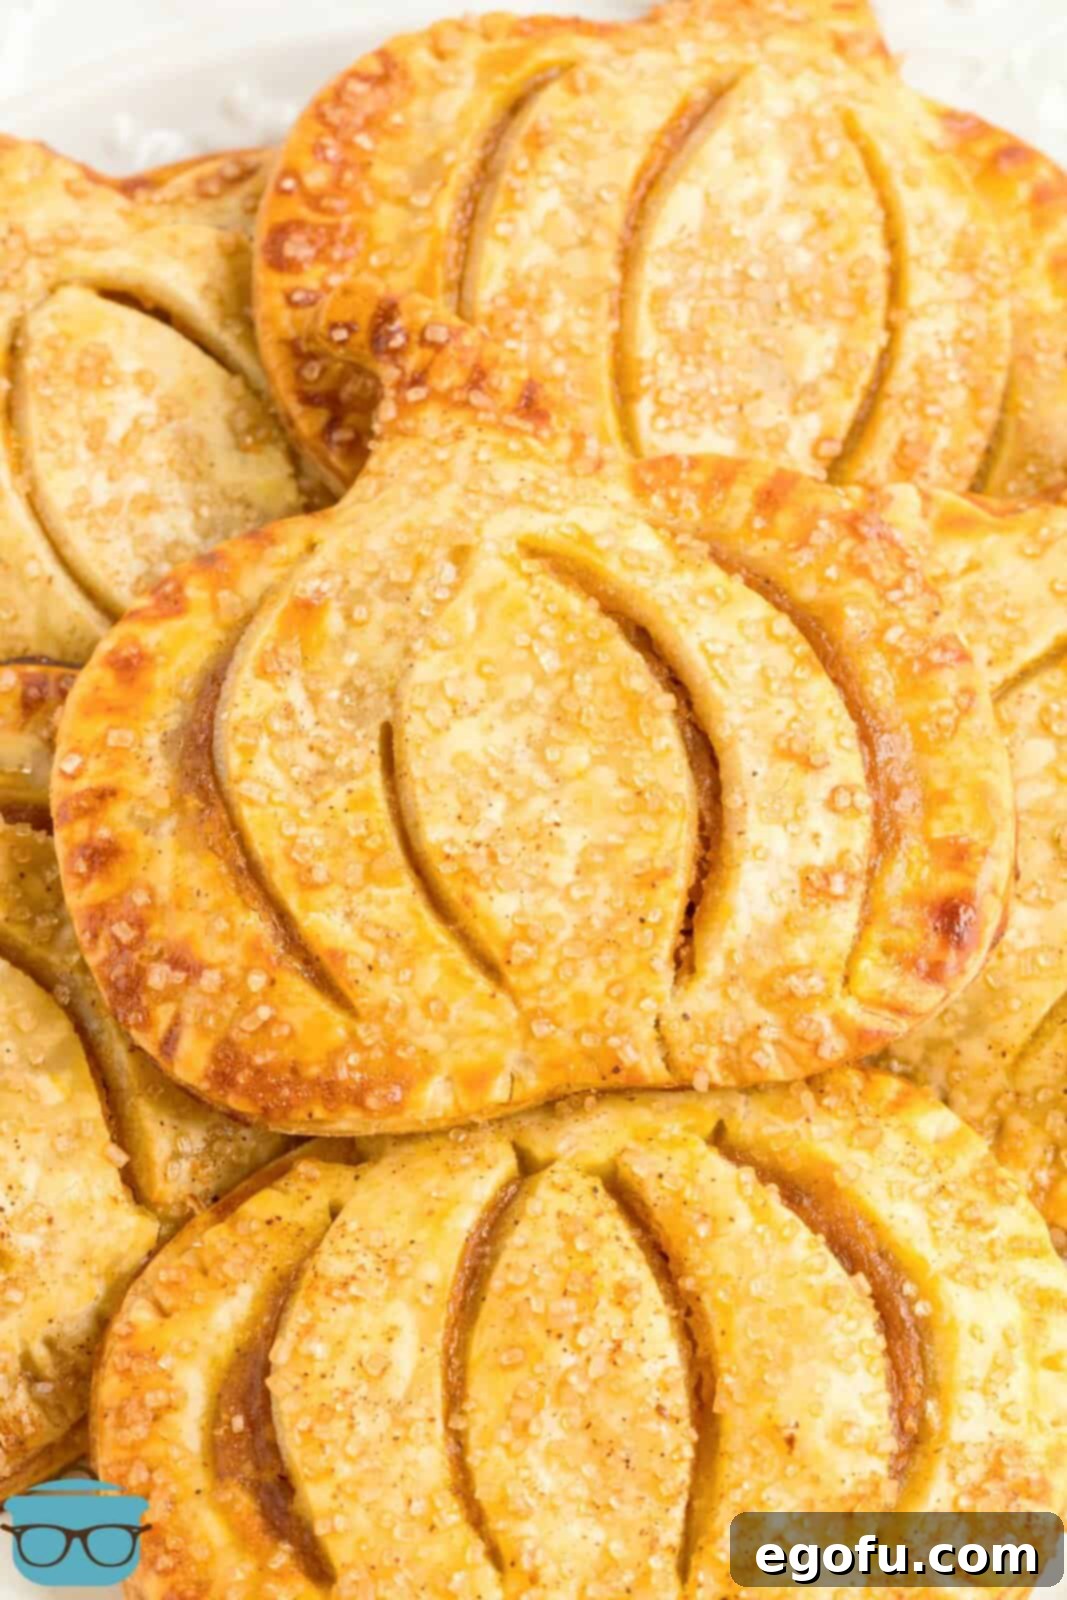
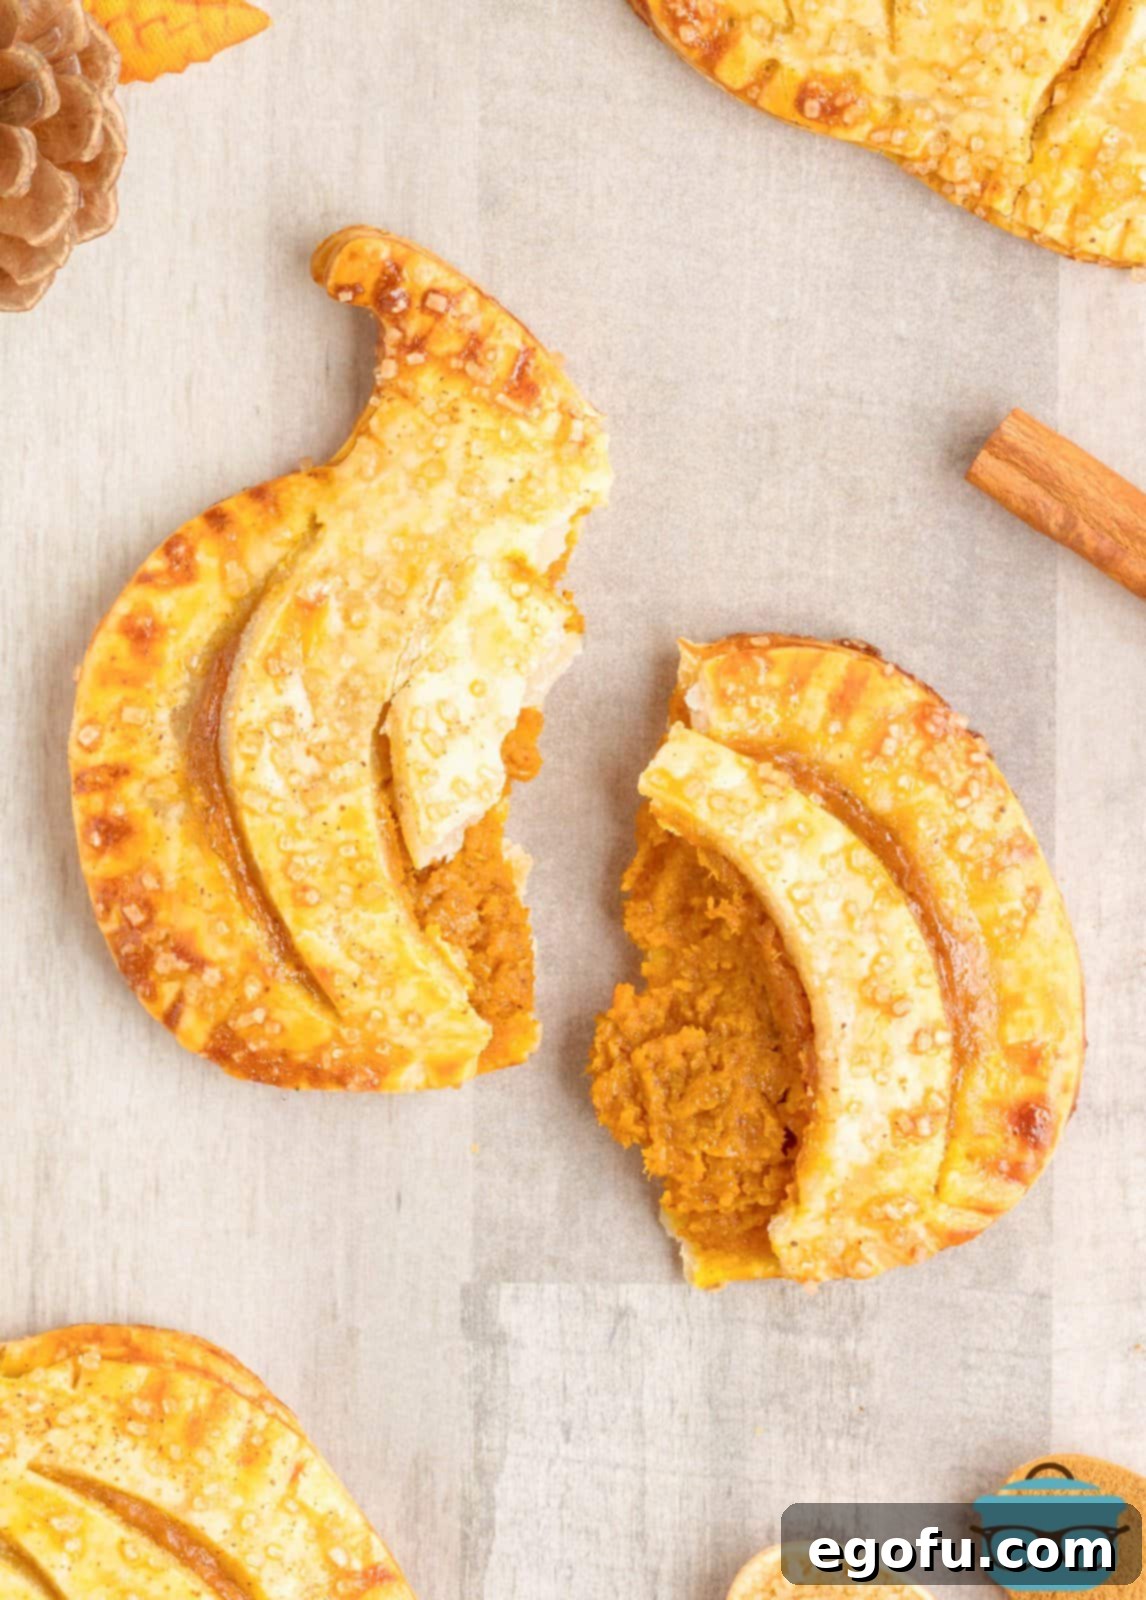
Then, it’s time to savor the fruits of your labor! Enjoy these warm, flaky, and perfectly spiced pumpkin hand pies as a delightful fall treat. They are wonderful on their own, or you can serve them with a dollop of whipped cream or a scoop of vanilla ice cream for an extra indulgent experience.
More Delightful Pumpkin and Fall Recipes to Explore
If you’ve fallen in love with these Pumpkin Hand Pies and are eager for more seasonal flavors, explore these other fantastic recipes:
- Mini Pumpkin Bundt Cakes: Perfect for individual servings, these moist bundt cakes are a charming dessert for any occasion.
- Pumpkin Shaped Cookies: Fun to make with kids, these festive cookies are great for decorating and sharing.
- The Best Pumpkin Pie: A classic, rich, and creamy pumpkin pie recipe that’s a must-have for Thanksgiving.
- Pumpkin Slab Pie: Ideal for feeding a crowd, this large-format pie offers all the traditional flavors in an easy-to-serve format.
- Pumpkin Pop Tarts: A nostalgic breakfast or dessert treat with a homemade pumpkin twist.
- Pumpkin Dump Cake: An incredibly easy and comforting dessert that comes together with minimal effort.
- Pumpkin Honey Bun Cake: A sweet, spiced cake inspired by classic honey buns, perfect for a cozy afternoon.
- Fried Apple Pies: If you enjoyed the hand pie concept, these crispy fried apple pies are another delightful handheld option.
- 40 Best Pumpkin Recipes: A comprehensive collection for every pumpkin lover, offering endless inspiration for fall baking and cooking.
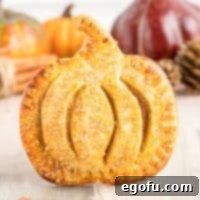
Pumpkin Hand Pies
A simple handheld treat, these Pumpkin Hand Pies are a perfect Fall recipe that are an easy and tasty single serving dessert!
Rated 5 out of 5 stars by 10 reviewers.
Pin Recipe
Rate this Recipe
- Prep Time:
- 10 minutes
- Cook Time:
- 15 minutes
- Total Time:
- 25 minutes
- Servings:
- 9 hand pies
- Author:
- Brandie Skibinski
Ingredients
- 1 (2-count) package refrigerated pie crust
- 1 cup pumpkin puree
- ⅓ cup light brown sugar, packed
- 2 tablespoons heavy cream
- 1 ½ teaspoon pumpkin pie spice, divided use
- ¼ teaspoon salt
- 1 large egg
- 2 tablespoons coarse sugar, optional
Instructions
- Preheat the oven to 400°F (200°C). Line two large baking sheets with parchment paper and set aside.
- Gently unroll the pie crusts onto a lightly floured surface. If necessary, roll out the dough gently with a rolling pin to remove any creases. Do not roll the dough too much or it will become too thin.
- Using a 3 ½-inch pumpkin-shaped or similar cookie cutter, cut the dough and place the pieces on the parchment-lined baking sheets. You should be able to get 9 pumpkin cutouts from each roll of pie crust for a total of 18 pumpkin cutouts.
- Place the cut-out pumpkins in the refrigerator while you prepare the filling. Note: If necessary, you can roll out the remaining scraps and cut out more pumpkins.
- In a medium bowl, mix together the pumpkin puree, brown sugar, heavy cream, 1 teaspoon pumpkin pie spice, and salt until smooth.
- Fill the center of 9 of the pumpkin cutouts with about 2 tablespoons of the pumpkin filling, leaving approximately a ⅓-inch border around the edge of each pumpkin.
- Using a small knife, cut four curved slits in the remaining 9 pumpkin cutouts to resemble the ridges of a pumpkin. These slits allow steam to vent during baking.
- In a small bowl, lightly beat the egg with a splash of water to create an egg wash. Then, brush the border around the filled pumpkins with the egg wash and carefully top with the sliced pumpkin cutouts. Lightly press together the seams with your fingers, then crimp the edges with a fork to seal securely.
- Brush the tops of the assembled pumpkins with the remaining egg wash. If using coarse sugar, mix it together with the remaining ½ teaspoon of pumpkin pie spice and sprinkle evenly over the egg-washed pumpkins.
- Bake for 15-20 minutes, or until the crust is golden brown. Allow the pies to rest for 5 minutes on the baking sheet before carefully transferring them to a wire rack to cool slightly. Then enjoy!
Notes
- Do not use store-bought pumpkin pie filling for this recipe; it is too wet.
- You can make your own homemade pie crust; ensure you have enough for two standard crusts.
- This recipe can easily be doubled for a larger batch of 18 hand pies.
- Make sure to cut slits into the top crusts; this is crucial for venting steam and preventing pies from bursting.
- The coarse sugar is optional but adds a great texture and sparkle to the finished pies.
- Course:
- Dessert
- Cuisine:
- American
Nutrition
Calories: 71kcal | Carbohydrates: 13g | Protein: 1g | Fat: 2g | Sodium: 78mg | Fiber: 1g | Sugar: 12g
Nutritional Disclaimer
“The Country Cook” is not a dietician or nutritionist, and any nutritional information shared is an estimate. If calorie count and other nutritional values are important to you, we recommend running the ingredients through whichever online nutritional calculator you prefer. Calories and other nutritional values can vary quite a bit depending on which brands were used.
Did you make this recipe?
Share it on Instagram @thecountrycook and mention us #thecountrycook!
