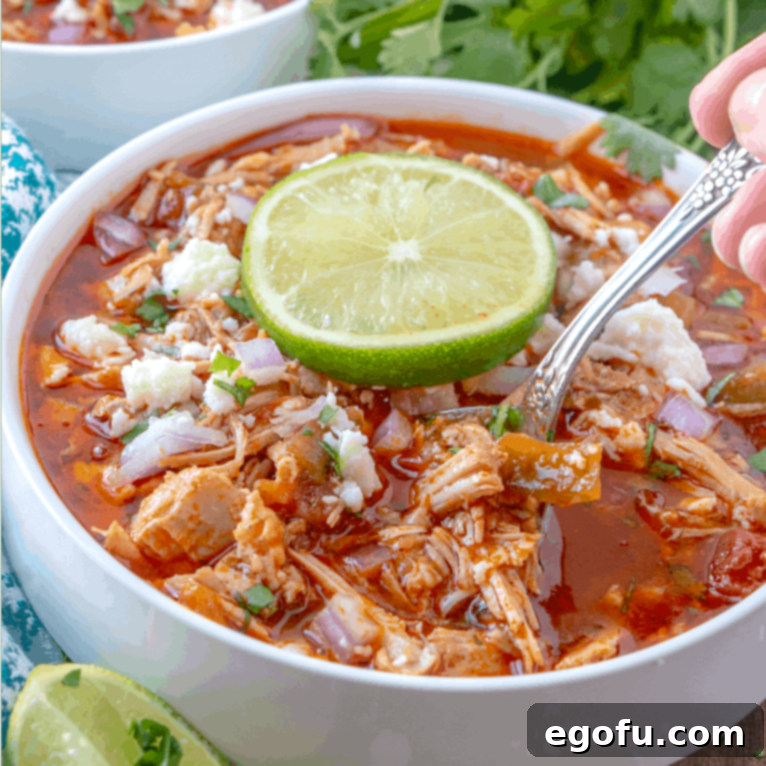
Instant Pot Pork Chili: Flavorful, Fast, and Unforgettable
Craving a rich, hearty chili that tastes like it’s been simmering on the stove all day, but don’t have hours to spare? Look no further! This Instant Pot Pork Chili is a game-changer for busy weeknights, delivering an explosion of Latin-inspired flavors in a fraction of the time. Featuring tender shredded pork infused with green chiles, robust salsa, aromatic adobo seasoning, and classic chili powder, this dish promises an incredible depth of flavor that will make it an instant family favorite. The magic of the Instant Pot breaks down the pork to fall-apart perfection, giving you that slow-cooked taste without the long wait.
Why You’ll Love This Instant Pot Pork Chili Recipe
Prepare to be amazed by this Instant Pot Pork Chili! We are genuinely thrilled with how incredible this recipe turned out. It’s not just delicious; it’s incredibly satisfying and packed with layers of flavor that are truly next-level. You know that comforting taste of a chili that has been slowly bubbling on Grandma’s stovetop for hours, developing deep, complex notes? This Instant Pot version achieves precisely that, but in a remarkably shorter cooking time. The pressure cooking method is ideal for transforming tougher cuts of pork into incredibly tender, melt-in-your-mouth shredded meat, making it an efficient and delicious solution for a wholesome meal.
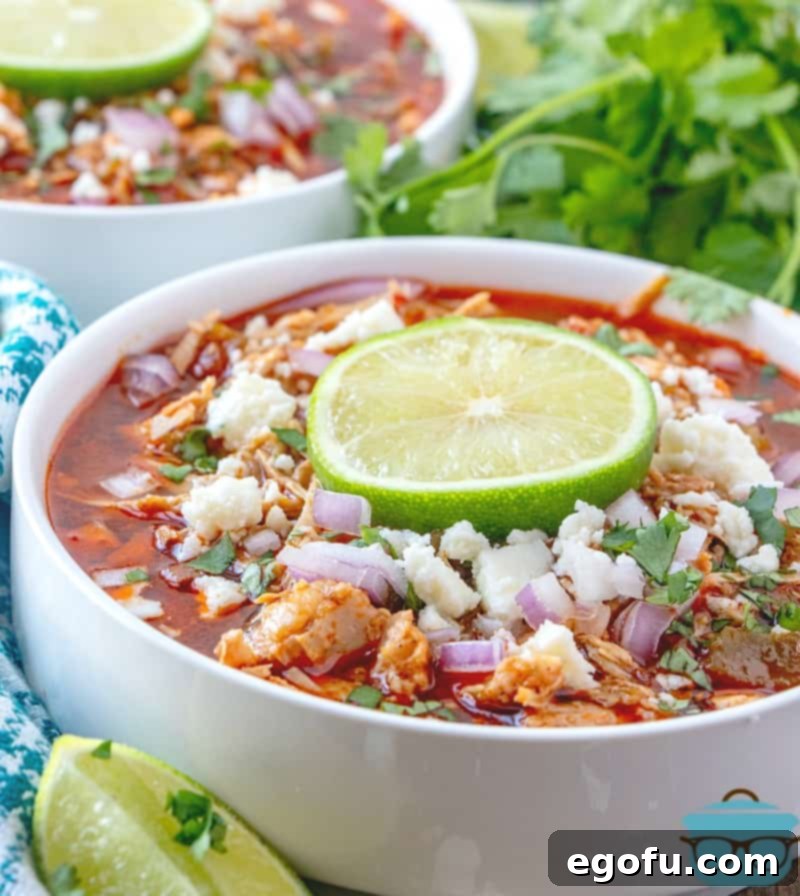
Essential Tips for Crafting Your Perfect Pork Chili
Creating a truly exceptional pork chili is easy with these helpful tips and tricks. Whether you’re a seasoned chef or new to Instant Pot cooking, these insights will ensure your chili is packed with flavor and perfect every time.
- Choosing Your Pork: A boneless pork loin roast is a fantastic choice for this recipe due to its affordability and lean, easy-to-prepare nature. It shreds beautifully and absorbs the flavors wonderfully. However, if you prefer a richer chili with more fat and an even more tender, melt-in-your-mouth texture, a pork butt (also known as pork shoulder) makes an excellent substitution. Both options will yield delicious results, so choose what best suits your preference and availability.
- Salsa Selection: The salsa forms a crucial part of this chili’s Latin-inspired base. While Herdez brand mild salsa is a personal favorite for its balanced flavor, don’t hesitate to use your family’s preferred salsa. For an extra special touch, consider making a homemade salsa to customize the heat and flavor profile. The quality and type of salsa can significantly impact the final taste of your chili.
- The Power of Paprika: If you happen to have smoked paprika on hand, definitely use it! Smoked paprika adds a fantastic depth and a subtle smoky nuance that elevates the chili’s flavor. It’s a wonderful ingredient to have in your pantry for many dishes. However, if you don’t have it, regular paprika works perfectly fine and will still contribute to the deliciousness of the dish. There’s no need to make a special trip to the store just for smoked paprika if it’s not readily available.
- Cotija Cheese for Authenticity: Cotija cheese is a dry, crumbly Mexican cheese with a mild, slightly salty flavor, often compared to feta. It’s a wonderful topping that adds a layer of creamy texture and savory notes to the chili. If you can’t find Cotija, feta cheese is an excellent substitute that will provide a similar crumbly texture and salty kick. I promise, adding this on top for serving truly enhances the overall experience and brings an authentic touch to the dish.
- Spice Level Customization: While this recipe aims for a balanced, family-friendly flavor, you can easily adjust the spice level to your liking. For more heat, add a pinch of cayenne pepper, a dash of your favorite hot sauce, or include some finely diced jalapeños or serrano peppers along with the green chiles.
- Serving Creativity: Beyond the suggested garnishes, consider serving this chili over a bed of fluffy rice, with warm corn tortillas, or alongside cornbread for a truly comforting meal. A dollop of sour cream or Greek yogurt can also add a delightful creamy contrast.

Key Ingredients for Authentic Latin Flavors
Gathering the right ingredients is the first step to creating a memorable Instant Pot Pork Chili. Each component plays a vital role in building the robust, Latin-inspired flavor profile that makes this dish so special.
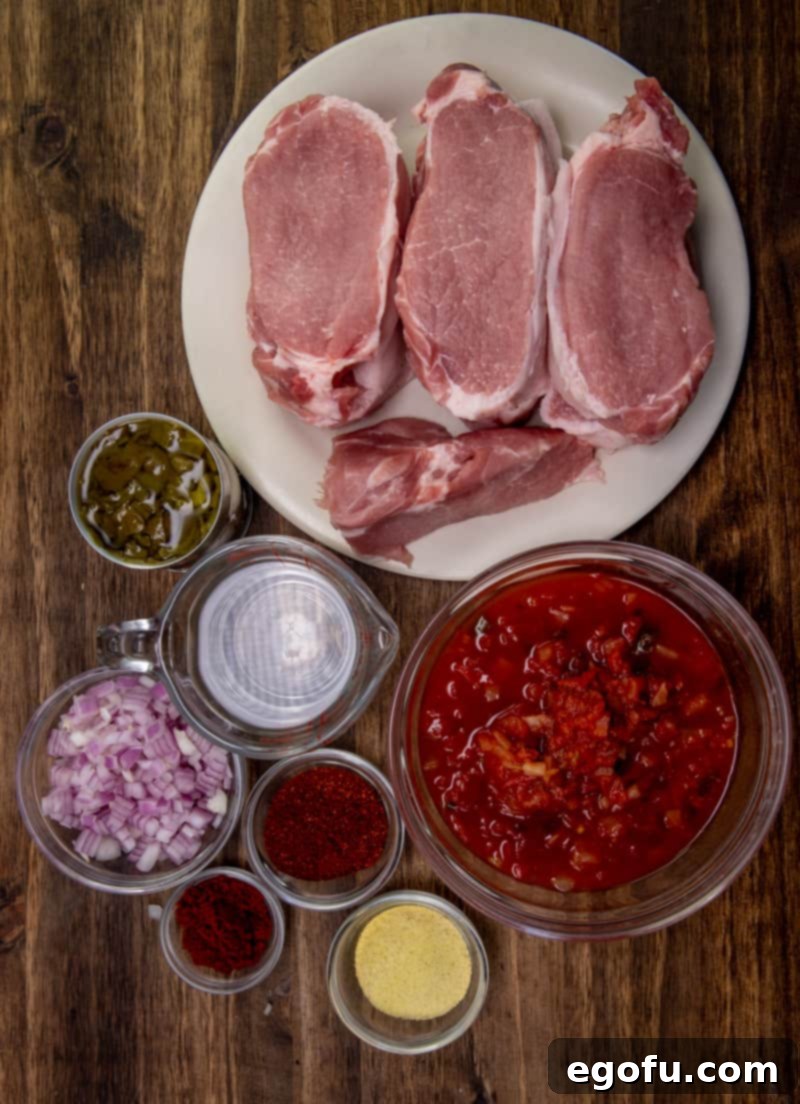
- 4 pound boneless pork loin roast, cut into 6 pieces
- 2 (7 ounce) cans diced green chiles (divided use)
- 1 red onion, finely diced (divided use)
- 2 cups salsa (Herdez mild salsa is recommended, but use your favorite)
- 2 Tablespoons chili powder
- 2 Tablespoons Goya Adobo Seasoning
- 1 Tablespoon paprika (smoked paprika is preferred for added depth, but regular works well)
- 1 cup water
- 2 teaspoons salt (or more to taste)
- For Garnish: chopped fresh cilantro, sliced lime, remaining diced red onion, and crumbled Cotija cheese
The combination of these ingredients creates a harmonious blend of savory, earthy, and mildly spicy notes. Goya Adobo Seasoning, a staple in Latin cuisine, brings a complex garlic and oregano flavor. The green chiles provide a subtle heat and earthy undertone, while the salsa adds a tangy, zesty base. Don’t underestimate the power of fresh garnishes like cilantro and lime; they add a burst of freshness that brightens the entire dish and perfectly complements the rich, savory chili.
Step-by-Step Guide: How to Make Instant Pot Pork Chili
Making this incredible pork chili in your Instant Pot is surprisingly simple, allowing you to achieve slow-cooked flavors in a fraction of the time. Follow these steps for a perfectly tender and flavorful meal.
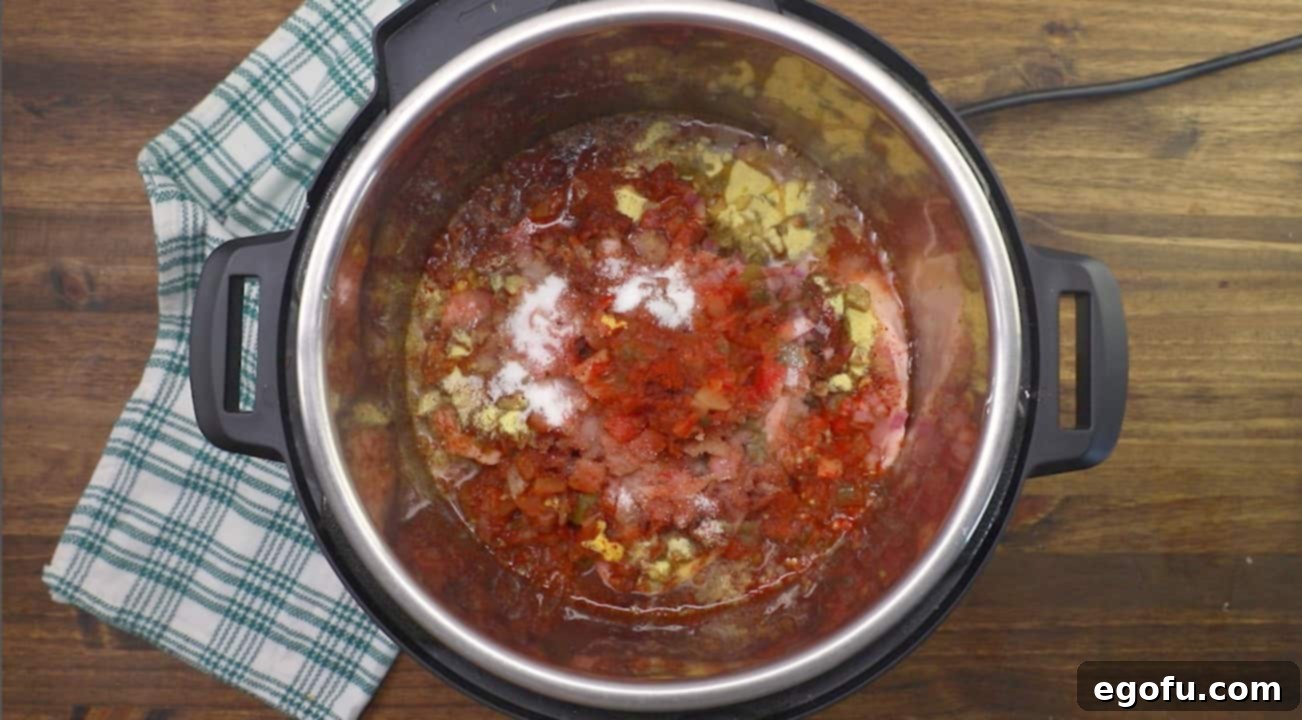
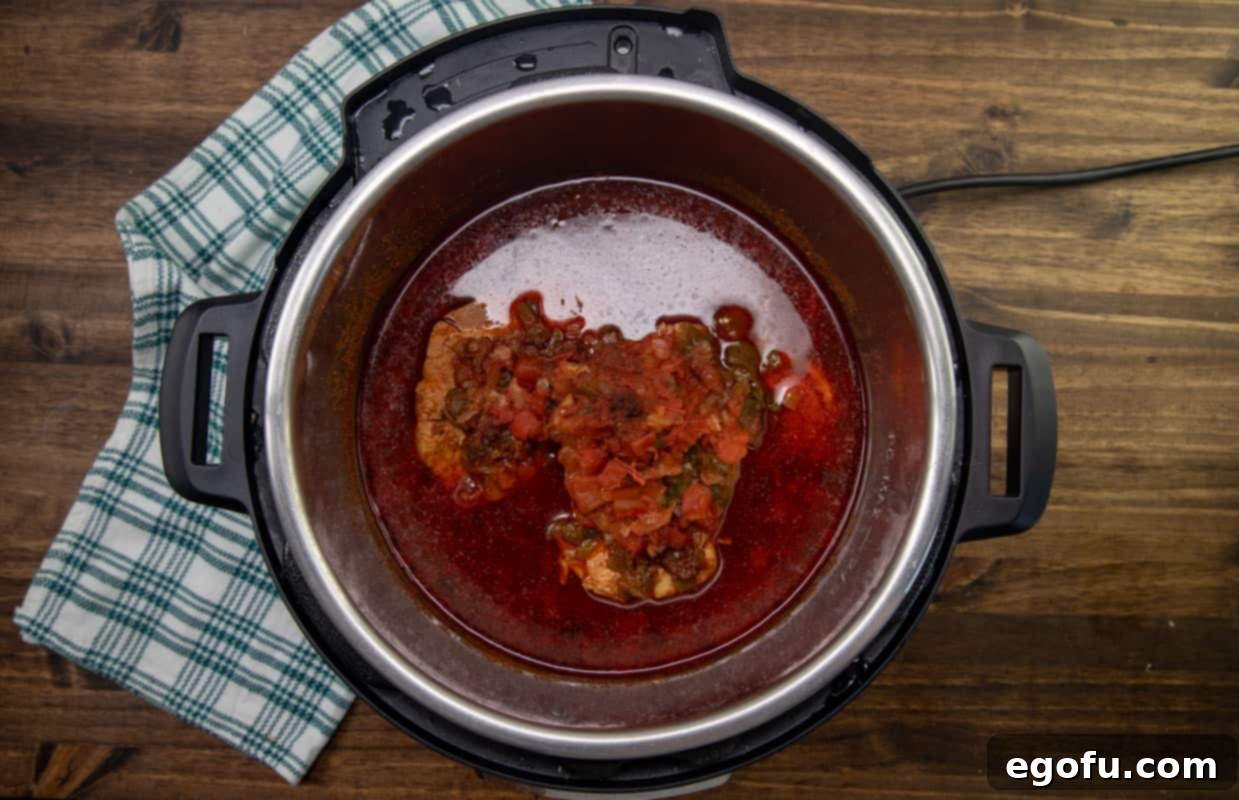
- Prepare the Pork and Combine Ingredients: Begin by cutting your boneless pork loin roast into approximately six evenly sized pieces. This ensures that the pork cooks uniformly and becomes perfectly tender. Place these pork pieces directly into the inner pot of your Instant Pot. Next, add one can of diced green chiles (make sure to reserve the second can for later), half of the finely diced red onion, the salsa, chili powder, Goya Adobo seasoning, paprika, water, and salt. Stir all these ingredients gently to ensure the pork is well coated and the flavors are evenly distributed.
- Pressure Cook to Perfection: Secure the lid on your Instant Pot, ensuring the sealing ring is properly in place and the vent is set to the ‘Sealing’ position. Select the ‘Manual’ (or ‘Pressure Cook’) setting and set the cooking time for 50 minutes on high pressure. This duration is ideal for breaking down the pork fibers and achieving a wonderfully tender texture.
- Allow Natural Pressure Release: Once the 50-minute cooking cycle is complete, do not immediately quick release the pressure. Instead, allow the Instant Pot to naturally release pressure for approximately 20 minutes. This natural release method is crucial for ensuring the pork remains incredibly juicy and tender, preventing it from drying out. After 20 minutes, you can carefully turn the vent to the ‘Venting’ position to release any remaining pressure before removing the lid.
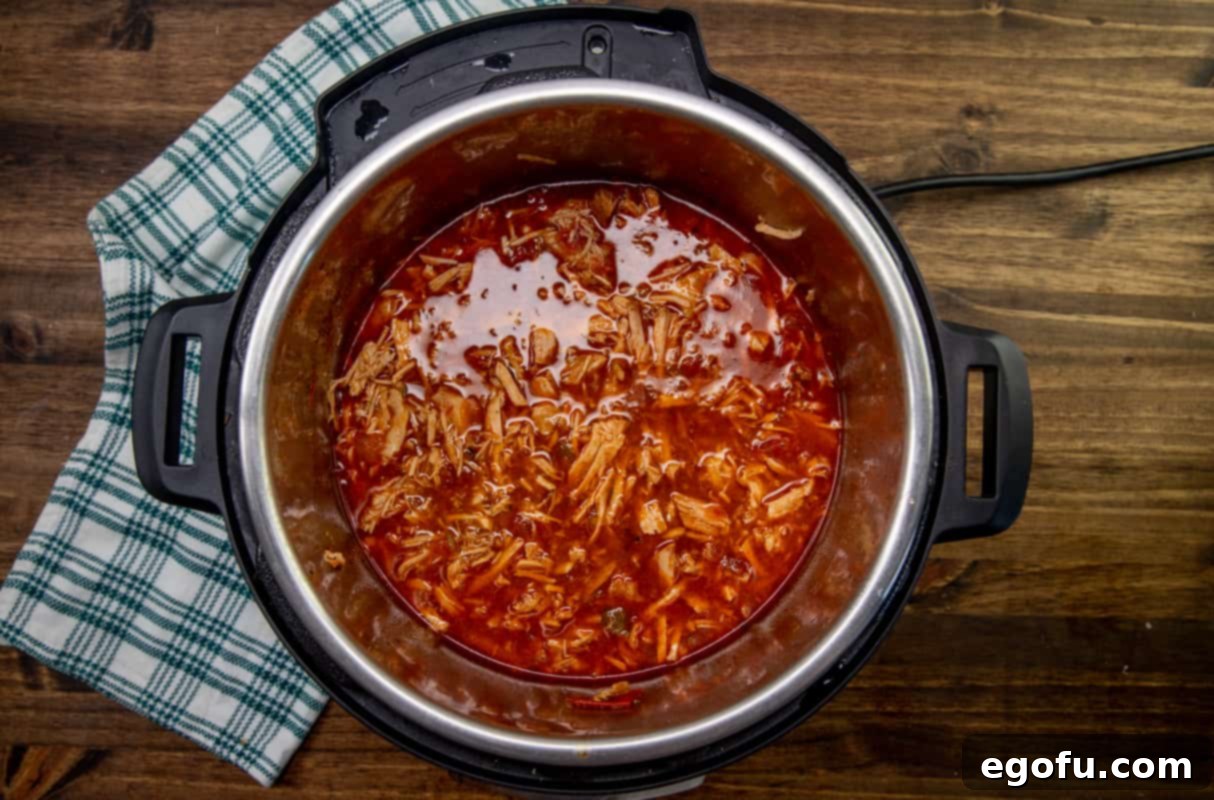
- Shred the Pork and Integrate Flavors: Carefully remove the lid. Using two forks, begin to break apart the cooked pork pieces directly in the pot. The pork should be incredibly tender and easily shred apart. Continue until all the pork is in smaller, shredded pieces, thoroughly mixed with the chili liquid. It is important not to drain any of the liquid; this flavorful broth is essential for the chili’s richness and moisture.
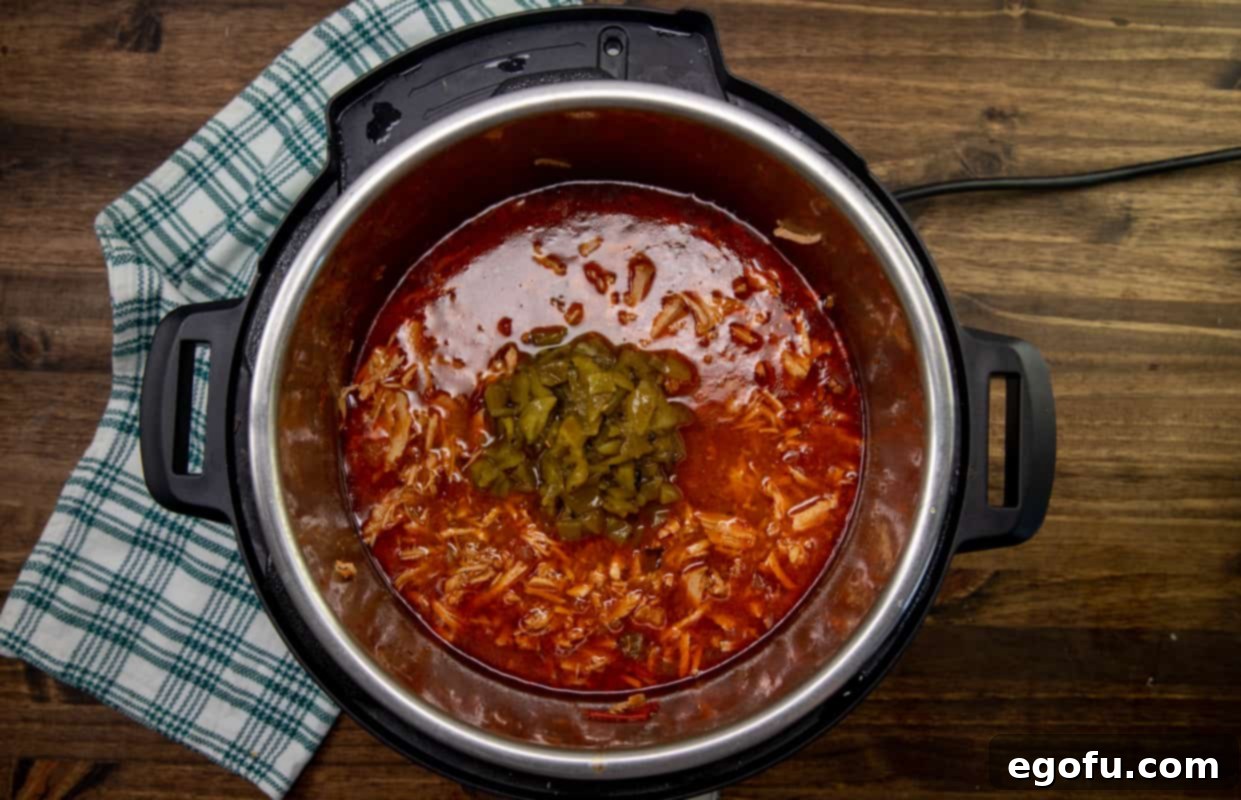
- Add Freshness with Remaining Chiles: Now, add the remaining can of diced green chiles to the shredded pork mixture. Stir everything well to incorporate the fresh chiles. Adding them at this stage rather than at the beginning helps to preserve their brighter flavor and texture, adding another layer of taste to the finished chili.
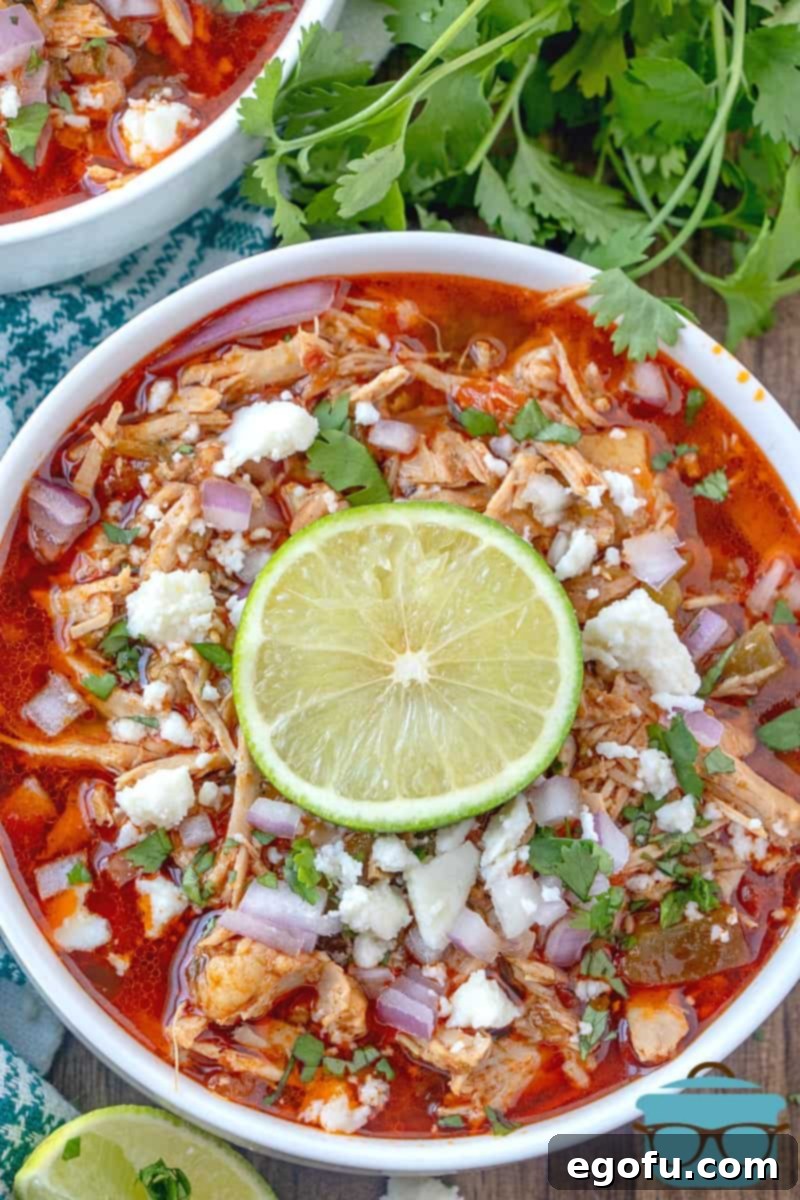
- Garnish and Serve: Ladle the hot Instant Pot Pork Chili into bowls. Garnish generously with chopped fresh cilantro, the remaining diced red onion, crumbled Cotija cheese, and a fresh slice of lime. The vibrant colors and fresh flavors of these garnishes not only make the chili visually appealing but also add a wonderful contrast to the rich, savory base. Serve immediately and enjoy your homemade, Latin-inspired chili!
- Add Beans: While this recipe is bean-free, adding a can of drained and rinsed black beans or kidney beans during the last step (when you add the second can of green chiles) can add extra texture and fiber.
- Boost the Veggies: Sauté diced bell peppers, corn, or even zucchini with the initial ingredients for added nutrients and flavor.
- Smoky Depth: For an even deeper smoky flavor, consider adding a teaspoon of liquid smoke or a chipotle pepper in adobo sauce, minced, to the pot before cooking.
- Make it Creamy: Stir in a small amount of cream cheese or a splash of heavy cream at the end for a richer, creamier chili.
- Can I use a different cut of pork? Yes, as mentioned, pork butt (shoulder) is an excellent alternative for a richer, fattier chili. You could also use leaner cuts like pork tenderloin, but it might require less cooking time and could be a bit less flavorful than loin or butt.
- Is this chili spicy? The recipe uses mild green chiles and mild salsa, so it’s designed to be flavorful rather than overly spicy. You can easily adjust the heat by choosing spicier salsa, adding a pinch of cayenne pepper, or including fresh jalapeños.
- Can I make this ahead of time? Absolutely! Chili is one of those dishes that often tastes better the next day. Prepare it fully, cool it, and store it in the refrigerator. Reheat gently when you’re ready to serve.
- What if I don’t have an Instant Pot? While this recipe is optimized for the Instant Pot, you can adapt it for a slow cooker. Cook on low for 6-8 hours or on high for 3-4 hours, until the pork is tender enough to shred. You might need to adjust the liquid amount slightly.
- Can I add beans to this chili? Yes, you can add a can of drained and rinsed black beans, kidney beans, or pinto beans at the same time you add the second can of green chiles.
- Instant Pot Split Pea Soup
- Crock Pot Turkey Chili
- Instant Pot Pulled Pork BBQ
- The Best Grilled Ribs
- Instant Pot Crack Chicken
- Crock Pot White Chicken Chili
- Instant Pot Country Style Ribs
- Crock Pot BBQ Pork Chops
- Instant Pot Stuffed Pepper Soup
- Instant Pot Corned Beef
- Instant Pot Barbacoa
- Oven Roasted Pulled Pork
- 4 pound boneless pork loin roast, cut into 6 pieces
- 2 (7 ounce) cans diced green chiles (divided use)
- 1 red onion, finely diced (divided use)
- 2 cups salsa (Herdez mild salsa recommended)
- 2 Tablespoons chili powder
- 2 Tablespoons Goya Adobo Seasoning
- 1 Tablespoon paprika (use smoked paprika if available)
- 1 cup water
- 2 teaspoons salt (more to taste)
- For Garnish: chopped cilantro, sliced lime, remaining diced red onion and Cotija cheese
- Cut the pork loin roast into 6 pieces and place them into the Instant Pot. Add 1 can of the diced green chiles (reserve the other can for after cooking), 1/2 of the diced red onion, salsa, chili powder, adobo seasoning, paprika, water, and salt.
- Secure the Instant Pot lid, set the vent to ‘Sealing’, and select ‘Manual’ (or ‘Pressure Cook’) for 50 minutes on high pressure.
- Once the cooking time expires, allow for a natural pressure release for approximately 20 minutes. Then, carefully perform a quick release of any remaining pressure before removing the lid.
- Using two forks, shred the pork pieces directly in the Instant Pot. Do not drain any of the liquid, as it is full of flavor.
- Add the remaining can of green chiles to the pot and stir well to combine.
- Serve hot, garnished with chopped cilantro, the remaining diced red onion, crumbled Cotija cheese, and a fresh lime slice.
Serving Suggestions and Variations
This Instant Pot Pork Chili is incredibly versatile and can be enjoyed in many ways. For a complete meal, serve it with a side of warm cornbread or over a bed of fluffy white rice. It’s also fantastic as a topping for baked potatoes or even in burritos and tacos. Don’t shy away from creative garnishes; a dollop of sour cream or Greek yogurt, a sprinkle of hot sauce for an extra kick, or some sliced avocado can elevate your chili experience.
If you’re looking to add variety, consider these delicious variations:
Storing and Reheating Leftover Chili
This Instant Pot Pork Chili makes excellent leftovers, often tasting even better the next day as the flavors continue to meld. To store, allow the chili to cool completely, then transfer it to airtight containers. It will keep beautifully in the refrigerator for up to 3-4 days. For longer storage, this chili freezes wonderfully. Portion it into freezer-safe bags or containers and freeze for up to 3 months. To reheat, simply thaw overnight in the refrigerator (if frozen) and warm gently on the stovetop over medium-low heat, stirring occasionally, or in the microwave until heated through. Add a splash of broth or water if it appears too thick.
Frequently Asked Questions About Pork Chili
Craving More Hearty Instant Pot Recipes?
If you loved the ease and flavor of this Instant Pot Pork Chili, you’re in for a treat! The Instant Pot is a marvel for creating delicious, comforting meals with minimal effort. Explore more of our favorite pressure cooker recipes and other hearty dishes that are perfect for any occasion:

Instant Pot Pork Chili
This Instant Pot Pork Chili is packed with Latin-inspired flavors from green chiles, salsa, adobo seasoning, and chili powder. It’s incredibly flavorful and tastes like it has simmered all day!
Prep Time: 10 minutes | Cook Time: 50 minutes | Natural Release: 20 minutes | Total Time: 1 hour 20 minutes
Servings: 6 | Author: Brandie Skibinski
Ingredients
Instructions
Video
Recipe Details
Course: Main Course | Cuisine: American (with Latin influences)
Nutrition
Calories: 451kcal | Carbohydrates: 11g | Protein: 70g | Fat: 13g | Sodium: 809mg | Fiber: 3g | Sugar: 5g
Nutritional Disclaimer
“The Country Cook” is not a dietician or nutritionist, and any nutritional information shared is an estimate. If calorie count and other nutritional values are important to you, we recommend running the ingredients through whichever online nutritional calculator you prefer. Calories and other nutritional values can vary quite a bit depending on which brands were used.
Did you make this recipe?
Share it on Instagram @thecountrycook and mention us #thecountrycook!
