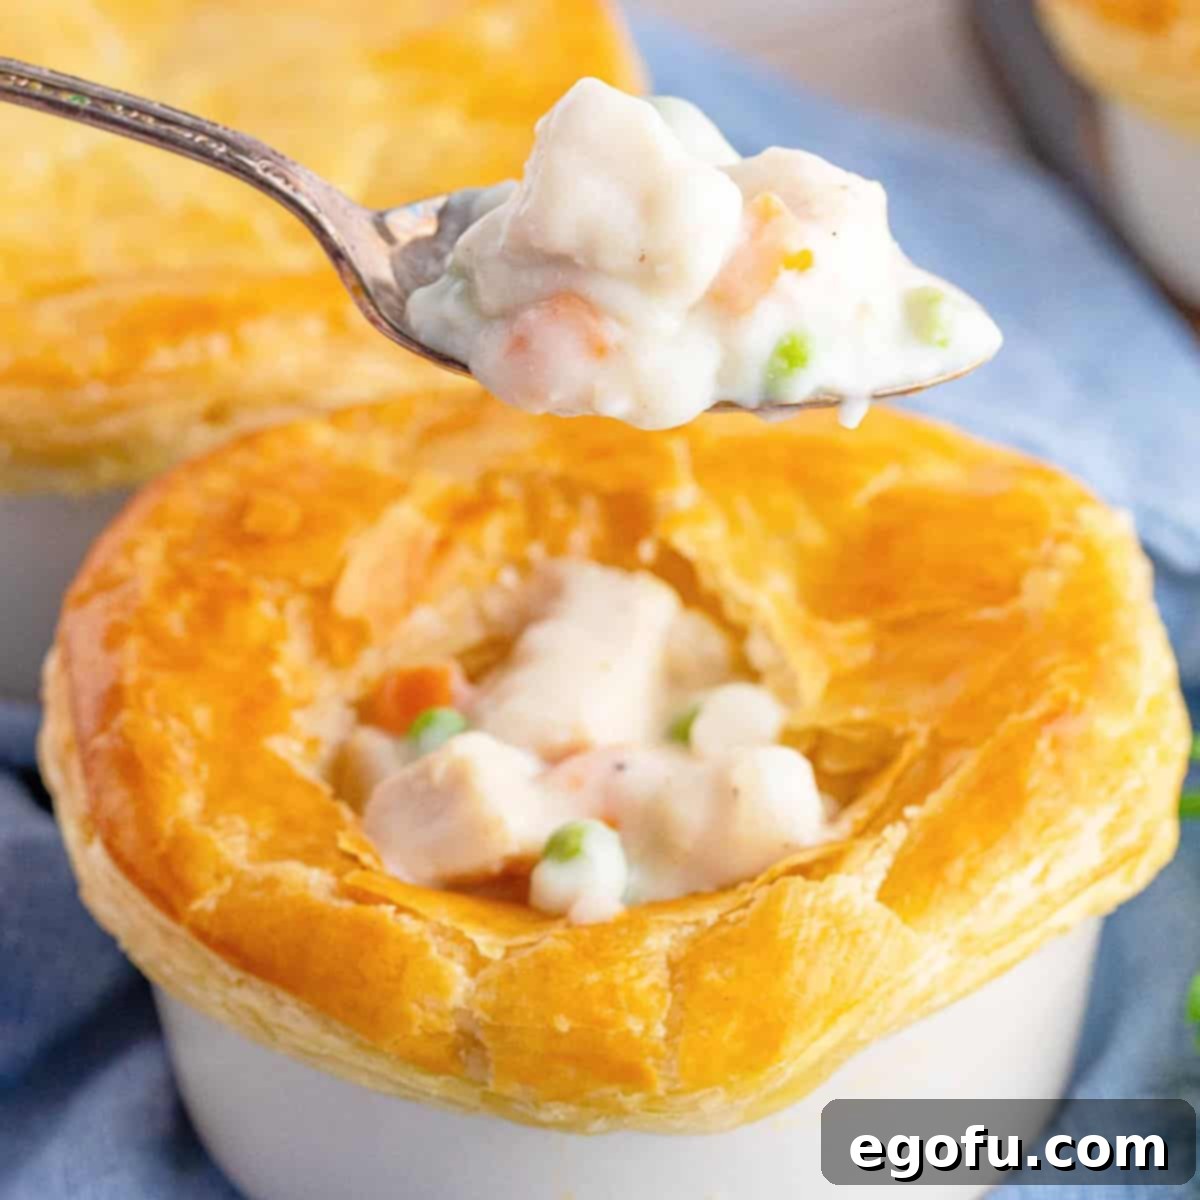
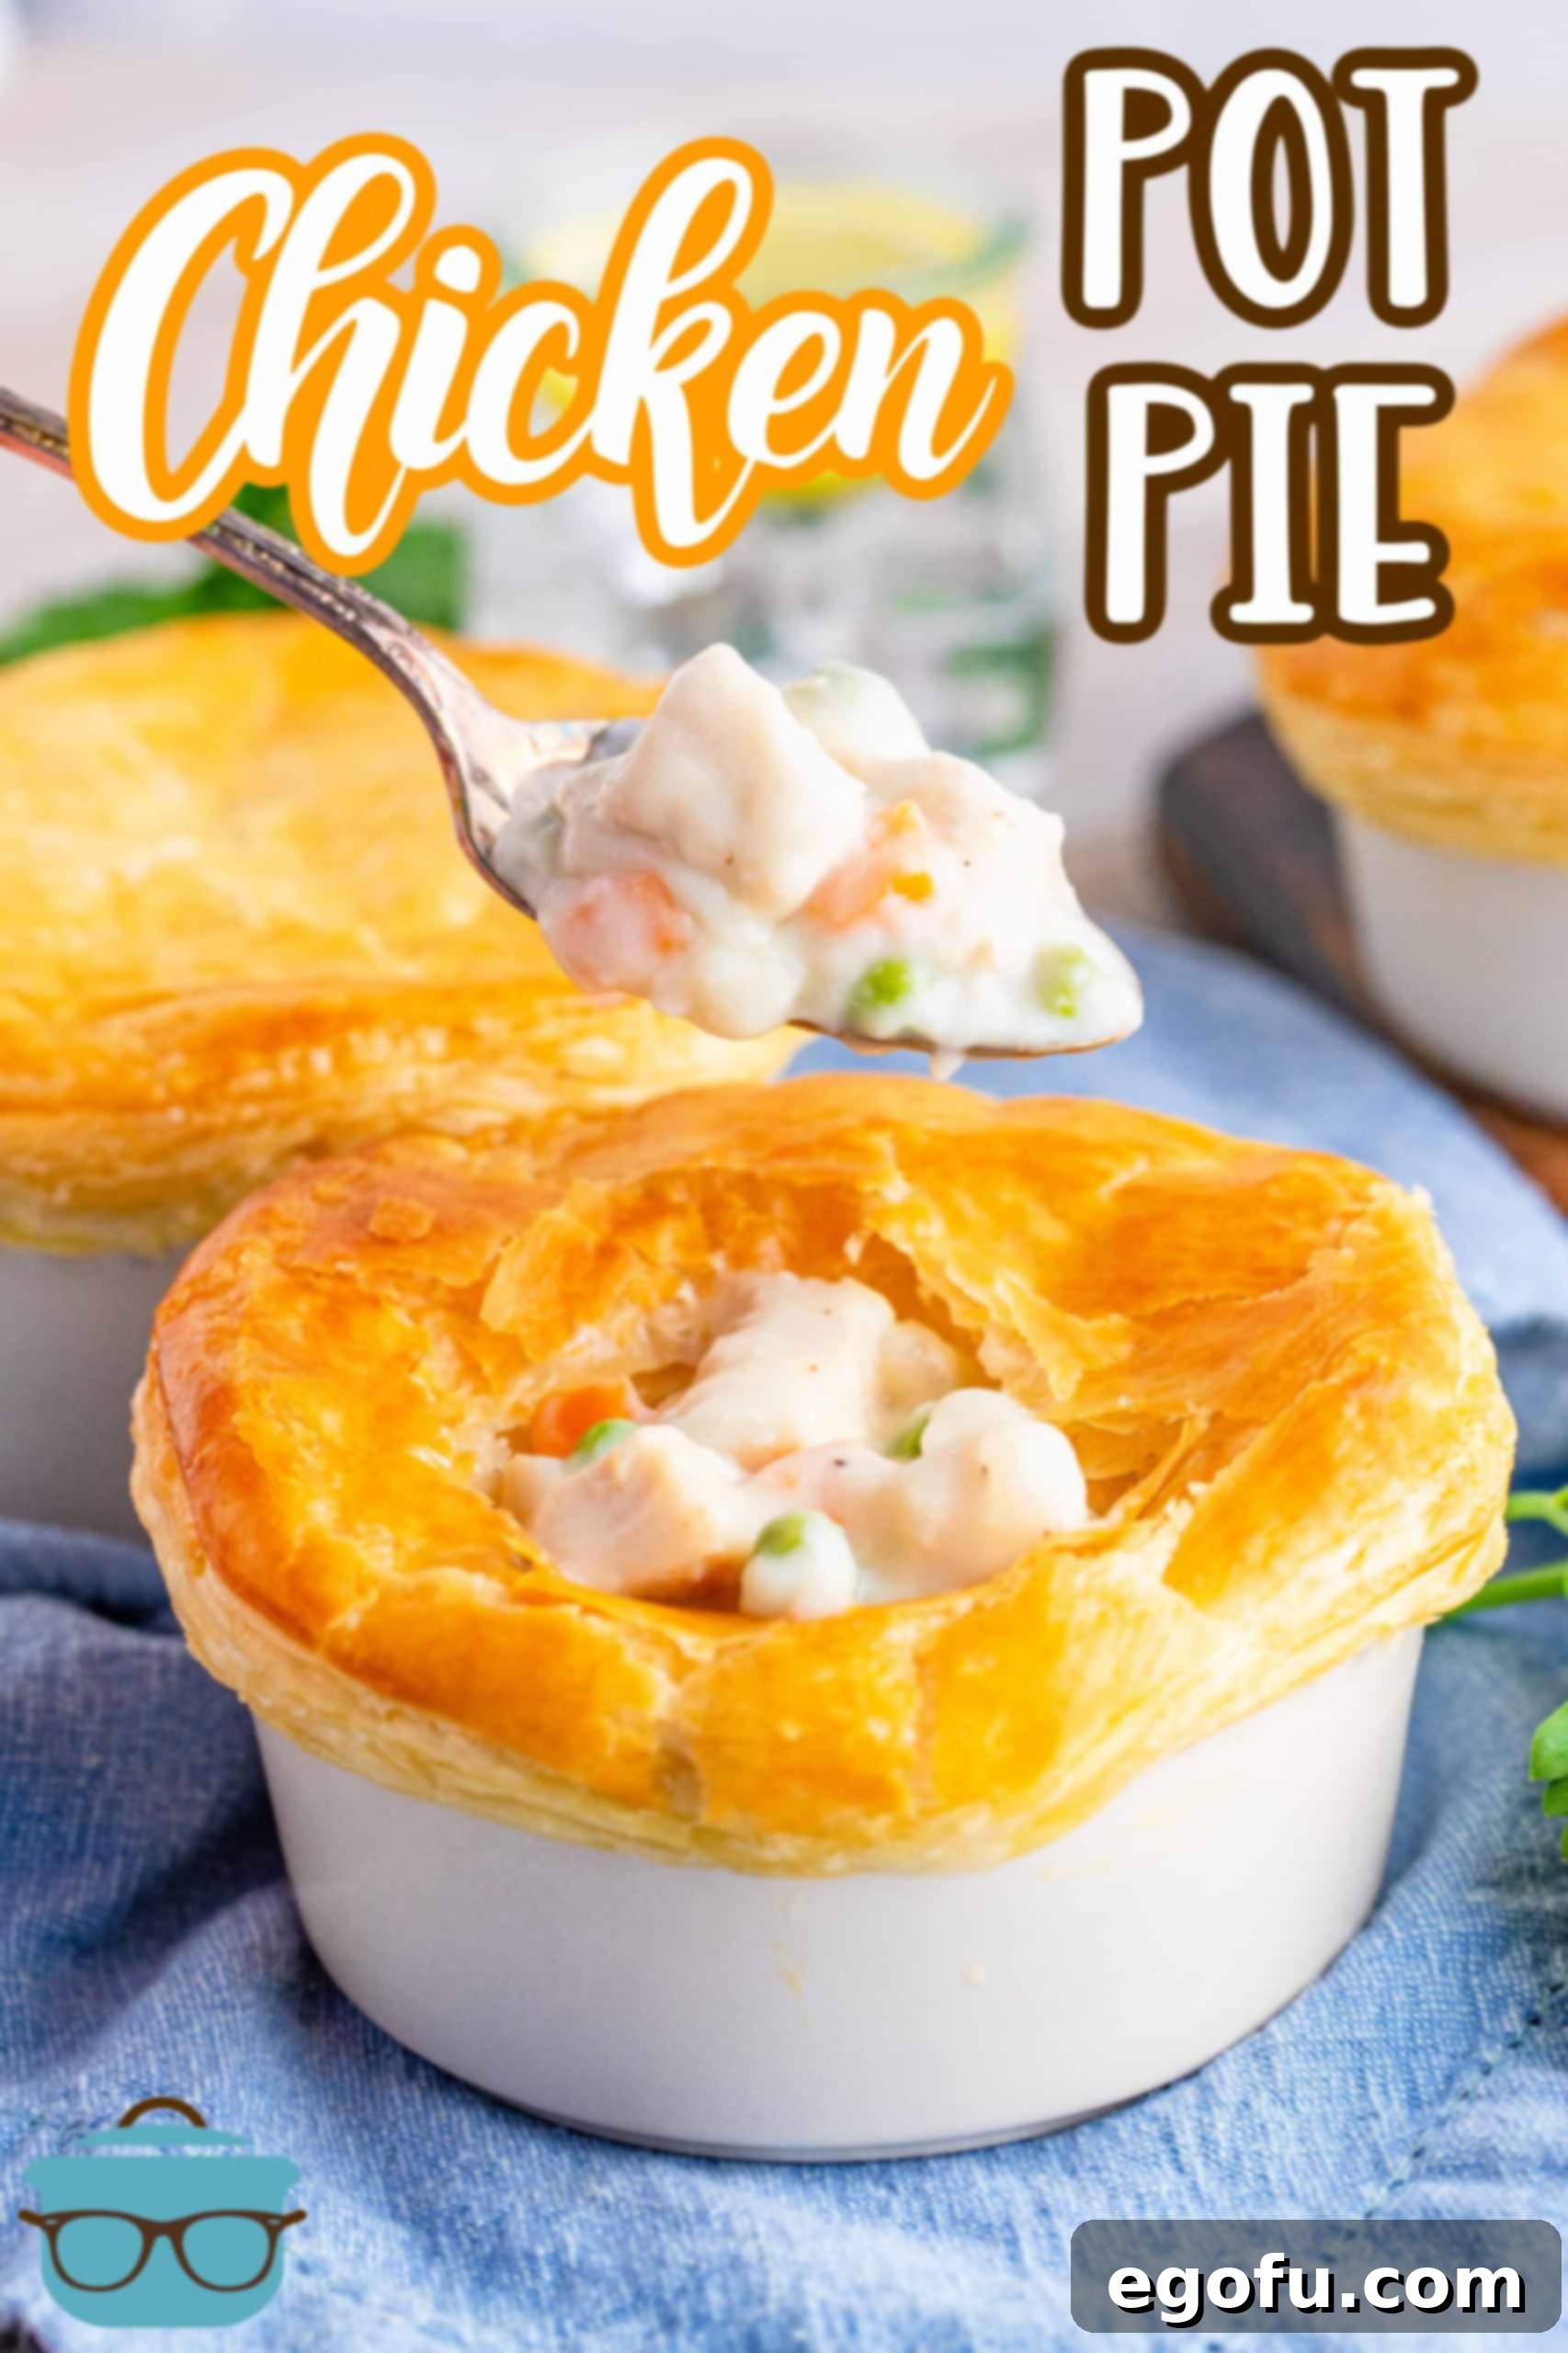
Indulge in the ultimate comfort food experience with these individual Chicken Pot Pies, featuring a rich, homemade, thick, and creamy filling perfectly complemented by a light, flaky puff pastry crust. Designed for effortless serving in charming ramekins, these miniature masterpieces promise a delightful meal for every palate.
The Irresistible Allure of Individual Chicken Pot Pies
There’s an undeniable charm to comfort food, a culinary embrace that transports you back to cherished memories and the warmth of home. While the specific dishes might vary depending on your upbringing, certain classics resonate universally. Among these heartwarming delights, the humble yet magnificent chicken pot pie stands supreme. But why settle for a slice when you can have a personal, perfectly portioned pie? Our recipe for Homemade Individual Chicken Pot Pies elevates this beloved dish, ensuring that each person at your table receives their own delectable serving of golden-crusted goodness.
Imagine a chilly evening, the aroma of a savory, bubbling chicken pot pie wafting from the kitchen. This isn’t just any pot pie; it’s a meticulously crafted individual serving, baked to perfection in its own ramekin, promising a crispy, golden puff pastry crown atop a luxuriously creamy filling. These individual portions are not only aesthetically pleasing but also incredibly convenient, making them ideal for dinner parties, weeknight meals, or even meal prepping for delicious lunches throughout the week. They eliminate the mess of serving a large pie and ensure everyone gets a beautiful, intact crust and an abundance of rich, flavorful filling.
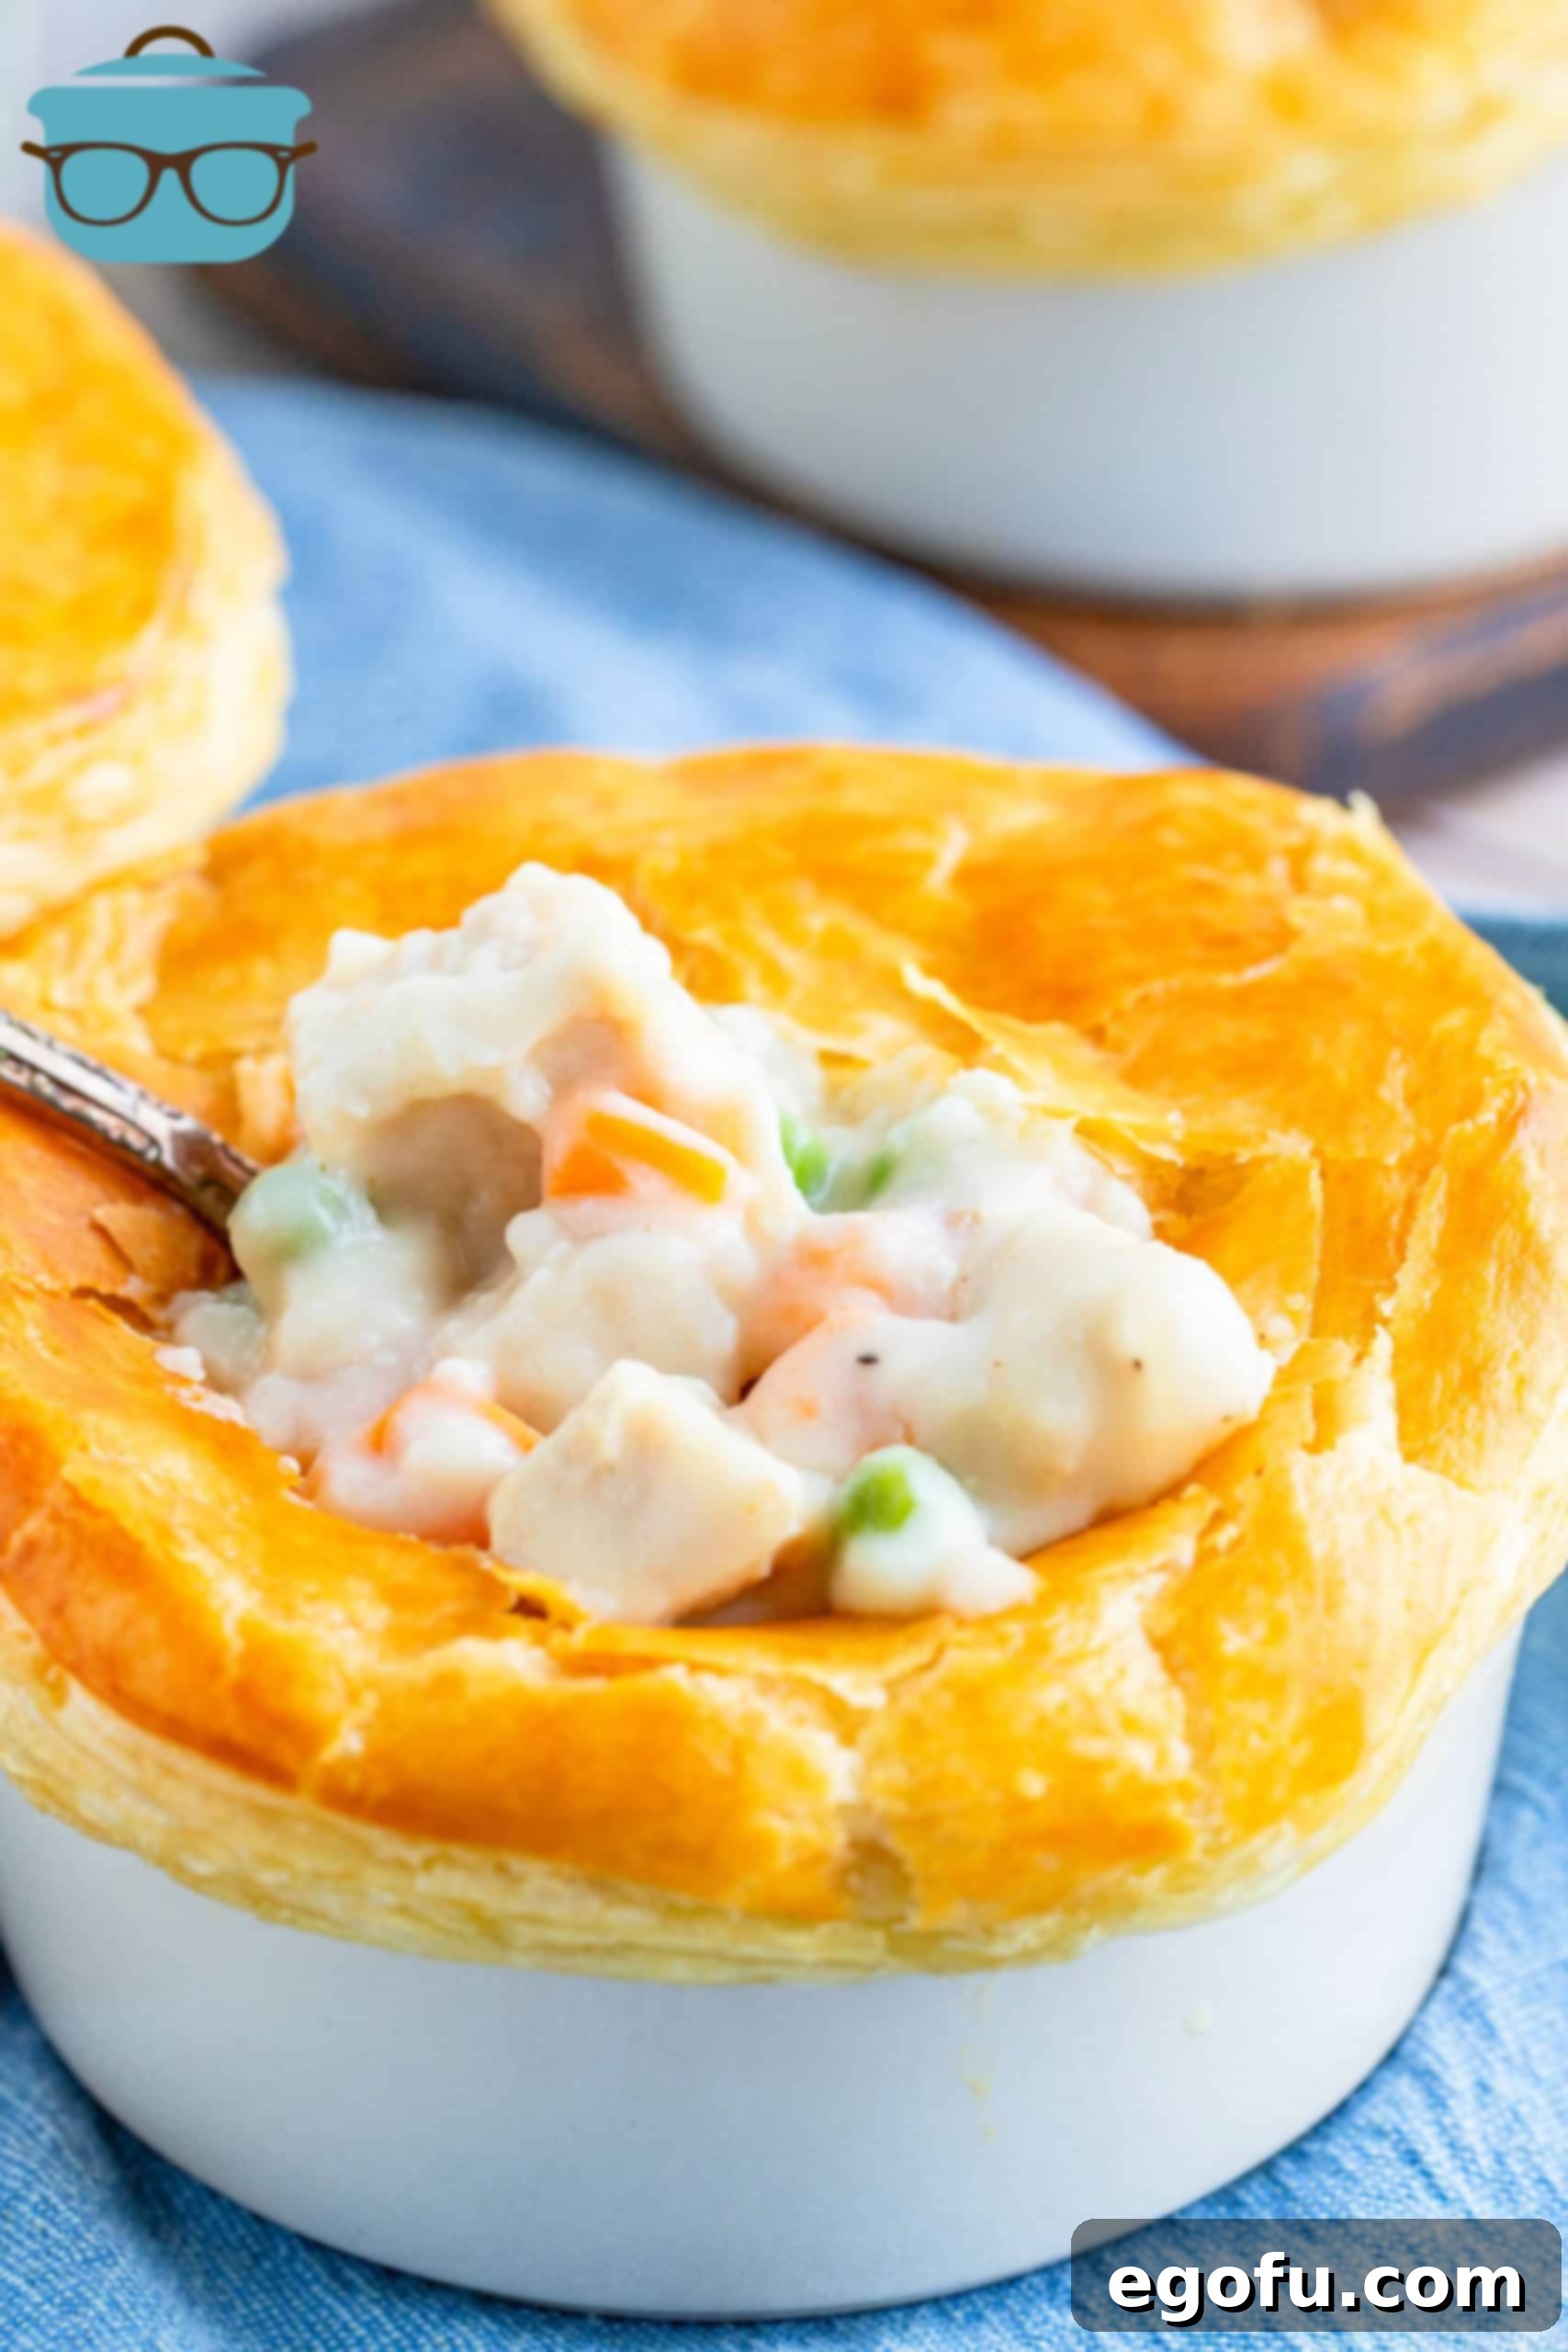
Essential Tips for Perfect Individual Chicken Pot Pies
Crafting the perfect individual chicken pot pie is a rewarding culinary journey. To ensure your pies turn out flawlessly every time, consider these helpful tips:
- Serving Size Flexibility: This recipe typically yields about 6 servings, but this can easily be adjusted based on the size of your bowls or ramekins. If you opt for larger vessels, simply ensure you have enough puff pastry to cover them all adequately.
- Utilize Any Oven-Safe Dish: Don’t feel restricted to specific ramekins. Any oven-safe bowls you have on hand will work beautifully. Just remember to account for their size when cutting your puff pastry.
- Freezing Leftover Filling: Life gets busy, and having a ready-made meal option is a game-changer. If you find yourself with extra filling, it freezes exceptionally well. Simply store it in an airtight container for a future quick and easy dinner. You can even freeze extra puff pastry separately to pair with your thawed filling later.
- Rotisserie Chicken Shortcut: While roasting chicken breasts provides optimal flavor, a pre-cooked rotisserie chicken is a fantastic time-saver. Shred or cube it and incorporate it into the filling, cutting down significantly on your prep time without sacrificing taste.
- Achieving the Perfect Crust: Puff pastry is key to that iconic golden, flaky top. Ensure it’s properly thawed but still cold enough to handle. Don’t overwork it, and apply a generous egg wash for a beautiful sheen and golden hue.
- Seasoning is Crucial: The filling’s richness benefits greatly from proper seasoning. Always taste your filling before assembling the pies and adjust salt and pepper as needed. A well-seasoned filling makes all the difference.
Key Ingredients for Our Hearty Chicken Pot Pies
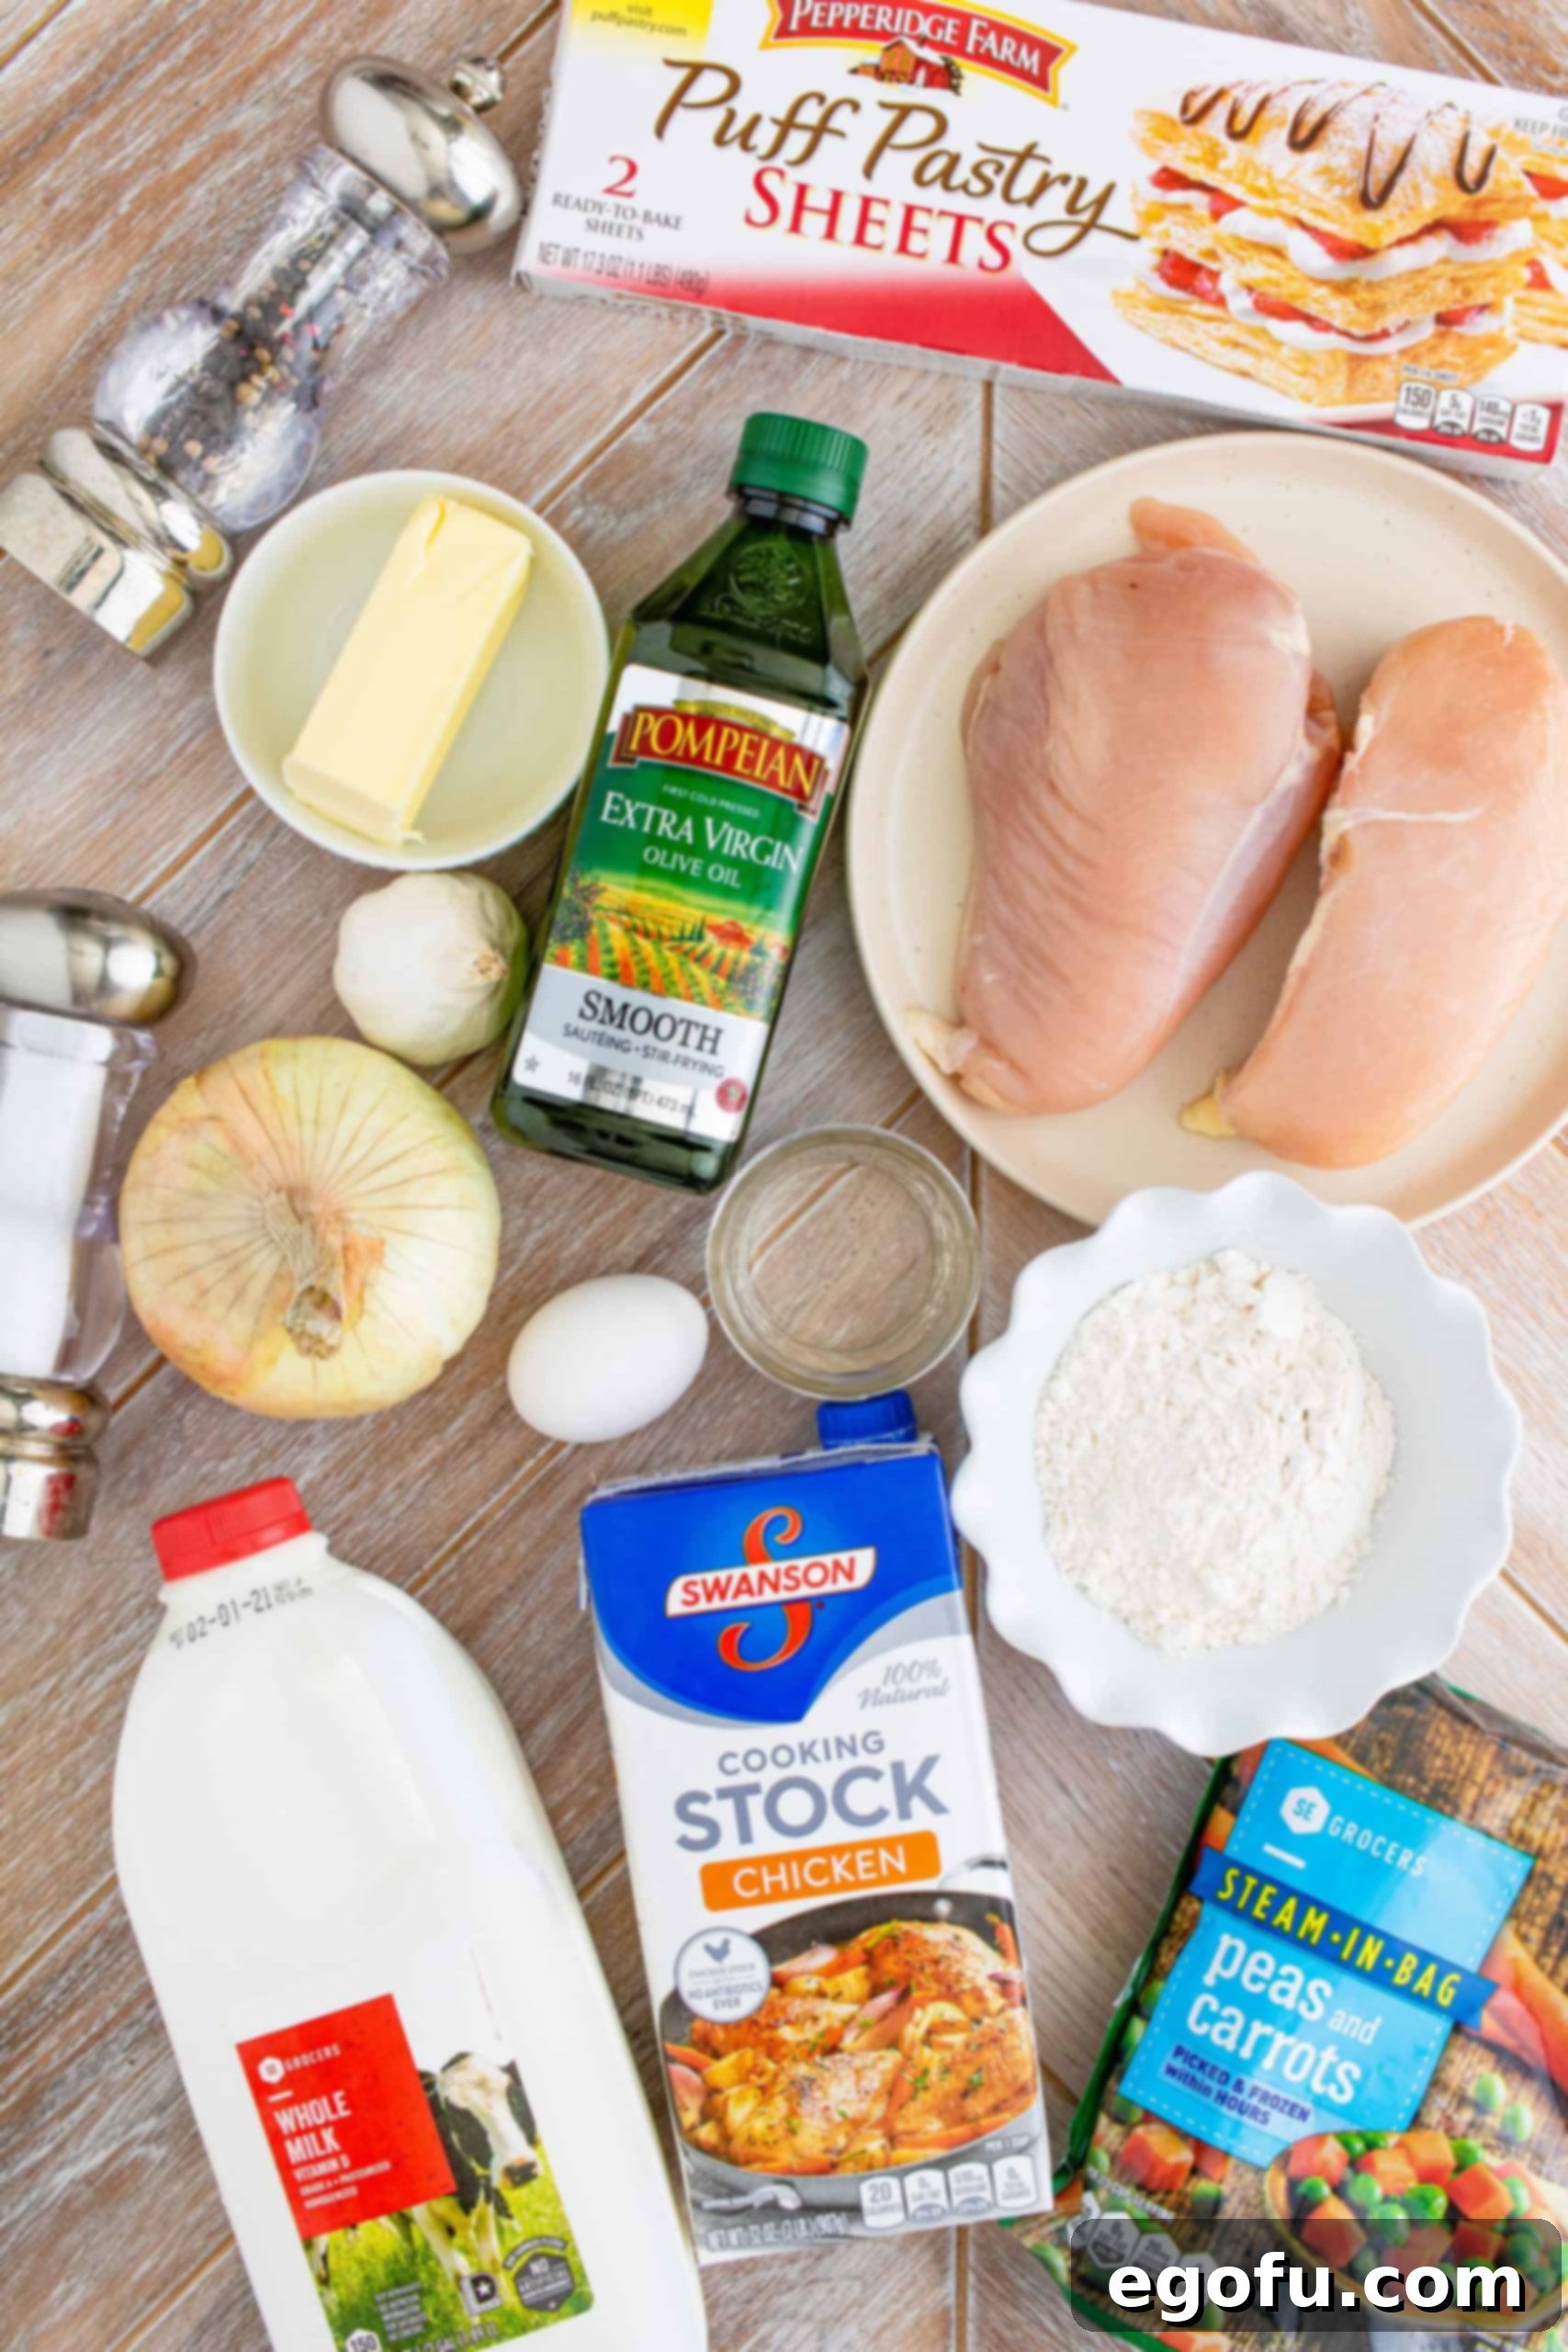
The magic of these individual chicken pot pies lies in a carefully selected blend of fresh and pantry staples. Each ingredient plays a vital role in creating the ultimate comfort food experience. Here’s what you’ll need for this truly satisfying dish:
- Frozen Puff Pastry (thawed): The star of the show for our perfectly flaky crust. Ensure it’s thawed but still cold for best results.
- Chicken Breasts: Lean protein, roasted to tender perfection, or opt for a convenient rotisserie chicken.
- Olive Oil: For roasting the chicken, adding a touch of richness.
- Salt & Pepper: Essential seasonings to enhance all the flavors.
- Salted Butter: The foundation of our rich and creamy roux, providing depth and flavor.
- All-Purpose Flour: Thickens our filling, creating that luxurious, gravy-like consistency.
- Whole Milk: Contributes to the creamy base of the sauce, adding a smooth texture.
- Chicken Stock: Deepens the savory notes of the filling and helps achieve the right consistency.
- Small Yellow Onion: Finely chopped, it adds aromatic depth and a subtle sweetness.
- Garlic (minced): A crucial flavor enhancer, bringing warmth and pungency.
- Frozen Peas and Carrots: A classic pot pie vegetable blend, offering sweetness, color, and essential nutrients.
- Egg: Used to create an egg wash for a beautifully golden and shiny crust.
- Water: Mixed with the egg for the perfect egg wash consistency.
Crafting Your Own Individual Chicken Pot Pies: A Step-by-Step Guide
Embark on the journey of creating these exquisite individual chicken pot pies. This detailed guide will walk you through each step, ensuring a delicious and satisfying outcome.
Preparing the Chicken:
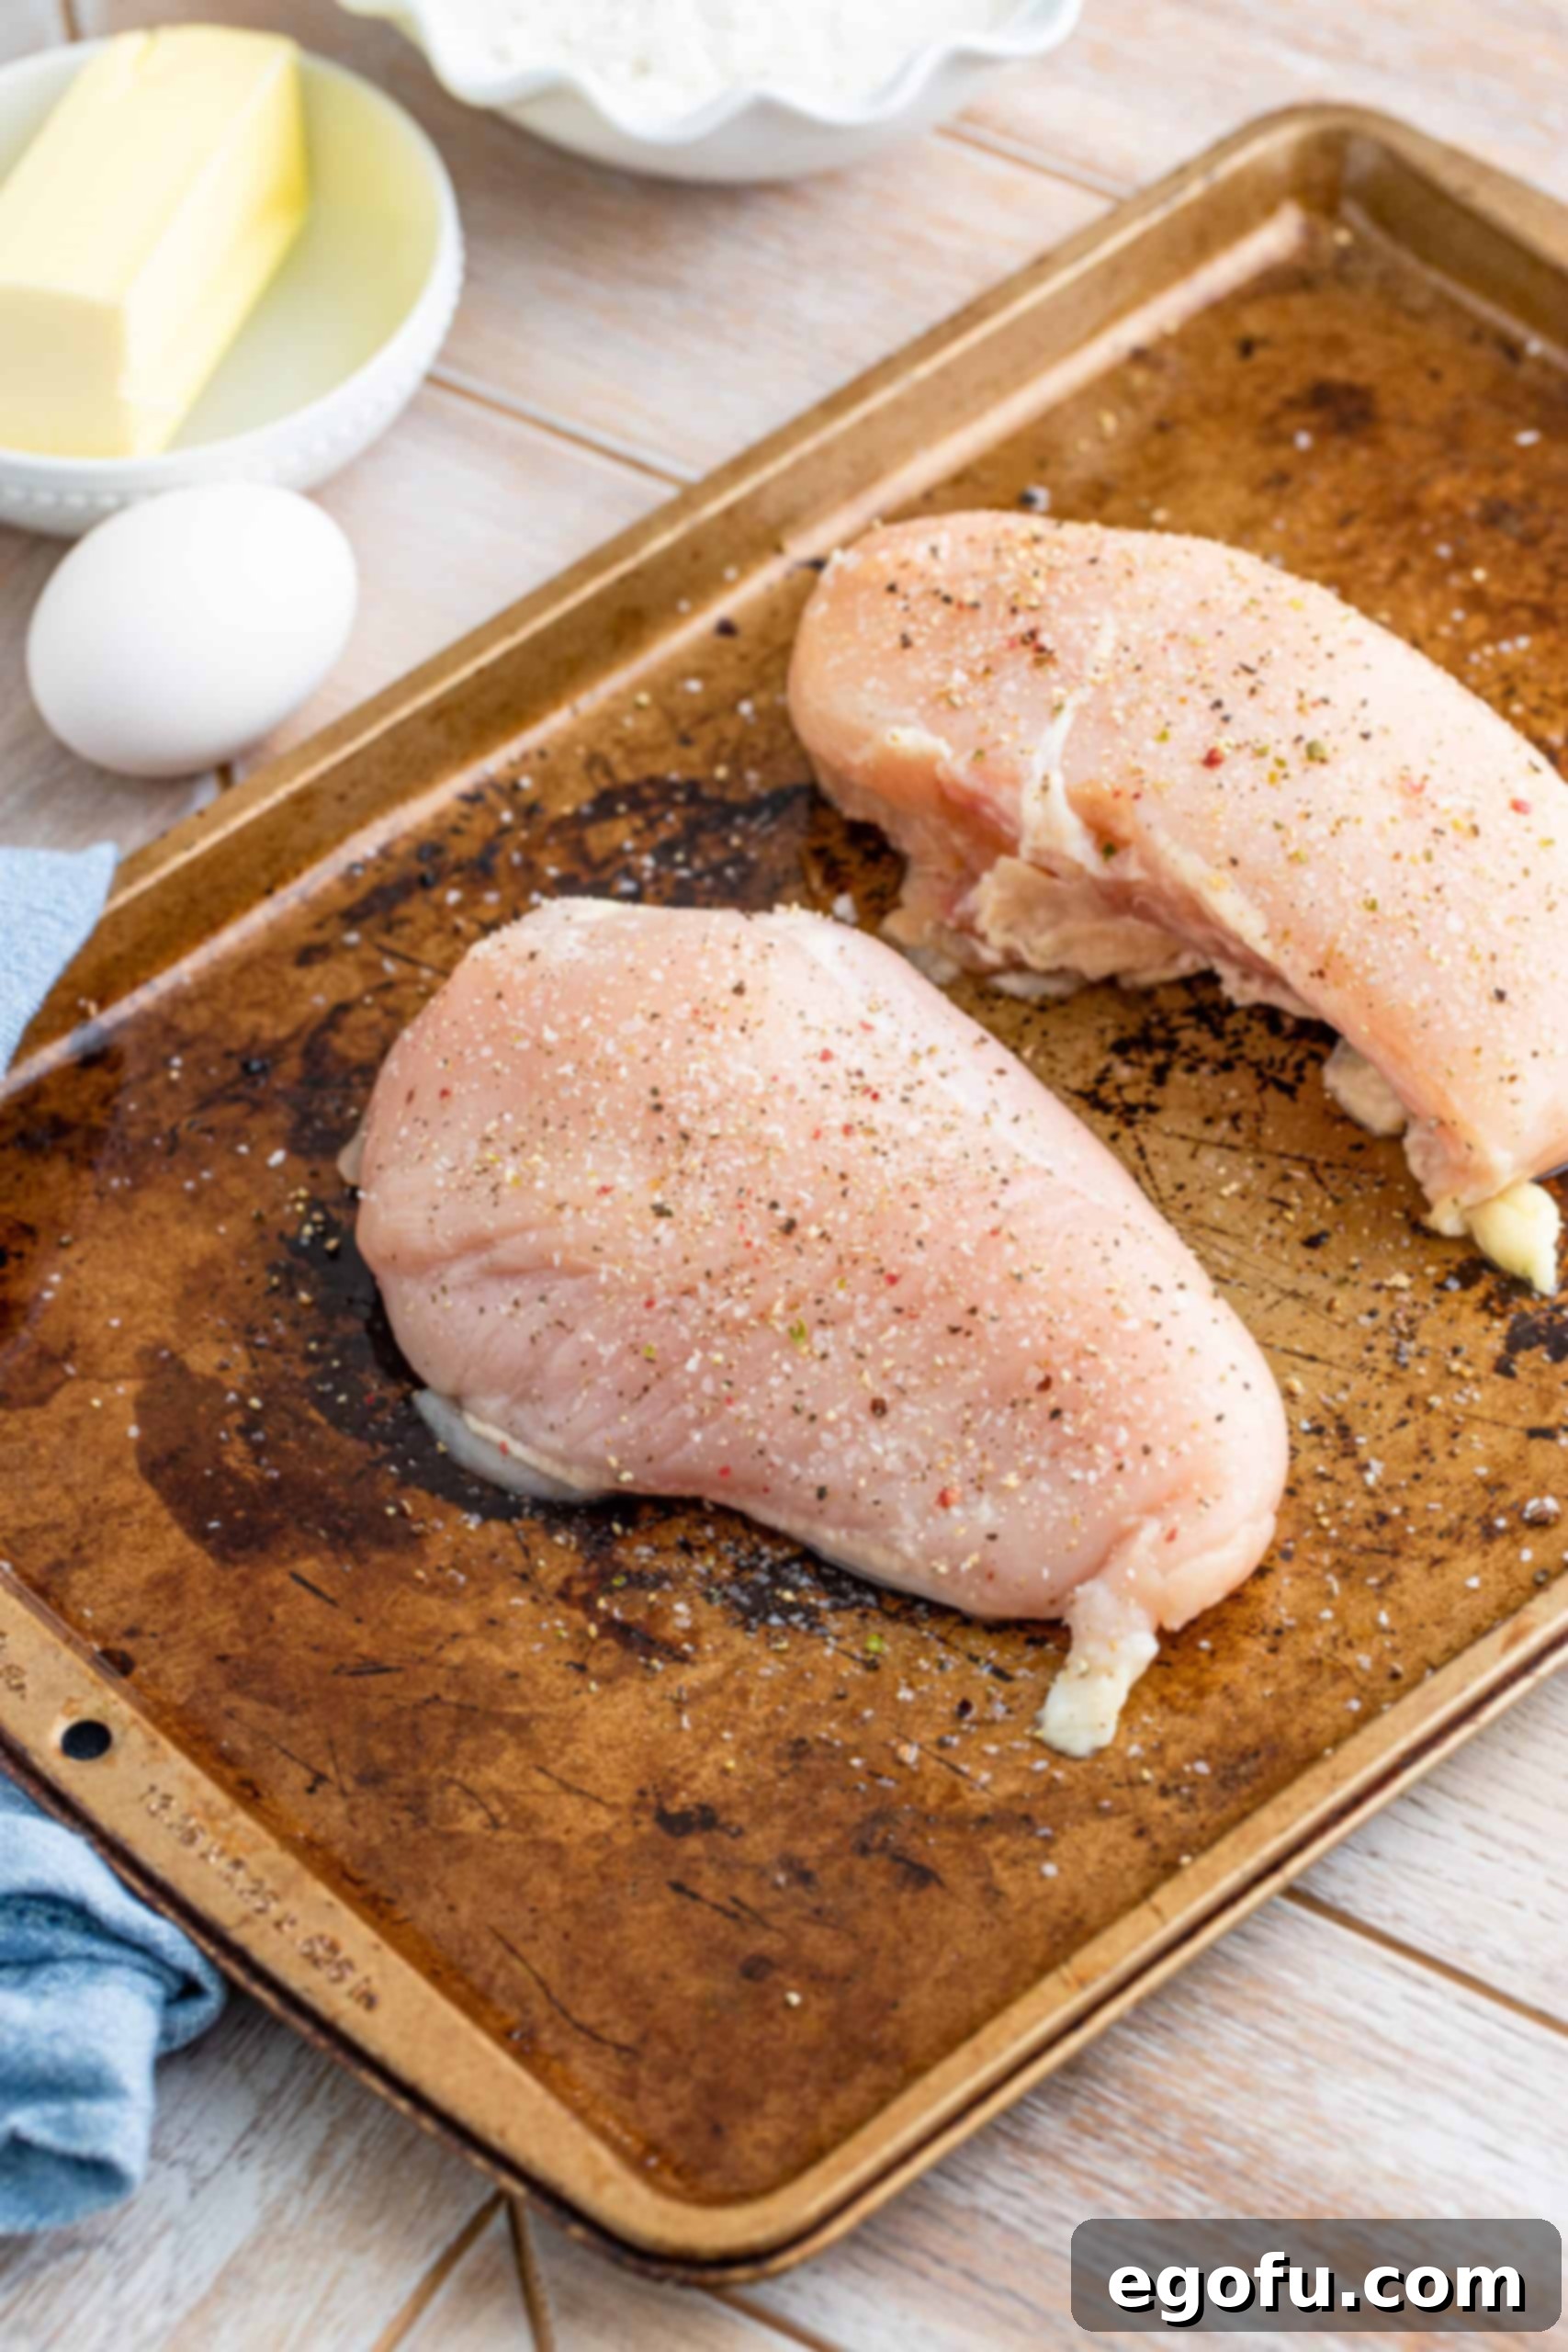
Begin by preheating your oven to 350°F (175°C). Place the chicken breasts on a baking sheet that has been lightly sprayed with nonstick cooking spray. Drizzle the chicken breasts generously with olive oil and season both sides with salt and freshly ground black pepper to taste. Roast the chicken in the preheated oven for approximately 45 minutes, or until its internal temperature reaches 165°F (74°C) and the juices run clear. Alternatively, to save time, you can skip this roasting step entirely by using pre-cooked chicken, such as a store-bought rotisserie chicken or leftover cooked chicken. Once your chicken is thoroughly cooked, allow it to cool completely before cutting it into uniform, bite-sized pieces. Set the cubed chicken aside while you prepare the rich and creamy filling.
Preparing the Puff Pastry Crust:
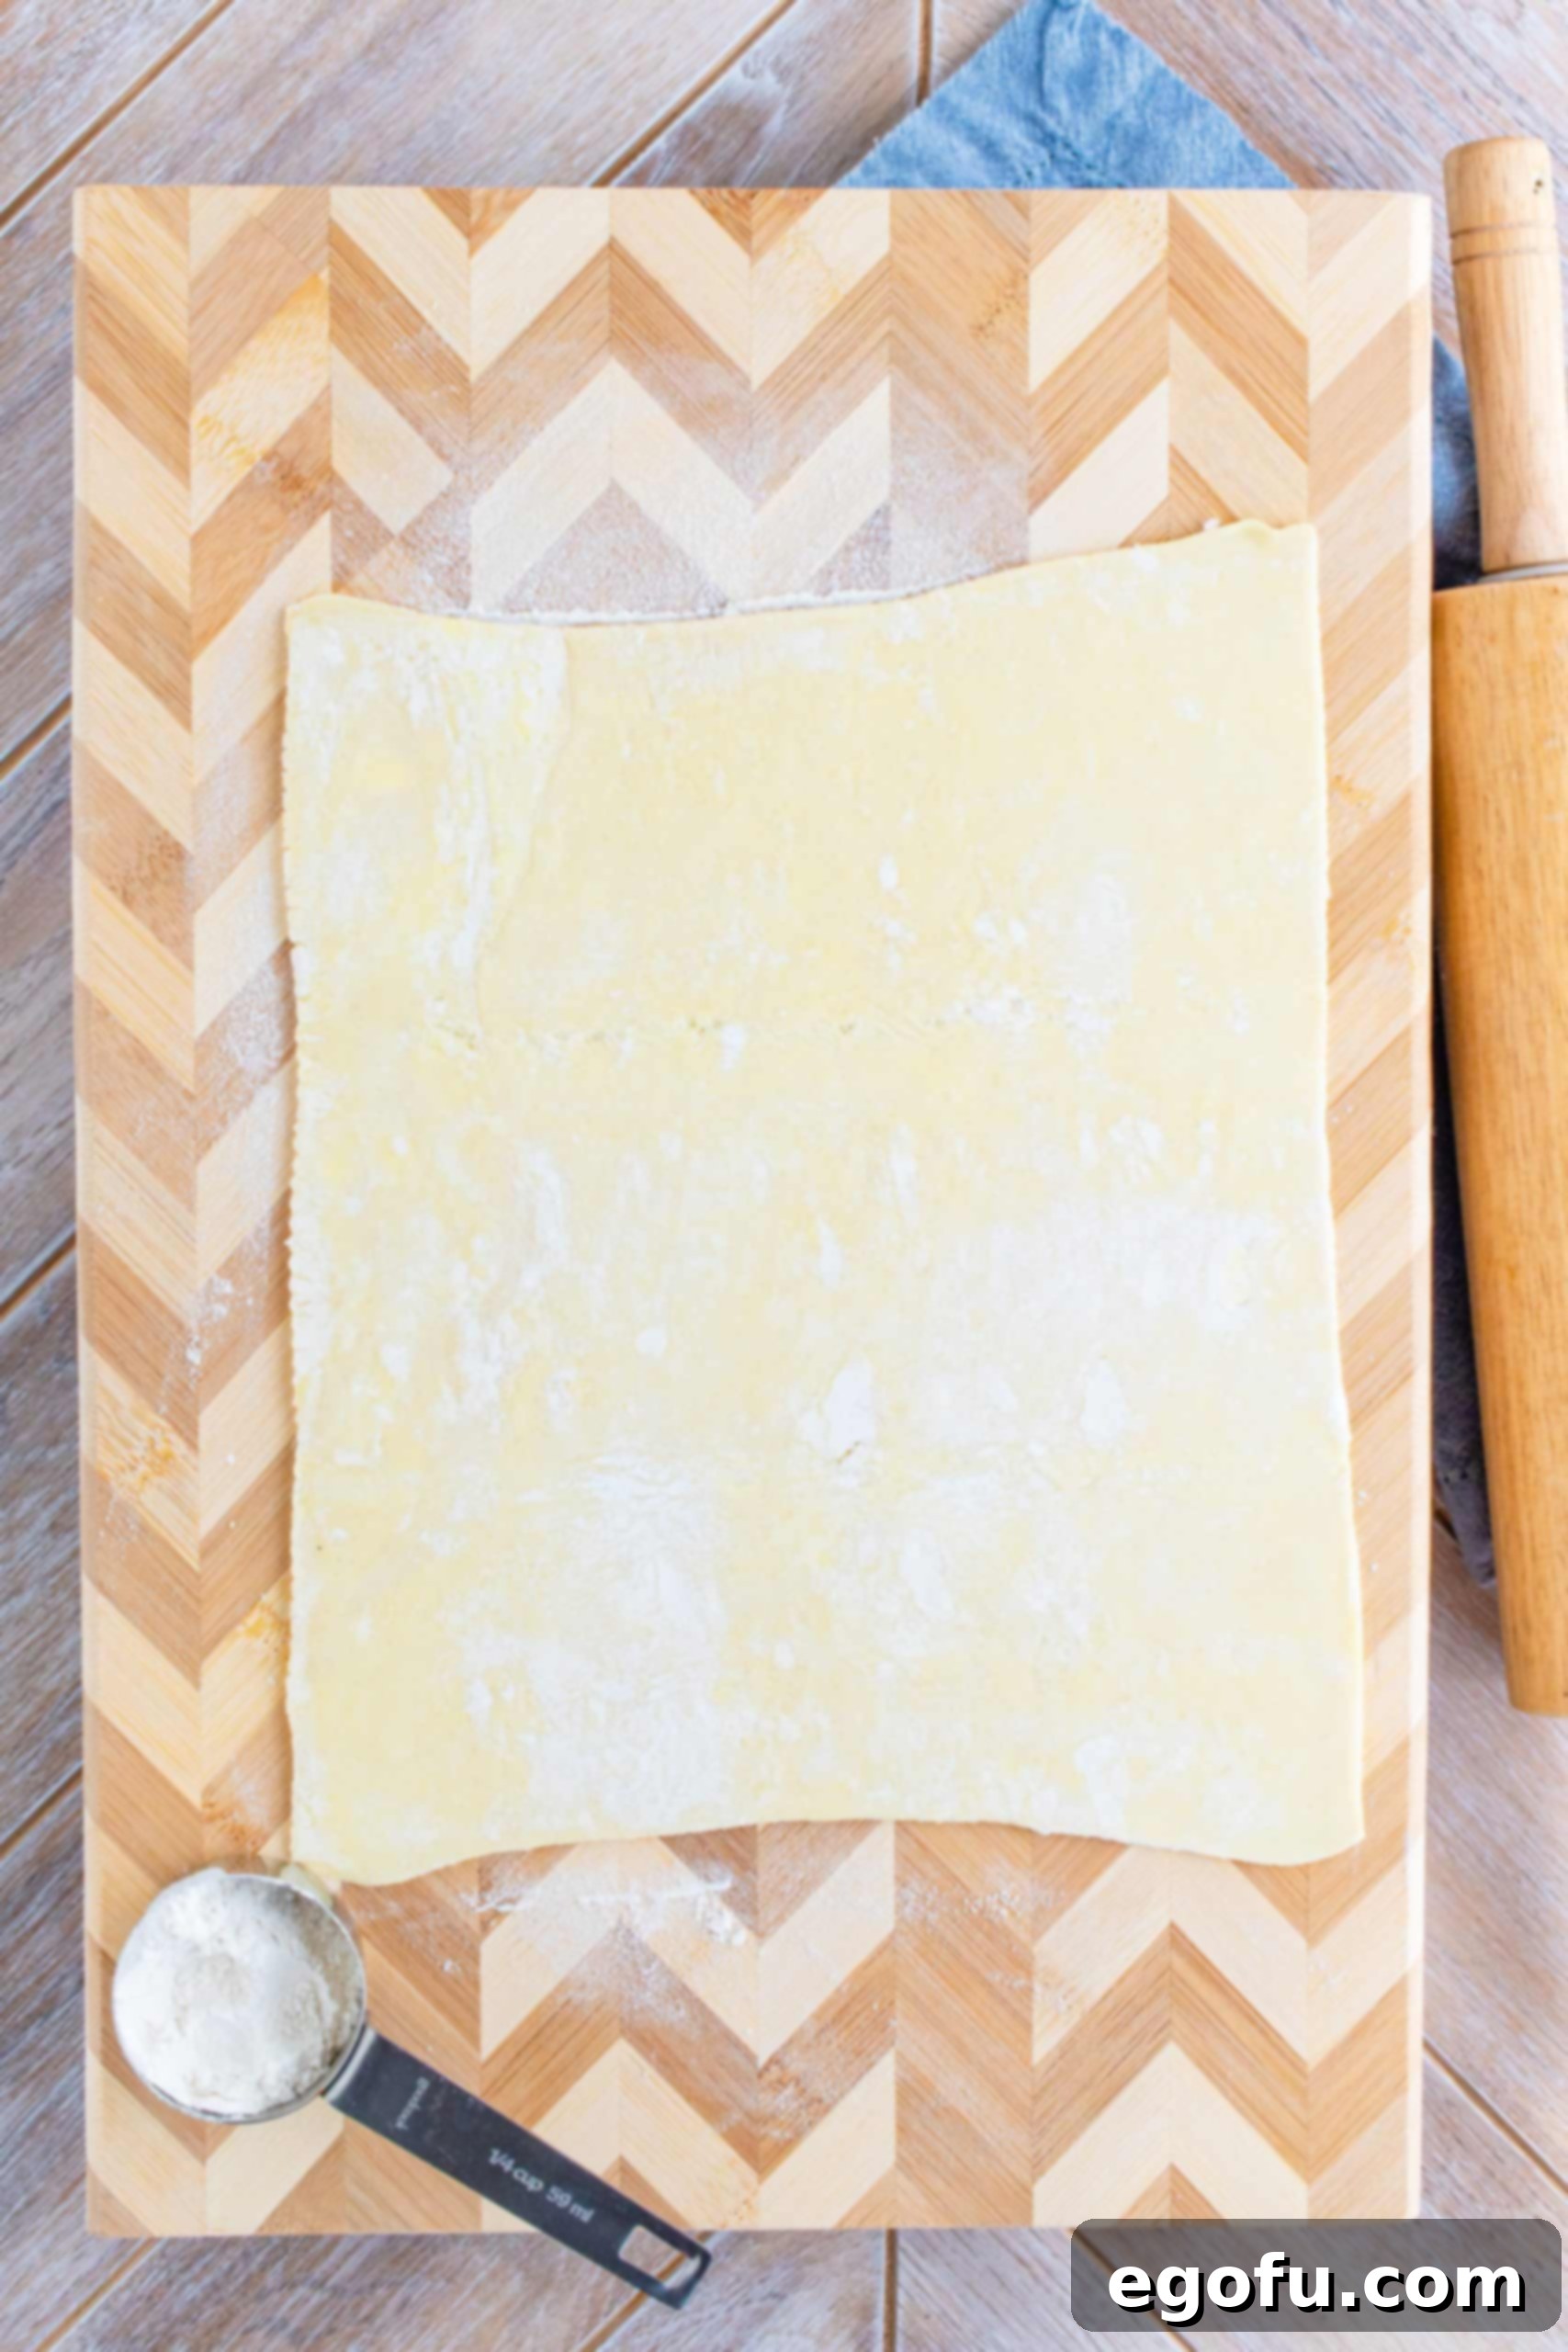
The puff pastry crust is what makes these pot pies truly special. Ensure your frozen puff pastry has thawed sufficiently at room temperature before you begin. It should be pliable and easy to unfold without tearing. If it’s still stiff, give it a few more minutes. Lay a light dusting of all-purpose flour on your clean counter or work surface. Carefully unroll the thawed puff pastry sheets (they typically come folded in thirds). If the seams are noticeable, gently pinch them together to create a smooth, continuous pastry sheet. Now, take your rolling pin and lightly roll out the pastry. The goal here isn’t to make it significantly thinner, but rather to smooth out any seams and slightly increase its surface area, giving you a bit more room to work with. Avoid rolling it out too thin, as this can prevent the pastry from puffing up properly during baking.
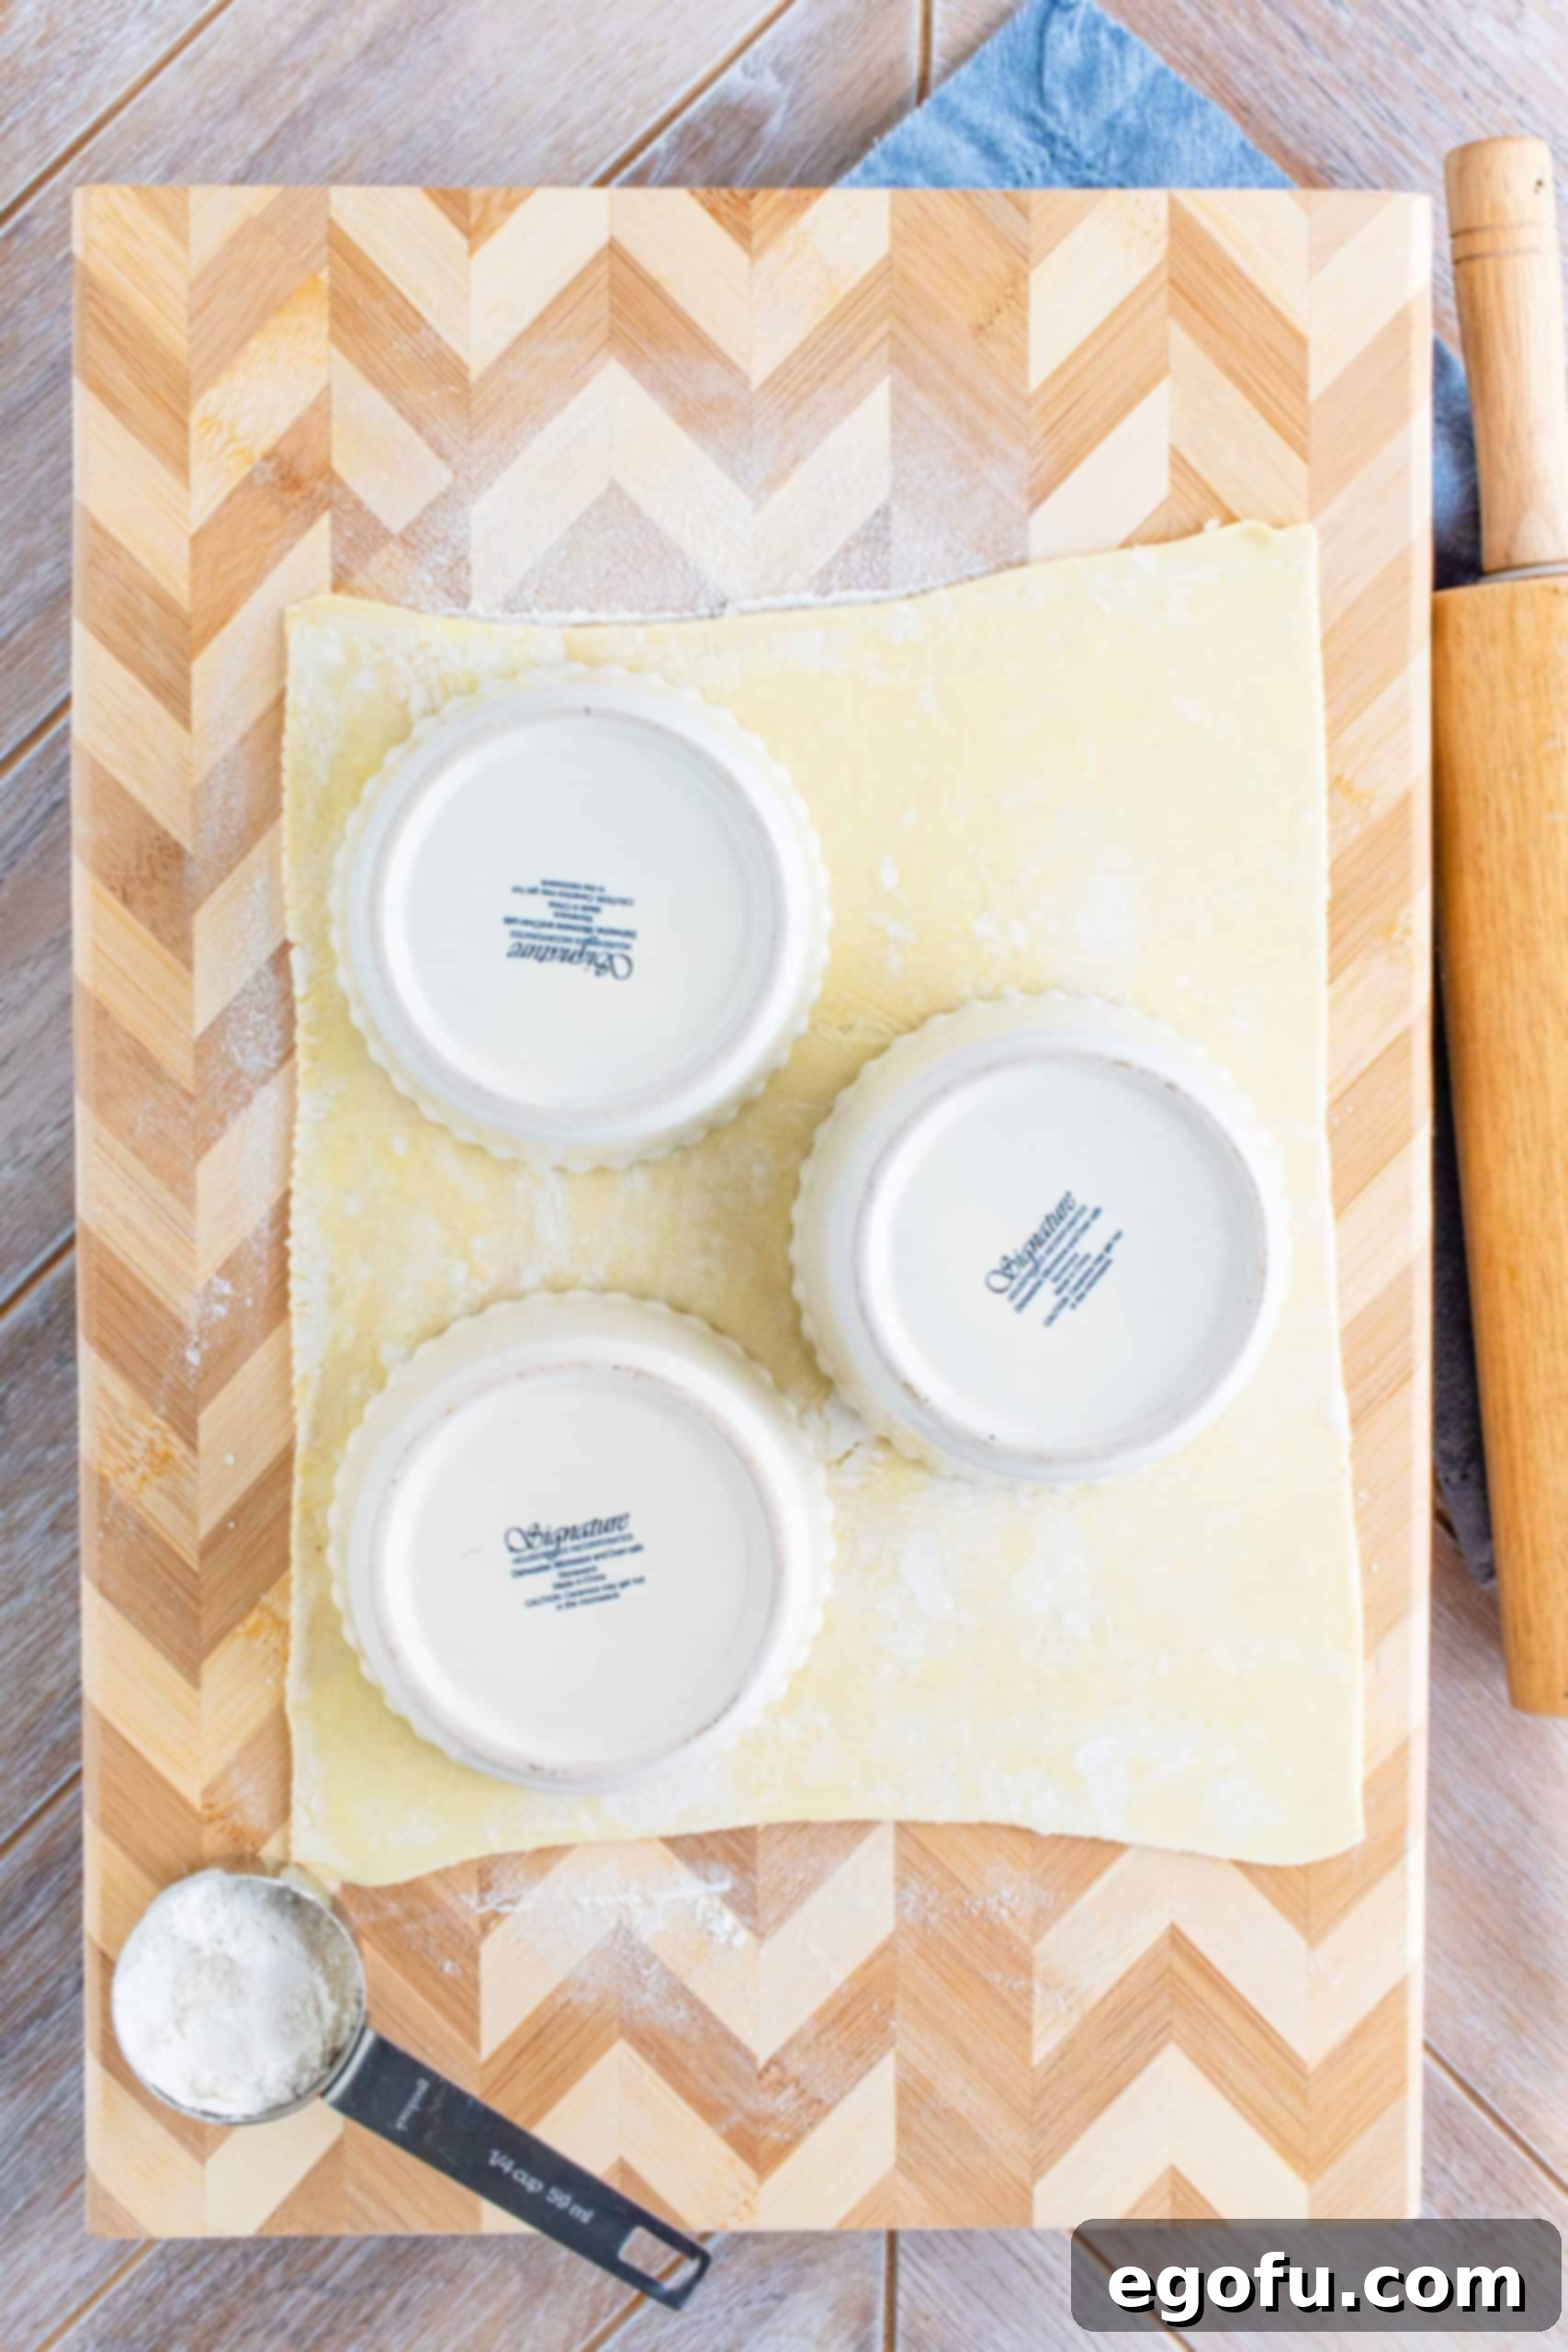
To create the perfect crust tops for your individual pies, invert your ramekins or oven-safe bowls onto the rolled-out puff pastry. Using a sharp knife, carefully cut around the perimeter of each bowl, leaving an approximate 1/2-inch overhang. This extra pastry is crucial as it allows the crust to gently drape over the edges of the bowl, ensuring a secure seal and a beautiful, rustic appearance once baked. Once you have cut out all your puff pastry circles, set them aside on a plate or another lightly floured surface until you are ready to assemble your delicious pot pies.
Crafting the Creamy Filling:
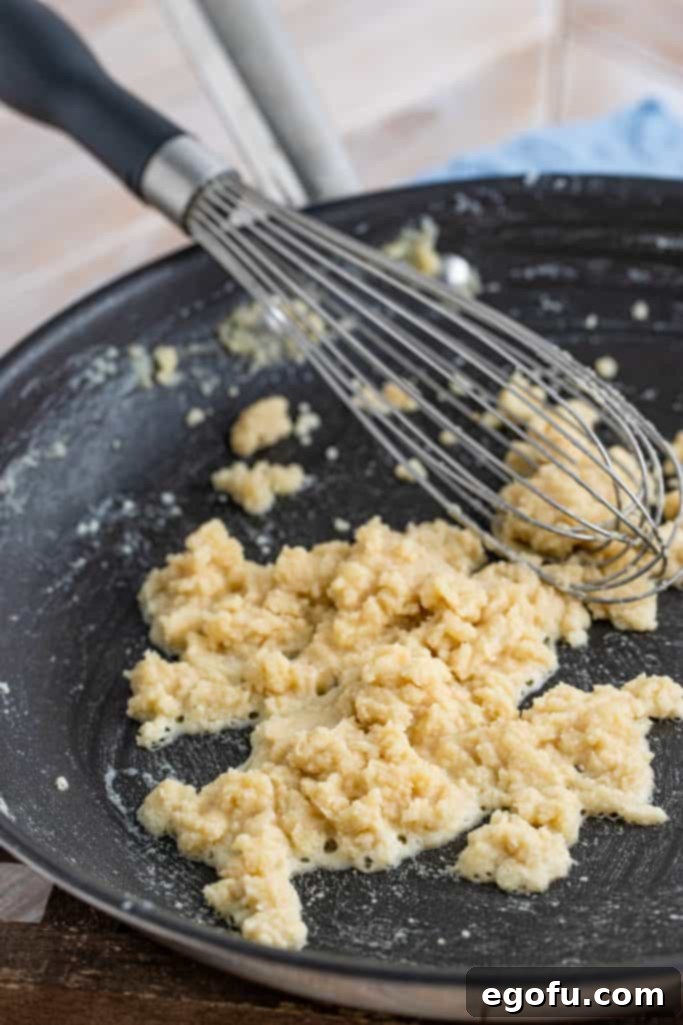
The heart of any good pot pie is its filling, and ours is rich, thick, and bursting with flavor. In a large, heavy-bottomed saucepan or Dutch oven, melt the salted butter over medium heat. Once the butter is fully melted and slightly shimmering, gradually add the all-purpose flour, stirring continuously with a whisk. Continue to cook and stir this mixture for 1 to 2 minutes until it forms a smooth paste with the consistency of peanut butter. This is known as a roux (pronounced “roo”), a fundamental thickening agent in classic French cooking, and it’s essential for achieving a velvety smooth sauce. Cook the roux just enough to remove the raw flour taste, but avoid browning it unless a nutty flavor is desired.
Next, slowly pour in the whole milk, whisking vigorously as you add it. Initially, the mixture may appear lumpy, but consistent whisking will help smooth it out. Don’t be discouraged; patience is key here. After the milk, gradually add the chicken stock, continuing to whisk until the liquid is fully incorporated. Now, toss in the finely chopped small yellow onion and minced garlic. At this stage, a whisk is your best friend for breaking up any persistent lumps and ensuring a uniform consistency.
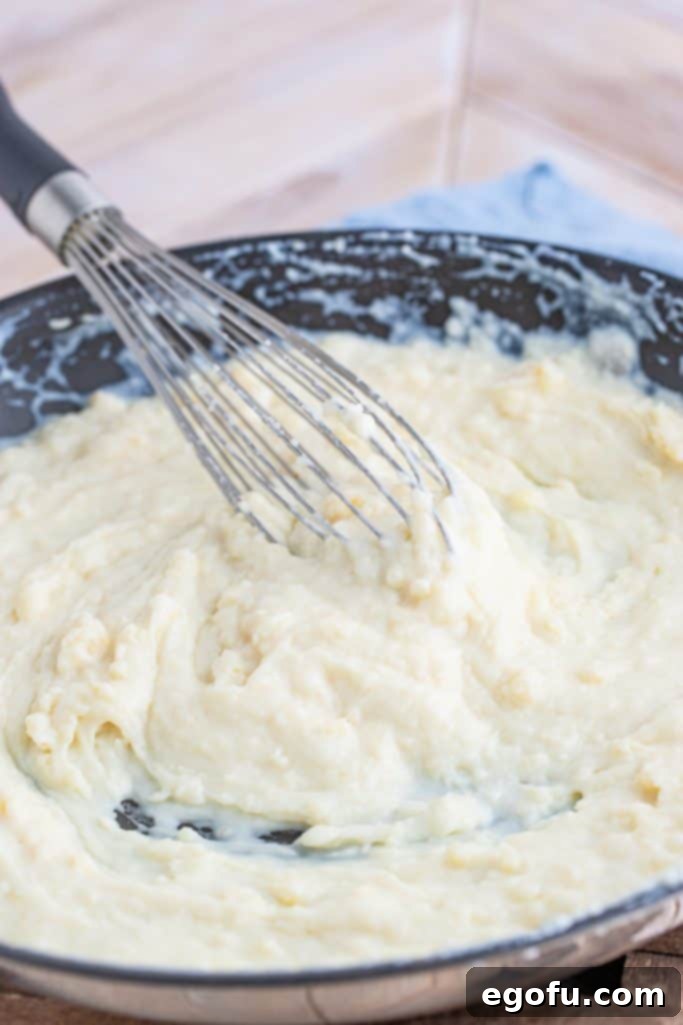
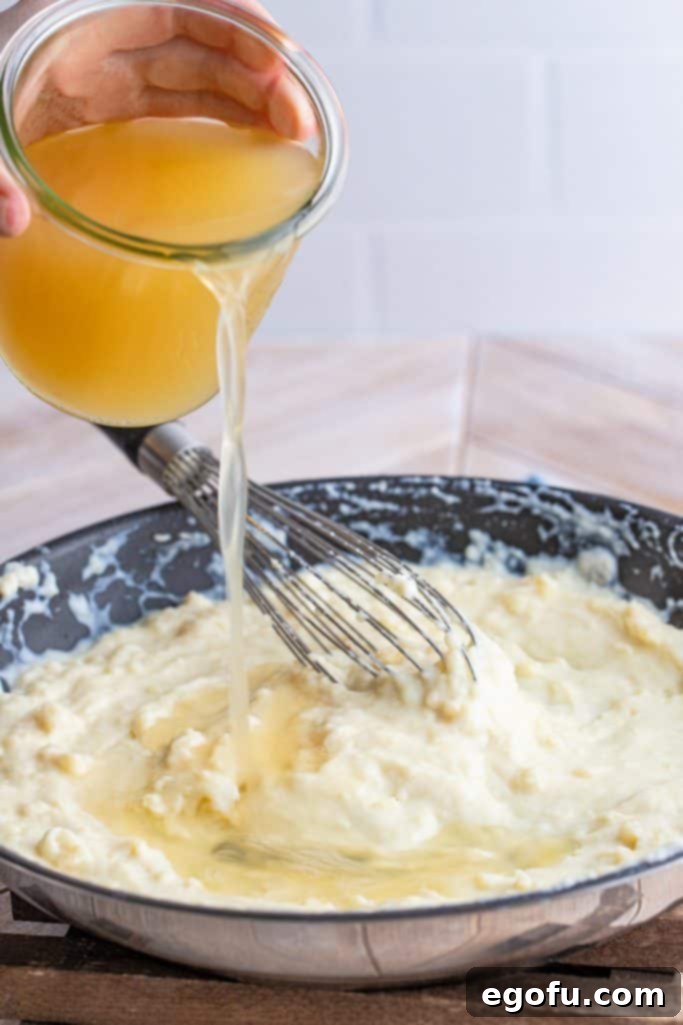
Increase the heat to high and bring the mixture to a gentle boil. This boiling process is vital for activating the flour’s thickening properties, transforming your liquid into a rich, creamy sauce. Keep whisking regularly to prevent any clumps from forming at the bottom of the pan. If the filling becomes too thick, you can easily adjust the consistency by adding a small amount of extra chicken stock until it reaches your desired creaminess. Conversely, if it’s too thin, a quick cornstarch slurry (1 tablespoon cornstarch mixed with 1 tablespoon cold water) can be whisked in and brought to a boil for a minute or two.
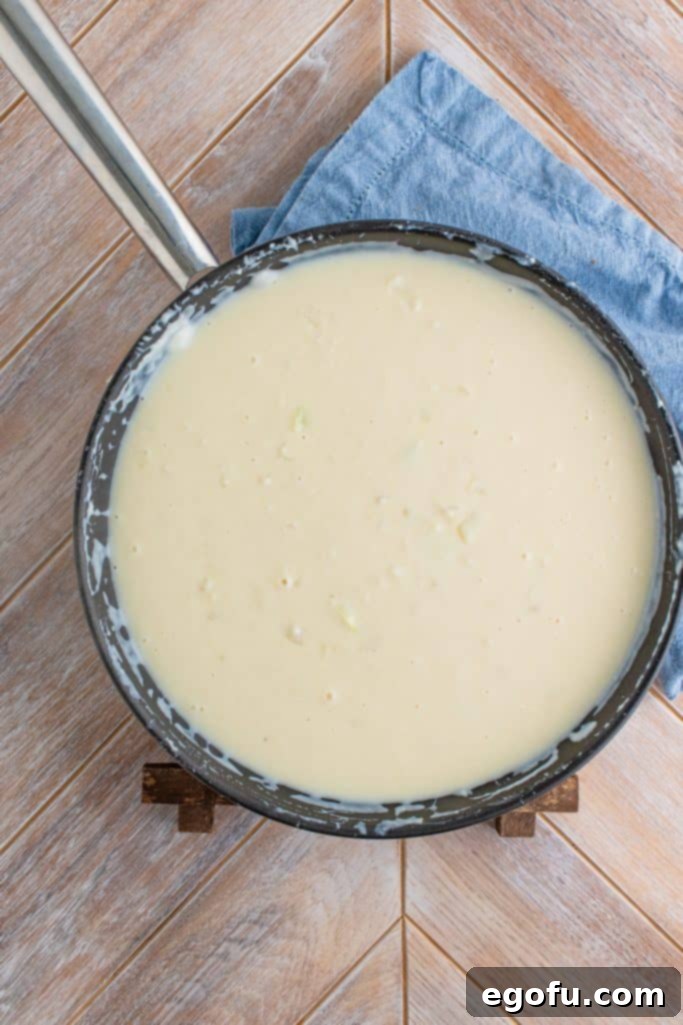
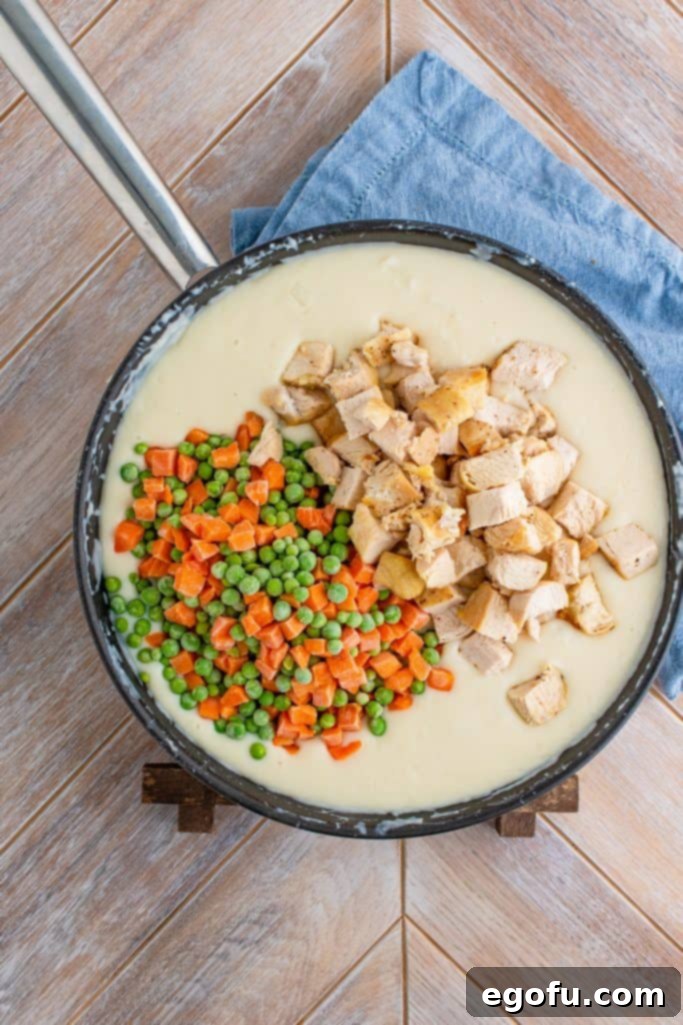
Once the filling has thickened to your liking, reduce the heat to low. Stir in the frozen peas and carrots, along with the chopped cooked chicken you prepared earlier. Give the entire mixture a good, thorough stir to ensure all ingredients are evenly distributed and coated in the rich, creamy sauce. Now is the crucial moment for a taste test! Sample a small spoonful of the filling and adjust the seasoning with additional salt and pepper as needed. Often, a little more salt is required to truly bring out the flavors.
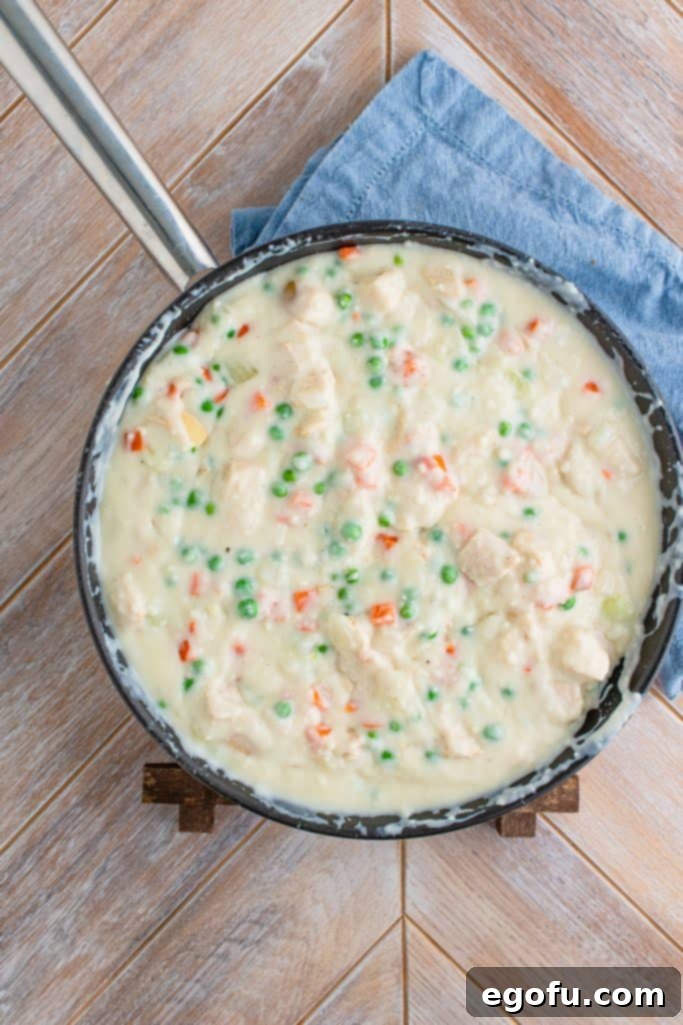
Assembling and Baking Your Individual Pot Pies:
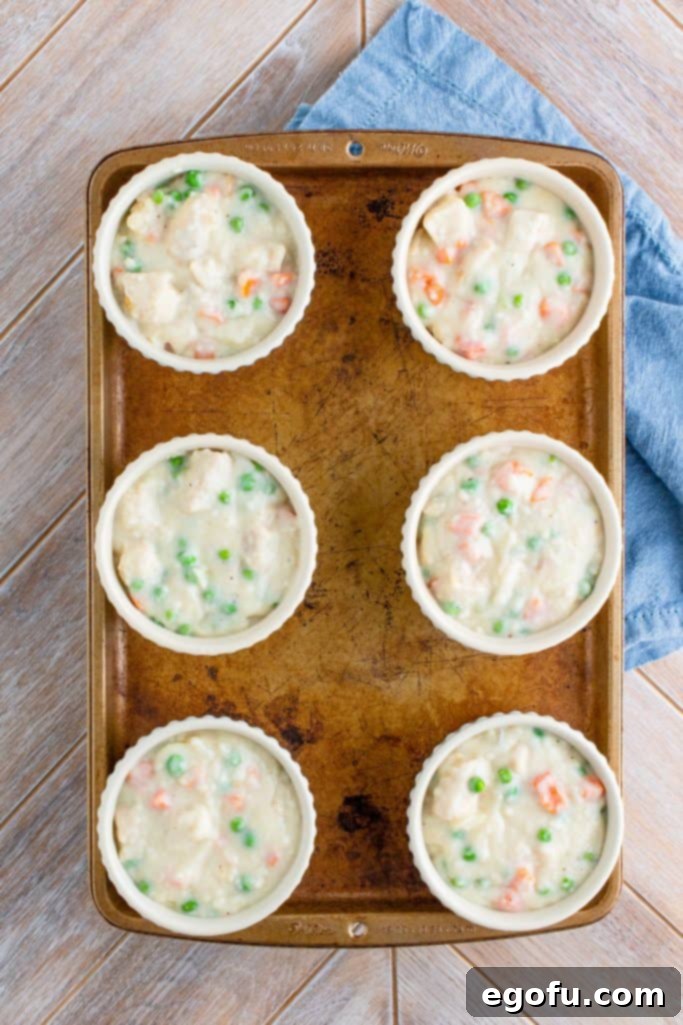
With your delectable filling ready and your puff pastry crusts patiently waiting, it’s time to assemble these individual culinary gems. First, preheat your oven to 350°F (175°C). Carefully fill each ramekin or oven-safe bowl with the creamy chicken and vegetable mixture, ensuring you don’t overfill them. Aim for about three-quarters full to allow space for the puff pastry to expand without overflowing. Place all the filled ramekins onto a sturdy baking sheet; this makes them much easier to transfer in and out of the oven. For reference, 10-ounce ramekins work wonderfully for a generous single serving.
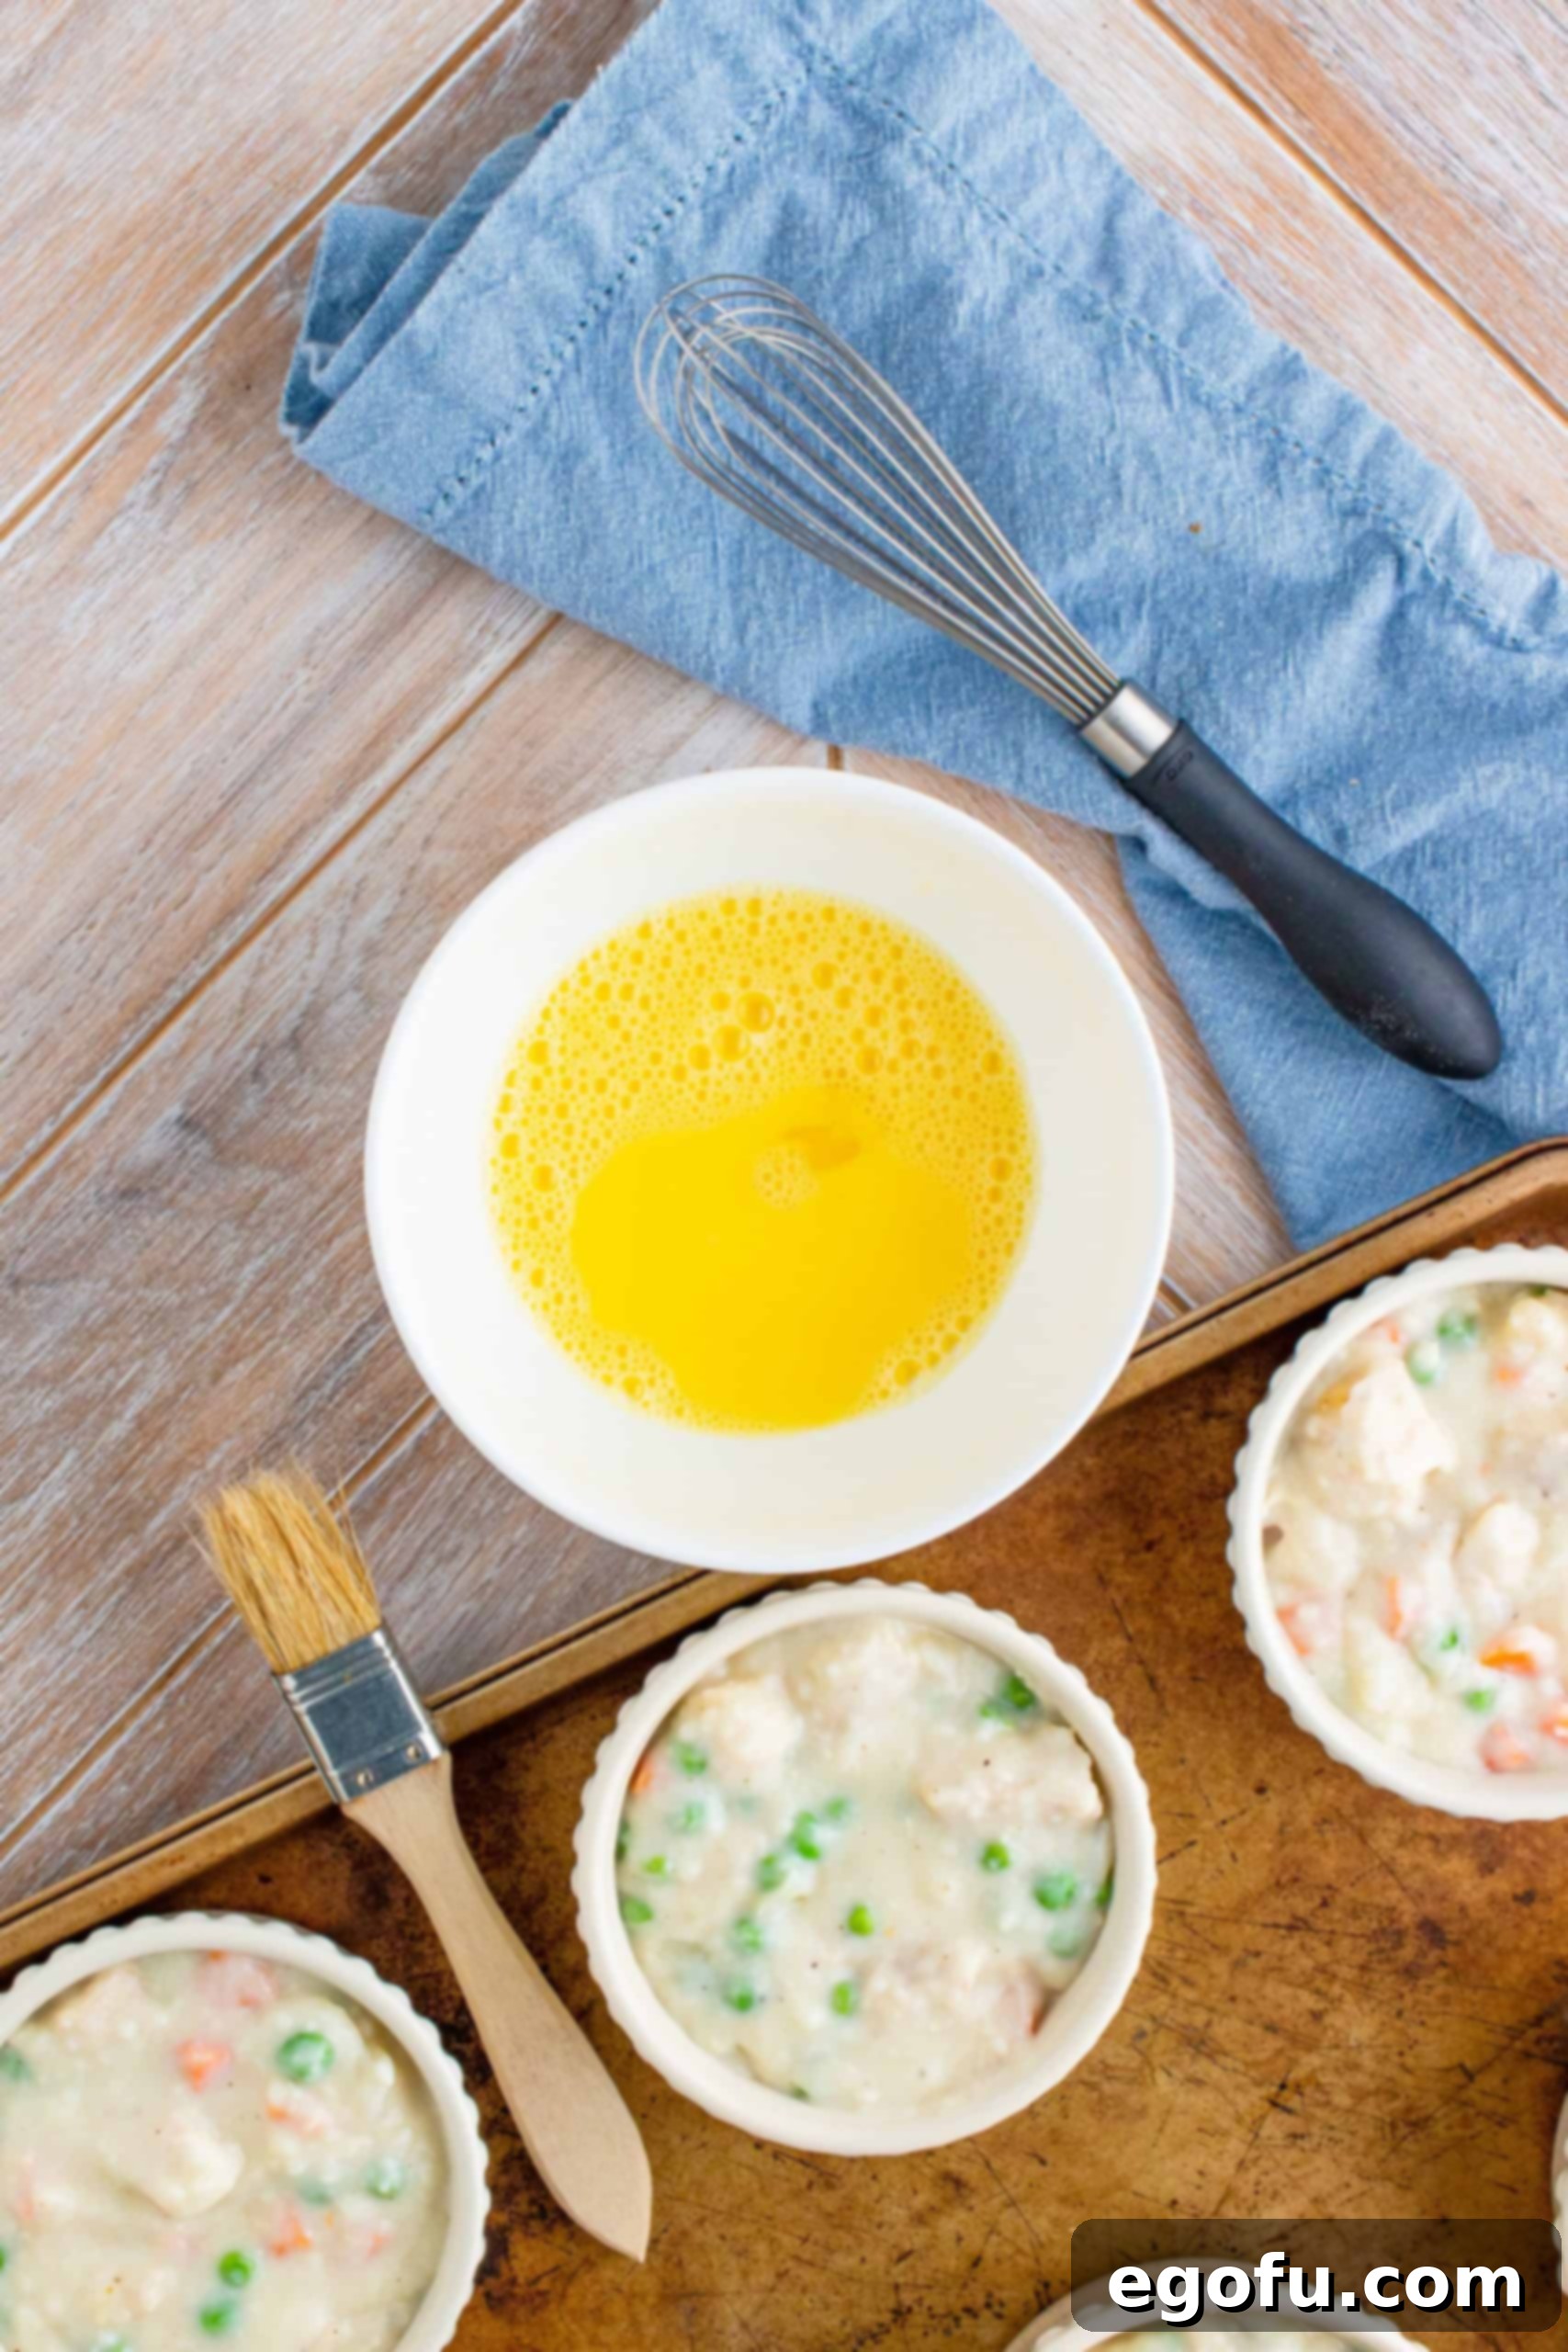
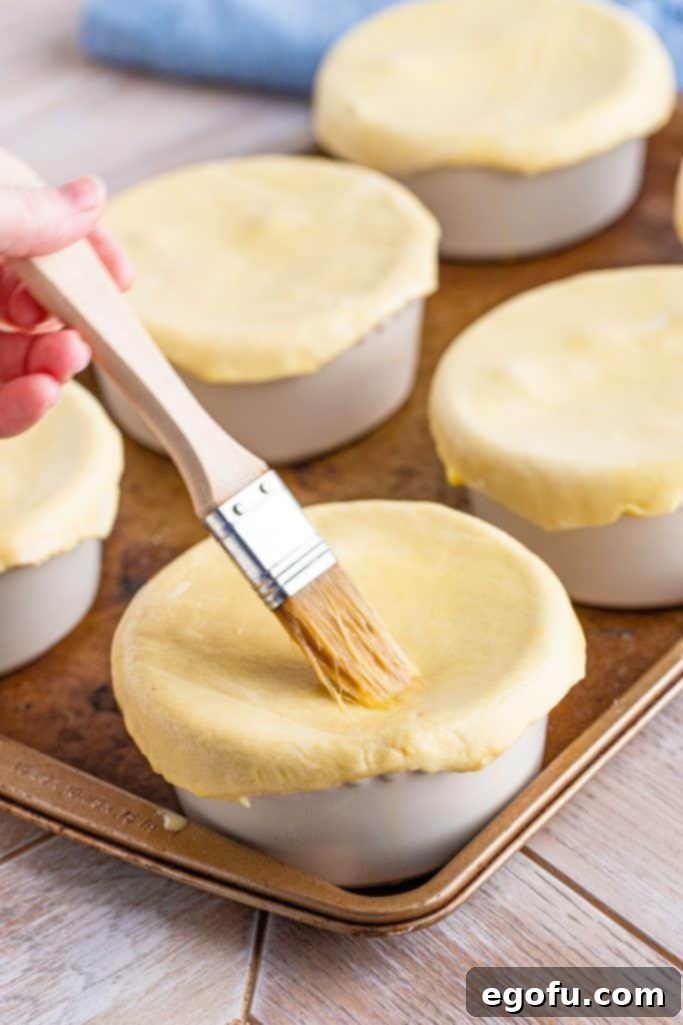
In a small bowl, whisk together one large egg and one tablespoon of water to create an egg wash. This simple mixture is essential; it acts as a flavorful glue and, more importantly, gives the puff pastry a gorgeous, glossy, golden-brown finish as it bakes. Dip your finger or a small brush into the egg wash and gently wipe it around the rim of each filled ramekin. This creates a sticky surface that will help the puff pastry adhere securely to the top of the bowl, preventing it from slipping off during baking. Carefully place one of your pre-cut puff pastry circles on top of each ramekin, pressing lightly around the edges to seal it to the egg-washed rim. The slight overhang you created earlier will help here, allowing you to crimp or press the pastry gently against the bowl’s edge for a snug fit.
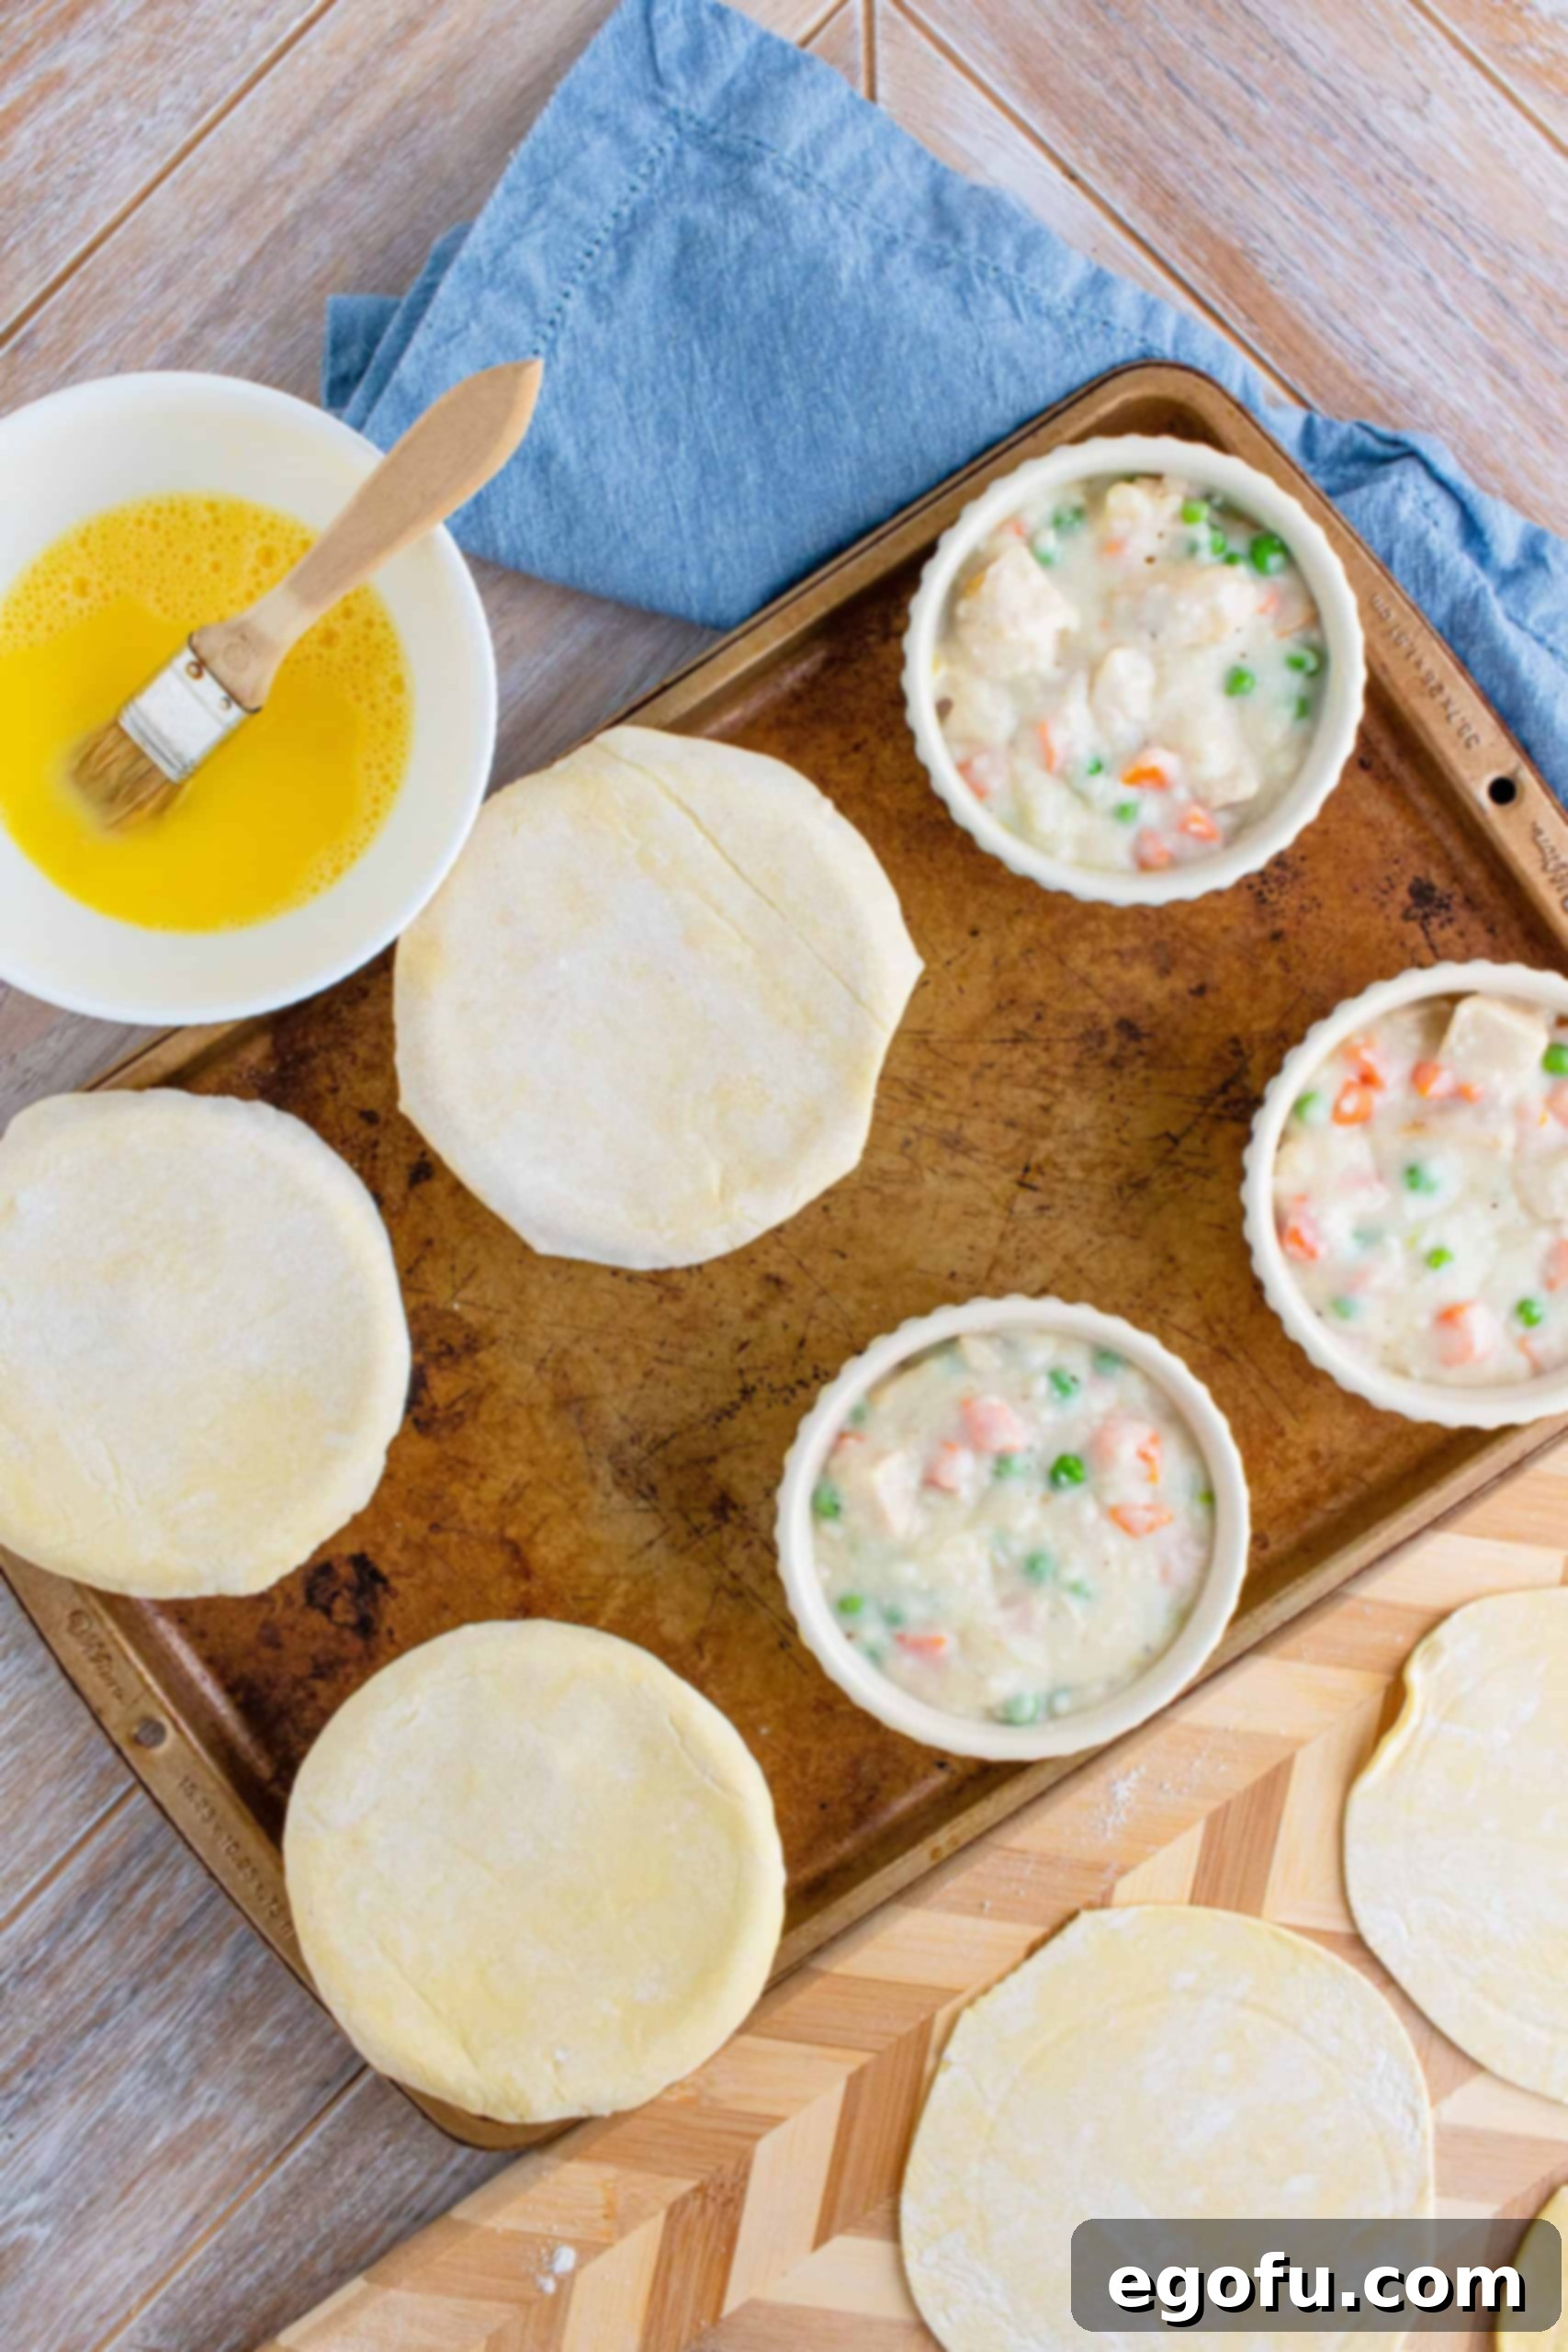
Using a pastry brush, lightly and evenly coat the entire surface of each puff pastry top with the remaining egg wash. This final touch is what ensures that beautiful, inviting golden-brown crust. Transfer the baking sheet with your assembled pot pies to the preheated oven and bake for approximately 18-22 minutes. Keep a close eye on them; the pies are ready when the puff pastry has beautifully risen, is golden brown, and looks wonderfully flaky. The filling will be hot and bubbling beneath the crust, creating an irresistible aroma.
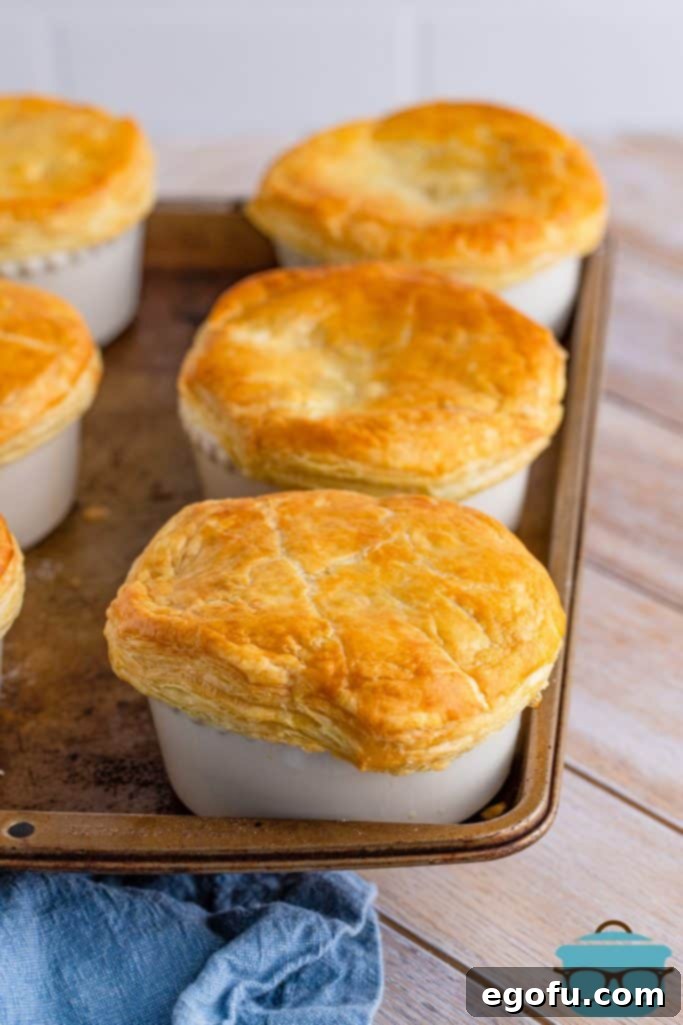
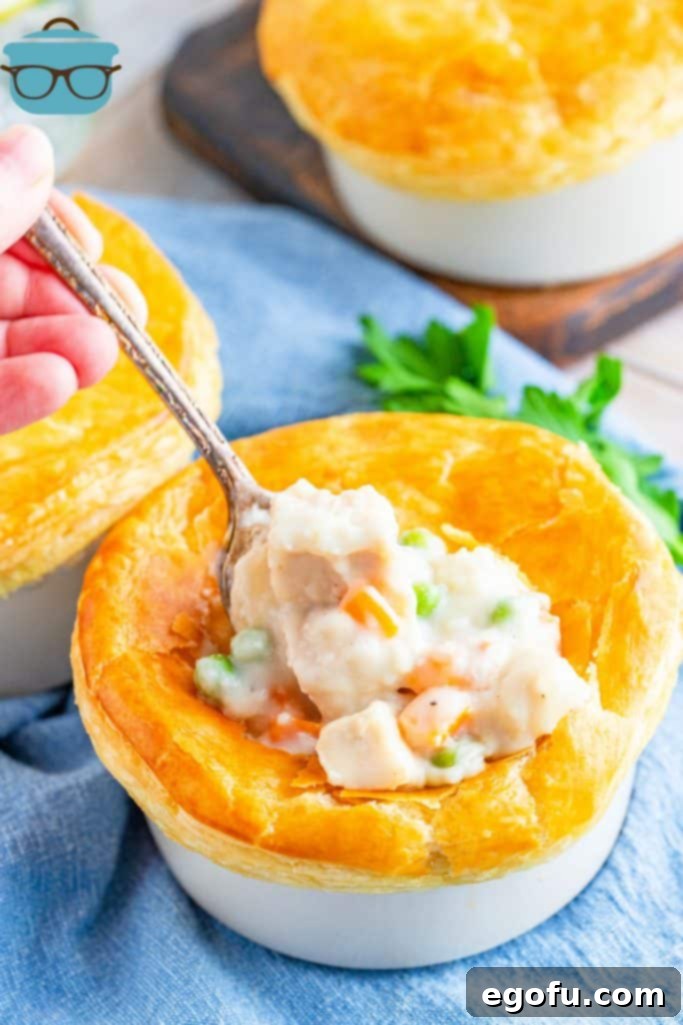
Once baked to golden perfection, remove the individual chicken pot pies from the oven and allow them to cool slightly before serving. The filling will be very hot. There are two camps when it comes to enjoying these pies: some, like me, prefer to dive right into the middle, breaking the flaky crust into the creamy filling for a delightful mix of textures and flavors in every bite. Others prefer to carefully lift off the entire puff pastry top and enjoy it separately, savoring the unadulterated richness of the filling beneath. Whichever way you choose to enjoy them, these individual pot pies are a true testament to homemade comfort.
Craving More Comforting Recipes?
If you’ve fallen in love with the comforting warmth of these individual chicken pot pies, you’re in for a treat! Explore more delightful recipes that promise to bring warmth and satisfaction to your table:
- Classic Puff Pastry Chicken Pot Pie
- Hearty Chicken Cobbler
- The Best Shepherd’s Pie
- Creamy Chicken Pot Pie Soup
- Crock Pot Chicken Pot Pie Pasta
- Elegant Chicken Wellingtons
- Old Fashioned Chicken and Dumplings
- Comforting Chicken Noodle Casserole
- Quick Mini Chicken Pot Pies
This recipe was originally published in March 2012 and has been updated and republished in April 2021 to bring you the best possible version of this timeless dish.

Individual Chicken Pot Pies
These individual Chicken Pot Pies feature the most delicious, homemade, thick, creamy filling with an easy puff pastry crust. Perfect for easy serving and guaranteed comfort.
Rating: 4.82 out of 5 stars (43 Reviews)
Print Recipe |
Pin Recipe |
Rate this Recipe
Prep Time: 15 minutes
Cook Time: 1 hour 10 minutes
Total Time: 1 hour 25 minutes
Servings: 6
Author: Brandie Skibinski
Ingredients
- 2 sheets frozen puff pastry, thawed
- 2 large chicken breasts
- Olive oil
- Salt and pepper, to taste
- ⅓ cup salted butter
- ⅔ cup all-purpose flour
- 2 cups whole milk
- 2 cups chicken stock
- ½ small yellow onion, finely chopped
- 1 Tablespoon minced garlic
- 2 cups frozen peas and carrots
- 1 large egg
- 1 Tablespoon water
Instructions
- Before you begin, ensure you take out 2 sheets frozen puff pastry and allow them to thaw completely at room temperature.
For the chicken:
- Preheat oven to 350°F (175°C).
- Place 2 large chicken breasts on a baking sheet sprayed with nonstick cooking spray. Drizzle chicken breasts with olive oil and season both sides with salt and pepper, to taste. Cook chicken for about 45 minutes on the middle rack (or until the internal temperature reaches 165°F / 74°C).
- Once the chicken is finished cooking, allow it to cool then cut it into bite-size pieces. Set aside cooked chicken until you’re ready to make the filling.
For the filling:
- In a large saucepan, melt ⅓ cup salted butter on medium heat. Add in ⅔ cup all-purpose flour, stirring until the consistency of peanut butter (making a roux).
- Slowly add in 2 cups whole milk and keep stirring with a whisk (it will be lumpy at first, but smooth out).
- Then pour in 2 cups chicken stock and add in ½ small yellow onion, finely chopped, and 1 Tablespoon minced garlic. Continue to whisk to break up any lumps.
- Turn the heat up to high to bring the mixture to a boil. This process helps to thicken the mixture. If it gets too thick, add a bit more chicken stock. Whisk regularly to prevent clumping.
- Once thickened, turn heat down and add in 2 cups frozen peas and carrots and the cooked, cubed chicken you set aside earlier.
- Give it all a good stir then do a taste test and adjust with more salt or pepper as needed.
For the crust:
- Lightly flour your counter. Open up the puff pastry. It should be pliable; if not, allow it a few more minutes to thaw. Pinch the seams together for a smooth pastry.
- Using a rolling pin, lightly roll out the dough to smooth the seams and slightly expand it. Do not roll it too thin.
- Place your ramekins or oven-safe bowls upside down on the pastry.
- With a sharp knife, cut around the edge of the bowl, leaving about a ½ inch overhang. This extra pastry will drape over the sides. Continue until you have 6 puff pastry tops.
To assemble:
- Preheat oven to 350°F (175°C).
- Fill all your bowls/ramekins with the filling (taking care not to overfill, about ¾ full) and place them on a baking sheet.
- In a small bowl, whisk together 1 large egg and 1 Tablespoon water for an egg wash.
- Dip your finger in some of the egg mixture and wipe it around the edge of your filled ramekins to help the pastry adhere. Place pre-cut puff pastry circles on top of ramekins.
- With a brush, lightly coat the puff pastry with egg wash.
- Pop them in the oven and bake on the middle rack for about 18-22 minutes or until the crust is golden brown and flaky.
Video
Notes
- This recipe makes enough for about 6 servings, depending on the size of your bowls or ramekins. Any oven-safe bowl can be used. Just ensure you have enough puff pastry for coverage.
- Leftover filling can be frozen in an airtight container for another meal.
- Rotisserie chicken is an excellent substitute for roasted chicken breasts to save time.
Course: Main Course
Cuisine: American
Nutrition
Calories: 528kcal | Carbohydrates: 42g | Protein: 19g | Fat: 31g | Sodium: 433mg | Fiber: 2g | Sugar: 6g
Nutritional Disclaimer
“The Country Cook” is not a dietician or nutritionist, and any nutritional information shared is an estimate. If calorie count and other nutritional values are important to you, we recommend running the ingredients through whichever online nutritional calculator you prefer. Calories and other nutritional values can vary quite a bit depending on which brands were used.
Did you make this recipe?
Share it on Instagram @thecountrycook and mention us #thecountrycook!
