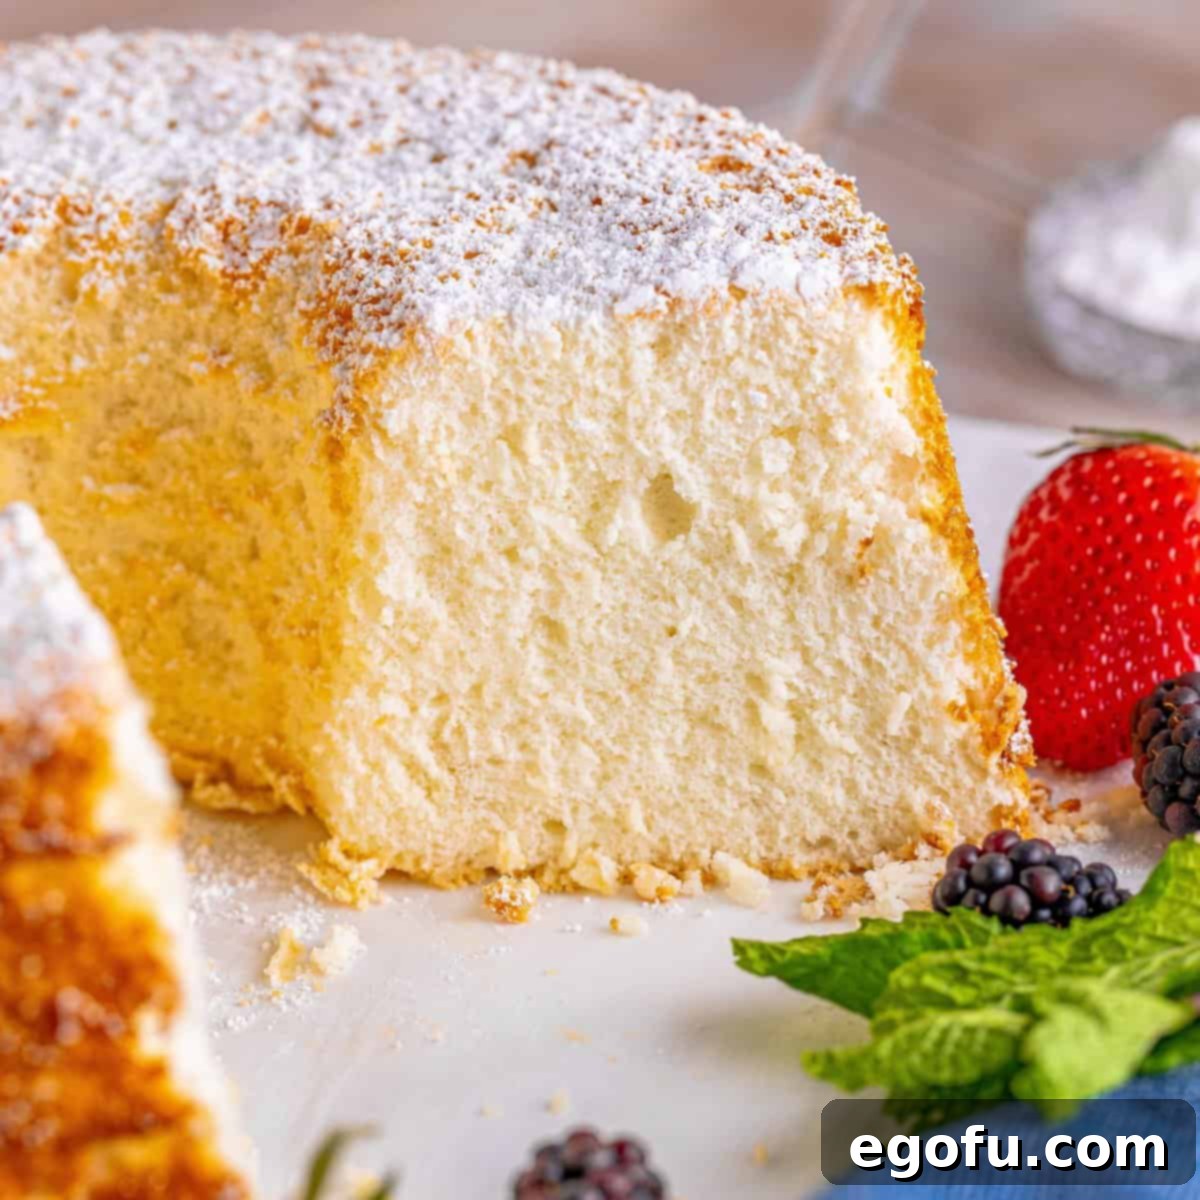
Experience the unparalleled joy of baking a classic dessert from scratch with this truly light and airy Homemade Angel Food Cake. Far superior to any store-bought alternative, this recipe promises an exquisite texture and delicate flavor that will captivate your senses. Surprisingly simple to master, even for novice bakers, this elegant cake is perfect for any occasion and an absolute delight to serve!
Homemade Angel Food Cake: Your Guide to a Heavenly Dessert
There are few desserts as iconic and beloved as Angel Food Cake. Its ethereal texture, delicate sweetness, and incredibly light crumb make it a timeless classic, especially when paired with fresh fruit and a dollop of whipped cream. While store-bought versions might offer convenience, they often fall short in delivering the true magic of this cake. This comprehensive guide will walk you through creating a homemade Angel Food Cake that is so spectacularly soft, moist, and bursting with flavor, you’ll wonder why you ever settled for anything less.
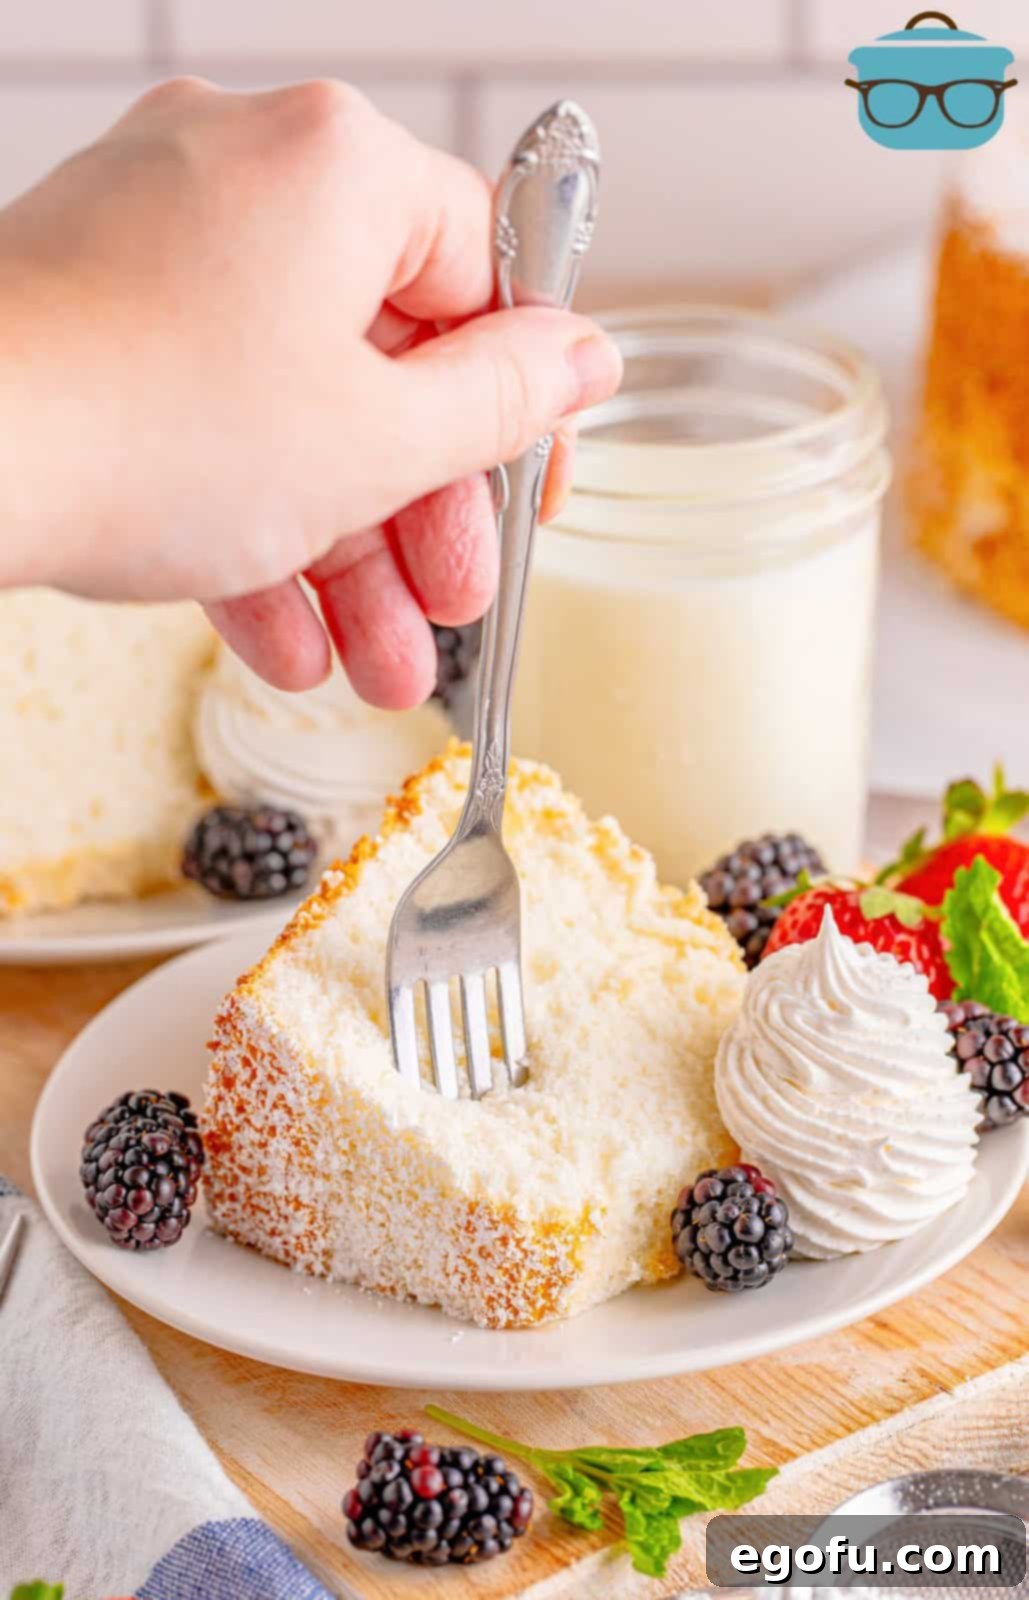
Why Homemade Angel Food Cake Is a Must-Try
Forget the dense, rubbery experience of pre-packaged angel food cakes. A homemade version is a revelation. It’s a testament to the simplicity of good ingredients and careful technique, resulting in a cake that truly lives up to its “angelic” name. This recipe has been a staple in countless kitchens for generations, cherished for its adaptability and universal appeal. Whether you’re a seasoned baker looking to perfect a classic or a beginner eager to impress, this Angel Food Cake is a forgiving and rewarding project. It serves as an incredible base for various desserts, from a classic strawberry shortcake to elaborate trifles, making it a versatile addition to your baking repertoire. Prepare to be amazed; this cake is miles beyond anything you’ll find at the grocery store.
Frequently Asked Questions About Angel Food Cake
The name “Angel Food Cake” perfectly describes its ethereal qualities. It’s often said to be so sweet, light, and airy that it could be the food of angels. Another popular theory suggests that its extreme lightness means angels could consume it without being weighed down during flight. The absence of butter or egg yolks contributes to its characteristic pure white color and delicate, cloud-like texture, further cementing its heavenly association.
A tube pan, sometimes referred to as an angel food cake pan, is a specific type of baking pan characterized by its deep, straight, ungreased sides and a removable central tube or cone. Unlike a bundt pan, which has a fluted design and requires greasing, a tube pan provides the necessary structure for the cake batter to climb as it bakes. The ungreased sides allow the delicate egg white foam to cling and rise high, while the central tube helps to distribute heat evenly, ensuring the cake cooks through without drying out. Attempting this recipe in a bundt pan or a greased pan will likely result in a deflated, dense cake. You can easily find an affordable tube pan online or at most kitchen supply stores.
Cooling an Angel Food Cake upside down is a critical step to prevent it from deflating. The cake’s structure is incredibly delicate and relies heavily on the air whipped into the egg whites. If cooled right side up, the warm, tender crumb would collapse under its own weight, resulting in a dense, compact cake. Inverting the pan immediately after baking allows the cake to stretch and stabilize as it cools, maintaining its lofty height and signature airy texture. Many tube pans come with small “feet” specifically for this purpose, or you can invert it over the neck of a bottle or onto a cooling rack.
Compared to many other cakes and desserts, Angel Food Cake is often considered a healthier alternative. It’s naturally low in fat because it contains no butter, oil, or egg yolks. The primary ingredients are egg whites, sugar, and flour. While it does contain a significant amount of sugar, its light nature means a serving can be quite satisfying without feeling overly heavy. If you’re looking to enjoy a sweet treat while being mindful of calories and fat content, Angel Food Cake is an excellent choice.
While both are light and airy cakes, the fundamental difference lies in their egg composition. Angel Food Cake uses only egg whites, which are whipped to stiff peaks to create its characteristic foam structure. This results in an incredibly light, fat-free, and purely white cake. Sponge cake, on the other hand, typically uses whole eggs (both yolks and whites), often separated and whipped, or sometimes whipped together. The presence of egg yolks gives sponge cake a richer flavor, a slightly yellow hue, and a denser, yet still airy, texture compared to Angel Food Cake. Both are delicious, but they offer distinct experiences.
To maintain its freshness and delicate texture, Angel Food Cake should be stored at room temperature in an airtight container or a specialized cake keeper. Refrigeration can dry out the cake and make it dense. When stored properly, it will remain fresh and delicious for up to 5 days. Ensure it’s completely cooled before covering to prevent condensation.
Yes, Angel Food Cake freezes exceptionally well! To freeze, ensure the cake is completely cooled. Wrap the entire cake or individual slices tightly in plastic wrap, ensuring no air pockets. Then, add another layer of aluminum foil to protect it further from freezer burn. Place the double-wrapped cake in a freezer-safe container or bag. It can be stored in the freezer for up to 4 months. When ready to enjoy, simply thaw the cake at room temperature, either whole or by slice, until it’s soft and pliable again.
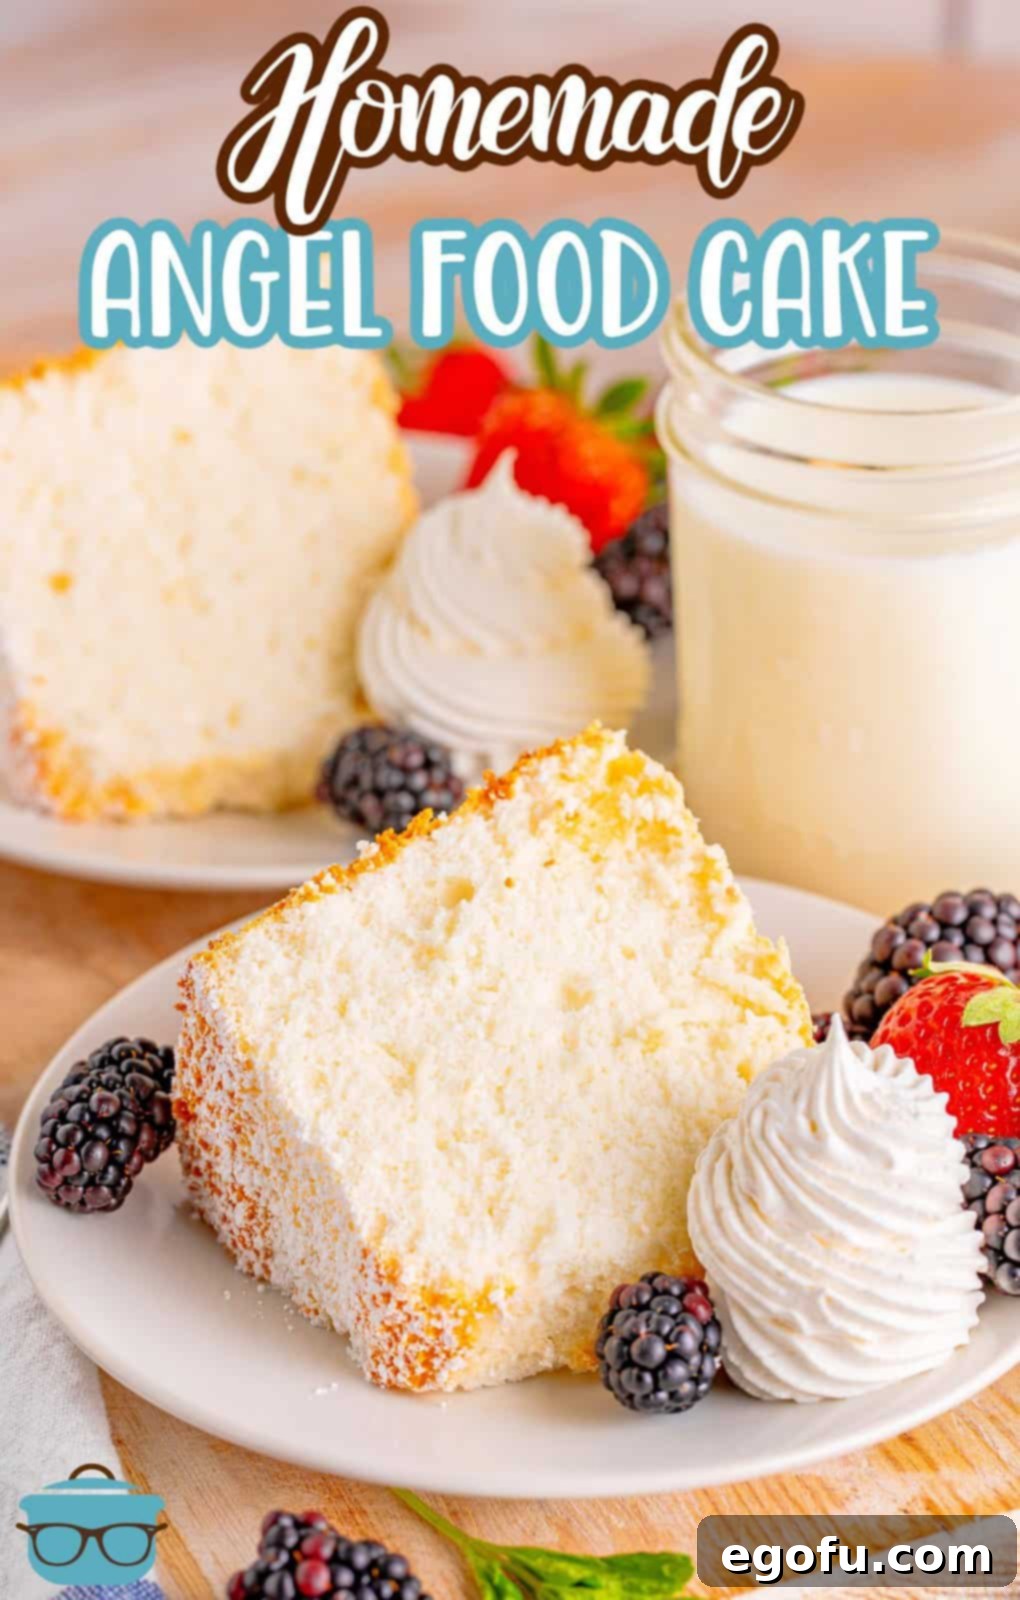
Essential Ingredients for Your Perfect Angel Food Cake
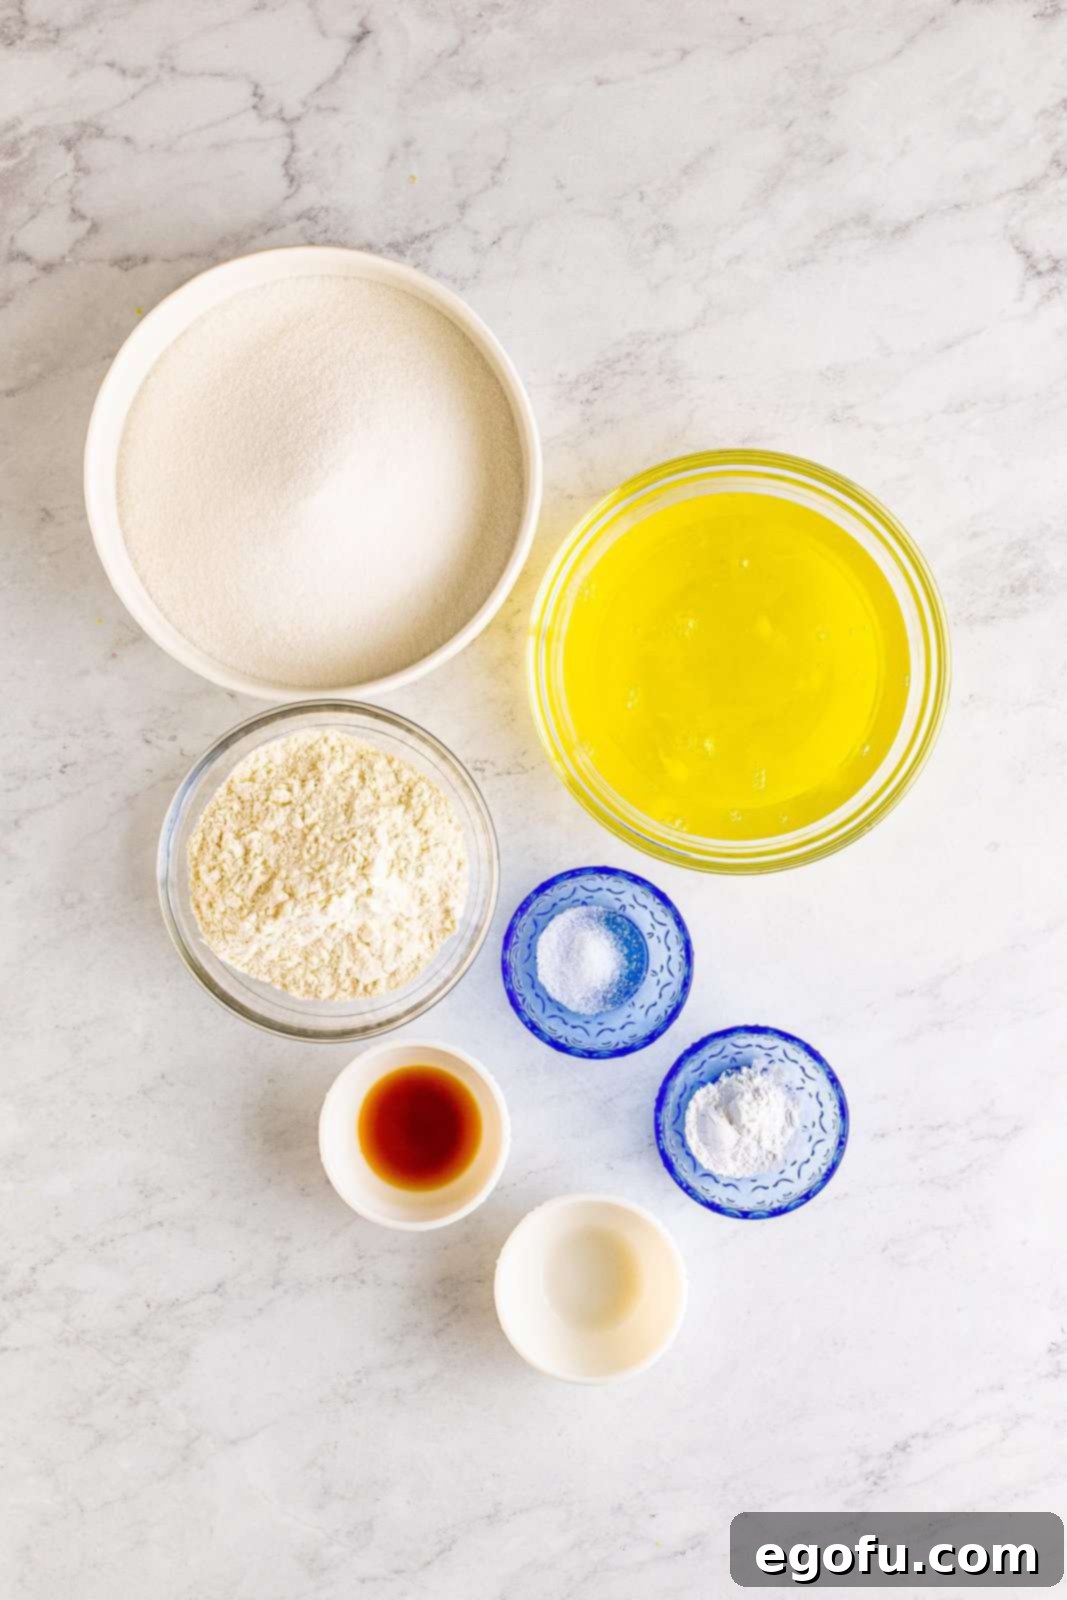
Creating this magnificent cake requires just a few basic ingredients, each playing a crucial role in its unique structure and flavor profile. Quality ingredients make all the difference, so ensure your egg whites are fresh and at room temperature for optimal whipping.
- Granulated Sugar: Not just for sweetness, it helps stabilize the egg white foam.
- All-Purpose Flour: Sifting is key here to keep the cake light.
- Fine Sea Salt: A pinch enhances all the flavors.
- Egg Whites (large, room temperature): The heart of the cake, providing all the lift and structure.
- Cream of Tartar: A critical stabilizer for egg whites, ensuring they whip to maximum volume and maintain it.
- Vanilla Extract: Provides that classic, comforting aroma and taste.
- Almond Extract (optional): Adds a subtle, sophisticated depth of flavor that complements the vanilla beautifully.
Crafting Your Homemade Angel Food Cake: A Step-by-Step Guide
Baking Angel Food Cake is more about technique than complexity. Follow these detailed steps carefully, and you’ll be rewarded with a masterpiece.
Step 1: Prepare the Sugar
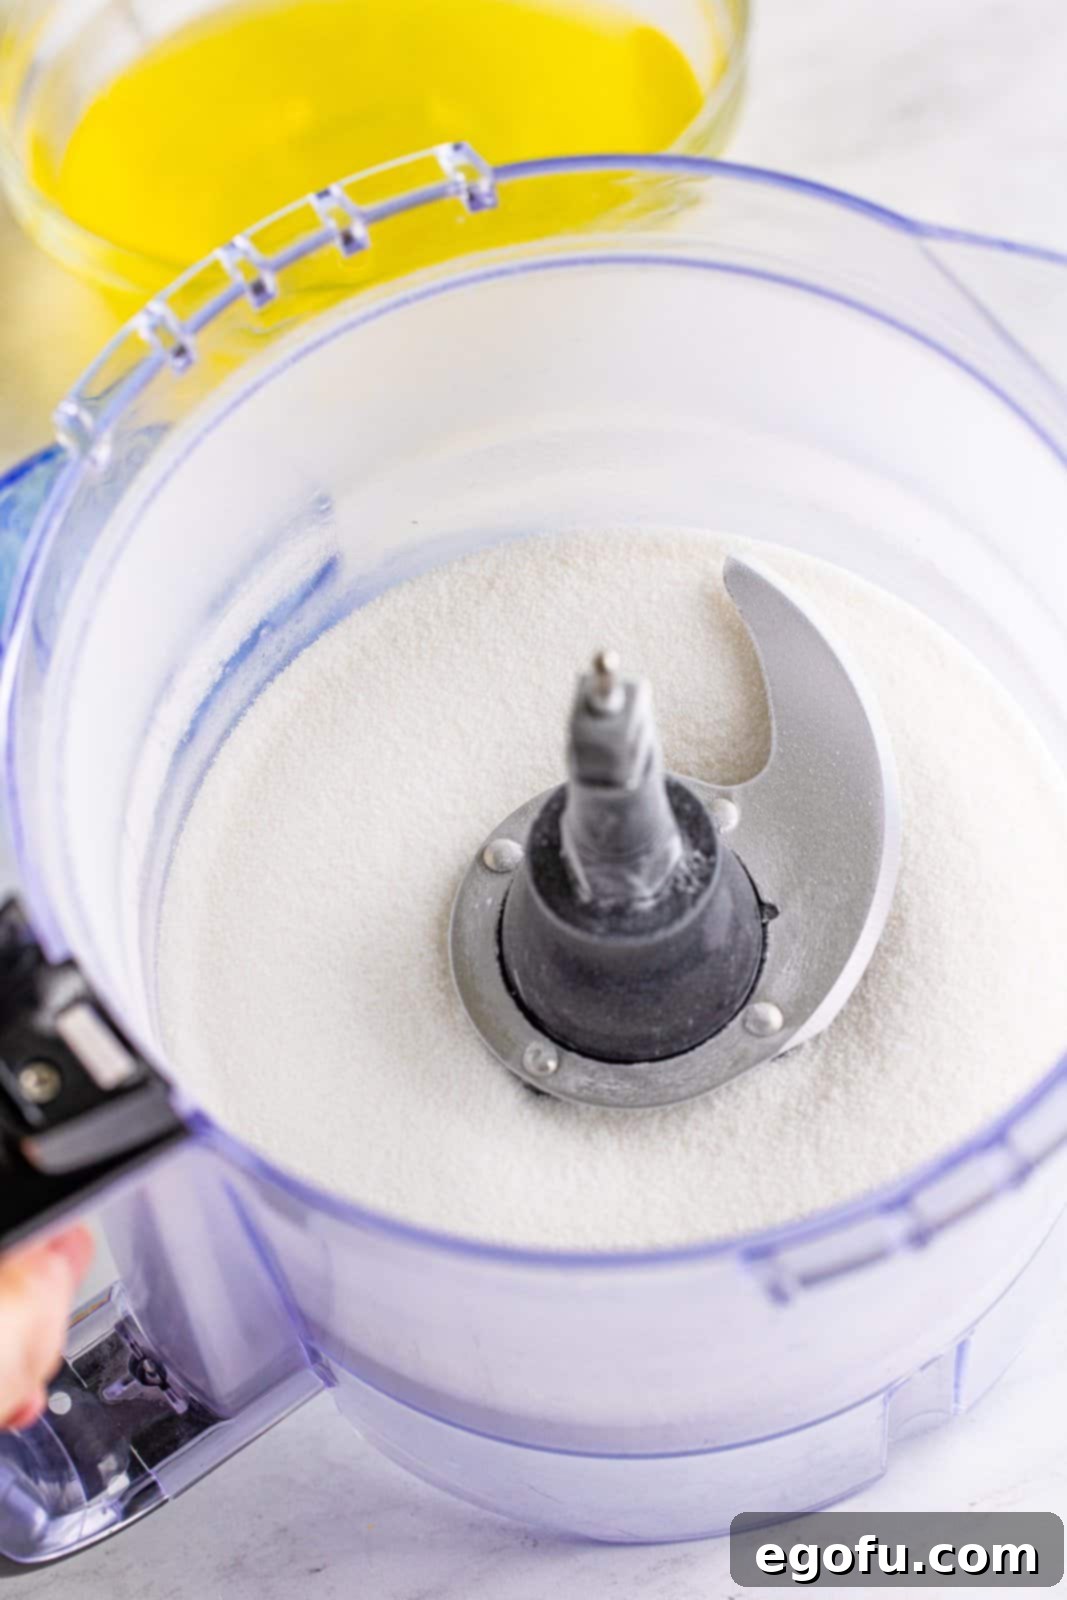
Begin by preheating your oven to 325°F (160°C). This ensures your oven is at the correct temperature when the batter is ready. Place the granulated sugar in a food processor. Process it for 2 minutes. This step is often overlooked but crucial; it grinds the sugar into a finer powder, allowing it to dissolve more readily into the egg whites and create a smoother, more stable meringue without gritty texture.
Step 2: Sift Dry Ingredients
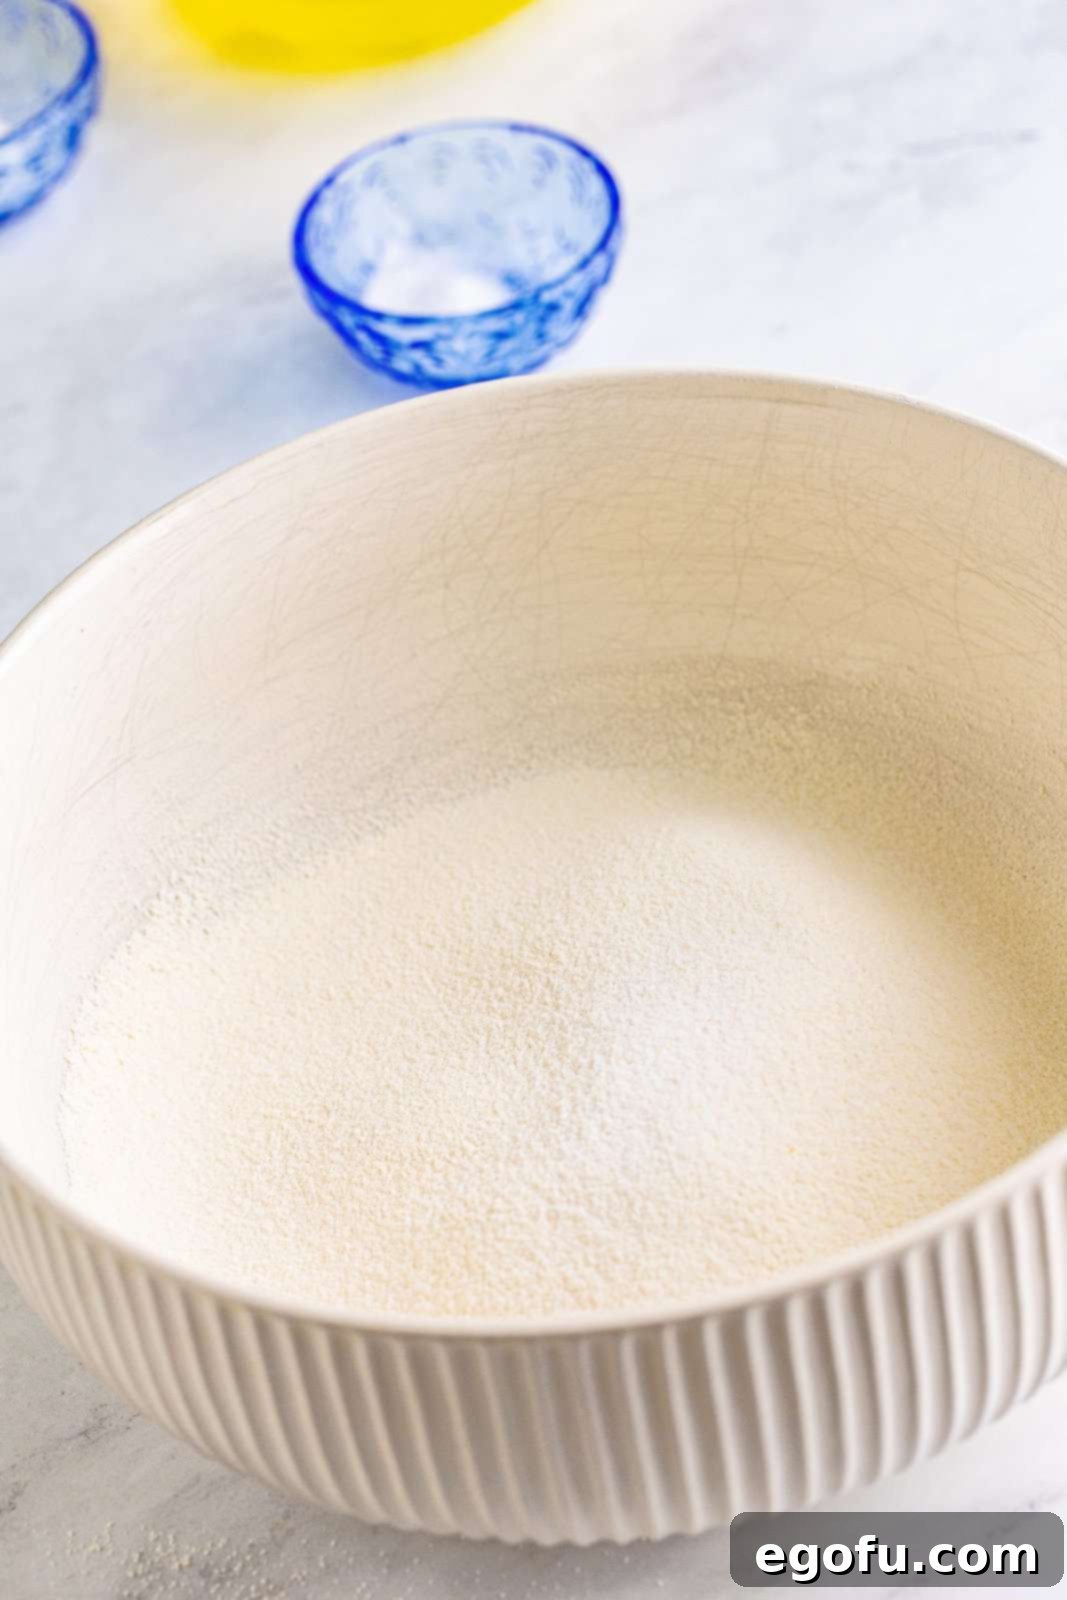
Take half of the finely processed sugar and combine it with the all-purpose flour and fine sea salt. Sift this mixture not once, but twice, into a large bowl. Sifting is paramount for Angel Food Cake as it aerates the flour, removes any lumps, and ensures it’s distributed evenly and lightly into the delicate egg whites without deflating them. Set this mixture aside until needed.
Step 3: Whip Egg Whites with Cream of Tartar
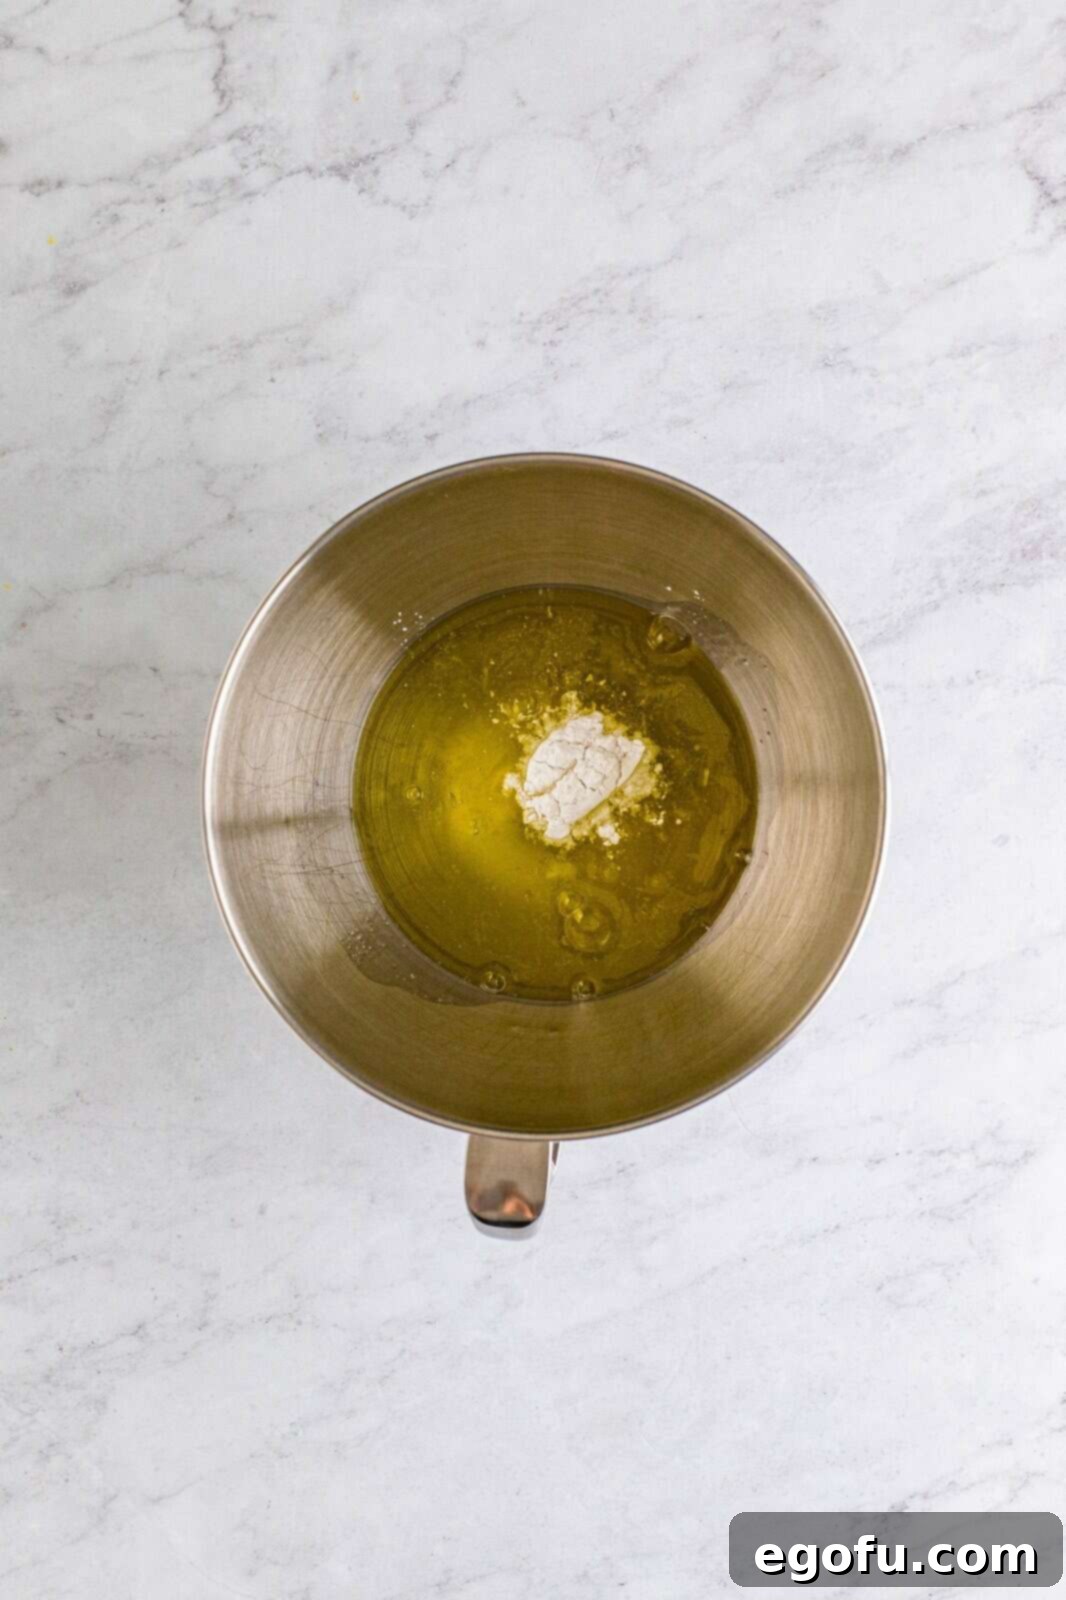
In the bowl of a stand mixer fitted with the whisk attachment, place the room temperature egg whites. Ensure your bowl and whisk are impeccably clean and grease-free, as even a speck of fat can prevent the egg whites from whipping properly. Add the cream of tartar. Cream of tartar is an acidic salt that stabilizes the egg white foam, helping it achieve maximum volume and preventing it from collapsing.
Step 4: Gradually Add Remaining Sugar
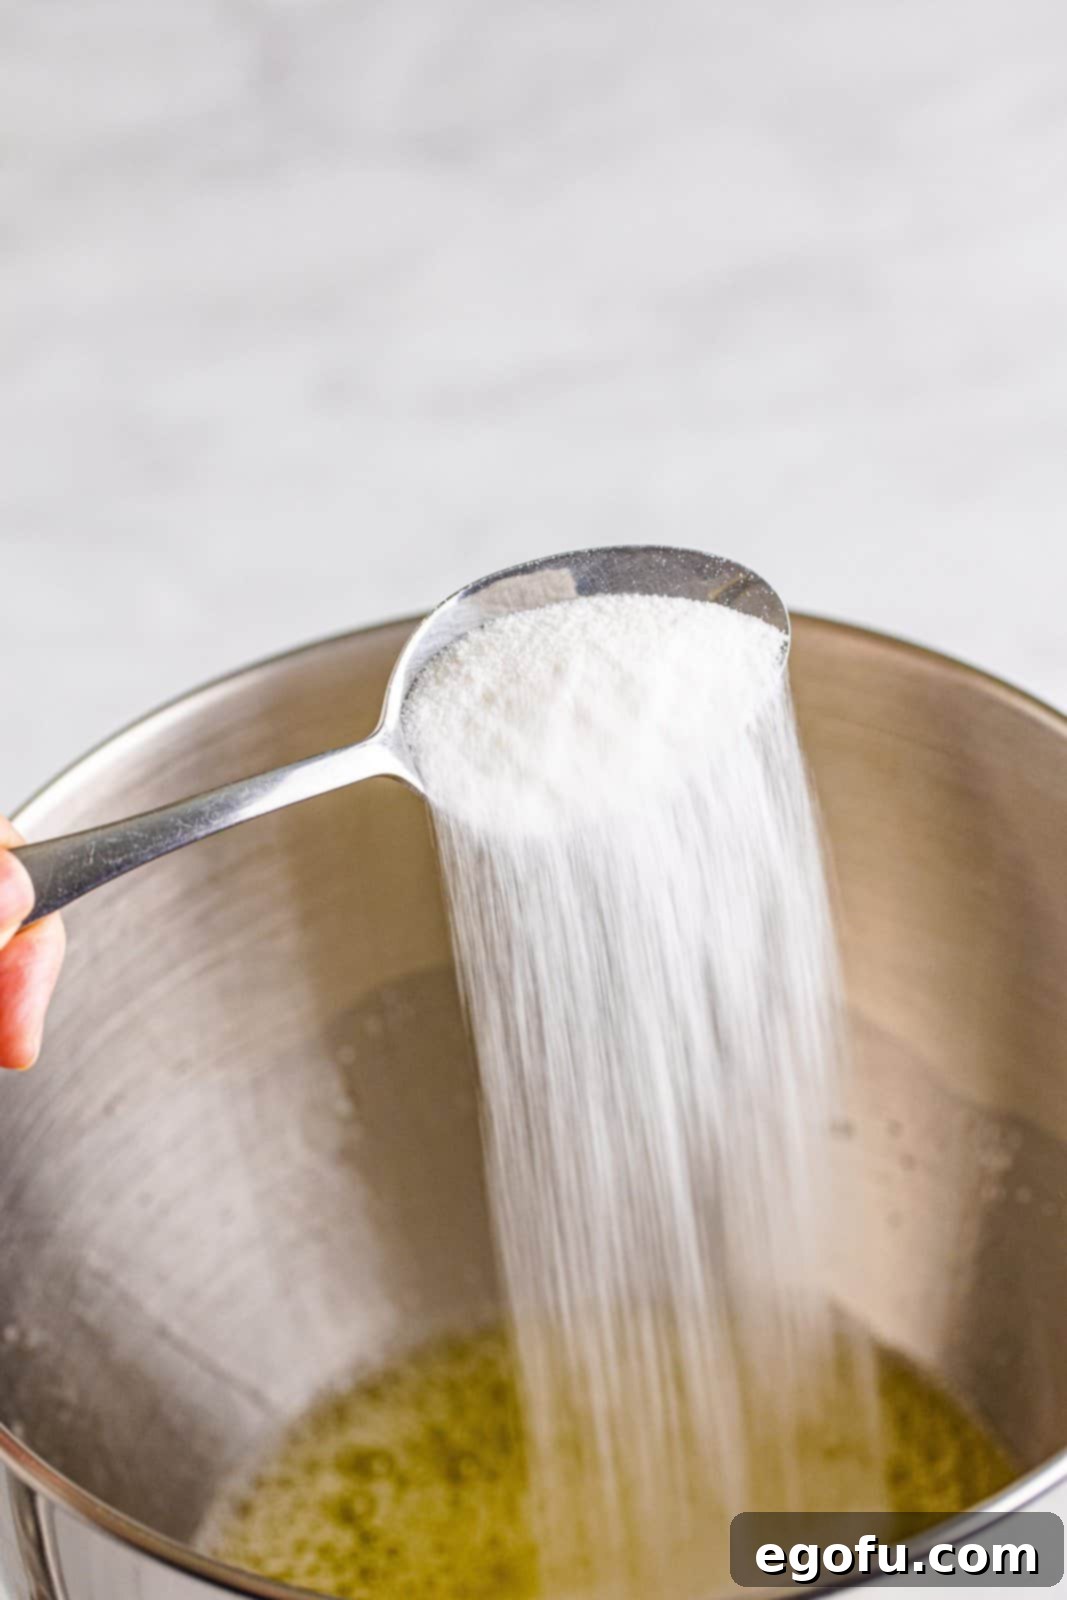
Turn the mixer on to medium speed. While the mixer is running, very slowly and gradually pour in the remaining half of the processed sugar. This slow addition allows the sugar to fully dissolve into the egg whites, creating a smooth and stable meringue. Rushing this step can result in a grainy meringue and a less stable cake.
Step 5: Whip to Soft Peaks and Add Extracts
Once all the sugar has been incorporated, increase the mixer speed to medium-high. Continue whipping the egg whites for 2-4 minutes, or until soft peaks form. Soft peaks will hold their shape but gently fold over at the tip when the whisk is lifted. Over-whipping can make the meringue dry and difficult to fold. Gently stir in the vanilla extract and the optional almond extract. These extracts provide the cake’s signature aroma and flavor.
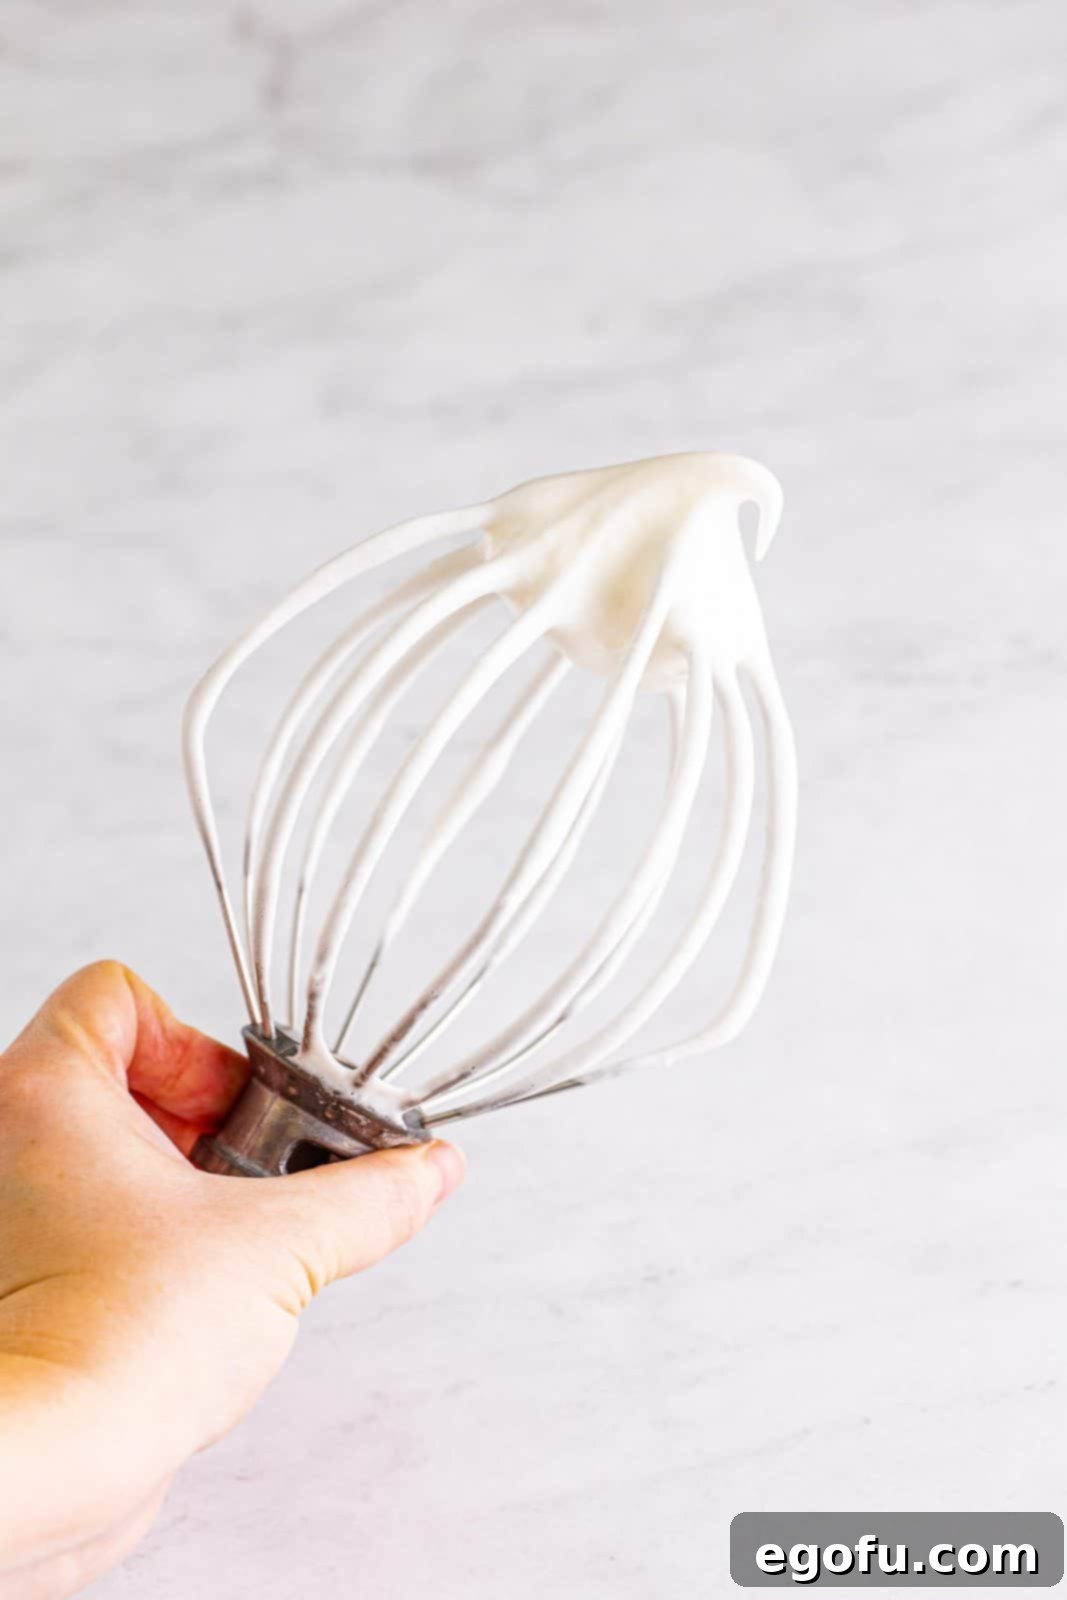
Step 6: Gently Fold in Flour Mixture
Remove the bowl from the mixer. This next step is crucial for maintaining the cake’s airy texture: gently folding the flour mixture into the meringue. Sift about a quarter of the flour mixture over the egg whites. Using a large rubber spatula, carefully fold it in with an upward motion, turning the bowl as you go. Repeat this process for three more batches, sifting and folding each addition until just combined. The key is to be very gentle to avoid deflating the precious air you’ve whipped into the egg whites.
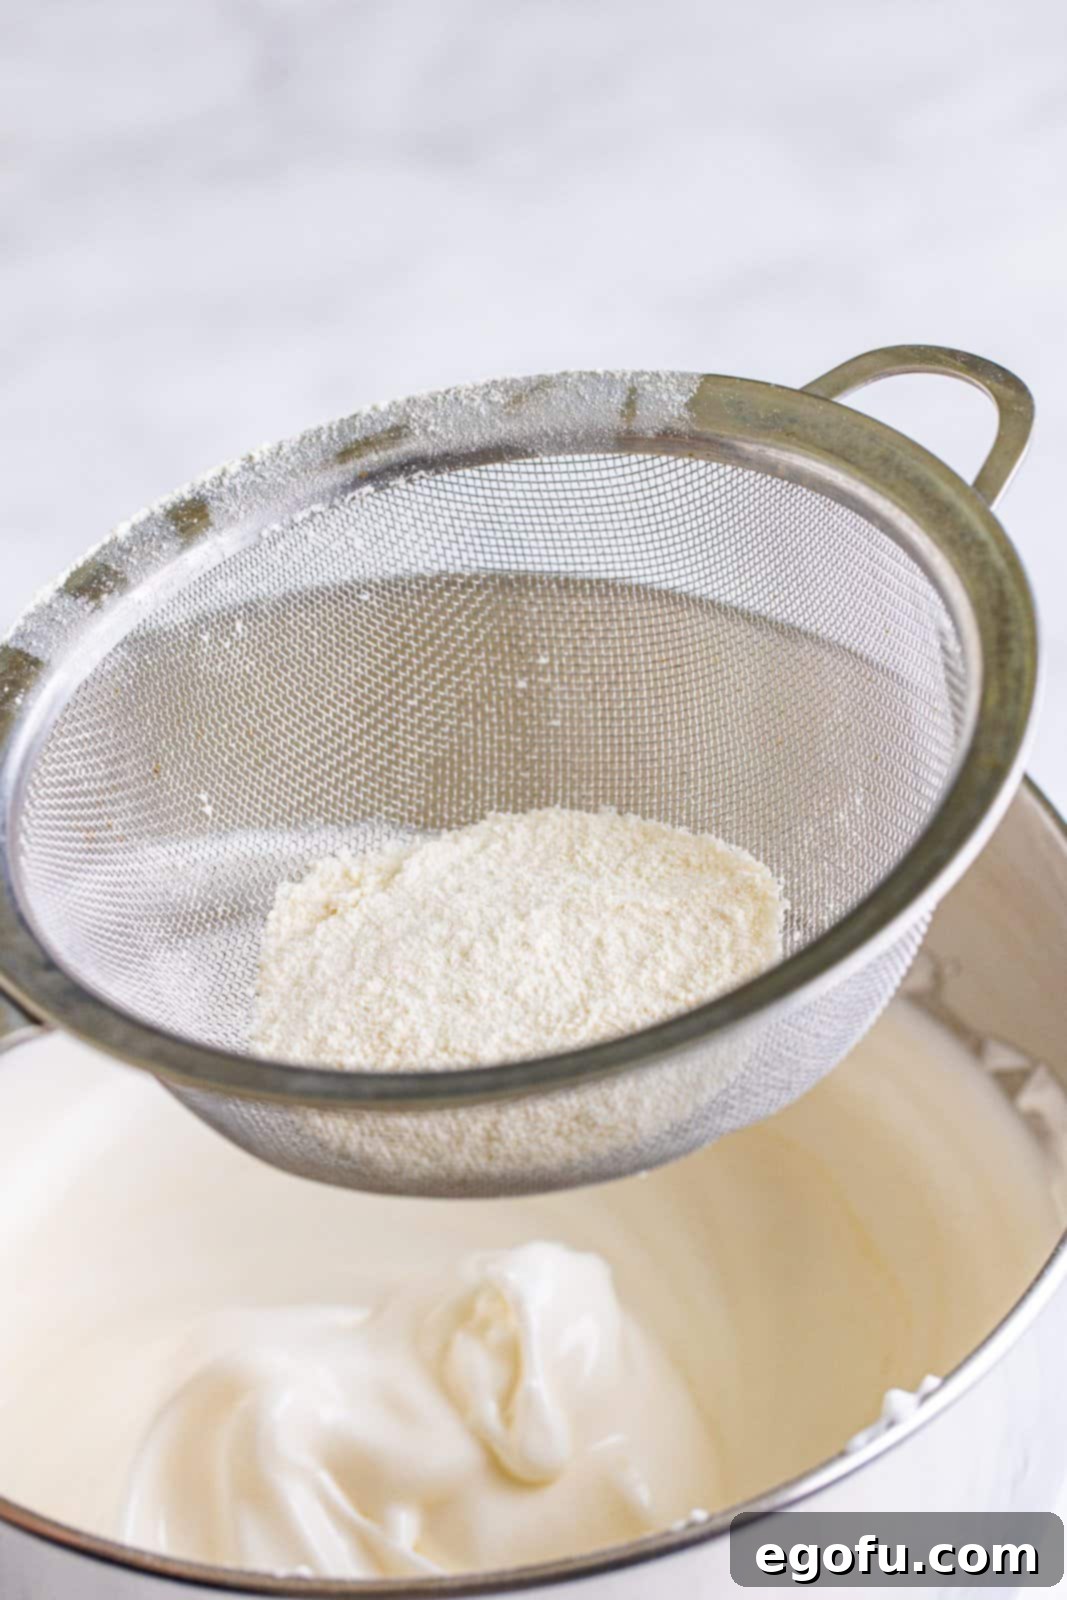
Step 7: Prepare the Pan
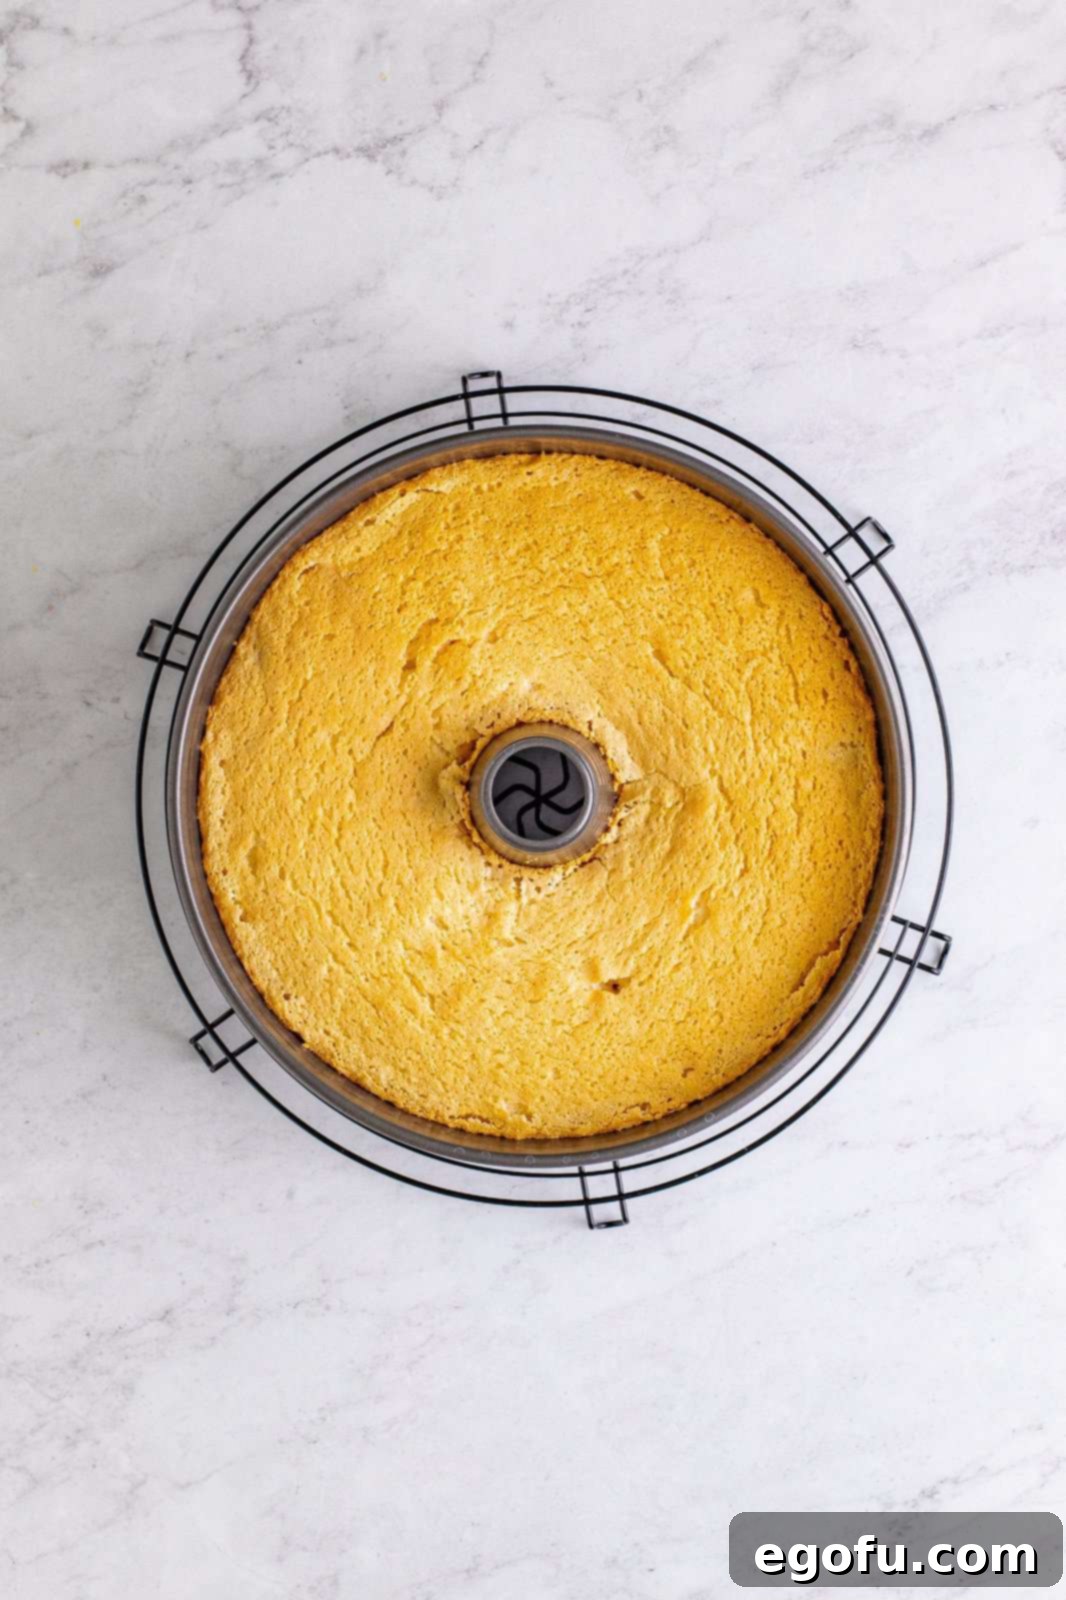
Once all the flour is carefully folded in and no streaks remain, immediately transfer the batter to a 10-inch ungreased tube pan. It is vital that the pan is ungreased. The batter needs to cling to the sides of the pan to climb and rise high during baking. Greasing the pan would prevent this, causing the cake to slip and deflate.
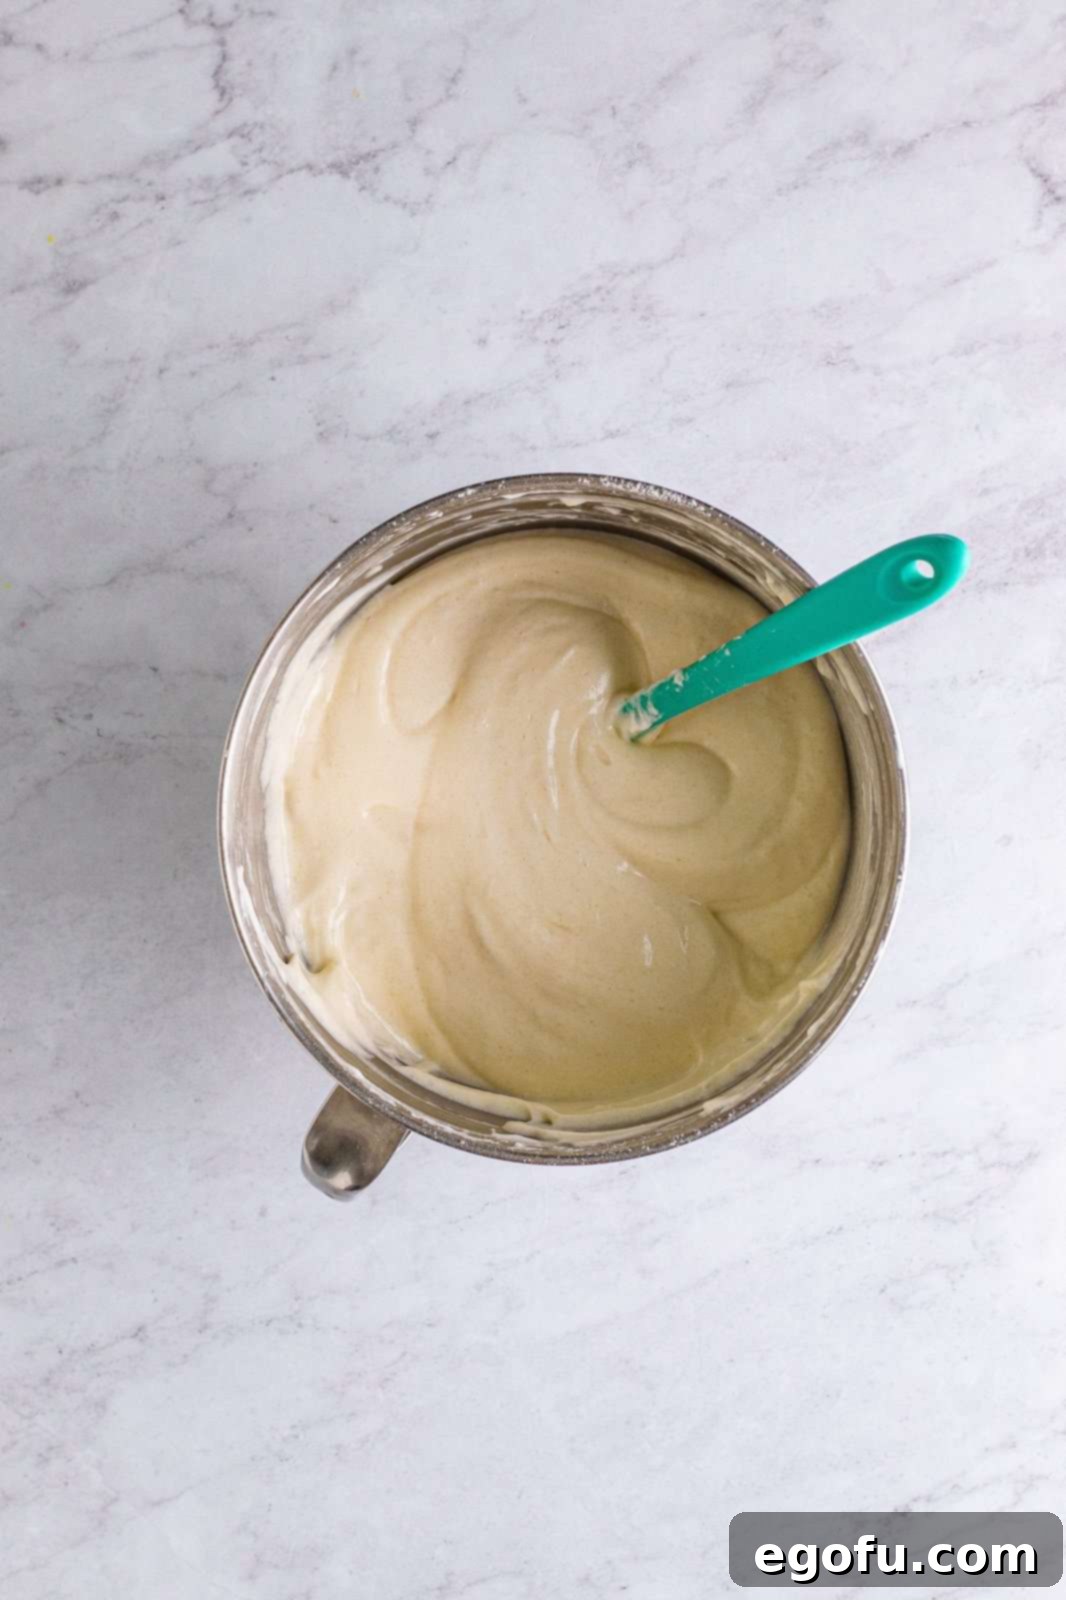
Step 8: Smooth and Bake
Gently shake the pan back and forth a few times. This helps to even out the batter and create an almost smooth surface on top, releasing any large air pockets. Place the pan in the preheated oven and bake for 40-45 minutes. The cake is done when a toothpick inserted into the center comes out clean, and the top is golden brown and springs back lightly when touched.
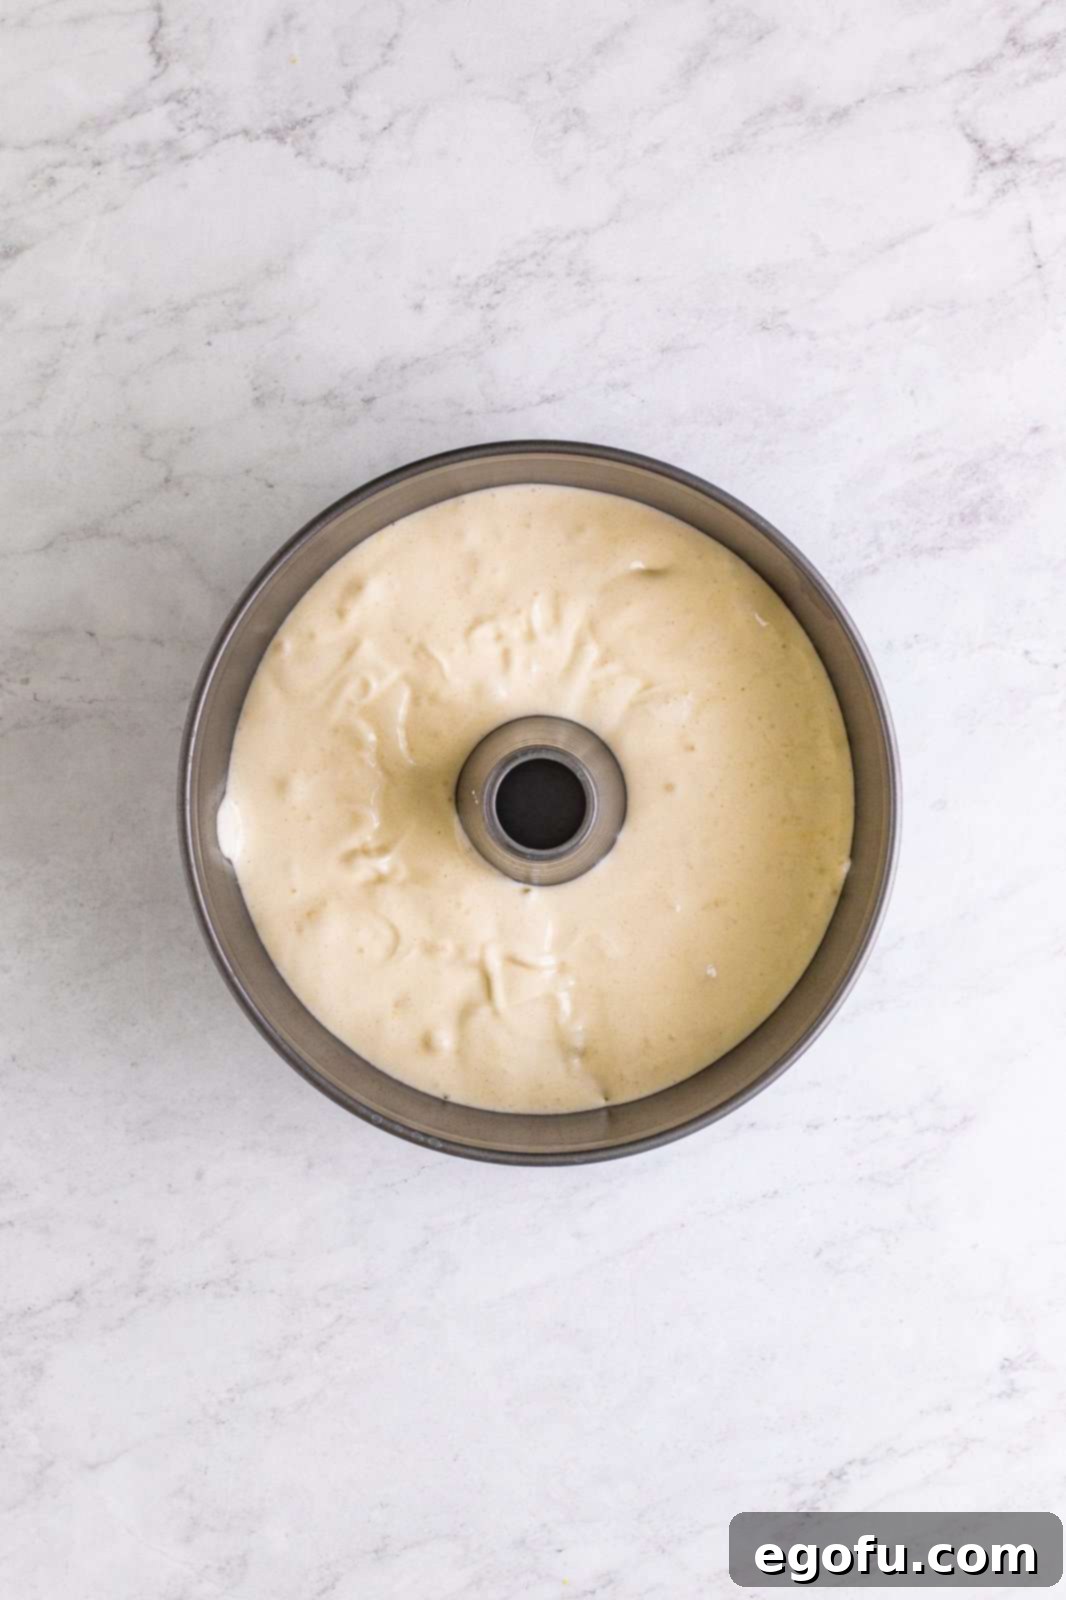
Step 9: Cool Upside Down
Once baked, immediately remove the pan from the oven. This is where the magic happens for maintaining its height: flip the pan upside down onto a cooling rack. Many tube pans have small feet or a central tube that allows for this. If yours doesn’t, invert it over the neck of a sturdy glass bottle to keep the cake suspended. Let it cool completely in this inverted position for at least 3 hours. Do not rush this step, as it’s crucial for the cake to set without collapsing.
Step 10: Release and Serve
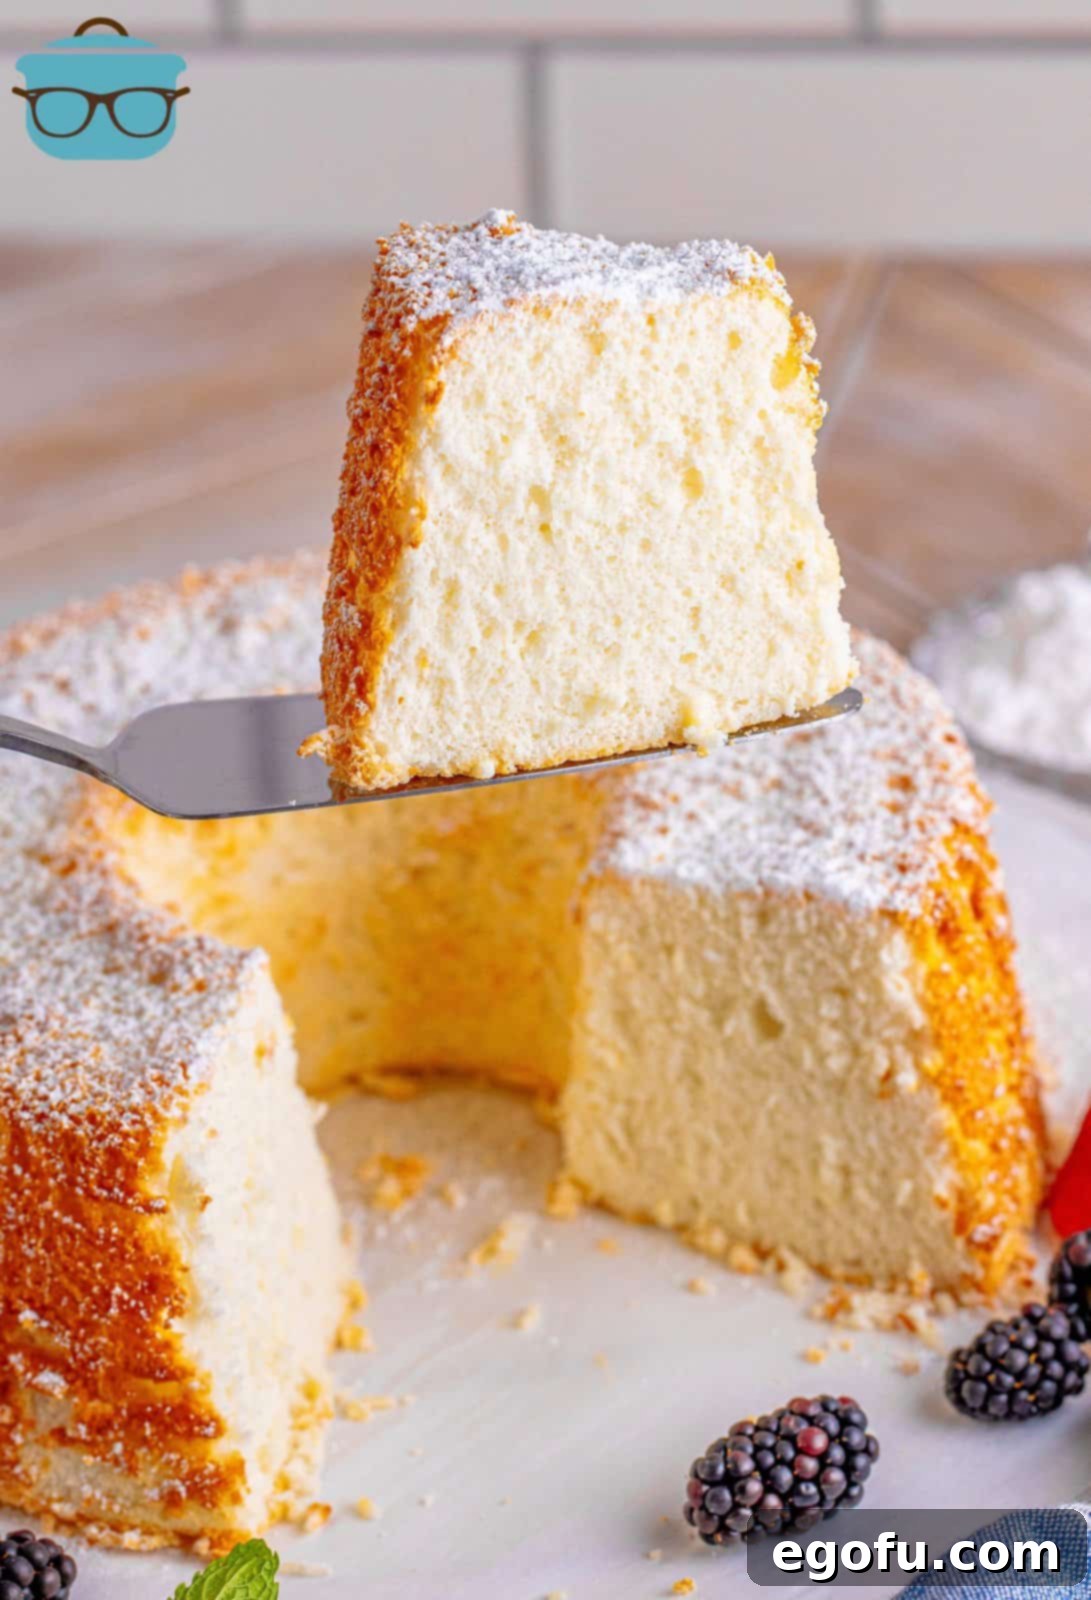
After the cake has completely cooled upside down, run a thin, flexible knife (a serrated knife works best for slicing) along the edges of the pan and around the center tube. Invert the pan again and give it a few gentle taps until the cake releases. If it sticks, repeat the knife-running process. Once released, place the cake on a serving platter. Use a sharp serrated knife to slice and serve this beautiful, airy dessert. A serrated knife prevents crushing the delicate crumb.
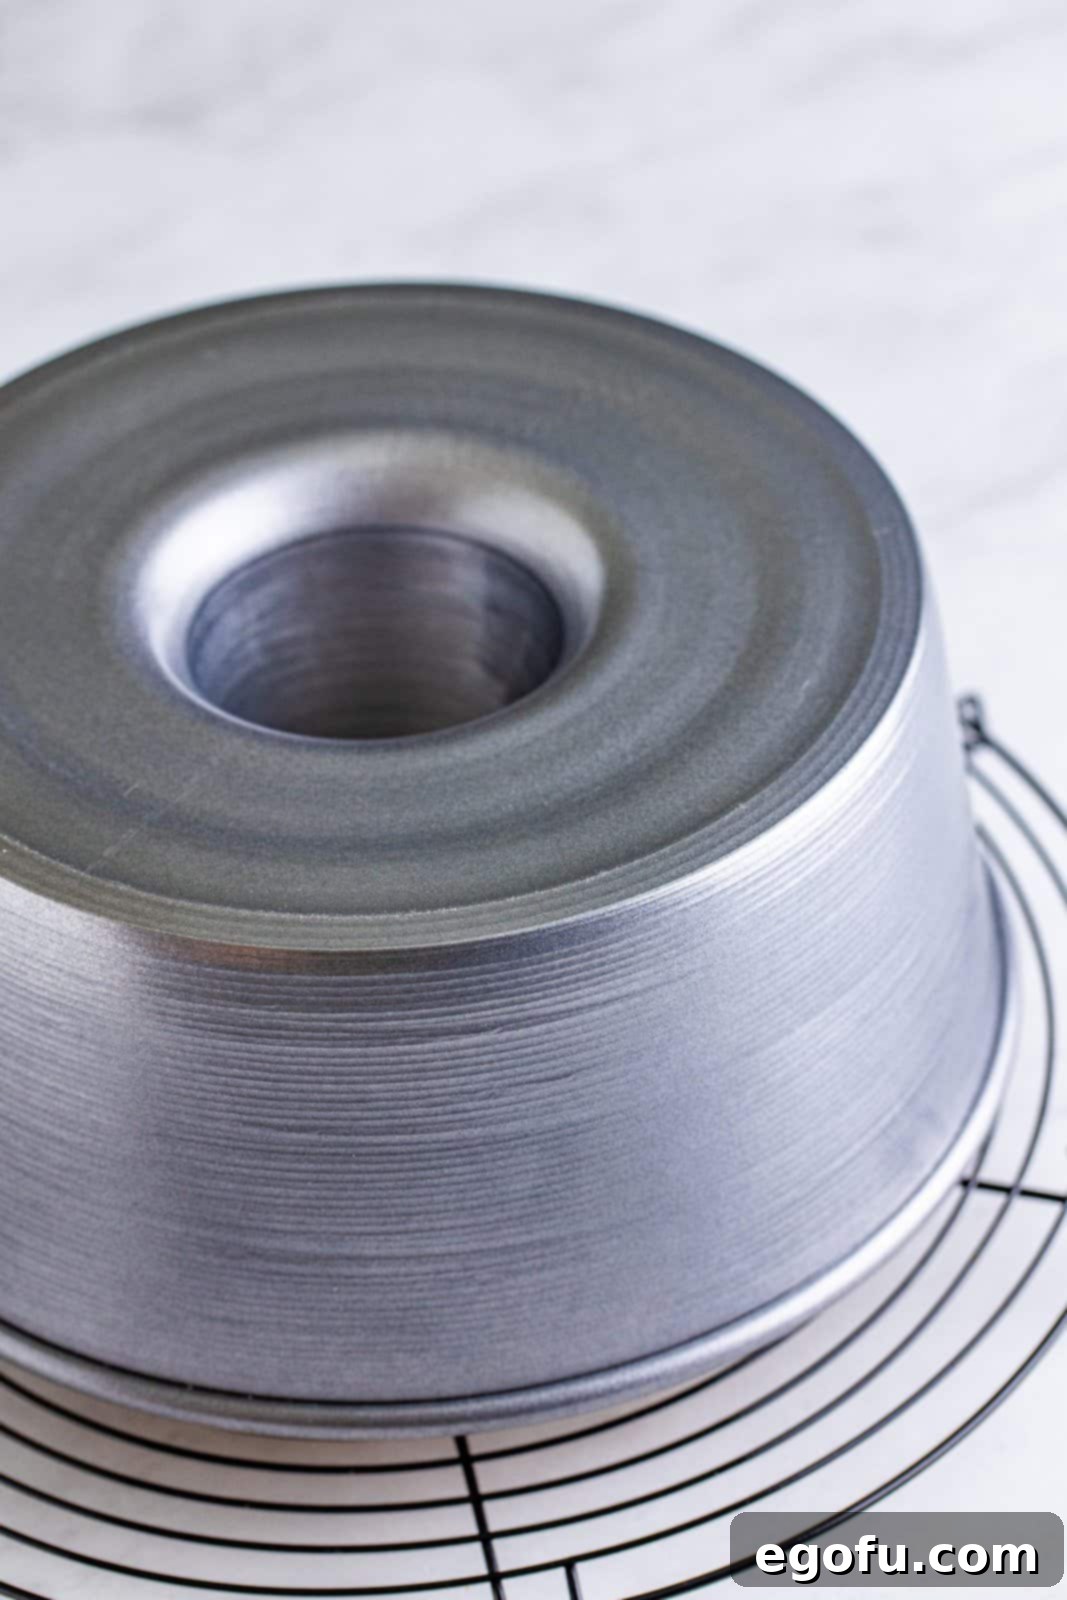
Allow the cake to cool completely before attempting to slice it. A fully cooled cake will have a much better texture and will be easier to handle without tearing.
Tips for Angelic Success
- Room Temperature Egg Whites: This is non-negotiable. Cold egg whites won’t whip to the same volume as those at room temperature. Plan ahead and separate your eggs at least 30 minutes before baking.
- Spotless Equipment: Any trace of grease or fat on your mixing bowl or whisk can prevent egg whites from stiffening. Wash and dry your equipment meticulously.
- Don’t Grease the Pan: As mentioned, Angel Food Cake batter needs to climb the sides of the pan. A greased pan will make it slide, leading to a dense, fallen cake.
- Gentle Folding: This is the most critical step. Be patient and use a light hand to fold the flour mixture into the meringue. Overmixing will deflate the air, resulting in a tough cake.
- Use a Serrated Knife for Slicing: A regular chef’s knife can compress the delicate crumb. A serrated knife gently saws through without crushing.
- Cool Completely Upside Down: Resist the urge to flip the cake prematurely. The inverted cooling process allows the cake to set and stabilize its structure.
Serving Suggestions & Delightful Variations
Angel Food Cake is incredibly versatile and pairs beautifully with a myriad of toppings and flavors. While delicious on its own, consider these ideas to elevate your dessert:
- Classic Berry Medley: The ultimate pairing! Fresh strawberries, blueberries, raspberries, or a mix, perhaps macerated with a little sugar, complement the cake’s lightness perfectly.
- Whipped Cream: A simple dollop of freshly whipped cream adds richness without being heavy.
- Fruit Sauces: Drizzle with a vibrant berry coulis, lemon curd, or even a light caramel sauce.
- Chocolate Shavings: A sprinkle of dark chocolate shavings can add a touch of decadence.
- Citrus Zest: Add lemon, orange, or lime zest to the batter for a brighter, more aromatic cake.
- Different Extracts: Experiment with other extracts like coconut, lemon, or orange for unique flavor profiles.
Craving More Recipes? Give These a Try!
- Southern Pound Cake
- Strawberry Angel Dessert
- Strawberry Shortcake In a Jar
- Strawberry Shortcake Cake
- Hot Milk Cake
- Southern Hummingbird Cake
- 7-up Cake
- Kentucky Butter Cake
- Homemade Yellow Cake Mix
Homemade Angel Food Cake
A light and spongy classic dessert, this Homemade Angel Food Cake is better than any store-bought cake! Super easy to bake up and easy to serve!
Prep Time: 30 minutes
Cook Time: 45 minutes
Cool Time: 3 hours
Total Time: 4 hours 15 minutes
Servings: 12
Author: Brandie Skibinski
Pin Recipe
Ingredients
- 1 ¾ cups granulated sugar
- 1 cup all-purpose flour
- ½ teaspoon fine sea salt
- 12 large egg whites, room temperature
- 1 ½ teaspoons cream of tartar
- 2 teaspoons vanilla extract
- ¼ teaspoon almond extract (optional)
Instructions
- Preheat the oven to 325°F (160°C).
- Place 1 ¾ cups of sugar in a food processor. Turn the food processor on and let it run for 2 minutes until finely ground.
- Take half of the processed sugar along with the flour and salt, sift it twice into a large bowl. Set aside.
- Place the egg whites into the body of a stand mixer with the whisk attachment, along with the cream of tartar.
- Place the mixer on medium speed and very slowly pour the remaining half of the processed sugar in while the mixer is running.
- Once all of the sugar is added, place the mixer on medium-high speed and whip until soft peaks form, for 2-4 minutes.
- Stir in the vanilla and optional almond extracts.
- Take the bowl off of the mixer. In four batches, sift the flour mixture over the egg whites.
- Once sifted, gently fold it in using a rubber spatula with an upward motion, turning the bowl as you go, to avoid deflating the egg whites.
- Once all the flour is mixed in, add the batter to a 10-inch ungreased tube pan.
- Gently shake the pan back and forth a few times so the batter evens out and is almost smooth on top.
- Bake for 40-45 minutes until a toothpick inserted into the center comes out clean and the top is golden.
- Take the pan out of the oven and immediately flip it upside down on top of a cooling rack (or over a bottle neck). Let it cool completely for 3 hours.
- Run a thin knife along the edge of the pan and around the center tube. Invert the pan again and give it a few taps until the cake releases from the pan. Let cool completely before slicing with a sharp serrated knife and serving.
Notes
- Always use an ungreased tube pan for best results.
- Serve with fresh berries, whipped cream, or fruit sauces.
- Customize flavor with different extracts or citrus zest.
- The almond extract is an optional addition but highly recommended.
- This cake can be frozen. Wrap tightly in plastic wrap then foil and freeze for up to 4 months. Thaw at room temperature.
- A sharp serrated knife is best for clean slices without crushing.
- Gentle folding of the flour into the egg whites is crucial to maintain volume.
- Cooling upside down is essential to prevent the cake from deflating.
Course: Dessert
Cuisine: American
Nutrition
Calories: 169kcal | Carbohydrates: 38g | Protein: 4g | Fat: 1g | Sodium: 147mg | Fiber: 1g | Sugar: 29g
Nutritional Disclaimer
“The Country Cook” is not a dietician or nutritionist, and any nutritional information shared is an estimate. If calorie count and other nutritional values are important to you, we recommend running the ingredients through whichever online nutritional calculator you prefer. Calories and other nutritional values can vary quite a bit depending on which brands were used.
Did you make this recipe?
Share it on Instagram @thecountrycook and mention us #thecountrycook!
