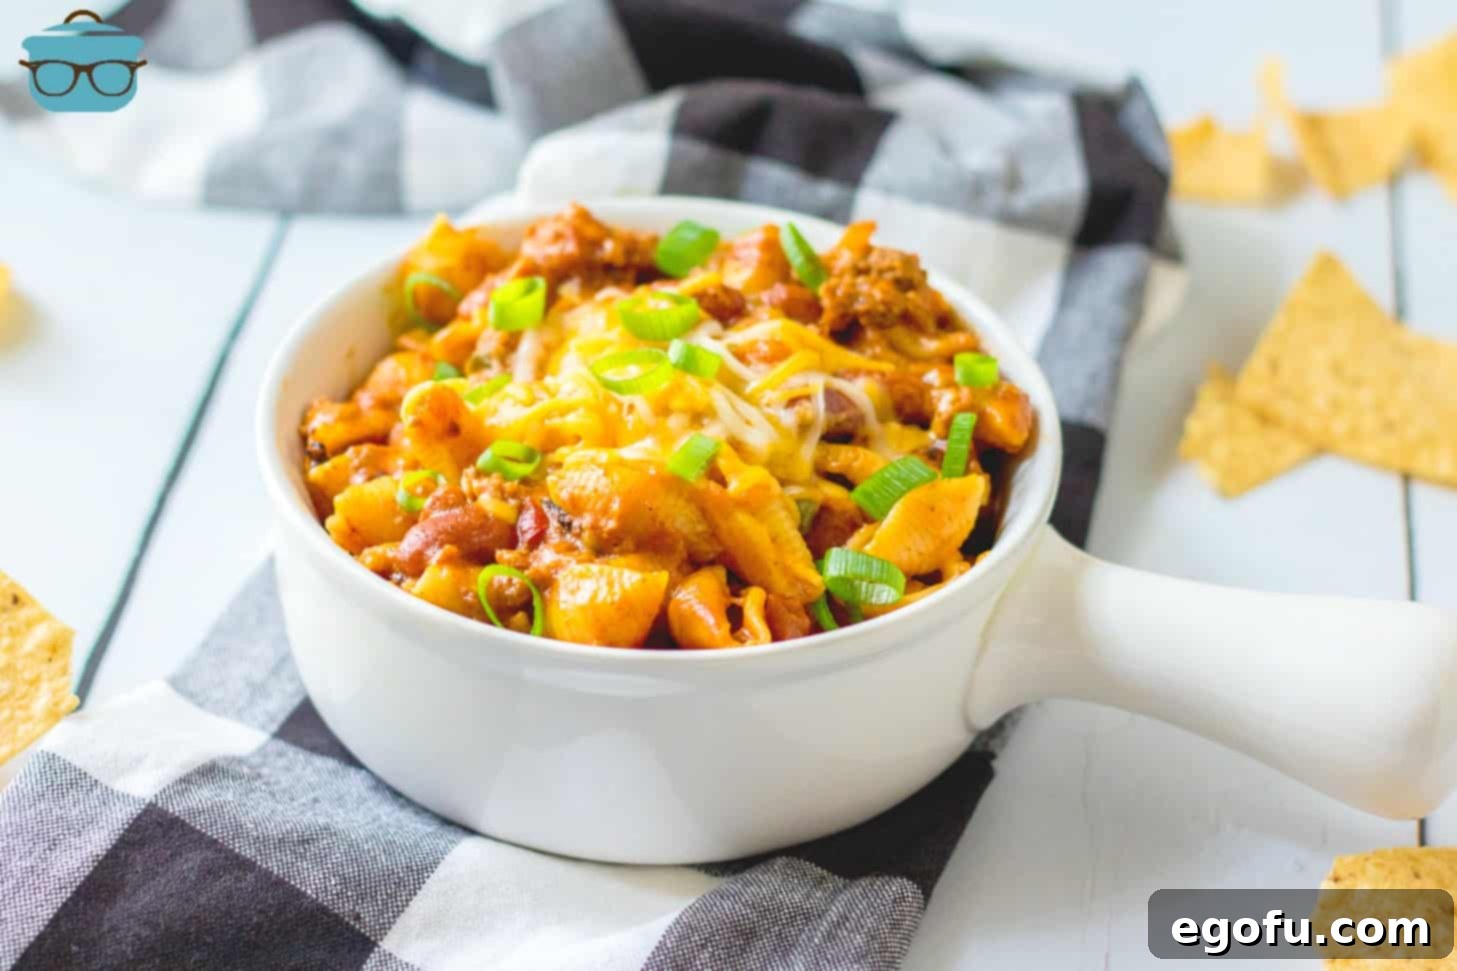
Ultimate Instant Pot Cheesy Taco Pasta: Your New Go-To Weeknight Meal
Experience the unparalleled ease and vibrant flavors of this Instant Pot Cheesy Taco Pasta. Crafted in minutes without pre-boiling a single noodle, it’s a hearty, taco-inspired meal that promises to become an instant family favorite!
Why You’ll Adore This Instant Pot Cheesy Taco Pasta
If you’re a fan of comfort food with a Tex-Mex twist and minimal cleanup, then get ready to add this Instant Pot Cheesy Taco Pasta to your recipe rotation. Imagine a delicious fusion of your favorite taco flavors blended seamlessly with a creamy, cheesy pasta dish, all prepared in a single pot. This recipe isn’t just about convenience; it’s about delivering a rich, satisfying meal that tastes like you spent hours in the kitchen, but truly comes together in about 30 minutes from start to finish.
Whether you’ve previously enjoyed our Slow Cooker Taco Pasta or our renowned Taco Macaroni & Cheese, this Instant Pot rendition offers an even faster route to a flavorful dinner. It’s perfect for those busy weeknights when time is short, but the craving for something hearty and homemade is strong. Plus, with the Instant Pot doing most of the work, you’ll spend less time scrubbing pots and more time enjoying your meal with loved ones.

Essential Ingredients for Taco Pasta Perfection
Creating this irresistible Instant Pot Cheesy Taco Pasta begins with a selection of readily available ingredients. We’ve designed this recipe to be straightforward, using items you likely already have in your pantry or can easily find at any grocery store. Here’s a detailed look at what you’ll need to gather:
- Lean Ground Beef (90/10): The foundation of our hearty meat sauce. Choosing lean ground beef minimizes grease, reducing the need for draining and making cleanup even simpler.
- Frozen Peppers and Onions: A fantastic shortcut for adding essential aromatics and vegetables without extra chopping.
- Water: The primary liquid for pressure cooking the pasta and building the sauce. You can also use beef or vegetable broth for added depth of flavor.
- Tomato Sauce: Contributes to the rich, savory base of the pasta sauce.
- Salsa: Infuses the dish with authentic taco flavor. We recommend a mild salsa, like Herdez brand, but feel free to adjust to your preferred spice level.
- Taco Seasoning: The key spice blend that defines the “taco” in our pasta. A single packet is usually sufficient.
- Garlic Salt & Black Pepper: Enhances the overall seasoning, bringing out the best in all ingredients.
- Shell Pasta: A versatile pasta choice that captures the cheesy sauce beautifully. Any short pasta shape will work effectively.
- Light Red Kidney Beans (Optional): Adds a wonderful texture and additional protein. Black beans or pinto beans can also be used.
- Shredded Cheddar Cheese: Melts into a luscious, creamy finish, making the dish truly “cheesy.”
- Topping Options: Don’t forget fresh toppings like sliced green onions, a dollop of sour cream, or crunchy crushed tortilla chips to elevate your serving!

Step-by-Step Guide to Making Instant Pot Cheesy Taco Pasta
Follow these simple instructions to create a mouthwatering meal that’s as impressive as it is easy:

Preparation: Sautéing the Beef and Vegetables
- Begin with Sauté: Set your 6-quart Instant Pot to the “Sauté” setting on high. Once hot, add the lean ground beef along with the frozen peppers and onions.
- Brown and Crumble: Cook the mixture, breaking up the beef with a spoon, until it’s thoroughly browned and cooked through. Since you’re using lean ground beef (90/10), there should be minimal grease to drain. If any excess grease accumulates, carefully drain it away before proceeding. Return the cooked beef and vegetable mixture to the pot.

Building the Flavor Layers
- Deglaze the Pot: Turn off the “Sauté” setting. Pour in the water and use a wooden spoon or spatula to scrape any browned bits from the bottom of the pot. This crucial step prevents the “burn” message and ensures a smooth cooking process. Make sure the bottom is completely clean.
- Add the Sauce Base: Next, add the tomato sauce, your favorite salsa, taco seasoning, garlic salt, and black pepper to the pot. Stir everything well to combine, creating a fragrant sauce base.

Pressure Cooking and Finishing
- Add Pasta and Beans: Gently add the uncooked shell pasta and the drained kidney beans (if using) to the pot. Press them down slightly with your spoon so that the pasta is submerged in the liquid. Do not stir the pasta into the sauce at this stage. Layering is key for even cooking in the Instant Pot.
- Pressure Cook: Secure the lid on your Instant Pot and set the steam release vent to the “Sealing” position. Select the “Manual” or “Pressure Cook” setting on high pressure and set the timer for 4 minutes.
- Quick Release: Once the cooking cycle is complete, perform a quick release of the pressure by carefully turning the steam release handle to the “Venting” position. Stand clear of the steam.
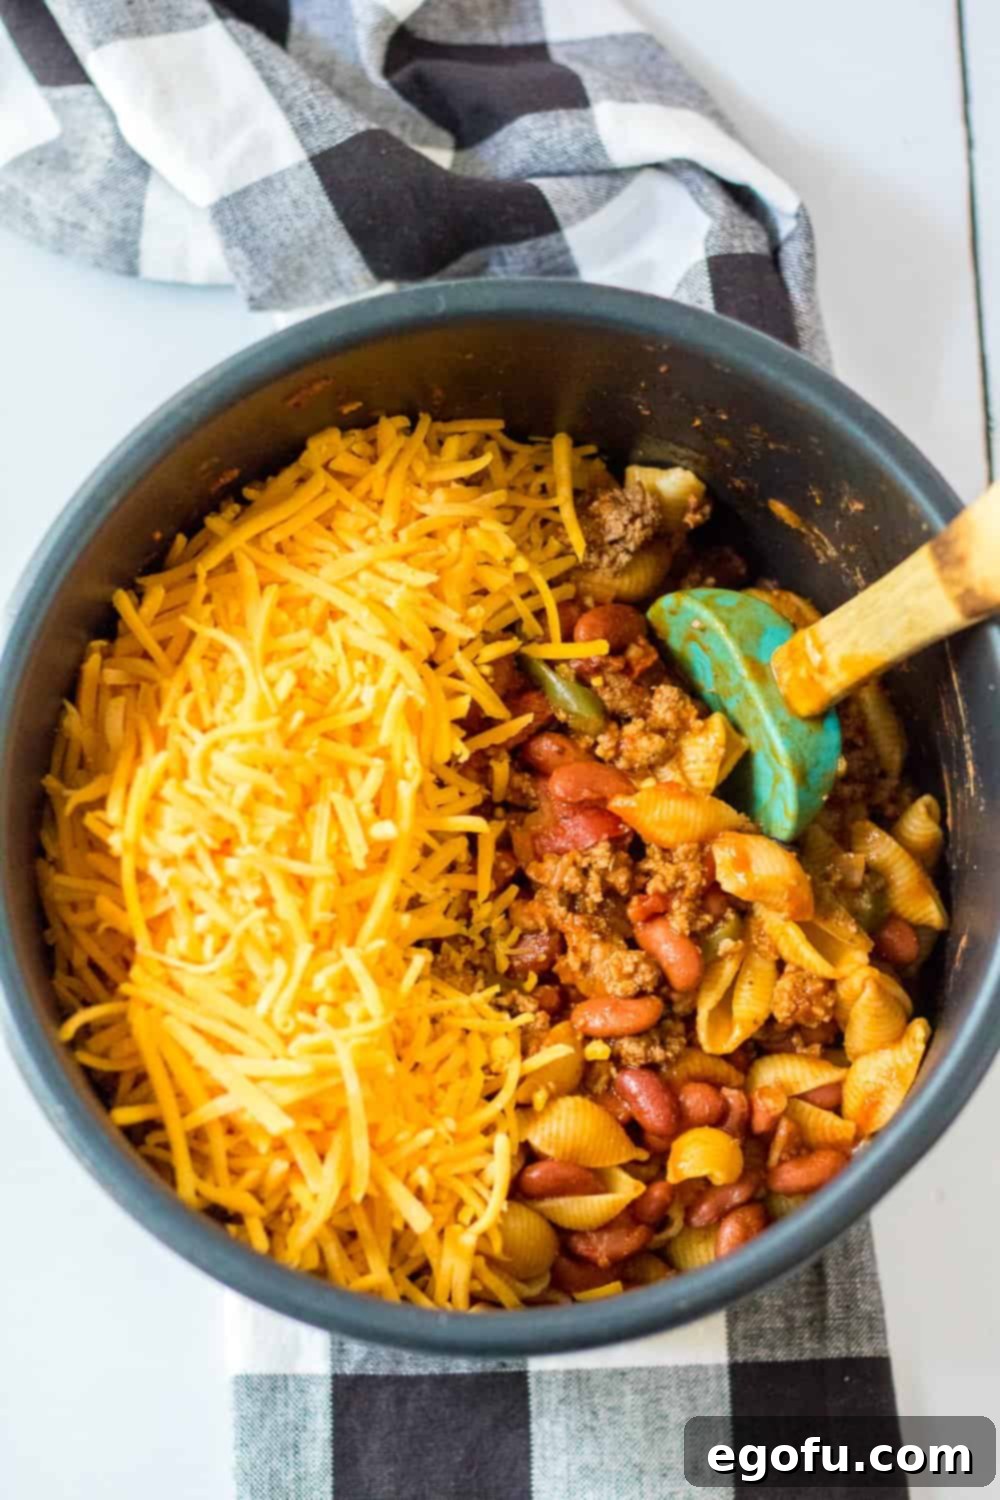
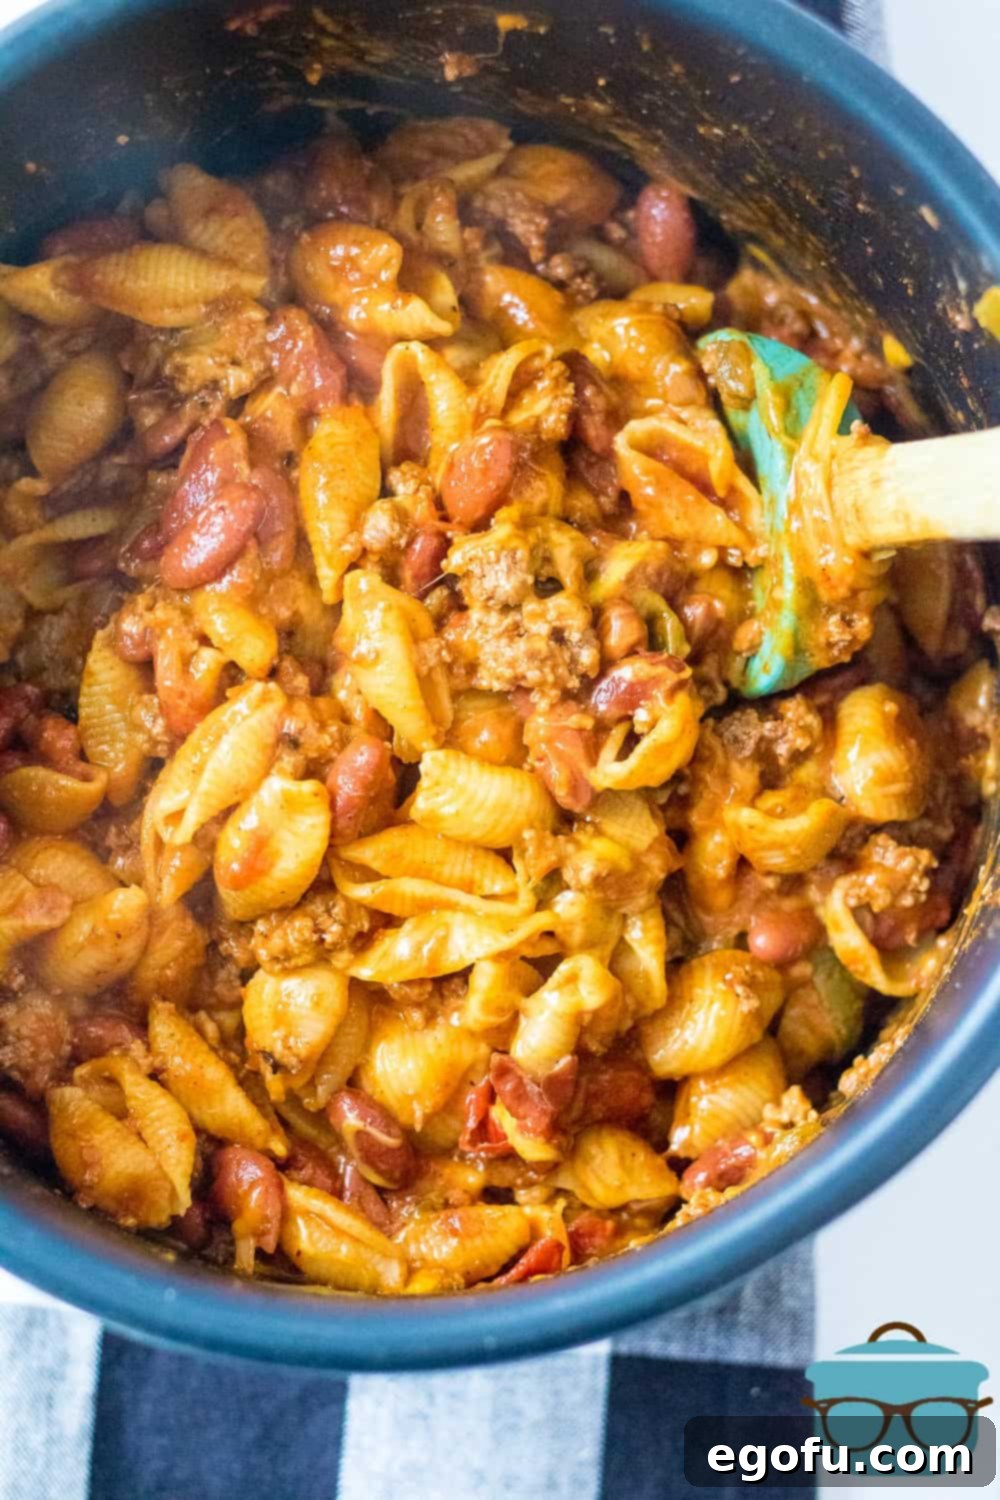
- Stir in Cheese: Once the pressure has fully released and the float valve drops, carefully remove the lid. Stir in the shredded cheddar cheese until it is completely melted and evenly distributed, creating a creamy, cheesy pasta.

Serve and Enjoy!
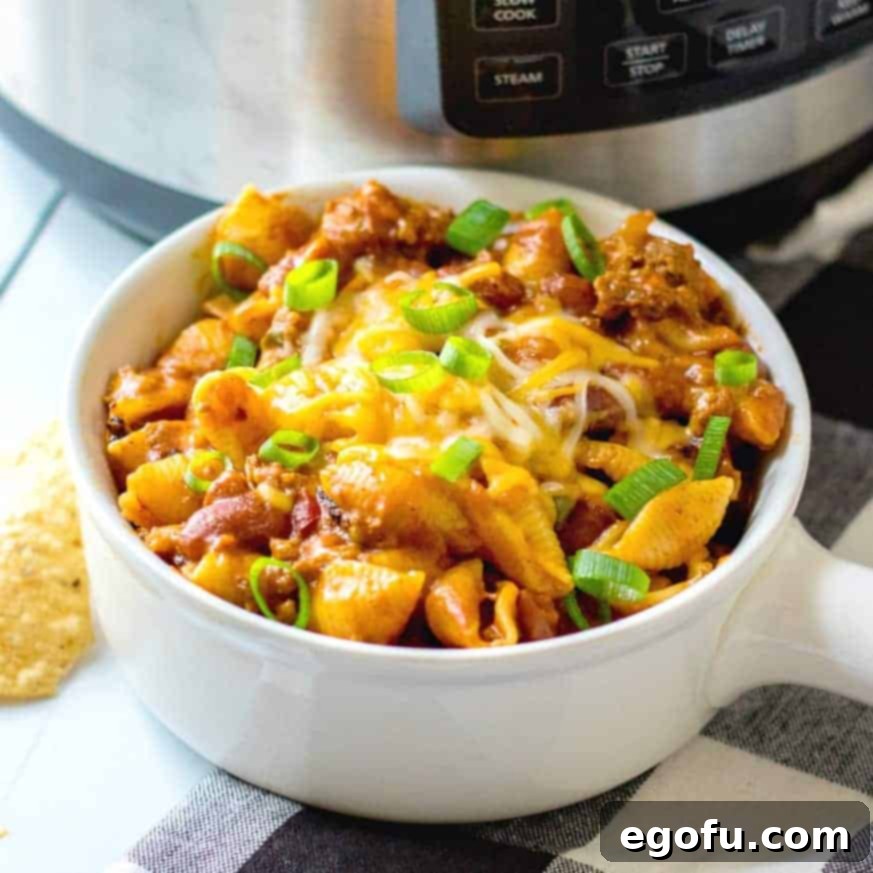
- Serve Hot: Your Cheesy Taco Pasta is now ready! Serve it immediately, either on its own or alongside a fresh green salad for a complete meal. Garnish with your preferred toppings like sliced green onions, a dollop of sour cream, or a sprinkle of crushed tortilla chips for extra flavor and crunch.

Pro Tips for Instant Pot Cheesy Taco Pasta Success
Achieving perfectly cooked, flavorful taco pasta in your Instant Pot is incredibly simple, especially with these insider tips:
- Embrace Lean Ground Beef: Opting for 90/10 lean ground beef is a game-changer. It significantly reduces the amount of grease, often eliminating the need to drain it. This means less mess and one less step in your cooking process!
- Deglazing is Non-Negotiable: After browning the beef, always make sure to scrape the bottom of the Instant Pot thoroughly with a wooden spoon or spatula when adding the liquid. Any stuck-on bits can trigger the dreaded “burn” message, interrupting your cooking. If your Instant Pot has a nonstick insert, this step is still important but slightly less critical.
- Pasta Power: You can use virtually any short pasta shape you have on hand, such as shells, elbow macaroni, rotini, or penne. There’s no need to cook the pasta beforehand, which is one of the biggest time-savers of this recipe! Just be sure not to exceed one pound of pasta, or you’ll need to increase the water quantity to ensure it cooks properly. For every additional cup of dry pasta over one pound, add approximately 1/2 to 3/4 cup of extra water.
- Salsa Savvy: While we love the mildness of Herdez salsa, feel free to use your favorite jarred salsa. If you prefer a spicier kick, choose a medium or hot variety.
- Beans Your Way: Kidney beans add a wonderful texture and boost of protein, but they are entirely optional. Feel free to omit them or swap them for black beans, pinto beans, or even corn for a different flavor profile.
- Frozen Veggie Convenience: Pre-chopped frozen peppers and onions are a lifesaver for speeding up prep time. Look for them in the freezer aisle near other frozen vegetables. If you can’t find them, fresh bell peppers and onions, finely diced, work just as well – just add them with the beef to sauté.
- No Stirring After Pasta: This is a crucial Instant Pot tip! Once you’ve added the pasta and beans, gently push them down to submerge them, but do not stir them into the sauce. Layering the ingredients helps prevent the “burn” message and ensures even cooking.
Variations and Customizations for Your Taco Pasta
This Instant Pot Cheesy Taco Pasta is incredibly versatile, allowing for numerous delicious variations:
- Make it Spicier: For a heat boost, add a diced jalapeño or serrano pepper when sautéing the beef. You can also use hot salsa, a pinch of cayenne pepper, or a dash of your favorite hot sauce at the end.
- Creamy Indulgence: For an even creamier pasta, stir in 4 ounces of cream cheese along with the cheddar cheese at the end. A splash of heavy cream can also add richness.
- Cheesy Alternatives: Experiment with different cheeses! Monterey Jack, Colby Jack, or a Mexican blend cheese would all be excellent substitutes or additions to the cheddar.
- Go Vegetarian: Easily adapt this recipe by substituting the ground beef with plant-based ground “meat” crumbles. Increase the amount of beans and add extra veggies like corn or zucchini. Use vegetable broth instead of water for extra flavor.
- Add More Veggies: Boost the nutritional value and texture by adding extra vegetables. Corn, diced tomatoes (undrained), or sliced black olives can be stirred in at the end with the cheese.
- Smoky Flavor: A teaspoon of smoked paprika added with the taco seasoning can give the dish a wonderful smoky depth.
Serving and Storage Suggestions
This Cheesy Taco Pasta is a complete meal on its own, but it also pairs wonderfully with a few simple sides and toppings:
- Top it Off: Garnish with classic taco toppings like a dollop of sour cream or Greek yogurt, fresh cilantro, sliced green onions, diced avocado, or a sprinkle of crushed tortilla chips for extra crunch.
- Side Dishes: Serve alongside a crisp green salad, a side of roasted corn, or warm flour tortillas for scooping up every last bit of cheesy goodness.
- Leftover Storage: Store any leftover taco pasta in an airtight container in the refrigerator for up to 3-4 days.
- Reheating: To reheat, simply warm portions in the microwave or on the stovetop over medium-low heat. You may want to add a splash of water or broth to loosen the sauce as it can thicken in the refrigerator. The Instant Pot can also be used to reheat using the “Sauté” setting with a little liquid until warmed through.
- Freezing: While doable, pasta dishes with cheese can sometimes alter in texture when frozen and reheated. If freezing, cool completely, then store in freezer-safe containers for up to 2-3 months. Thaw overnight in the fridge before reheating.
Frequently Asked Questions (FAQs)
- Can I use a different type of pasta?
- Yes, absolutely! While shell pasta is recommended, any short pasta like elbow macaroni, penne, rotini, or even bow ties will work perfectly. The cook time of 4 minutes is generally suitable for most standard short pasta shapes.
- Do I really not have to drain the beef?
- If you use 90/10 lean ground beef, there will typically be very little fat to drain, making it unnecessary. If you use a less lean ground beef (e.g., 80/20), you should definitely drain any excess grease after browning to prevent the dish from becoming oily.
- Why is deglazing so important?
- Deglazing (scraping the bottom of the pot after sautéing) removes any browned bits that might be stuck. If these bits remain, they can burn during pressure cooking and trigger the “burn” warning on your Instant Pot, preventing it from coming to pressure.
- What if I get a “burn” message?
- If you encounter a “burn” message, immediately turn off the Instant Pot and perform a quick release. Carefully remove the lid and check the bottom of the pot for any stuck food. Scrape it thoroughly, add a little extra liquid if needed, and try again. Often, it’s due to insufficient deglazing.
- Can I make this ahead of time?
- This dish is best enjoyed fresh, but it reheats well. You can prepare it a day in advance and reheat individual portions. The pasta might absorb more sauce, so have extra water or broth on hand when reheating.
- Is this recipe gluten-free?
- To make this recipe gluten-free, substitute the regular pasta with your favorite gluten-free pasta, and ensure your taco seasoning is certified gluten-free. All other ingredients are typically naturally gluten-free, but always check labels.
Craving More Delicious Recipes?
If you loved this Instant Pot Cheesy Taco Pasta, be sure to explore more of our flavor-packed creations:
- Taco Pasta Salad
- One Pan Taco Rice
- Taco Spaghetti
- Crock Pot Taco Pasta
- Crock Pot Mexican Shredded Chicken
Recipe Card: Instant Pot Cheesy Taco Pasta
Instant Pot Cheesy Taco Pasta
This Instant Pot Cheesy Taco Pasta can be made in minutes! No need to even boil the pasta first! A filling taco-inspired pasta meal!
Prep Time: 15 minutes
Cook Time: 4 minutes
Pressurization: 15 minutes
Total Time: 34 minutes
Servings: 6
Author: Brandie Skibinski
Ingredients
- 1 pound lean ground beef (90/10)
- 1 cup frozen peppers and onions
- 3 cups water
- 15 ounce can tomato sauce
- 1 cup salsa (mild is recommended)
- 1 packet taco seasoning
- ½ teaspoon garlic salt
- ½ teaspoon black pepper
- 1 pound shell pasta (or other short pasta)
- 2 (15 ounce) cans light red kidney beans, drained (optional)
- 2 cups shredded cheddar cheese
- Topping options: sliced green onions, sour cream, crushed tortilla chips, fresh cilantro
Instructions
- Turn a 6-quart Instant Pot to the “Sauté” setting on high.
- Add the beef, onions, and peppers and cook until beef is browned, crumbled, and cooked through. When fully cooked, drain any excess grease (if present from less lean meat) and add back to the pot.
- Turn the pot off and add the water, scraping any browned bits off the bottom of the pot. This is super important to prevent a “burn” message!
- Next, add in the tomato sauce, salsa, taco seasoning, garlic salt, and black pepper, and stir well to combine.
- Then, add in the uncooked pasta and beans (if using). Gently press down the pasta so it is covered with water. Do NOT stir the pasta into the sauce at this point.
- Secure the lid in place and set the vent to “Sealing.” Select the “Manual” or “Pressure Cook” setting on high for 4 minutes.
- Once cooking is complete, do a quick release of the pressure by carefully turning the vent to “Venting.”
- Carefully remove the lid then stir in the shredded cheddar cheese until it is all melted and creamy.
- Serve immediately with your desired toppings.
Notes
- Using lean ground beef (90/10) means less grease to drain, saving you a step and dirty dishes!
- Always scrape the bottom of your Instant Pot after browning the ground beef to avoid a “burn” message, especially if you don’t have a nonstick insert.
- Any short pasta noodle shape can be used. It does not need to be cooked beforehand. Just ensure you don’t use more than a pound or you’ll need to add more water.
- Beans are optional; feel free to switch them out for other types you enjoy, or omit them entirely.
- My favorite store-bought salsa is Herdez mild salsa, but use any brand you prefer.
- Frozen peppers and onions bags are a great time-saver. If unavailable, simply chop fresh ones.
Course: Main Course
Cuisine: American
Nutrition (Estimated Per Serving)
Calories: 615 kcal | Carbohydrates: 69g | Protein: 36g | Fat: 21g | Sodium: 1284mg | Fiber: 6g | Sugar: 5g
Nutritional Disclaimer
“The Country Cook” is not a dietician or nutritionist, and any nutritional information shared is an estimate. If calorie count and other nutritional values are important to you, we recommend running the ingredients through whichever online nutritional calculator you prefer. Calories and other nutritional values can vary quite a bit depending on which brands were used.
Did you make this recipe?
Share it on Instagram @thecountrycook and mention us #thecountrycook!
