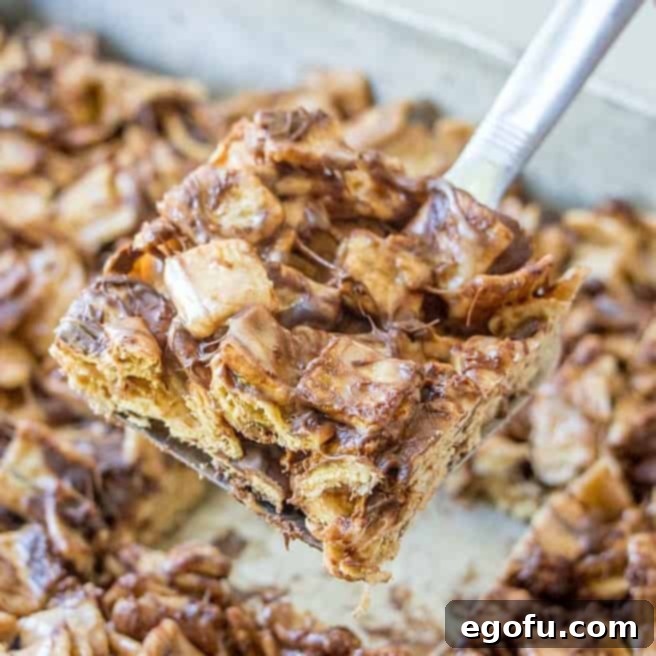
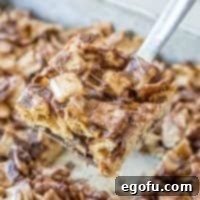
No-Bake Gooey S’mores Treats are a delectable dessert that brings the classic campfire delight indoors, often proving even simpler to create than traditional s’mores! Imagine the satisfying crunch of Cinnamon Toast Crunch cereal enveloped in luscious, gooey marshmallows and rich chocolate. This irresistible combination creates a treat that is pure bliss in every bite. Say goodbye to sticky campfires and hello to effortless, melt-in-your-mouth indulgence!
No-Bake S’mores Treats: Your Ultimate Gooey Cereal Bar Recipe
The timeless appeal of s’mores needs no introduction. That magical combination of toasted marshmallow, melted chocolate, and crisp graham cracker evokes fond memories of summer nights and crackling campfires. But what if you could capture that same beloved flavor profile without the smoke, the mess, or even an oven? Enter the No-Bake Gooey S’mores Treats – a brilliant twist on the classic that delivers all the nostalgia and deliciousness with unparalleled ease.
This recipe transforms the beloved s’mores into a convenient, delightful cereal bar, perfect for any occasion, any time of year. Just like the popular Rice Krispies Treats, these bars are incredibly simple to whip up, requiring minimal ingredients and no baking whatsoever. The result is a wonderfully gooey, delightfully chewy, and utterly satisfying dessert that will quickly become a household favorite. Whether you’re a seasoned baker or a kitchen novice, these no-bake bars are foolproof and guaranteed to bring smiles.

Why Choose No-Bake S’mores? The Ultimate Convenience Dessert
There’s an undeniable charm to the humble no-bake dessert, and these s’mores treats exemplify it beautifully. In today’s fast-paced world, finding time for elaborate baking projects can be a challenge. That’s where no-bake recipes shine. They offer a quick, satisfying solution for those sudden sweet cravings or unexpected guests. This particular recipe stands out because it takes a beloved, traditional treat that typically requires specific outdoor conditions (a fire pit, a grill, or at least a broiler) and makes it accessible anytime, anywhere.
The beauty of no-bake s’mores lies in their simplicity and versatility. They’re perfect for impromptu gatherings, kid’s parties, potlucks, or simply a cozy night in. No need to preheat an oven, no intricate steps, and minimal cleanup means you spend less time in the kitchen and more time enjoying your delicious creation. For families with children, it’s also a fantastic way to involve little ones in the cooking process, fostering a love for culinary creation without the risks associated with hot ovens or open flames. These bars truly embody the spirit of fun, easygoing desserts.
Selecting Your Cereal: A Flavorful Foundation for S’mores Bars
The choice of cereal is paramount in defining the character of your no-bake s’mores treats. While marshmallows and chocolate are non-negotiable, the cereal provides the crucial “graham cracker” element, offering a textural crunch and a distinct flavor profile. My personal favorite for this recipe is Cinnamon Toast Crunch. The subtle warmth and sweetness of cinnamon woven through each square of cereal perfectly complements the richness of chocolate and the sweetness of marshmallow, adding an unexpected yet delightful depth of flavor that elevates these bars beyond a simple s’mores imitation.
However, if you’re a purist seeking a taste profile that more closely mirrors the classic campfire s’mores experience, then Golden Grahams cereal is an excellent alternative. Its inherent graham cracker flavor and crisp texture make it a natural fit for this recipe, delivering that familiar, comforting taste you know and love. Experimentation is always encouraged! While Cinnamon Toast Crunch and Golden Grahams are top contenders, you could also consider other cereals like Honey Graham Oh’s for a slightly different take on the graham flavor, or even a plain corn or rice cereal if you want the chocolate and marshmallow flavors to be the absolute stars. Just remember that the cereal should be sturdy enough to hold its crunch once mixed with the gooey marshmallow, yet not too dense to prevent easy cutting and chewing. Whichever you choose, ensure it’s fresh for optimal crispness.
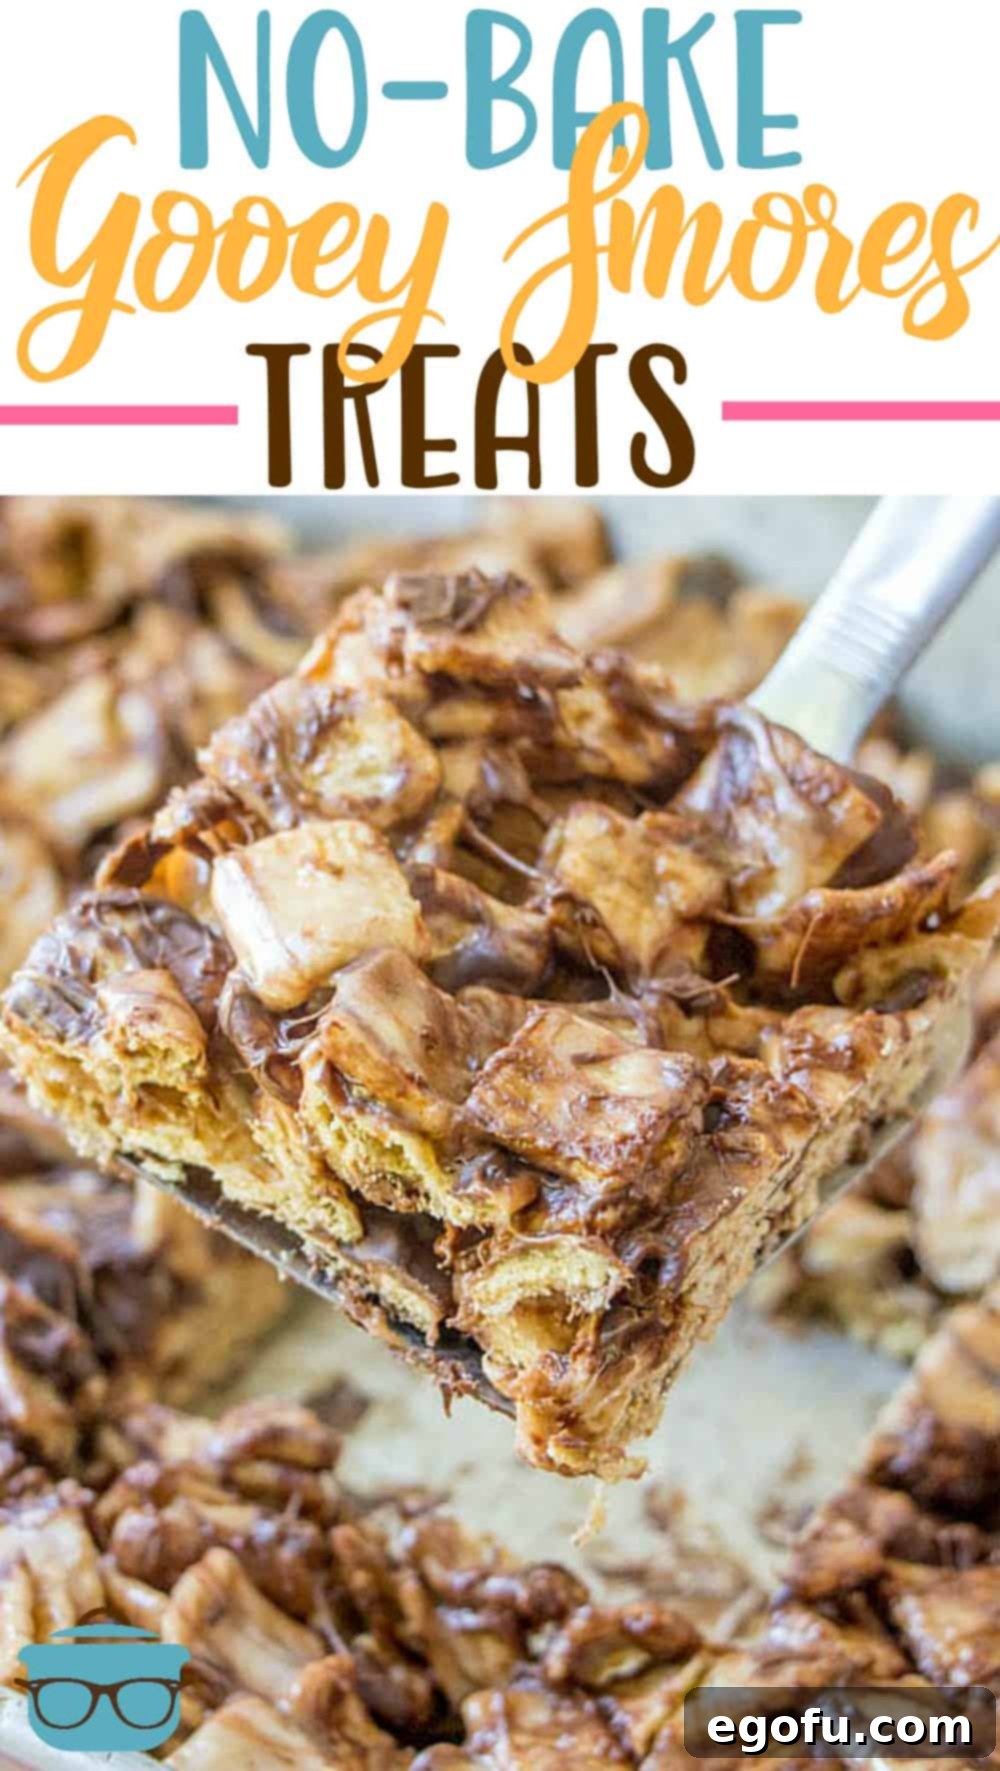
Essential Ingredients for Perfect S’mores Bars
Crafting these delectable no-bake s’mores treats requires just a handful of simple ingredients, each playing a vital role in achieving that perfect gooey, chocolatey, and crunchy balance. Quality ingredients will always yield the best results, so choose wisely.
Ingredients Needed:
- Butter: Opt for unsalted butter to control the overall saltiness of your treat. Butter not only prevents the marshmallows from sticking to the pot but also adds a rich, creamy flavor that enhances the overall taste.
- Mini Marshmallows: Mini marshmallows are preferred as they melt more quickly and evenly than larger ones, creating a smoother, more consistent gooey base. Make sure your marshmallows are fresh for optimal melt and chewiness.
- Cinnamon Toast Crunch (or Golden Grahams): As discussed, this is your crucial “graham cracker” component. Fresh cereal ensures maximum crunch and flavor.
- Semi-Sweet Chocolate Chips (or Milk Chocolate): Semi-sweet chocolate chips offer a balanced sweetness that pairs wonderfully with the marshmallows. If you prefer a richer, more intense chocolate flavor, dark chocolate chips can be used. For a sweeter, creamier bar, milk chocolate chips are a fantastic choice, especially if serving to children. Chocolate chunks or even chopped chocolate bars can also be used for varied texture.
These four core ingredients are all you need to create a truly memorable dessert. Their simplicity is part of the magic!
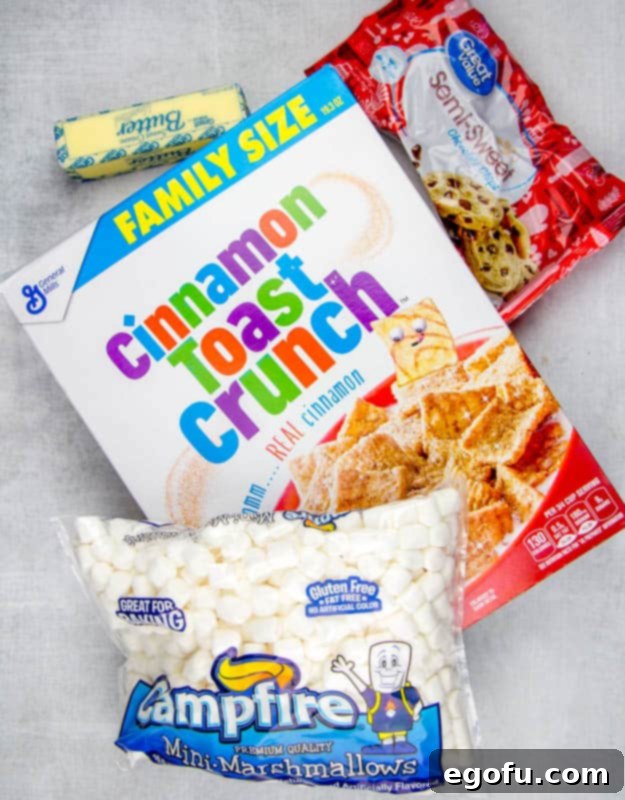
How to Craft Your Gooey S’mores Treats: A Step-by-Step Guide
Creating these no-bake s’mores bars is incredibly straightforward, following a method similar to classic cereal treats. Precision and gentle handling of the ingredients will ensure the best texture and flavor.
- Prepare Your Pan: Begin by lightly spraying a 9×13-inch baking dish with a nonstick cooking spray. This crucial step prevents the sticky marshmallow mixture from adhering to the pan, making it significantly easier to remove and slice the bars once they’ve cooled. You can also line the pan with parchment paper and spray the paper for even easier removal.
- Melt Marshmallows and Butter: In a large, heavy-bottomed pot, combine the butter and mini marshmallows. Place the pot over medium-low heat. It’s essential to melt these ingredients gently and slowly. Stir frequently with a wooden spoon or silicone spatula. The key is to melt the marshmallows until they are smooth and fully combined with the butter, without letting them brown or burn. Overheating can lead to tough, brittle bars, so patience is a virtue here.
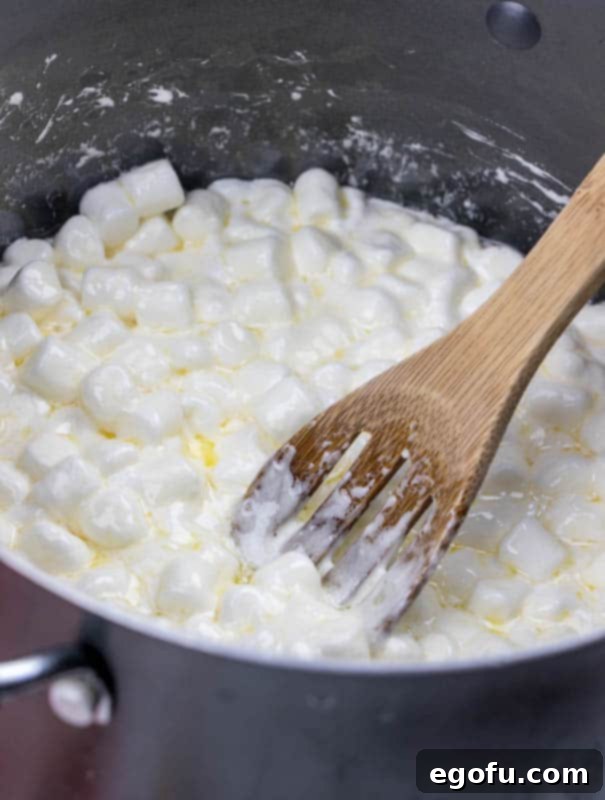
- Incorporate the Cereal: Once the marshmallow and butter mixture is perfectly smooth and gooey, remove the pot immediately from the heat. This prevents further cooking and potential scorching. Add the Cinnamon Toast Crunch cereal (or Golden Grahams, if using) into the pot. Stir gently but thoroughly until every piece of cereal is coated evenly with the marshmallow mixture. This may take a few minutes to ensure complete integration, but avoid crushing the cereal in the process.
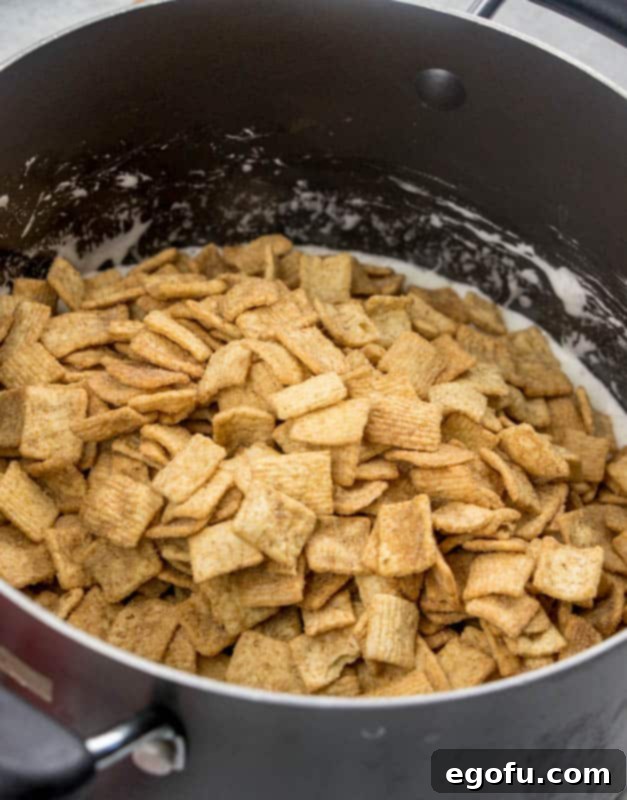
- Add the Chocolate Chips: At this stage, you have a couple of options for incorporating the chocolate chips.
- For Melty Chocolate: If you desire a more integrated, melty chocolate swirl throughout your bars, stir the chocolate chips directly into the warm cereal mixture immediately after coating the cereal. The residual heat will melt them beautifully.
- For Intact Chocolate Chips: If you prefer distinct, intact chocolate chips within your bars, transfer the cereal mixture to a separate, larger bowl. This will help the mixture cool down more quickly. Wait a few minutes (around 5-10 minutes) until the mixture has cooled slightly but is still warm enough to be workable, then stir in the chocolate chips. They will soften but mostly retain their shape.
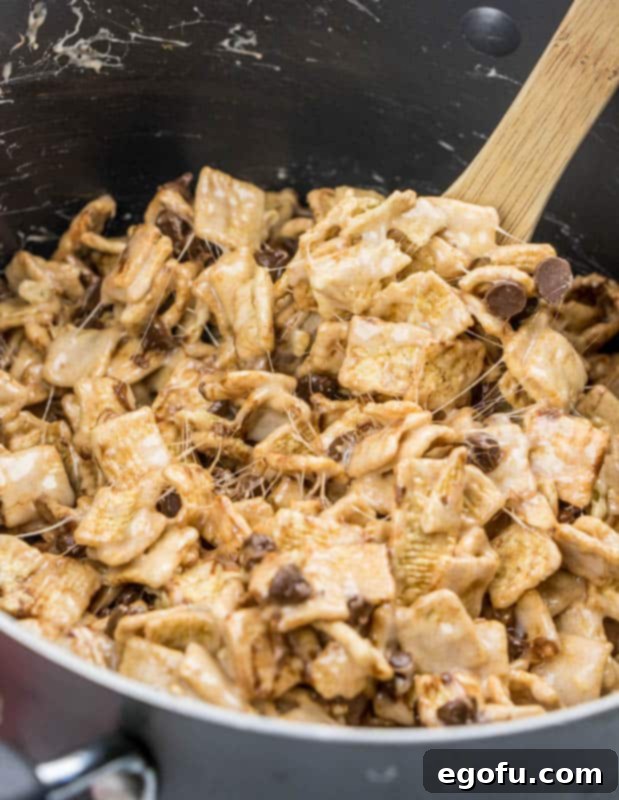
- Press into Pan and Cool: Pour the entire mixture into your prepared baking dish. Using a piece of waxed paper, a lightly buttered spatula, or damp hands, gently press the mixture down evenly into the pan. Avoid pressing too firmly, as this can compress the bars too much, making them dense and hard instead of delightfully chewy.
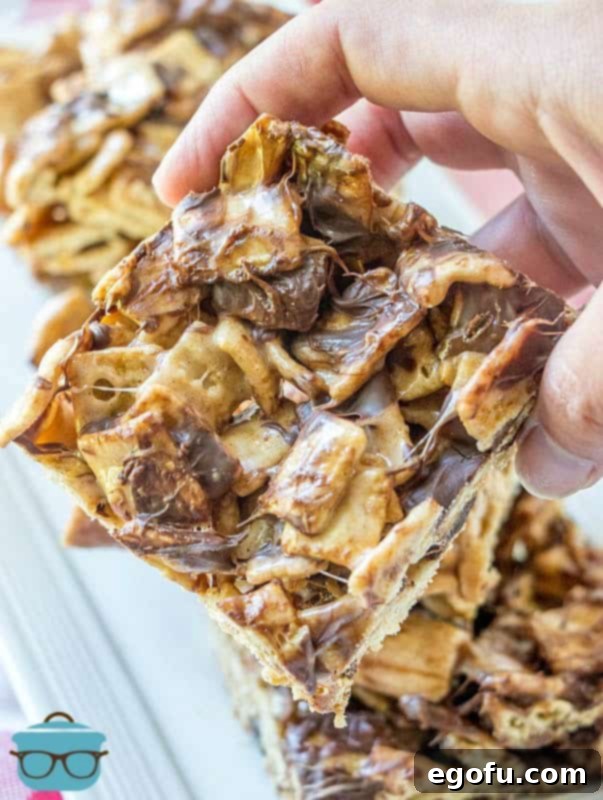
- Cool and Slice: Allow the mixture to cool completely at room temperature before slicing. This can take anywhere from 1 to 2 hours, or you can speed up the process by placing the pan in the refrigerator for about 30-45 minutes. Once fully cooled and set, use a sharp, nonstick knife to slice the bars into your desired serving sizes.
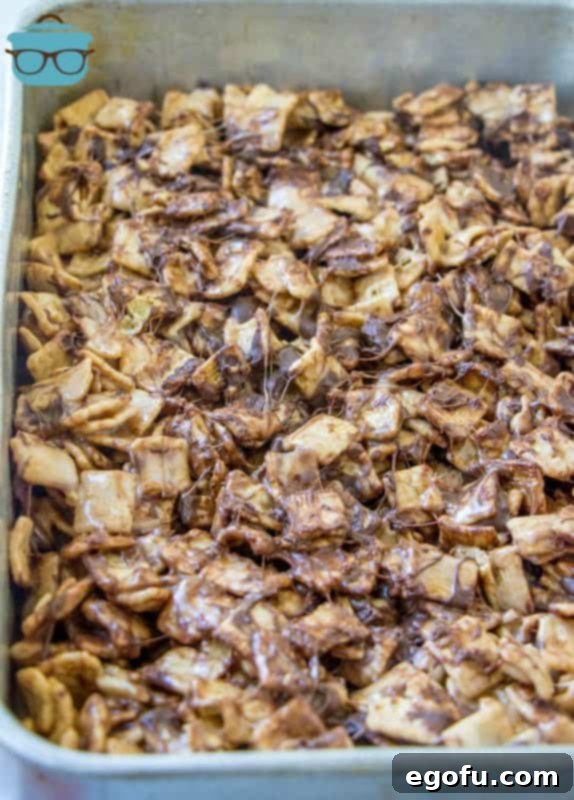
For those of us who simply can’t resist, these treats are absolutely delicious when still slightly warm and gooey – just like a fresh s’more right off the fire! Don’t hesitate to sneak a bite or two before they fully set.
Tips for Perfection and Creative Variations
To ensure your No-Bake Gooey S’mores Treats turn out perfectly every time, keep a few expert tips in mind. Firstly, never overheat your marshmallows; gentle, consistent stirring over medium-low heat is crucial for that signature gooey texture. Secondly, avoid over-compressing the mixture into the pan, as this can make your bars hard instead of chewy. A light, even press is all that’s needed. For easy cleanup, try coating your spatula or hands with a little butter or nonstick spray when pressing the mixture.
Looking to put your own spin on these delightful treats? The possibilities are endless! Consider adding a sprinkle of sea salt over the top before cooling to enhance the chocolate flavor. Swirl in a tablespoon or two of peanut butter with the melted marshmallows for a rich, nutty twist. You could also mix in chopped nuts like pecans or almonds for extra crunch, or even mini M&M’s for a pop of color and chocolatey goodness. A drizzle of melted white chocolate or caramel over the cooled bars would also add an elegant touch and another layer of flavor. Don’t be afraid to experiment with different types of chocolate, such as butterscotch chips or white chocolate chips, to create unique flavor combinations. These bars are wonderfully adaptable, making them a fantastic base for all your creative dessert ideas!
Storage and Enjoyment
These No-Bake Gooey S’mores Treats are best enjoyed within 2-3 days of making them to preserve their optimal texture and freshness. Store them in an airtight container at room temperature. If they last that long, of course! Keeping them in the refrigerator can sometimes make them a little too firm, so room temperature is generally preferred for maximum gooeyness. If you do refrigerate them, allow them to come to room temperature for about 15-20 minutes before serving to soften them up again. They make fantastic lunchbox treats, after-school snacks, or a delightful finish to any meal. Their grab-and-go nature also makes them perfect for picnics, road trips, or any occasion where you need a quick, satisfying sweet.
CRAVING MORE RECIPES?
- S’mores Cookie Cups
- Graham Cracker Toffee
- Graham Cracker Goodies
- Muddy Buddy Chex Mix
- Chex Mix Marshmallow Treats
- Graham Cracker Cake
- S’mores Cupcakes
No-Bake S’mores Treats
Print
Pin
Rate
5 minutes
10 minutes
15 minutes
12
Brandie Skibinski
Ingredients
- 6 Tablespoons butter
- 10 ounce bag mini marshmallows
- 12 ounce box Cinnamon Toast Crunch
- 1 cup semi-sweet chocolate chips
Instructions
- Spray a 9×13-inch baking dish with nonstick cooking spray. This helps in easier removal of the bars later.
- In a large pot over medium heat, gently melt the butter with the mini marshmallows. Be careful not to let them burn.
- Stir frequently until the mixture is smooth and fully combined. Remove the pot from the heat once melted.
- Stir in the Cinnamon Toast Crunch cereal. Continue stirring until the cereal is completely coated with the marshmallow mixture. This usually takes a few minutes.
- Now, you can stir in the chocolate chips. If you add them immediately, they will melt into the mixture. For more intact chocolate chips, transfer the mixture to another bowl to cool slightly for a few minutes before stirring them in.
- Pour the mixture into the prepared baking dish and spread it out evenly using a lightly greased spatula or damp hands.
- Allow the mixture to cool completely at room temperature (or refrigerate for faster setting) and then slice into squares or bars.
Video
Notes
- Golden Grahams cereal can be successfully substituted for Cinnamon Toast Crunch if you prefer a more traditional graham cracker flavor.
- For easier cleanup, use a cooking spray on your spatula or hands when pressing the mixture into the pan.
- Do not over-compress the mixture into the pan, as this can make the bars dense and hard.
Dessert
American
Nutrition
Calories:
320
kcal
|
Carbohydrates:
50
g
|
Protein:
3
g
|
Fat:
12
g
|
Sodium:
254
mg
|
Fiber:
2
g
|
Sugar:
29
g
Nutritional Disclaimer
“The Country Cook” is not a dietician or nutritionist, and any nutritional information shared is an estimate. If calorie count and other nutritional values are important to you, we recommend running the ingredients through whichever online nutritional calculator you prefer. Calories and other nutritional values can vary quite a bit depending on which brands were used.
Did you make this recipe?
Share it on Instagram @thecountrycook and mention us #thecountrycook!
Originally published: September 2013
Updated & republished: June 2019
