Red Velvet Cake Balls: Your Ultimate Guide to Easy & Irresistible Delights
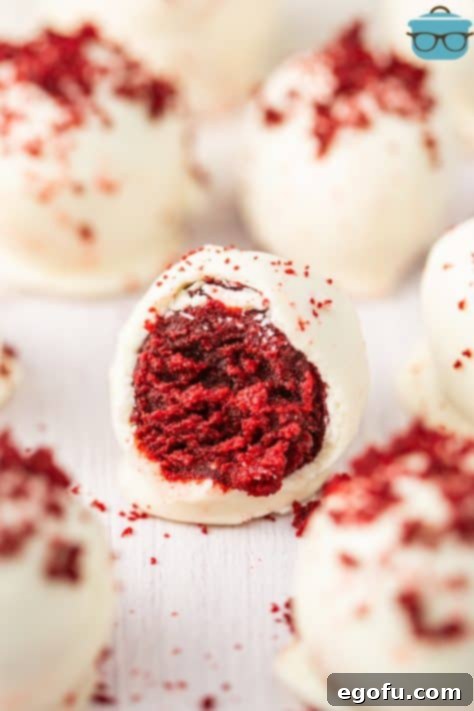
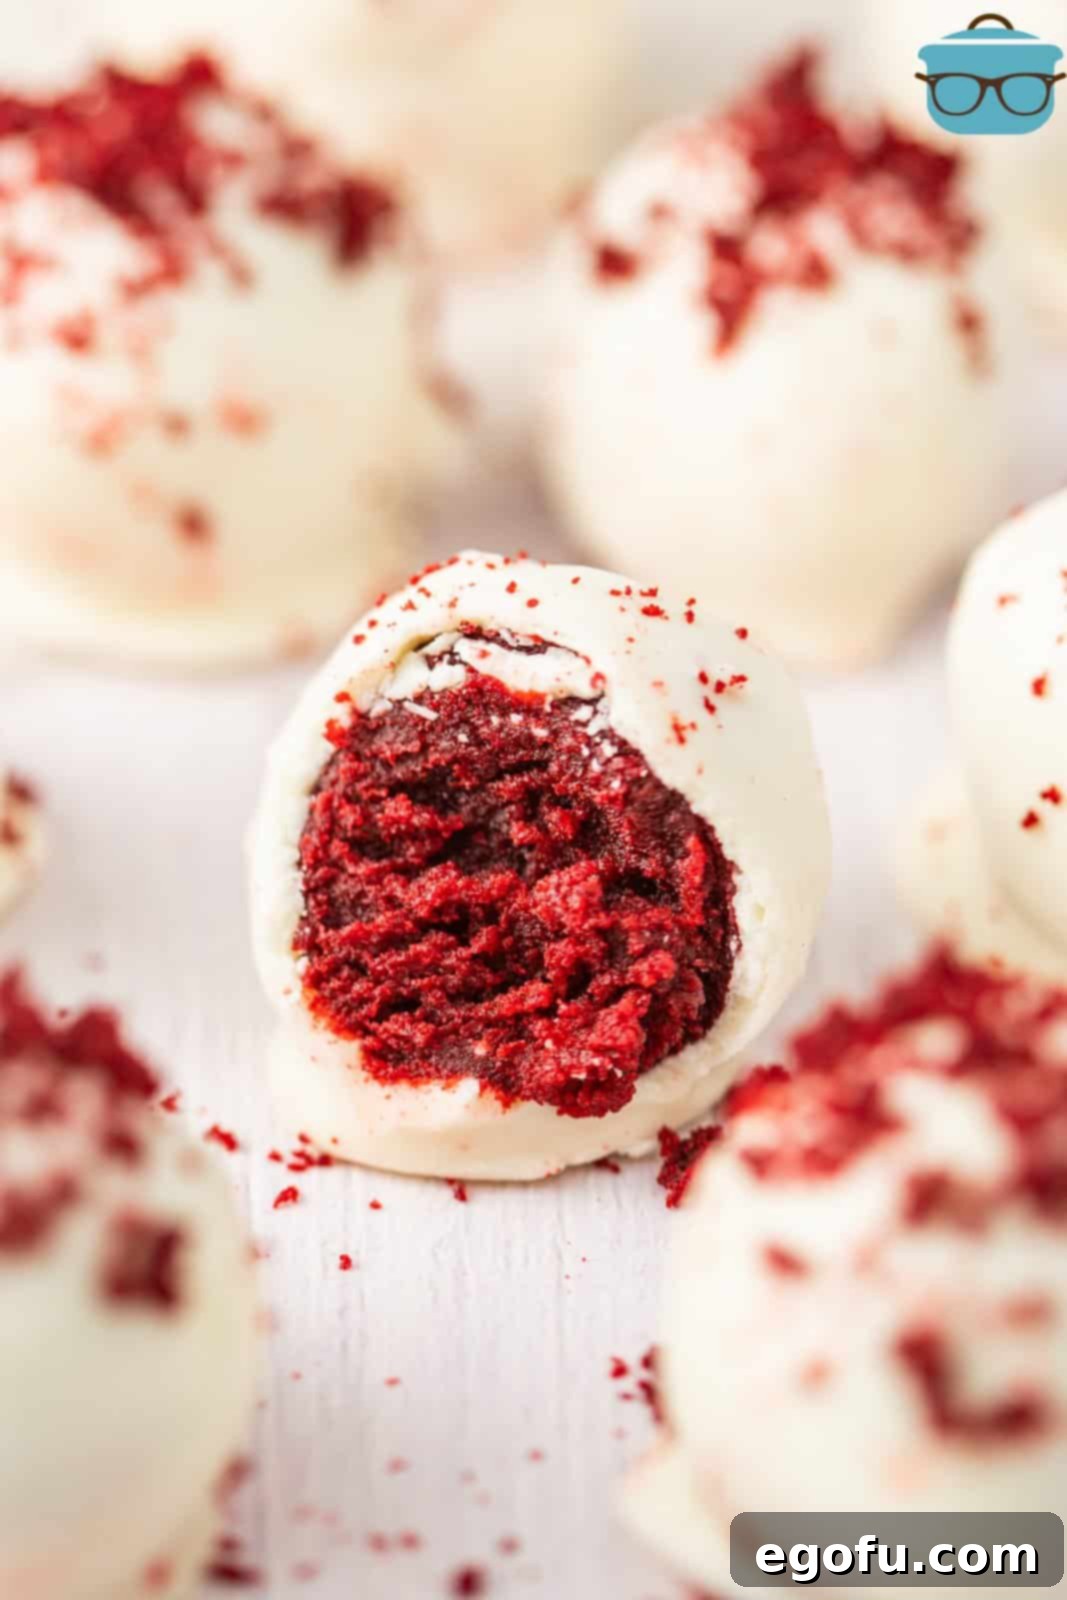
Prepare to fall in love with these delightful Red Velvet Cake Balls! Combining the rich, velvety flavor of classic red velvet cake with the tangy sweetness of cream cheese frosting, these bite-sized treats are incredibly easy to make and guaranteed to be an instant favorite. Perfect for any occasion, they’re a fantastic way to enjoy a sophisticated dessert with minimal effort.
Crafting Festive Cake Balls for Every Occasion
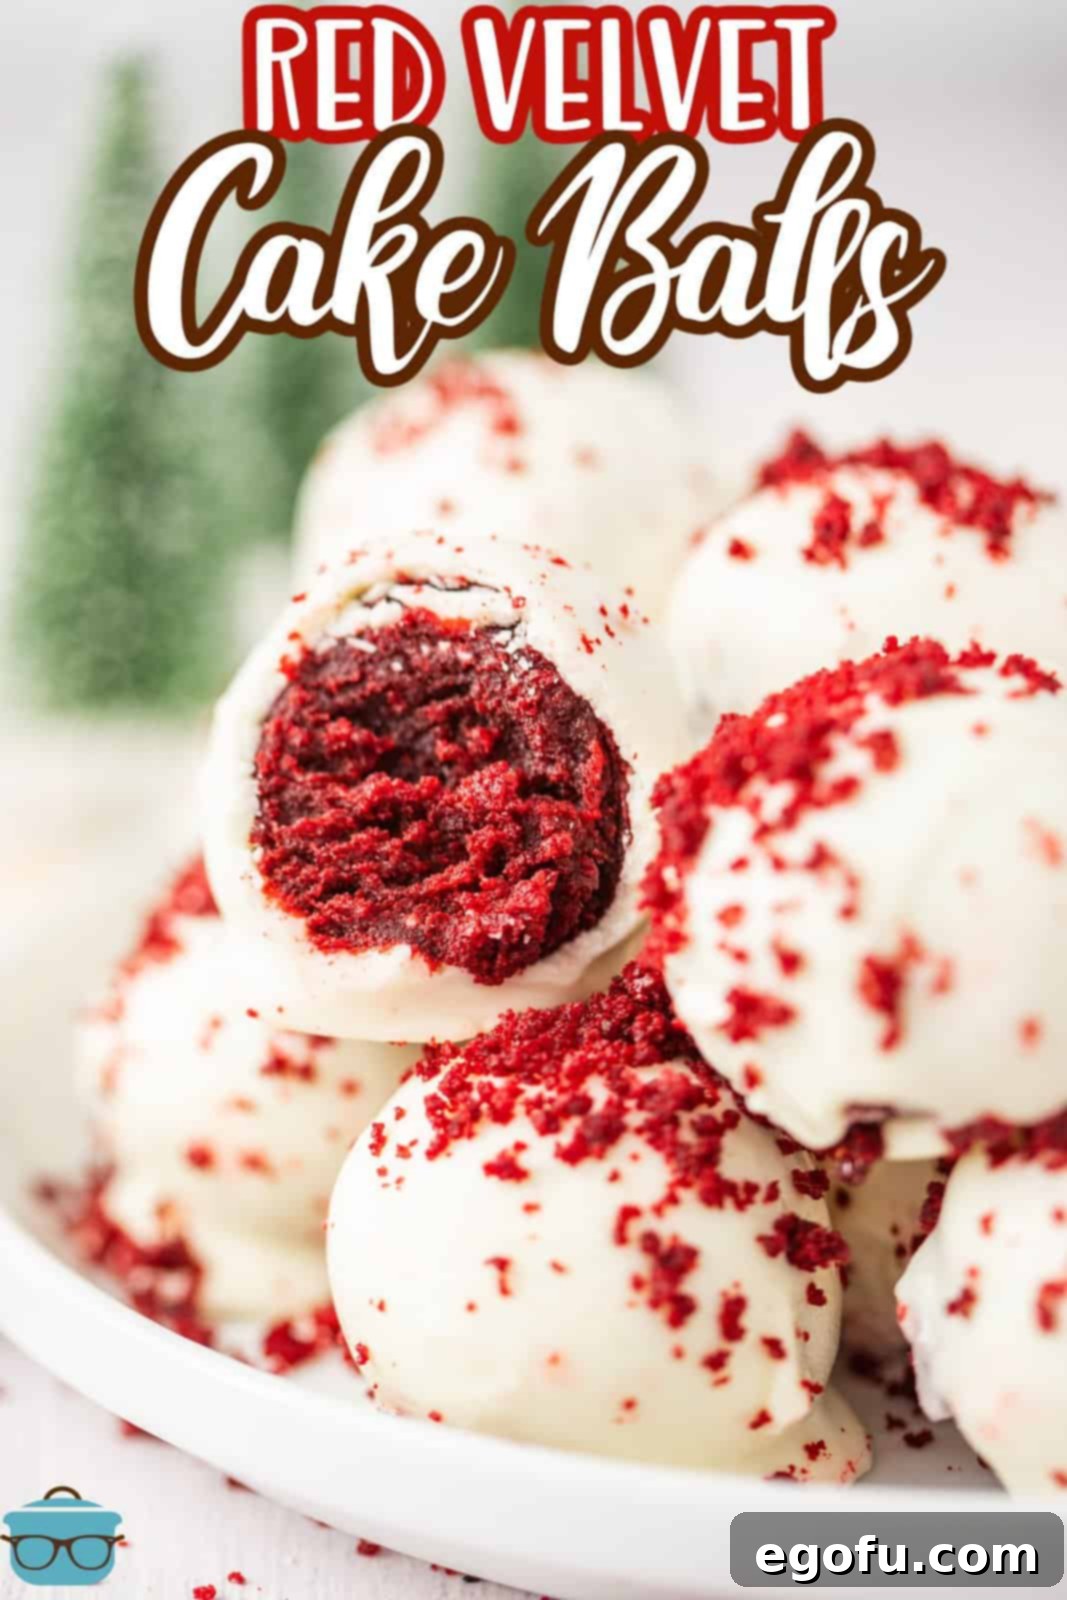
If you’ve ever thought making elegant, show-stopping desserts was complicated, think again. Cake balls are a revelation, offering all the joy of baking with remarkable simplicity. Our Red Velvet Cake Balls recipe is designed to be accessible for bakers of all skill levels, delivering a visually stunning and utterly delicious treat every time. With their vibrant red hue and smooth vanilla coating, these confections aren’t just a dessert; they’re a centerpiece. Arrange them beautifully on a platter for a sophisticated touch at parties, or incorporate them into your holiday dessert display for a truly festive flair. All it takes is a simple box of red velvet cake mix, a tub of cream cheese frosting, and a few other pantry staples to create these perfect, melt-in-your-mouth morsels. They are an excellent make-ahead option, allowing you to focus on enjoying your event while guests rave about your baking prowess.
Frequently Asked Questions About Red Velvet Cake Balls
Melting your vanilla candy coating in two separate batches is a crucial tip for achieving perfectly coated cake balls. The primary reason is that candy coating, especially white vanilla melts, hardens quite rapidly once removed from heat. Working with a smaller quantity at a time ensures that you have ample opportunity to dip each cake ball smoothly and evenly before the coating begins to set. If you try to melt all of it at once, the latter half of your cake balls might end up with a thicker, lumpier coating, or you might struggle to dip them at all. This approach prevents frustration and ensures a professional-looking finish. For larger batches or if you want to maintain a consistently warm coating, consider using a double boiler setup or a small slow cooker on a very low “warm” setting.
The key to perfectly intact cake balls lies in proper chilling. Step 7 in our recipe, which involves refrigerating the rolled cake balls, is absolutely critical. Chilling helps the cake and frosting mixture firm up significantly, making them stable enough to withstand the warmth of the melted coating and the motion of dipping. Without adequate chilling, your cake balls will be too soft and prone to crumbling or detaching from your dipping fork. Aim for at least 30-60 minutes in the refrigerator, or even 15-20 minutes in the freezer, to ensure they are firm throughout. Additionally, make sure your cake ball mixture isn’t too wet initially; it should be firm enough to hold its shape when rolled.
While store-bought cream cheese frosting offers a convenient shortcut, you absolutely do not have to use it! Our recipe card includes directions for making a delicious homemade cream cheese frosting from scratch. Choosing homemade frosting allows for greater control over the sweetness and consistency, which can be particularly beneficial for achieving the perfect cake ball texture. Homemade frosting often boasts a fresher, richer flavor that can elevate your cake balls even further. If opting for homemade, just ensure it’s thick enough to bind the cake crumbs effectively without making the mixture overly sticky.
These Red Velvet Cake Balls are best enjoyed within 3 days when stored properly. To maintain their freshness, texture, and flavor, always keep them in an airtight container in the refrigerator. The cream cheese frosting in the mixture necessitates refrigeration to prevent spoilage. While they can last a few days, their irresistible taste often means they disappear much faster than that! For optimal taste and texture, allow them to come to room temperature for about 15-20 minutes before serving.
Absolutely! Cake balls are excellent candidates for freezing, making them a perfect make-ahead dessert. To freeze them effectively, we highly recommend flash freezing. Arrange the uncoated or coated cake balls in a single layer on a parchment-lined baking sheet and place them in the freezer for about 1-2 hours, or until completely solid. Once frozen, transfer them to a freezer-safe airtight container or a heavy-duty freezer bag, separating layers with parchment paper to prevent sticking. They will keep well for up to 3 months. When you’re ready to enjoy them, simply thaw them in the refrigerator overnight or at room temperature for a few hours. This method ensures they retain their shape and delicious texture.
Essential Ingredients for Red Velvet Cake Balls
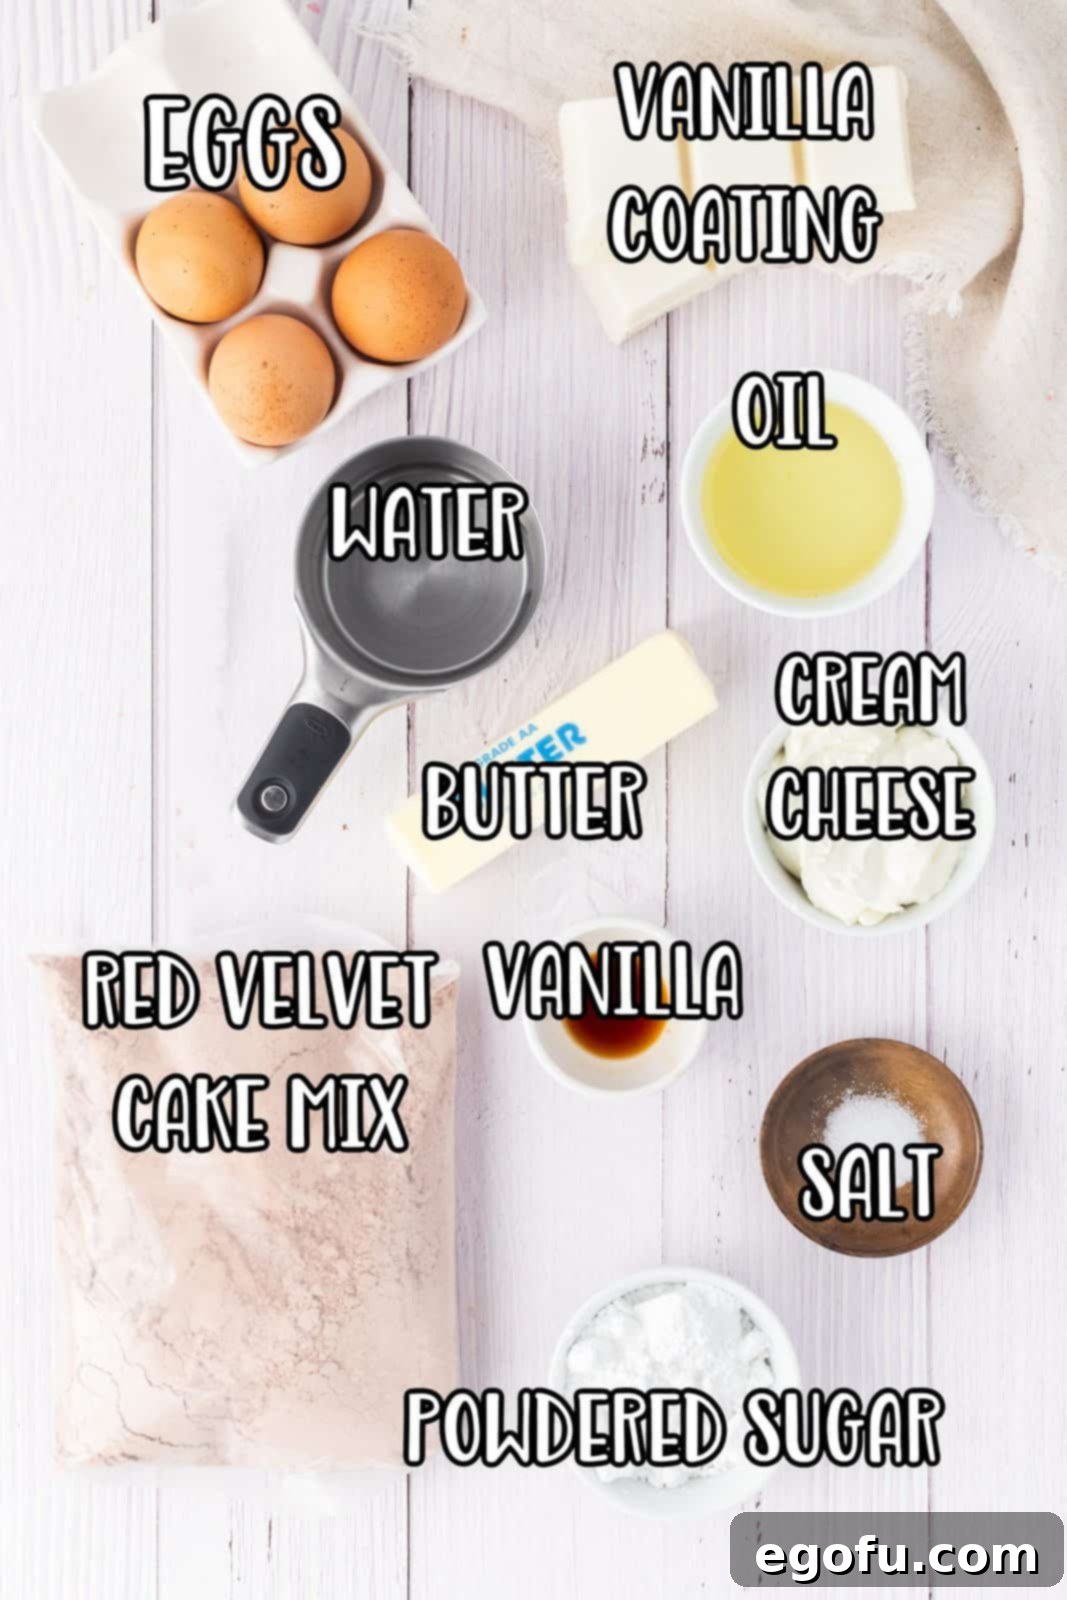
Creating these delightful Red Velvet Cake Balls requires a few simple ingredients, most of which you likely already have on hand or can easily find at any grocery store. The beauty of this recipe lies in its simplicity and the ability to achieve a gourmet taste with minimal fuss. Here’s a detailed look at what you’ll need:
- Red Velvet Cake Mix: A high-quality boxed cake mix is your secret weapon for convenience and consistent results. While many brands work well, Duncan Hines is often a favorite for its rich flavor and moist crumb. Always check the box for any specific ingredient quantities it requires, as some brands vary slightly.
- Eggs, Oil, and Water: These are the standard liquid ingredients typically required to prepare your boxed cake mix. They contribute to the cake’s structure, moisture, and overall texture. Follow the proportions listed on the back of your specific cake mix box for the best outcome.
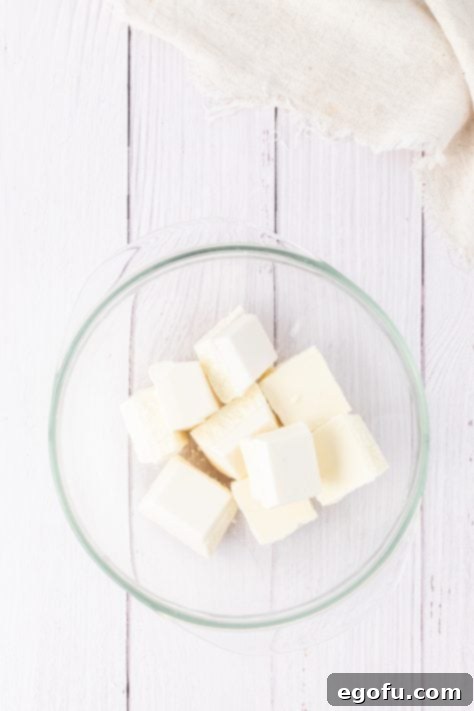
- Store-Bought Cream Cheese Frosting: This ingredient adds the signature tangy creaminess that perfectly complements red velvet. A standard 16-ounce tub is usually sufficient. If you’re not a fan of cream cheese, a good quality vanilla frosting can be substituted for a sweeter profile. As noted in the instructions, you might not need the entire tub, depending on the current size of your cake mix.
- Vanilla Candy Coating: Also commonly known as almond bark or vanilla-flavored confectionery coating, this is what gives your cake balls their smooth, shiny exterior. It melts easily and sets quickly, providing a firm shell. White chocolate chips or melting wafers can also be used, but candy coating is designed specifically for easy melting and dipping without needing tempering.
Step-by-Step Guide: How to Make Red Velvet Cake Balls
Creating these delightful Red Velvet Cake Balls is a fun and straightforward process. Follow these detailed steps to ensure perfectly formed, delicious treats every time. From baking the cake to the final decorative flourish, we’ll guide you through each stage to make your baking experience a success.
Step 1: Prepare and Bake the Red Velvet Cake
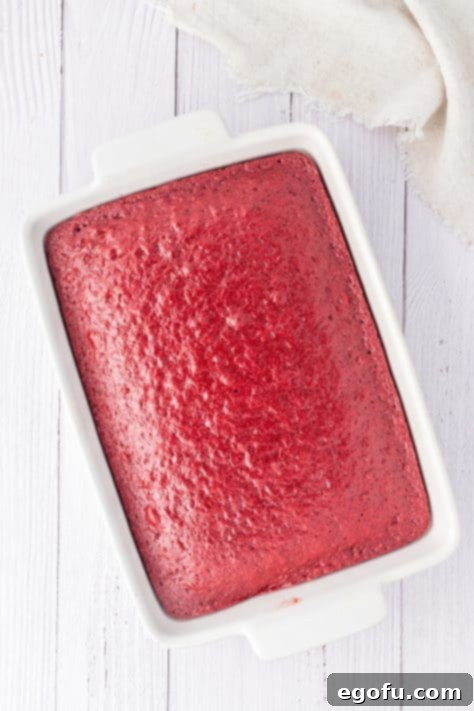
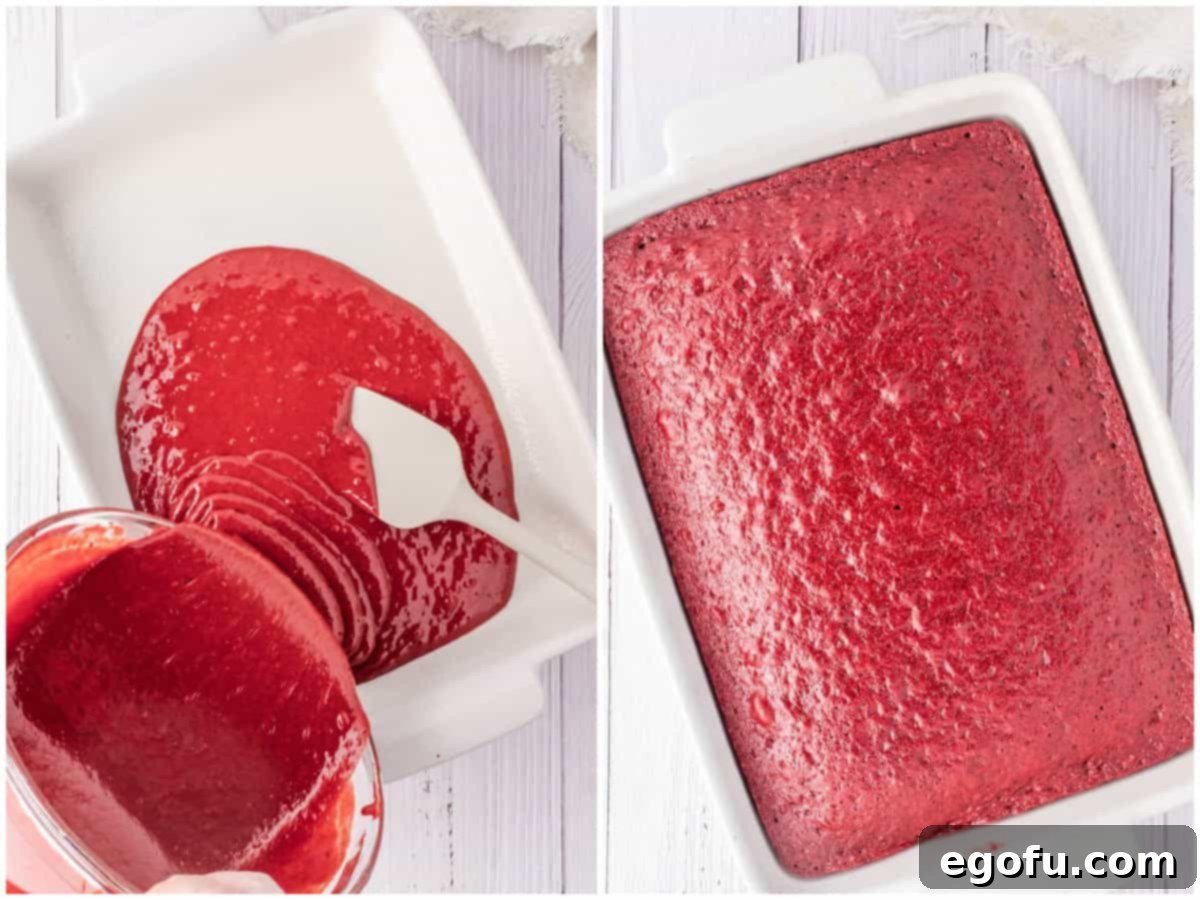
Begin by preheating your oven to 350°F (175°C). Lightly spray a 9×13-inch baking dish with a nonstick cooking spray to prevent sticking and ensure easy cake removal. Prepare the red velvet cake mix according to the package directions, typically involving eggs, oil, and water. Mix until just combined, being careful not to overmix, which can result in a tough cake. Pour the batter evenly into your prepared baking dish. Bake for the time specified on the cake mix box, or until a wooden skewer inserted into the center comes out clean. Once baked, remove the cake from the oven and set it aside to cool completely in the pan. Rushing this step can lead to a crumbly mixture later on.
Step 2: Crumble the Cooled Cake and Incorporate Frosting
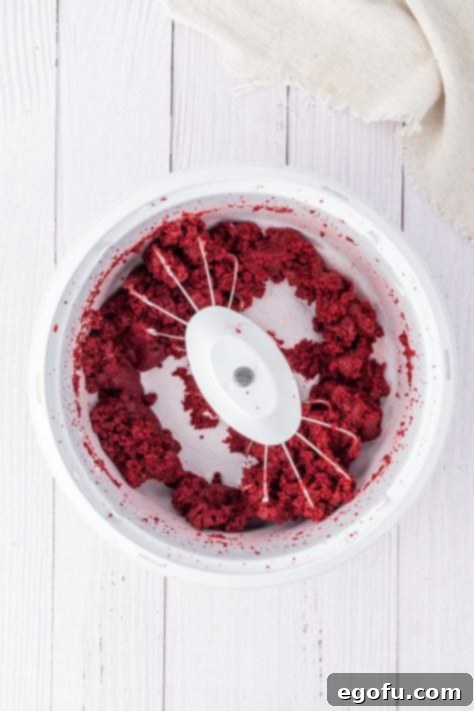
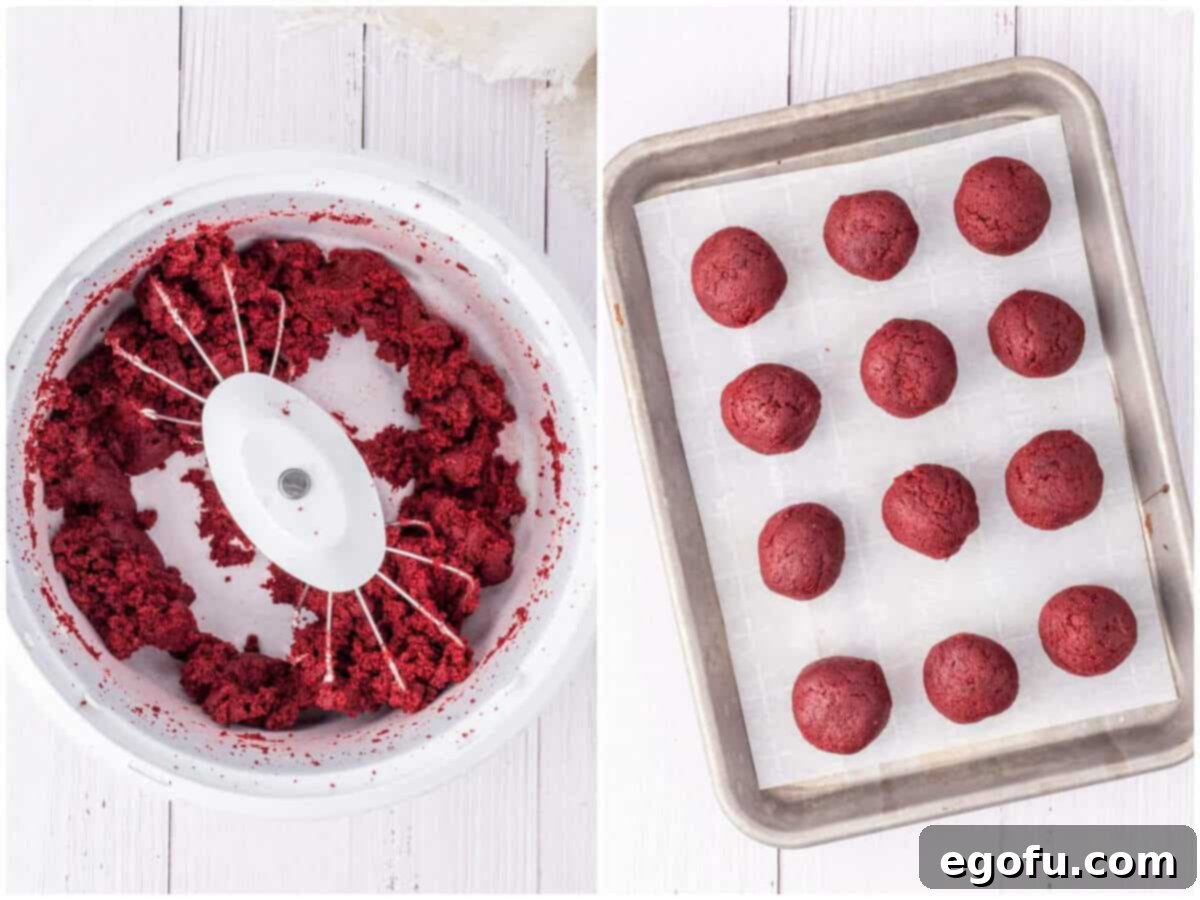
Once the cake has fully cooled – this is important for the right consistency – gently crumble it by hand into a large mixing bowl. You want fine, even crumbs, but it’s okay to have a few slightly larger pieces for texture. As a delightful garnish, set aside a couple of tablespoons of these crumbles for sprinkling on top of your finished cake balls. Now, add most of your cream cheese frosting to the cake crumbles. Modern cake mixes are often smaller than they once were, so using an entire tub of frosting might make the mixture too wet. Start with most of it and mix by hand or with an electric mixer on low speed. The goal is a soft, pliable mixture that can be easily rolled into a ball without being overly crumbly or excessively sticky. Add a little more frosting, one spoonful at a time, only if necessary, until the perfect consistency is achieved.
Step 3: Roll and Chill the Cake Balls
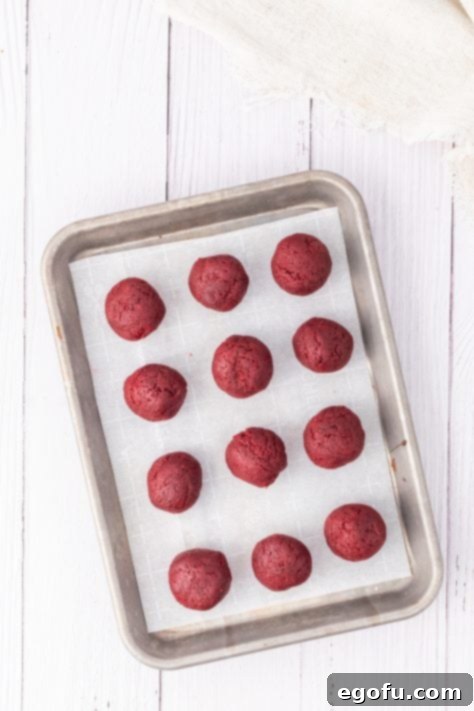
Using a cookie scoop or a melon baller is highly recommended for scooping uniform amounts of the cake mixture. This ensures all your cake balls are roughly the same size, which helps with even coating and a professional appearance. Roll each scooped portion gently between your palms until it forms a smooth, round ball. Place the rolled cake balls onto a cookie sheet lined with parchment paper or aluminum foil. Once all the balls are formed, refrigerate them for at least 30-60 minutes. This chilling step is absolutely vital as it firms up the cake balls, preventing them from falling apart when dipped in the warm candy coating.
Step 4: Melt the Vanilla Candy Coating
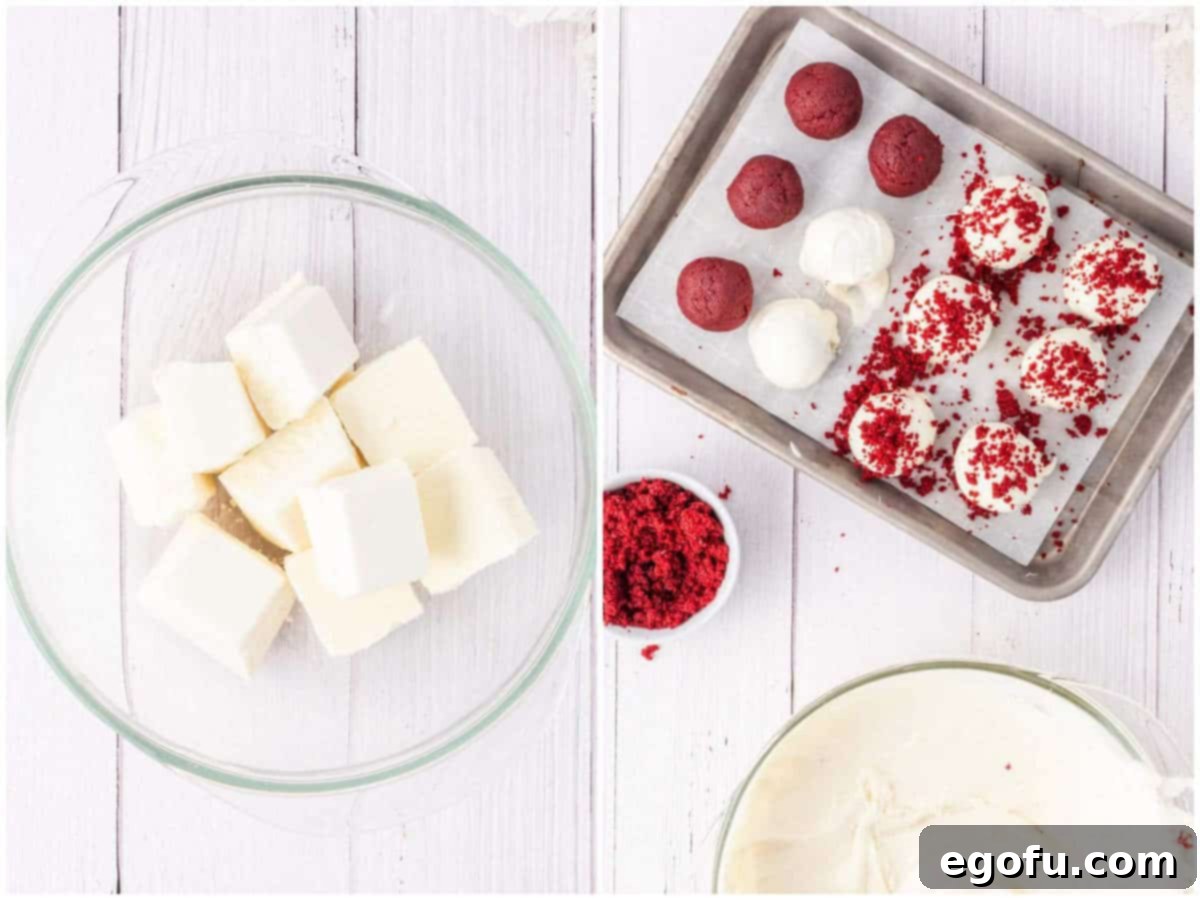
In a microwave-safe bowl, place half of the vanilla candy coating. Microwave in short bursts of 30 seconds, stirring thoroughly after each interval. This process typically takes only 1 to 2 minutes maximum. Stirring frequently prevents overheating and ensures a smooth, lump-free consistency. If you prefer, you can also melt the coating using a double boiler, which provides gentler, more even heat, reducing the risk of scorching.
Step 5: Dip and Decorate the Cake Balls
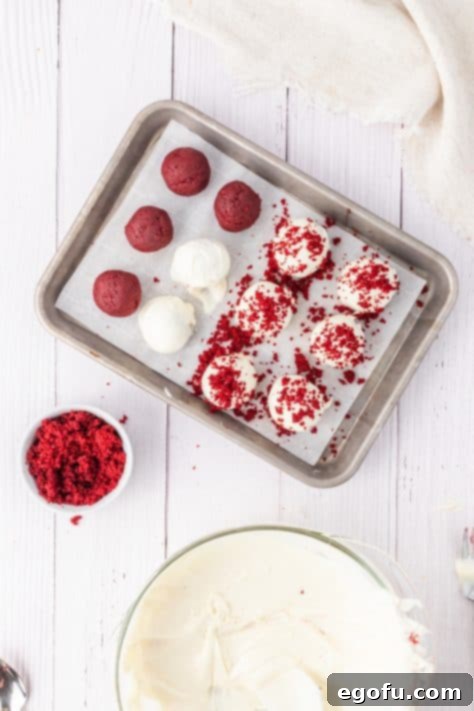
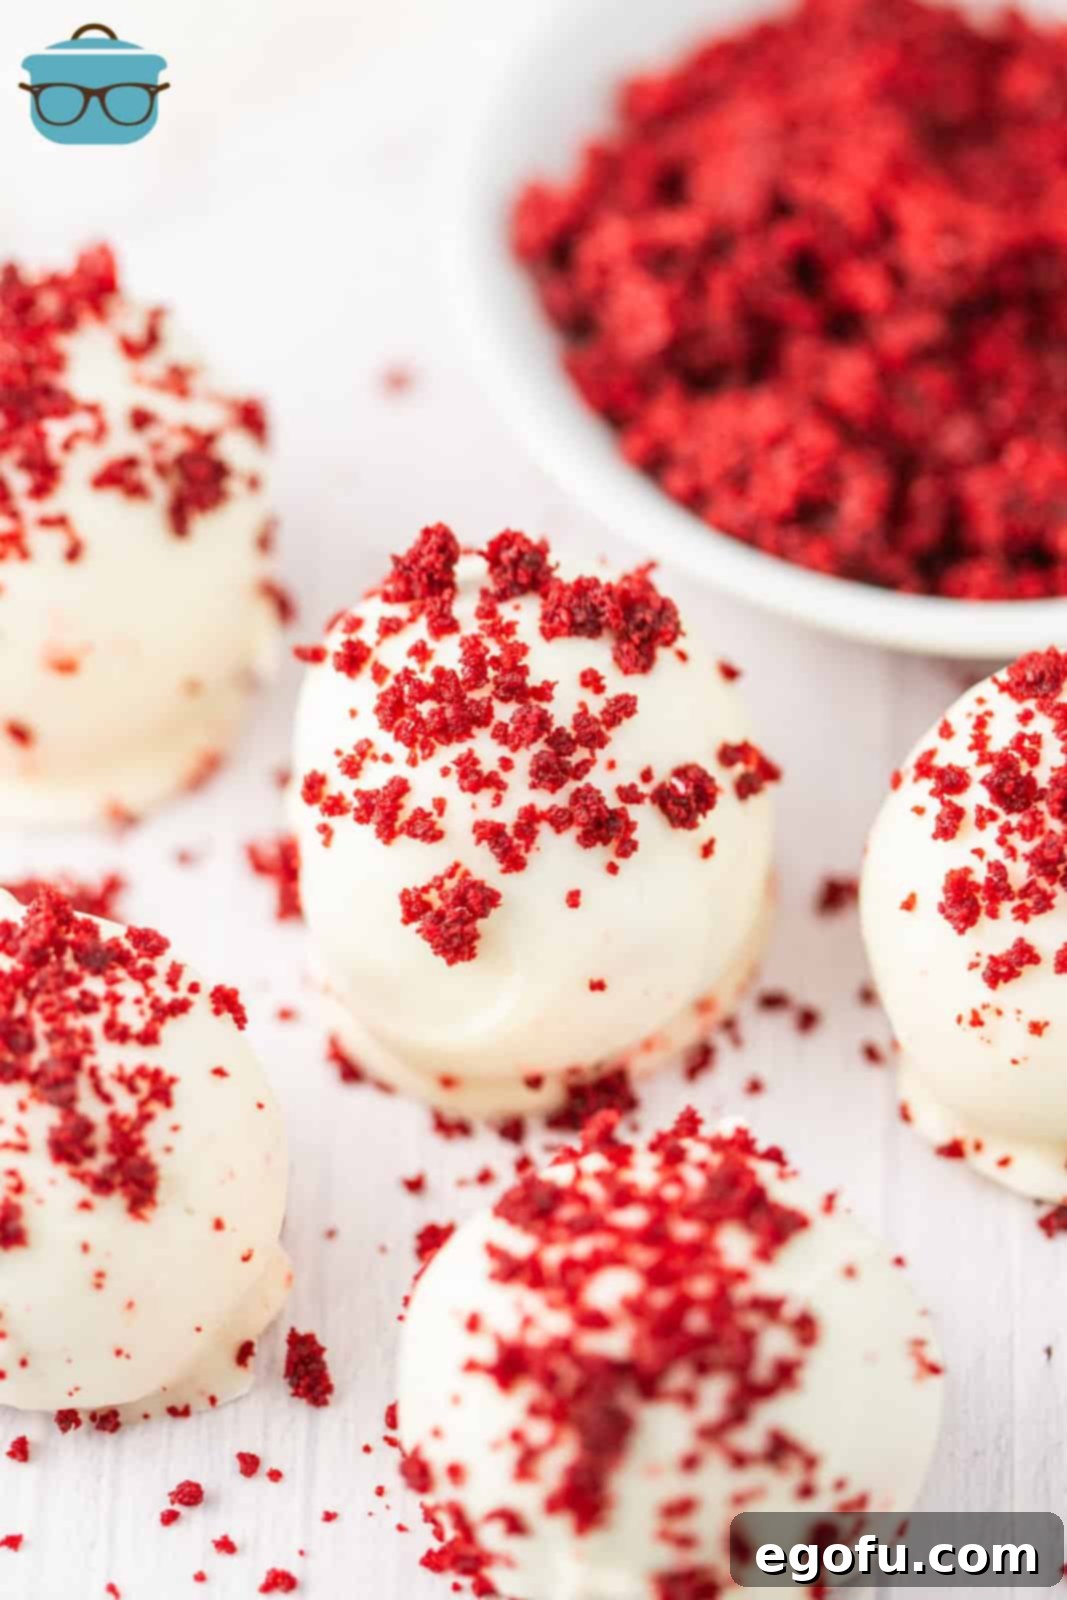
Once your coating is perfectly melted and smooth, it’s time to dip! Using a fork or specialized dipping tools, carefully submerge one cake ball at a time into the melted coating. Lift the cake ball out, gently tapping the fork against the rim of the bowl to allow any excess coating to drip off. This creates a thin, even layer. Immediately place the coated cake ball back onto the parchment-lined cookie sheet. While the coating is still wet and soft, generously sprinkle the tops with the reserved red velvet cake crumbs for an attractive finish and an extra touch of flavor. Repeat this process with the first half of your vanilla coating. When it starts to thicken, melt the second half of your candy coating and continue dipping and decorating the remaining cake balls until all are completed.
Step 6: Set and Serve
After all the cake balls have been dipped and decorated, return the cookie sheet to the refrigerator for approximately 15 minutes. This final chill allows the candy coating to fully set and harden, giving your cake balls their firm, glossy exterior. For the absolute best taste and texture, serve your Red Velvet Cake Balls at room temperature. The flavors of the cake and cream cheese frosting truly shine when not overly cold. Enjoy these festive and delicious treats!
Craving More Delicious Recipes? Explore Our Collection!
If you’ve enjoyed making these Red Velvet Cake Balls, you’re in for a treat! The world of red velvet and bite-sized desserts is vast and wonderful. Explore more recipes that offer similar flavors, festive themes, or irresistible textures:
- Red Velvet Sandwich Cookies
- Red Velvet Bars
- Red Velvet Cheesecake Bundt Cake
- Red Velvet Poke Cake
- Red Velvet Cheesecake Cake
- Red Velvet Brownies
- Oreo Cookie Balls
- Circus Animal Cookie Balls
- Turkey Cake Balls
- Strawberry Cake Balls
- Peppermint Oreo Balls
- Homemade Green Velvet Cupcakes

Red Velvet Cake Balls
Print
Pin
Rate
15 minutes
6 minutes
2 hours
2 hours
21 minutes
20
servings
Brandie Skibinski
Ingredients
-
1
box
red velvet cake mix - ingredients needed to make cake: eggs, oil and water
-
1
tub
cream cheese frosting
(or make it homemade, see below) -
24
ounces
vanilla candy coating
(also called almond bark)
Optional homemade cream cheese frosting: (see notes below for directions)
-
4
Tablespoons
unsalted butter
room temperature -
4
ounces
(½ block) cream cheese
room temperature -
2
cups
powdered sugar
adjust for consistency -
¼
teaspoon
salt -
1
teaspoon
vanilla extract
Instructions
- Preheat oven to 350°F (175°C). Prepare a 9×13-inch baking dish by lightly spraying it with nonstick cooking spray to ensure the cake doesn’t stick.
- Prepare and bake the red velvet cake mix according to the detailed directions provided on its box. Once baked, set the cake aside in its pan and allow it to cool completely to room temperature. This step is crucial for achieving the right consistency for your cake balls.

- Once fully cooled, crumble the cake by hand into a large mixing bowl. It’s a good idea to reserve a couple of tablespoons of these crumbles for garnishing the cake balls later. Add most of the tub of cream cheese frosting to the cake crumbles. Note: Since cake mixes have reduced in size over the years, using the entire tub of frosting might make the mixture too moist. Start with most of it and mix by hand or with an electric mixer until the mixture is soft enough to roll into a ball without being crumbly. Add more frosting incrementally if the mixture is still too dry.

- Utilize a cookie scoop or a melon baller to portion out uniform amounts of the cake ball mixture. Then, roll each portion between your palms to achieve perfectly round, smooth balls.
- Arrange the rolled cake balls on a cookie sheet lined with parchment paper (or aluminum foil). Place the cookie sheet in the refrigerator to chill thoroughly while you prepare the vanilla candy coating. This chilling step is essential to prevent the cake balls from falling apart during dipping.

- Place half of the vanilla candy coating (or almond bark) into a microwave-safe bowl. Microwave in short 30-second bursts, stirring vigorously after each interval, until the coating is completely melted and smooth. This typically takes only 1 or 2 minutes, ensuring it’s not overheated.

- Once the coating is ready, use a fork or dipping tools to dip the chilled cake balls, one at a time. Fully submerge each ball, then gently tap the bottom of the fork against the lip of the bowl to remove any excess coating, ensuring a thin, even layer.
- Carefully place the dipped cake balls back onto the parchment-lined cookie sheet. While the coating is still wet and soft, immediately sprinkle the tops with the reserved red velvet cake crumbs for decoration. Repeat this entire process, melting the remaining vanilla coating when needed, until all cake balls are dipped and adorned.

- When all of the cake balls are dipped and sprinkled, return the tray to the refrigerator to allow the coating to fully set for about 15 minutes. For the best taste and texture, serve these delectable treats at room temperature.

Notes
- Please refer to the “Frequently Asked Questions” and “Essential Ingredients” sections above for other substitutions, tips, or answers to common inquiries regarding this recipe.
- To make your own homemade cream cheese frosting instead of using store-bought: Blend the softened unsalted butter and room temperature cream cheese together in a mixing bowl until smooth and creamy. Gradually add the powdered sugar, one cup at a time, mixing until fully incorporated. Stir in the salt and vanilla extract. Continue to add powdered sugar and mix until you achieve your desired consistency; it should be firm and thick enough to bind the cake crumbs effectively. Continue with the recipe as directed.
- If you prefer to make your own red velvet cake from scratch rather than using a boxed mix, that will work perfectly well with this recipe too. Just ensure your homemade cake is completely cooled and crumbled finely before mixing with the frosting.
Dessert
American
Nutrition
Calories:
380
kcal
|
Carbohydrates:
52
g
|
Protein:
2
g
|
Fat:
18
g
|
Sodium:
242
mg
|
Fiber:
1
g
|
Sugar:
45
g
Nutritional Disclaimer
“The Country Cook” is not a dietician or nutritionist, and any nutritional information shared is an estimate. If calorie count and other nutritional values are important to you, we recommend running the ingredients through whichever online nutritional calculator you prefer. Calories and other nutritional values can vary quite a bit depending on which brands were used.
Did you make this recipe?
Share it on Instagram @thecountrycook and mention us #thecountrycook!

