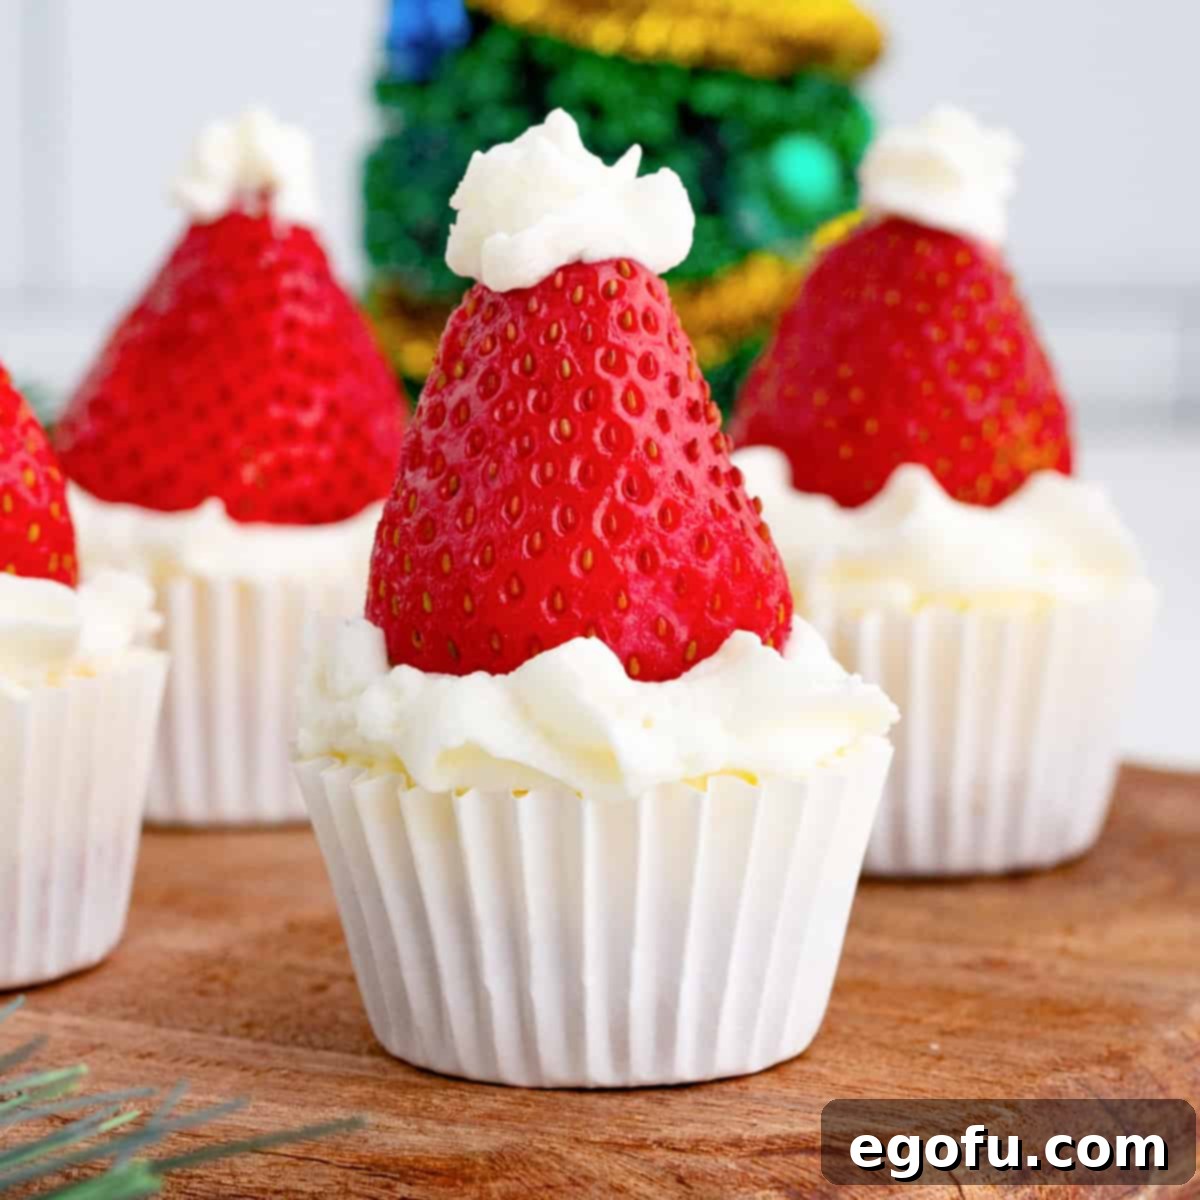
Festive Santa Hat Mini Cheesecakes: Your Perfect Holiday Dessert
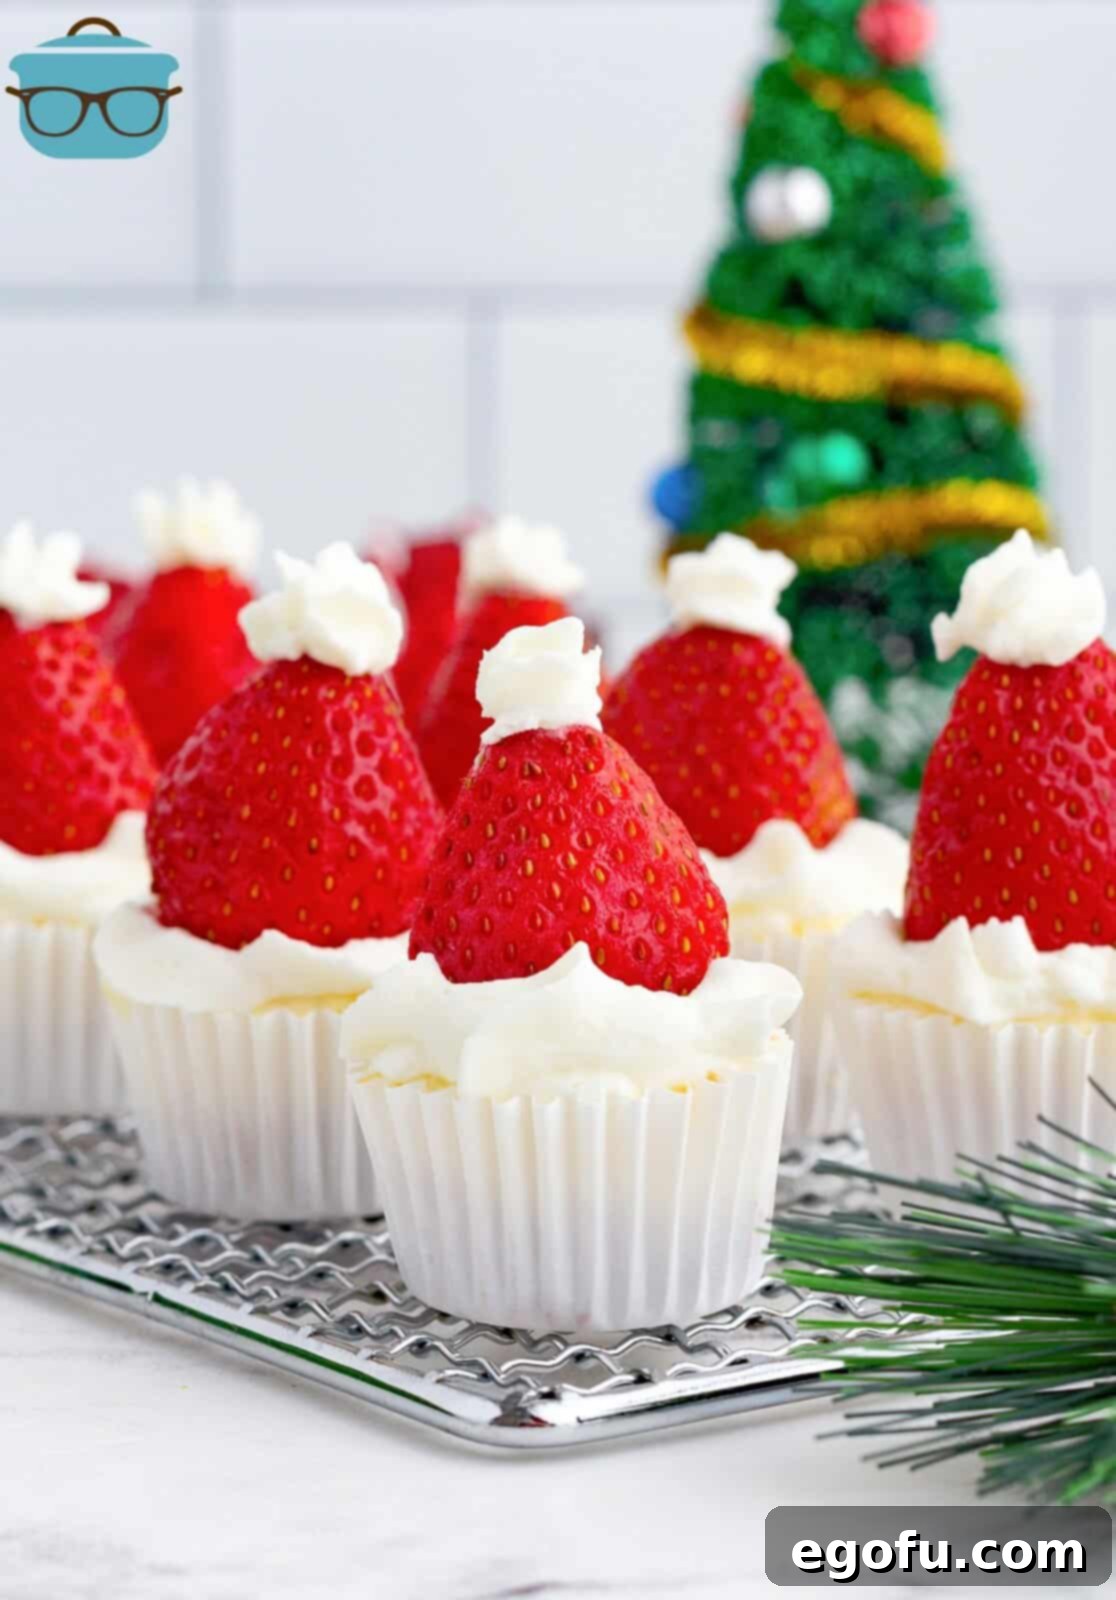
Embrace the joyful spirit of the holiday season with these enchanting Santa Hat Mini Cheesecakes! This recipe offers an incredibly easy, delightfully festive, and utterly delicious single-serving dessert that is guaranteed to be a highlight at all your holiday gatherings. Imagine creamy, tangy cheesecake topped with a swirl of fluffy whipped cream and a vibrant strawberry ‘hat’ – it’s a treat that captures the magic of Christmas in every bite. Simple to make yet visually stunning, these mini cheesecakes are perfect for both seasoned bakers and beginners looking to impress their guests with a charming, homemade dessert.
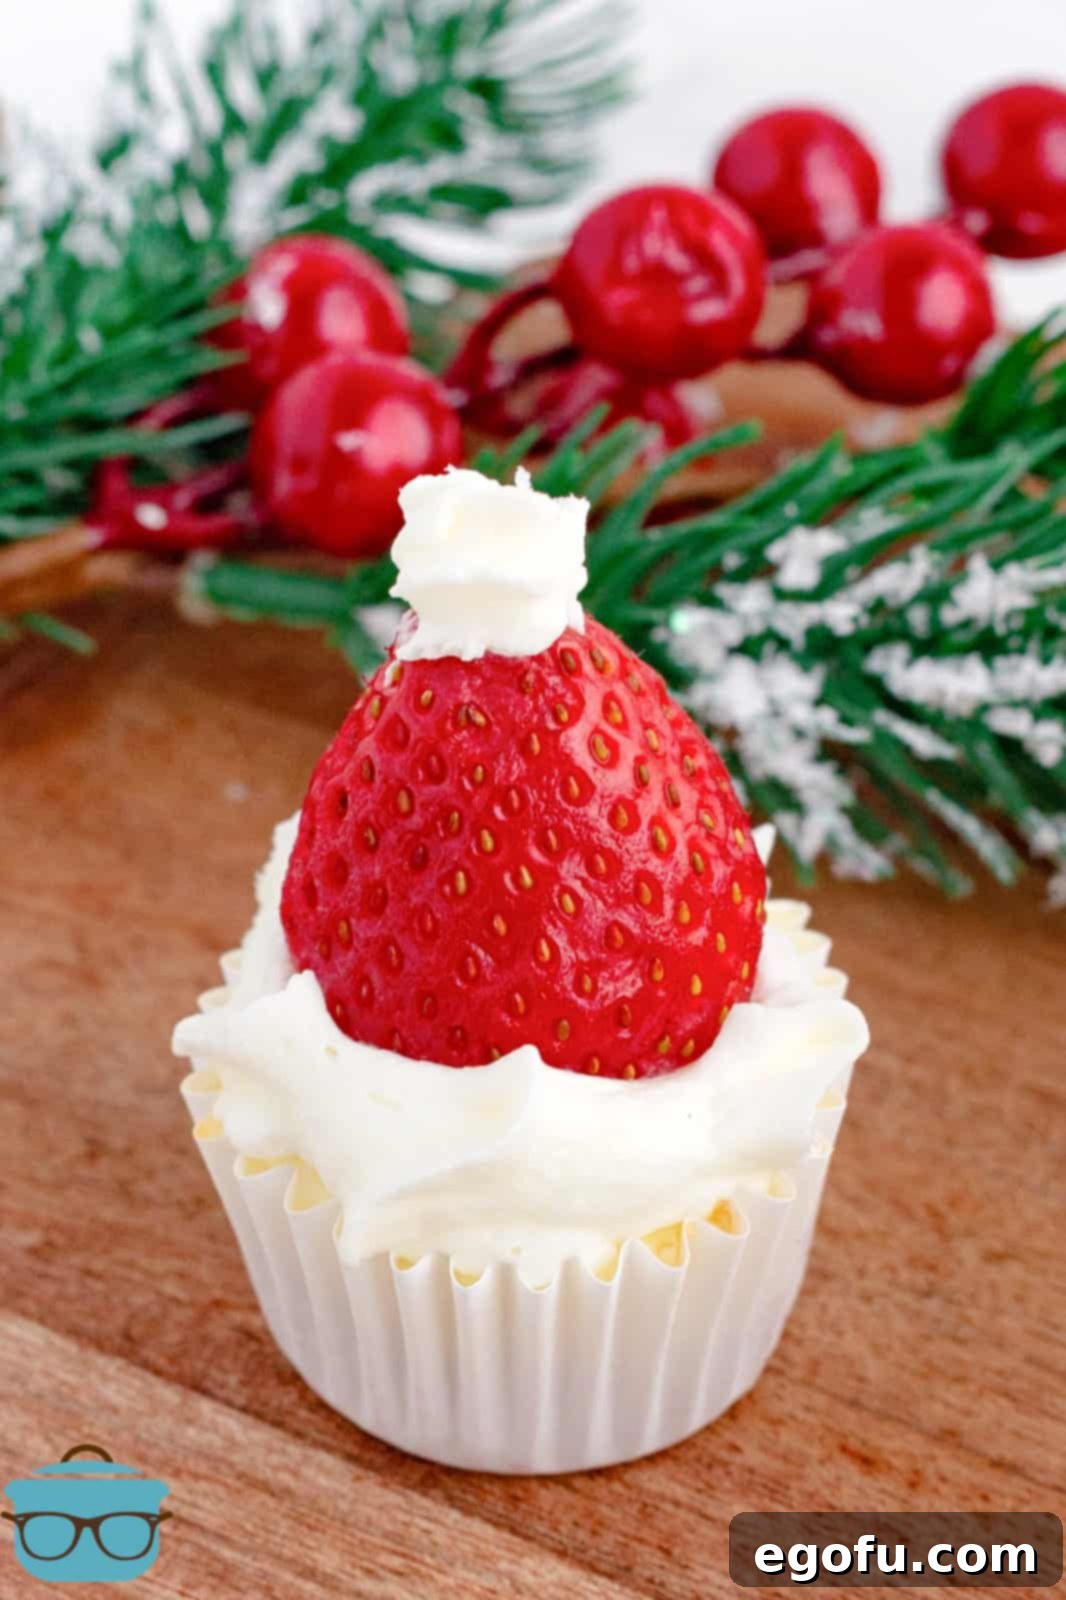
Why You’ll Adore These Santa Hat Mini Cheesecakes This Holiday Season
The holidays are a time for sharing joy, and what better way to do that than with a dessert that’s as delightful to look at as it is to eat? Our Santa Hat Mini Cheesecakes are more than just a sweet treat; they’re a celebration in miniature. Here’s why they’ll become a cherished part of your festive traditions:
- Effortlessly Elegant: Despite their sophisticated appearance, these cheesecakes are surprisingly simple to prepare. They require minimal fuss but deliver maximum impact, making them ideal for busy holiday schedules.
- Perfectly Portioned: Each cheesecake is a single serving, eliminating the need for slicing and ensuring a neat, individual treat for every guest. This also helps with portion control, letting everyone indulge just enough.
- Festive & Fun: The iconic red strawberry and white whipped cream transform each mini cheesecake into an adorable Santa hat, bringing a playful and festive touch to your dessert spread. Kids and adults alike will be charmed!
- Crowd-Pleasing Flavor: The classic combination of creamy cheesecake, crunchy graham cracker crust, sweet whipped cream, and fresh strawberries creates a harmonious blend of textures and flavors that appeals to almost everyone.
- Make-Ahead Marvel: These mini cheesecakes can be prepared in advance, freeing up your precious time on the day of your holiday gathering. Simply assemble the ‘hats’ just before serving for ultimate freshness and presentation.
Frequently Asked Questions for Perfect Mini Cheesecakes
To ensure your Santa Hat Mini Cheesecakes turn out perfectly every time, we’ve gathered answers to some common questions. Mastering these tips will help you create smooth, crack-free cheesecakes with ease.
Bringing your cream cheese to room temperature is crucial for achieving a smooth, lump-free cheesecake batter. Cold cream cheese is stiff and difficult to blend evenly, often resulting in small chunks of unmixed cheese in your final product. When cream cheese is softened, it incorporates smoothly with the sugar and other ingredients, creating a uniform, velvety batter that bakes beautifully.
Cracking in cheesecakes is often caused by over-beating the cream cheese mixture, which incorporates too much air into the batter. When baked, this trapped air expands and then collapses as the cheesecake cools, leading to cracks. To prevent this, mix your cream cheese mixture on a low speed, just until combined and smooth. Additionally, avoiding drastic temperature changes during baking and cooling can help; don’t open the oven door frequently, and allow the cheesecakes to cool gradually before refrigerating.
Absolutely not! While a graham cracker crust is a classic choice, you have delicious alternatives. Vanilla wafers make an excellent substitute; simply place one whole vanilla wafer at the bottom of each mini cupcake liner before adding your cheesecake filling. You could also experiment with crushed shortbread cookies or even chocolate wafers for a different flavor profile.
While homemade whipped cream offers a superior fresh taste and texture, it’s perfectly fine to use store-bought options for convenience. Cool Whip whipped topping or canned whipped cream like Reddi-Wip work wonderfully as quick alternatives. If using canned whipped cream, be sure to pipe it on just before serving, as it tends to deflate more quickly than homemade versions.
Leftover Santa Hat Mini Cheesecakes can be stored in an airtight container in the refrigerator for up to 5 days. For longer storage, these cheesecakes freeze exceptionally well. To freeze, bake the cheesecakes but do not decorate them. Once completely cooled, place the baked cheesecakes in a freezer-safe container, separated by parchment paper, and they will keep for up to 2 months. To defrost, transfer them to the refrigerator overnight until thawed, then decorate with whipped cream and strawberries and enjoy.
Essential Ingredients for Your Festive Treat
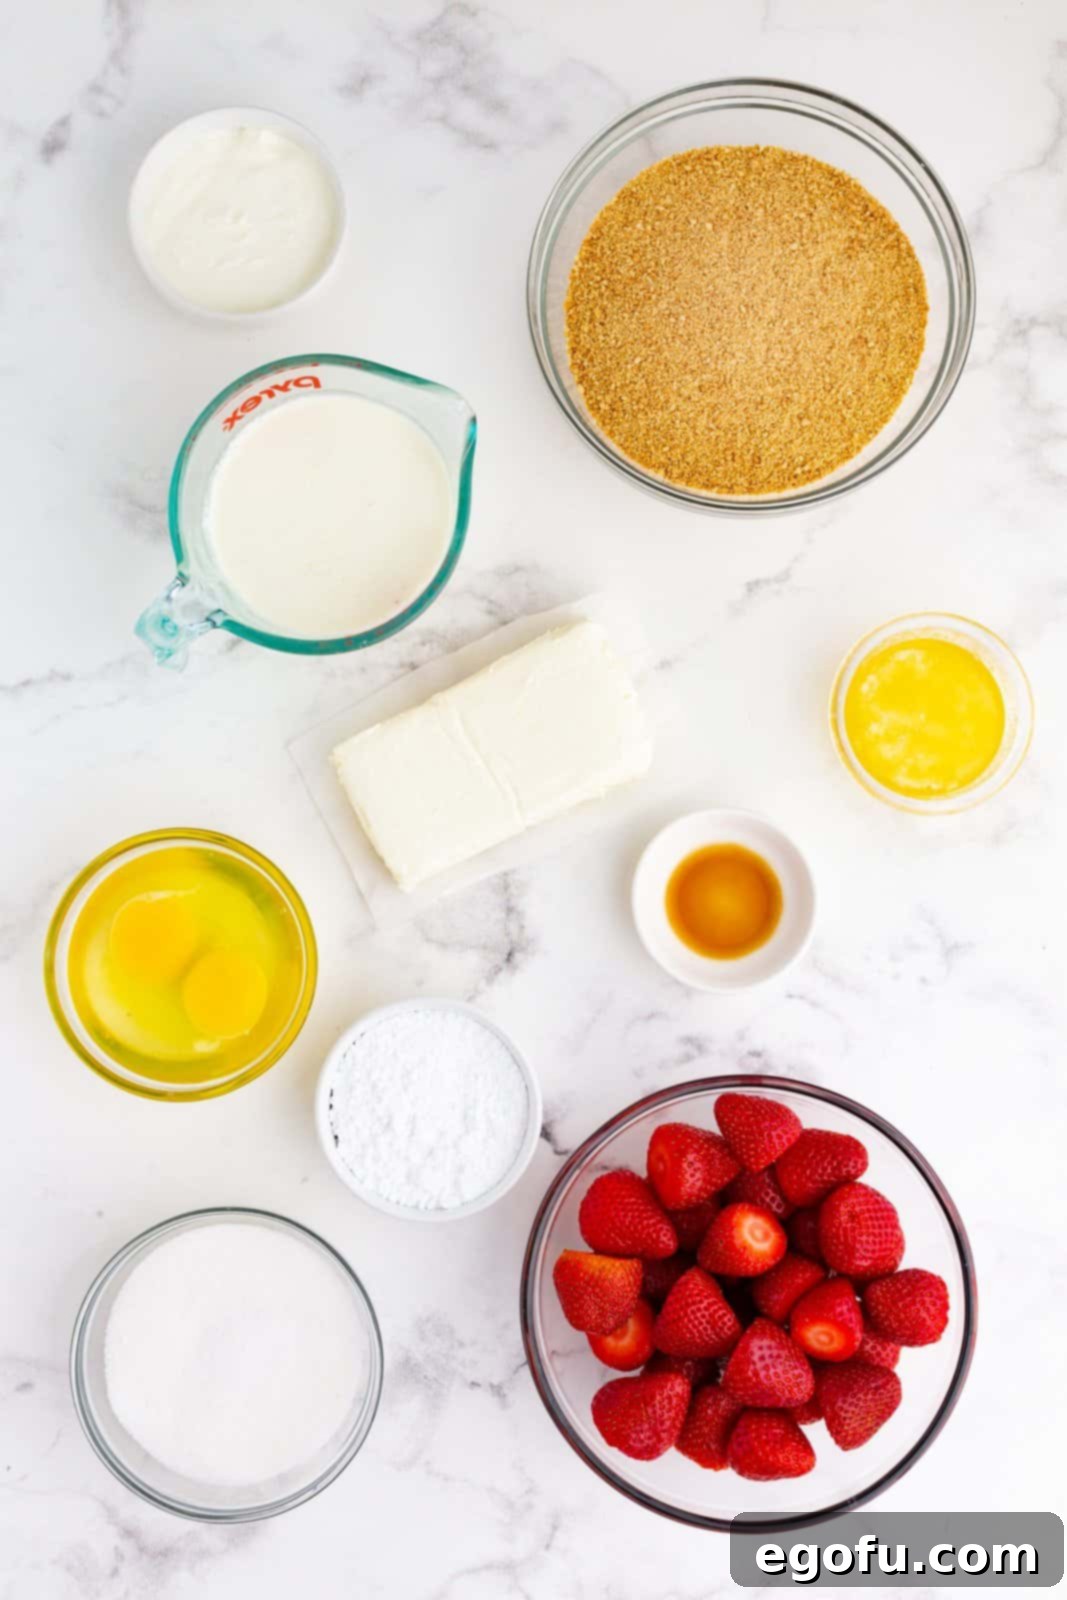
Crafting these adorable Santa Hat Mini Cheesecakes requires a selection of fresh, high-quality ingredients. Here’s what you’ll need to gather to bring this festive dessert to life:
For the Delicious Graham Cracker Crust:
- Graham cracker crumbs: The foundation of our mini cheesecakes, providing a subtly sweet and crunchy base. You can buy pre-crushed crumbs or crush whole graham crackers yourself.
- Salted butter: Melted butter binds the crumbs together to form a firm crust. If using unsalted butter, add a tiny pinch of salt to the crumbs for enhanced flavor.
For the Rich & Creamy Cheesecake Filling:
- Cream cheese: Full-fat cream cheese is essential for the characteristic rich and tangy flavor, as well as the smooth, dense texture of classic cheesecake. Ensure it’s softened to room temperature.
- Granulated sugar: Provides the perfect balance of sweetness to complement the tanginess of the cream cheese.
- Eggs: Act as a binder, giving the cheesecake its structure and helping it set. Use large eggs, also at room temperature for better incorporation.
- Sour cream: Adds a delightful tang and contributes to the cheesecake’s incredibly moist and silky texture.
- Vanilla extract: A touch of pure vanilla extract enhances all the flavors and adds a warm, aromatic note to the cheesecake filling.
For the Fluffy Whipped Cream Topping:
- Heavy whipping cream: Chilled heavy cream is whipped to create a light, airy, and rich topping that forms the white trim of Santa’s hat.
- Powdered sugar: Also known as confectioners’ sugar, it sweetens the whipped cream and helps stabilize it for piping.
The Iconic Santa Hat:
- Fresh strawberries: Whole, ripe strawberries are the star of the decoration, forming the vibrant red body of Santa’s hat. Choose firm, bright red berries for the best appearance.
Step-by-Step Guide: Crafting Your Santa Hat Mini Cheesecakes
Preparing the Flavorful Crust
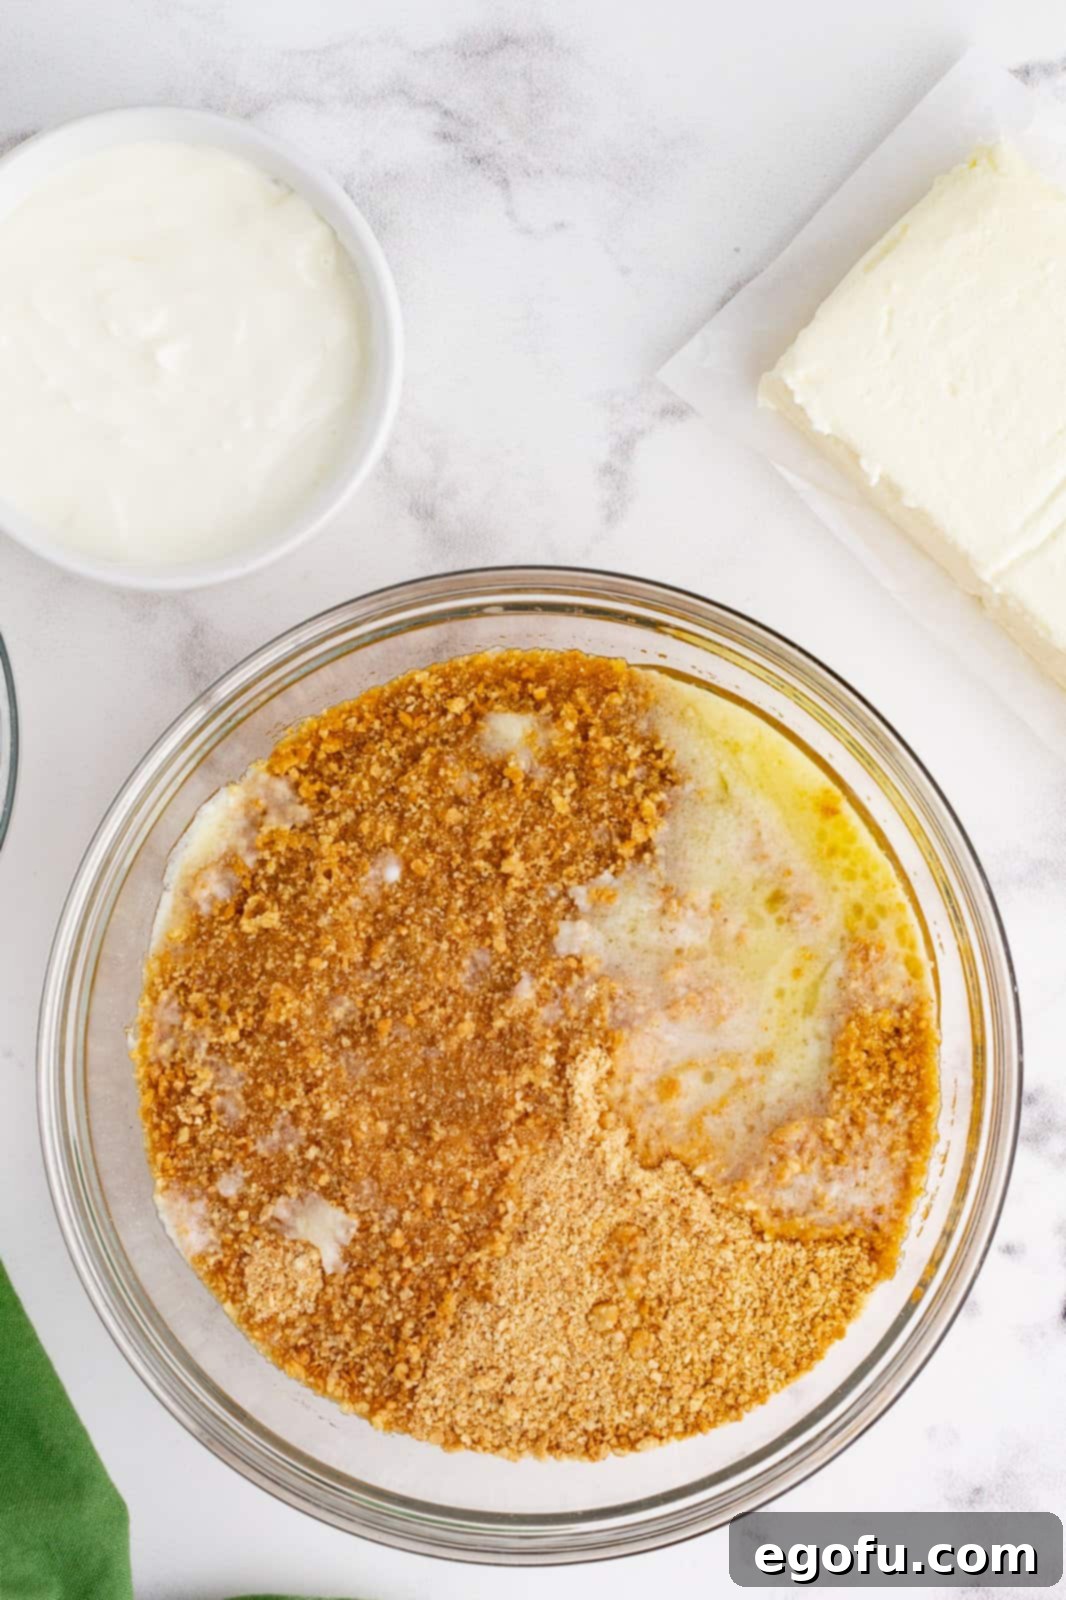
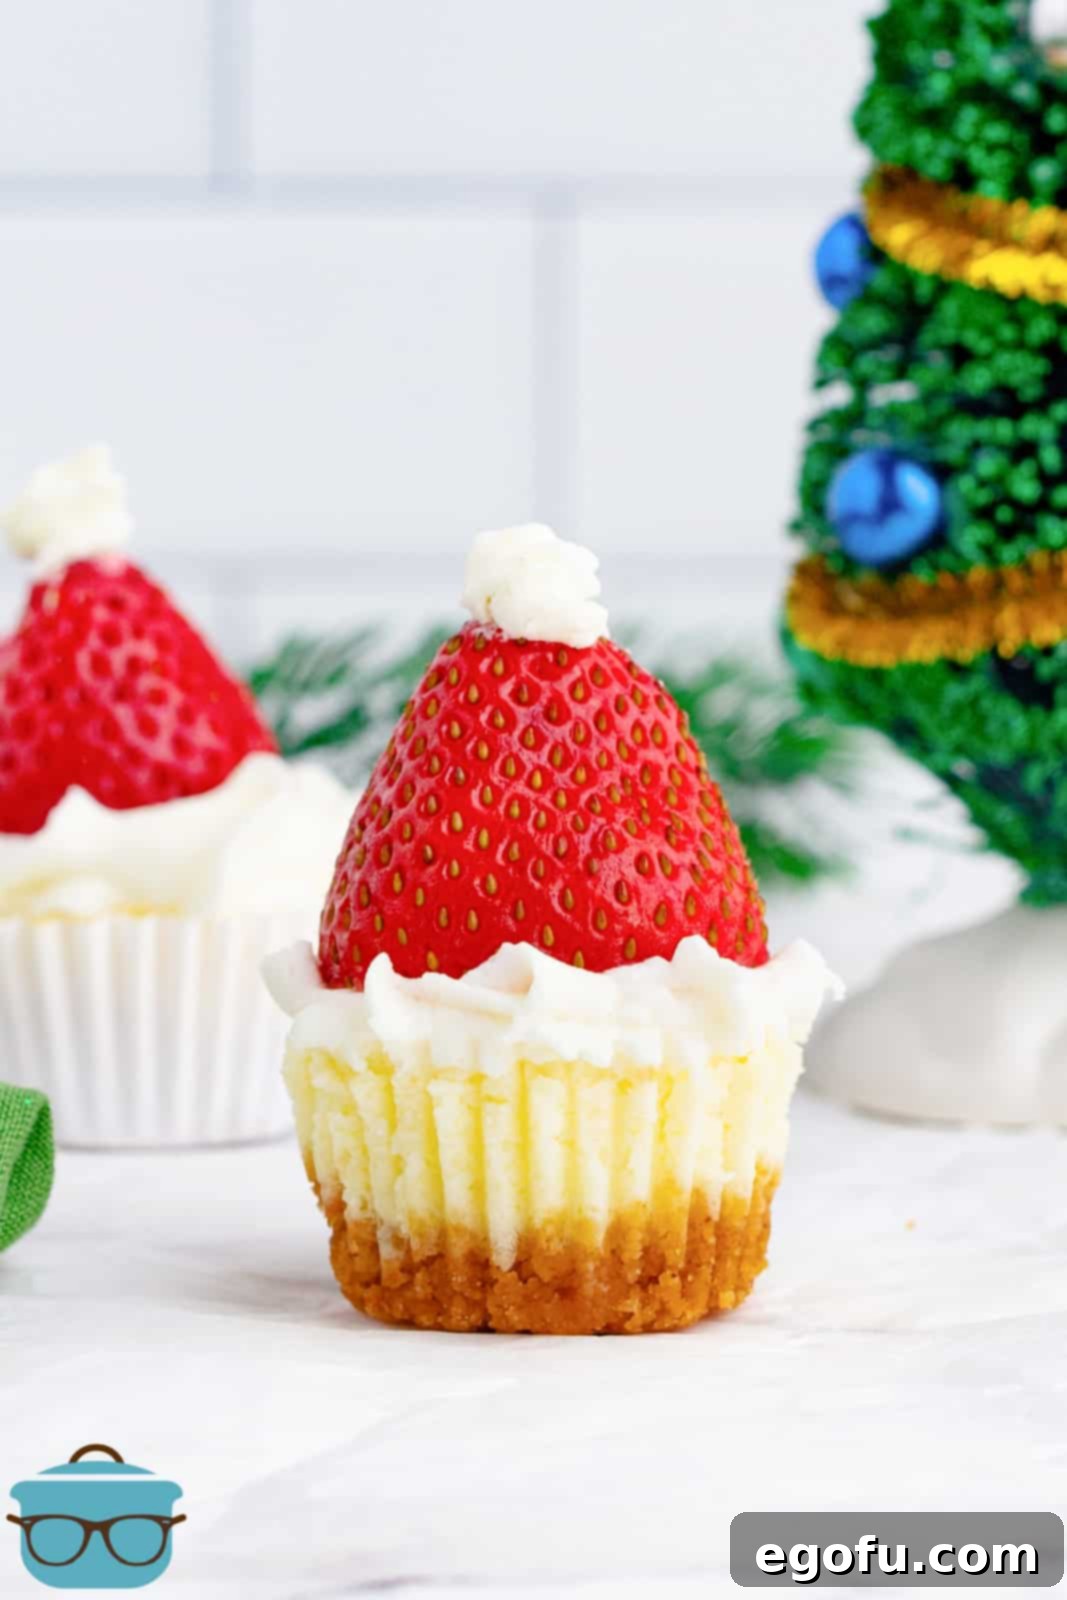
Begin by preheating your oven to 350°F (175°C). Line a mini muffin pan with mini cupcake liners, ensuring they fit snugly. In a medium mixing bowl, combine your graham cracker crumbs and melted salted butter. Stir thoroughly until the crumbs are fully moistened and resemble wet sand. This sticky consistency is crucial for a well-formed crust.
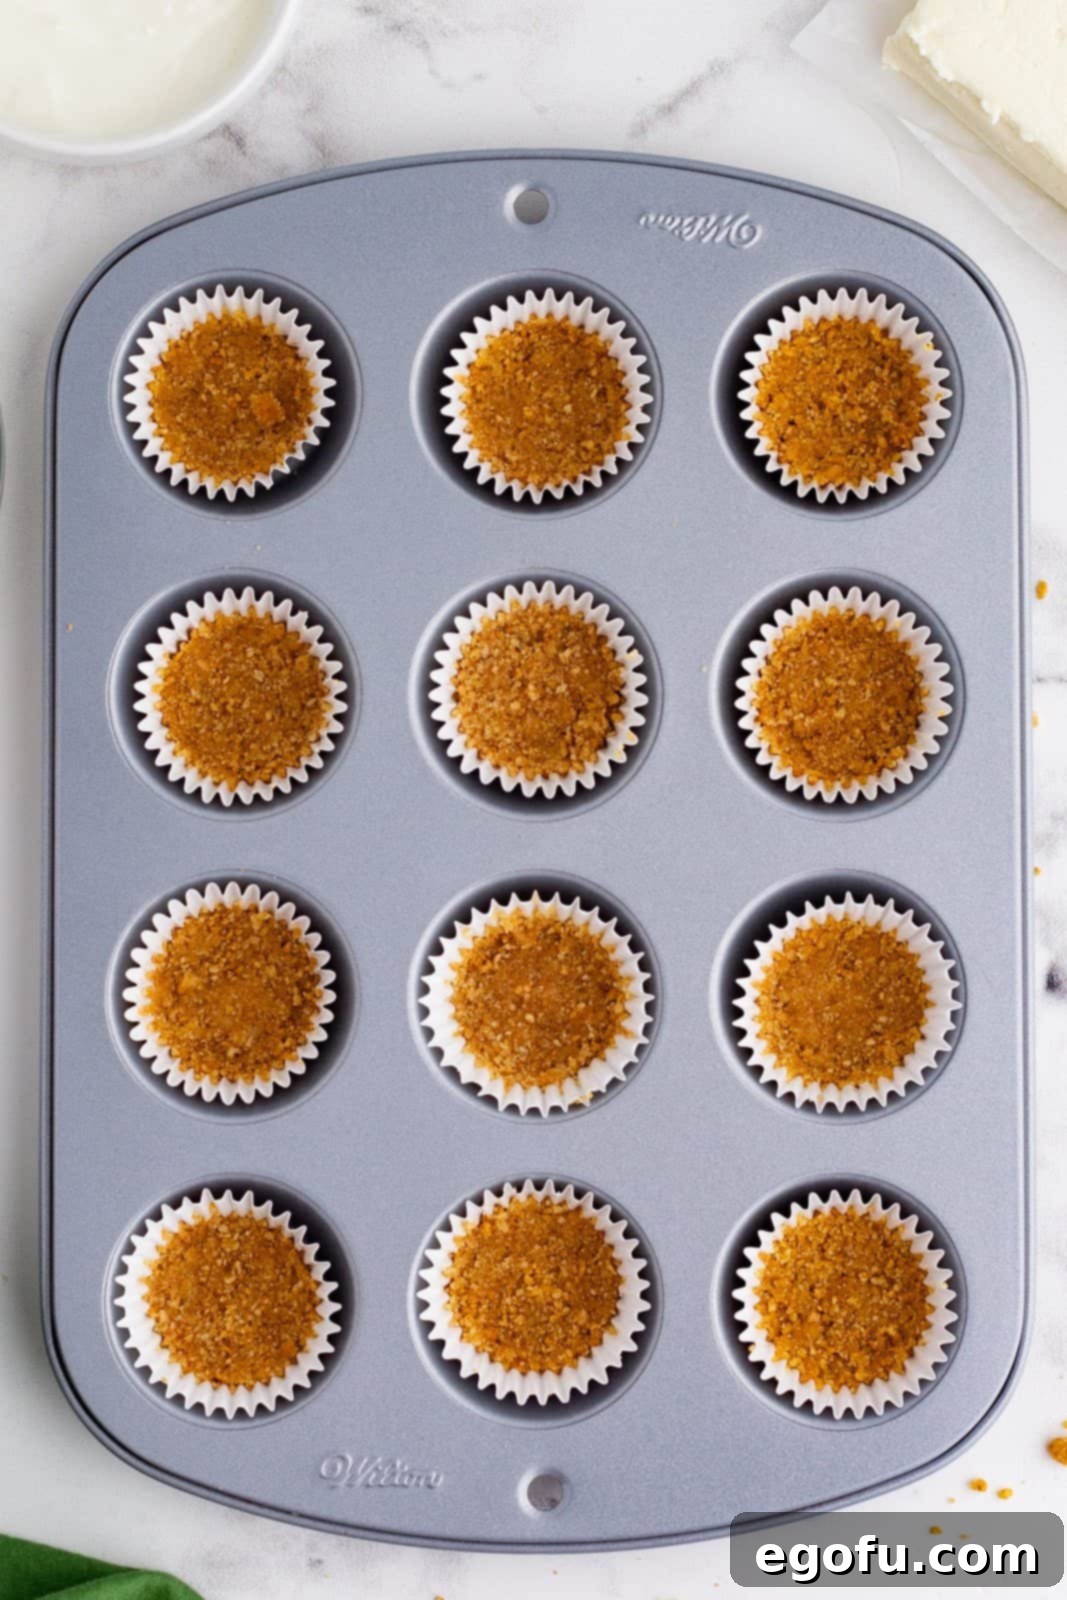
Scoop approximately one tablespoon of the graham cracker crumb mixture into the bottom of each prepared mini cupcake liner. Using your fingertips or a small, flat object (like the bottom of a shot glass), firmly press the mixture into an even, compact layer. This ensures the crust holds together after baking. Bake the crusts for 5 minutes. Once baked, remove the pan from the oven and allow the crusts to cool completely on the countertop while you prepare the cheesecake batter. Remember to reduce your oven temperature to 325°F (160°C) for the cheesecake filling.
Mixing the Silky Cheesecake Batter
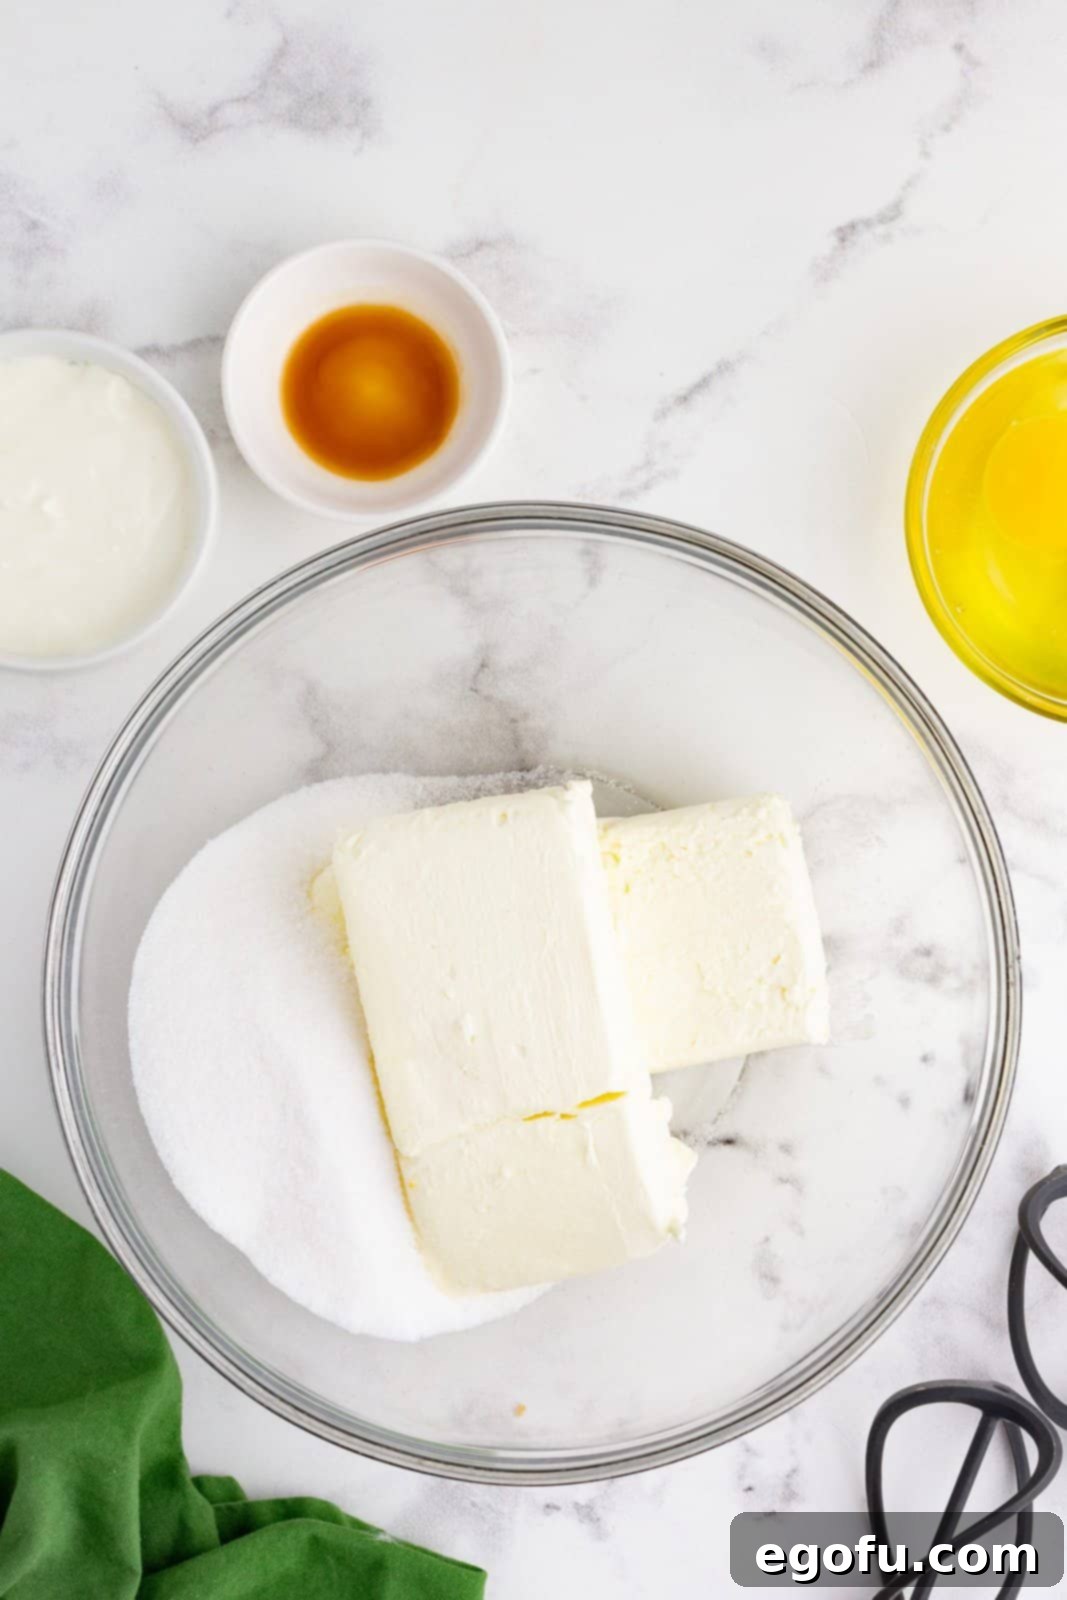
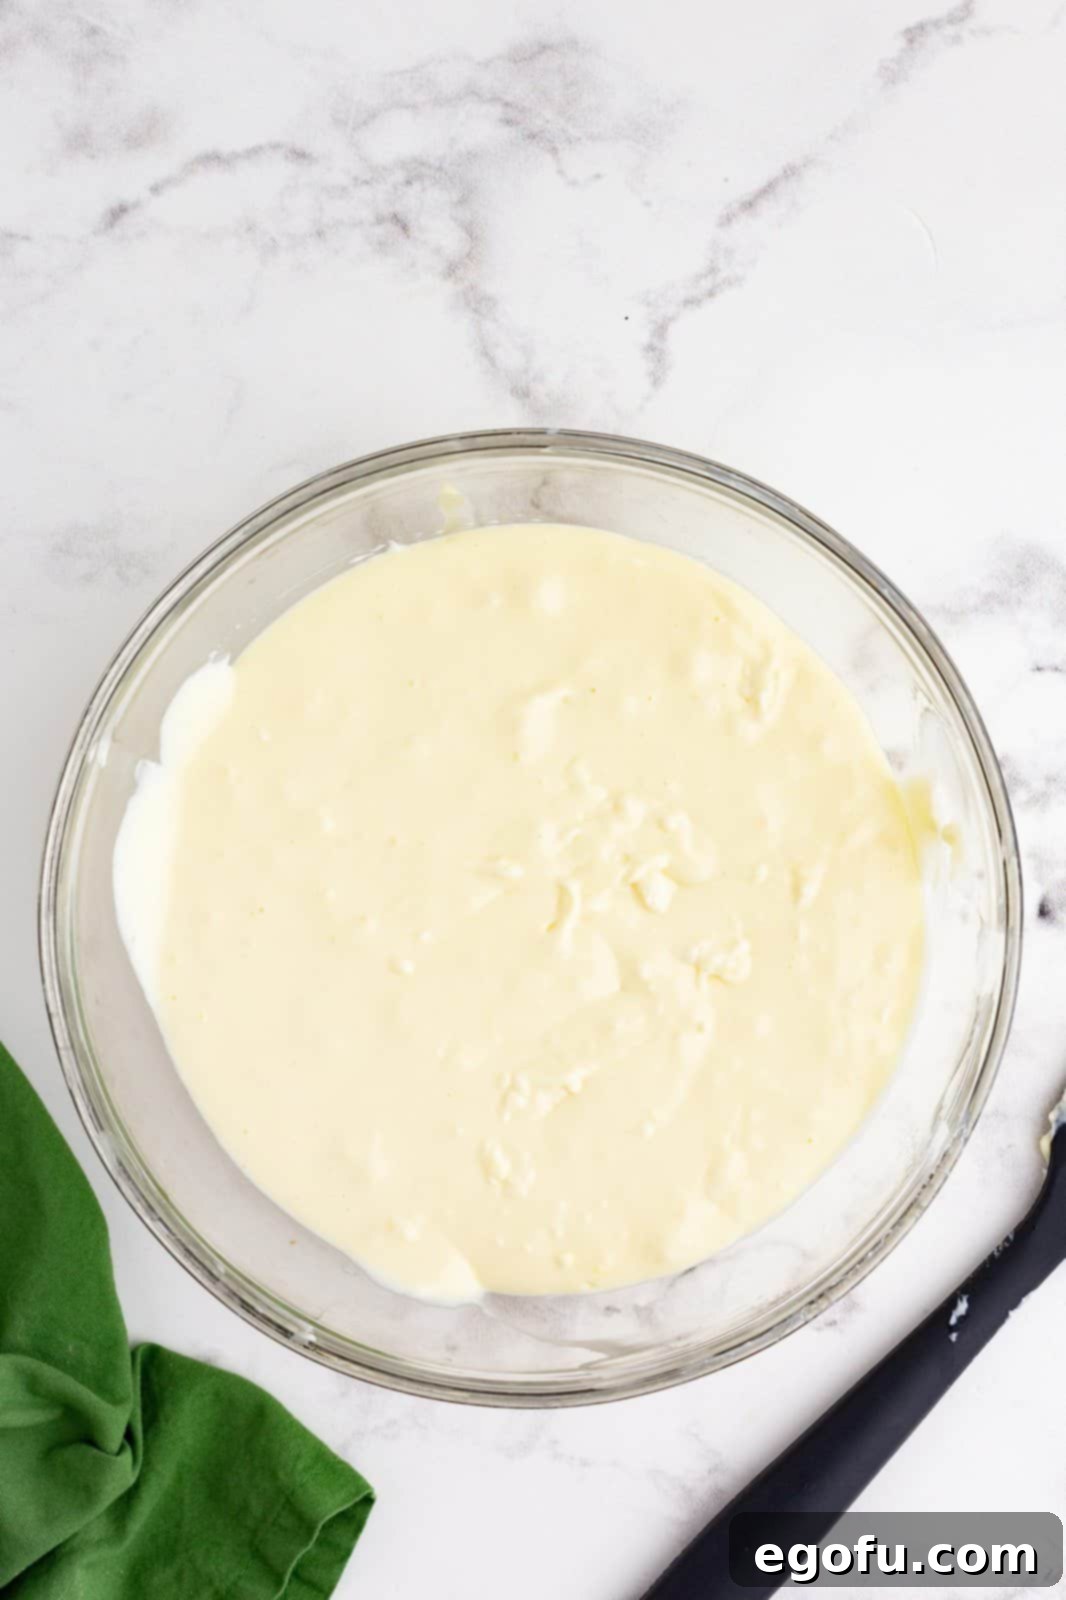
In a large mixing bowl, combine the softened cream cheese and granulated sugar. Using a hand mixer on low speed, beat the mixture until it is perfectly smooth and well incorporated. Be careful not to overmix at this stage, as incorporating too much air can lead to cracks in your baked cheesecakes. Scrape down the sides of the bowl as needed to ensure everything is thoroughly combined.
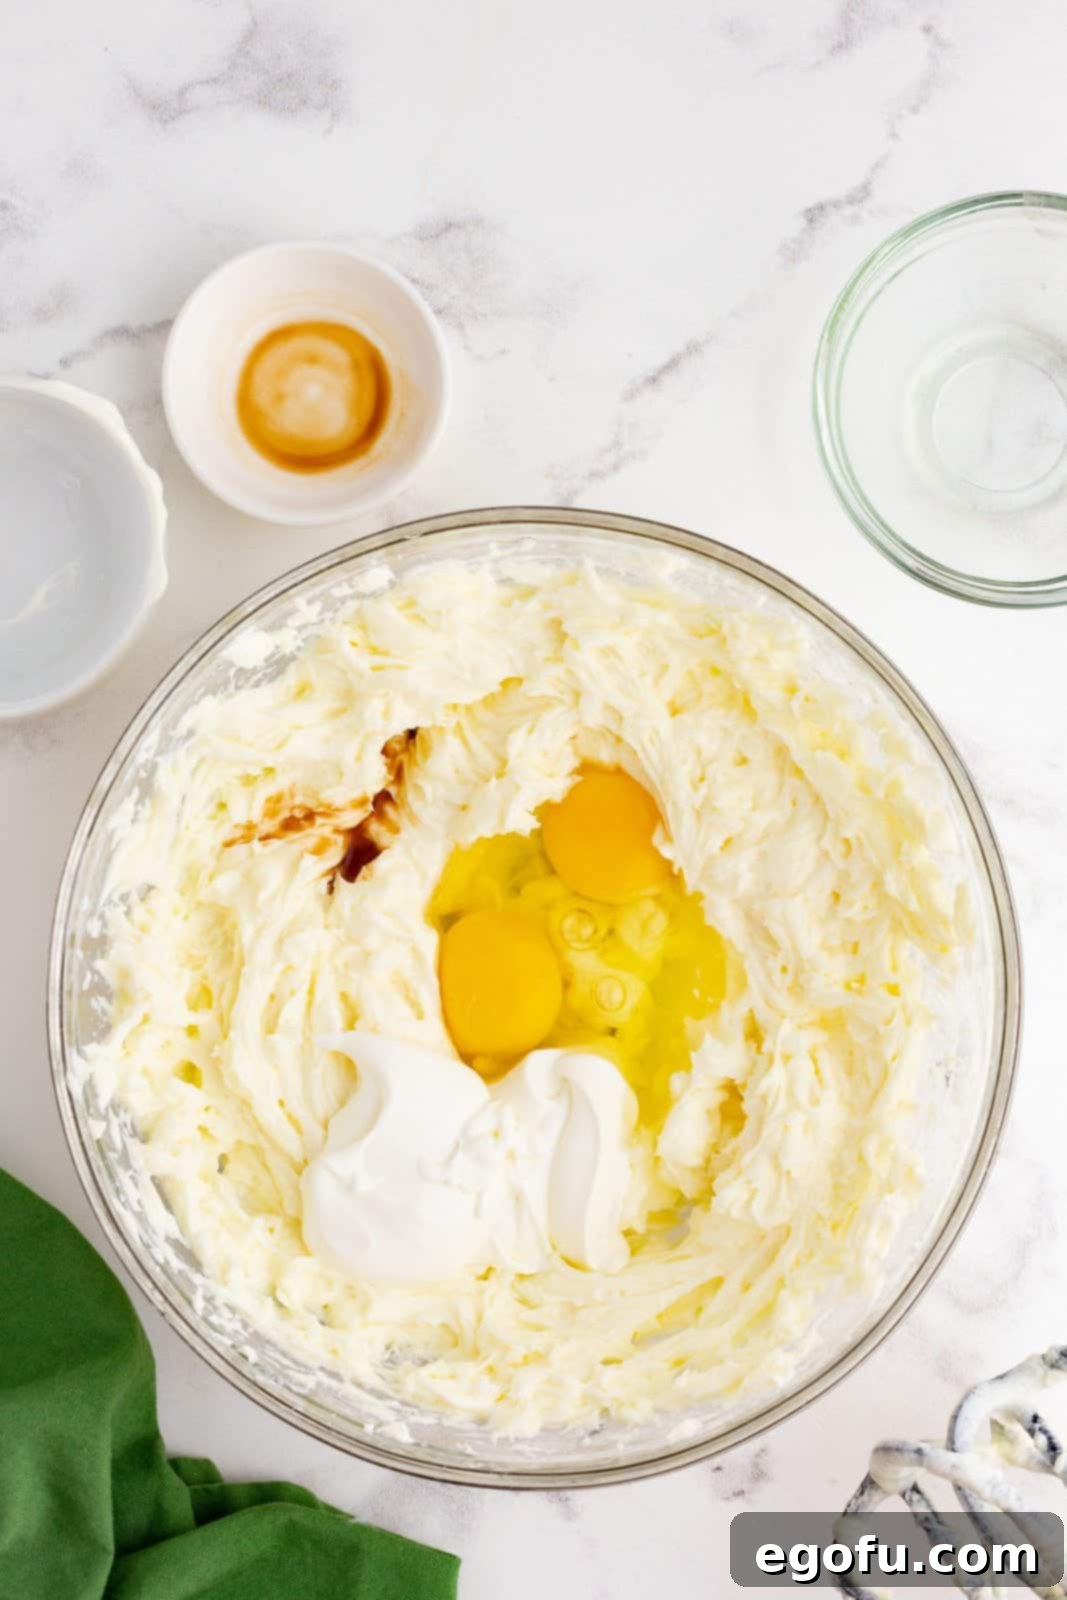
Next, add the room temperature eggs, sour cream, and vanilla extract to the cream cheese mixture. Continue to beat on low speed for approximately one minute, or just until all ingredients are smoothly blended. The batter should be uniform in color and texture. Again, avoid overmixing to maintain that desirable smooth consistency and prevent unwanted cracks.
Baking to Perfection
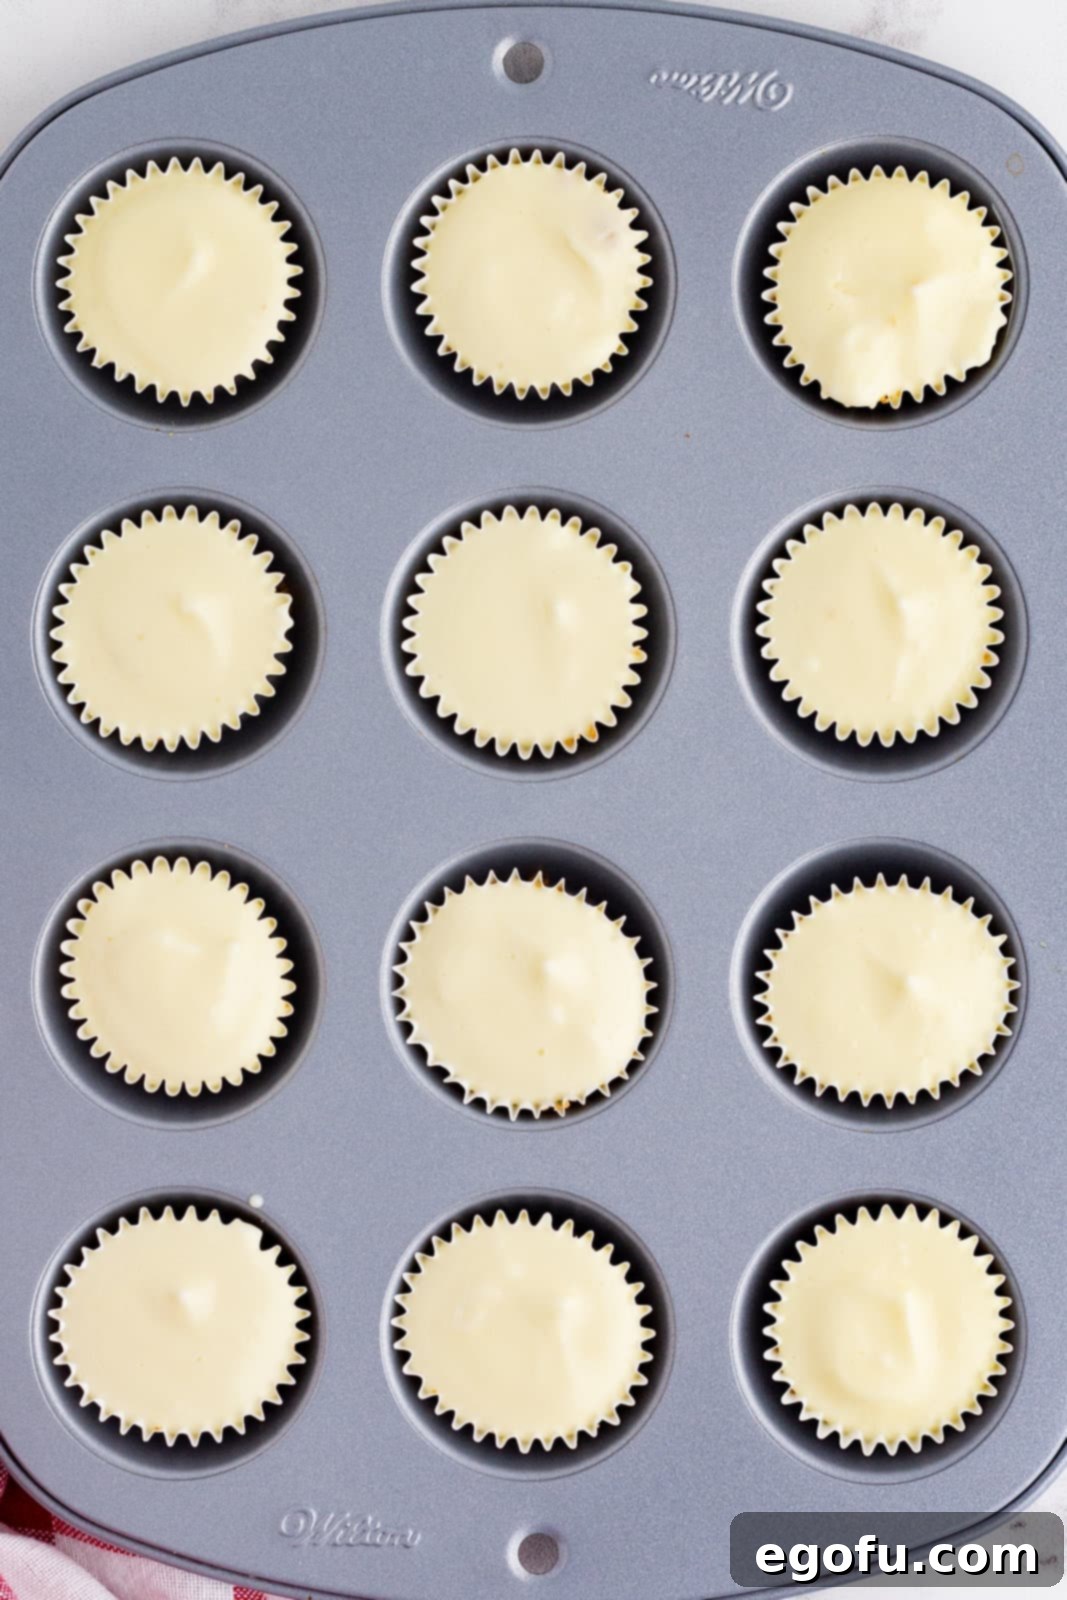
Carefully scoop a generous teaspoon of the cheesecake filling into each mini cupcake liner, filling it almost to the top edge. Be mindful not to overfill, as the cheesecakes will puff up slightly during baking. Place the muffin pan back into the preheated 325°F (160°C) oven and bake for 15-17 minutes. The cheesecakes are done when the edges are set and the centers have a slight jiggle. Once baked, let them cool completely in the pan before carefully removing them. You will likely need to bake these in batches unless you have multiple mini muffin tins available.
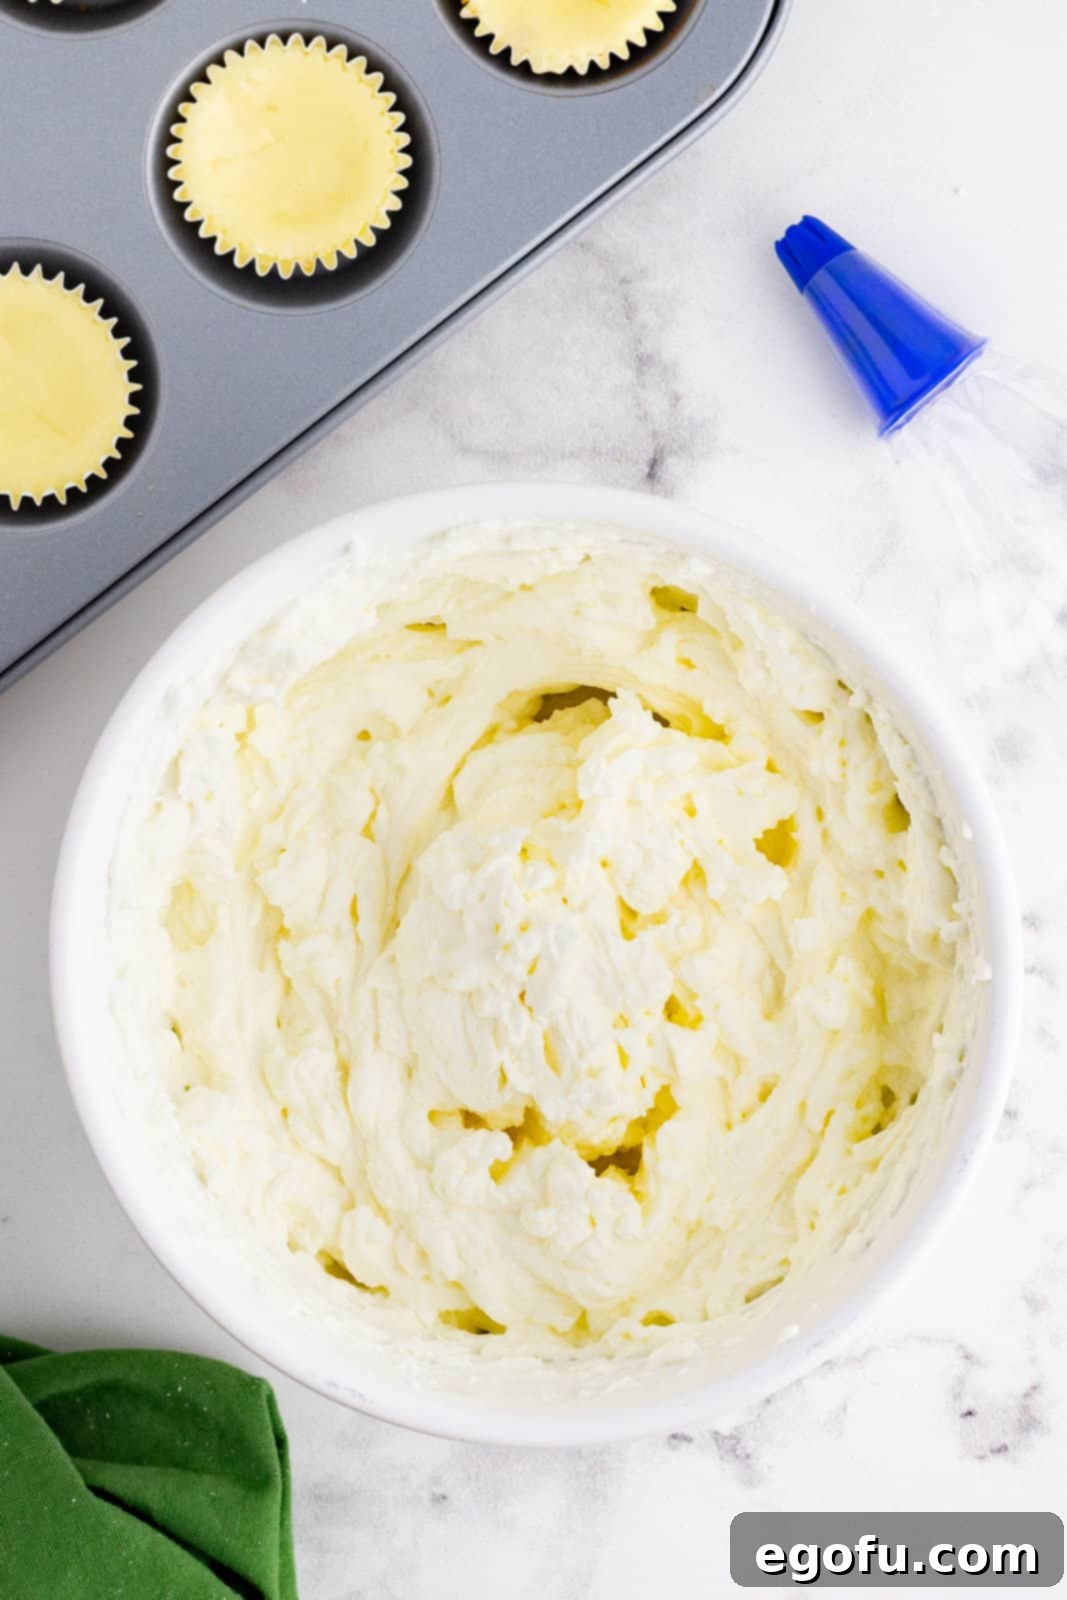
While your cheesecakes are cooling, you can begin preparing the delightful whipped cream topping. In a medium mixing bowl, combine the cold heavy whipping cream and powdered sugar. Using a handheld mixer, beat the mixture on high speed until it forms stiff peaks. The cream should be thick enough to hold its shape when the beater is lifted. Once ready, transfer the whipped cream into a piping bag fitted with your desired decorative tip (a star tip works well for the ‘fur’ trim).
Assembling Your Adorable Santa Hats
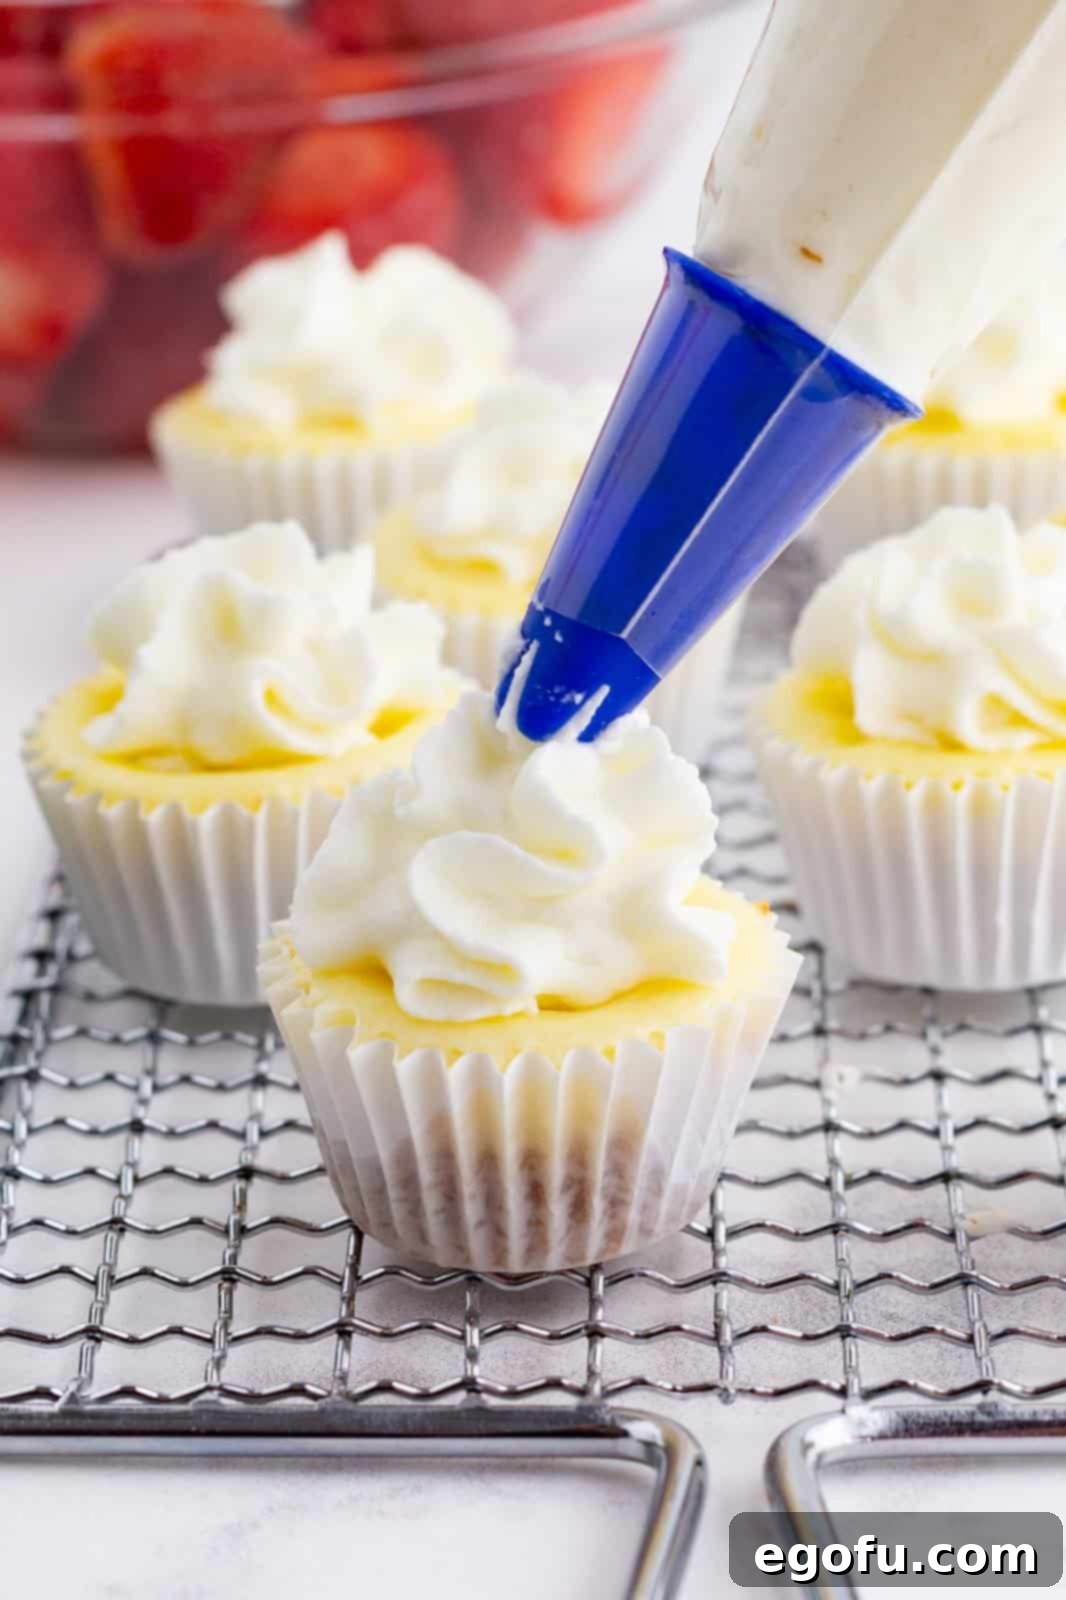
With the cooled cheesecakes and prepared whipped cream, it’s time to bring your Santa hats to life! Pipe a generous swirl of whipped cream onto the center of each cheesecake cup, creating the white brim of Santa’s hat. Aim for a dome shape that will support the strawberry.
Next, take a prepared strawberry (with the green top cut off to create a flat base) and carefully place it on top of the whipped cream swirl. Gently push it down just enough for it to adhere firmly and sit upright, forming the red cone of the hat. Finally, pipe a small dot of whipped cream onto the very tip of each strawberry, completing the classic Santa hat look with a fluffy white pom-pom. These details make all the difference in their festive appearance!
The Grand Finale: Chilling for Optimal Flavor
Once all your Santa Hat Mini Cheesecakes are assembled and decorated, it’s important to refrigerate them for at least a few hours, or ideally, overnight. This chilling period allows the flavors to meld beautifully, the cheesecake to fully set, and the whipped cream to firm up, ensuring the best possible taste and texture when you’re ready to serve. A well-chilled cheesecake is the most delicious cheesecake!
Tips for Making the Best Santa Hat Mini Cheesecakes
Achieving cheesecake perfection is easy with a few key techniques. Keep these tips in mind to ensure your Santa Hat Mini Cheesecakes are flawless:
- Temperature Matters: Always ensure your cream cheese and eggs are at room temperature. This helps them blend smoothly without lumps and prevents overmixing, which can lead to cracks.
- Gentle Mixing is Key: When combining ingredients for the cheesecake filling, mix on low speed and stop as soon as everything is incorporated. Overmixing introduces air, which can cause the cheesecakes to puff up too much and crack as they cool.
- Crust Variations: If you don’t prefer graham crackers, vanilla wafers or even crushed shortbread cookies make delightful alternatives for the crust. Just ensure they are finely crushed and mixed with melted butter.
- Garnishing Just Before Serving: While the cheesecake bases can be made ahead, it’s best to add the whipped cream and strawberry “hats” closer to serving time. This keeps the whipped cream fresh, fluffy, and perfectly structured.
- Freezing for Future Feasts: These mini cheesecakes are excellent for freezing! Freeze the baked cheesecake bases (without decoration) in an airtight container, separated by parchment paper. Thaw them overnight in the refrigerator before decorating and serving.
Creative Variations to Explore
While the classic Santa Hat Mini Cheesecake is undeniably delicious, don’t hesitate to get creative! Here are a few ideas to customize your festive treats:
- Chocolate Crust: Substitute graham cracker crumbs with crushed chocolate sandwich cookies (like Oreos) for a rich, dark chocolate base.
- Zesty Flavor: Add a teaspoon of fresh lemon or orange zest to the cheesecake filling for a bright, citrusy twist that complements the strawberries beautifully.
- Spice it Up: Infuse your whipped cream with a pinch of cinnamon or nutmeg for a warm, comforting holiday spice note.
- Berry Alternatives: While strawberries are iconic for Santa hats, consider other red berries like raspberries or even sliced cranberries for a slightly different look and tang.
Perfect Pairings & Serving Suggestions
These Santa Hat Mini Cheesecakes are a star on their own, but pairing them with the right beverages and presentation can elevate the entire experience. Serve them alongside a warm mug of hot cocoa, a festive mulled wine, or a sparkling cider for a non-alcoholic option. Arrange them artfully on a platter, perhaps with a dusting of extra powdered sugar around the base for a “snowy” effect, or surrounded by sprigs of fresh rosemary or cranberries for an extra touch of holiday charm. They’re also fantastic as part of a larger dessert buffet, adding a pop of color and individual elegance.
More Holiday Dessert Inspiration You Must Try!
Looking for more delectable treats to make your holiday season extra special? Explore these other delightful recipes perfect for sharing with family and friends:
- Butterscotch Haystacks
- Rice Krispies Christmas Wreaths
- Crock Pot Candy
- Christmas Red Velvet Poke Cake
- Sweet Holiday Chex Mix
- Homemade Peanut Brittle
- Christmas Jell-O Poke Cake
- Christmas Crack
- Christmas Sugar Cookie Bars
- Christmas Candy Bark
- Christmas Tree Shaped Cheeseball
- Ultimate Christmas Recipe Roundup
- Classic Homemade Eggnog
- Mini Banana Pudding Cheesecakes
- Oreo Peppermint Mini Cheesecakes
- Meringue Christmas Trees
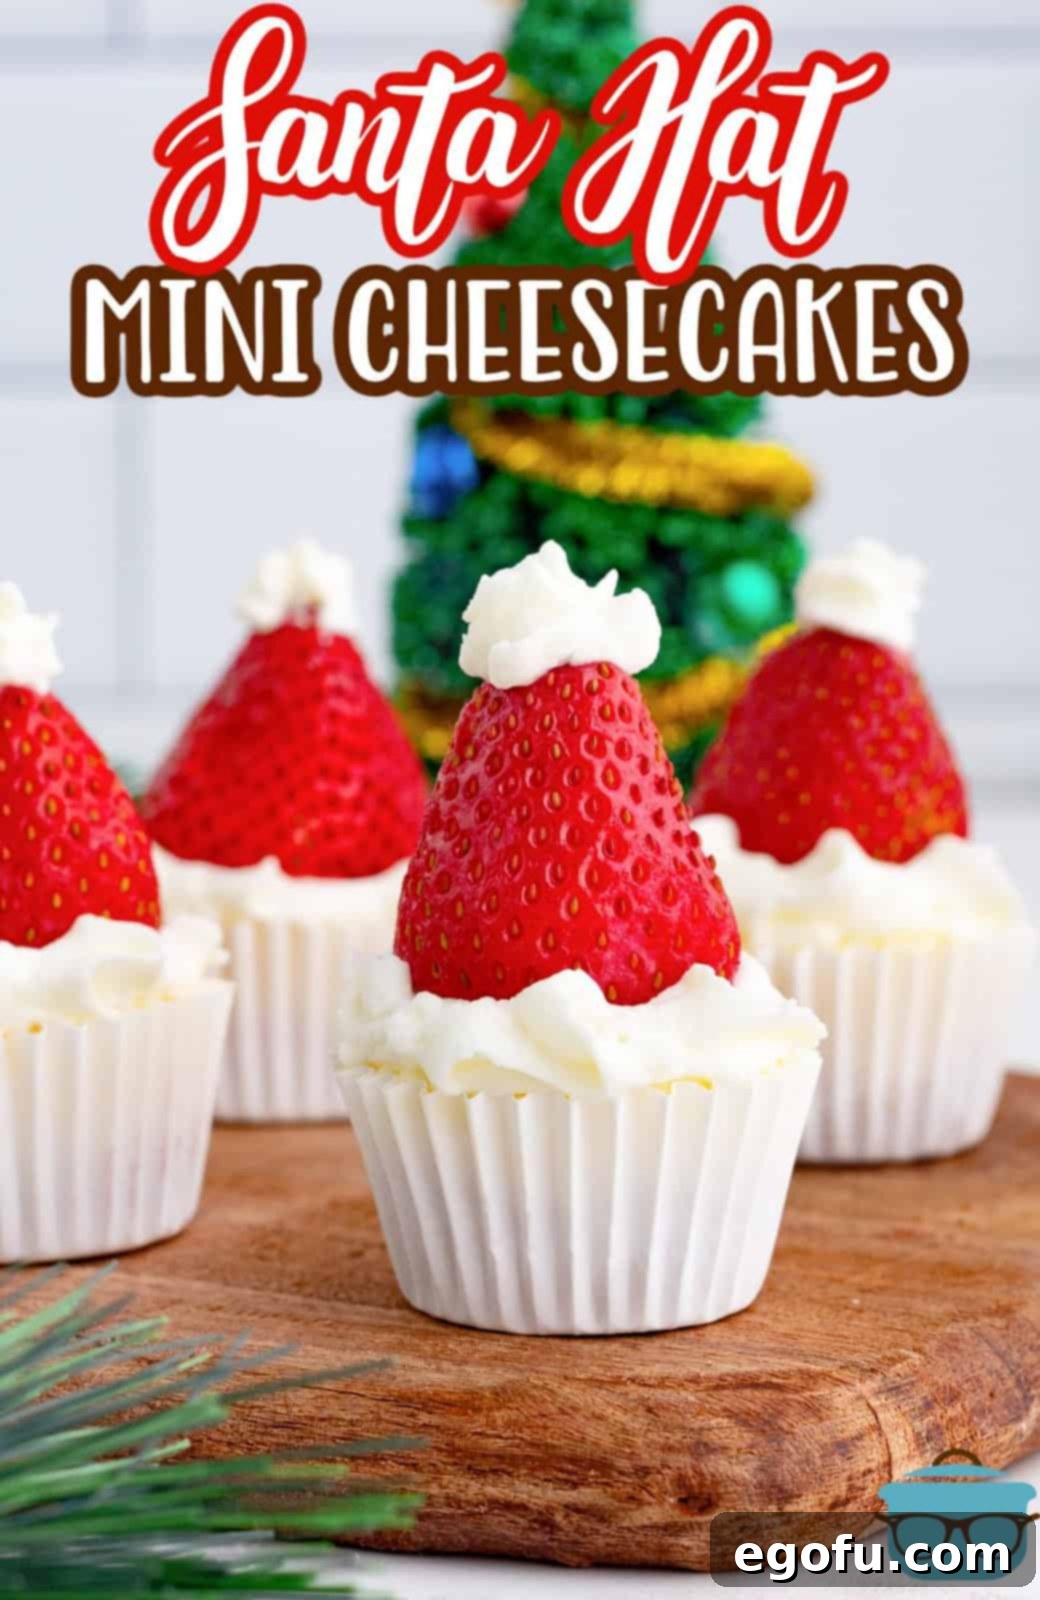
Santa Hat Mini Cheesecakes
These Santa Hat Mini Cheesecakes are an easy, festive and tasty single serving Christmas dessert. Perfect for all your holiday gatherings!
Prep Time: 15 minutes
Cook Time: 15 minutes
Chill Time: 8 hours
Total Time: 8 hours 30 minutes
Servings: 48 mini cheesecakes
Author: Brandie Skibinski
Ingredients
To make the crust:
- 1 ½ cups graham cracker crumbs
- 10 tablespoons salted butter, melted
To make cream cheese filling:
- 2 (8 ounce) blocks cream cheese, softened to room temperature
- ⅓ cup granulated sugar
- 2 large eggs, room temperature
- ¼ cup sour cream
- 1 teaspoon vanilla extract
To make whipping cream: (can use canned whipped cream or Cool Whip)
- 1 cup heavy whipping cream
- ¾ cup powdered sugar
Hats:
- whole strawberries, with tops removed
Instructions
- Preheat the oven to 350°F (175°C). Line a mini muffin pan with mini cupcake liners.
- In a mixing bowl, combine graham cracker crumbs and butter until fully combined (should look like wet sand.)
- Scoop about 1 tablespoon of graham cracker crumb mixture into each muffin tin. Using your fingertips, press the mixture into an even layer until it’s evenly packed.
- Bake the crust for 5 minutes. Allow it to cool while you prepare the cheesecake batter.
- Reduce the oven to 325°F (160°C).
- In a large mixing bowl, combine cream cheese and sugar until well incorporated using a hand mixer on low speed.
- Add in eggs, sour cream, and vanilla extract.
- Beat for about 1 minute until smooth.
- Scoop a generous teaspoon of the cream cheese filling into each cupcake liner until it lines right at the top of the cupcake liner.
- Bake in the oven for 15-17 minutes. Let cool completely. Proceed with making the rest of the cheesecakes in batches if necessary.
- Meanwhile, in a medium mixing bowl, beat together heavy whipping cream and powdered sugar with a handheld mixer. Beat until it forms stiff peaks. Transfer the whipping cream into a piping bag.
- Pipe the cream onto the middle of the cheesecake cups.
- Place strawberry (flat end side where you cut the top off) on top of the whipping cream and gently push it down.
- Top off the tip of the strawberry with whipping cream to create the pom-pom. Refrigerate until ready to serve.
Notes
- Ensure your cream cheese is at room temperature for a smooth batter.
- These mini cheesecakes can be frozen. Freeze baked, undecorated cheesecakes in an airtight container, separated by parchment paper, for up to 2 months. Thaw in the refrigerator overnight before decorating.
- Vanilla wafers can be used as a crust alternative; simply place one wafer at the bottom of each liner.
- Mix the cheesecake batter on low speed to prevent over-aeration, which can cause cracking during baking.
- Cheesecakes can be made ahead of time and refrigerated. Decorate with whipped cream and strawberries just before serving for best results.
Course: Dessert
Cuisine: American
Nutrition
Calories: 67 kcal
Carbohydrates: 5 g
Protein: 1 g
Fat: 5 g
Sodium: 41 mg
Fiber: 0.1 g
Sugar: 4 g
Nutritional Disclaimer
“The Country Cook” is not a dietician or nutritionist, and any nutritional information shared is an estimate. If calorie count and other nutritional values are important to you, we recommend running the ingredients through whichever online nutritional calculator you prefer. Calories and other nutritional values can vary quite a bit depending on which brands were used.
Conclusion
These Santa Hat Mini Cheesecakes are more than just a dessert; they are a delightful embodiment of holiday cheer, perfect for creating lasting memories with loved ones. Their irresistible flavor, charming appearance, and surprising ease of preparation make them an ideal choice for any festive occasion. So, gather your ingredients, follow these simple steps, and get ready to bake some holiday magic. We’re confident that these mini cheesecakes will bring smiles and festive joy to everyone who tries them. Happy baking and happy holidays!
