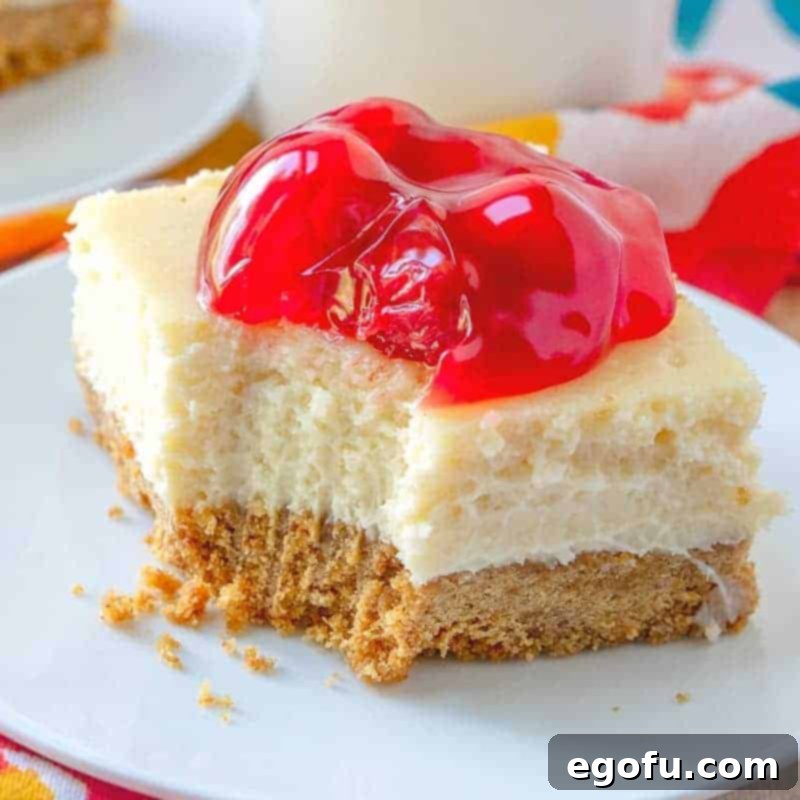
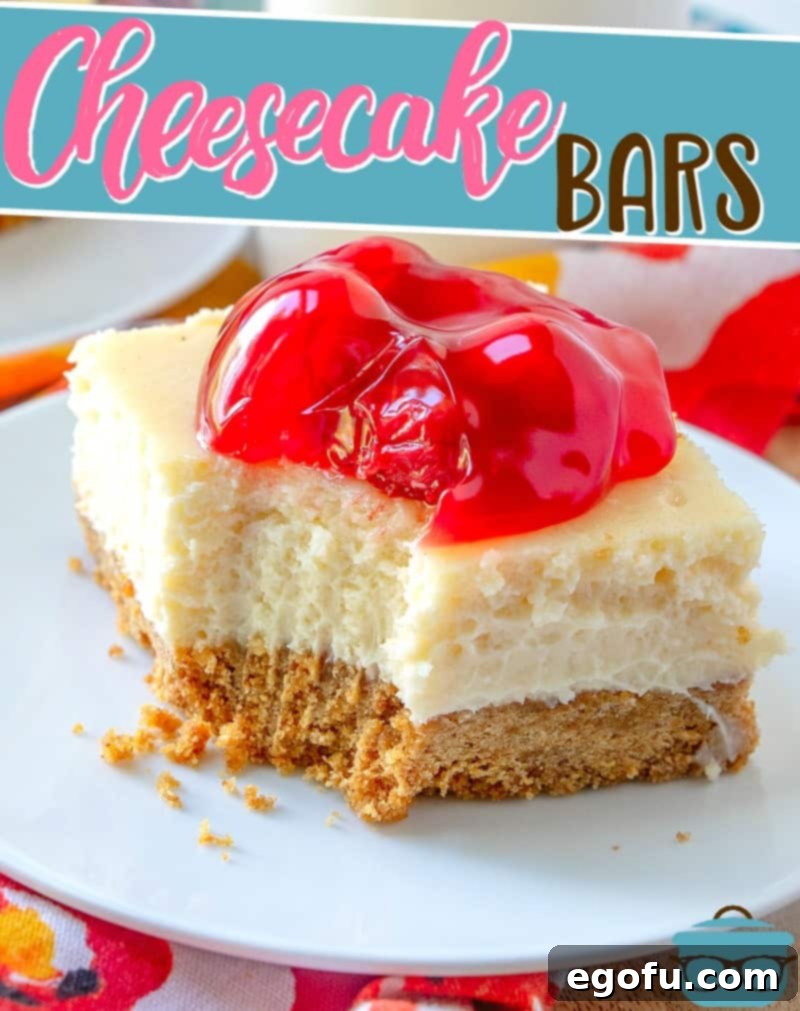
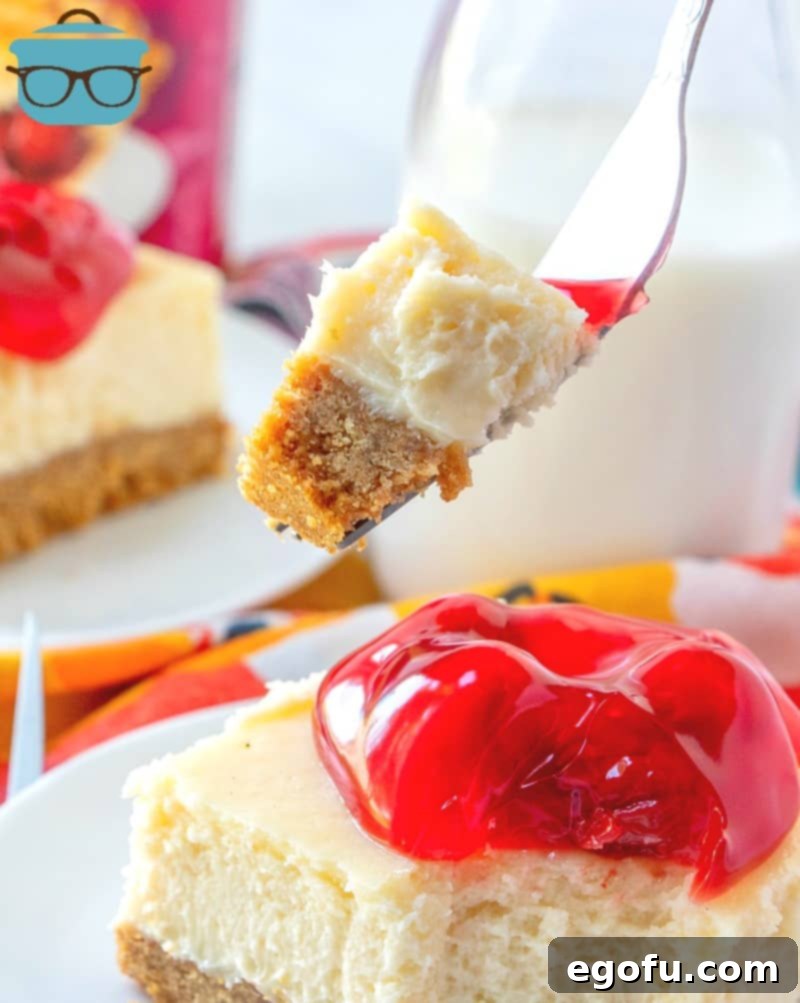
Indulge in the simple perfection of homemade Cherry Cheesecake Bars! These delightful treats feature a rich, creamy cheesecake filling nestled atop a buttery, crunchy graham cracker crust, all crowned with a vibrant cherry topping. They are incredibly easy to slice and serve, making them the ultimate hassle-free dessert for any gathering or a sweet weeknight treat.
Irresistible Cherry Cheesecake Bars: Your New Favorite Dessert Recipe
There’s something truly special about a classic cheesecake—its smooth, velvety texture paired with a satisfyingly crisp crust. But let’s be honest, baking a full-sized cheesecake can sometimes feel a bit daunting. That’s where cheesecake bars come to the rescue! This ingenious bar form not only simplifies the baking process but also makes portioning and serving an absolute breeze. Imagine a dessert that delivers all the decadent flavor of a traditional cheesecake with added convenience, perfect for potlucks, parties, or simply satisfying your sweet tooth. Get ready to impress your guests, or simply treat yourself, with these incredibly easy-to-make and utterly delicious cherry cheesecake bars.
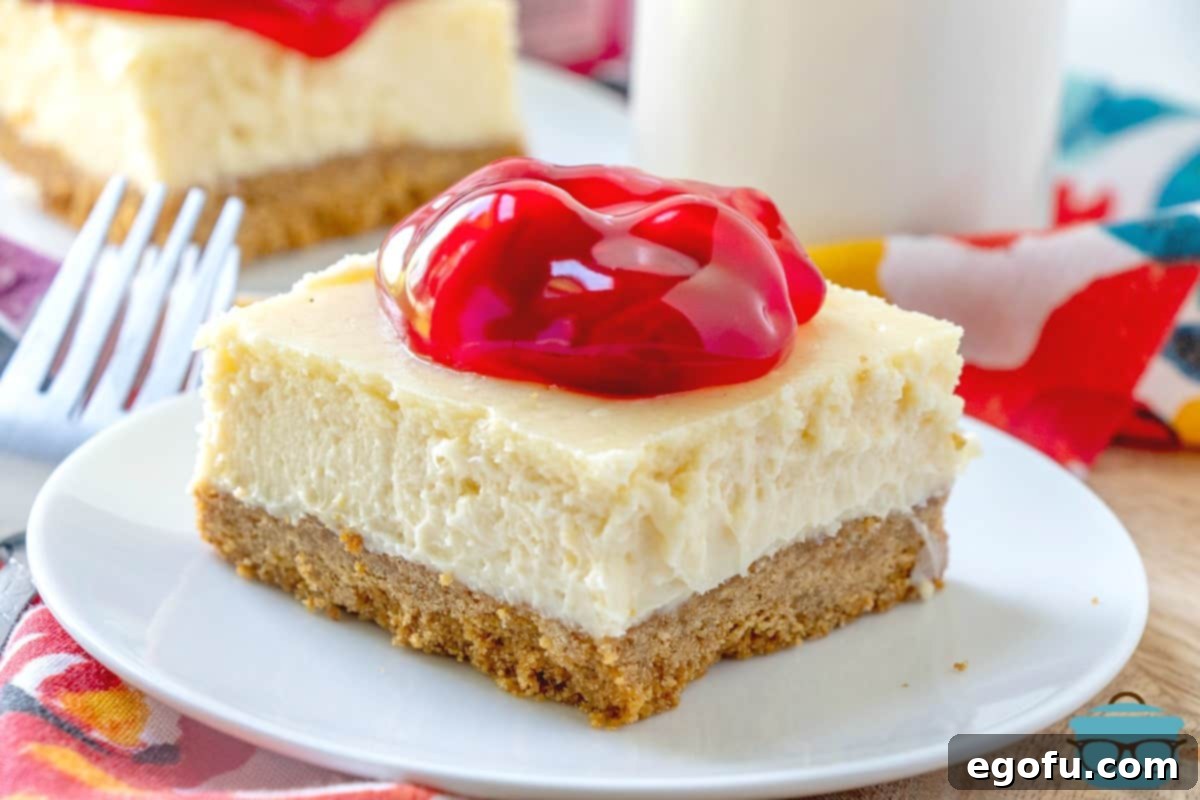
Unlock the Secrets to Perfect Cheesecake Bars: Expert Tips & Tricks
Creating flawless cheesecake bars is simpler than you might think, especially with a few insider tips. While this recipe is straightforward, paying attention to these details will elevate your baking from good to extraordinary:
- Topping Versatility: While cherry pie filling offers a timeless classic flavor, don’t limit your creativity! These bars are fantastic served plain, allowing the pure cheesecake flavor to shine, or adorned with any of your favorite pie fillings like luscious strawberry, sweet blueberry, tangy raspberry, or even a mix of fresh berries. A drizzle of chocolate ganache or caramel sauce also makes a delightful variation.
- Scaling the Recipe: This recipe is designed for an 8×8 inch baking pan, yielding generously thick bars. If you’re feeding a larger crowd or simply want more to share, you can easily double the recipe and bake it in a 9×13 inch baking pan. Remember to adjust baking times slightly, as the thicker batter might require a few extra minutes.
- The Parchment Paper Advantage: This step is a game-changer for easy removal and clean slicing. Lining your baking pan with parchment paper, leaving an overhang on the sides, creates “handles” that allow you to lift the entire chilled cheesecake block out of the pan. This dramatically reduces the chance of sticking and ensures beautifully neat cuts. While a nonstick spray can be used, the thick crust of these bars can still make removal challenging without parchment paper.
- Room Temperature Cream Cheese is Key: For a silky-smooth, lump-free cheesecake batter, ensure your cream cheese is properly softened to room temperature. Cold cream cheese will result in a lumpy mixture that’s impossible to smooth out, affecting both the texture and appearance of your finished bars. Take it out of the fridge at least an hour before you plan to mix.
- Avoid Overmixing: Once you add the eggs, mix just until combined. Overmixing the cheesecake batter after the eggs are added can incorporate too much air, leading to cracks in your cheesecake as it bakes and cools. Gentle mixing is best.
- The Art of Cooling: Patience is paramount when cooling cheesecake. Rapid temperature changes can cause cracking. Allow the bars to cool gradually on the counter before transferring them to the refrigerator. An extended chill time (4-6 hours, or even overnight) is crucial for the cheesecake to fully set, firm up, and develop its optimal flavor and texture.
Dive into the Delicious Ingredients
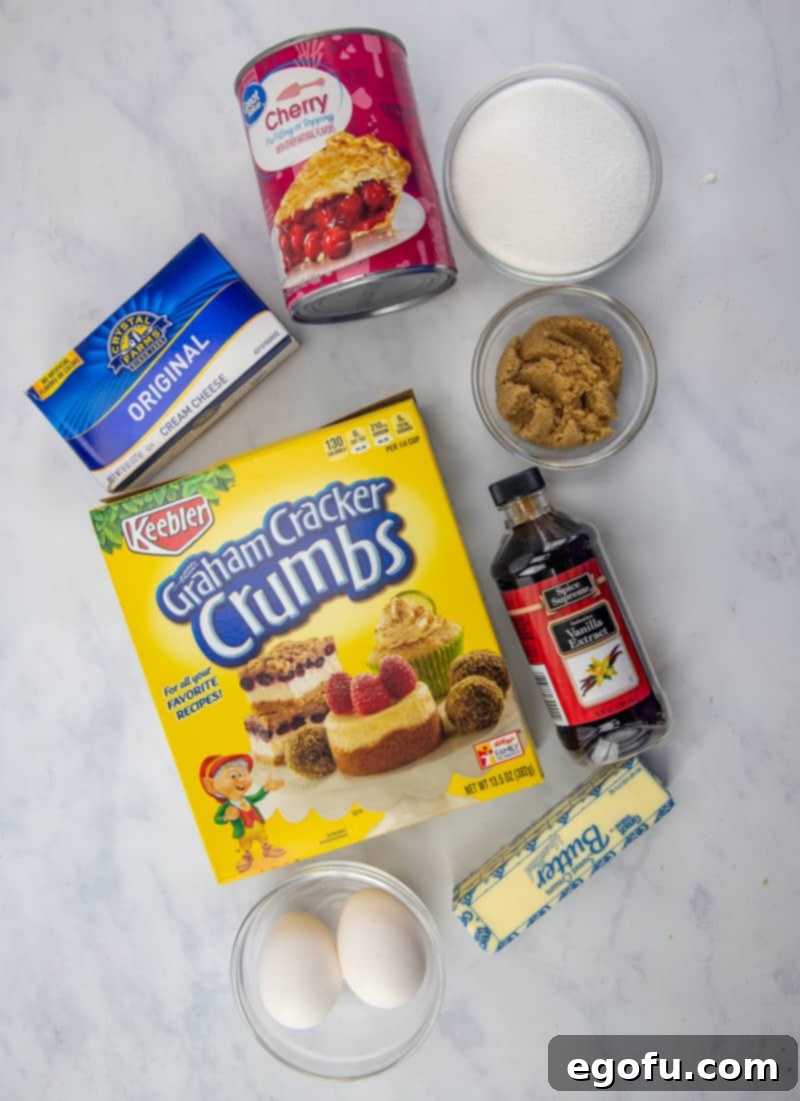
Crafting these cherry cheesecake bars requires a handful of common, wholesome ingredients that come together to create a truly spectacular dessert. Each component plays a vital role in achieving that perfect balance of sweetness, creaminess, and crunch.
For the Crust:
- Crushed Graham Crackers: The foundation of our cheesecake bars. These crumbs, when combined with butter and sugar, create a delightfully crunchy and sweet base that perfectly complements the creamy filling. You can buy pre-crushed crumbs or crush whole graham crackers yourself for optimal freshness.
- Salted Butter: Essential for binding the graham cracker crumbs and adding a rich, savory depth to the crust. Melting it ensures it fully coats the crumbs.
- Light Brown Sugar: Contributes to the sweetness and provides a subtle molasses flavor, enhancing the overall profile of the crust. It also helps achieve that beautiful golden-brown color during baking.
For the Filling:
- Cream Cheese: The star of any cheesecake! Use full-fat cream cheese, softened to room temperature, for the richest, smoothest, and most decadent filling.
- Large Eggs: Act as a binder and provide structure to the cheesecake, ensuring it sets properly while maintaining a delicate texture.
- Granulated Sugar: Sweetens the cream cheese mixture, balancing the tanginess of the cheese.
- Vanilla Extract: A crucial flavor enhancer that adds warmth and depth, complementing the creamy cheese and bright cherry notes. Use good quality pure vanilla extract for the best results.
For the Topping:
- Cherry Pie Filling: The classic choice for these bars, offering a sweet and tart burst of fruit flavor and a beautiful visual contrast. One can is typically enough for a generous topping.
Step-by-Step: Crafting Your Heavenly Cherry Cheesecake Bars
Follow these detailed instructions to create a batch of perfectly baked, incredibly creamy, and utterly delicious cherry cheesecake bars. Preparation is simple, and the results are truly rewarding!
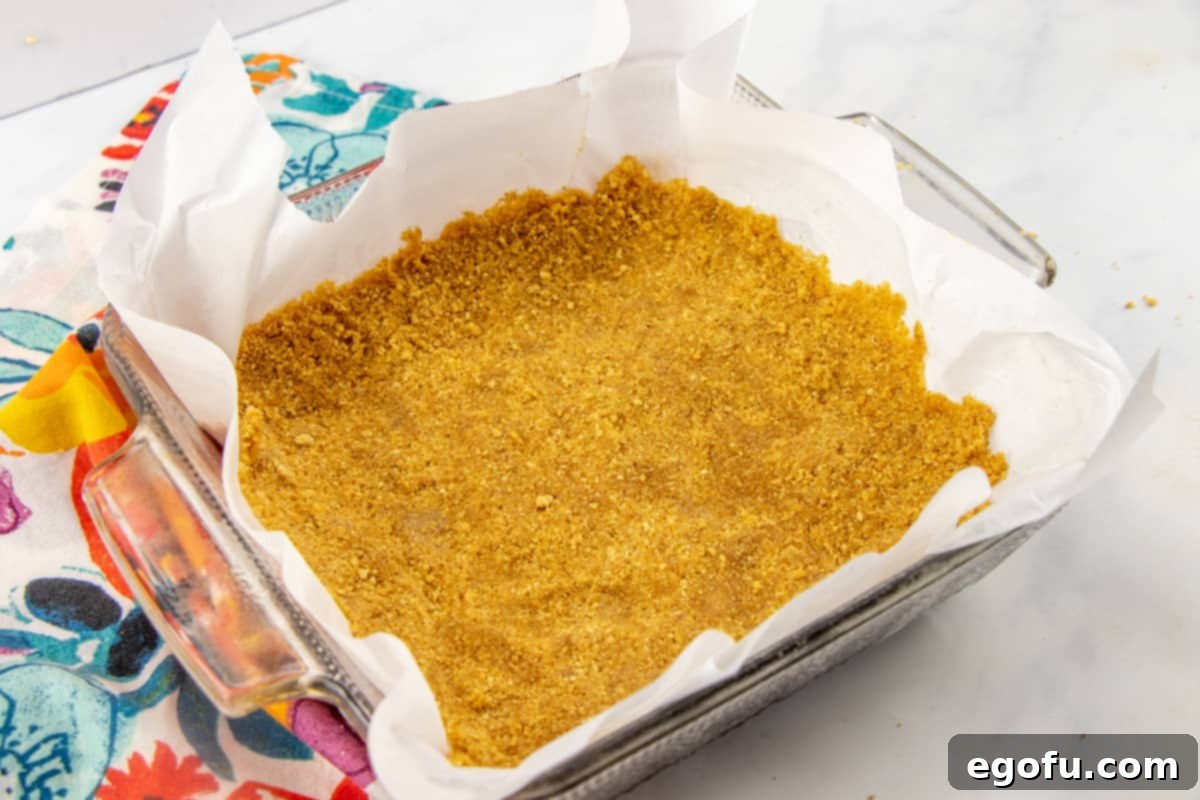
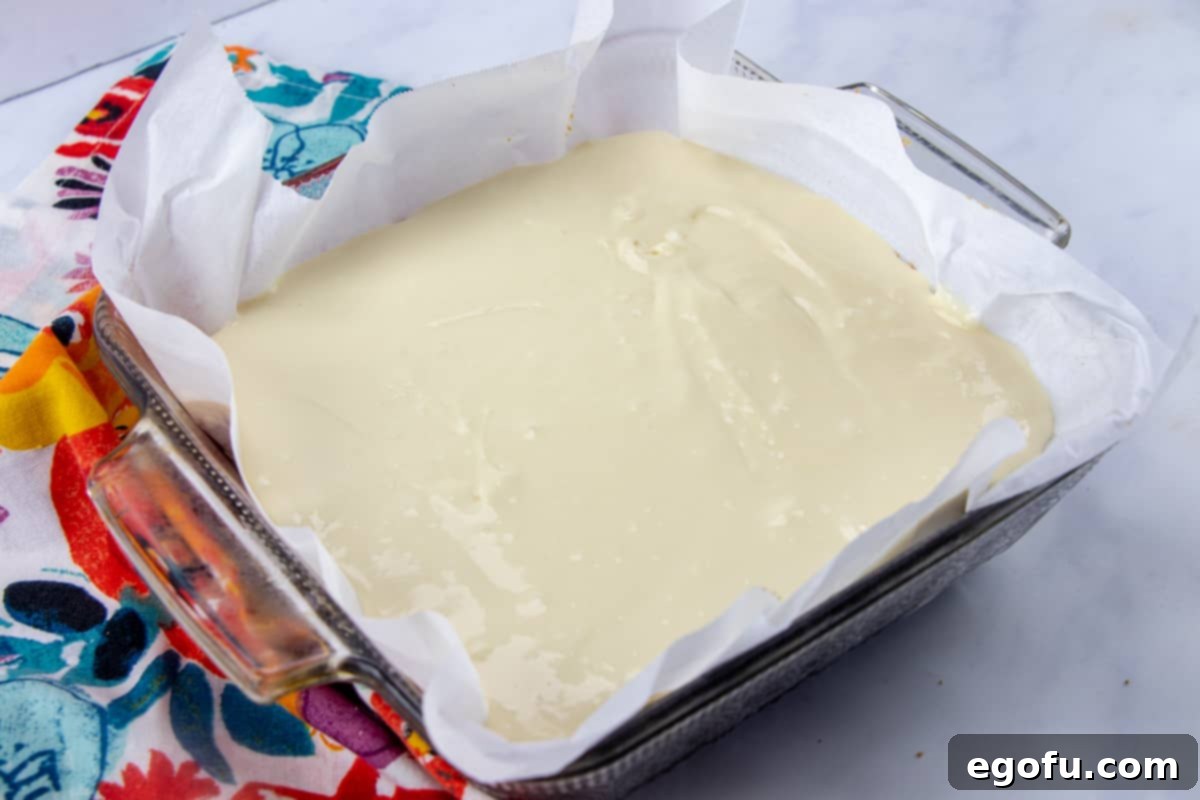
- Preheat and Prepare Your Pan: Begin by preheating your oven to 325°F (160°C). This ensures the oven is at a consistent temperature when the cheesecake goes in, promoting even baking. Line an 8-inch square baking dish with parchment paper, allowing the edges to hang over the sides. This overhang acts as “handles” to easily lift the entire baked cheesecake out of the pan once it’s chilled, making slicing effortless. If parchment paper isn’t available, you can lightly spray the dish with nonstick cooking spray, though removal might be slightly trickier.
- Craft the Graham Cracker Crust: In a medium bowl, combine the crushed graham cracker crumbs, melted salted butter, and light brown sugar. Mix these ingredients thoroughly until the crumbs are evenly moistened and resemble wet sand. This ensures a cohesive crust.
- Press and Bake the Crust: Transfer the graham cracker mixture into your prepared baking pan. Using the bottom of a glass or your fingers, press the mixture down firmly and evenly across the bottom of the pan to form a compact crust. Bake the crust in the preheated oven for 12 to 15 minutes, or until it just begins to turn golden brown around the edges and smells fragrant. This pre-baking step helps create a sturdy, crunchy base that won’t become soggy. Remove from oven and let it cool slightly while you prepare the filling.
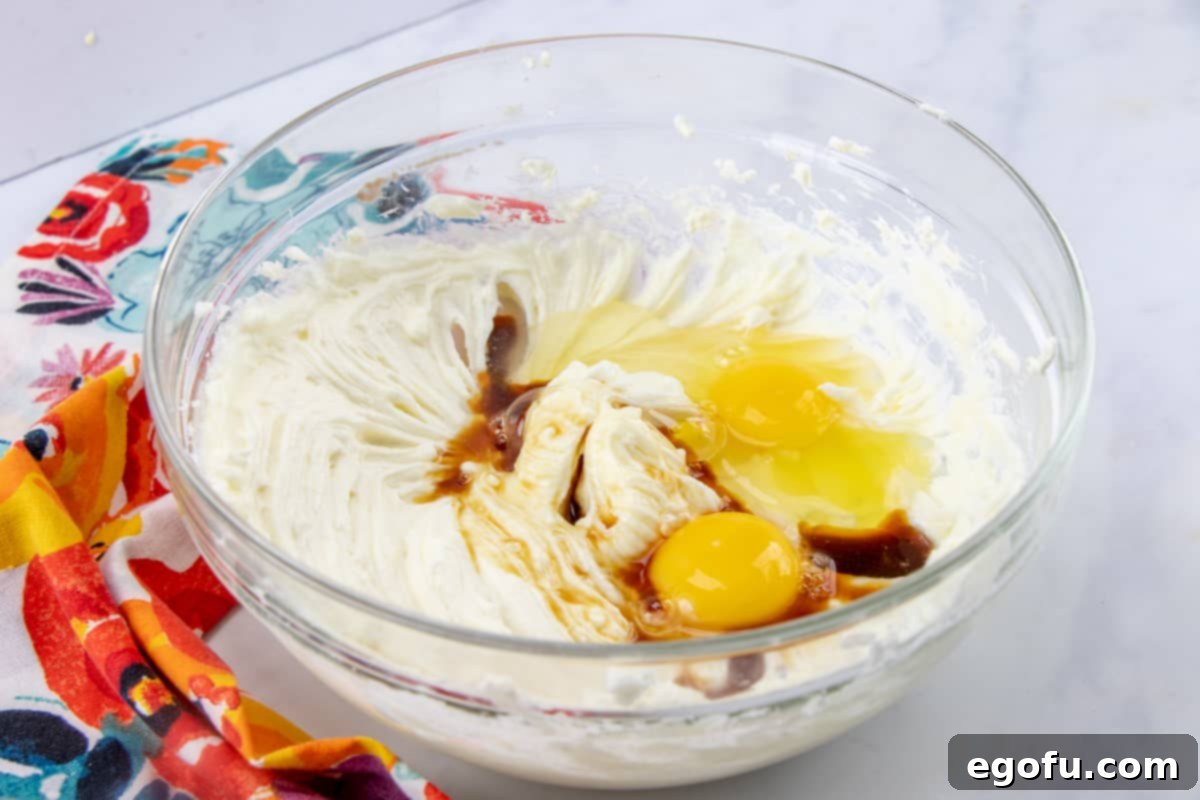
- Prepare the Silky Cheesecake Filling: In a large mixing bowl, using an electric mixer, beat the softened cream cheese and granulated sugar together on medium speed until the mixture is smooth, creamy, and free of lumps. Make sure to scrape down the sides of the bowl frequently to ensure all ingredients are well incorporated.
- Incorporate Eggs and Vanilla: Reduce the mixer speed to low. Add the large eggs, one at a time, mixing just until each egg is combined into the cream cheese mixture. Avoid overmixing once the eggs are added, as this can introduce too much air, which may cause cracks during baking. Finally, stir in the vanilla extract until just combined. The goal is a smooth, homogenous batter.
- Assemble and Bake the Bars: Once the crust has slightly cooled, carefully pour the creamy cheesecake filling evenly over the baked graham cracker crust in the pan. Gently spread the filling to cover the crust from edge to edge.
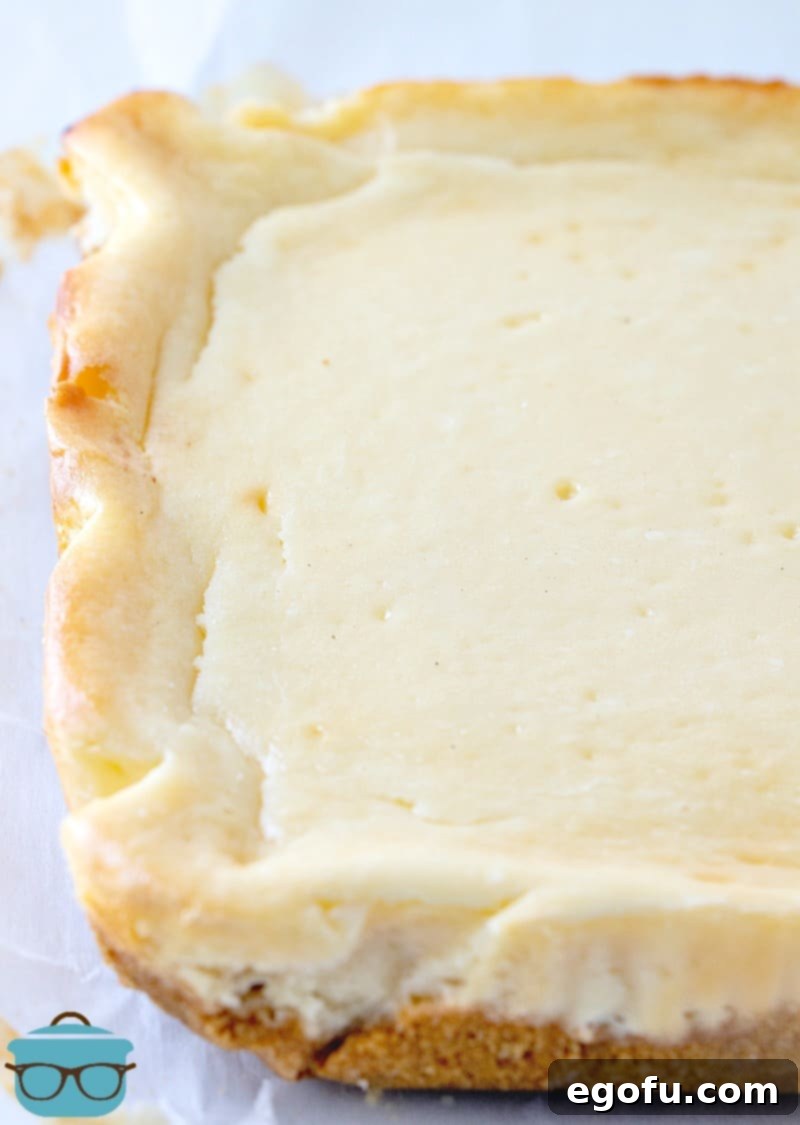
- Bake to Perfection: Return the pan to the oven and bake for approximately 35 to 40 minutes. The cheesecake is done when the edges are set and slightly puffed, but the very center may still have a slight jiggle when gently shaken. This slight jiggle is perfectly normal; the cheesecake will firm up beautifully as it cools and chills.
Cool, Chill, and Serve for Optimal Flavor and Texture
Once baked, allow your cheesecake bars to cool on a wire rack at room temperature for about an hour. This gradual cooling prevents cracking. After cooling on the counter, cover the baking dish loosely with plastic wrap and transfer it to the refrigerator to chill completely. This crucial step takes approximately 4-6 hours, or ideally, overnight. Chilling allows the cheesecake to firm up, intensify its flavors, and achieve that signature creamy texture. Once thoroughly chilled, lift the cheesecake out of the pan using the parchment paper overhang, slice into even bars, and top with cherry pie filling or your desired topping. Serve cold for the best experience.
Serving, Storing, and Creative Variations
These cherry cheesecake bars are incredibly versatile, perfect for almost any occasion. Here’s how to make the most of them:
Serving Suggestions:
- Classic Cherry: The vibrant red cherry pie filling adds a beautiful contrast and traditional sweetness.
- Fresh Fruit Medley: Top with an assortment of fresh berries like strawberries, blueberries, and raspberries for a lighter, seasonal touch.
- Chocolate Drizzle: A generous drizzle of melted dark or white chocolate takes these bars to a gourmet level.
- Caramel Swirl: For a rich, buttery twist, swirl some homemade or store-bought caramel sauce over the top before serving.
- Whipped Cream: A dollop of freshly whipped cream can lighten the richness and add an airy texture.
- DIY Cheesecake Bar: For gatherings, consider setting up a DIY station! Bake the bars, slice them, and offer a variety of toppings in separate bowls for guests to customize their own.
Storage Tips:
- Refrigerator: Store leftover cheesecake bars in an airtight container in the refrigerator for up to 3-4 days.
- Freezer: For longer storage, freeze individual bars (without the topping, if possible) wrapped tightly in plastic wrap, then placed in a freezer-safe bag or container, for up to 1-2 months. Thaw in the refrigerator before serving and adding fresh toppings.
Creative Variations:
- Different Crusts: Experiment with other cookie crumbs like Oreo cookies for a chocolate crust, or shortbread cookies for a buttery, less sweet base.
- Citrus Zest: Add lemon or orange zest to the cheesecake filling for a brighter, more aromatic flavor.
- Spiced Cheesecake: A pinch of cinnamon or nutmeg in the filling can add a warm, cozy note, especially delightful during cooler months.
Craving More Irresistible Dessert Recipes?
If you loved these cherry cheesecake bars, you’re sure to enjoy these other delightful dessert recipes. Explore new favorites and expand your baking repertoire!
- Cherry Pie Bars
- Cherry Cheesecake Dip
- Cherry Chocolate Cheesecake
- Cherry Cheesecake Cups
- Cherry Chocolate Chip Bars
- Peaches and Cream Bars
- Easy Cherry Cobbler
- Strawberries and Cream Bars
- Strawberry Sauce Topping
- Cherry Turnovers
Cherry Cheesecake Bars
Cherry Cheesecake Bars! So simple and easy to slice and serve! Creamy cheesecake filling in a homemade graham cracker crust. Perfection!
Pin Recipe
Rate This Recipe
Prep Time: 10 minutes
Cook Time: 55 minutes
Total Time: 1 hour 5 minutes
Servings: 8
Author: Brandie Skibinski
Ingredients
For the crust:
- 2 cups crushed graham crackers
- 1/2 cup salted butter (1 stick), melted
- 3 tablespoons light brown sugar
For the filling:
- 2 (8 ounce) blocks cream cheese, softened to room temperature
- 2 large eggs
- 1 cup sugar
- 1 tablespoon vanilla extract
- 1 can cherry pie filling (for topping, optional)
Instructions
- Preheat oven to 325°F (160°C).
- Line an 8-inch square baking dish with parchment paper, allowing edges to hang over the side for easy removal. Alternatively, spray the dish with nonstick spray.
- Combine the graham cracker crumbs with the melted butter and light brown sugar. Mix thoroughly until well combined.
- Press the mixture firmly and evenly into the bottom of the prepared pan to form the crust.
- Bake the crust for 12 to 15 minutes, or until it just begins to brown. Let cool slightly.
- While the crust cools, prepare the filling. In a large bowl, beat the softened cream cheese and granulated sugar until smooth and creamy.
- Add the eggs, one at a time, mixing on low speed just until combined. Stir in the vanilla extract. Do not overmix.
- Pour the smooth cheesecake filling over the pre-baked graham cracker crust.
- Bake the bars for approximately 35 to 40 minutes. The edges should be set, and the center may still have a slight jiggle, which will firm up during chilling.
- Remove from oven and let cool at room temperature for about an hour.
- Cover the dish and refrigerate for 4-6 hours, or preferably overnight, to chill completely and set.
- Once chilled, lift the cheesecake from the pan using the parchment paper, slice into bars, and top with cherry pie filling or your preferred topping before serving.
Video
Course: Dessert
Cuisine: American
Nutrition
Calories: 610kcal | Carbohydrates: 69g | Protein: 6g | Fat: 34g | Sodium: 462mg | Fiber: 1g | Sugar: 36g
Nutritional Disclaimer
“The Country Cook” is not a dietician or nutritionist, and any nutritional information shared is an estimate. If calorie count and other nutritional values are important to you, we recommend running the ingredients through whichever online nutritional calculator you prefer. Calories and other nutritional values can vary quite a bit depending on which brands were used.
Did you make this recipe?
Share it on Instagram @thecountrycook and mention us #thecountrycook!
Originally published: January 2011
Updated & republished: January 2020
