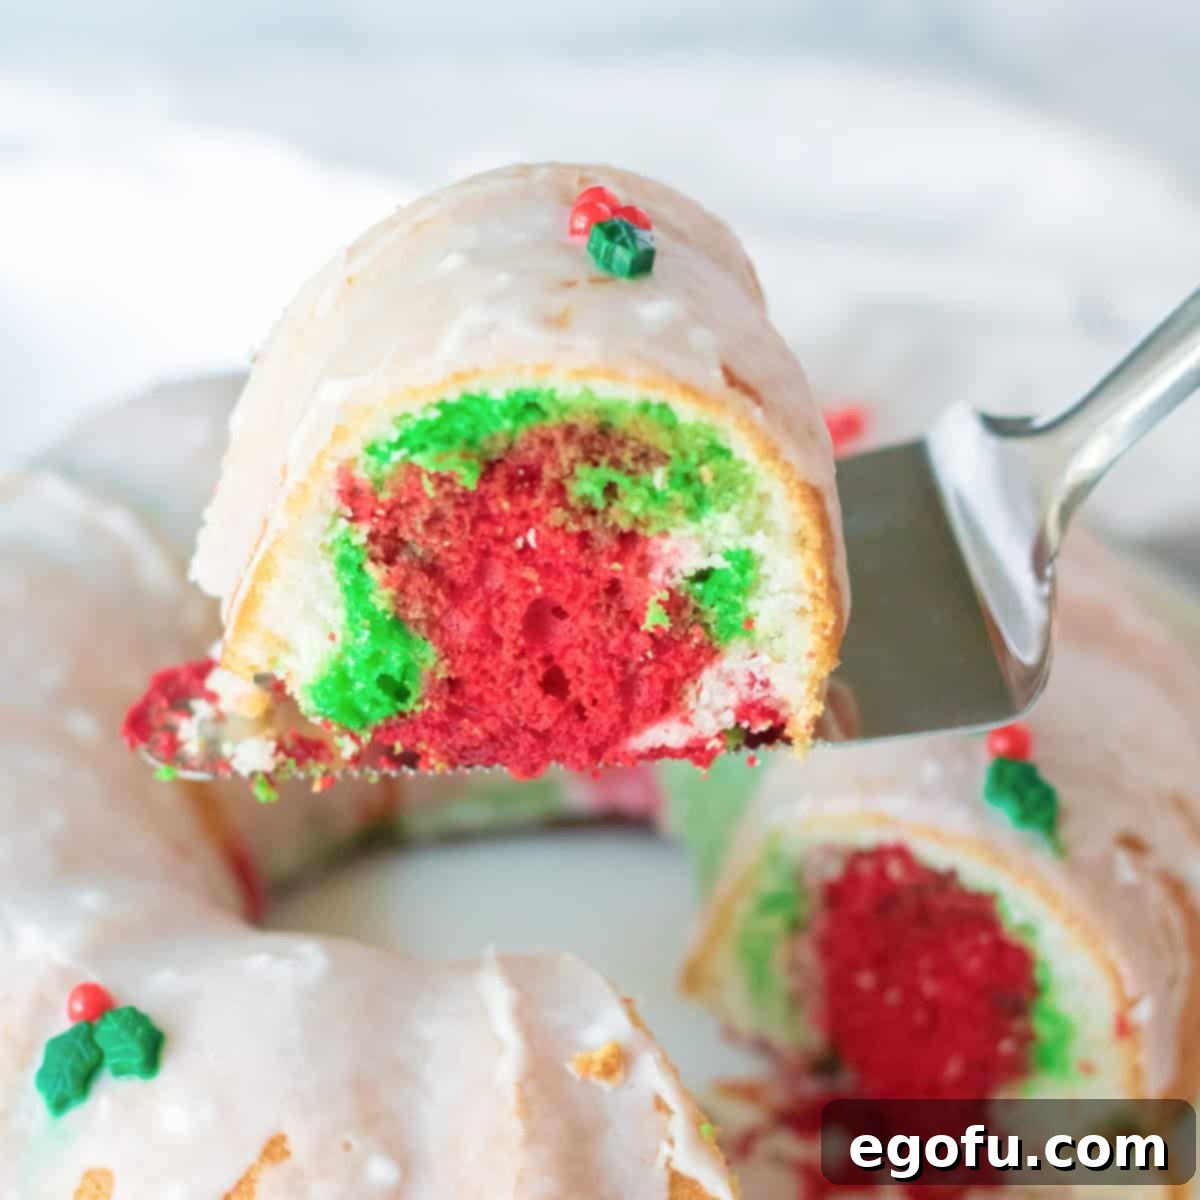
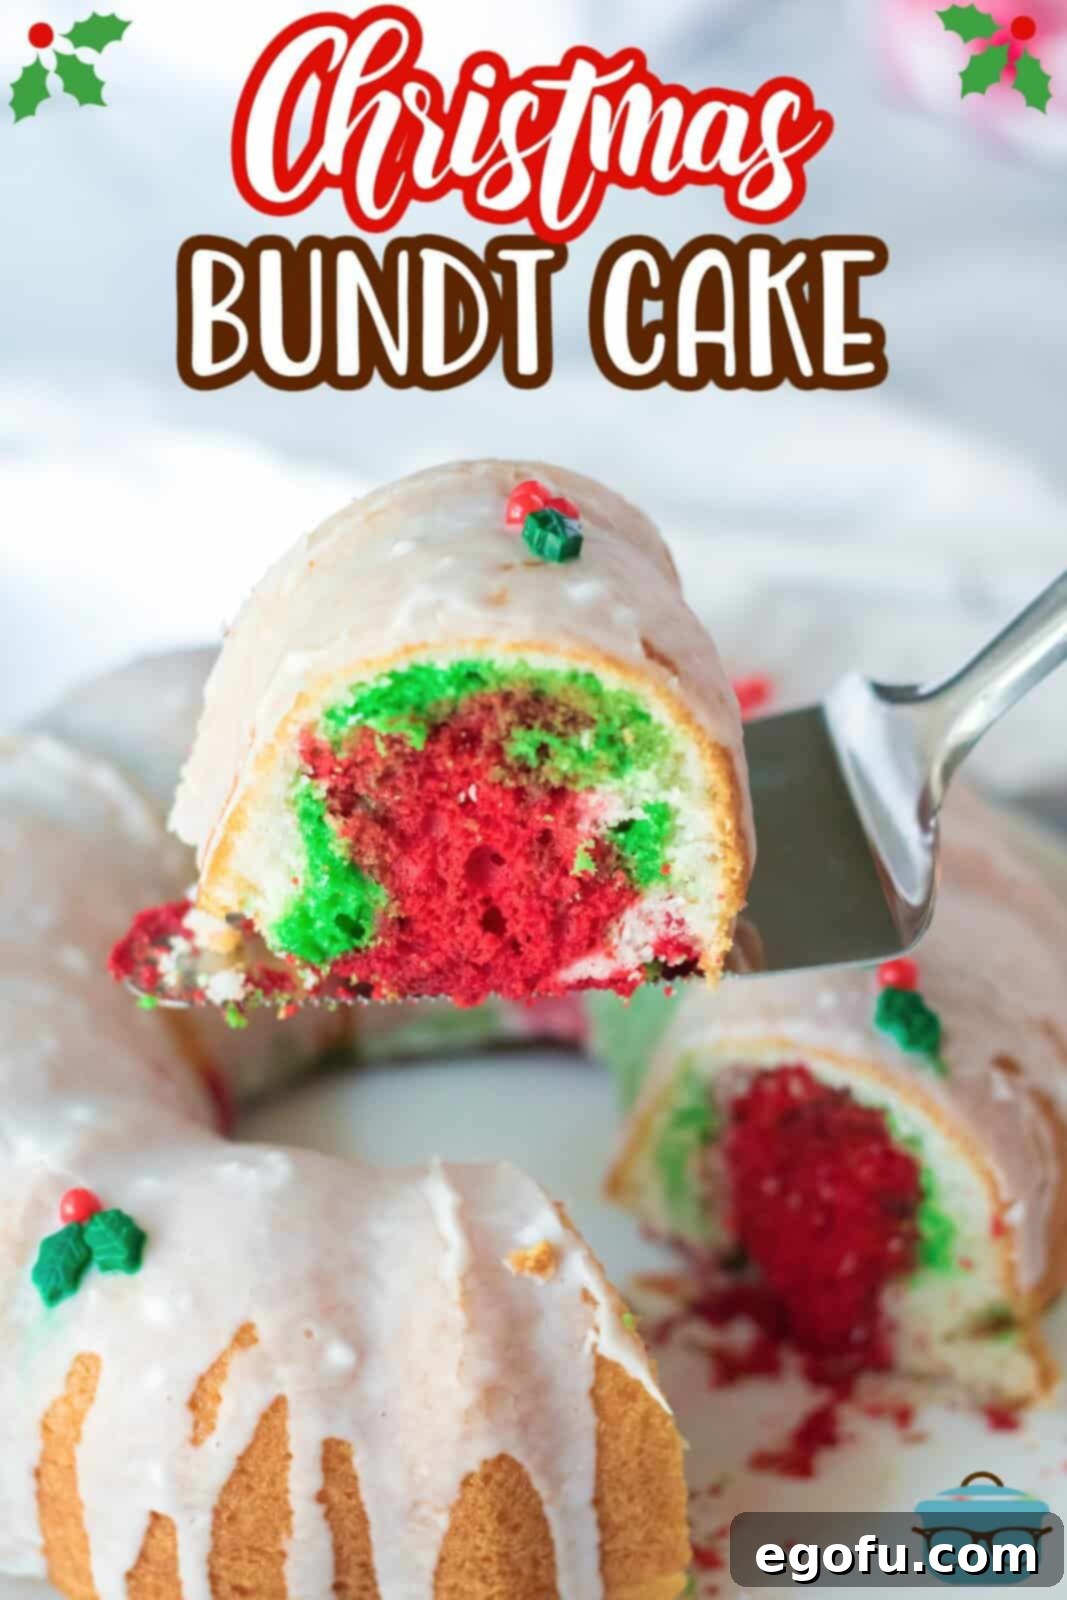
This Easy Christmas Bundt Cake recipe transforms a simple boxed cake mix into a holiday masterpiece, infused with delightful flavors and vibrant swirls of color. It’s the perfect show-stopping dessert that promises to be a festive highlight at any gathering.
Easy & Festive Swirl Christmas Bundt Cake: Your Go-To Holiday Dessert!
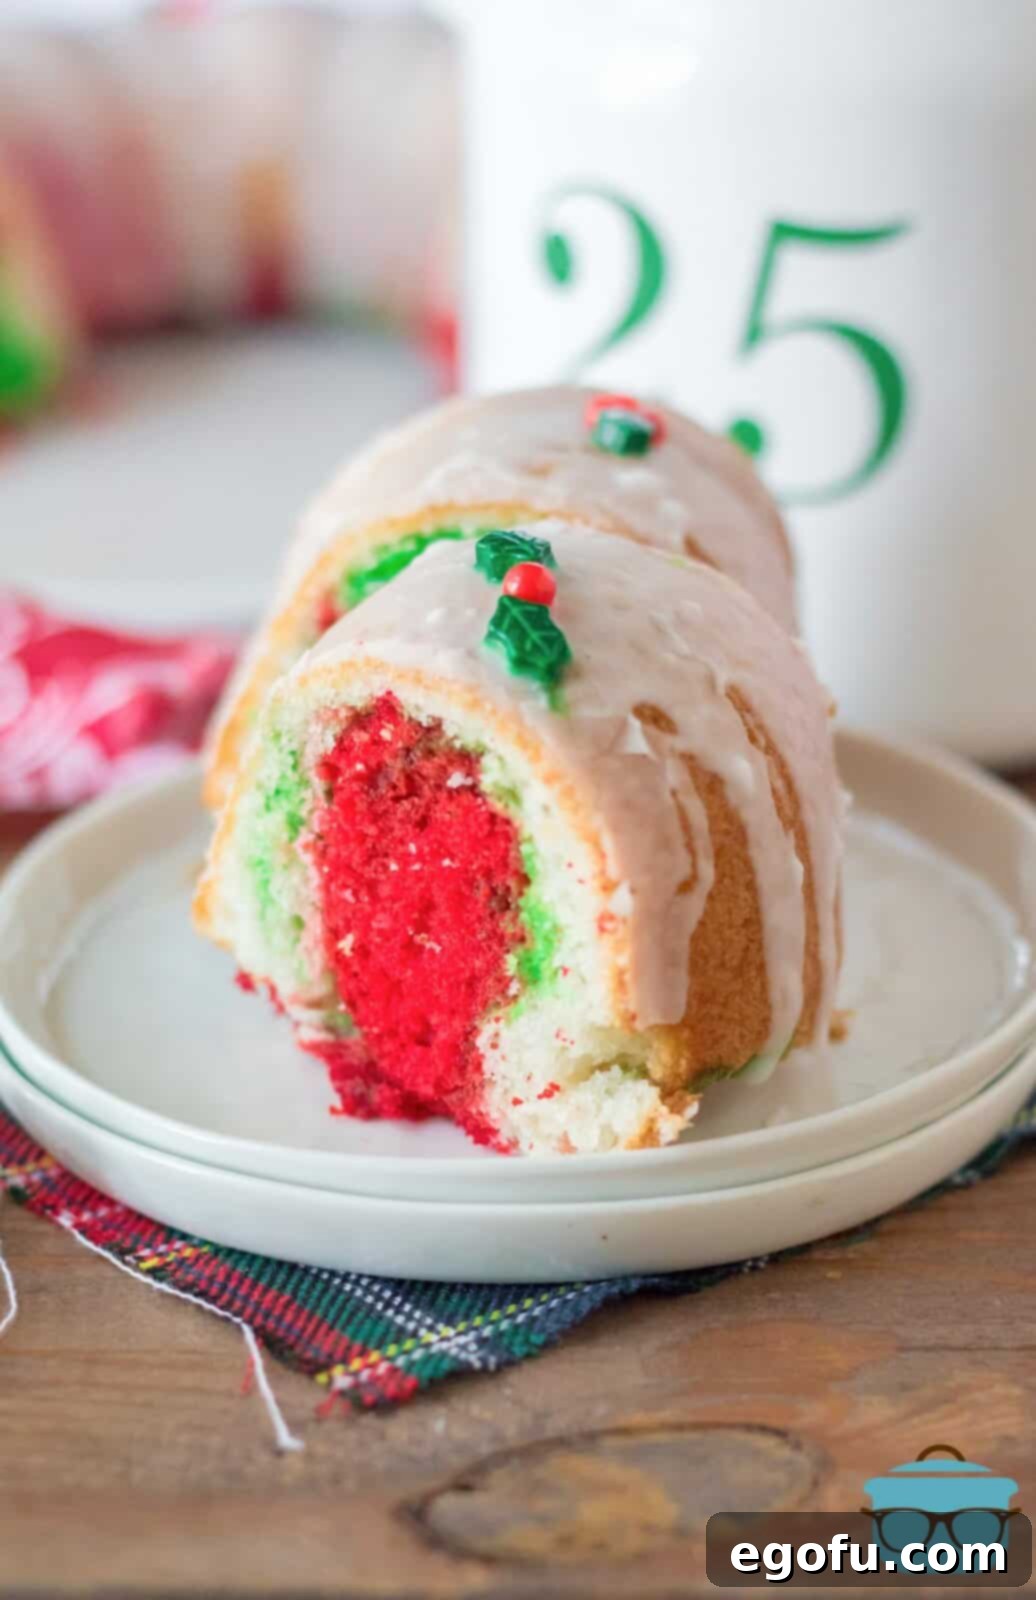
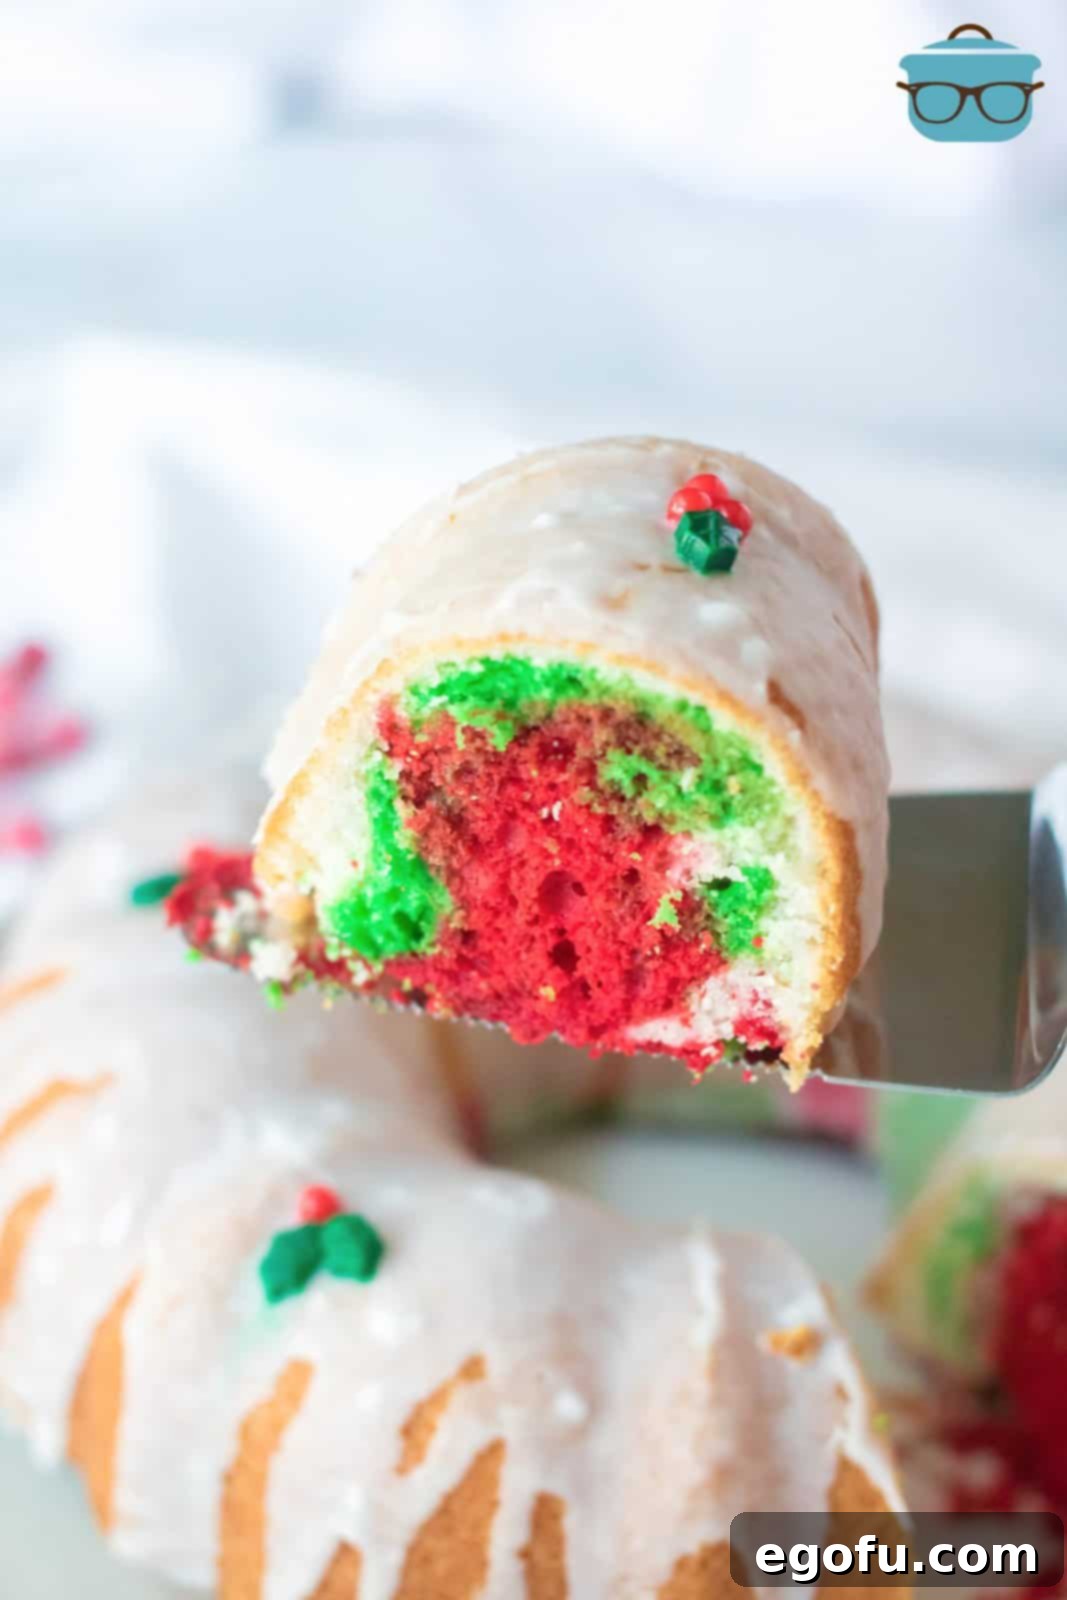
The holiday season is a magical time, filled with warmth, joy, and, of course, delicious treats. While traditional baking can sometimes feel daunting amidst the hustle and bustle, this Christmas Bundt Cake recipe offers a wonderfully simple solution without compromising on spectacle or taste. Imagine the delight on your guests’ faces as you slice into a beautifully glazed cake, revealing a hidden kaleidoscope of festive red and green swirls within! This isn’t just a cake; it’s an experience, an easy-to-create culinary masterpiece that brings a touch of magic to your holiday table.
What makes this recipe truly special is its incredible versatility and ease. Starting with a readily available boxed cake mix, we elevate it with a few simple additions, transforming it into a moist, flavorful bundt cake that looks like it took hours of intricate work. The vibrant red and green hues, emblematic of Christmas, are easily achieved with gel food coloring, creating a stunning visual surprise in every slice. Beyond Christmas, this recipe can be adapted throughout the year, switching out colors to match any season or celebration – think pastel swirls for Easter, spooky orange and black for Halloween, or romantic pink and red for Valentine’s Day. It’s a delightful, delicious, and surprisingly simple way to impress friends and family, making it an indispensable part of your holiday baking repertoire.
Frequently Asked Questions About Your Festive Bundt Cake
Absolutely not! While almond extract adds a lovely, subtle complexity that pairs beautifully with the festive theme, it’s entirely optional. You have several fantastic alternatives. Vanilla extract is a classic choice, offering a universally loved aroma and taste. For a true holiday twist, consider mint or peppermint extract, which would complement the red and green colors perfectly. If you prefer, you can omit the extract altogether for a pure cake flavor. Experimenting with different extracts is a great way to customize this cake for various occasions and personal preferences.
No problem at all! Vanilla coffee creamer provides a unique sweetness and a hint of vanilla flavor to the glaze, making it extra special. However, if it’s not on hand, you can easily substitute it with heavy cream, half-and-half, or even regular milk. For an added flavor boost when using plain cream or milk, you could stir in a little extra almond or vanilla extract into your powdered sugar glaze. This ensures your glaze is just as delicious and complements the cake perfectly.
For achieving those deep, vibrant, and true holiday colors, I strongly recommend using gel or paste food coloring. Liquid food coloring, especially red, often results in a paler, pinkish hue rather than a rich, festive red. Gel and paste colorings are highly concentrated, meaning you’ll need less product to achieve brilliant colors, and they won’t significantly alter the consistency of your cake batter. This is crucial for creating those stunning red and green swirls that really make the cake pop!
This is a common concern, but a beautifully released bundt cake is entirely achievable with the right technique and product! My top recommendation is to use a high-quality nonstick baking spray that contains flour, such as Baker’s Joy (or a similar brand). This combination of oil and flour creates an excellent barrier that prevents sticking. The key is to spray the inside of your bundt pan *very liberally*, ensuring every nook and cranny is coated. Don’t be shy with the spray! After baking, allow the cake to cool in the pan for about 10 minutes before attempting to invert it. This slight cooling allows the cake to firm up slightly and pull away from the pan’s edges, making for a beautiful, clean release every time.
Proper storage ensures your delicious bundt cake remains fresh and delightful for days. For short-term storage, place any leftovers in an airtight container. The cake will stay fresh on the countertop for up to 2 days, or if you prefer, you can store it in the refrigerator for up to 5 days. If you’re looking to enjoy this festive treat beyond that timeframe, this cake freezes beautifully! To freeze, wrap individual slices or the entire cooled cake very well in plastic wrap, then place it in a freezer-safe container or a heavy-duty freezer bag. Stored this way, the cake will maintain its quality for up to 3 months. Thaw at room temperature before serving.
Essential Ingredients for Your Dazzling Christmas Bundt Cake
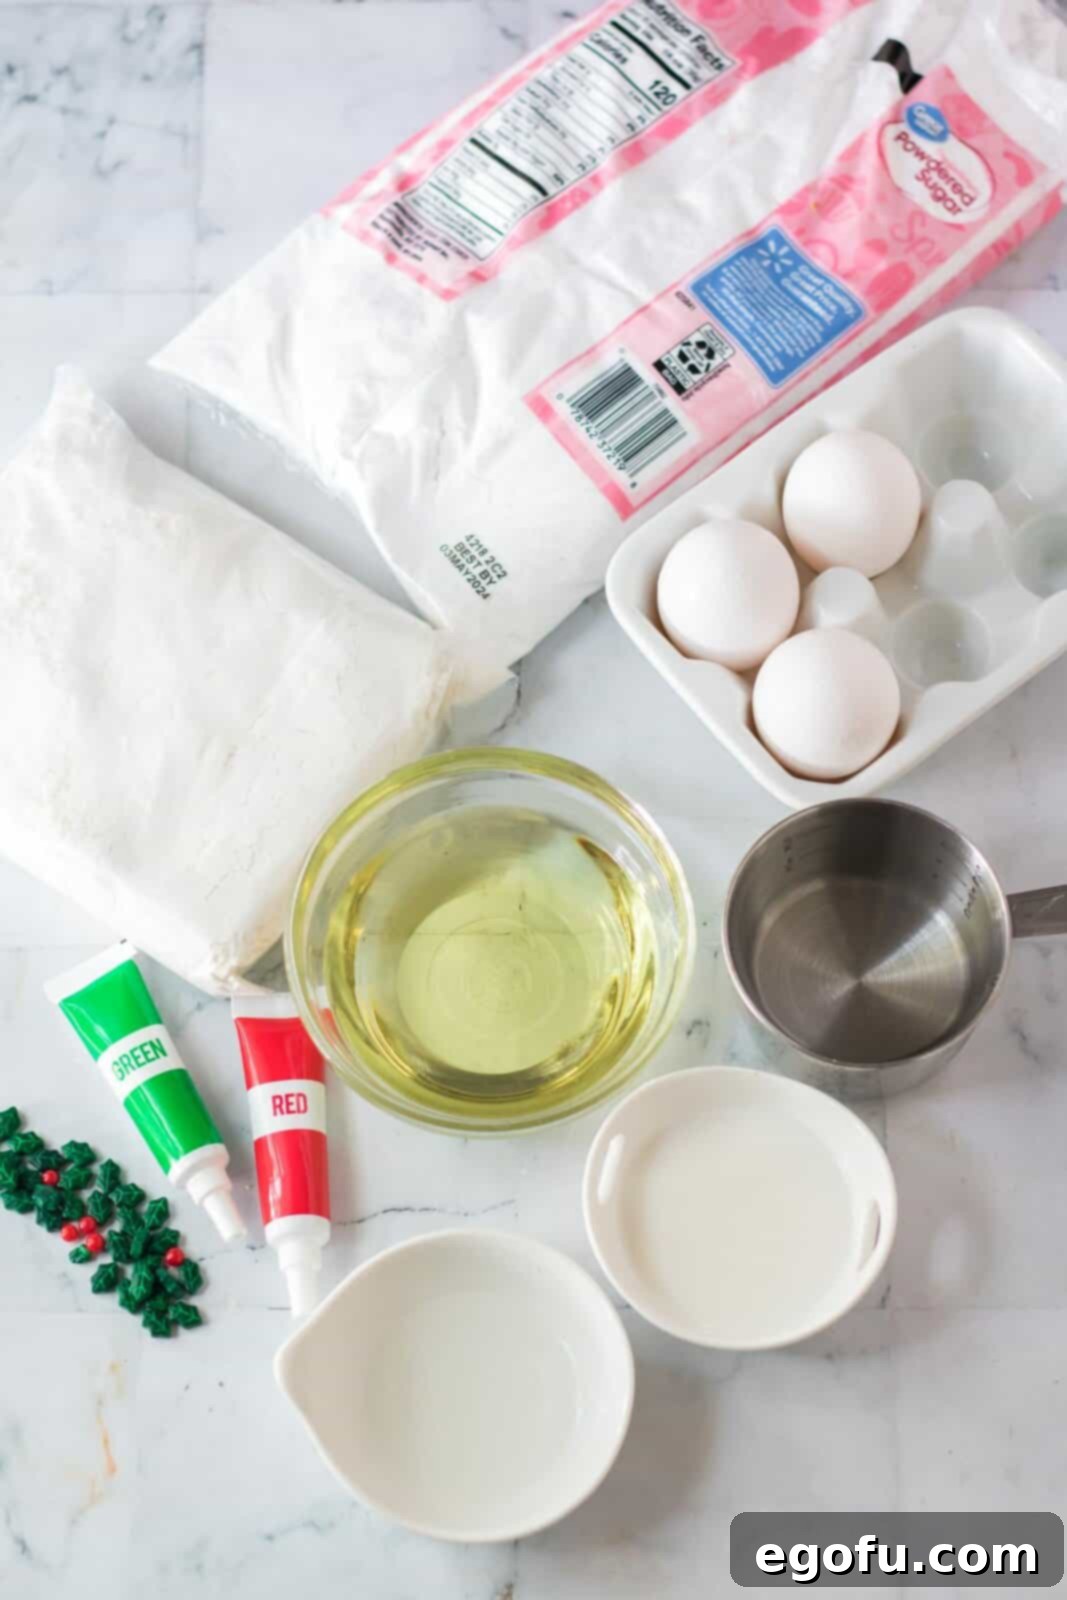
Creating this stunning Christmas Bundt Cake is simpler than you might imagine, thanks to a carefully selected list of ingredients that are easy to find and work with. We start with a quality white cake mix, the perfect foundation for our festive creation, then enhance it with a few key additions to elevate both flavor and visual appeal. The magic happens with vibrant gel food colorings that bring the holiday spirit to life, and a simple yet elegant glaze that provides the perfect sweet finish. Gather these items, and you’ll be well on your way to baking a truly memorable holiday dessert.
What You’ll Need:
- 15.25 ounce box white cake mix: This is our convenient base, ensuring a consistent and fluffy cake every time.
- Water, vegetable oil, and egg whites: As specified on your cake mix box. Using egg whites helps keep the cake color bright and true, preventing any yellowing that might occur with whole eggs.
- 1 Tablespoon almond extract: (Optional, but highly recommended!) This provides a delightful, sophisticated flavor that truly elevates the cake. Feel free to substitute with mint, peppermint, or even extra vanilla extract if preferred.
- Gel red and green food coloring: Essential for vibrant, deep colors without thinning your batter. Gel ensures intense holiday hues that liquid coloring often can’t match.
- 2 cups powdered sugar: The foundation for our sweet, drizzly glaze.
- 2-3 Tablespoons vanilla coffee creamer: For a glaze with a lovely vanilla essence and smooth consistency. Heavy cream or milk are excellent substitutes if you don’t have creamer.
- Holiday sprinkles: The final touch to make your Christmas Bundt Cake extra festive and appealing!
Step-by-Step Guide: Crafting Your Easy Christmas Bundt Cake
Embark on a delightful baking journey to create this stunning Christmas Bundt Cake. Each step is designed for ease and enjoyment, ensuring even novice bakers can achieve a beautiful, delicious result. From preparing your pan to perfectly swirling the festive colors and applying a decadent glaze, follow these instructions to bring your holiday dessert vision to life.
Preparation is Key: Getting Started
- Preheat Oven and Prepare Pan: Begin by preheating your oven to 350°F (175°C). This ensures the oven is at the correct temperature for even baking from the moment your cake goes in. Next, generously spray a 10-inch bundt pan with a nonstick baking spray that contains flour, such as Baker’s Joy. Be very thorough, making sure to coat every intricate detail and crevice of the pan to guarantee a clean release later.
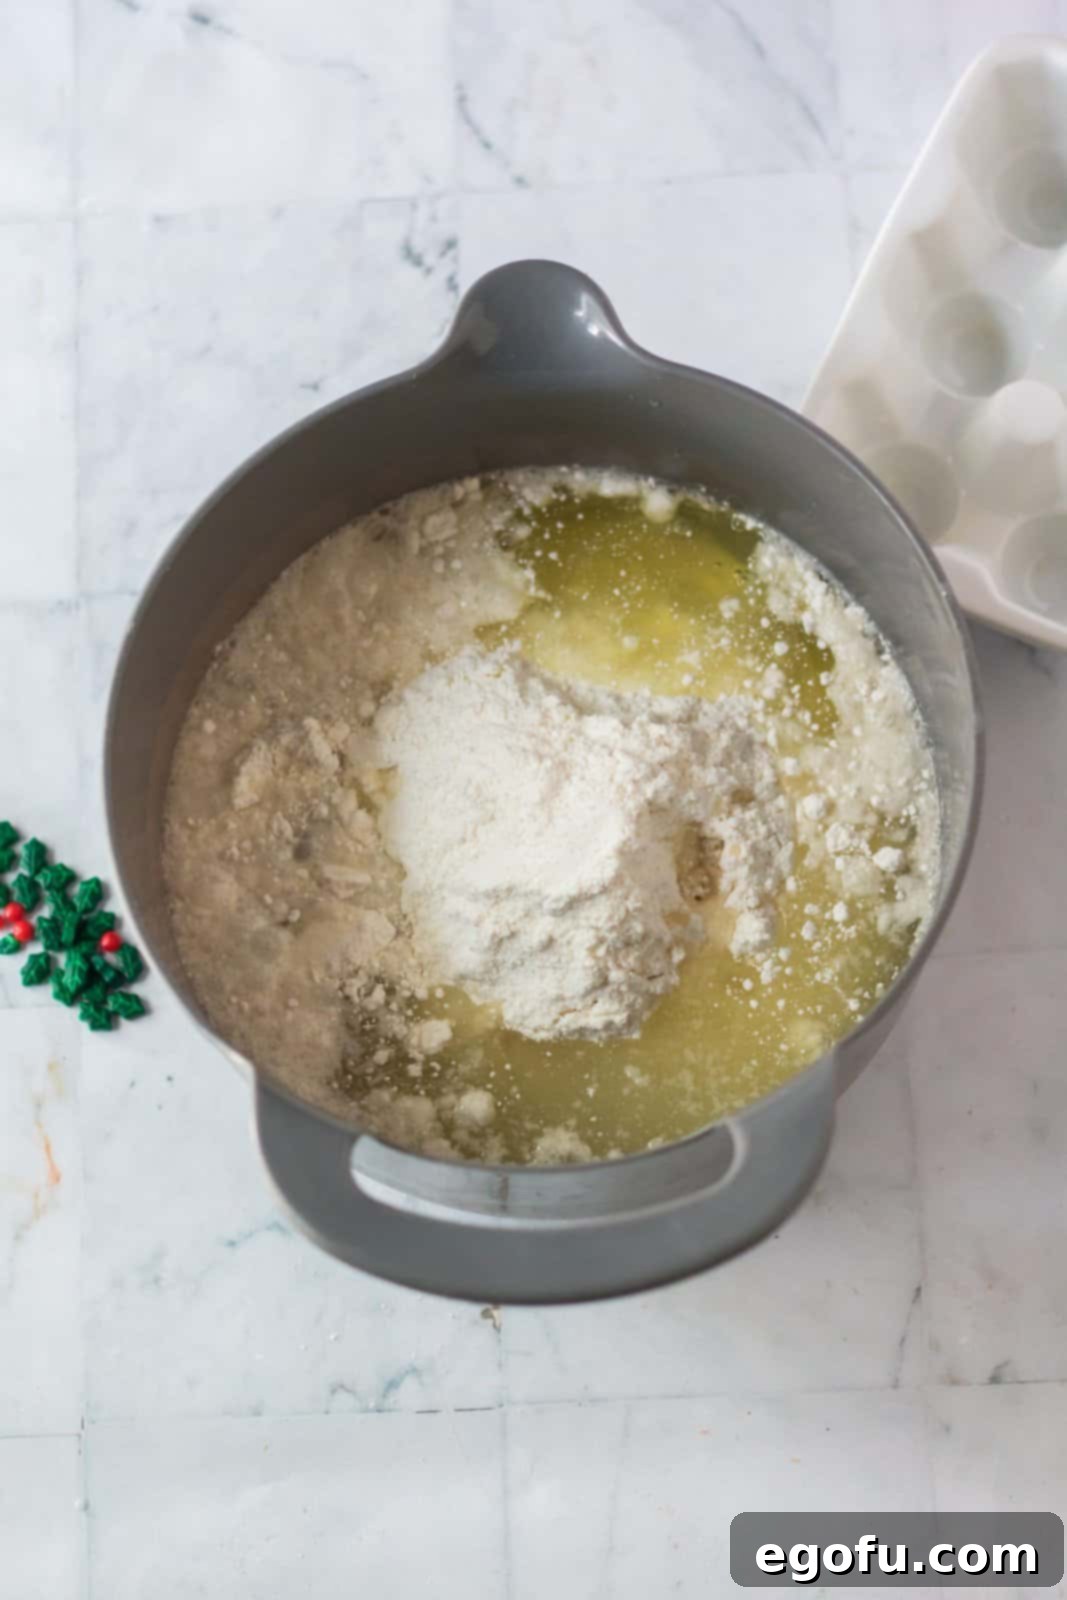
- Mix the Cake Batter: Following the directions on your white cake mix box, combine the mix with water, vegetable oil, and egg whites. Once the batter is smooth and well-combined, stir in the 1 tablespoon of almond extract. This simple addition will infuse your cake with a wonderful, fragrant flavor that truly enhances the holiday experience.
The Art of Color: Creating Festive Swirls
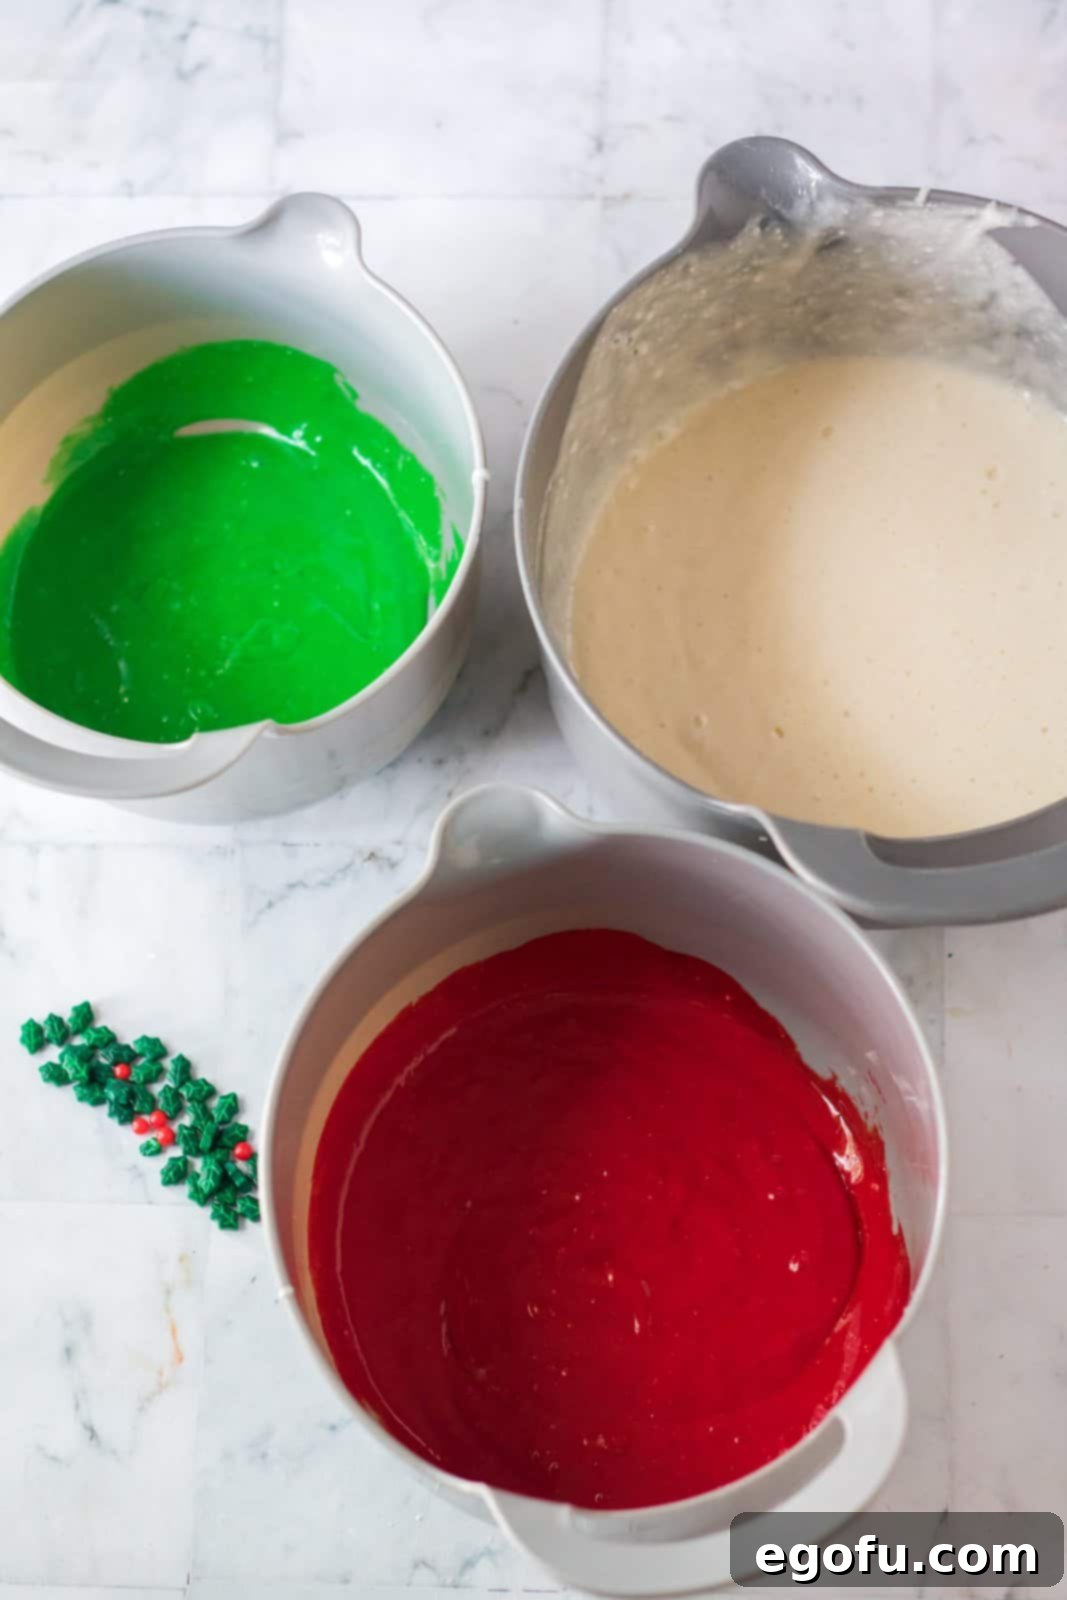
- Divide and Color the Batter: Evenly separate your prepared cake batter into three separate bowls. Leave the batter in the first bowl plain (white). In the second bowl, add your green gel food coloring. Mix it thoroughly until you achieve a deep, rich green color – don’t be afraid to add a bit more coloring to reach your desired intensity. In the third bowl, stir in red gel food coloring. This is crucial: add enough red coloring to ensure the batter becomes a vibrant, deep red. If you use too little, the red can often bake out to a pale pink, which isn’t quite the festive statement we’re aiming for!
Assembling Your Masterpiece: Layering and Swirling
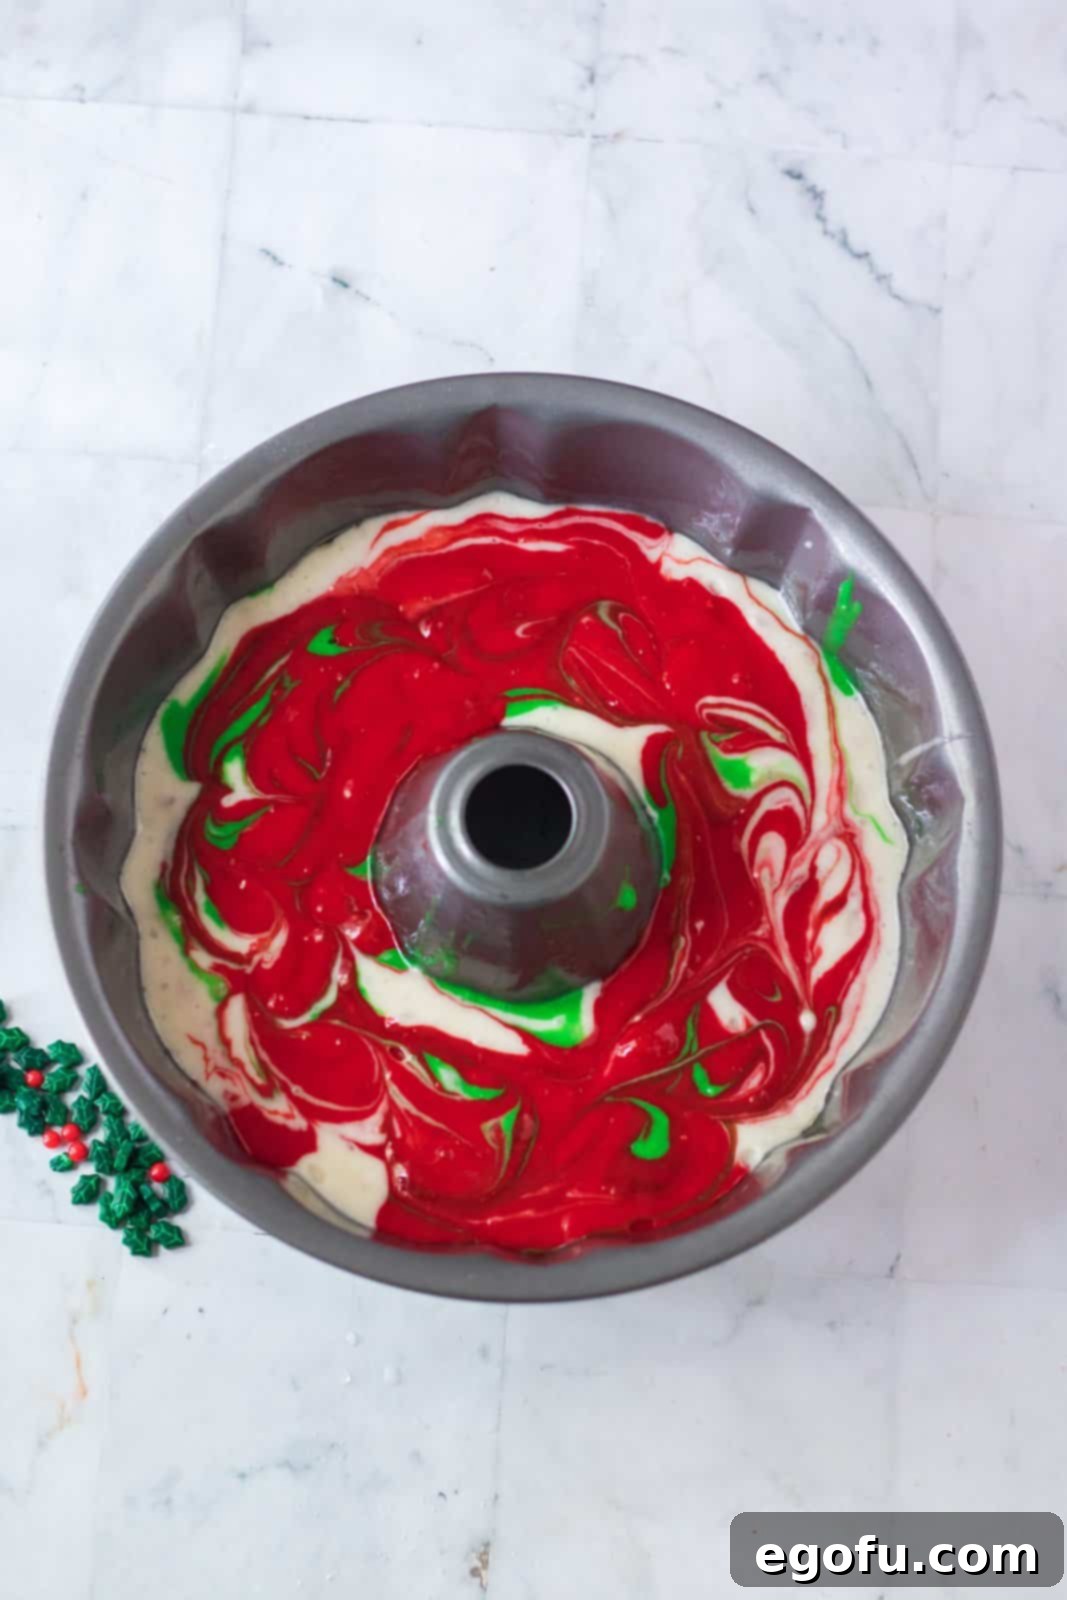
- Layer and Swirl the Batter: Pour the uncolored (white) cake batter into the prepared bundt pan first, spreading it evenly across the bottom. Next, take spoonfuls of the red and green cake batters and dollop them simultaneously and artfully over the top of the plain batter. Using a skewer, a butter knife, or even the handle of a spoon, gently swirl the batters together. The key here is to swirl just enough to create beautiful patterns and combine the colors slightly, but avoid over-swirling, as this can cause the colors to muddy and lose their distinct vibrancy. You want distinct ribbons of color, not a uniform mix.
Baking to Perfection & Cooling Gracefully
- Bake the Cake: Place your bundt pan in the preheated oven and bake for 45-55 minutes. Baking times can vary, so keep an eye on your cake. To test for doneness, insert a toothpick into the center of the cake; if it comes out clean, your cake is ready.
- Cool and Release: Once baked, remove the cake from the oven and allow it to cool in the pan for about 10 minutes. This cooling period is crucial as it allows the cake to set and pull away slightly from the pan, making it easier to release. After 10 minutes, gently place a wire cooling rack over the top of the bundt pan, then carefully but confidently turn the pan upside down. Allow the cake to release onto the rack. You might need to gently shake and tap the pan a few times. Once released, allow the cake to cool completely on the wire rack before glazing. This prevents the glaze from melting.
The Sweet Finish: Glaze and Sprinkles
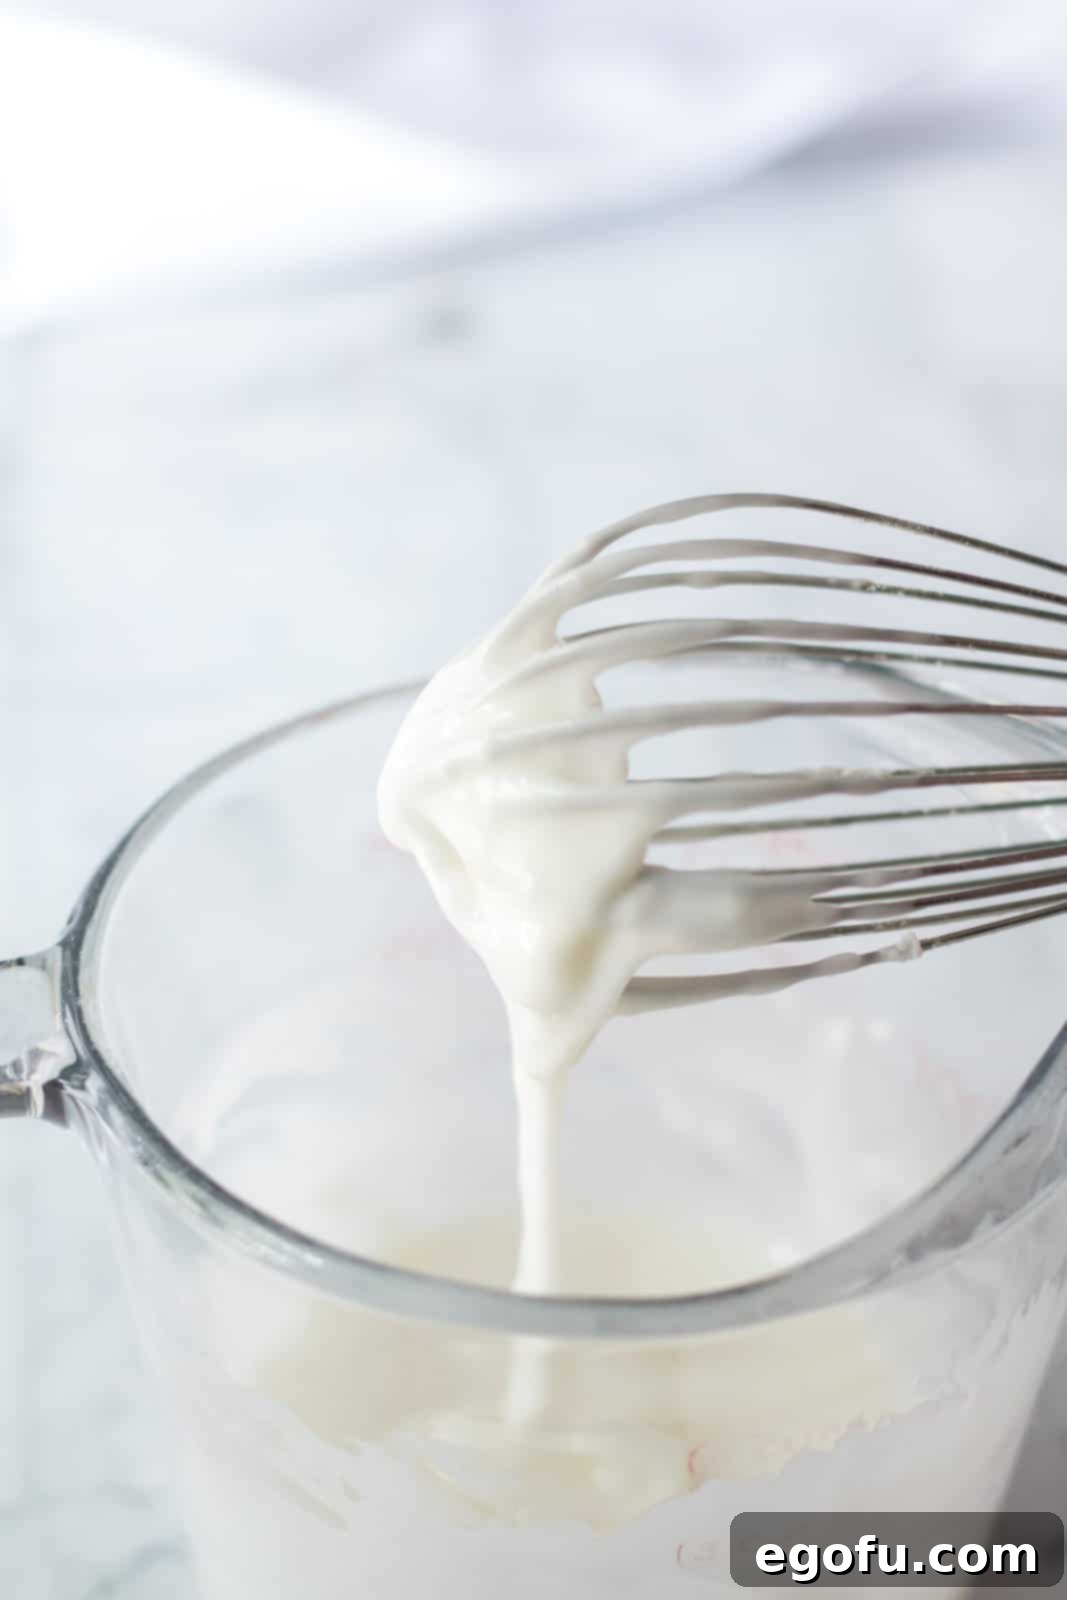
- Prepare the Glaze: In a medium-sized bowl, whisk together the powdered sugar and 2 tablespoons of vanilla coffee creamer. Mix until smooth. If the glaze appears too thick to drizzle easily, add a tiny bit more creamer, just half a tablespoon at a time, until you reach a beautiful, pourable consistency. The ideal glaze should be thick enough to cling to the cake but still flow freely.
- Drizzle and Decorate: Once the cake is completely cool, evenly drizzle the prepared glaze all over the top, allowing it to drip attractively down the sides. Immediately after drizzling, generously sprinkle your holiday sprinkles over the wet glaze. This ensures they adhere beautifully.
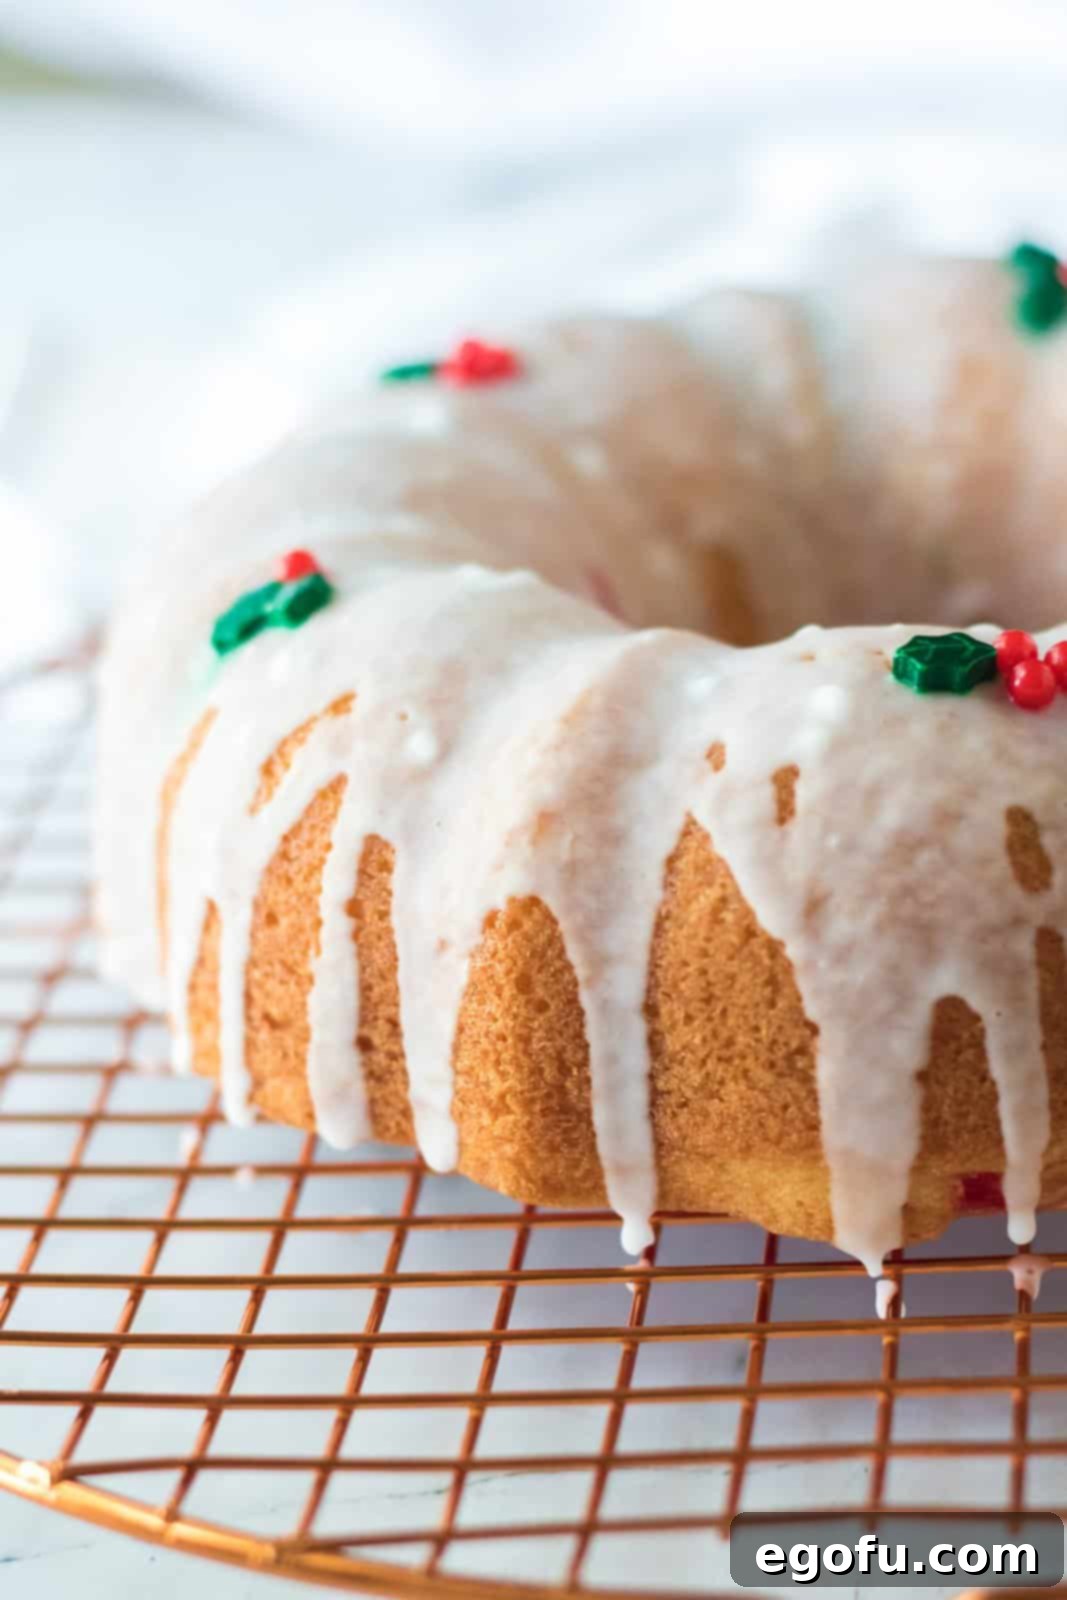
- Set and Serve: Allow the glaze to set for about 15 minutes. This creates a slightly firm, shiny coating. Once set, slice your magnificent Christmas Bundt Cake and serve proudly!
Expert Tips for Bundt Cake Success
Achieving a picture-perfect bundt cake, especially one with vibrant colors and a delicate crumb, requires a few insider tricks. These tips will help you navigate common baking challenges and ensure your Christmas Bundt Cake is not only beautiful but also flawlessly delicious, from its perfect release from the pan to its mesmerizing swirls.
Mastering the Non-Stick Pan
The secret to a beautifully released bundt cake lies in meticulous pan preparation. While “Baker’s Joy” (or similar sprays with flour) is highly recommended, its application is key. Don’t just give it a quick spritz; aim for a liberal, even coating that covers every groove and detail of the bundt pan. Hold the can about 6-8 inches away and spray in continuous motion, rotating the pan as you go. For extra assurance, some bakers even lightly dust the sprayed pan with a tablespoon of flour or cocoa powder (if making a chocolate cake), tapping out any excess. This creates an even more robust non-stick surface, minimizing the risk of your cake getting stuck.
Achieving Vibrant Colors
The visual impact of this cake relies heavily on bold, distinct colors. As mentioned, gel or paste food coloring is superior to liquid. When adding the coloring to your batter, incorporate it gradually, mixing well after each addition until you reach the desired intensity. For red, aim for a very deep, almost burgundy shade in the batter, as colors tend to lighten slightly during baking. For green, a rich emerald or forest green will look stunning. Remember, the goal is distinct, festive colors that pop when sliced, not muted pastels.
The Perfect Swirl
The swirling technique is where the artistry comes into play. After layering the plain batter and dolloping the colored batters, resist the urge to over-mix. Too much swirling will blend the colors into a uniform, less appealing shade. Instead, use a skewer or knife to make a few gentle, S-shaped motions or circular patterns through the batter. This creates beautiful, distinct ribbons and marble effects without muddying the hues. Think of it as painting with batter – delicate strokes create the most enchanting patterns.
Cooling for a Clean Release
Patience is truly a virtue when it comes to cooling bundt cakes. Allowing the cake to cool in the pan for the recommended 10 minutes is critical. During this time, the cake continues to set and firm up, and as it cools, it naturally contracts slightly, pulling away from the sides of the pan. Trying to remove it too soon can lead to breakage. Conversely, letting it cool too long in the pan can cause condensation, making the cake stick. After 10 minutes, confidently invert the cake onto a wire rack. If it doesn’t immediately release, a gentle shake or a light tap on the bottom of the pan often does the trick. Ensure the cake cools completely on the rack before applying any glaze; otherwise, the warm cake will melt your beautiful topping.
Elevate Your Holiday Baking: Creative Variations
While the classic red and green Christmas Bundt Cake is undeniably charming, this versatile recipe offers endless possibilities for creative customization. Don’t limit its delightful swirls to just one holiday! With a few simple tweaks, you can adapt this cake to suit any celebration, flavor preference, or seasonal theme, making it a year-round favorite.
Seasonal Color Schemes
- Easter Delight: Swap red and green for pastel pink, blue, yellow, and green food colorings. Top with a lemon glaze and spring-themed sprinkles.
- Halloween Fun: Use orange and black or purple food coloring for a spooky surprise. A chocolate glaze and some candy corn or ghost sprinkles would be perfect.
- Valentine’s Romance: Opt for varying shades of pink and red. A cream cheese glaze and heart-shaped sprinkles would make it extra special.
- Patriotic Celebration: Create red, white, and blue swirls for Fourth of July or Memorial Day. A vanilla glaze and star-shaped sprinkles will complete the look.
- Autumn Harvest: Try orange, brown, and deep red for a fall-themed cake. A maple glaze would complement these warm tones beautifully.
Flavor Adventures
- Citrus Burst: Replace almond extract with orange, lemon, or lime extract in the batter. You can even add a touch of zest! For the glaze, use citrus juice instead of some of the creamer for a tangy kick.
- Spice it Up: Add a teaspoon of pumpkin pie spice or cinnamon to the cake mix for a warmer, cozier flavor profile, especially appealing in fall and winter.
- Mint Chocolate Dream: Use peppermint extract in the batter and consider a chocolate ganache glaze for a rich, festive flavor combination.
- Nutty Indulgence: Fold in a handful of finely chopped pecans or walnuts into the plain batter for added texture and a nutty flavor.
- Tropical Twist: Substitute almond extract with coconut extract and use a lime glaze for a bright, exotic flavor.
Serving and Storage Suggestions
Once your beautiful Christmas Bundt Cake is baked, glazed, and ready, presenting and storing it properly will ensure its enjoyment extends beyond the first delightful slice. Here are some ideas to make the most of your festive creation.
Presentation Matters
A bundt cake, with its elegant shape, often needs little embellishment. Place your glazed cake on a beautiful cake stand or a festive platter. Garnish the center hole with fresh cranberries, holly sprigs (non-toxic, for decoration only!), or more holiday sprinkles to enhance its festive appeal. Serve individual slices on small plates, perhaps with a dollop of whipped cream or a scoop of vanilla ice cream for an extra touch of indulgence. The vibrant interior colors are truly the star, so ensure each slice reveals those mesmerizing swirls.
Keeping it Fresh
To preserve the moisture and flavor of your bundt cake, proper storage is key. After the glaze has fully set, store any leftover cake in an airtight container. At room temperature, on your kitchen counter, it will remain fresh for up to 2 days. If you wish to extend its freshness, storing it in an airtight container in the refrigerator will keep it delicious for up to 5 days. For longer-term enjoyment, this cake is an excellent candidate for freezing. Wrap individual slices or the entire cooled cake tightly in plastic wrap, then place it into a freezer-safe bag or container. It will keep well in the freezer for up to 3 months. When ready to enjoy, simply thaw at room temperature. This makes it a fantastic make-ahead option for busy holiday entertaining!
This Easy Christmas Bundt Cake is more than just a dessert; it’s a celebration of holiday joy, simple baking, and delightful surprises. With its effortless preparation and stunning visual appeal, it’s destined to become a cherished part of your festive traditions. Bake a batch, gather your loved ones, and savor the sweet moments of the season!
More Festive Recipes to Explore:
- Christmas Jell-O Poke Cake
- Christmas Red Velvet Poke Cake
- Red Velvet Cheesecake Bundt Cake
- Elf Bait Christmas Snack Mix
- Butterscotch Haystacks
- Christmas Candy Bark
- Reindeer Cookies
- Meringue Christmas Trees
- Christmas Cut Out Sugar Cookies
- Reindeer Chow
- Reindeer Cookie Bars
- Christmas Crack
- Peppermint Bark
- Christmas Yule Log
- Ultimate Christmas Recipe Roundup
Easy Christmas Bundt Cake
Print
Pin
15
45
1
12
Brandie Skibinski
Ingredients
- 15.25 ounce box white cake mix
- water, vegetable oil and egg whites (as called for on the cake mix box)
- 1 Tablespoon almond extract (optional, can use mint or peppermint extract)
- gel red and green food coloring
- 2 cups powdered sugar
- 2-3 Tablespoons vanilla coffee creamer (or heavy cream/milk)
- holiday sprinkles
Instructions
- Preheat the oven to 350°F. Spray a 10-inch bundt pan liberally with nonstick baking spray (like Baker’s Joy).
- Prepare the cake mix according to the box directions and stir in almond extract.
- Separate the cake batter evenly into 3 separate bowls. Leave one bowl plain. In the second bowl, add green food coloring and mix until you get a deep green. In the third bowl, stir in red food coloring until a vibrant, deep red is reached (ensure it’s not pink).
- In the prepared bundt pan, pour in the uncolored cake batter first. Next, dollop the red and green cake batter simultaneously over the top. Using a skewer or knife, gently swirl the batters together, avoiding over-swirling.
- Bake for 45-55 minutes until a toothpick inserted comes out clean. Allow the cake to cool for about 10 minutes in the pan.
- Gently turn the bundt pan upside down onto a cooling rack. Shake and tap the pan until the cake releases. Allow the cake to cool completely.
- In a medium-sized bowl, whisk together the powdered sugar and 2 tablespoons of vanilla coffee creamer. Add more creamer, a little at a time, until you get a smooth, drizzling consistency.
- Evenly drizzle the glaze all over the top of the cake. Sprinkle holiday sprinkles evenly over the wet glaze.
- Let the glaze set for about 15 minutes. Then slice and serve!
Notes
- Gel or paste food coloring is best for deeper colors. Liquid red food coloring may result in a pinker shade.
- Any favorite extract flavors can be used instead of almond, such as vanilla, mint, or peppermint.
- If you don’t have vanilla coffee creamer, use heavy cream or milk for the glaze.
- Feel free to add flavored extracts to the icing for even more flavor, such as a drop of peppermint or lemon extract.
Dessert
American
Nutrition
Calories: 241kcal
|
Carbohydrates: 47g
|
Protein: 3g
|
Fat: 6g
|
Sodium: 310mg
|
Fiber: 1g
|
Sugar: 34g
Nutritional Disclaimer
“The Country Cook” is not a dietician or nutritionist, and any nutritional information shared is an estimate. If calorie count and other nutritional values are important to you, we recommend running the ingredients through whichever online nutritional calculator you prefer. Calories and other nutritional values can vary quite a bit depending on which brands were used.
Did you make this recipe?
Share it on Instagram @thecountrycook and mention us #thecountrycook!
