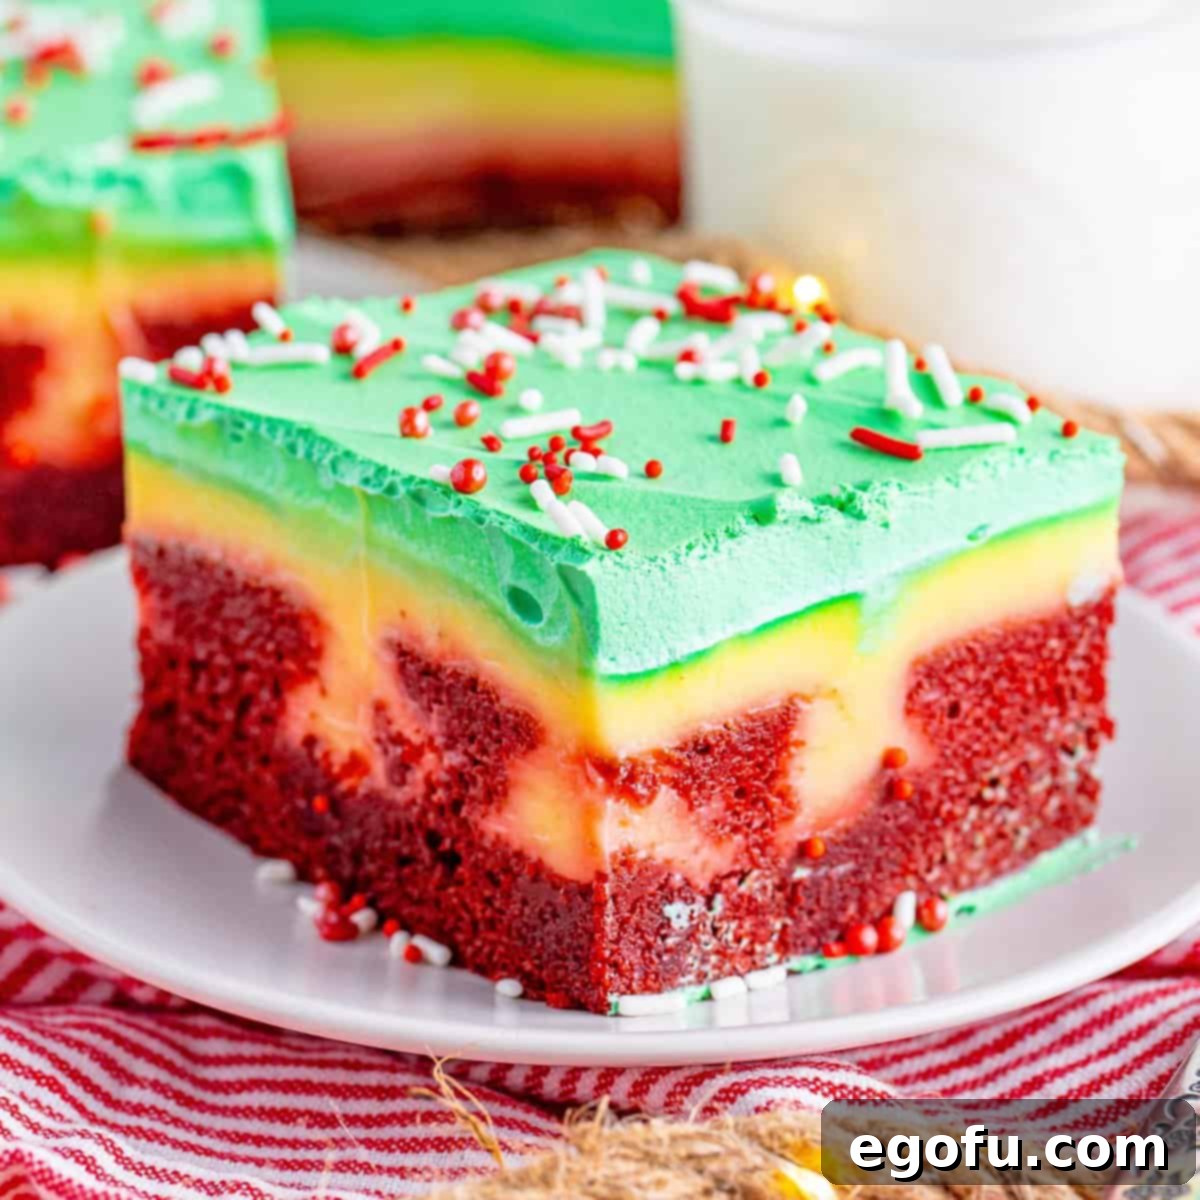
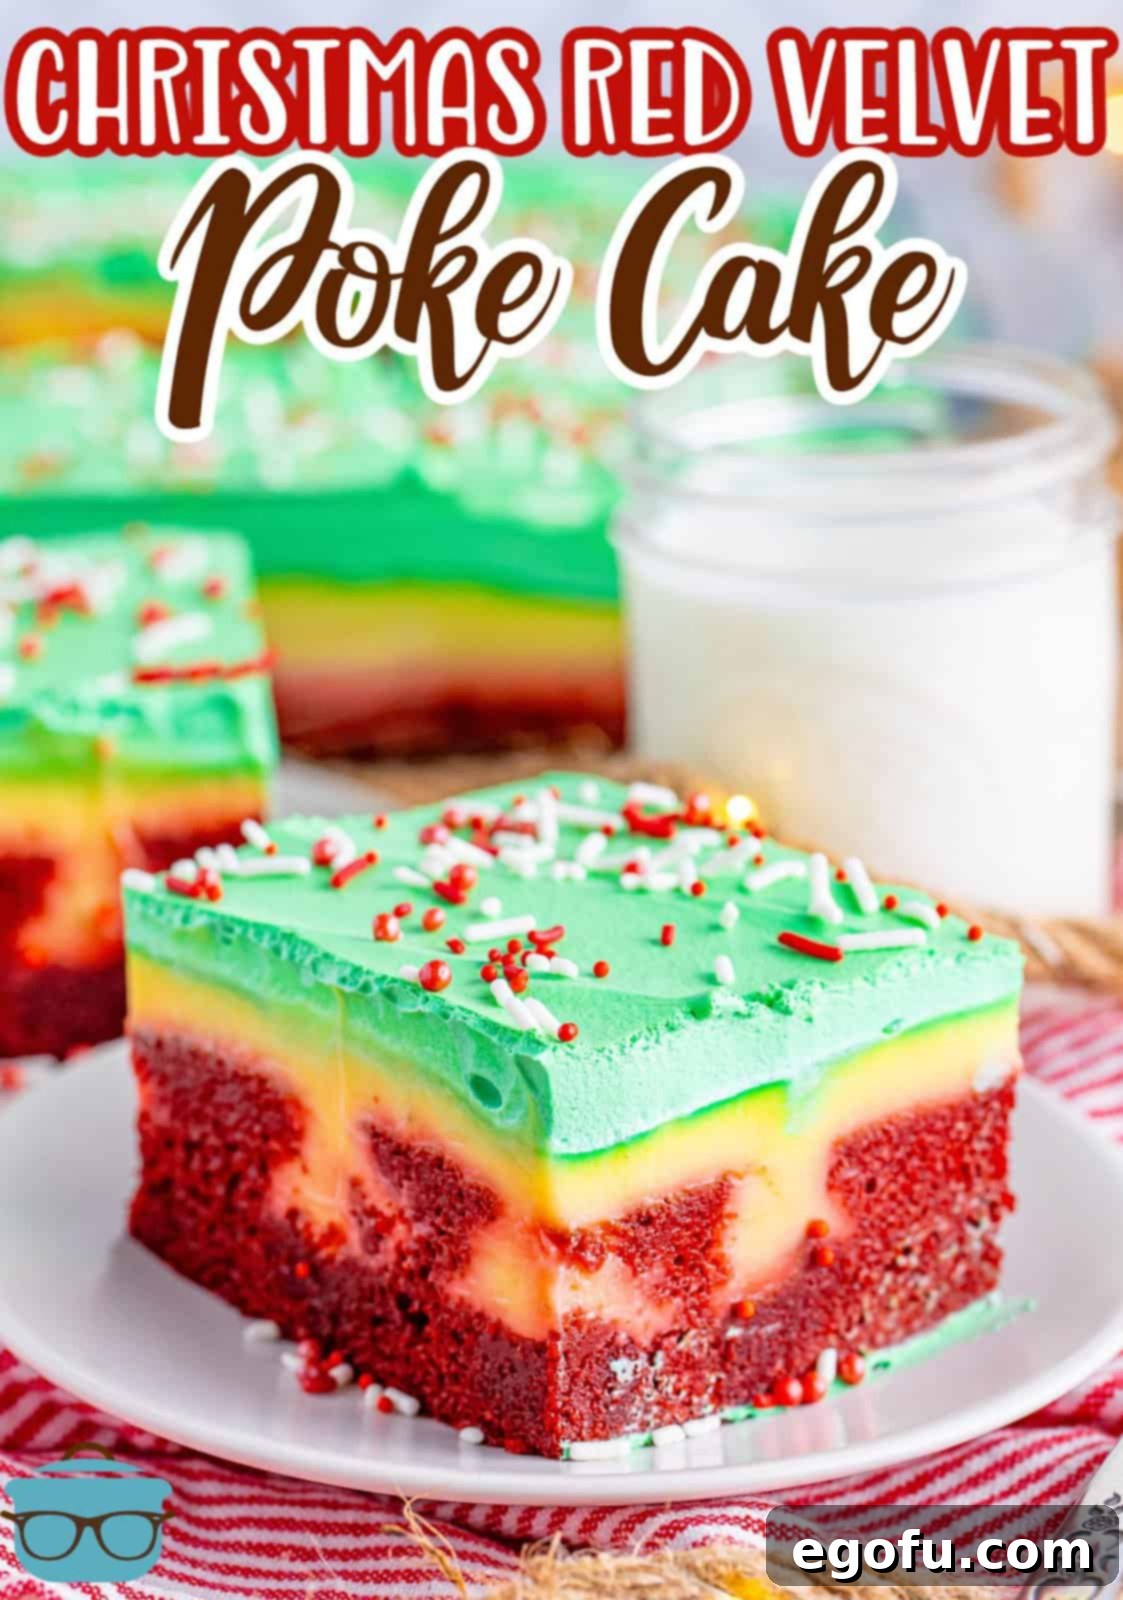
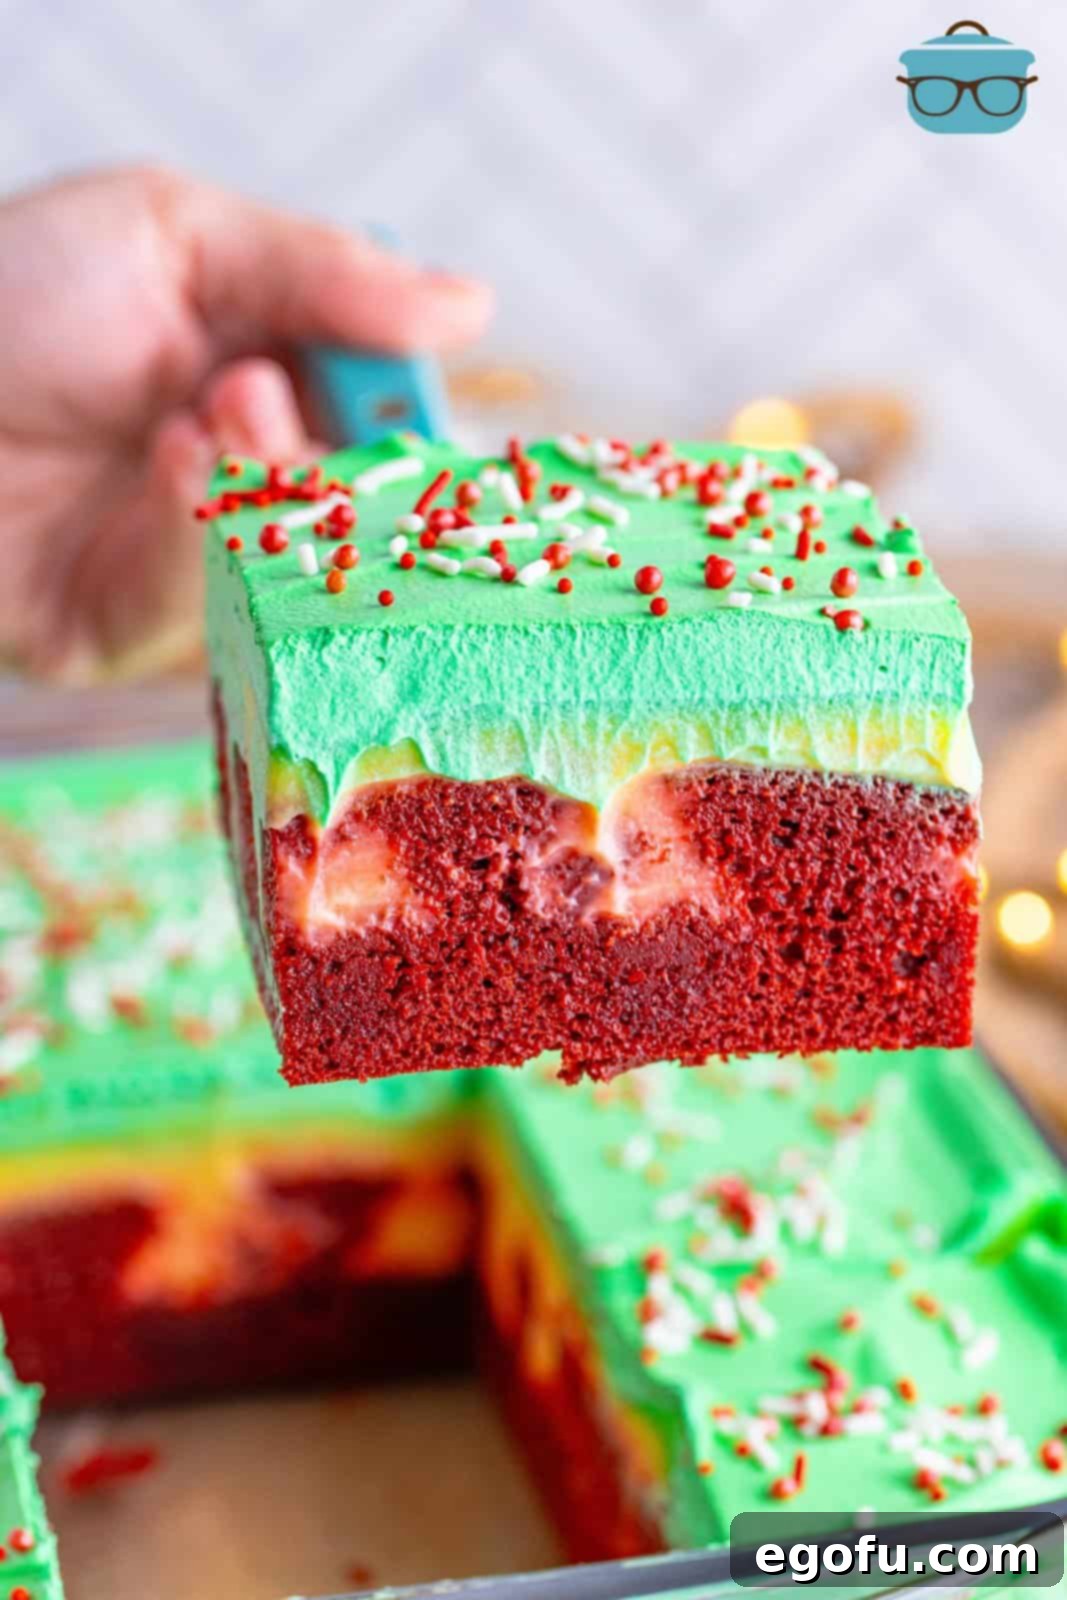
This fun, Christmas Red Velvet Poke Cake is full of festive flavor and you’ll love the beautiful layered holiday colors all topped with sprinkles! It’s the ultimate easy-to-make dessert, perfect for celebrating the most wonderful time of the year.
Indulge in the Festive Delight: Christmas Red Velvet Poke Cake
The holiday season is synonymous with warmth, joy, and, of course, delicious desserts. If you’re searching for a show-stopping yet incredibly simple cake recipe to grace your Christmas table, look no further than this delightful Christmas Red Velvet Poke Cake. This recipe transforms a classic favorite into a festive masterpiece, boasting vibrant red velvet layers, a creamy vanilla pudding infusion, and a light, airy whipped topping adorned with cheerful sprinkles. It’s not just a treat for the taste buds, but also a feast for the eyes, promising to be a highlight of your holiday celebrations.
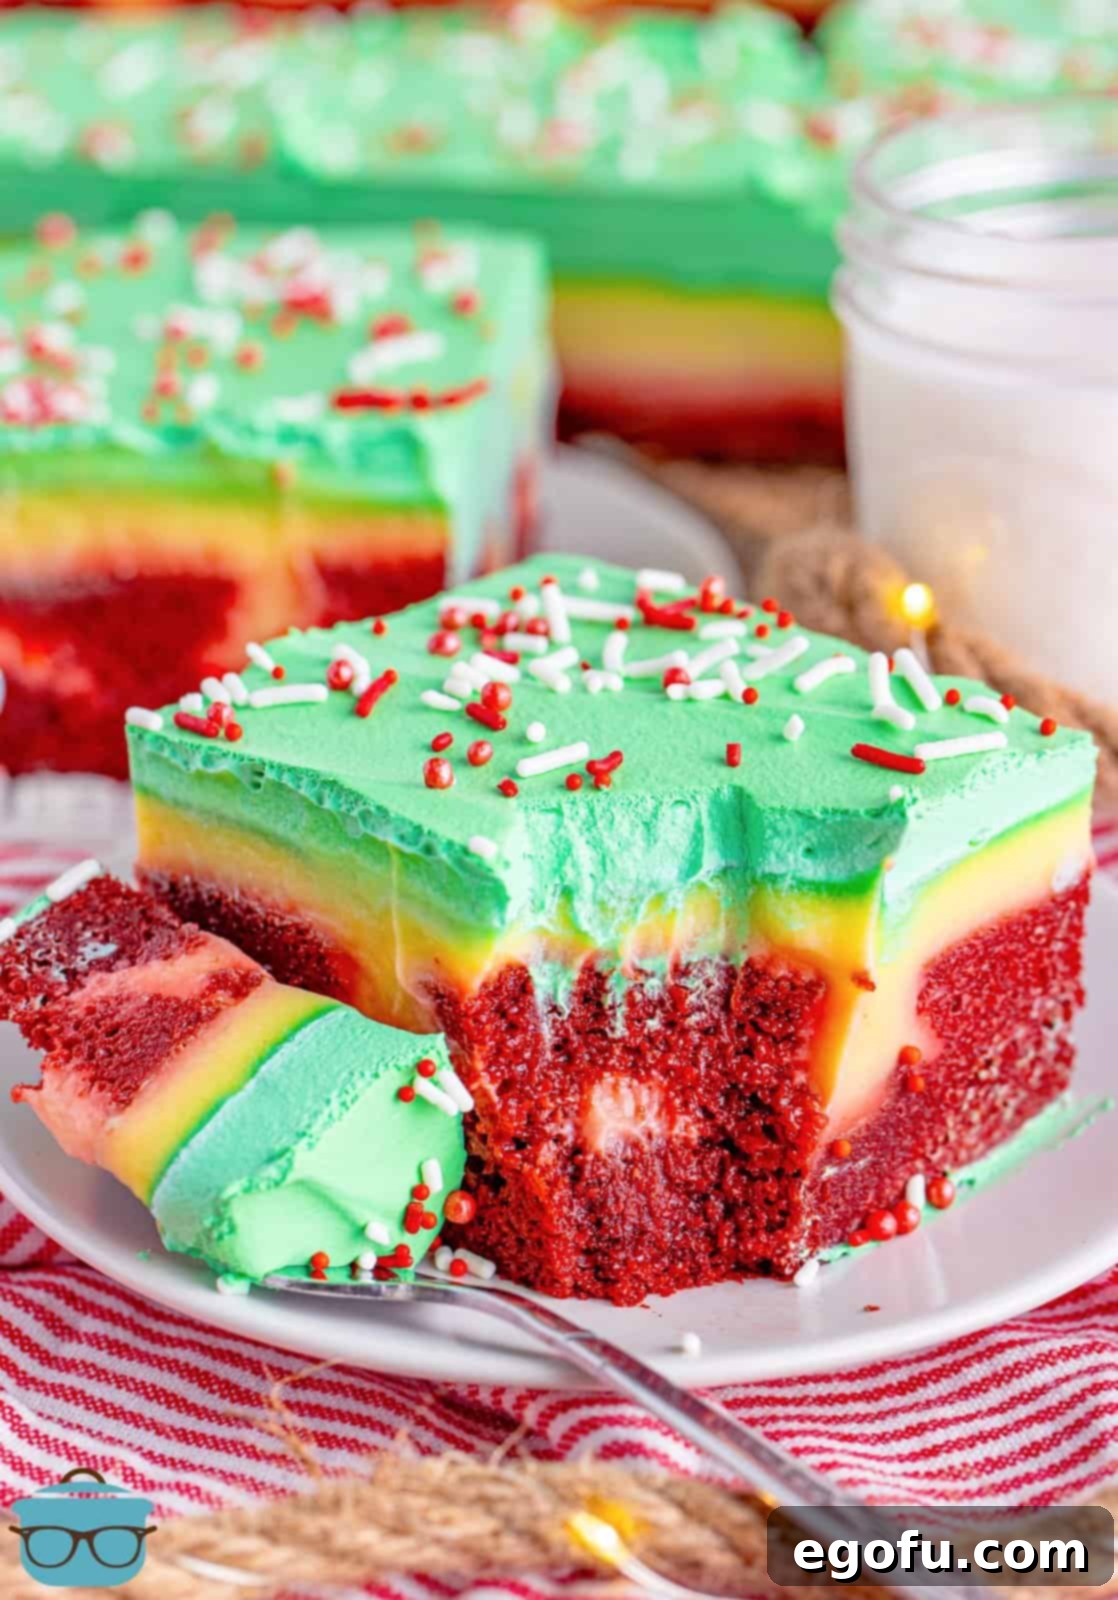
Poke cakes have earned their popularity for good reason – they’re ridiculously easy to make, yet deliver an impressive result. The magic lies in poking holes into a freshly baked cake and filling them with a luscious liquid, allowing the flavors to meld and moisten every bite. Our Christmas Red Velvet Poke Cake takes this concept and infuses it with seasonal charm. Imagine the rich, subtle cocoa flavor of red velvet, perfectly complemented by a sweet, cool pudding that seeps into every crevice, all crowned with a cloud of green-tinted whipped cream and a shower of festive sprinkles. It’s a dessert that encapsulates the spirit of Christmas in every forkful, making it an absolute must-try for any holiday gathering.
Why This Christmas Red Velvet Poke Cake is Your Go-To Holiday Dessert
This festive poke cake stands out for several compelling reasons, making it an ideal choice for your holiday baking repertoire:
- Effortless Elegance: Despite its stunning appearance, this cake is remarkably easy to assemble, relying on a boxed cake mix and instant pudding. It allows you to create a professional-looking dessert without hours of labor, giving you more time to enjoy the holiday festivities.
- Irresistible Flavor Profile: The combination of moist red velvet cake, rich vanilla pudding, and light whipped topping creates a symphony of textures and flavors that is both comforting and decadent. The subtle tang of red velvet paired with sweet vanilla is simply divine.
- Visually Stunning: The vibrant red cake, peeking through the green whipped topping and adorned with cheerful Christmas sprinkles, creates a truly eye-catching dessert that perfectly captures the holiday spirit. It’s guaranteed to impress your guests.
- Perfectly Moist Every Time: The unique “poke” method ensures that every slice of cake is incredibly moist and flavorful, as the pudding mixture soaks deep into the cake layers. Say goodbye to dry holiday cakes!
- Make-Ahead Convenience: This cake actually benefits from being made in advance, allowing the flavors to fully meld and the pudding to set perfectly. Prepare it a day or two before your event for stress-free entertaining.
Frequently Asked Questions (FAQ’s) for Your Perfect Christmas Poke Cake
For the most vibrant and festive green hue, I highly recommend using gel food coloring. Unlike liquid food coloring, gel colors are highly concentrated and won’t thin out your whipped topping, ensuring it maintains its fluffy texture. I personally used Americolor in “Leaf Green” to achieve a beautiful, rich green. Start with just a few drops, mix well, and then gradually add more until you reach your desired shade. Remember, a little goes a long way with gel food coloring!
While vanilla pudding provides a classic and universally loved flavor, feel free to get creative with your pudding choice! This poke cake would be absolutely delicious with other instant pudding flavors. Consider using cheesecake pudding for an extra layer of richness, white chocolate pudding for a creamy, subtle sweetness, or even a classic chocolate pudding for a darker, more decadent twist. Just ensure you are using *instant* pudding mix for the best results, as “Cook and Serve” varieties will not set properly in this recipe.
Absolutely! While whipped topping provides a light and airy contrast to the rich cake and pudding, you can certainly customize the frosting to your preference. A traditional cream cheese frosting would be an incredible addition, complementing the red velvet flavor perfectly. You could also try a simple buttercream frosting, either white or tinted green. If you have a favorite homemade frosting recipe, this is a great opportunity to use it! Just ensure whatever frosting you choose is thick enough to spread easily and holds its shape once chilled.
Due to the whipped topping and pudding layers, this Christmas Red Velvet Poke Cake must be kept refrigerated. For optimal freshness and to prevent it from drying out, ensure the cake is covered tightly with plastic wrap or stored in an airtight container. When properly stored in the refrigerator, it will maintain its deliciousness for up to 5 days. For longer storage, you can freeze individual slices or the entire cake (well-wrapped) for up to 3 months. Thaw frozen cake in the refrigerator overnight before serving.
Essential Ingredients for Your Festive Red Velvet Poke Cake
Crafting this delightful Christmas Red Velvet Poke Cake requires a handful of readily available ingredients. While a detailed list with specific measurements can be found in the recipe card below, here’s a closer look at what you’ll need and some tips for selection:
- Red Velvet Cake Mix: This is your shortcut to a perfectly moist and flavorful cake base. While many brands offer red velvet cake mix, I often lean towards Duncan Hines for its consistent quality. However, any brand you enjoy and can easily find at your local grocery store will work wonderfully. Just ensure it’s a standard-sized box, typically around 15.25 ounces.
- Eggs, Oil, and Water: These are the standard liquid ingredients required to prepare your cake mix, as specified on the back of the box. Always refer to the package directions, as the exact quantities can vary slightly between different cake mix brands. Using room temperature eggs and water can sometimes lead to a slightly better rise and texture, though it’s not strictly necessary for this recipe.
- Instant Vanilla Pudding Mix: This is a crucial component, and I cannot emphasize enough the importance of selecting INSTANT vanilla pudding mix. You’ll typically need two 3.4-ounce boxes. There’s another type of pudding on store shelves labeled “Cook and Serve,” which requires heating on the stovetop to thicken. If you mistakenly grab the “Cook and Serve” variety, your cake will turn into a gooey mess, as it won’t set up properly when simply mixed with cold milk and poured over the cake. Double-check the packaging to ensure it clearly states “Instant.”
- Milk: For the pudding layer, milk is essential for achieving that creamy, luscious texture. I typically use whole milk for maximum richness, but 2% milk will also yield excellent results. Skim milk might make the pudding slightly less creamy, so aim for at least 2% if possible.
- Whipped Topping: Often known by the brand name Cool Whip, whipped topping provides a light, fluffy, and sweet cap to your poke cake. You’ll need an 8-ounce tub. Remember that this product is typically sold frozen, so it’s vital to thaw it completely in the refrigerator overnight before you plan to assemble your cake. If you’re not a fan of store-bought whipped topping, you can certainly make your own homemade whipped cream, though it might be slightly less stable for prolonged storage.
- Green Food Coloring: To infuse our whipped topping with Christmas cheer, green food coloring is a must. As discussed in the FAQ section, gel food coloring is preferred for its vibrant color and concentration, ensuring your topping stays thick and fluffy. Start with a small amount and build up to your desired festive shade.
- Christmas Sprinkles: These are the final touch, adding a playful and undeniable holiday feel to your cake. Look for red and white sprinkles, or a mix of red, green, and white. They add both visual appeal and a delightful little crunch.

Crafting Your Christmas Red Velvet Poke Cake: A Simple Guide
Making this festive poke cake is a straightforward process, perfect for bakers of all skill levels. Follow these easy steps to create a show-stopping holiday dessert:
Step 1: Bake Your Red Velvet Cake
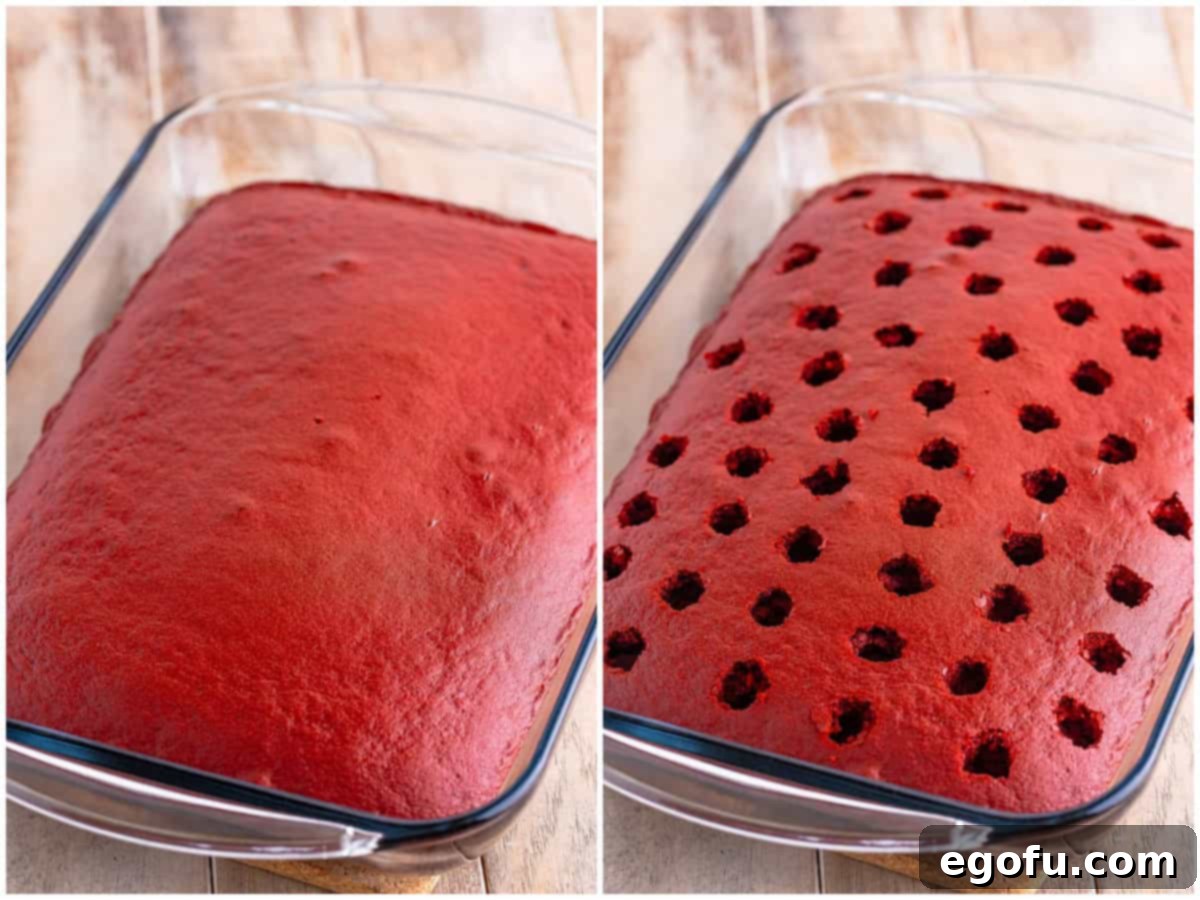
Begin by preheating your oven to 350°F (175°C). Prepare your red velvet cake mix according to the package directions. This typically involves combining the cake mix with eggs, oil, and water in a large bowl and mixing until smooth. Pour the batter evenly into a 9×13-inch baking dish. Bake for the time recommended on your cake mix box, usually around 30-35 minutes, or until a wooden skewer inserted into the center comes out clean. Once baked, remove the cake from the oven and let it cool on a wire rack for about 10-15 minutes.
Step 2: Poke the Cake
While the cake is still warm (but not piping hot), it’s time for the “poke” part of the poke cake! Take a wooden spoon handle, a round dowel, or even the blunt end of a chopstick, and carefully poke holes all over the surface of the cake. Aim for holes that are about 1 inch apart and go about halfway down into the cake. These holes are essential as they will allow the delicious pudding mixture to seep in and infuse every bite with moisture and flavor.
Step 3: Prepare and Pour the Pudding
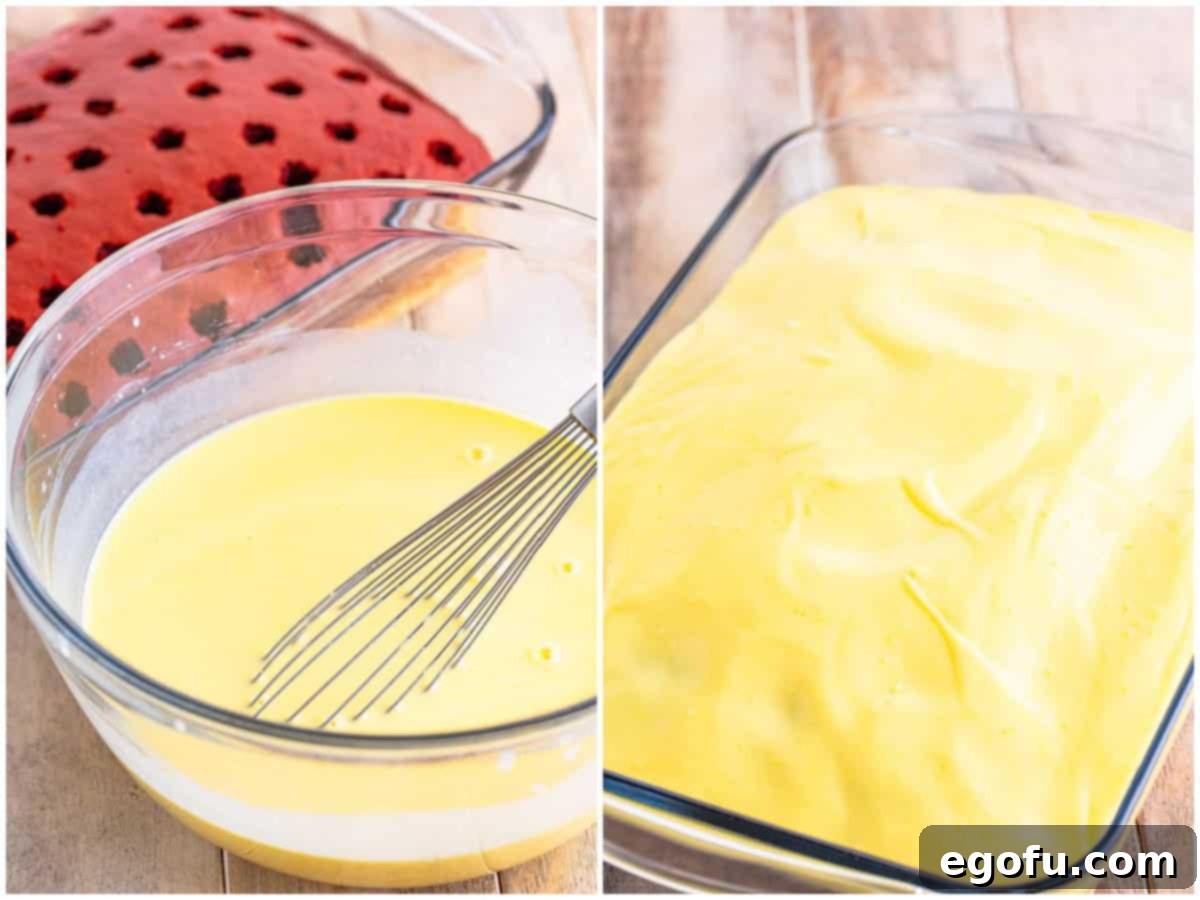
In a large bowl, combine the instant vanilla pudding mix with 4 cups of cold milk. Whisk vigorously for about 2-3 minutes, until the mixture is completely smooth and begins to thicken. It’s crucial to use cold milk to help the instant pudding set properly. Once the pudding is ready, immediately pour it evenly over the still-warm, poked cake. Take your time to gently spread the pudding, encouraging it to flow into all the holes. You can use the back of a spoon to lightly press the pudding down into the holes, ensuring maximum absorption. Cover the cake with plastic wrap and transfer it to the refrigerator to chill for at least 2 hours. This chilling time is vital for the pudding to fully set and for the flavors to meld beautifully.
Step 4: Create the Festive Topping
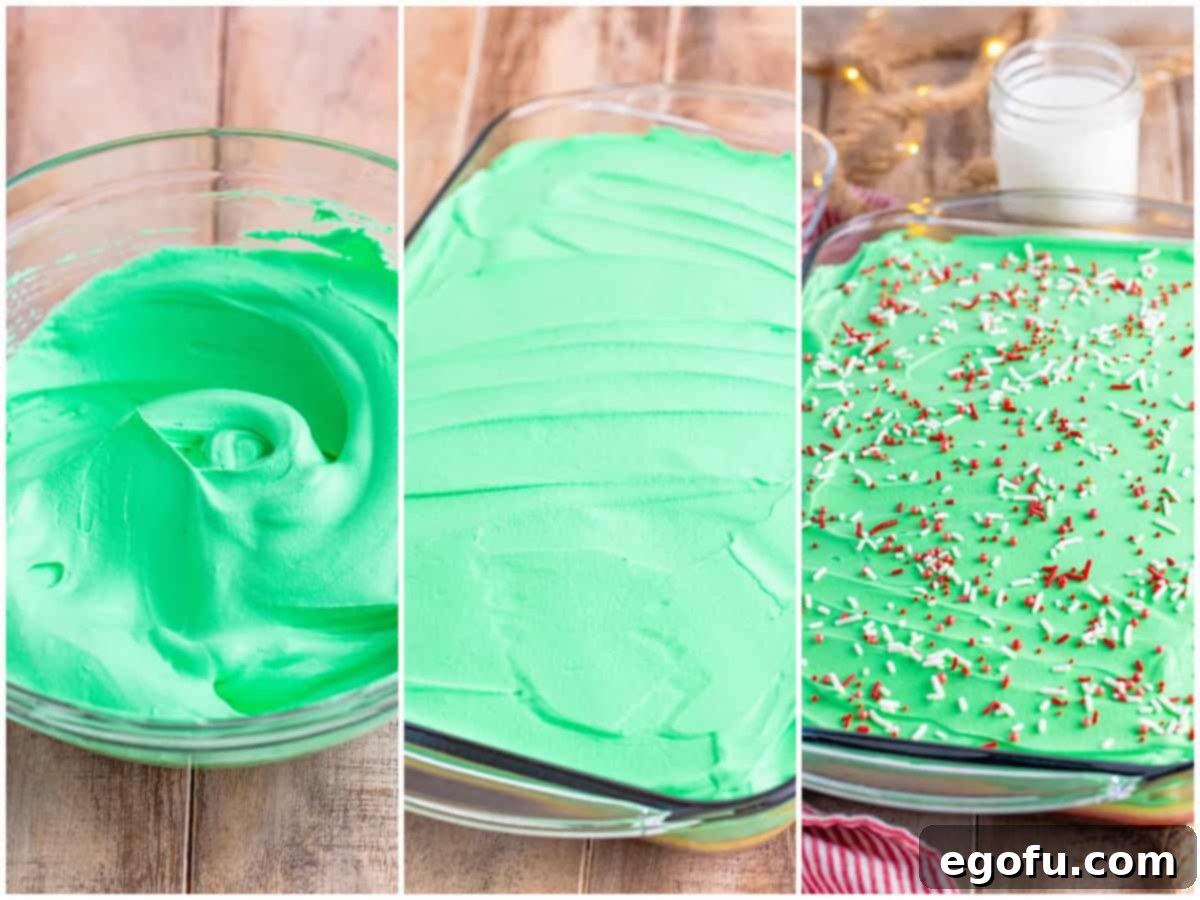
Once the cake has chilled and the pudding is set, it’s time to prepare the festive green whipped topping. In a medium bowl, combine the thawed 8-ounce tub of whipped topping with a few drops of green gel food coloring. Gently stir until the color is evenly distributed and you’ve achieved your desired vibrant green shade. Be careful not to overmix, as this can deflate the whipped topping.
Step 5: Frost and Chill Again
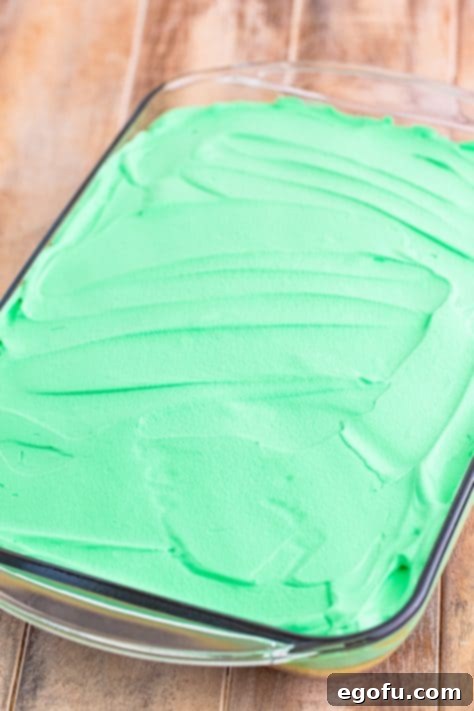
Carefully spread the green whipped topping evenly over the chilled cake, covering the pudding layer completely. Use an offset spatula or the back of a spoon to create a smooth, inviting surface. Once frosted, return the cake to the refrigerator for another 2 hours (or even longer, up to overnight). This second chill allows the whipped topping to set firmly and ensures the cake is perfectly cool and refreshing when served.
Step 6: Garnish and Serve
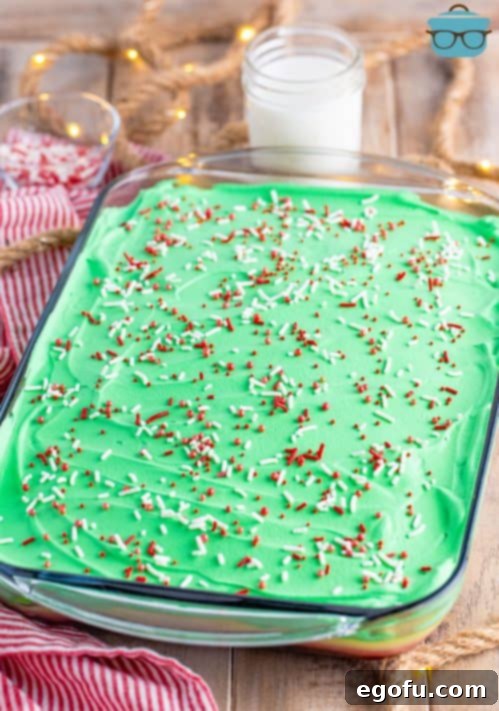
Just before serving, generously sprinkle your festive red and white Christmas sprinkles over the top of the cake. This adds a beautiful pop of color and an extra layer of holiday cheer. Now, your spectacular Christmas Red Velvet Poke Cake is ready to be sliced and enjoyed! Serve chilled for the best experience.
Tips for Success and Variations
- Don’t Overbake: A slightly underbaked cake is better than an overbaked one for poke cakes, as it will absorb the pudding more effectively. Keep an eye on your cake and remove it as soon as a skewer comes out clean.
- Chill Thoroughly: The success of a poke cake heavily relies on adequate chilling time. Do not rush the refrigeration steps, as this ensures the pudding sets firmly and the cake is moist and refreshing.
- Customize Your Colors: While green whipped topping is classic for Christmas, you could use red food coloring for a white cake or even alternate green and red dollops for a swirl effect.
- Add More Flavor: For an extra layer of flavor, consider adding a teaspoon of peppermint extract to your whipped topping for a festive minty twist, or a dash of almond extract to the pudding.
- Different Sprinkles: Beyond traditional red and white, snowflake sprinkles, edible glitter, or even mini chocolate chips can add unique touches.
- Make it a Day Ahead: This cake is even better the next day, as the flavors have more time to meld and the cake becomes even moister. It’s a perfect make-ahead holiday dessert.
Craving More Festive Recipes?
- Christmas Jell-O Poke Cake
- Red Velvet Cheesecake Bundt Cake
- Eggnog Poke Cake
- Red Velvet Cake Balls
- Hot Chocolate Poke Cake
- Peppermint Poke Cake
- Apple Pie Poke Cake
- 45 Ultimate Christmas Recipes
- Chocolate Poke Cake (+Video)
- Lime Jell-O Poke Cake
- Cinnamon Roll Poke Cake (+Video)
- Lemon Poke Cake (+Video)
- Carrot Poke Cake (+Video)
Christmas Red Velvet Poke Cake
Print Recipe
Pin Recipe
Rate This Recipe
Ingredients
- 1 box red velvet cake mix
- ingredients needed to make the cake: eggs, oil and water (as per box instructions)
- 2 (3.4 ounce) boxes instant vanilla pudding mix (ensure it’s INSTANT)
- 4 cups milk (whole or 2%)
- 8 ounce tub whipped topping (like Cool Whip, thawed)
- green gel food coloring
- red and white Christmas sprinkles
Instructions
- Preheat your oven to 350°F (175°C). Prepare the red velvet cake mix according to the package directions on the back of the box and bake in a 9×13-inch baking dish until a toothpick inserted comes out clean.

- Once the cake comes out of the oven, let it cool for about 10-15 minutes. Then, take a wooden utensil handle (or a similar round object) and poke holes all over the cake, approximately 1 inch apart.

- In a large bowl, whisk together the instant vanilla pudding mix and cold milk until the mixture is smooth and begins to thicken, about 2-3 minutes.

- Carefully pour the pudding mixture over the poked cake. Ensure the pudding fills the holes as much as possible. Use the back of a spoon to gently push the pudding down into the holes and spread it evenly over the entire surface.

- Cover the cake with plastic wrap and place it in the refrigerator for at least 2 hours to allow the pudding to fully set and the cake to cool completely.
- In a medium bowl, gently stir together the thawed whipped topping and green gel food coloring until you achieve your desired festive shade.

- Spread the green whipped topping evenly over the chilled cake. Return the cake to the fridge for another 2 hours or longer to allow the topping to set firmly.

- When you are ready to serve, generously sprinkle the red and white Christmas sprinkles over the top of the cake for a festive finish.

- Slice and serve chilled. Enjoy your delightful Christmas Red Velvet Poke Cake!

Notes
- Please refer to my FAQ’s (Frequently Asked Questions) and ingredient list above for other substitutions or for the answers to the most common questions. Ensure you use instant pudding mix, not “Cook and Serve,” for proper setting.
- For the most vibrant green topping, use gel food coloring. Start with a few drops and add more gradually until desired color is reached.
Nutrition
|
Carbohydrates: 47g
|
Protein: 6g
|
Fat: 10g
|
Sodium: 439mg
|
Fiber: 1g
|
Sugar: 32g
Nutritional Disclaimer
“The Country Cook” is not a dietician or nutritionist, and any nutritional information shared is an estimate. If calorie count and other nutritional values are important to you, we recommend running the ingredients through whichever online nutritional calculator you prefer. Calories and other nutritional values can vary quite a bit depending on which brands were used.
