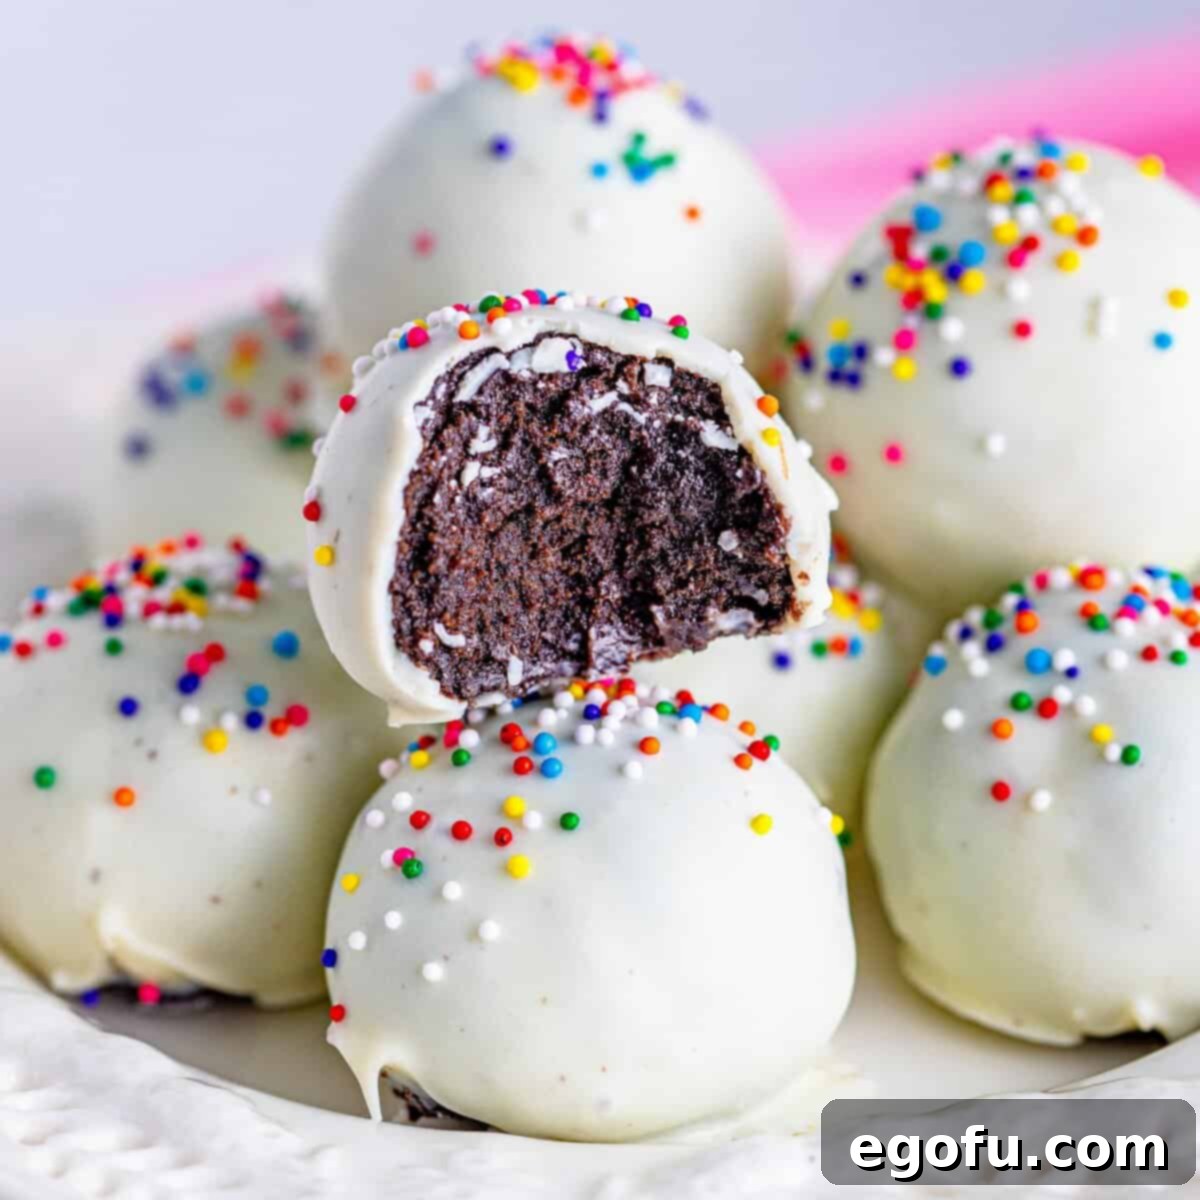
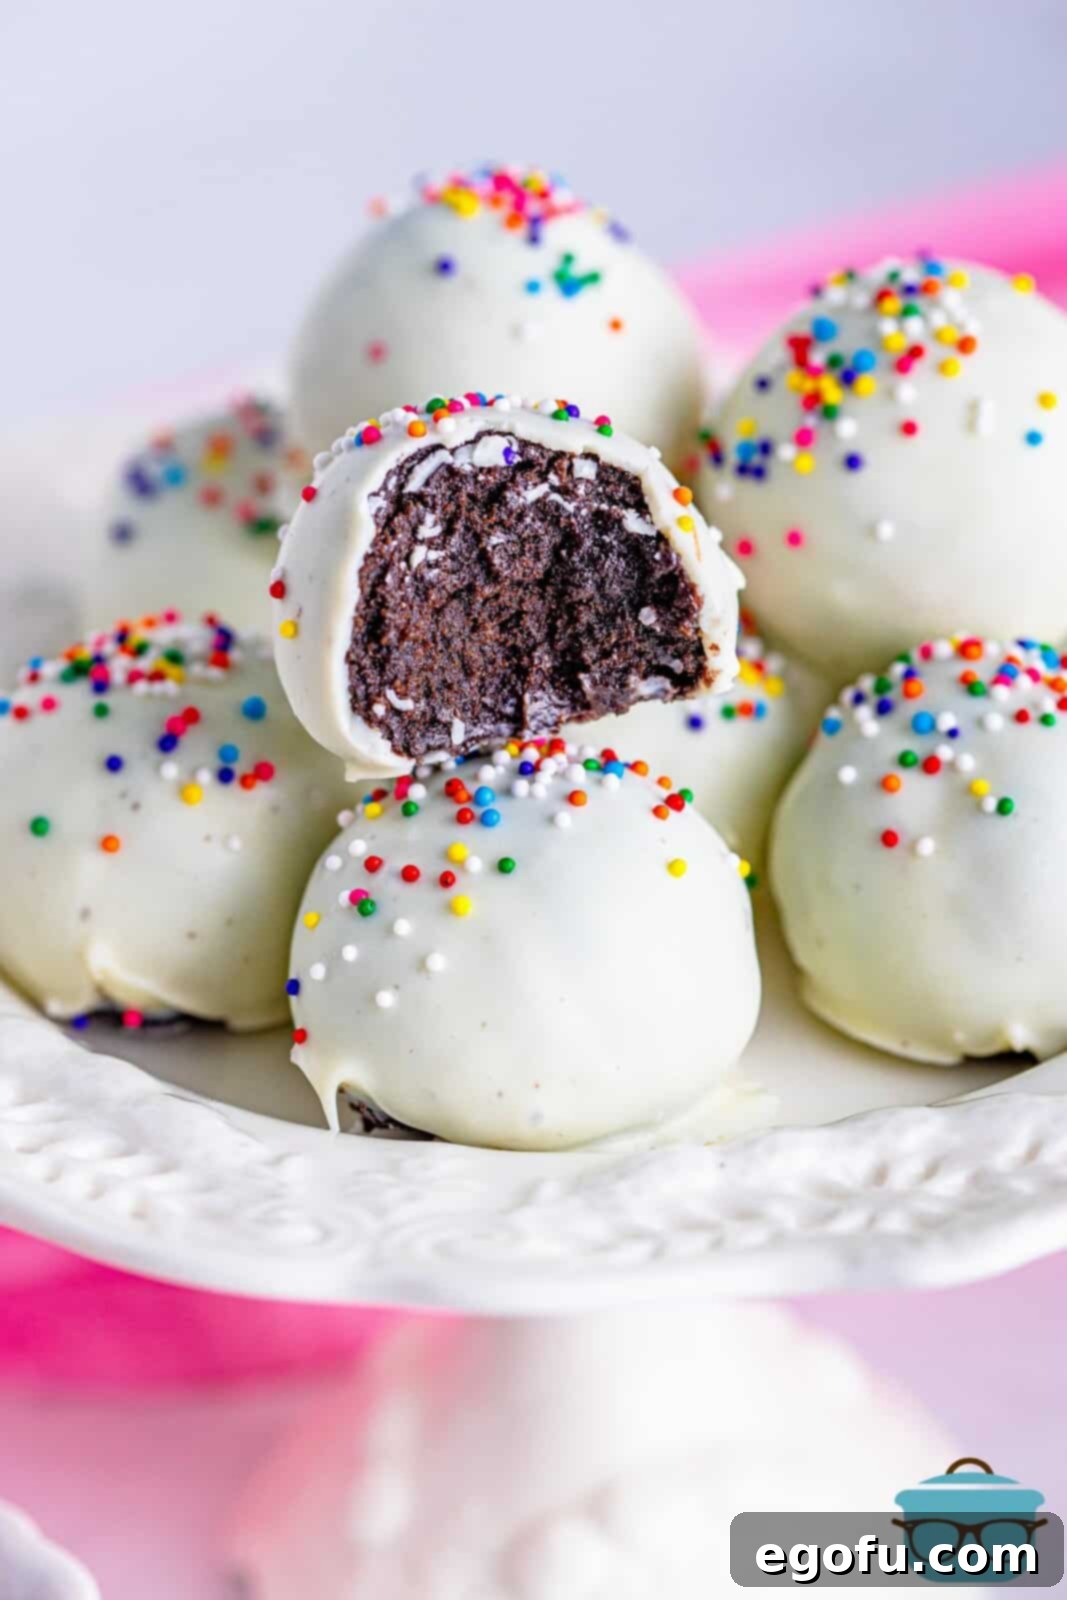
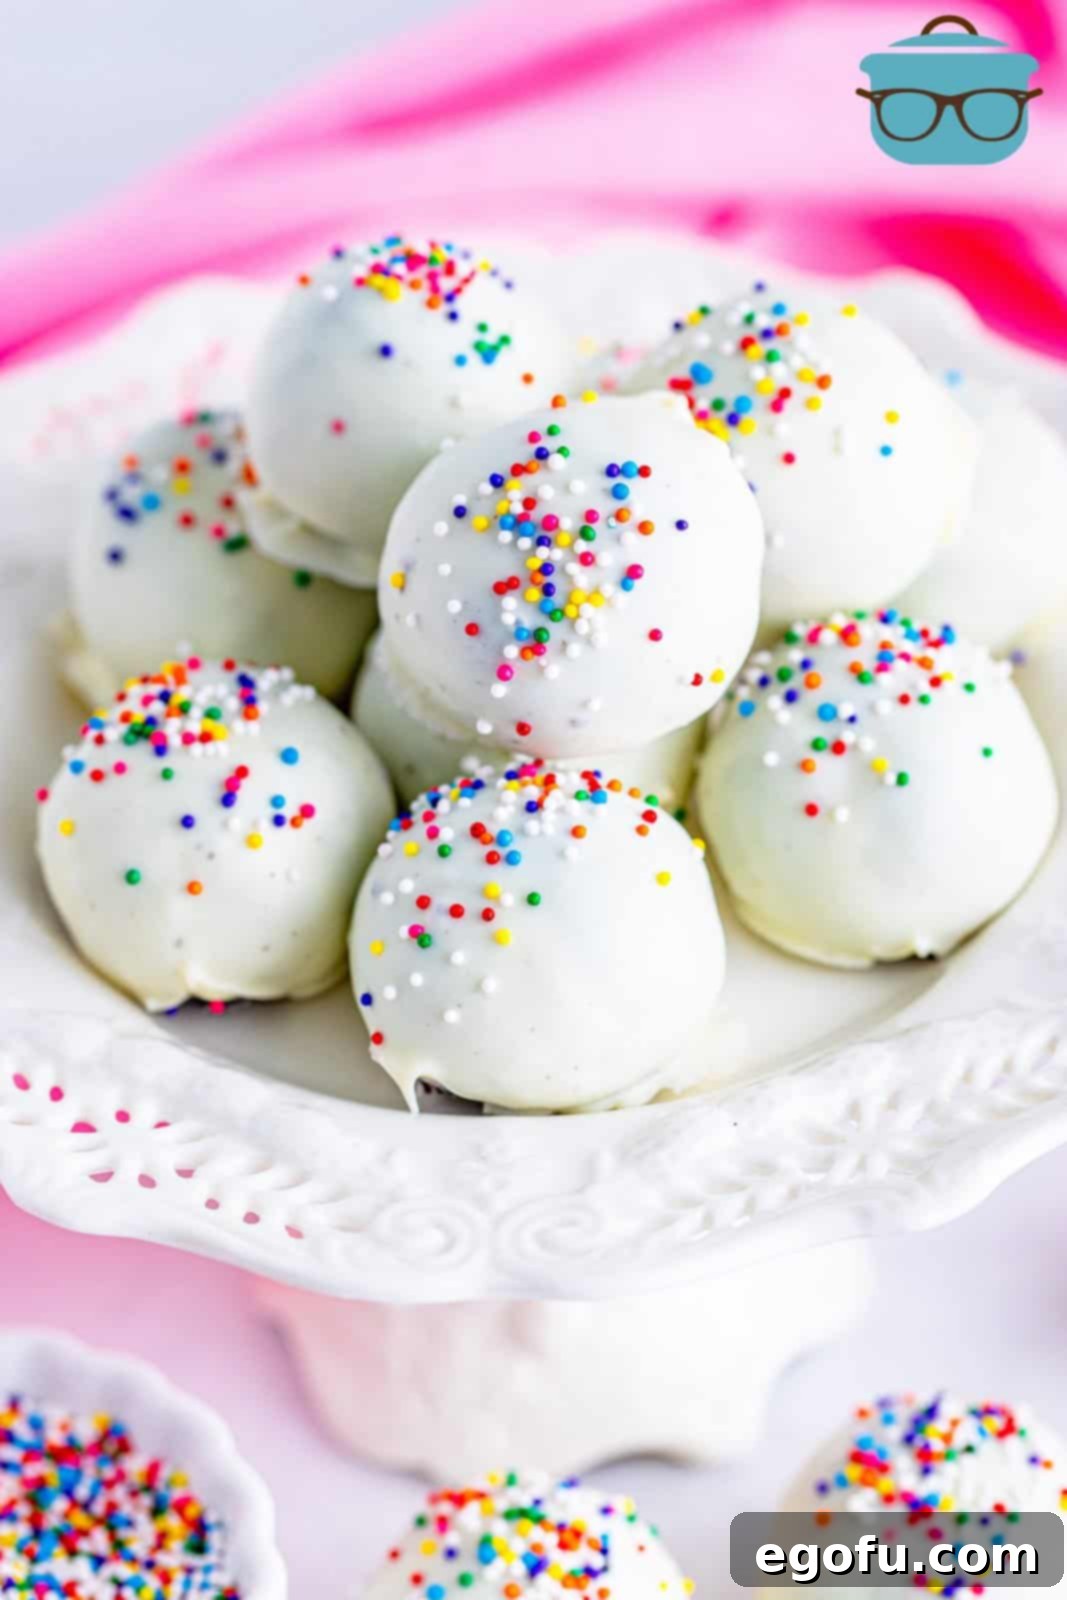
Delight your taste buds with these incredibly easy-to-make, no-bake Oreo Cookie Balls! Requiring just three simple ingredients – classic Oreo cookies, rich cream cheese, and a smooth vanilla candy coating – these decadent treats are a guaranteed hit. Whether you’re whipping up a batch for a holiday gathering, a casual potluck, or simply to satisfy a sweet craving, these delightful bite-sized confections offer maximum flavor with minimal effort. Their irresistible combination of crunchy cookie, creamy filling, and sweet shell makes them utterly addictive and a joy to share.
The Ultimate No-Bake Oreo Cookie Treat: A Crowd-Pleaser for Any Occasion
There’s something truly magical about a dessert that comes together quickly, requires no oven, and universally delights everyone who tries it. These Oreo Cookie Balls perfectly embody that magic. Year after year, as holidays approach or invitations to potlucks arrive, these little gems are often the first treat that comes to mind. They are ridiculously simple to prepare, making them an ideal recipe for beginner bakers, busy parents, or anyone looking for a quick yet impressive dessert. From festive family gatherings to casual get-togethers with friends, their charming appearance and irresistible flavor make them an instant favorite. Be warned: they disappear quickly, and you might find yourself playfully “bribing” loved ones just to snag the last one!
Their popularity stems from their simplicity and versatility. The classic chocolate and cream flavor of Oreos combined with the tangy richness of cream cheese creates a perfectly balanced filling, encased in a sweet, snappy candy shell. Plus, the “no-bake” aspect means you can create a professional-looking dessert without ever turning on your oven, saving you time and energy. This recipe is not just about making a treat; it’s about creating joyful moments with minimal stress. They are also incredibly customizable, allowing you to adapt them for different seasons, themes, or personal preferences, ensuring they never get old. Whether adorned with colorful sprinkles for a party or a simple chocolate drizzle for elegance, these treats are always a standout.
Frequently Asked Questions for Perfect Oreo Cookie Balls
What exactly is almond bark?
Almond bark can be a bit of a misnomer, as it typically contains no almonds and doesn’t inherently taste like them. It’s essentially a confectionery coating, designed to melt smoothly and set firmly, providing a shiny, appealing finish. Think of it as a convenient, meltable alternative to traditional chocolate for dipping and coating. You’ll usually find it in the baking aisle of your grocery store, often alongside chocolate chips or other baking chocolates. It’s beloved for its ease of use, as it’s less prone to seizing than pure chocolate, making it a fantastic choice for coating treats like these Oreo Cookie Balls. Its vanilla flavor also pairs wonderfully with the classic Oreo taste, creating a balanced sweetness.
How much candy coating will I need?
The amount of candy coating you’ll need can vary based on how thickly you coat each ball and the size of your Oreos. While the recipe calls for one standard package of vanilla almond bark or melting wafers, it’s always a good idea to have an extra package on hand, especially if you’re new to dipping. New dippers may tend to use a bit more coating per ball as they perfect their technique, so a backup ensures you won’t run out mid-process and can maintain a consistent, beautiful coating on all your treats. It’s better to have a little extra than to stop and run to the store for more. Leftover coating can always be saved and remelted for other projects!
What is the best type of chocolate or candy coating to use?
When it comes to coating your Oreo Cookie Balls, you have a few excellent options, each with its own advantages. The most budget-friendly choice is often a store-brand almond bark. It’s readily available and gets the job done well. However, if you’re looking for slightly better quality and easier melting properties, brands like CandiQuik are highly recommended. Many home bakers find that white melting wafers tend to melt more smoothly and offer a more consistent, professional finish without the risk of seizing, which can sometimes happen with almond bark if not handled quickly or if overheated. While they might be a tad more expensive, the ease of use and superior results often justify the cost. For premium results, Ghirardelli White Melting Wafers or Wilton wafers are excellent choices, known for their smooth texture and delightful vanilla flavor that complements the Oreo and cream cheese filling perfectly. These premium brands often result in a glossier, more stable coating.
I don’t have a food processor. Can I still make these?
Absolutely! A food processor makes quick work of crushing the cookies, but it’s by no means essential. You can easily make delicious Oreo Cookie Balls by hand with a little elbow grease. Simply place the entire package of Oreo cookies (with their cream filling) into a large, sturdy resealable plastic bag. Make sure to press out any excess air before sealing the bag securely. Then, using a rolling pin, a meat mallet, or even the bottom of a heavy pan, pound the cookies until they are reduced to very fine crumbs. Ensure there are no large chunks left, as this will affect the texture of your balls. Once you have your finely crushed cookies, transfer them to a mixing bowl, add the softened cream cheese, and stir vigorously with a sturdy spoon or spatula until the mixture is thoroughly combined and forms a thick, uniform paste. The consistency should be firm enough to roll into smooth balls.
How should I store Oreo Cookie Balls?
Oreo Cookie Balls are incredibly convenient for make-ahead preparations and last quite well. If you plan to enjoy them within a couple of weeks, simply store them in an airtight container in the refrigerator. This will keep them fresh and firm, maintaining their delicious texture. For longer storage, these delightful treats freeze beautifully! To freeze, arrange the coated and set cookie balls in a single layer on a baking sheet and freeze until solid. Once frozen, transfer them to an airtight freezer-safe container or a heavy-duty freezer bag, layering them with parchment paper if needed to prevent sticking. They will maintain their quality and flavor in the freezer for up to six months. Just remember to allow them to thaw slightly at room temperature for about 15-30 minutes before serving for the best texture and flavor. Proper wrapping is key to preventing freezer burn and preserving their delicious taste and creamy interior.

Essential Ingredients for These Irresistible Treats
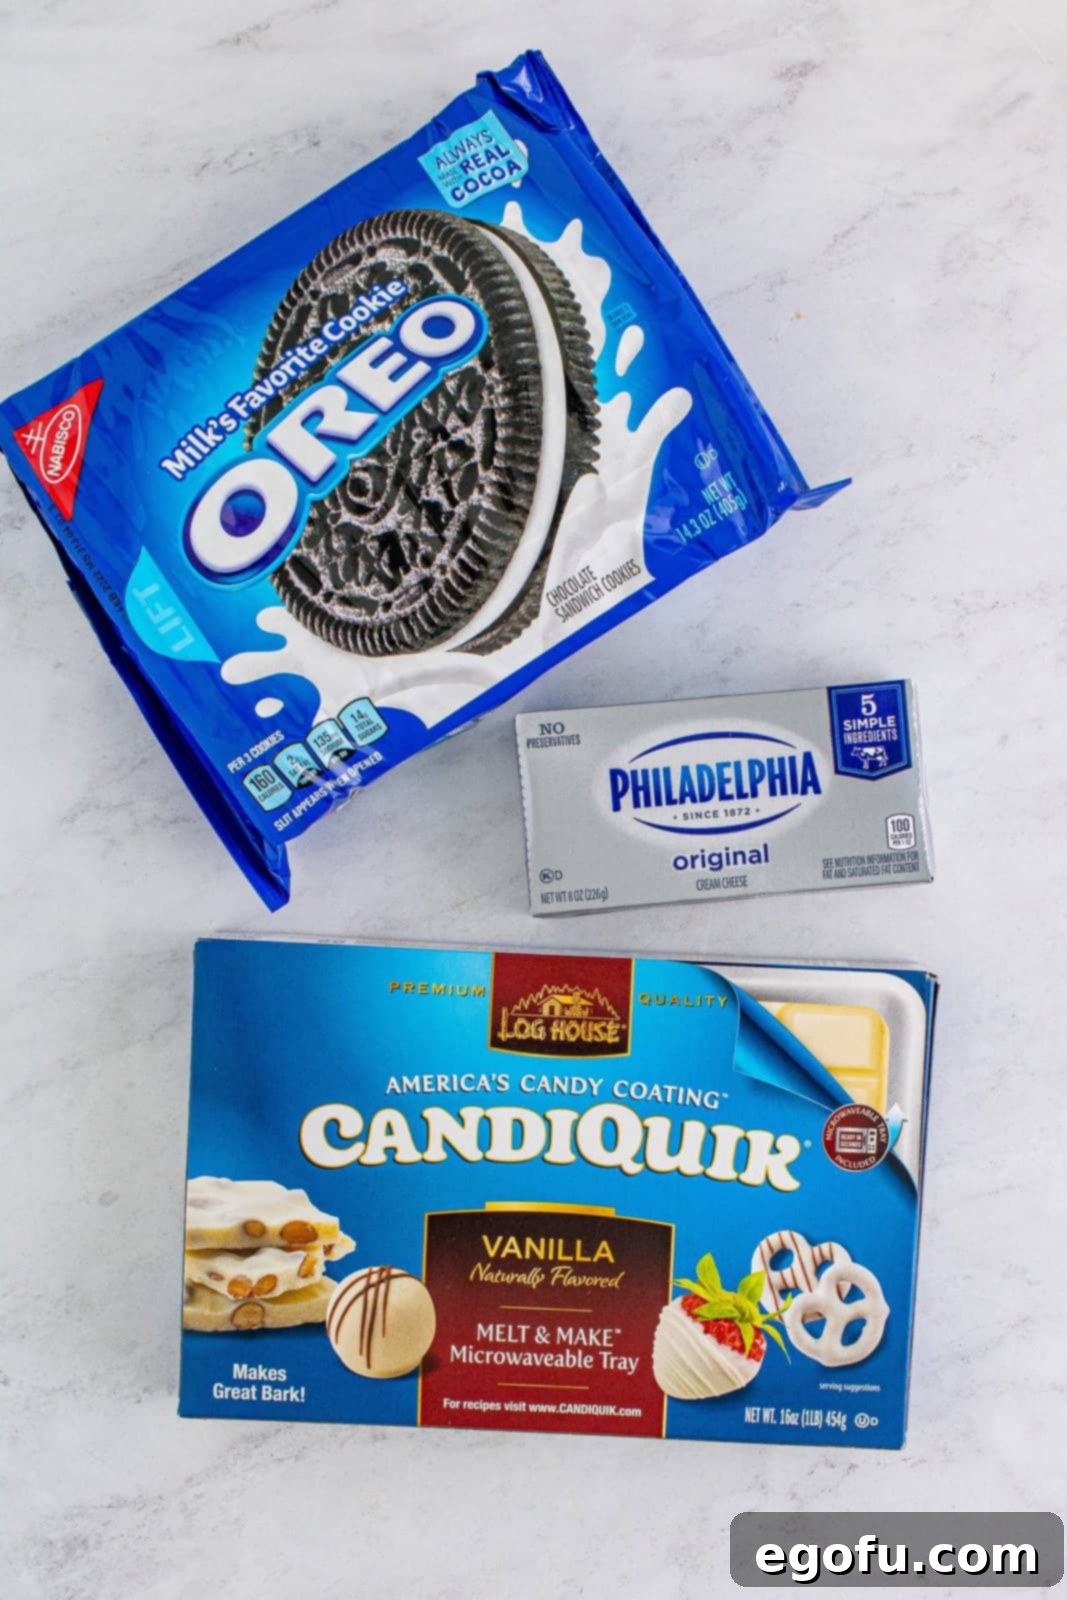
Creating these delightful Oreo Cookie Balls requires just a handful of readily available ingredients. The magic happens when these simple components combine to form a truly decadent dessert. Here’s what you’ll need, along with a few tips for selection:
- Oreo Cookies: The undisputed star of the show! A standard 14.2-ounce package of classic Oreo cookies works perfectly. Feel free to experiment with different Oreo flavors like Golden Oreos, Mint Oreos, or Peanut Butter Oreos for exciting and unique variations. The cream filling inside the cookies is a crucial component for the texture and binding of the balls, so there’s no need to separate it from the wafers.
- Cream Cheese: One 8-ounce block of full-fat cream cheese is highly recommended for the best flavor and a wonderfully rich, creamy texture. It’s absolutely essential that the cream cheese is softened to room temperature. This crucial step ensures it blends smoothly and evenly with the crushed cookies, creating a homogenous, pliable dough that is easy to roll. Attempting to mix cold cream cheese will result in a lumpy mixture that is difficult to work with and won’t yield the desired smooth consistency.
- Vanilla Candy Coating: Also commonly known as vanilla almond bark or white chocolate melting wafers. This ingredient forms the smooth, snappy, and sweet outer shell of your cookie balls. As discussed in the FAQ section, while almond bark is often more cost-effective, white melting wafers (from brands like CandiQuik, Ghirardelli, or Wilton) often provide a smoother melt and an easier, more consistent dipping experience, resulting in a more professional finish. Choose the option that best fits your preference and budget.
These three foundational ingredients are all it takes to embark on your Oreo Cookie Ball adventure, promising a delicious and easy-to-make treat!
Step-by-Step Guide: How to Make Oreo Cookie Balls
Follow these simple instructions to create your own batch of irresistible no-bake Oreo Cookie Balls. Precision and a little patience will ensure a perfect result every time, from the creamy center to the snappy, sweet coating.
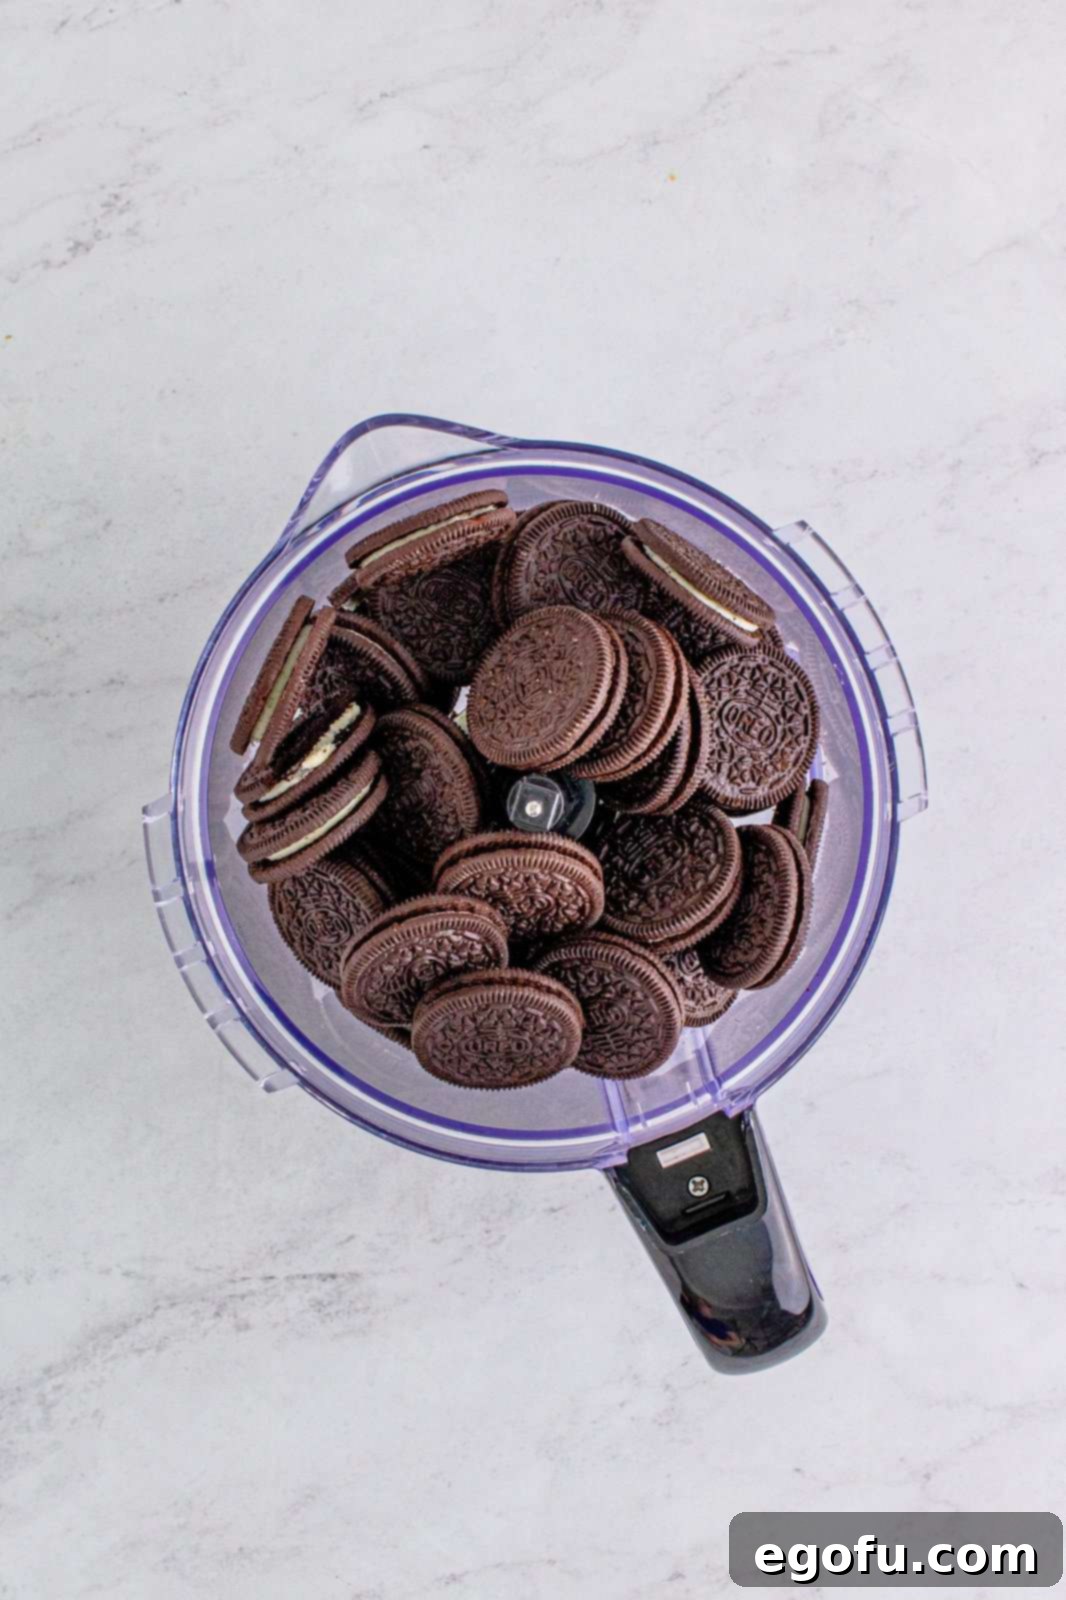
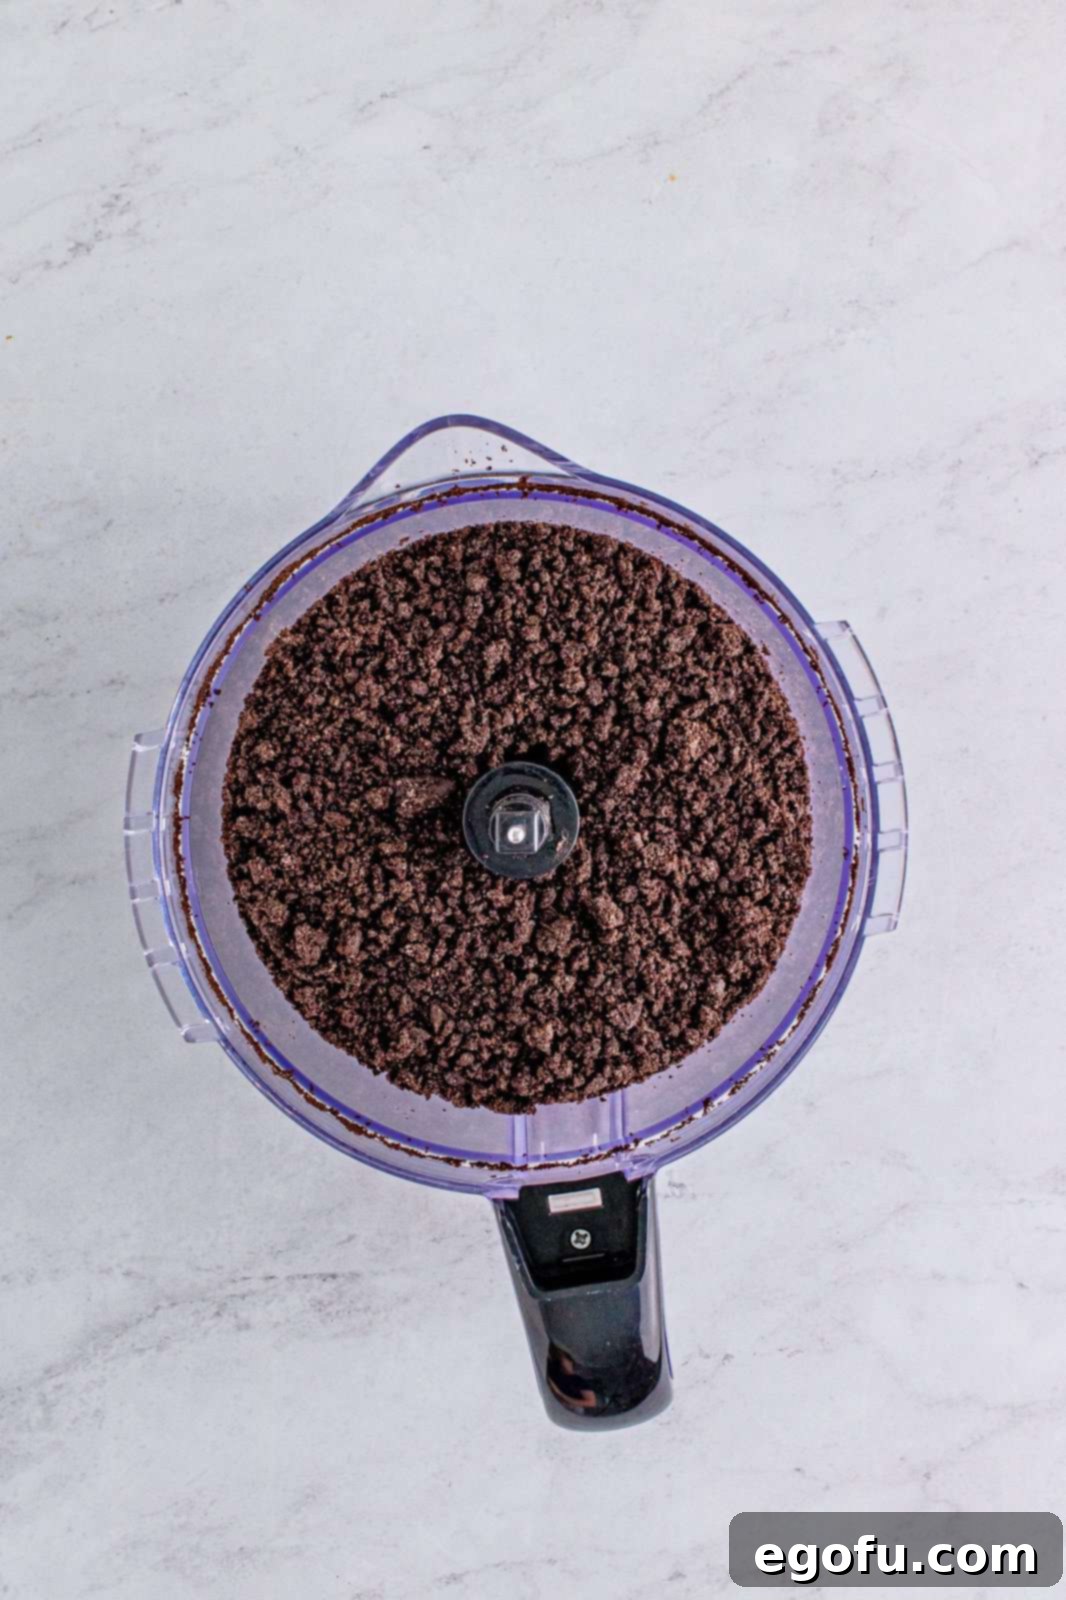
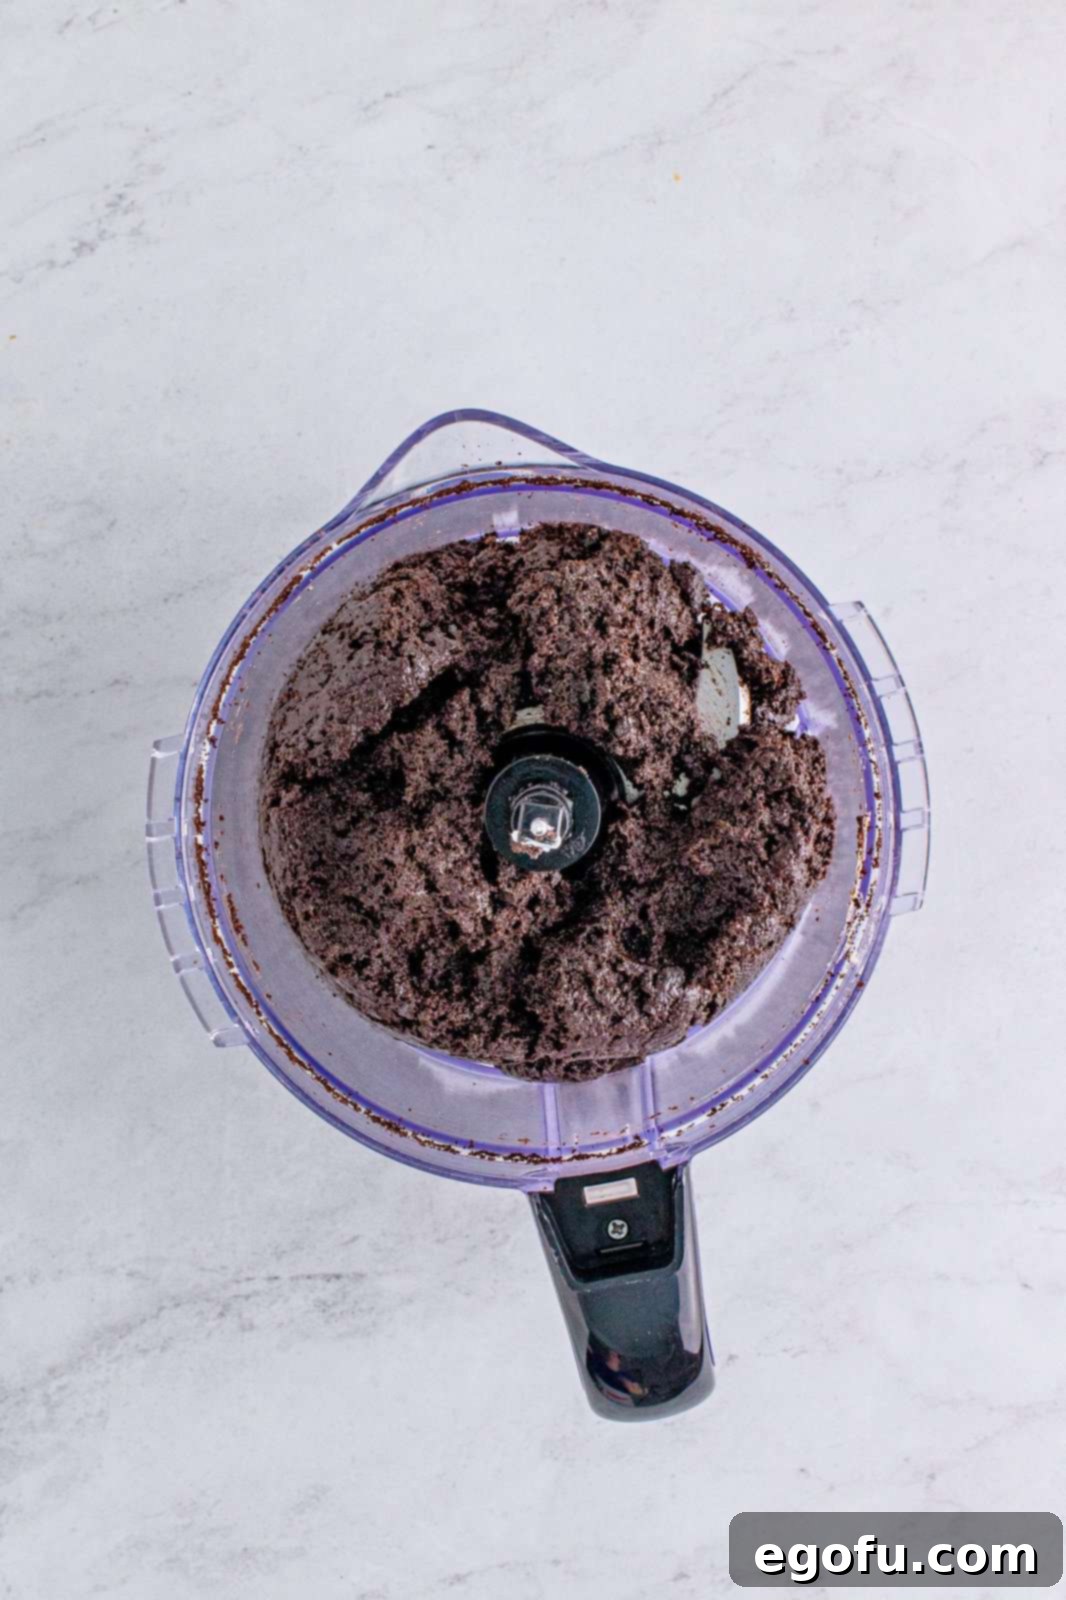
Crush the Oreos: Begin by taking the entire package of Oreo cookies (yes, including the delicious cream filling!) and placing them into the bowl of a food processor. Secure the lid tightly and pulse the processor until the cookies are finely ground into uniform crumbs. The consistency should resemble fine dirt or sand, with absolutely no large chunks remaining. If you don’t have a food processor, use the manual method described in the FAQ section: place cookies in a sturdy resealable bag and crush them thoroughly with a rolling pin until pulverized.

Achieve Fine Crumbs: Continue to run your food processor until the cookies are truly in fine, consistent bits. This level of fineness is crucial for a smooth and well-combined cookie ball dough. The finer the crumbs, the better they will integrate with the softened cream cheese, resulting in a perfectly textured treat that holds together beautifully.

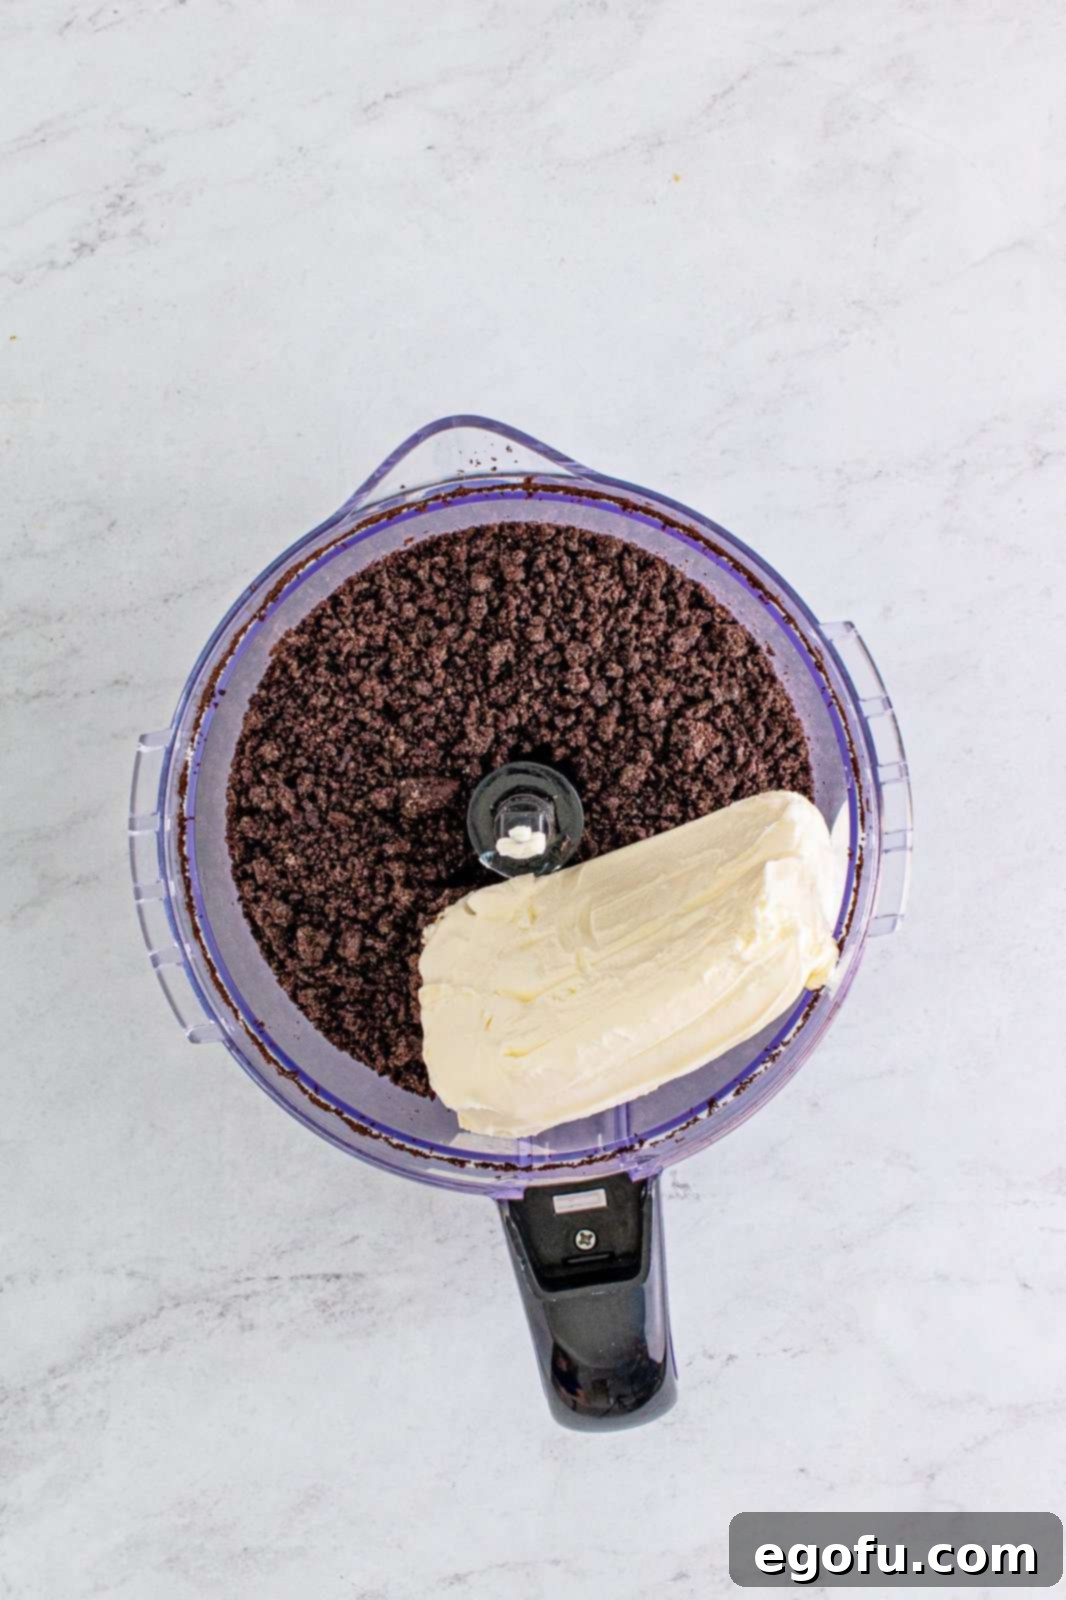
Combine with Cream Cheese: Add the softened cream cheese directly to the finely crushed Oreo cookies in the food processor bowl. It’s vital that your cream cheese is at room temperature; this will facilitate easy, lump-free blending and ensure a smooth base for your cookie balls.

Mix to a Smooth Paste: Continue to pulse the mixture in the food processor (or mix thoroughly by hand) until the cream cheese is fully incorporated with the cookie crumbs. The goal is a smooth, thick, and uniform paste. There should be no visible streaks of cream cheese or dry cookie crumbs; the mixture should be completely cohesive and resemble a thick dough.

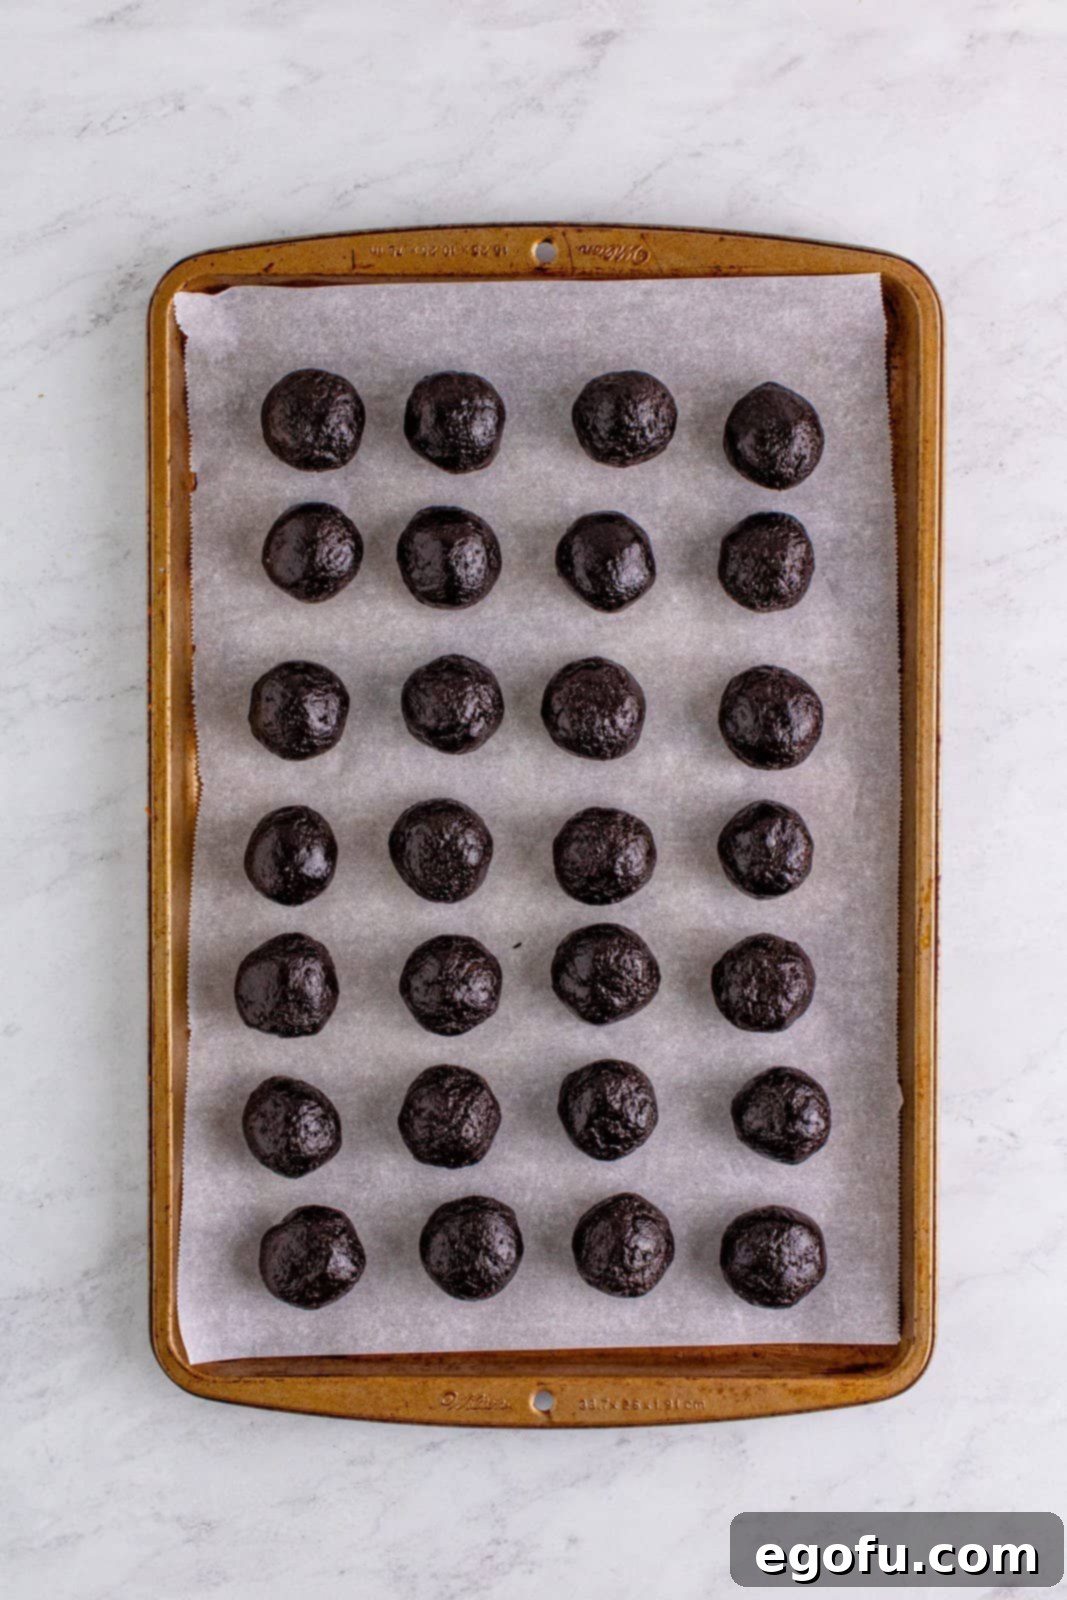
Form and Chill the Balls: Line a large cookie sheet with wax paper or parchment paper. Using a medium-sized cookie scoop (approximately 1.5 tablespoons), scoop out uniform portions of the Oreo mixture and drop them onto the prepared sheet. For best results and a professional finish, gently roll each portion between your clean palms to create perfectly round, smooth balls. Once all the balls are formed, place the entire tray into the freezer for approximately 30 minutes. This crucial chilling step allows the cookie balls to firm up significantly, making them much easier to handle and preventing them from falling apart or melting into your warm candy coating during the dipping process.

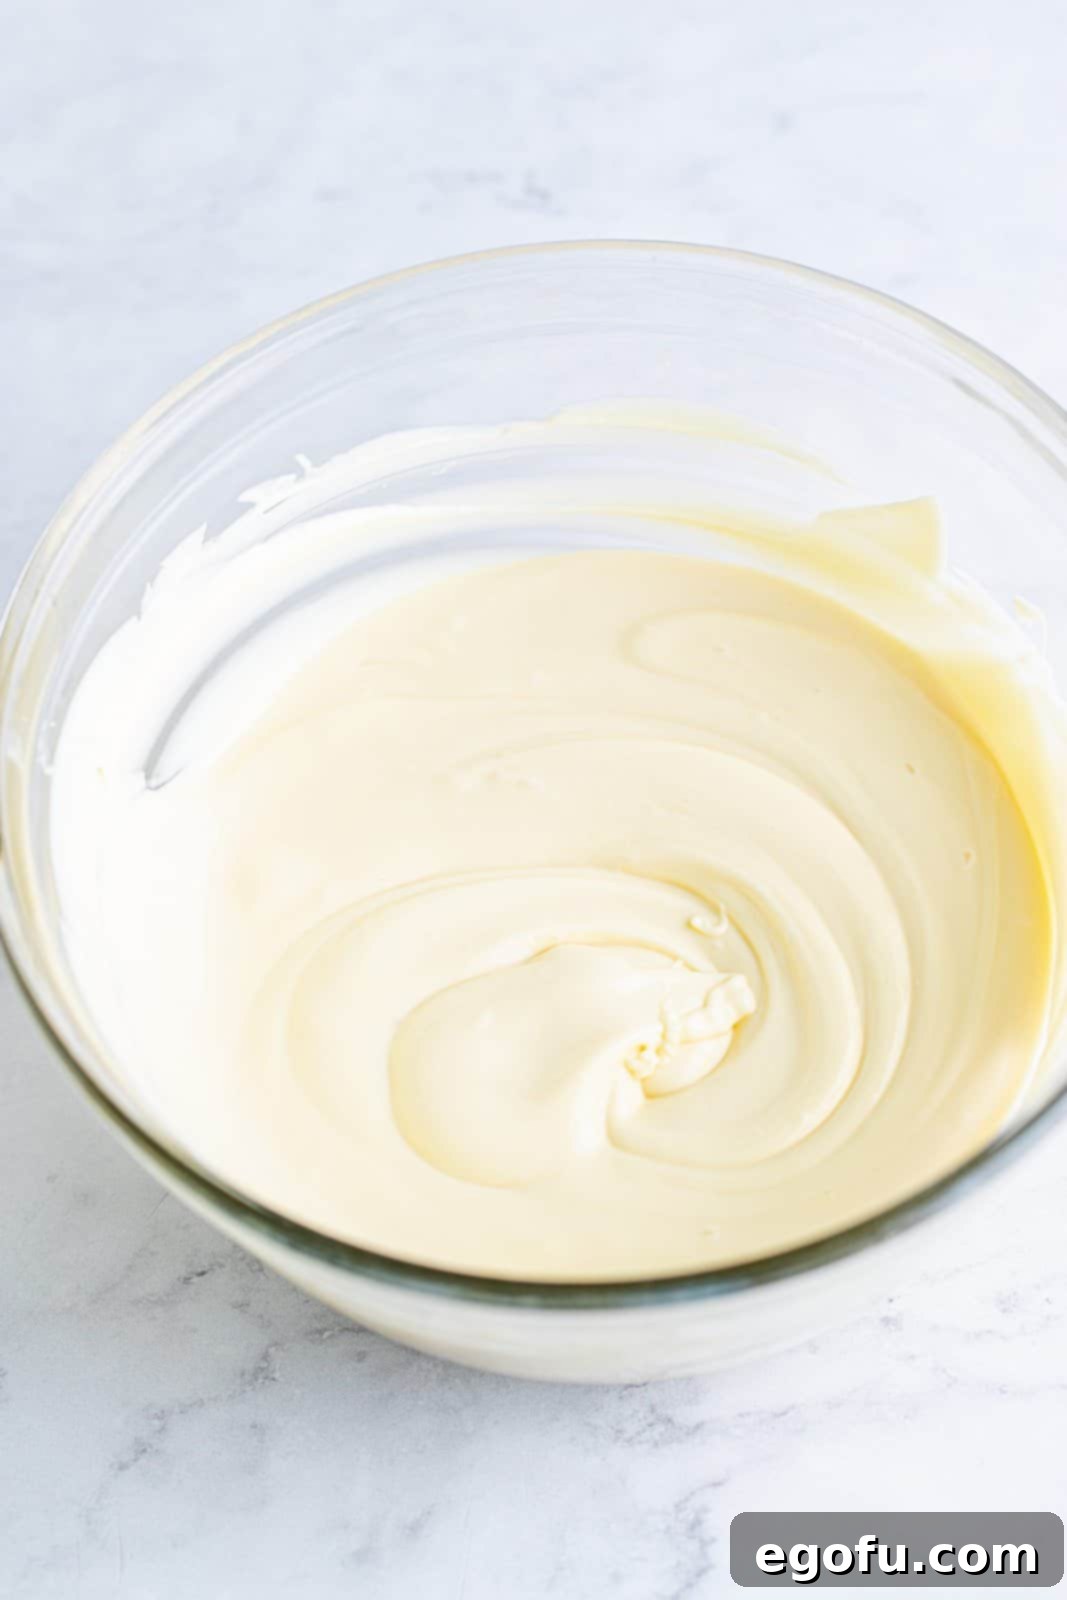
Melt the Candy Coating: While your Oreo balls are chilling, prepare your vanilla almond bark or white melting wafers. Place the candy coating in a microwave-safe bowl. Heat it in the microwave according to the package directions, typically in 30-second intervals, stirring well after each interval, until completely melted and smooth. Be extremely careful not to overheat the coating, as this can cause it to seize, become thick, or even burn. A minute is often a good starting point, then stir and continue heating in shorter bursts if needed until fully fluid.

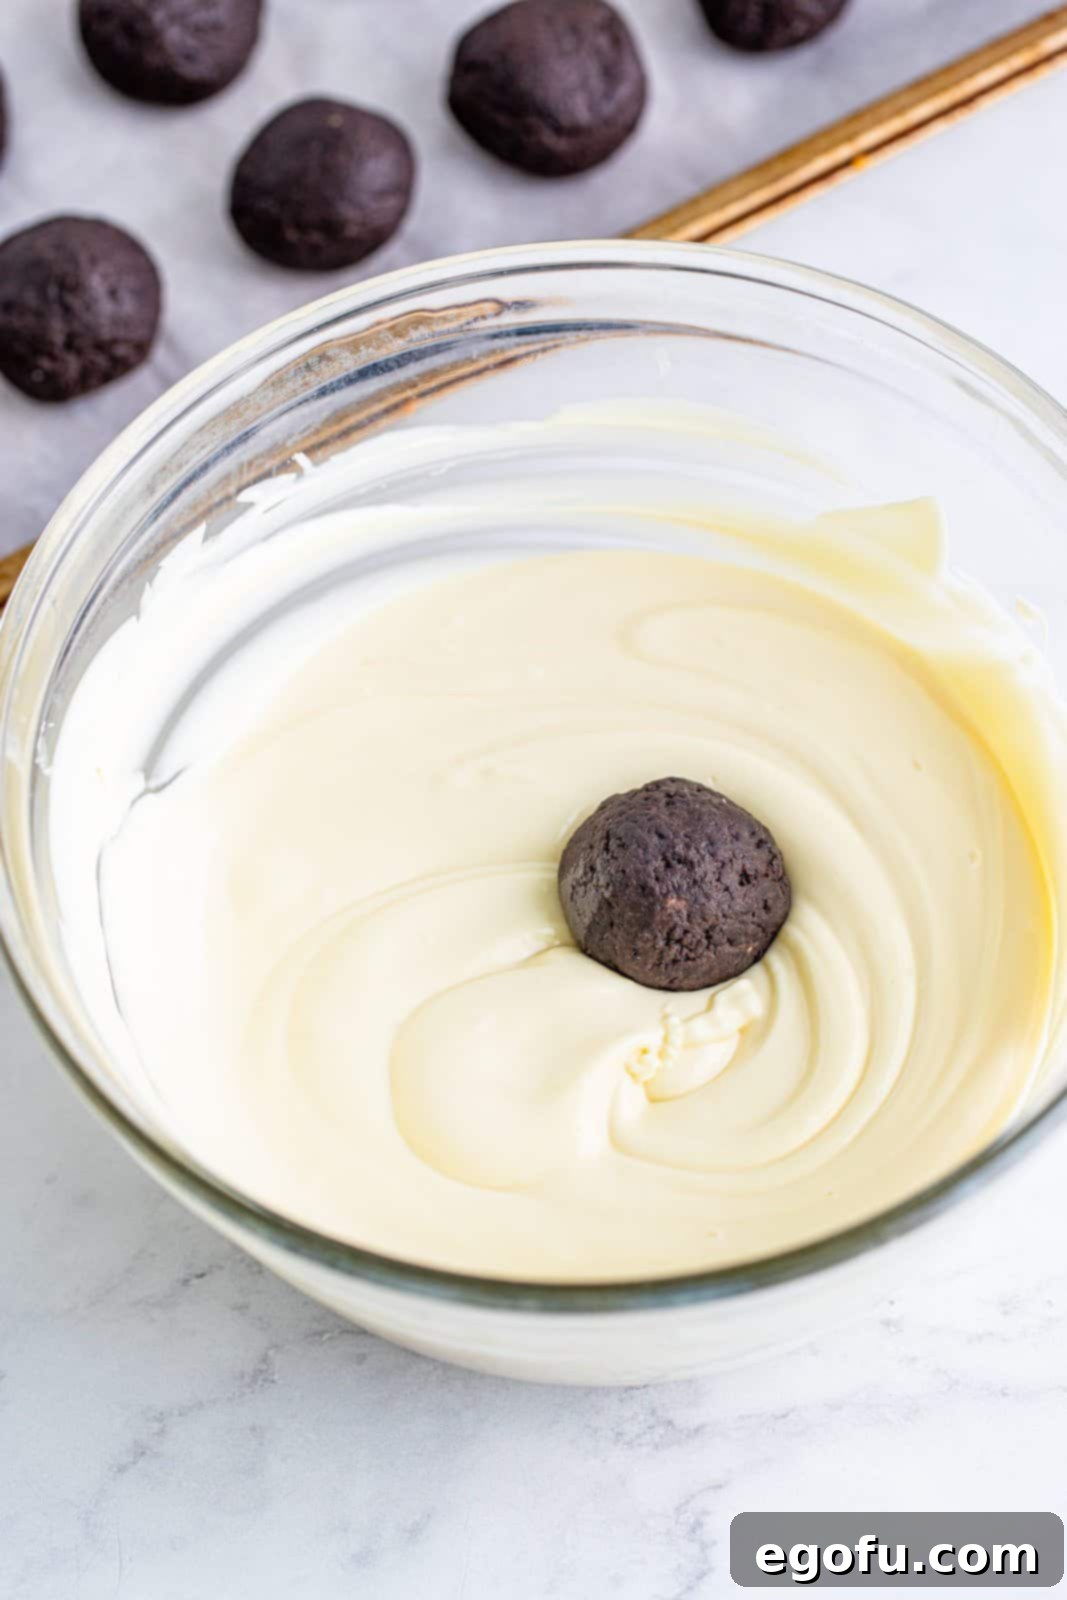
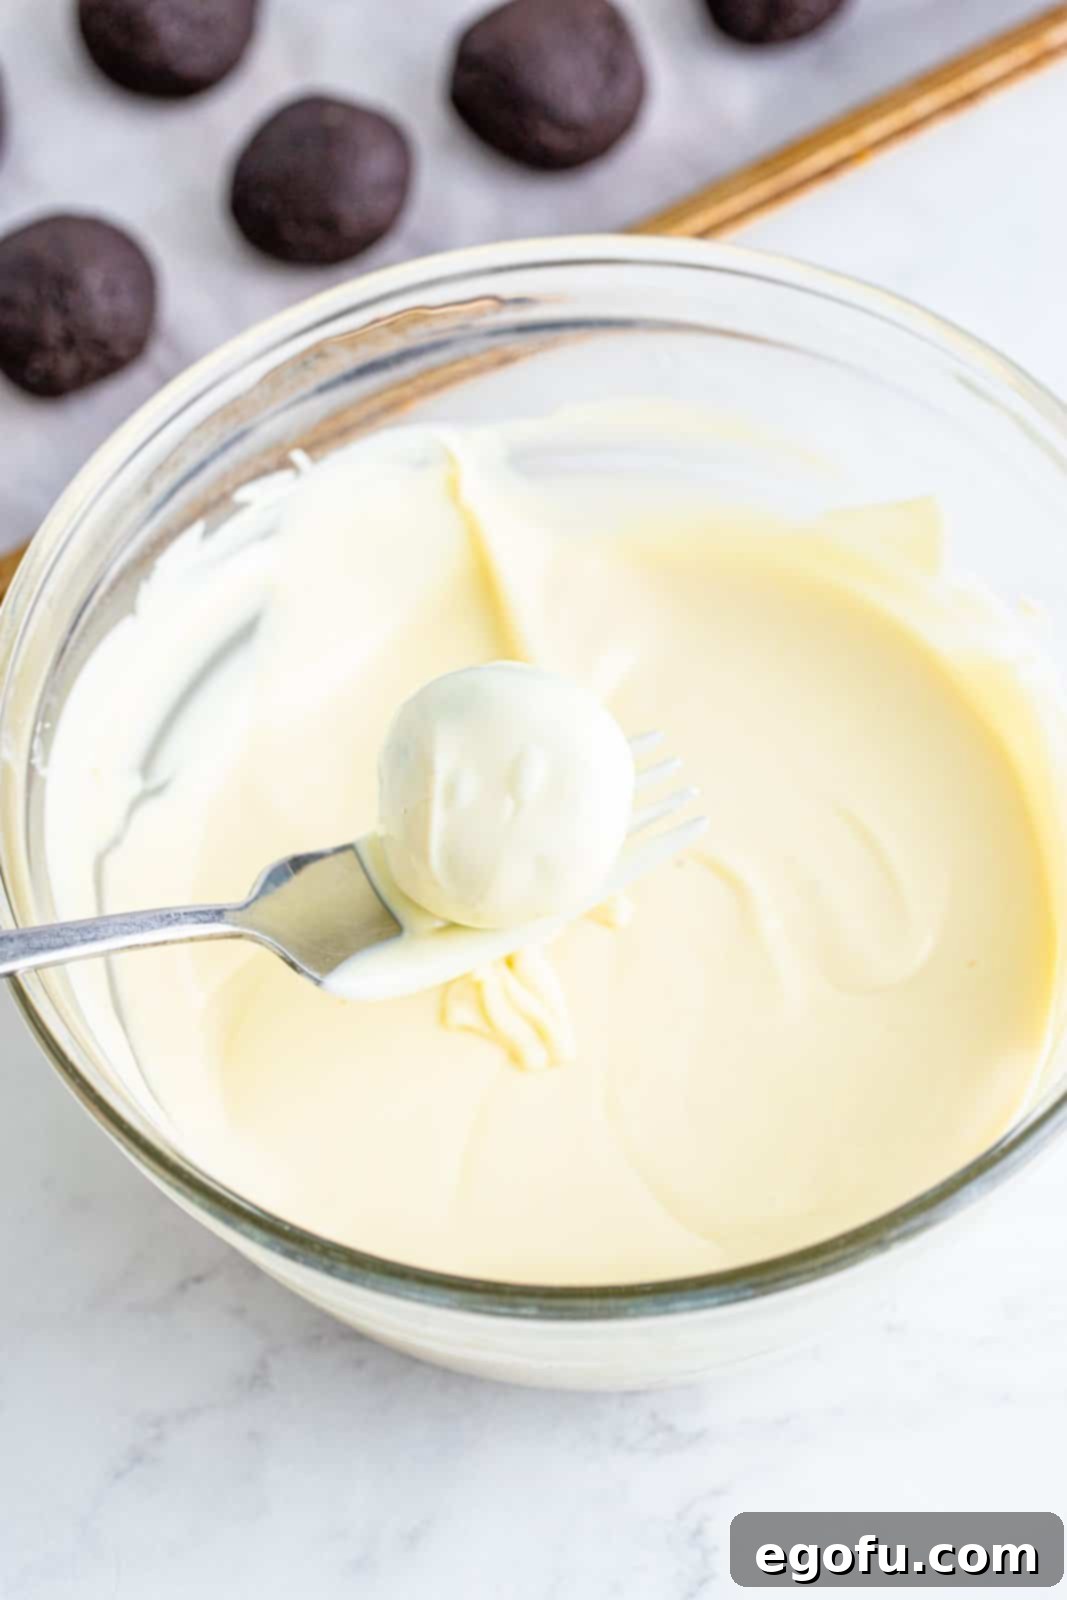
Dip Each Ball: Using a fork or a specialized dipping tool, carefully drop one chilled Oreo ball into the melted almond bark. Submerge it completely, ensuring it’s fully coated. Lift the ball out with the fork, gently tapping the side of the bowl to allow any excess coating to drip back into the bowl. This technique helps create a smooth, even layer without too much bulk, preventing a thick, uneven coating.

Allow Excess to Drip: Continue to gently tap the fork against the edge of the bowl until most of the excess coating has dripped off. This step is crucial to avoiding thick, unsightly pooled bottoms on your finished treats and ensures a clean, professional appearance.

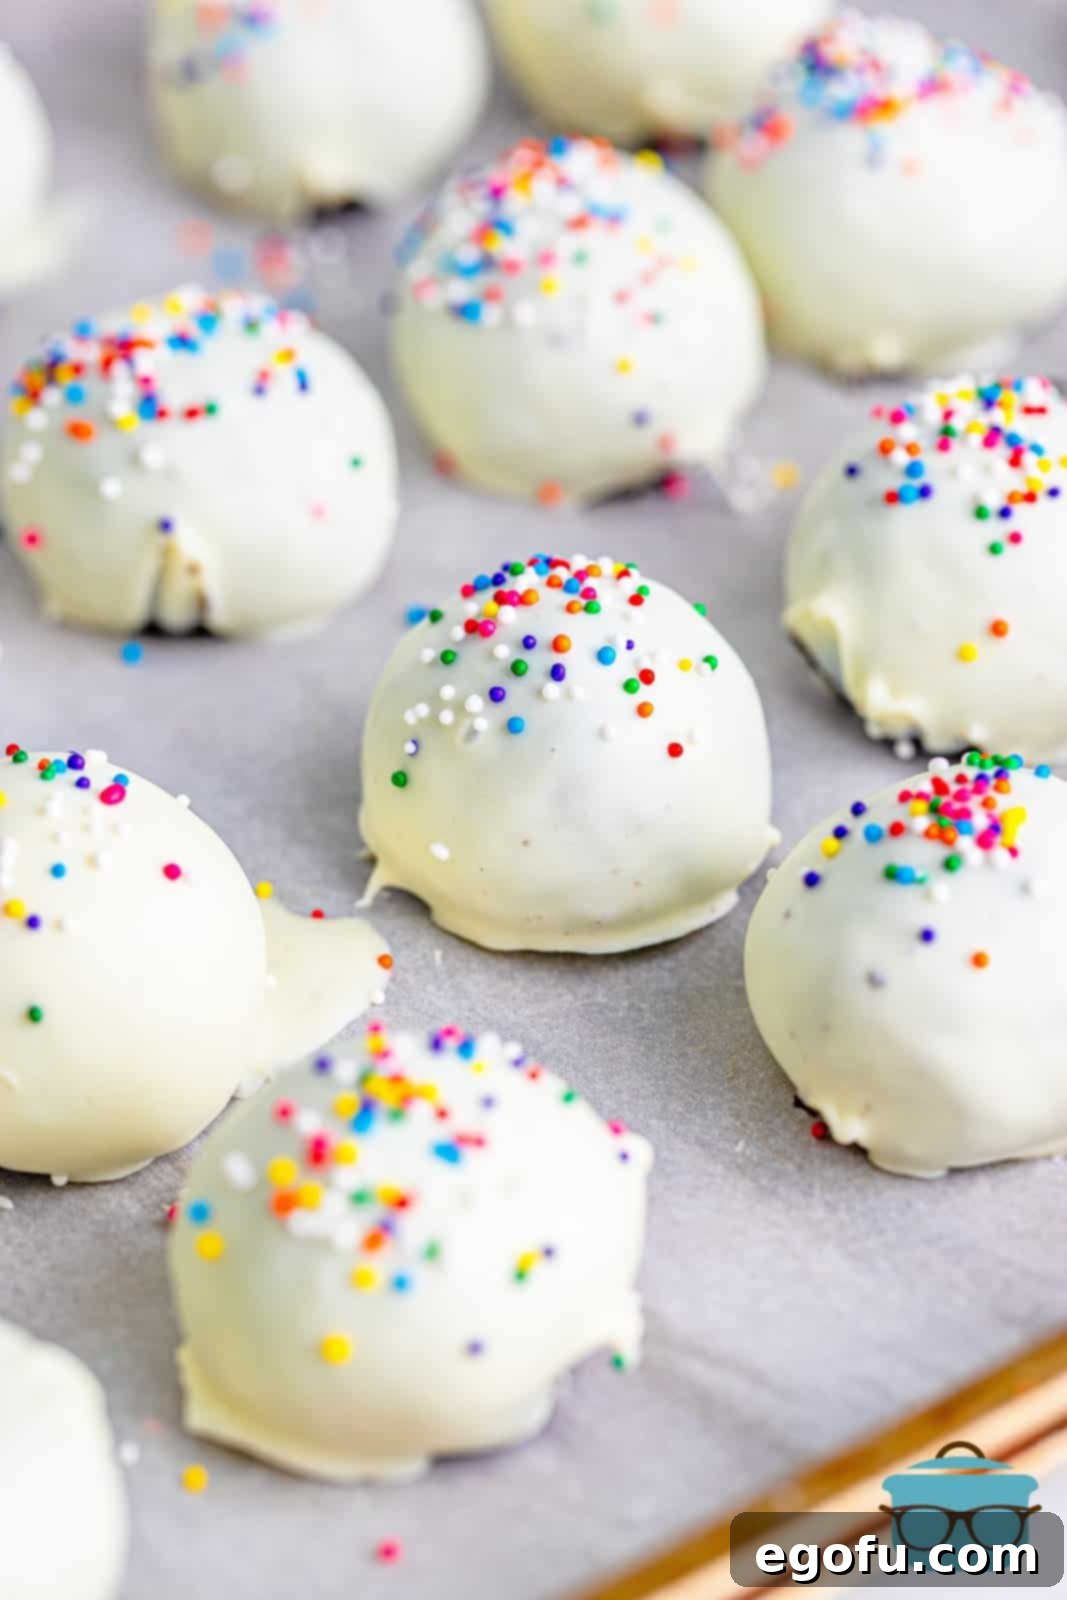
Place and Decorate: Carefully transfer the coated Oreo ball to a fresh sheet of wax paper or parchment paper. Before the coating has a chance to harden (which happens quickly on the chilled balls!), immediately sprinkle with any colored sugars, sprinkles, or other desired decorations. Once the candy coating sets, toppings will not adhere, so swift action is key. Repeat this dipping and decorating process for all remaining cookie balls, working efficiently.

Allow to Set and Enjoy: Allow the coated Oreo Cookie Balls to sit at room temperature or, for faster setting, place them in the refrigerator until the candy coating is completely firm and set. This usually takes about 15-30 minutes, depending on the ambient room temperature. Once hardened, they are ready to serve and enjoy! These beautiful, delicious treats are sure to impress your family and friends with their perfect blend of textures and flavors.

Tips for Success and Customization
Making Oreo Cookie Balls is straightforward, but a few expert tips can elevate your results and open up a world of creative possibilities, ensuring your treats are perfect every time:
- Room Temperature Cream Cheese is Key: We can’t stress this enough! Cold cream cheese will clump and make it nearly impossible to achieve a smooth, uniform mixture with the cookie crumbs. For best results, pull it out of the fridge at least an hour before you plan to start assembling your treats.
- Finely Crushed Cookies: For the best texture in your cookie balls, ensure the Oreos are crushed into very fine crumbs. Large chunks can make the balls harder to form, create an uneven texture, and may cause the coating to crack.
- Chill Thoroughly: Do not rush the chilling step. The firm texture of the frozen balls is absolutely essential for successful dipping. If they are too soft or warm, they may crumble, melt into your warm coating, or cause the coating to set unevenly.
- Melting Coating Wisely: When melting your almond bark or chocolate wafers, use a microwave-safe bowl and heat in short bursts (30 seconds at a time), stirring well after each interval. Overheating can cause the coating to seize, become thick, or even burn. If it seems too thick, you can sometimes thin it with a tiny bit of vegetable shortening or coconut oil (about 1 teaspoon per cup of coating), but add sparingly and stir thoroughly.
- Efficient Dipping Technique: Use a fork or a specialized dipping tool for ease. After submerging the ball, gently tap the fork against the edge of the bowl to allow excess coating to drip off. This creates a thinner, more elegant shell and prevents pooling at the bottom.
- Speed is Your Friend (for toppings): Have all your sprinkles, colored sugars, or other decorations ready and within arm’s reach before you start dipping. The candy coating hardens quickly, especially on cold balls, so you need to apply toppings immediately after dipping before the coating sets.
- Creative Toppings: Beyond classic sprinkles, consider drizzling your set cookie balls with contrasting melted dark or milk chocolate, rolling them in crushed nuts (pecans, walnuts, pistachios), shredded coconut, more crushed Oreos, or even a dusting of cocoa powder for a sophisticated truffle-like finish.
- Flavor Variations: Don’t limit yourself to original Oreos! Experiment with different flavors like Golden Oreos, Mint Oreos, Peanut Butter Oreos, or even seasonal varieties like Birthday Cake or Pumpkin Spice for unique twists. You can also add a drop of extract (mint, almond, orange, raspberry) to your cream cheese mixture for an extra flavor boost.
- Colored Coatings: For festive occasions or themed parties, use colored candy melts instead of white. You can create vibrant green for St. Patrick’s Day, classic red and green for Christmas, or soft pastel colors for Easter celebrations.
With these comprehensive tips, your Oreo Cookie Balls will not only be delicious but also beautifully presented and perfectly textured every single time, making you a dessert hero!
Craving More Decadent No-Bake Desserts? Give These Recipes a Try!
If you’ve fallen in love with the ease and deliciousness of these Oreo Cookie Balls, you’re in luck! There’s a whole world of no-bake treats waiting to be explored, many of which use similar simple ingredients and methods. Here are some fantastic recipes that build on similar principles or offer equally delightful, fuss-free indulgence:
- Back-to-School Oreo Cookie Balls
- Easter Egg Oreo Cookie Balls
- Circus Animal Cookie Balls
- Red Velvet Cake Balls
- Strawberry Cake Balls
- Peppermint Oreo Balls
- Oreo Cookie Bark
- Air Fryer ‘Fried’ Oreos
Oreo Cookie Balls Recipe
These delicious no-bake Oreo Cookie Balls are incredibly easy to make with just three ingredients: Oreo cookies, cream cheese, and a vanilla candy coating. Perfect for parties, holidays, or a simple sweet treat!

Rating: 5 out of 5 stars (Based on 16 Reviews)
Print Recipe | Pin Recipe
Prep Time: 30 minutes
Total Time: 30 minutes
Yields: 24 servings
Author: Brandie Skibinski
Ingredients
- 1 (14.2 ounce) package of Oreo Cookies
- 1 (8 ounce) block cream cheese, softened to room temperature
- 1 package vanilla almond bark (or white chocolate melting wafers – see notes below for best choice)
Instructions
- Place all the Oreo cookies into a food processor and run until the cookies are in fine bits.
- Add in the softened cream cheese to the processor and continue to pulse the mixture (or mix thoroughly by hand) until it is smooth and looks like thick paste.
- Using a medium 1-1/2 tablespoon cookie scoop, drop balls onto wax paper-lined cookie sheets. Roll them around in your hands to get them nice and smooth.
- Put the whole tray in the freezer for about 30 minutes. This helps them harden up so they hold together better while dipping in the chocolate.
- When ready, put the vanilla almond bark in a bowl and melt in the microwave according to package directions (usually about a minute, stirring in between).
- Using a spoon or fork, dip each ball in the melted coating, roll it around, and then let any excess drip off. Place them on a sheet of wax paper and immediately top with any sprinkles or decorations you may be using.
- Allow the coating to harden completely before eating. This won’t take long.
Video
Notes
- The store brand Almond Bark is often the most affordable coating option. However, CandiQuik brand is a good choice for quality. White vanilla melting wafers tend to melt better and offer a smoother finish, though they can be slightly more expensive.
- Almond bark is typically found in the baking aisle, near the chocolate chips.
- Feel free to use any flavor of Oreo cookies for a fun twist on this recipe!
- No food processor? No problem! Place all cookies in a sturdy ziploc bag and pound with a rolling pin until they are reduced to fine crumbs. Then, mix with softened cream cheese in a bowl until thoroughly combined into a thick paste.
- Store finished Oreo Cookie Balls in an airtight container in the refrigerator for up to two weeks. For longer storage, they can be frozen for up to 6 months. Ensure they are well-wrapped to prevent freezer burn.
Course: Dessert
Cuisine: American
Nutrition
Calories: 206kcal | Carbohydrates: 27g | Protein: 2g | Fat: 9g | Sodium: 158mg | Sugar: 21g
Nutritional Disclaimer
“The Country Cook” is not a dietician or nutritionist, and any nutritional information shared is an estimate. If calorie count and other nutritional values are important to you, we recommend running the ingredients through whichever online nutritional calculator you prefer. Calories and other nutritional values can vary quite a bit depending on which brands were used.
Did you make this recipe?
Share it on Instagram @thecountrycook and mention us #thecountrycook!
Originally published: February 2011
Updated and republished: August 2022
