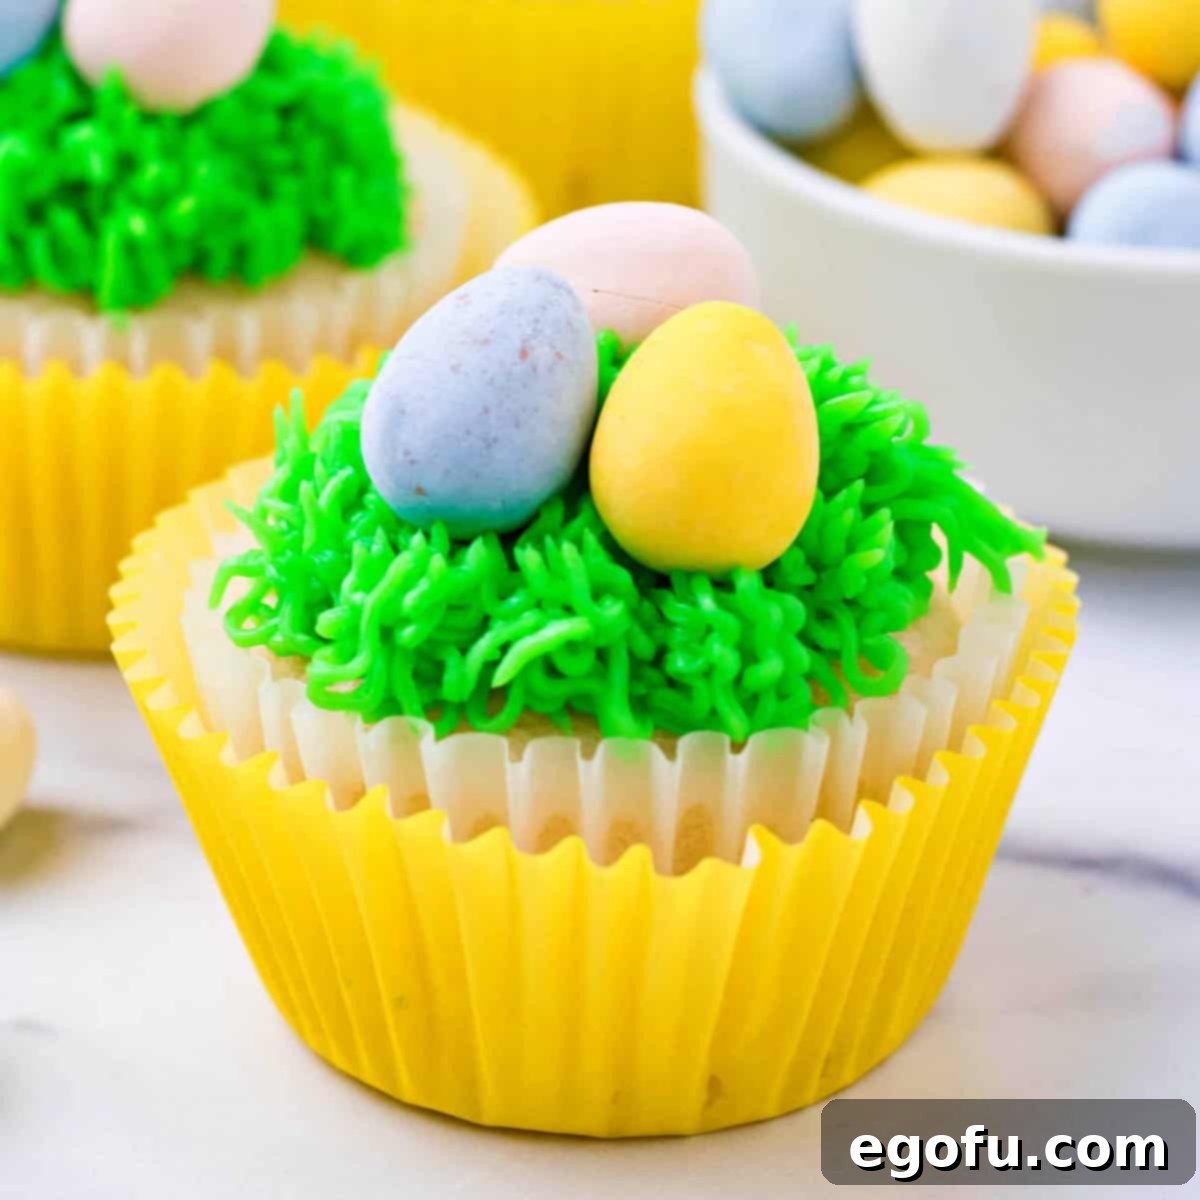
If you are searching for an adorably delicious and effortlessly enjoyable Easter baking project to share with your family, these vibrant Easter Egg Cupcakes are the perfect blend of tasty, beautiful, and seriously fun!
Delightful Easter Egg Cupcakes: A Festive Treat for the Whole Family
The Joy of Homemade Easter Cupcakes
There’s something truly special about baking from scratch, especially when it comes to celebrating holidays like Easter. A homemade treat carries a warmth and personal touch that simply can’t be replicated. These Easter Egg Cupcakes are a testament to that joy, offering a delightful culinary adventure that’s both rewarding to make and enchanting to behold. While I often find myself on a delicious “cupcake expedition” exploring a myriad of flavors, these particular vanilla beauties hold a special place for their festive charm and straightforward preparation.
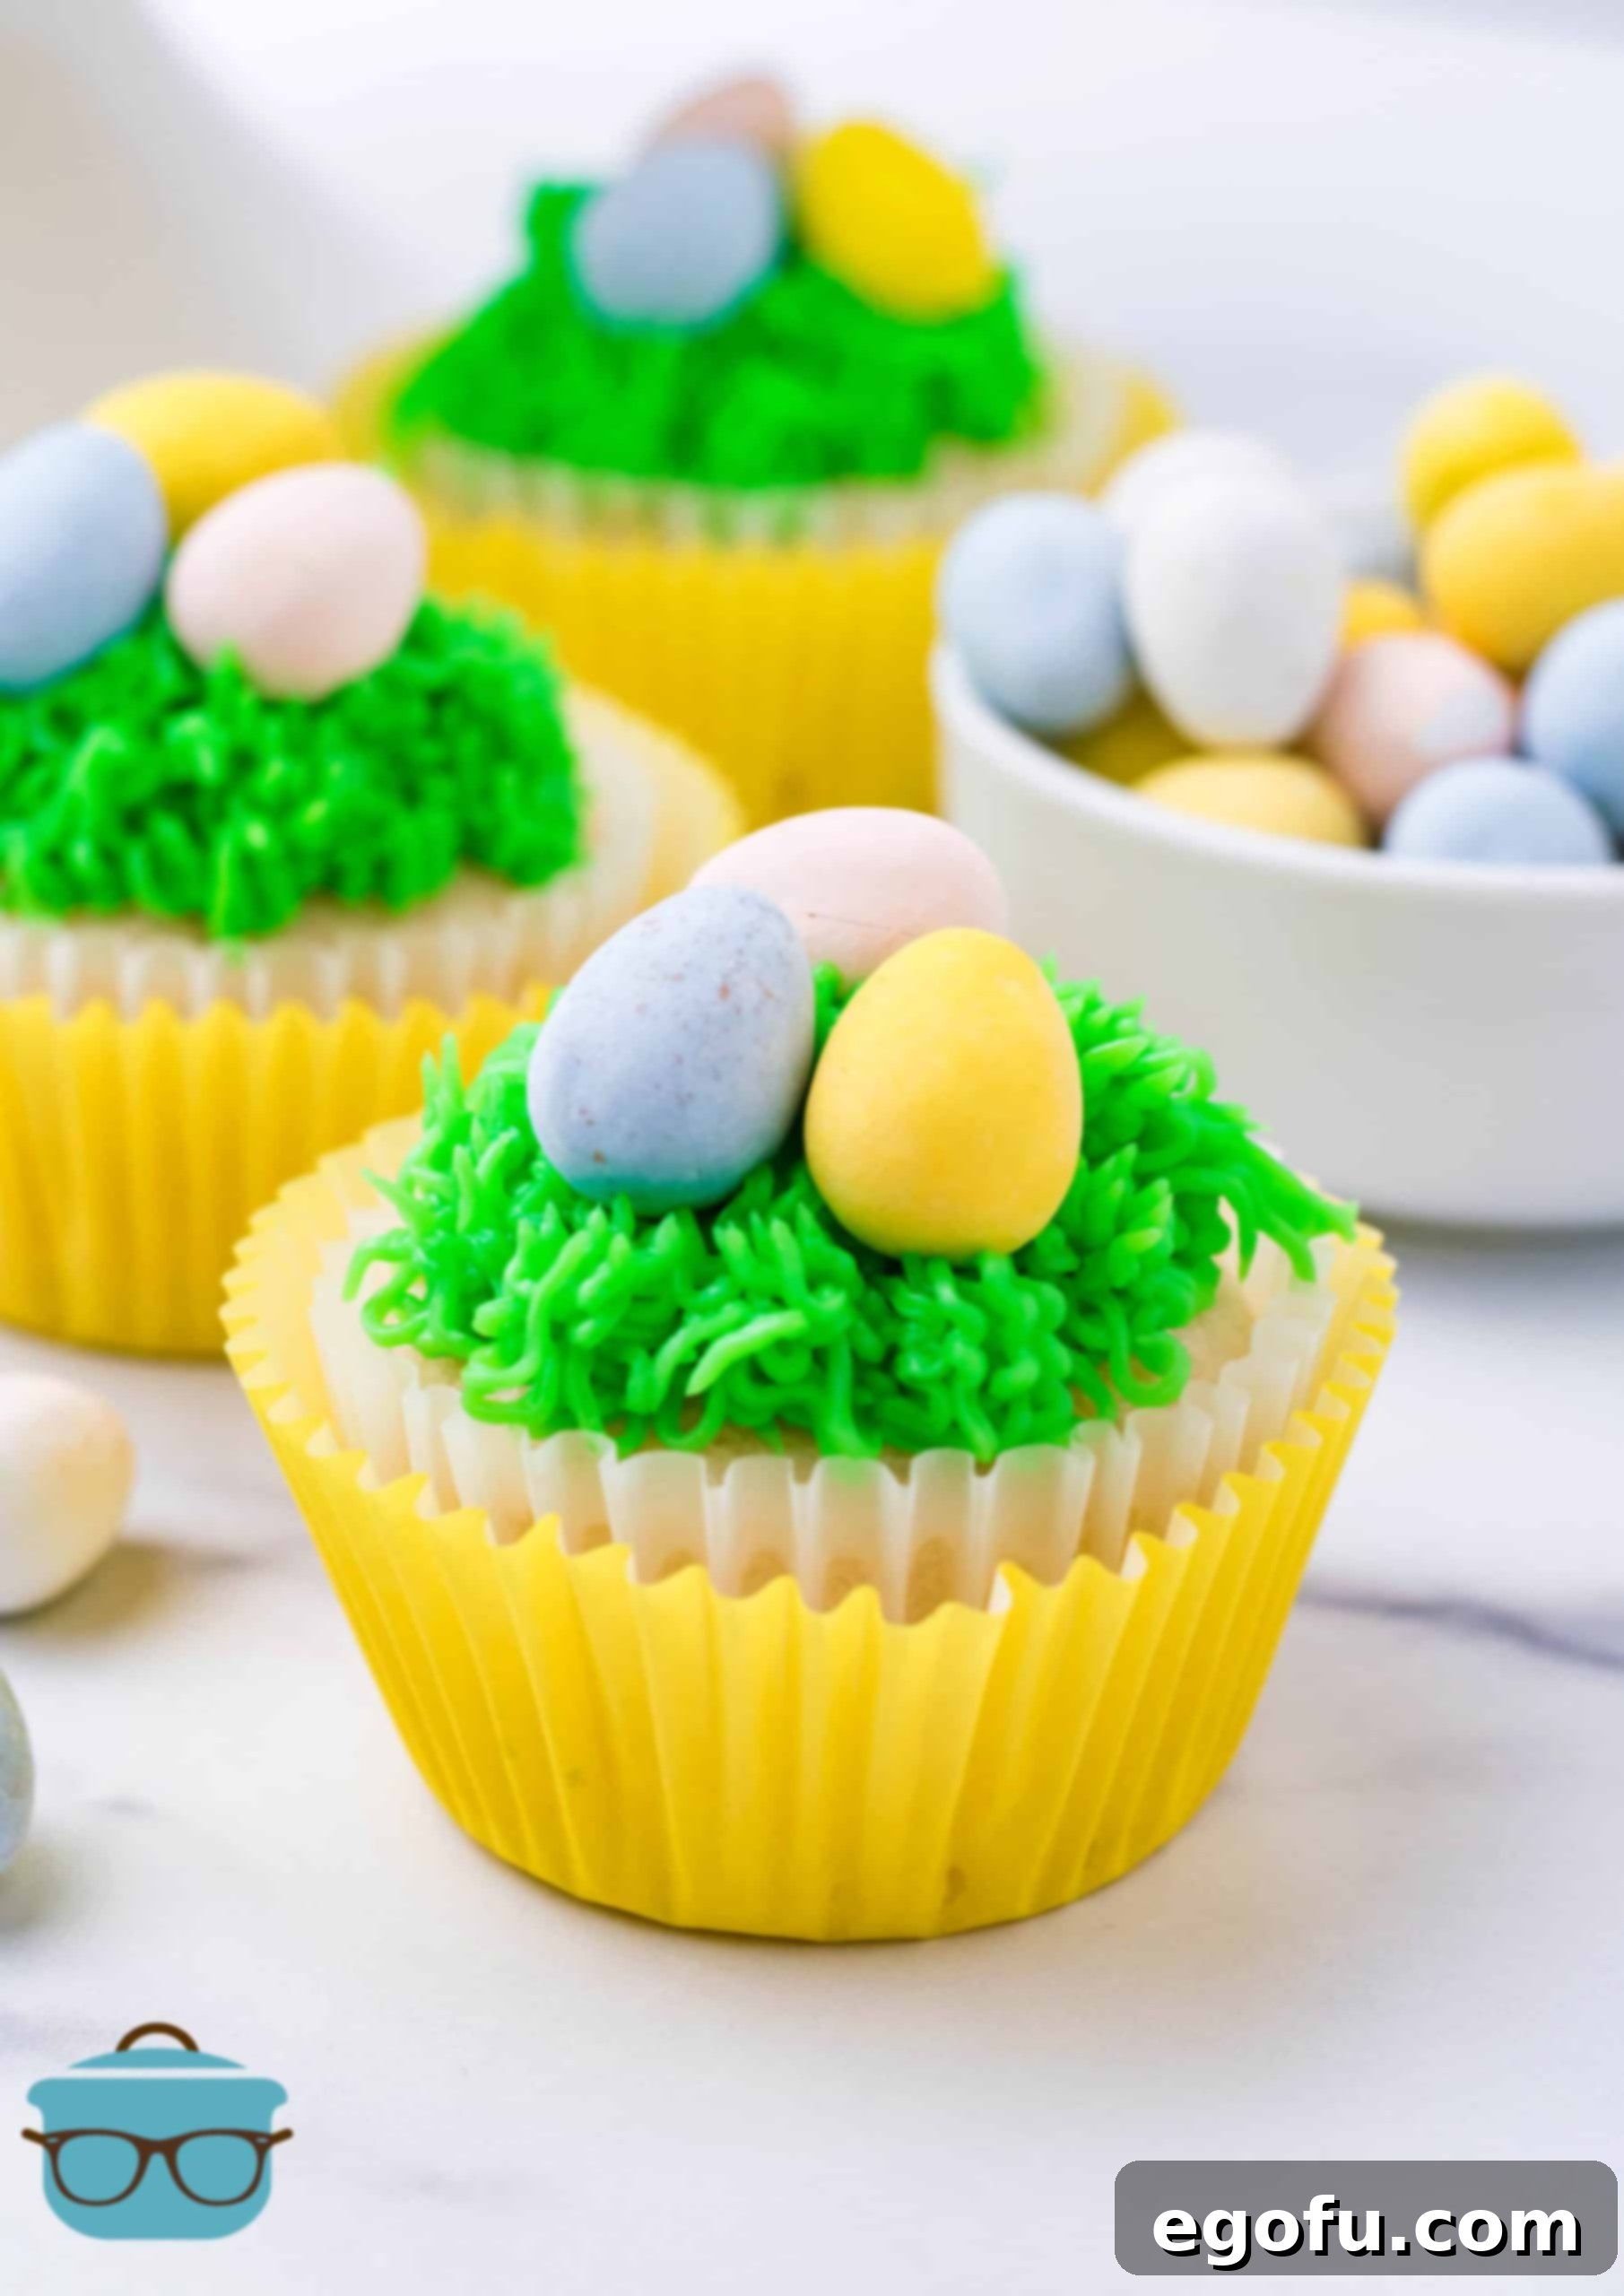
Imagine soft, moist vanilla cupcakes, baked to golden perfection, then crowned with a playful swirl of vibrant green “grass” frosting. To complete the whimsical Easter garden scene, each cupcake is adorned with a scattering of mini Cadbury chocolate eggs, resembling tiny treasures hidden amongst the sweet edible blades. It’s a visually stunning dessert that evokes the freshness of spring and the excitement of an Easter egg hunt, making it an absolute hit with both children and adults alike.
This recipe isn’t just about creating a delicious dessert; it’s about making memories. The process of baking, decorating, and then sharing these charming cupcakes can become a cherished family tradition, adding another layer of sweetness to your Easter celebrations. Whether you’re an experienced baker or just starting out, this recipe is designed to be accessible and enjoyable, promising a delightful outcome that will impress your guests and bring smiles to every face.
Mastering Your Easter Egg Cupcakes: Expert Tips and Tricks
Creating these delightful Easter Egg Cupcakes is a straightforward process, but a few expert tips can elevate your baking experience and ensure perfect results every time. From customizing the cake base to perfecting your frosting technique, these pointers will help you achieve cupcakes that are as delicious as they are beautiful.
- Homemade or Boxed Mix? Your Choice! While our recipe provides a fantastic homemade vanilla cupcake base, feel free to use a high-quality boxed white, vanilla, or yellow cake mix if you’re short on time or prefer the convenience. Just follow the package directions for baking, and then pick up our recipe from the frosting stage. This flexibility ensures everyone can enjoy making these festive treats.
- Achieving the Perfect Grass Effect: The signature “grass” frosting is created using a Wilton #223 grass tip. This specialized piping tip creates multiple strands of frosting at once, giving a realistic grassy texture. Practice a few squeezes on parchment paper first to get a feel for the pressure and pull-up motion needed for the best results. A steady hand makes all the difference!
- Vibrant Green Frosting: For the best color saturation in your frosting, I highly recommend using gel or paste food coloring over liquid drops. A Kelly Green shade works wonderfully to achieve that bright, spring-like green. Add the coloring gradually, mixing well after each addition, until you reach your desired hue. Remember, a little goes a long way with gel colors!
- Patience is Key: Always Cool Completely: It’s crucial for your cupcakes to cool completely on a wire rack before you even think about frosting them. Attempting to frost warm cupcakes will result in melted, sliding frosting and a messy finish. Patience here ensures your beautiful grass frosting stays perfectly in place.
- Batch Size Adaptability: This recipe yields a dozen cupcakes, which is perfect for a small gathering. However, if you’re hosting a larger Easter party, planning to give them as gifts, or simply want more to enjoy, this recipe easily doubles (or even triples!) without compromising quality. Just ensure you have enough cupcake pans and ingredients on hand.
- Cadbury Egg Alternatives: Cadbury Mini Eggs are iconic for Easter, and their crunchy candy shell and chocolatey interior are perfect for these cupcakes. If they’re difficult to find, or if you prefer a different chocolate, M&M’s also offers small chocolate eggs, and many other candy brands release seasonal egg-shaped chocolates that would work beautifully. Feel free to get creative with your toppings!
- Consider Your Decorating Space: Set up a clear, clean workstation for decorating. Having all your frosting, piping bags, tips, and sprinkles/eggs organized before you begin will make the assembly process much smoother and more enjoyable, especially if little helpers are involved.
- Room Temperature Ingredients for Frosting: Just like with the cake batter, ensuring your butter is at room temperature for the frosting is vital. This allows it to cream properly with the powdered sugar, resulting in a smooth, lump-free, and airy frosting consistency that’s easy to pipe.
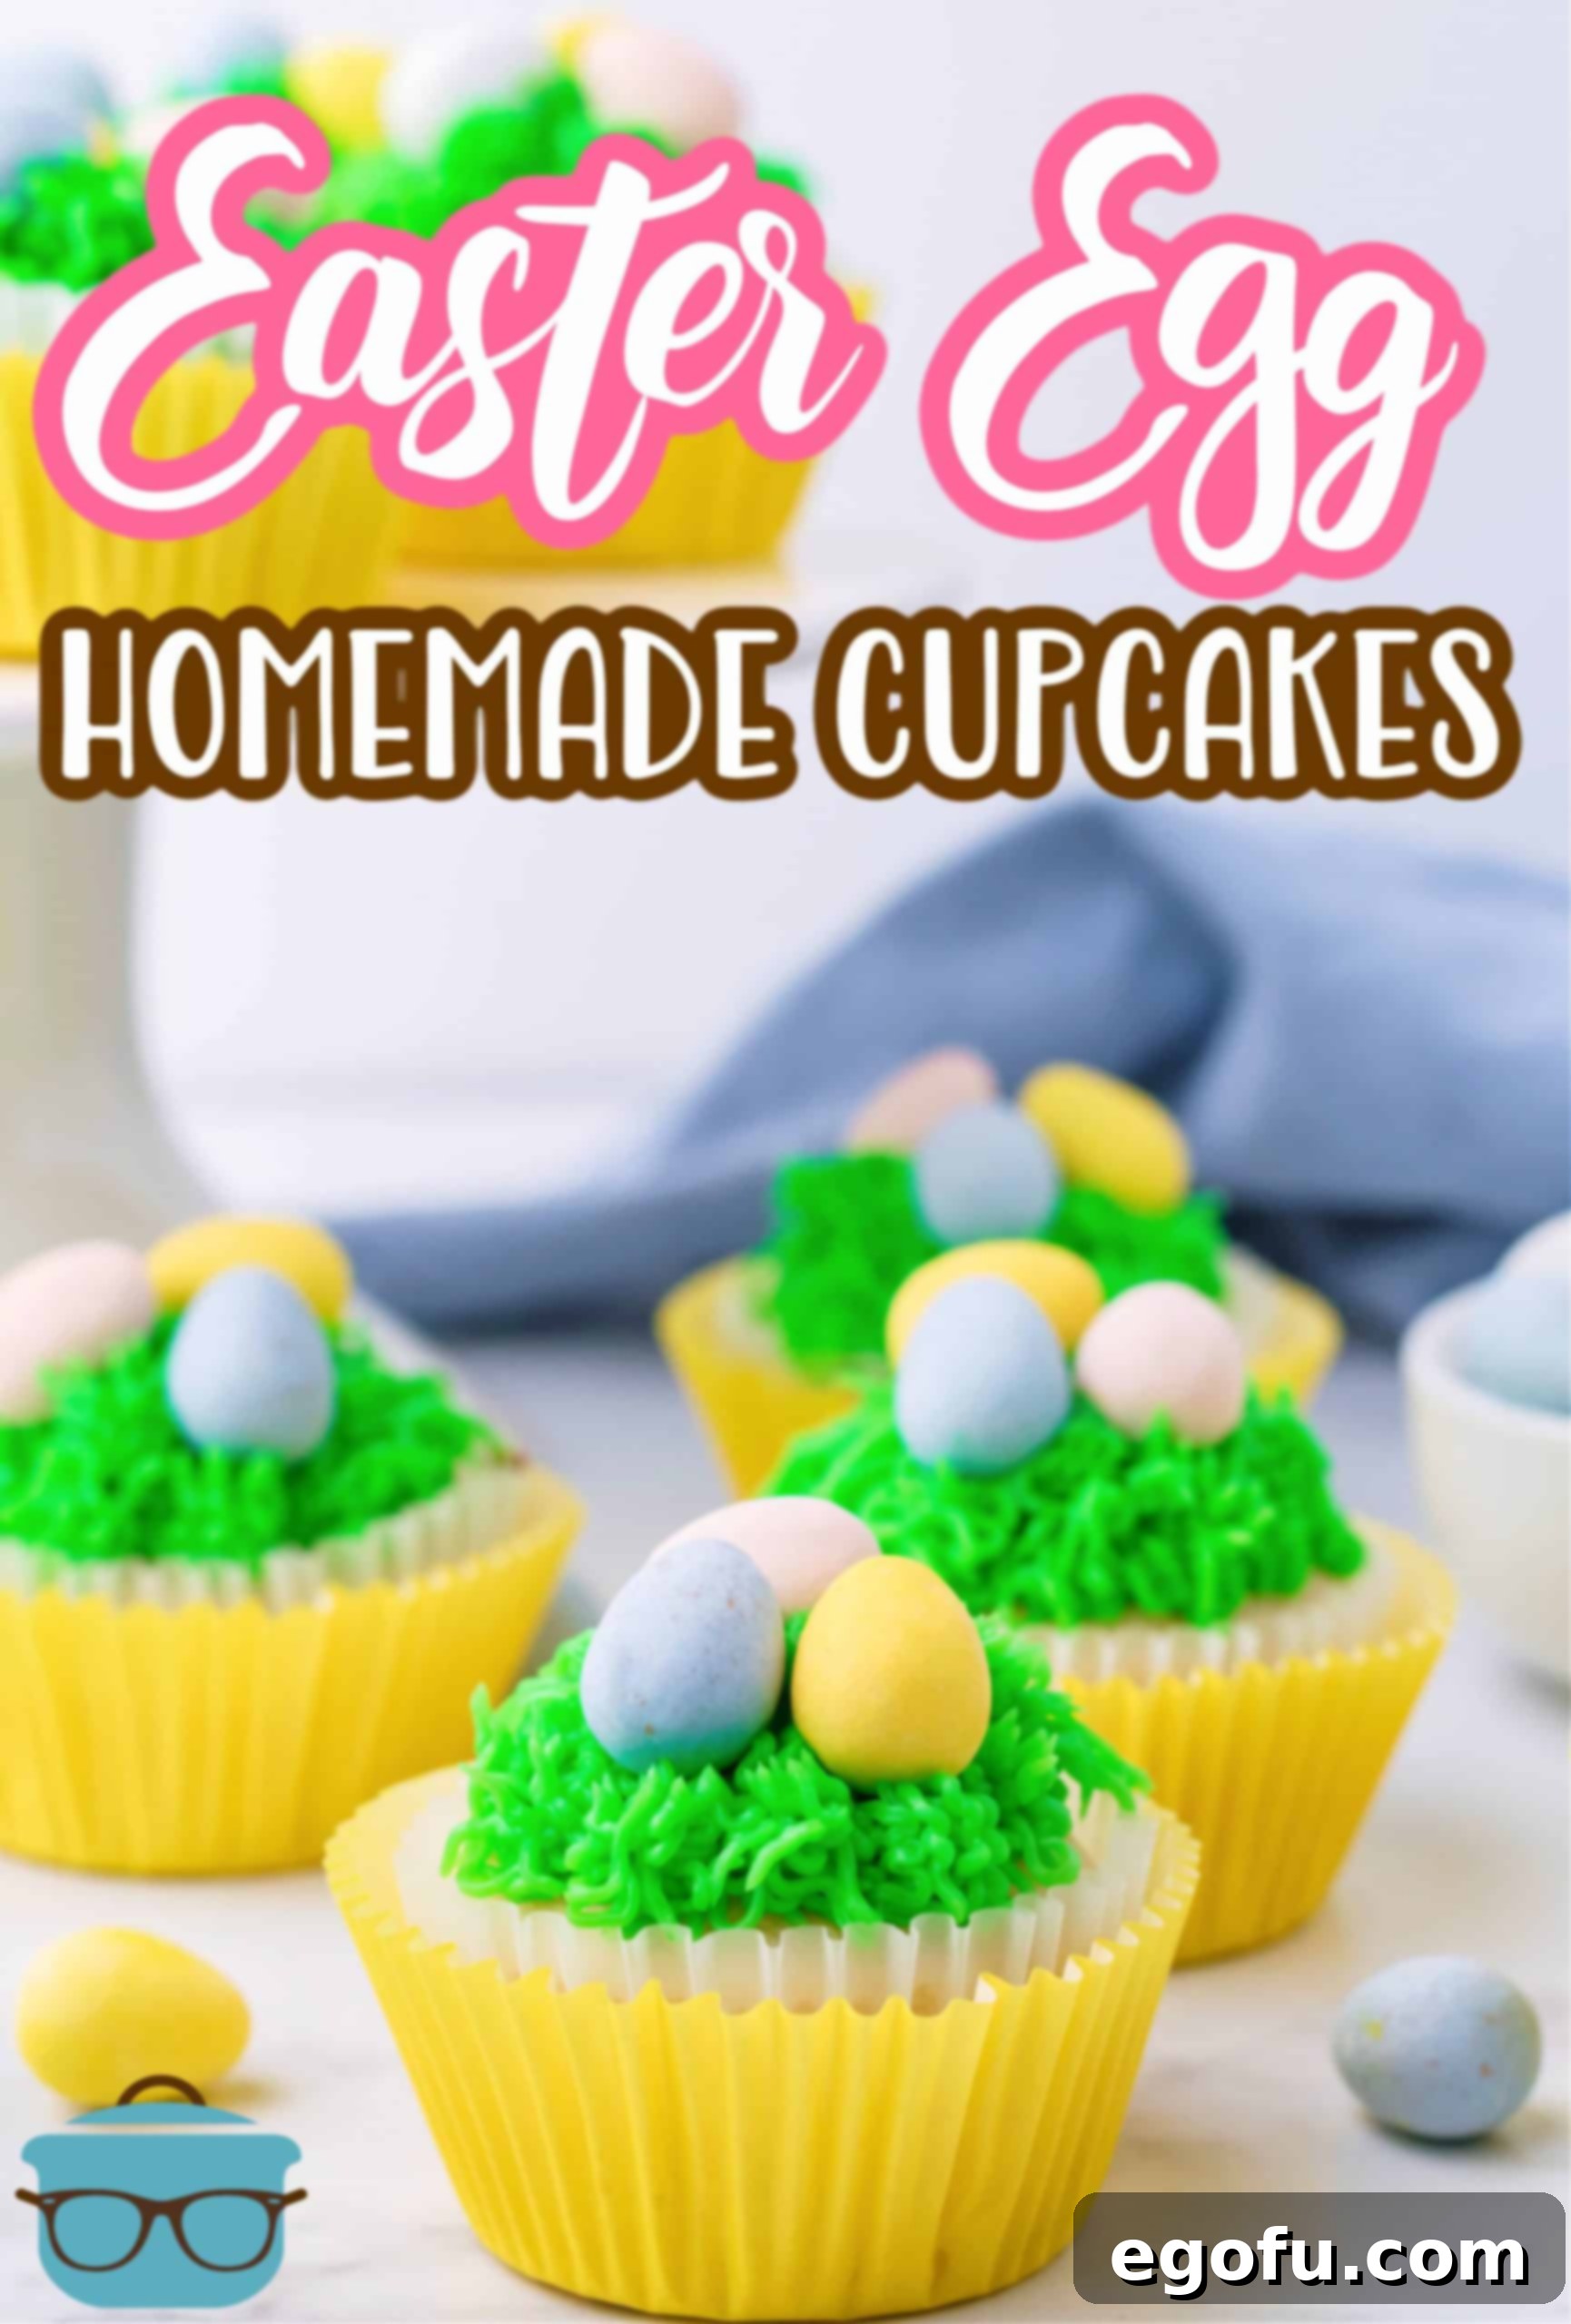
Gathering Your Ingredients: The Heart of Your Easter Cupcakes
Crafting these homemade Easter Egg Cupcakes requires a few basic baking staples, plus some festive additions for decoration. High-quality ingredients are the foundation of any great dessert, so make sure your butter is softened, your eggs are fresh, and your vanilla extract is pure. The full, detailed recipe with precise measurements is provided in the recipe card below, but here’s a quick overview of what you’ll need to gather before you start.
Ingredients Needed:
- All-purpose flour
- Baking powder
- Salt (a pinch helps balance flavors)
- Salted butter (softened to room temperature for both cake and frosting)
- Granulated sugar
- Egg whites (for a lighter, whiter cake crumb)
- Vanilla extract (pure for best flavor)
- Milk (whole or 2% works well)
- Mini Cadbury chocolate eggs (or your preferred chocolate Easter candy)
- Powdered sugar (for the smooth buttercream frosting)
- Heavy whipping cream (adds richness and helps achieve whipped consistency in frosting)
- Green food coloring (gel or paste recommended for vibrant color)
Having all your ingredients measured and ready before you begin (a technique known as “mise en place”) will make the baking process much smoother and more enjoyable. Ensure your butter is properly softened – it should yield slightly to a gentle press, but not be greasy or melted.
Step-by-Step Guide: Crafting Your Easter Cupcakes
Follow these detailed instructions to bake and frost your beautiful Easter Egg Cupcakes. Each step is designed to be clear and easy to follow, ensuring a successful and enjoyable baking experience from start to finish. Remember, precision in baking often leads to the best results!
Preparing the Cupcake Batter
- Preheat and Prepare: Begin by preheating your oven to 350°F (175°C). Line a 12-cup standard muffin pan with festive paper cupcake liners. Setting this up first ensures you’re ready when the batter is mixed.
- Combine Dry Ingredients: In a small bowl, thoroughly whisk together the all-purpose flour, baking powder, and a pinch of salt. Whisking helps to evenly distribute the leavening agents and prevent lumps, ensuring a tender cupcake crumb. Set this bowl aside.
- Prepare Liquid Ingredients: In a separate, larger glass measuring cup or medium bowl, combine the milk and vanilla extract. This pre-mix ensures they are ready to be incorporated smoothly into the butter mixture.
- Cream Butter and Sugar: In the bowl of a stand mixer fitted with a paddle attachment, or using a large bowl with a hand mixer, cream together the softened salted butter and granulated sugar. Beat on medium speed for 2-3 minutes until the mixture is light, fluffy, and pale in color. This step incorporates air, which contributes to the cupcakes’ tender texture.
- Incorporate Egg Whites: Add the egg whites one at a time to the creamed butter and sugar mixture, mixing well after each addition until just combined. Scrape down the sides of the bowl as needed to ensure everything is fully incorporated. Egg whites contribute to a lighter, whiter cake.
- Alternate Wet and Dry Ingredients: With the mixer on low speed, alternate adding the dry ingredient mixture and the milk mixture to the butter mixture. Begin and end with the dry ingredients. For example, add one-third of the flour mixture, mix until just combined, then half of the milk mixture, mix, then another third of flour, mix, the remaining milk, mix, and finally the last third of the flour. Mixing just until combined prevents overmixing, which can lead to tough cupcakes. After everything is incorporated, scrape down the sides and bottom of the bowl, and mix for an additional 30 seconds to ensure uniformity.
- Fill Cupcake Liners: Divide the prepared cupcake batter evenly among the 12 lined cupcake cups, filling each liner approximately halfway to two-thirds full. This ensures even baking and prevents overflow.
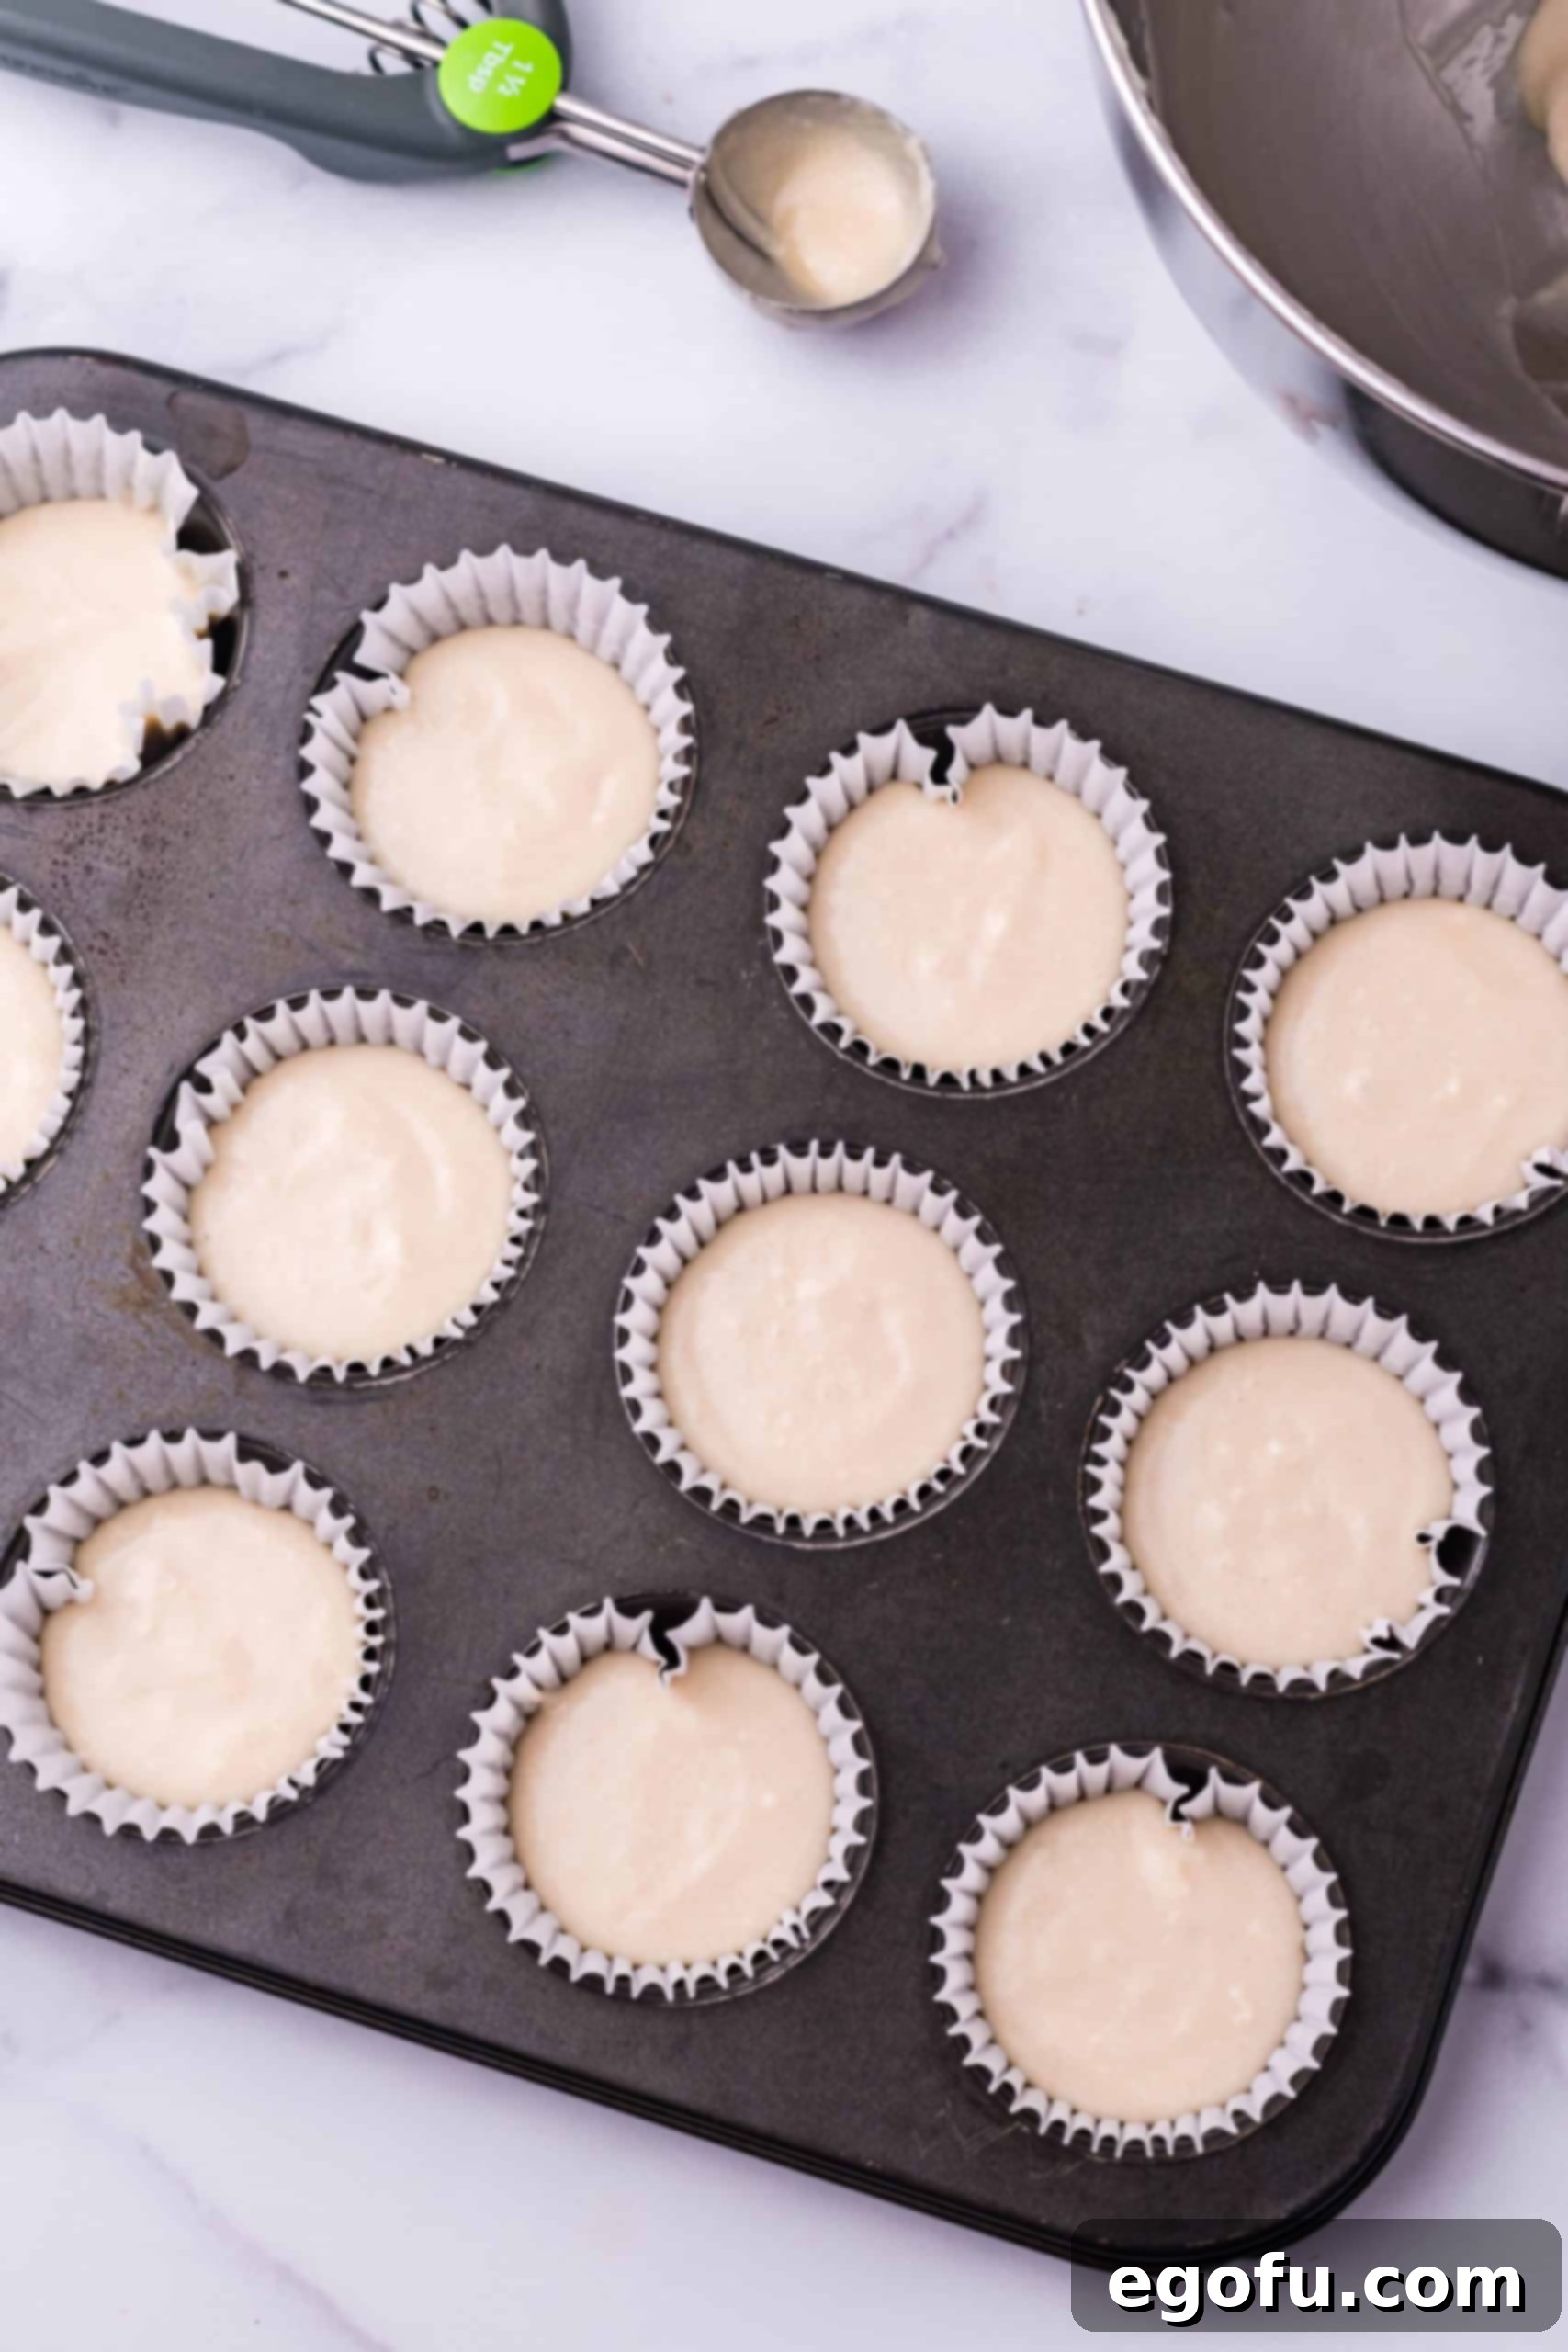
- Bake to Perfection: Bake the cupcakes in your preheated oven for 15-18 minutes, or until a wooden toothpick inserted into the center of a cupcake comes out clean. Baking times can vary slightly depending on your oven, so keep an eye on them.
- Cool Completely: Allow the baked cupcakes to cool in the muffin pan for about 5 minutes. Then, carefully transfer them to a wire rack to cool completely before frosting. This step is critical; frosting warm cupcakes will cause the buttercream to melt.
Creating the Fluffy Green Frosting
- Cream the Butter for Frosting: While your cupcakes are cooling, begin preparing the frosting. In the bowl of a stand mixer with a paddle attachment (or using a hand mixer), add the softened salted butter. Cream the butter on medium speed for 1-2 minutes until it becomes light, fluffy, and completely free of lumps. This aerates the butter, making for a lighter frosting.
- Add Vanilla: Pour in the vanilla extract and mix on low speed until it is just combined. Avoid overmixing at this stage.
- Gradually Add Powdered Sugar: Add the powdered sugar to the butter mixture, one cup at a time. Mix on low speed after each addition until thoroughly combined. Be sure to scrape down the sides and bottom of the bowl frequently to ensure all ingredients are incorporated and prevent dry pockets of sugar.
- Achieve Whipped Consistency: Once all the powdered sugar is added, slowly pour in the heavy whipping cream. Mix on low speed until combined, then increase the speed to high. Beat for 1-2 minutes, or until the frosting becomes wonderfully light, fluffy, and has a smooth, whipped consistency. This whipping creates the perfect texture for piping.
- Color the Frosting: Add 2-3 drops of green food coloring to the frosting. Mix on medium speed until the color is evenly distributed throughout. If you desire a more intense shade of green, add additional drops one at a time, mixing after each, until your preferred vibrancy is achieved.
Assembling Your Edible Easter Masterpiece
Now comes the most fun and creative part: transforming your vanilla cupcakes into adorable Easter nests! This step truly brings the Easter theme to life, creating a visually appealing dessert that’s almost too pretty to eat.
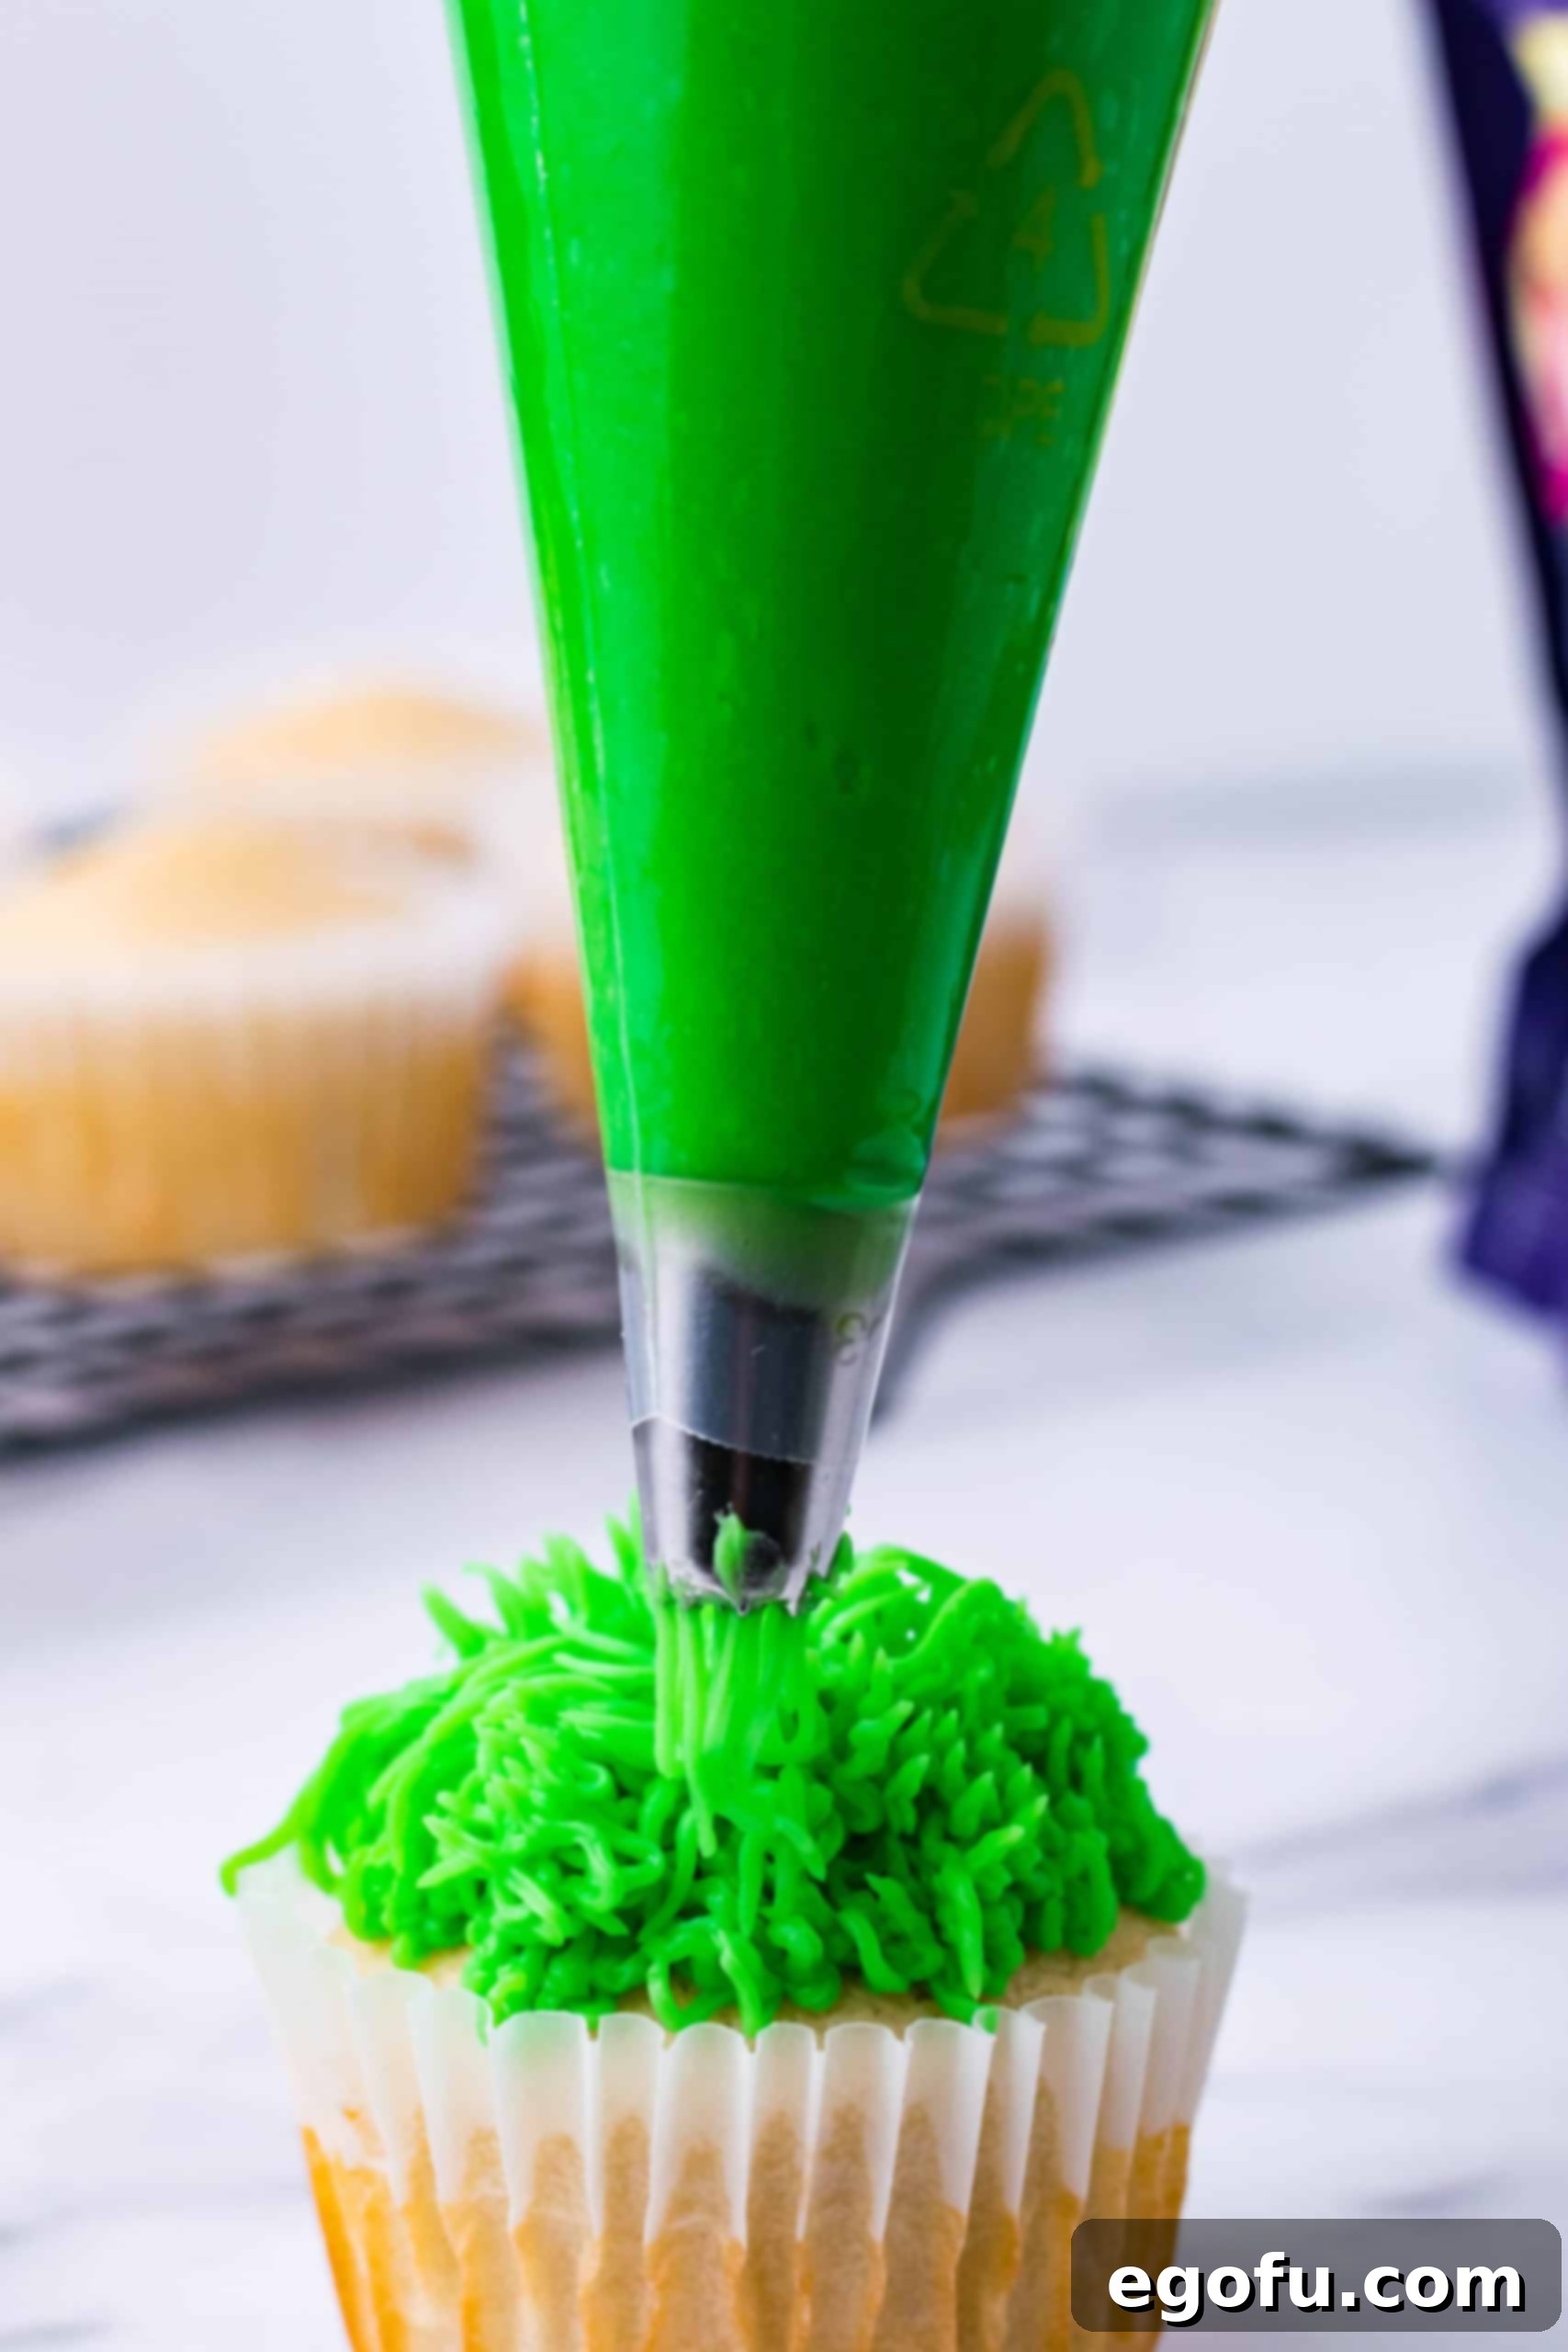
- Prepare the Piping Bag: Fit a piping bag with a Wilton #223 grass tip. Carefully fill the piping bag with your vibrant green frosting. To avoid air pockets, push the frosting down gently, twisting the top of the bag to create pressure.
- Pipe the Grass Frosting: Hold the piping bag perpendicular to the top of a cooled cupcake. Apply steady, even pressure to the piping bag, and as the frosting emerges, pull the tip straight up while simultaneously releasing pressure. This motion creates short, individual “blades” of grass. Continue piping all around the top of the cupcake, working from the outside edge inwards, to create a fluffy, nest-like grass effect. Don’t be afraid to layer the frosting slightly to achieve a fuller look.
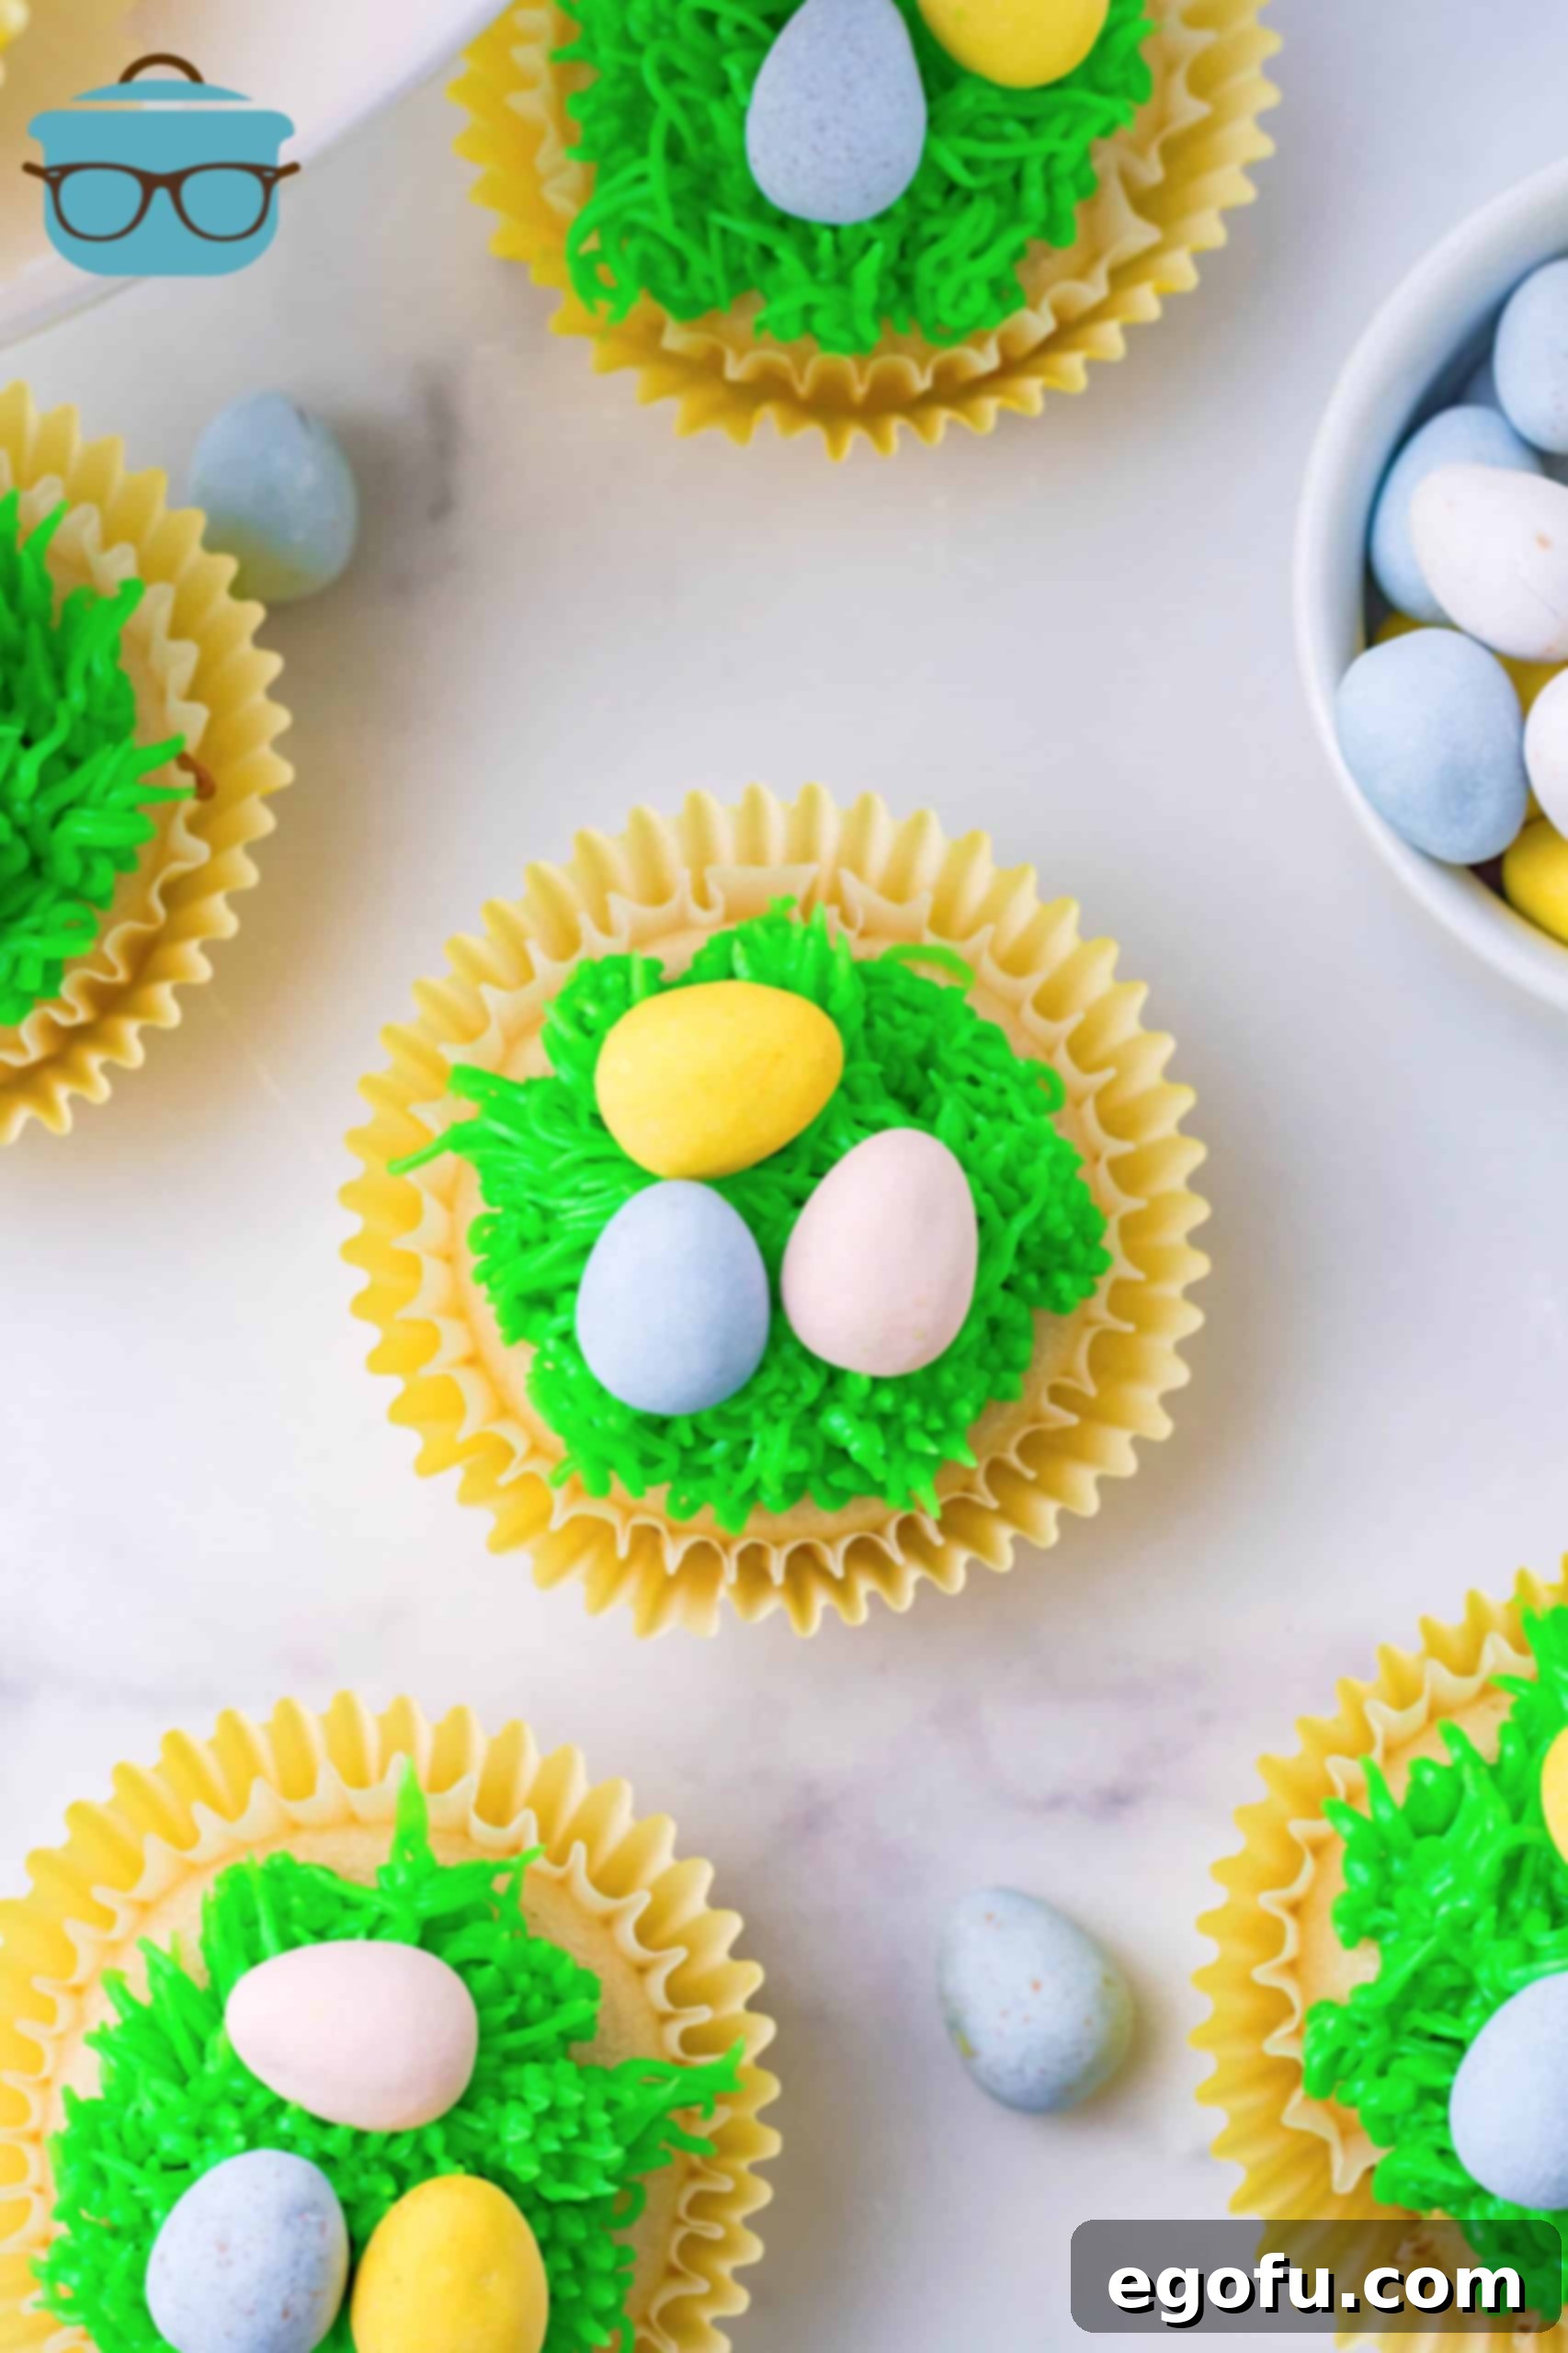
- Add Easter Eggs: Once the frosting “grass” is complete on a cupcake, gently place 3 mini Cadbury chocolate eggs (or as many as you desire) into the center of the frosting. Arrange them as if they are resting in a bird’s nest. Repeat the piping and egg placement for all remaining cupcakes.
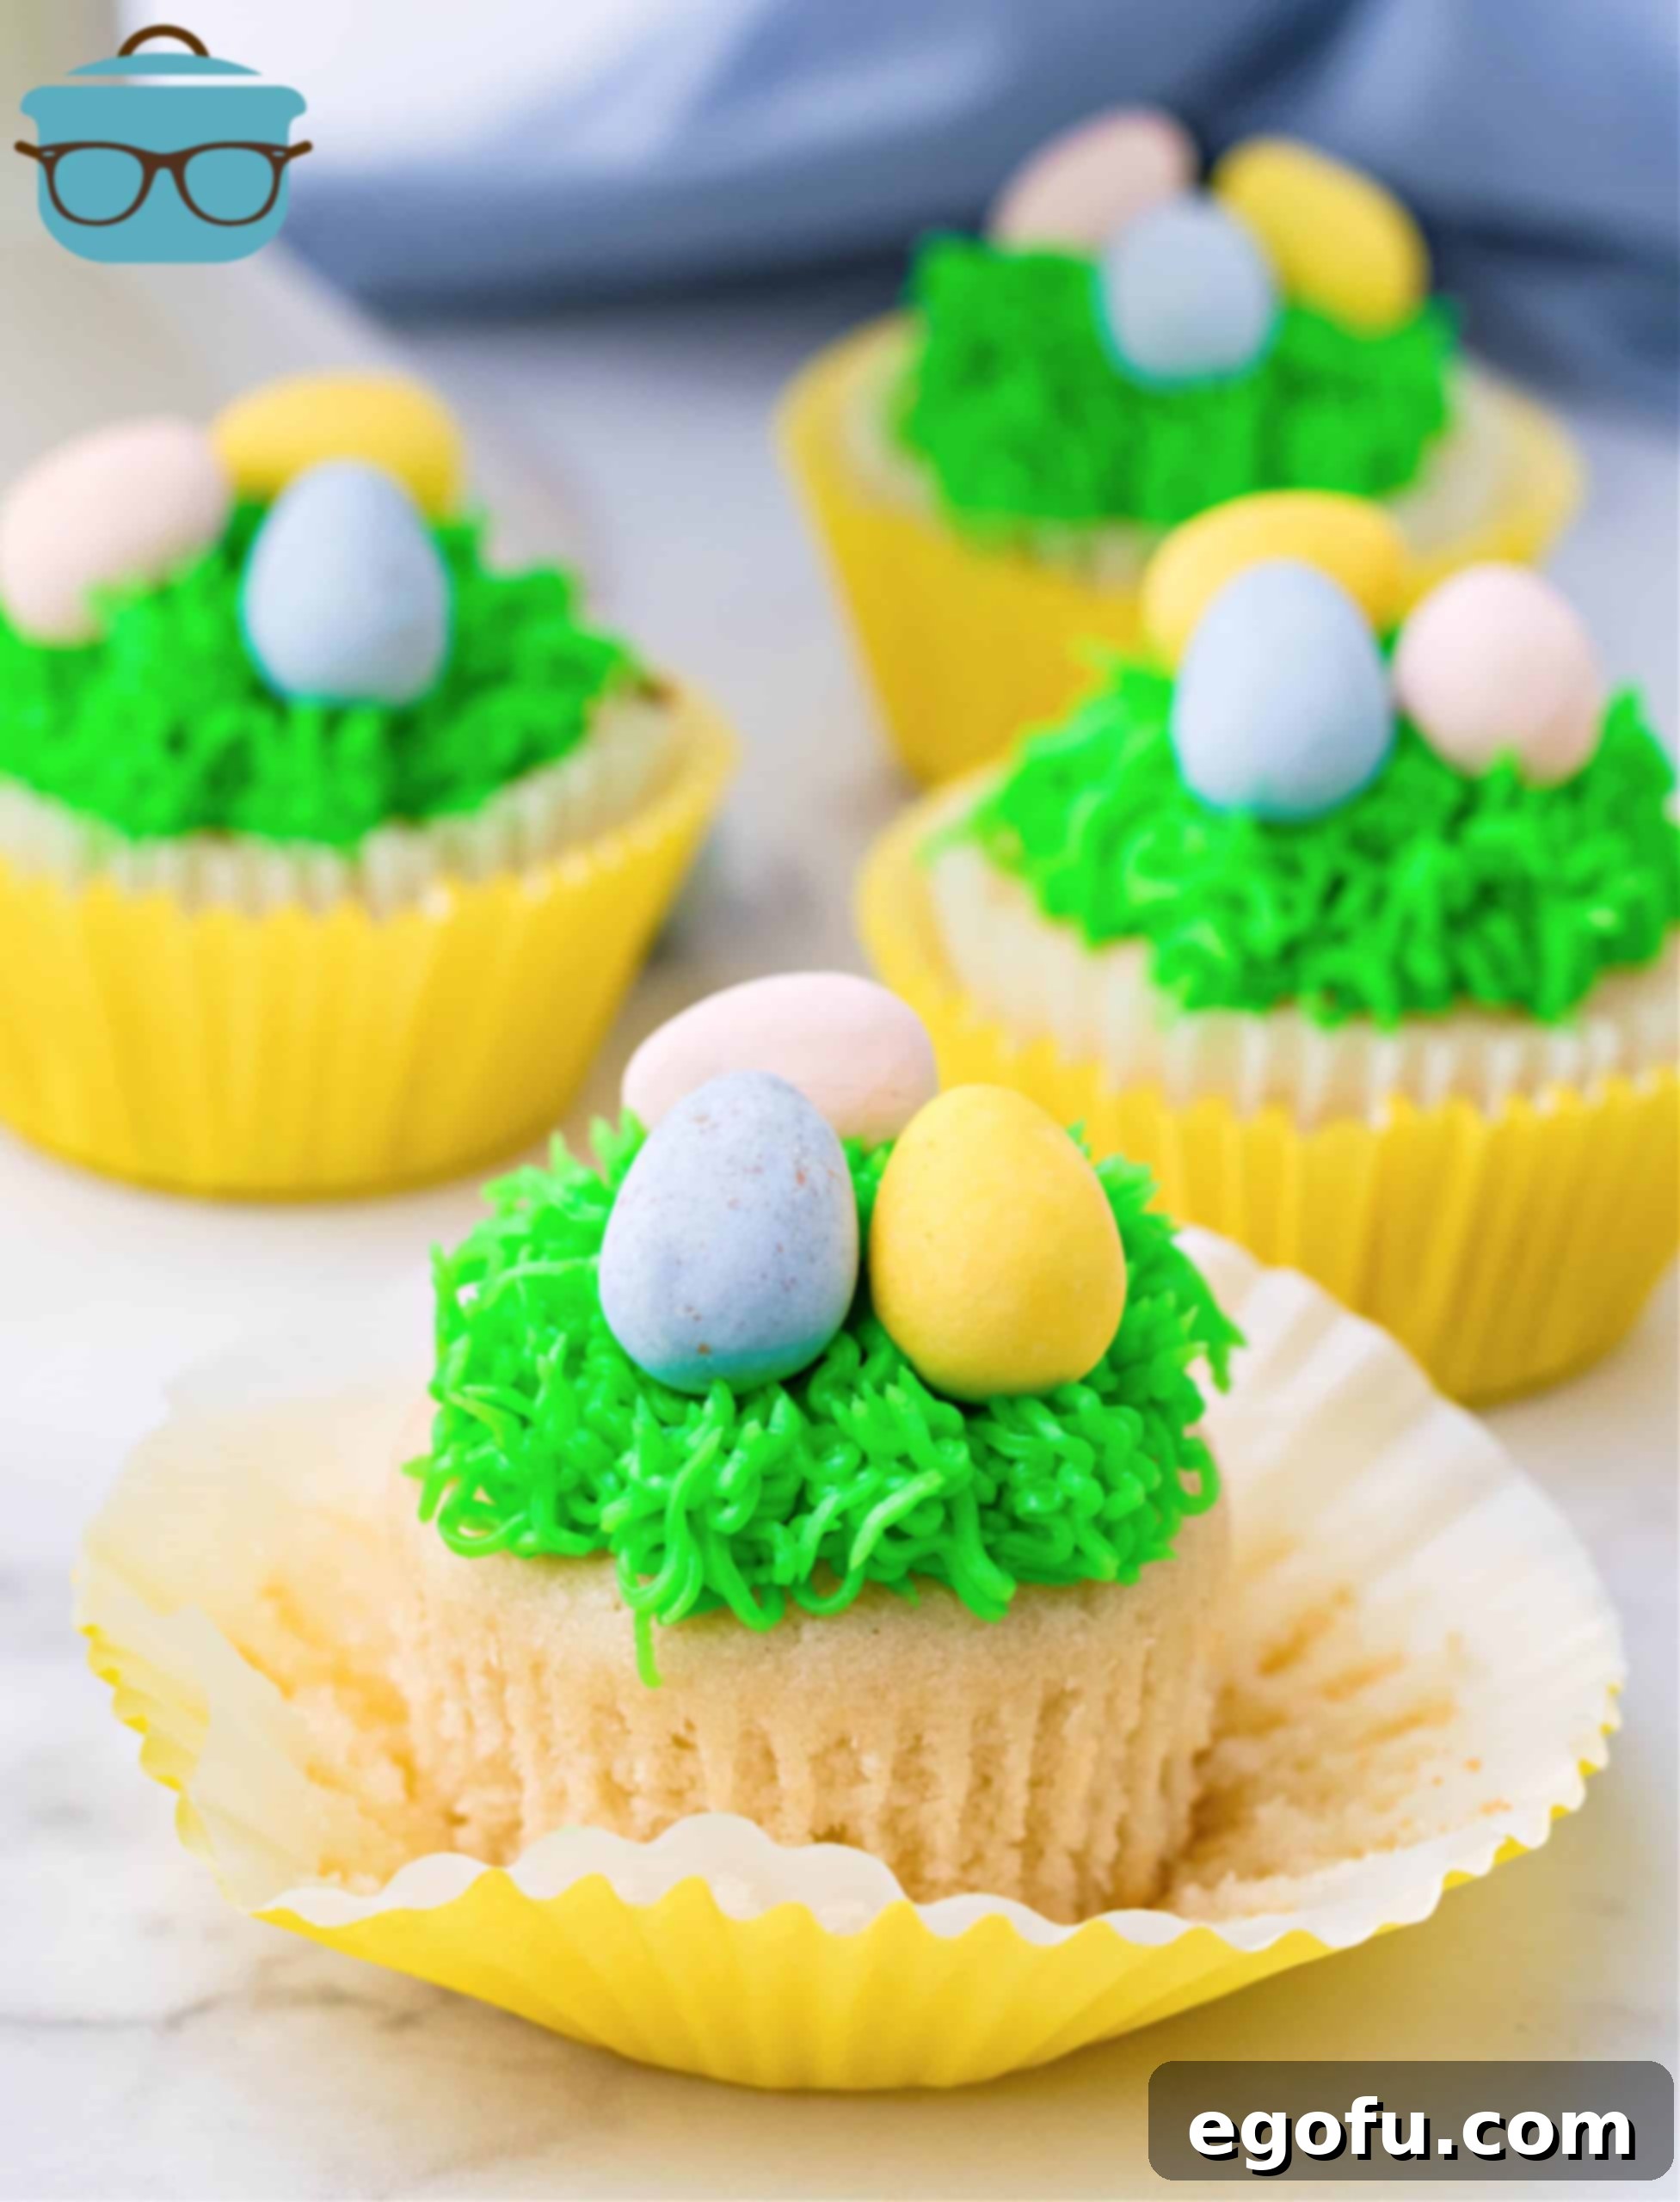
Your Easter Egg Cupcakes are now complete, an edible masterpiece ready to brighten any Easter table or delight any recipient!
Storage and Serving Suggestions: Keeping Your Cupcakes Fresh
Proper storage is essential to maintain the freshness and deliciousness of your homemade Easter Egg Cupcakes. Following these guidelines will ensure your beautiful creations stay delightful for as long as possible.
- Refrigeration: Once frosted, these cupcakes are best stored in an airtight container in the refrigerator for up to three days. The frosting, with its butter and cream content, benefits from cooler temperatures to maintain its structure and freshness. Placing them in an airtight container prevents them from drying out or absorbing other odors from the fridge.
- Serving at Room Temperature: For the best flavor and texture, remove the cupcakes from the refrigerator about 30-60 minutes before serving. This allows the cake to soften slightly and the frosting to become less firm, bringing out their full deliciousness.
- Freezing for Later: If you’re planning ahead or have extra unfrosted cupcakes, they freeze beautifully! Allow the baked cupcakes to cool completely, but do not frost them. Place them in a single layer in an airtight freezer-safe container or wrap them individually in plastic wrap and then foil. They can be stored in the freezer for up to 4-6 months. When you’re ready to enjoy them, simply defrost them at room temperature for several hours or overnight in the refrigerator, then proceed with making and applying the frosting. Freezing unfrosted helps maintain the cupcake’s moisture and prevents the frosting from being damaged.
- Transporting Cupcakes: If you’re taking your cupcakes to a gathering, use a cupcake carrier to protect their delicate frosting. If it’s a warm day, keep them chilled until just before you leave and transport them in a cooler with ice packs if the journey is long.
Customizing Your Easter Egg Cupcakes: Endless Possibilities
While the classic green grass and Cadbury eggs are undeniably charming, these Easter Egg Cupcakes offer a fantastic canvas for creative customization. Don’t hesitate to personalize them to match your own style or dietary preferences! Here are a few ideas to inspire you:
- Alternative Candies: Beyond Cadbury eggs, consider other small, colorful Easter candies like jelly beans, pastel M&M’s, mini chocolate bunnies, or even small edible flowers. You could also use a mix of different candies for a varied look.
- Different Frosting Colors & Flavors: While green is traditional for grass, you could experiment with other pastel frosting colors like light blue, pink, or yellow. You could even swirl two colors together in your piping bag for a tie-dye effect! For flavor, consider adding a hint of almond extract to the vanilla frosting, or even a touch of lemon zest for a brighter, springier taste.
- Coconut Flakes for Texture: For an extra “nest” texture, gently press toasted coconut flakes onto the green frosting before adding the chocolate eggs. This adds another layer of flavor and a lovely textural contrast.
- Spring Sprinkles: A light dusting of spring-themed sprinkles (bunnies, flowers, or pastel nonpareils) can add an extra touch of sparkle and festivity to your cupcakes. Add them after placing the chocolate eggs.
- Healthier Options: If you’re looking for slightly healthier alternatives, consider reducing the sugar content in the cake by a quarter (it might affect texture slightly) or using naturally colored frosting with fruit powders (e.g., spirulina for green, beetroot for pink).
Troubleshooting Common Cupcake Challenges
Even experienced bakers can encounter minor hiccups. Here are some common cupcake issues and how to avoid or fix them, ensuring your Easter Egg Cupcakes are always perfect:
- Flat or Sunken Cupcakes: This can often be due to old baking powder (always check expiry dates!), opening the oven door too early, or overmixing the batter. Ensure your leavening agents are fresh, resist the urge to peek at them until nearly done, and mix just until ingredients are combined.
- Dry Cupcakes: Overbaking is the most common culprit for dry cupcakes. Start checking for doneness at the minimum bake time mentioned in the recipe. Also, ensure you’re using the correct amount of wet ingredients and not over-measuring flour.
- Greasy Frosting: If your butter for the frosting was too warm or partially melted, your frosting might turn out greasy. Ensure your butter is softened but still cool to the touch, not oily. If it happens, try chilling the frosting for 15-20 minutes and then re-whipping it.
- Lumpy Frosting: Unsoftened butter or powdered sugar that hasn’t been properly sifted can lead to lumpy frosting. Always use room temperature butter and sift your powdered sugar for the smoothest results.
- Frosting Not Holding Shape: If your frosting is too soft to pipe, it might be too warm or have too much liquid. Try adding a tablespoon or two more of powdered sugar, or chill the frosting for 15-30 minutes before re-whipping and piping.
Craving More Festive Easter Recipes?
If these Easter Egg Cupcakes have sparked your holiday baking spirit, you’ll love exploring these other delicious and festive recipes perfect for your spring celebrations. From charming brownies to delightful cheesecakes, there’s something here for every sweet tooth!
- Homemade Easter Egg Brownies
- Easter Bunny Poke Cake
- Cadbury Mini Egg Cheesecake
- Easter Surprise Cookies
- Easter Egg Oreo Truffles
- Empty Tomb Rolls
- Easter Banana Pudding Cups
- Swirled Easter Cake
- Hot Cross Buns
- 50 Easter Recipes
The Full Recipe Card: Easter Egg Cupcakes
Easter Egg Cupcakes
These delightful Easter Egg Cupcakes are a fun and easy baking project perfect for sharing with kids. They are tasty, beautiful, and bring festive joy to any Easter celebration!
Prep Time: 20 minutes | Cook Time: 15 minutes | Total Time: 35 minutes
Servings: 12 | Author: Brandie Skibinski
Print Recipe | Pin Recipe
Ingredients
- 1 ¼ cup all-purpose flour
- 1 ½ teaspoons baking powder
- 6 Tablespoons salted butter softened
- ½ cup granulated sugar
- 3 egg whites
- 1 teaspoon vanilla extract
- ½ cup milk
- 36 mini Cadbury chocolate eggs
Frosting:
- 1 cup (2 sticks) salted butter, softened to room temperature
- 2 cups powdered sugar
- 1 teaspoon vanilla extract
- 2 Tablespoons heavy whipping cream
- 2-3 drops green food color
Instructions
- Preheat your oven to 350°F (175°C) and prepare a cupcake pan with liners.
- Combine flour, baking powder, and salt into a small bowl. Whisk and set aside. Add the milk and vanilla into a large glass measuring glass (or bowl) and set aside.
- In the bowl of a stand mixer with a paddle attachment, cream the butter and sugar until light and fluffy.
- Add the egg whites one at a time, combining after each addition.
- Alternate adding the dry ingredients and milk into the butter mixture, starting and ending with dry ingredients. After everything is combined, scrape the sides and bottom of the bowl, and mix an additional 30 seconds.
- Divide the batter evenly between the 12 cupcake liners, filling the liners about halfway.
- Bake for 15-18 minutes or until a toothpick inserted into the center of the cupcakes comes out clean.
- Allow the cupcakes to cool 5 minutes in the pan, then remove to a wire rack to cool completely.
- While the cupcakes are cooling, prepare the frosting by adding the butter into the bowl of a stand mixer with a paddle attachment and cream for 1-2 minutes until fluffy and there are no lumps.
- Add vanilla and mix until just combined.
- Next, add the powdered sugar one cup at a time, making sure to scrape the sides and bottom of the bowl between additions.
- Add the heavy cream and mix on low speed until combined, then slowly increase to high speed for 1-2 minutes or until you get a nice whipped consistency.
- Add the green food color and mix until the color is distributed evenly throughout the frosting.
Assembly:
- Add the frosting into a piping bag fitted with a #223 grass tip.
- Pipe the frosting on top of the cupcakes by applying steady pressure to the piping bag and releasing pressure as you pull the tip straight up to create a grass effect.
- Continue all around the cupcake and feel free to layer the frosting for a fuller look.
- Top with 3 Cadbury eggs (or as many as you like) to complete the Easter nest.
Notes
- These cupcakes are homemade, but you can easily swap a boxed white, vanilla, or yellow cake mix if you’d like.
- I use a Wilton #223 grass tip to pipe the “grass” on the top of these.
- To make the colored frosting, feel free to use liquid, gel, or paste food coloring. Gel and paste food coloring (in Kelly Green) often provide a richer color.
- These need to fully cool before frosting to prevent melting.
- You can easily double this batch to make more for parties or to give away as gifts.
- If you can’t find Cadbury chocolate mini eggs, M&M’s also has their own version of small chocolate eggs that work well.
Course: Dessert | Cuisine: American
Nutrition
Calories: 379kcal | Carbohydrates: 41g | Protein: 3g | Fat: 23g | Sodium: 121mg | Fiber: 1g | Sugar: 30g
Nutritional Disclaimer
“The Country Cook” is not a dietician or nutritionist, and any nutritional information shared is an estimate. If calorie count and other nutritional values are important to you, we recommend running the ingredients through whichever online nutritional calculator you prefer. Calories and other nutritional values can vary quite a bit depending on which brands were used.
Did you make this recipe? Share it on Instagram @thecountrycook and mention us #thecountrycook!
