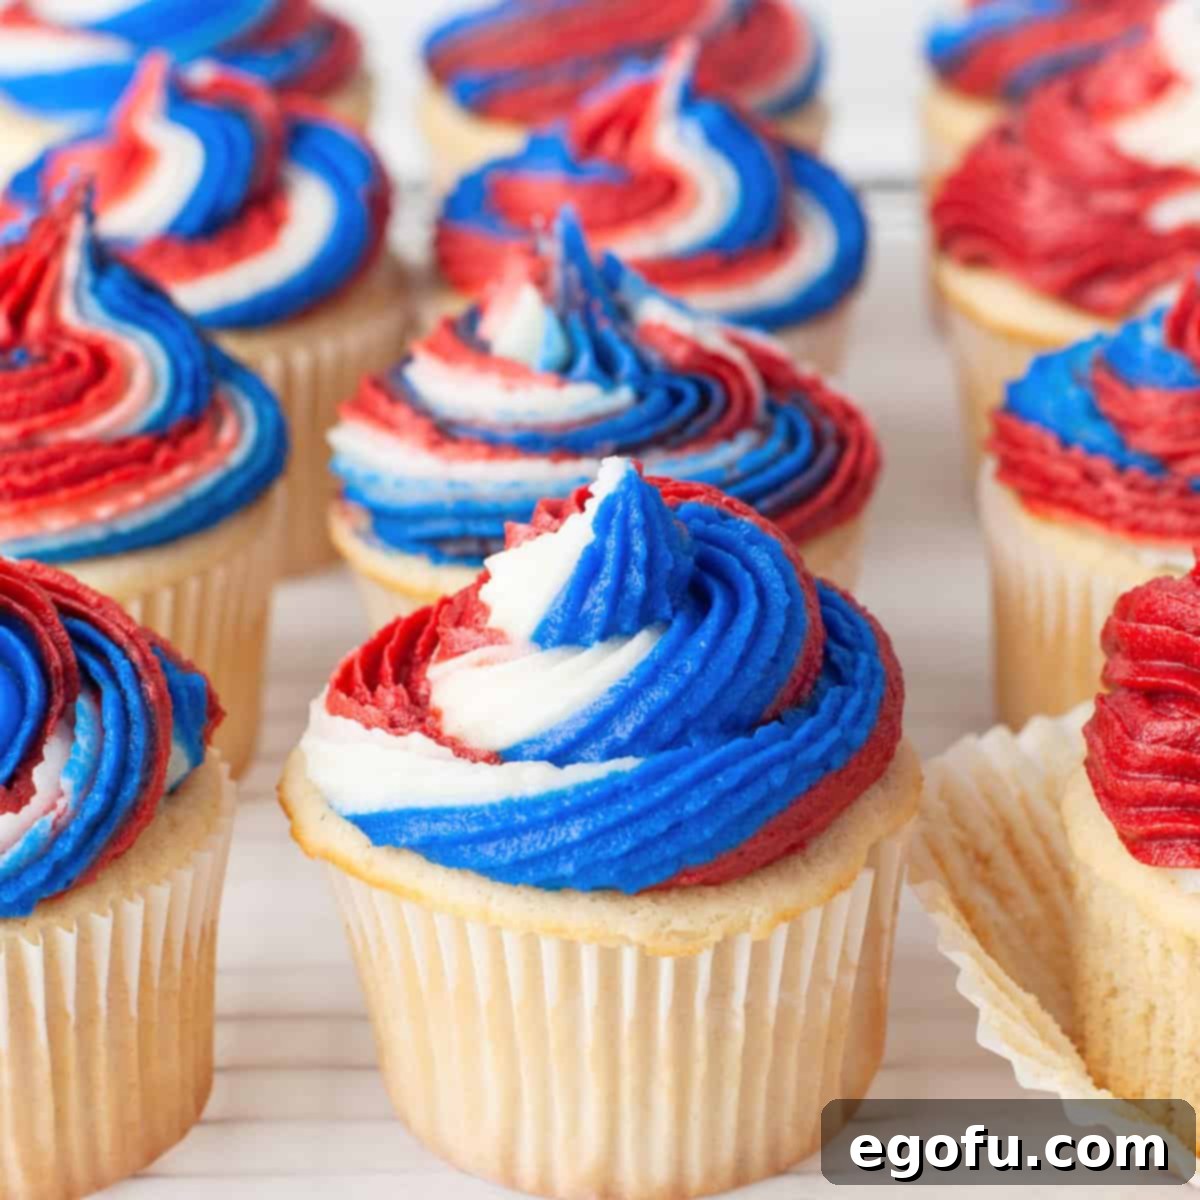
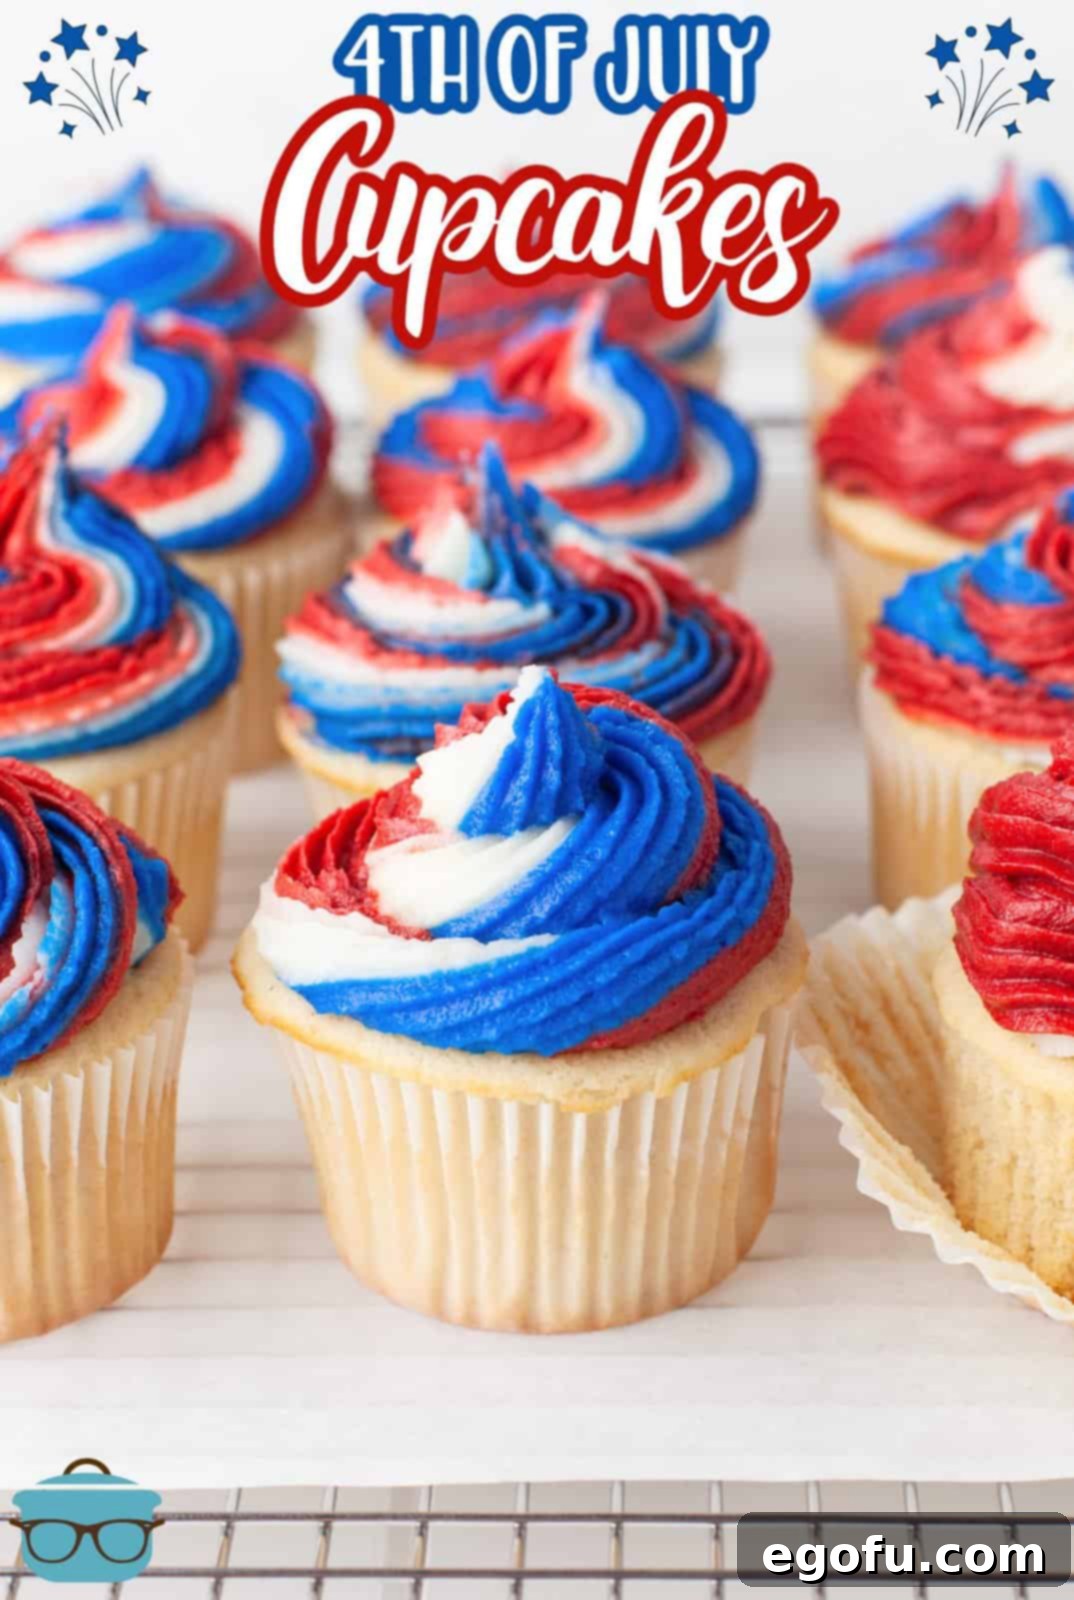
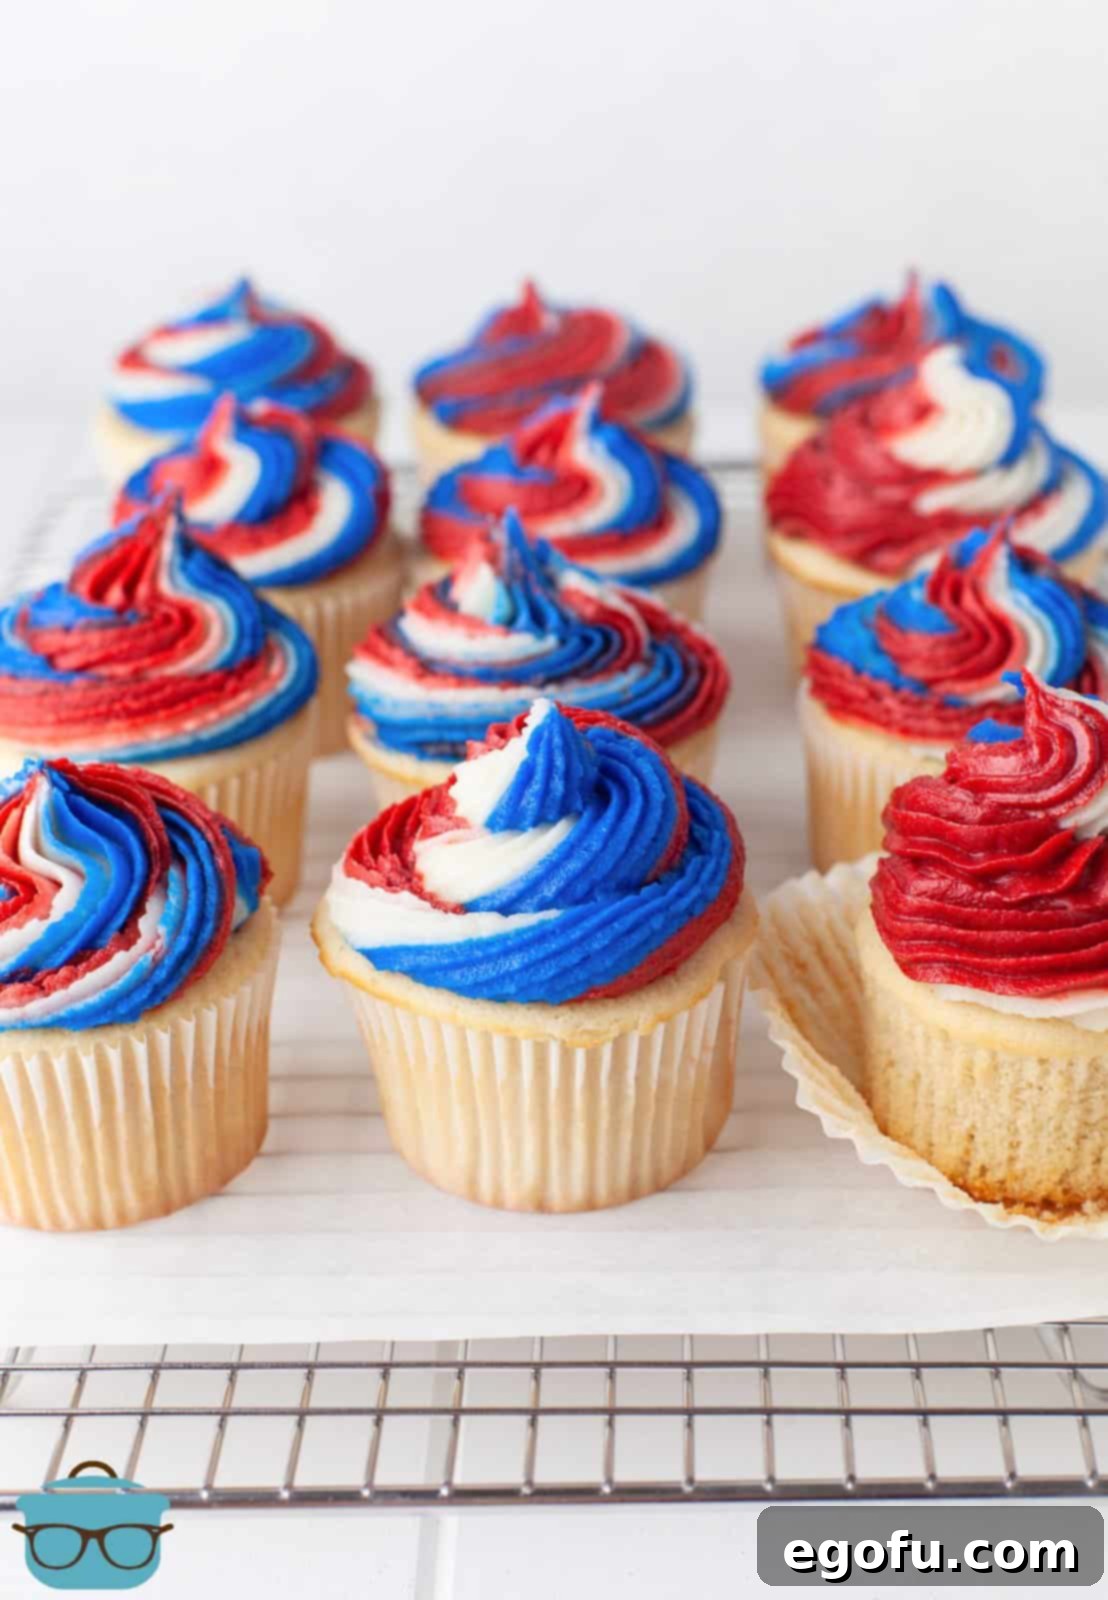
Celebrate America’s Independence Day with these incredibly light, fluffy, and vibrantly colored 4th of July Cupcakes. This homemade dessert is not only a joy to bake but also a spectacular centerpiece for any patriotic gathering. Get ready to impress your guests with a treat that’s as delicious as it is visually stunning!
The Ultimate 4th of July Cupcakes: A Patriotic Treat for Every Celebration
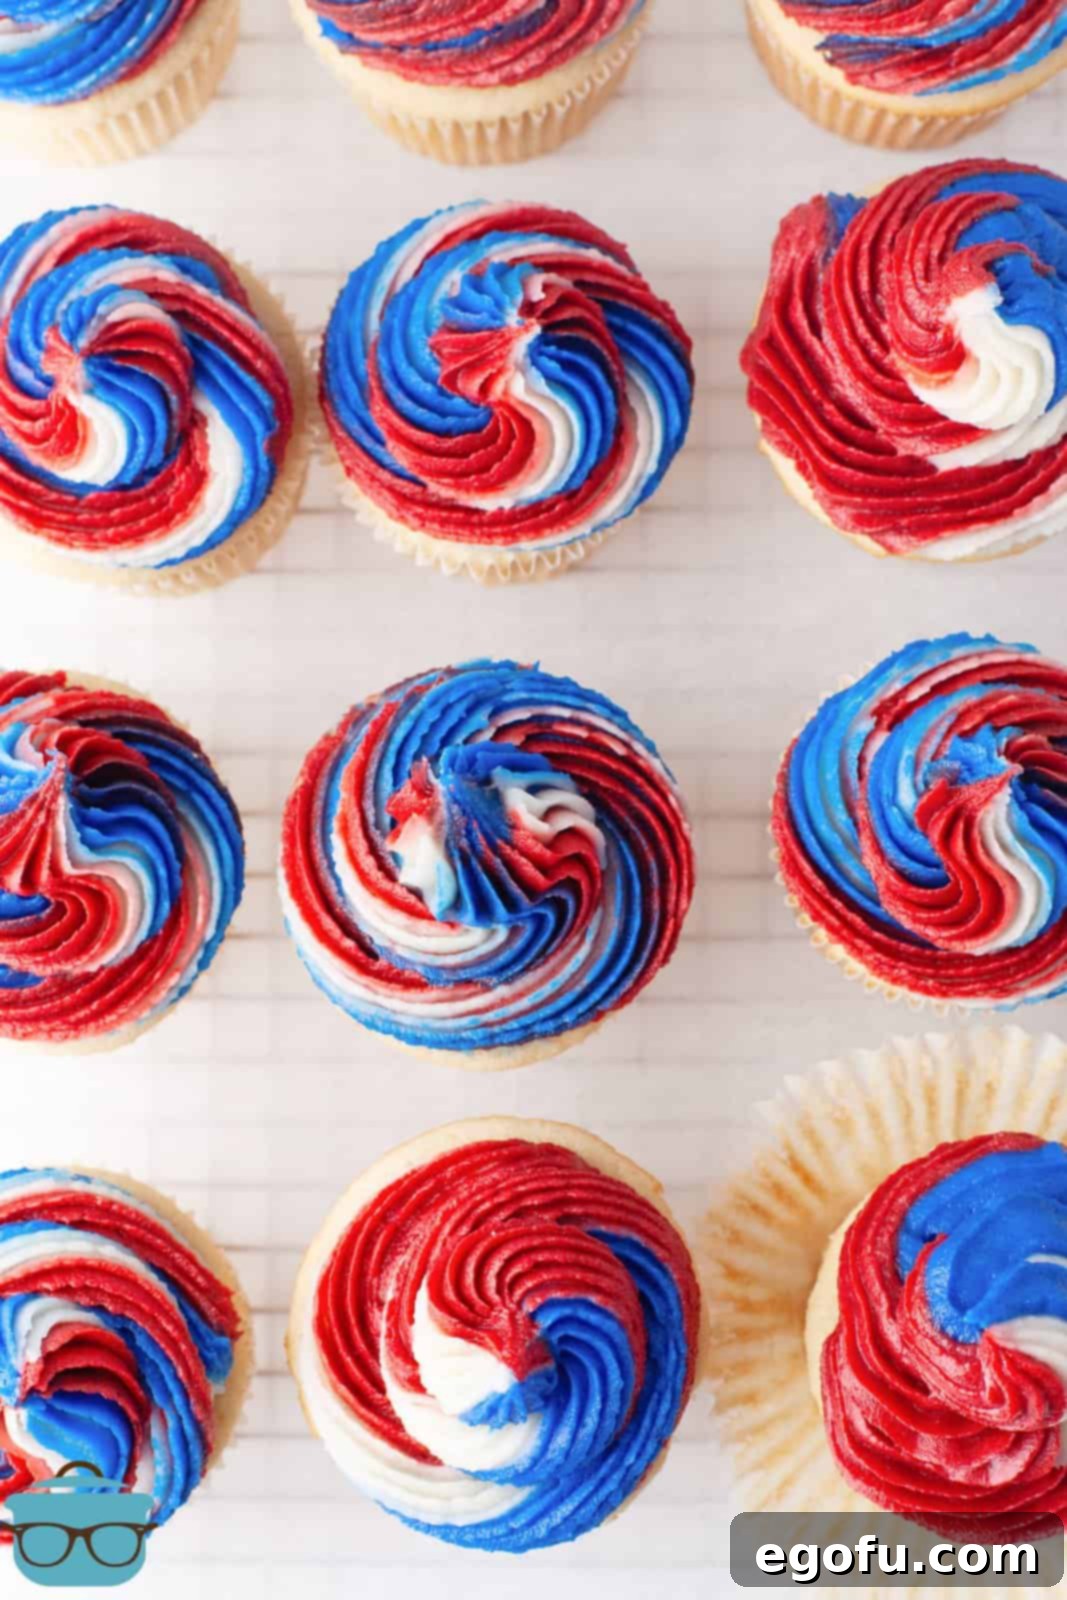
There’s something truly special about a homemade dessert, especially one that captures the spirit of a holiday so perfectly. These 4th of July Cupcakes are the epitome of festive baking, designed to bring a burst of joy and color to your Independence Day party. Crafted from scratch, the cupcakes boast a delightfully soft and tender crumb, making them incredibly satisfying on their own. But what truly sets them apart is the mesmerizing red, white, and blue swirled frosting – a trick that’s surprisingly simple to achieve and promises to be a showstopper. While perfectly suited for patriotic events, the foundational cupcake recipe and even the frosting technique are wonderfully versatile, allowing you to adapt the colors for any occasion throughout the year. If you’re looking to elevate your holiday spread with a dessert that’s both fun to make and unforgettable to taste, then these are the cupcakes for you!
Essential Questions About Your Patriotic Cupcakes Answered
The inclusion of beaten egg whites is a secret weapon for achieving an extraordinarily light and airy texture in these cupcakes. When egg whites are whisked, air is incorporated into them, creating a stable foam. This foam is then gently folded into the batter. As the cupcakes bake, this trapped air expands, resulting in a remarkably fluffy and delicate crumb. It’s a classic baking technique that contributes significantly to the overall mouthfeel, making these cupcakes feel like a cloud of deliciousness.
This recipe is designed to make approximately 18-20 standard-sized cupcakes. This quantity is ideal for a medium-sized gathering or if you simply want some extras for yourself! If you’re hosting a larger Independence Day celebration or need to serve more guests, you can absolutely double the recipe without any issues. Just ensure you have enough cupcake pans and baking liners ready, and possibly a second pair of hands for an even smoother baking process.
While the vibrant red, white, and blue buttercream is a highlight of this recipe, feel free to get creative with your frosting choice! A classic, homemade buttercream is always a reliable and delicious option, offering a smooth texture and sweet flavor that complements the cupcakes beautifully. However, if you prefer a tangy contrast, a cream cheese frosting would also be an excellent choice. Its slight tanginess cuts through the sweetness and adds another layer of flavor. You could also experiment with a whipped ganache or even a simple glaze for a less decadent touch.
For that signature, elegant swirl, I recommend using a large French tip. The French tip has multiple small openings that create beautiful ridges and a distinctive texture, making your frosting look professional and appealing. However, don’t feel limited to this specific tip! If you have another favorite large star tip, a round tip for a smoother dome, or any other decorating tip on hand, feel free to use it. The key is to have a tip that allows for a generous, attractive dollop of frosting on each cupcake.
Proper storage ensures your delicious cupcakes stay fresh and moist. At room temperature, these cupcakes, when stored in an airtight container, will remain fresh for up to 3 days. For extended freshness, transfer them to the refrigerator; they will keep well for up to 5 days. For long-term storage, freezing is an excellent option. Place the cooled and frosted cupcakes in a freezer-safe container, ensuring they are not stacked too tightly to preserve the frosting’s integrity. They can be frozen for up to 3 months. To defrost, simply move them to the refrigerator overnight until thawed, then allow them to come to room temperature on the countertop before serving for the best flavor and texture.
Gather Your Ingredients for a Patriotic Baking Adventure
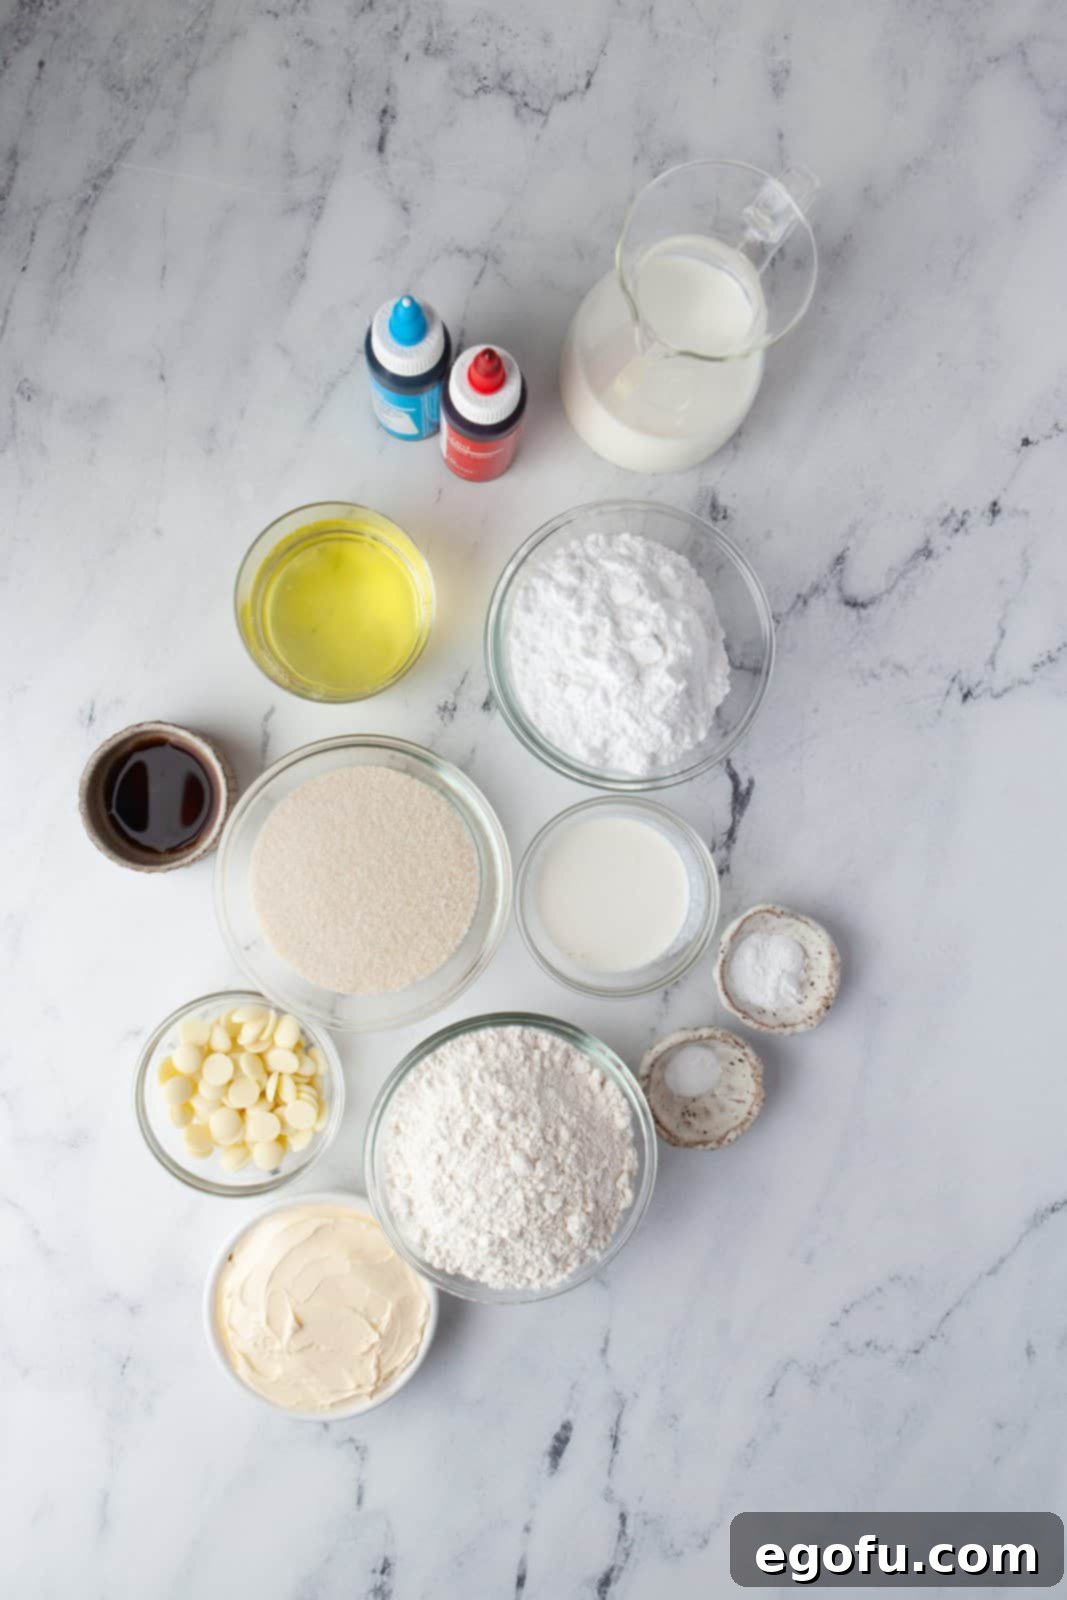
Crafting these homemade 4th of July Cupcakes requires a selection of fresh, high-quality ingredients for both the tender cake and the creamy, colorful frosting. Pay attention to ingredient temperatures, especially for butter and egg whites, as this greatly impacts the final texture of your baked goods. Having everything measured and ready before you begin will make the baking process smooth and enjoyable.
Ingredients for Cupcakes:
- Salted Butter: Softened to room temperature, crucial for creaming effectively with sugar and adding rich flavor.
- Granulated Sugar: Provides sweetness and structure to the cake.
- White Chocolate: Melted and incorporated, it adds a subtle richness and unique moistness to the cupcake batter.
- Baking Powder & Baking Soda: The leavening agents that work together to give the cupcakes their lift and fluffy texture.
- All-Purpose Flour: Sifted, to ensure a smooth batter free of lumps and a tender crumb.
- Milk: Adds moisture and helps to create a balanced batter consistency.
- Vanilla Extract: Essential for enhancing all the sweet flavors in the cupcake.
- Egg Whites: Whisked separately, these are key to the cupcakes’ light and airy structure.
Ingredients for Red, White & Blue Buttercream:
- Powdered Sugar (Confectioners Sugar): Sifted, forms the base of the buttercream, providing sweetness and a smooth consistency.
- Salted Butter: Softened to room temperature, vital for a creamy and spreadable frosting.
- Vanilla Extract: Flavoring for the buttercream, complementing the cake.
- Heavy Whipping Cream: Helps achieve the desired fluffy and pipeable consistency for the buttercream.
- Red and Blue Food Coloring: Gel food coloring is recommended for vibrant, concentrated colors without adding too much liquid to the frosting.
Step-by-Step Guide to Crafting Your Festive 4th of July Cupcakes
Preparing the Fluffy Cupcake Base:
Step 1: Prepare Your Baking Station. Begin by preheating your oven to 350 degrees F (175 degrees C). Line a standard cupcake pan with paper liners, preparing it for your delicious batter. In a stand mixer, combine 9 tablespoons of softened salted butter with ¾ cup of granulated sugar. Cream these ingredients together on medium speed until the mixture is visibly light, pale, and fluffy. This process incorporates air, essential for a tender cupcake.
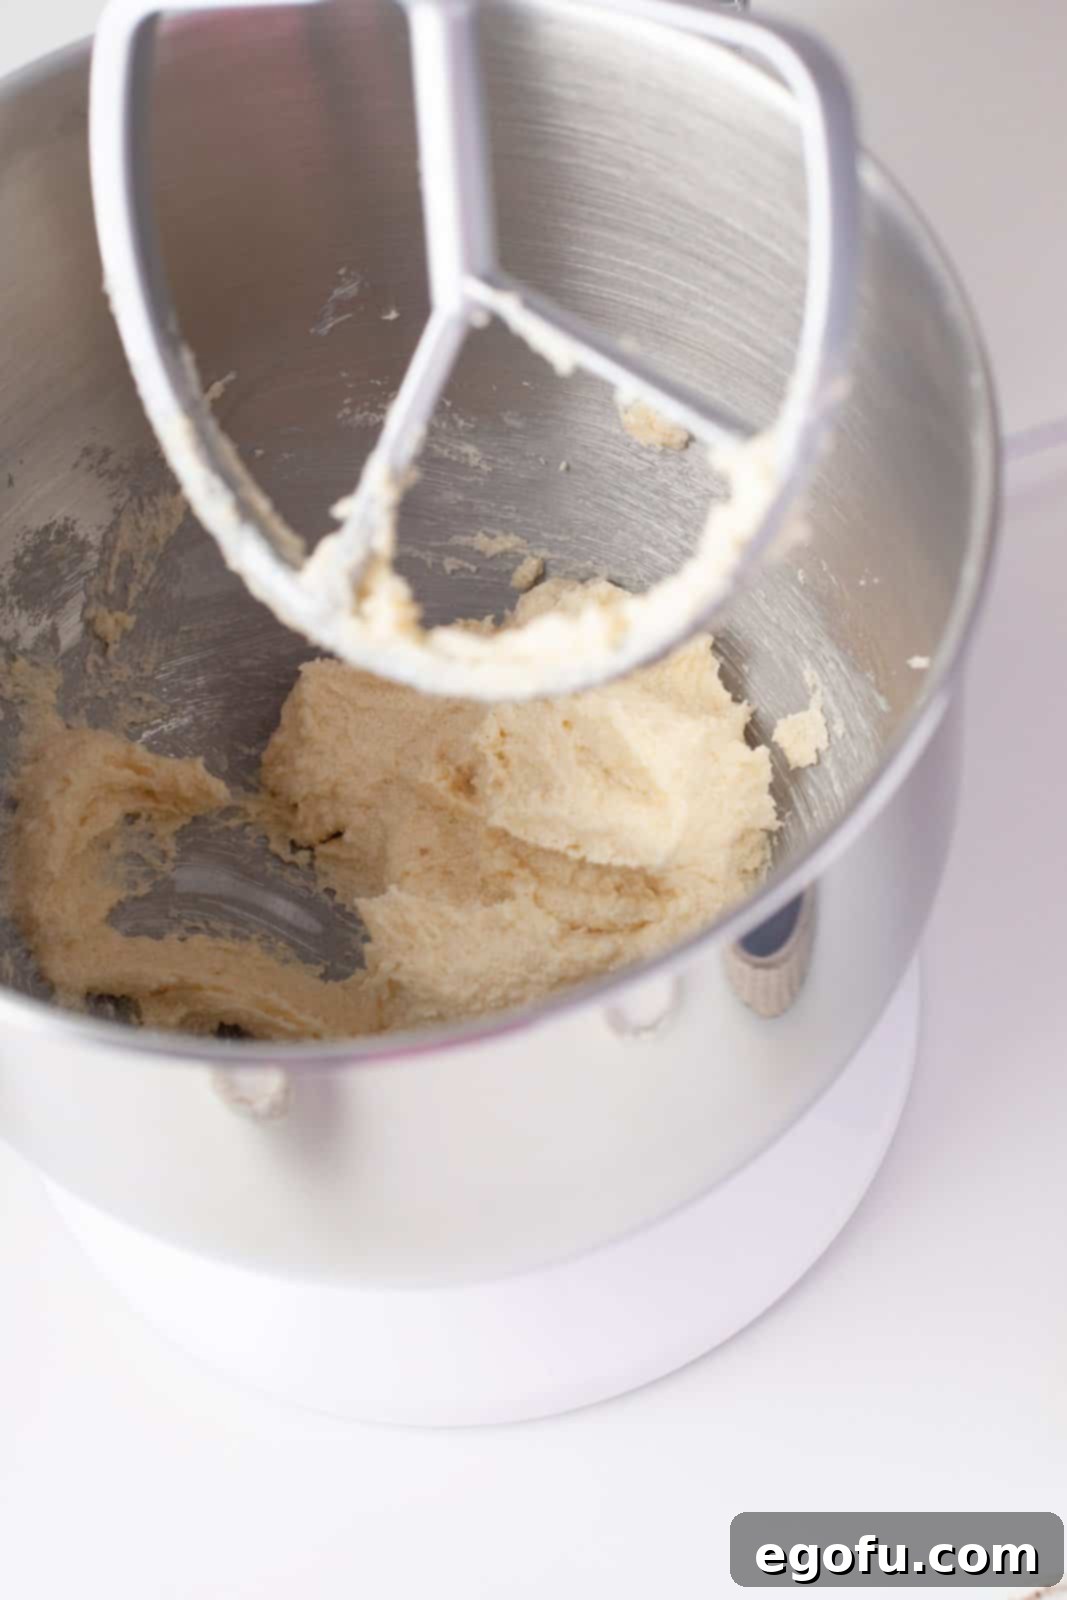
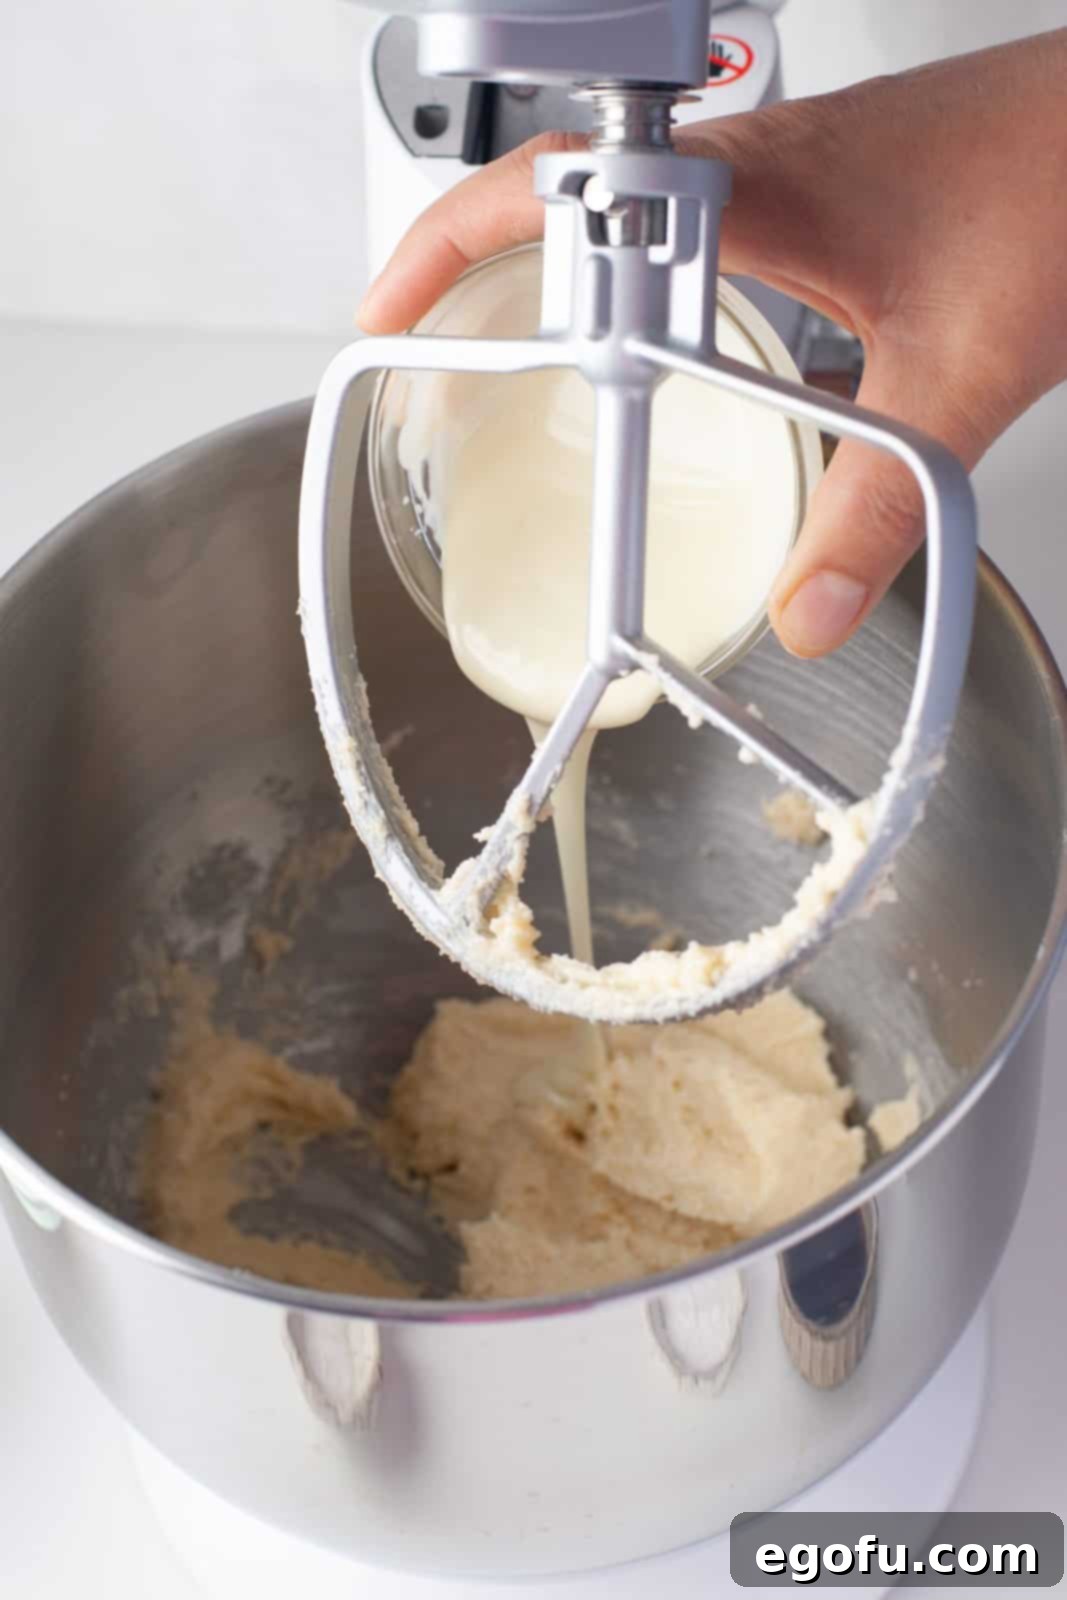
Step 2: Incorporate White Chocolate. Carefully melt ¼ cup of white chocolate in the microwave. Heat in short 20-second intervals, stirring after each, to prevent burning. Once completely smooth, add the melted white chocolate to your creamed butter and sugar mixture, mixing until well combined. The white chocolate adds a unique richness and helps maintain moisture.
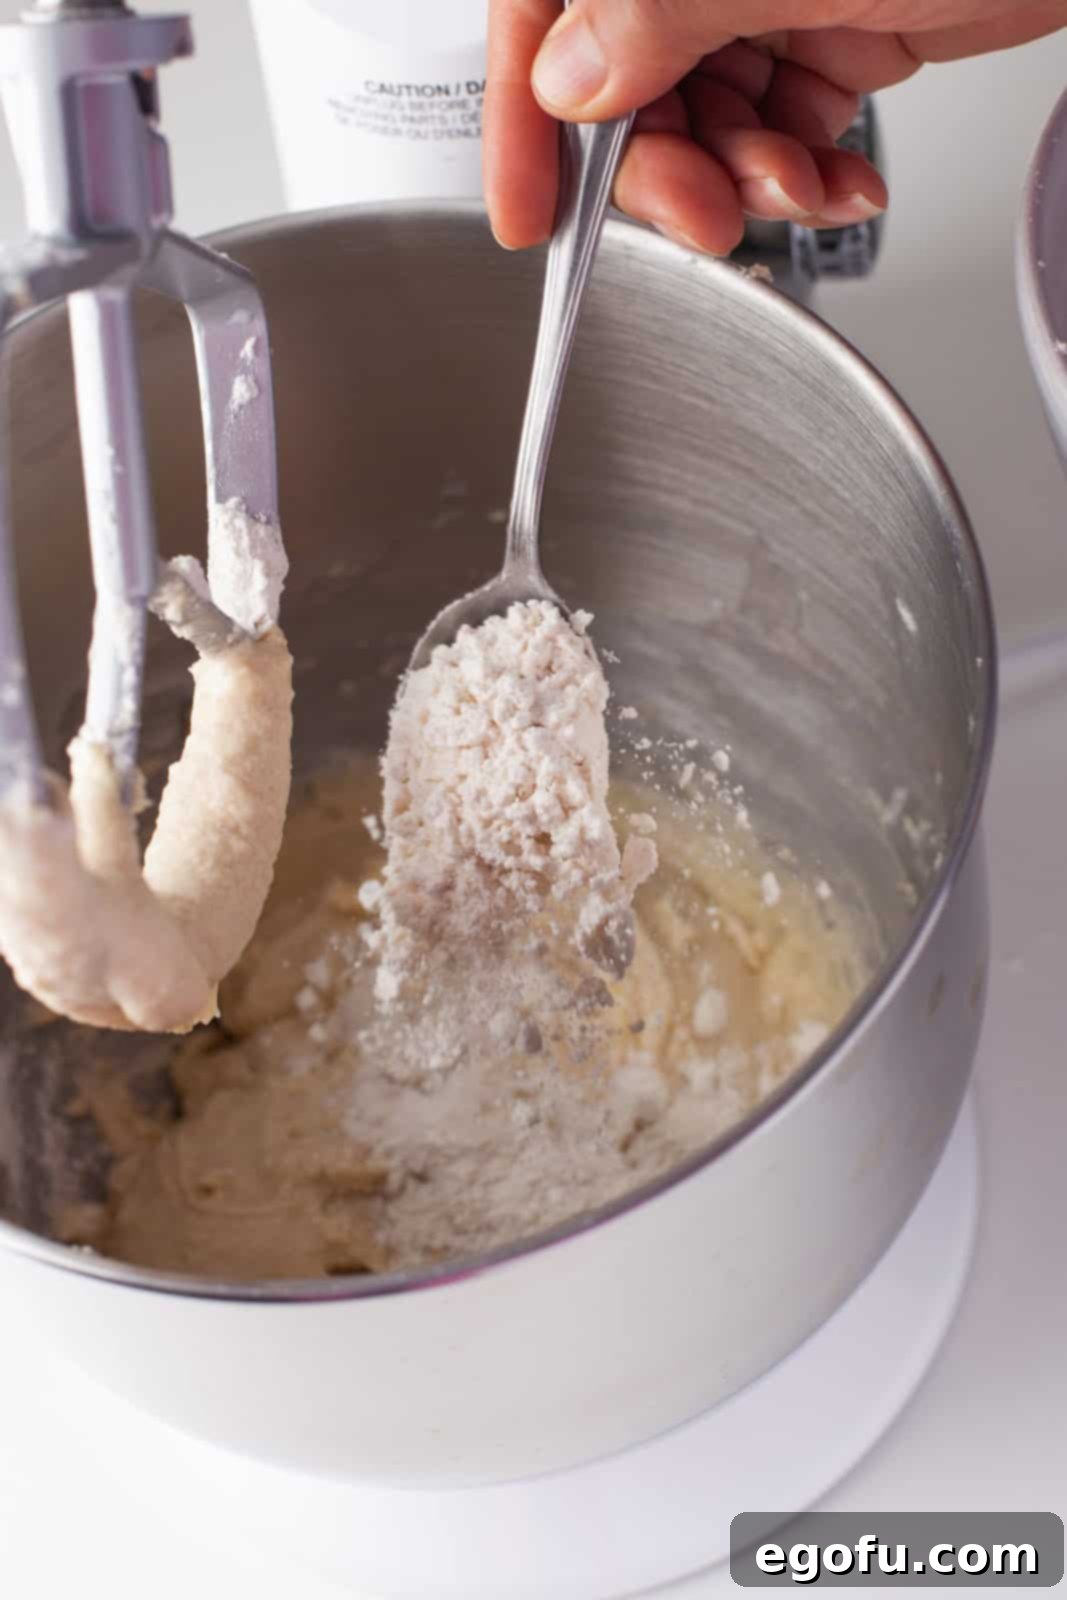
Step 3: Begin Adding Dry Ingredients. In a separate bowl, whisk together your sifted dry ingredients: 2 cups of all-purpose flour, 1 teaspoon of baking powder, and ¼ teaspoon of baking soda. Gradually add a portion of this dry mixture to your wet ingredients in the stand mixer. Mixing dry and wet ingredients in stages helps prevent overmixing the gluten in the flour.
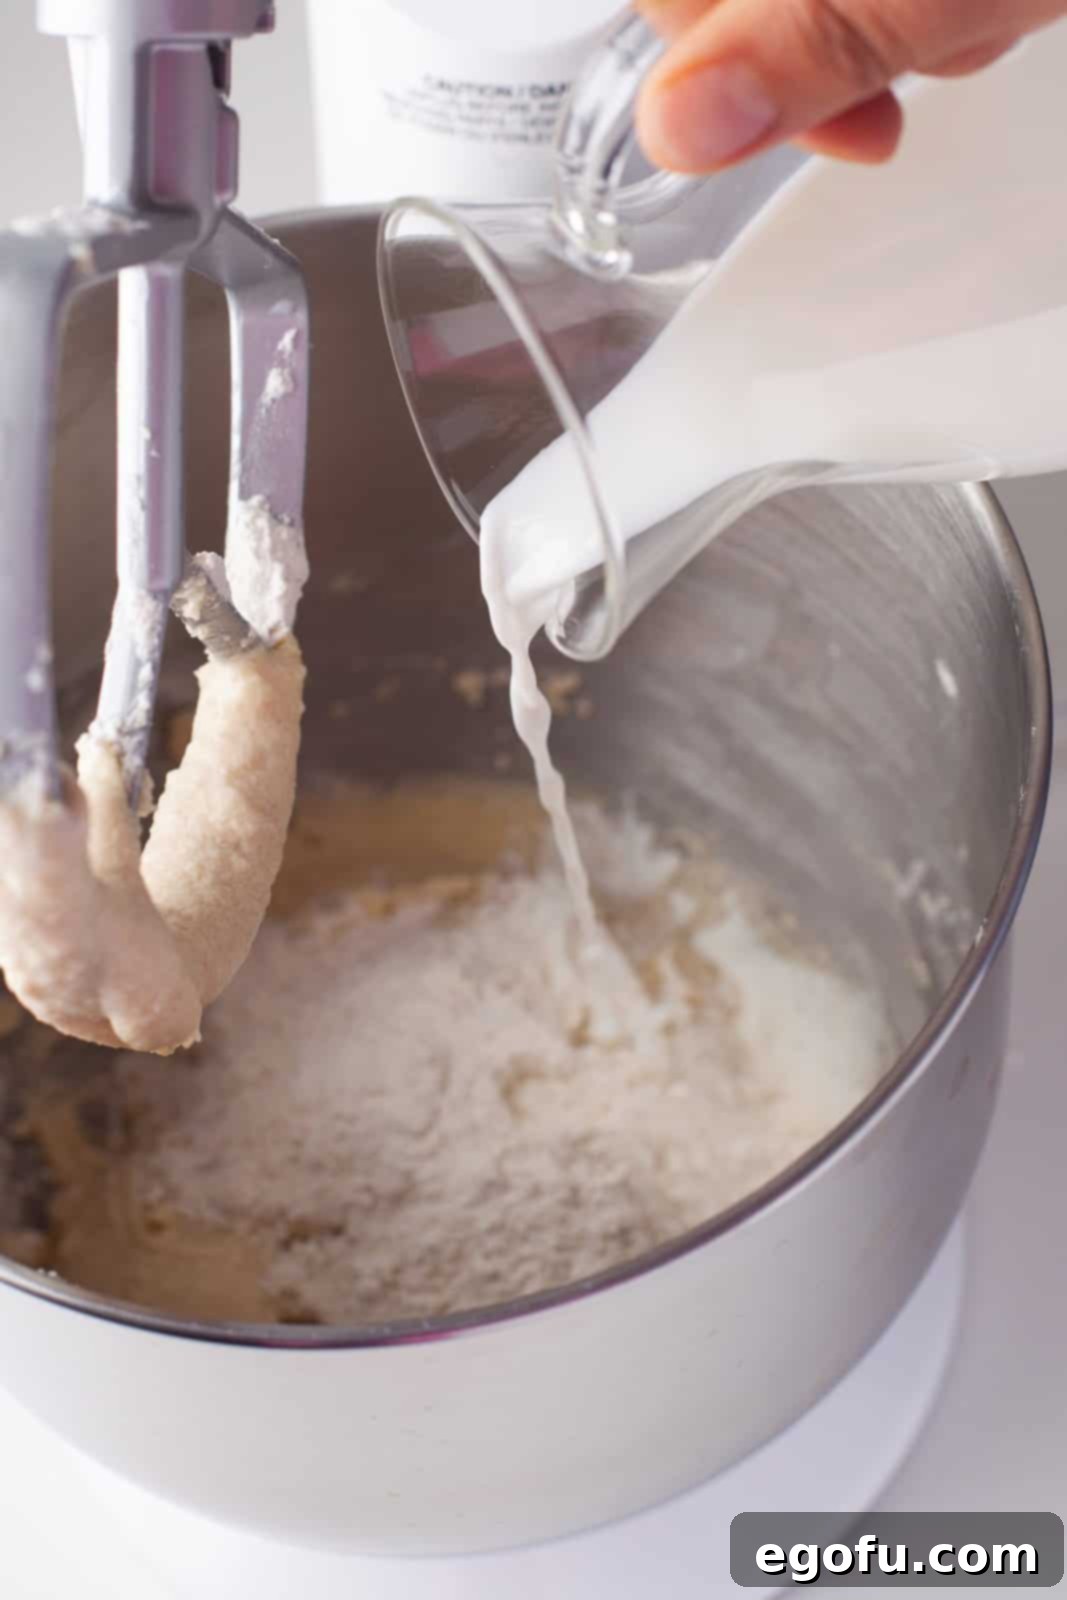
Step 4: Alternate Wet and Dry, Finish with Vanilla. Begin alternating the addition of the remaining sifted flour mixture with 1 cup plus 1 tablespoon of milk. Start with dry, then wet, repeating until all ingredients are just combined. Avoid overmixing, as this can lead to tough cupcakes. Finally, mix in 1 teaspoon of vanilla extract until fully incorporated. Scrape down the sides of the bowl to ensure everything is evenly mixed.
Step 5: Prepare Egg Whites. In a clean, separate bowl (preferably a metal or glass bowl to ensure no grease interferes with whipping), whisk 3 egg whites until they form soft, foamy peaks. Gradually add the remaining 1½ tablespoons of granulated sugar, continuing to whisk until the egg whites are glossy and hold stiff peaks. This meringue-like mixture is what will give your cupcakes their unparalleled lightness.

Step 6: Fold in Egg Whites. Gently fold the whisked egg whites into your cupcake batter. Use a spatula and a light hand, employing a “cut and fold” motion to maintain as much air as possible in the egg whites. Do not stir vigorously, as this will deflate the whites and result in a denser cupcake. Continue folding until no streaks of egg white remain.
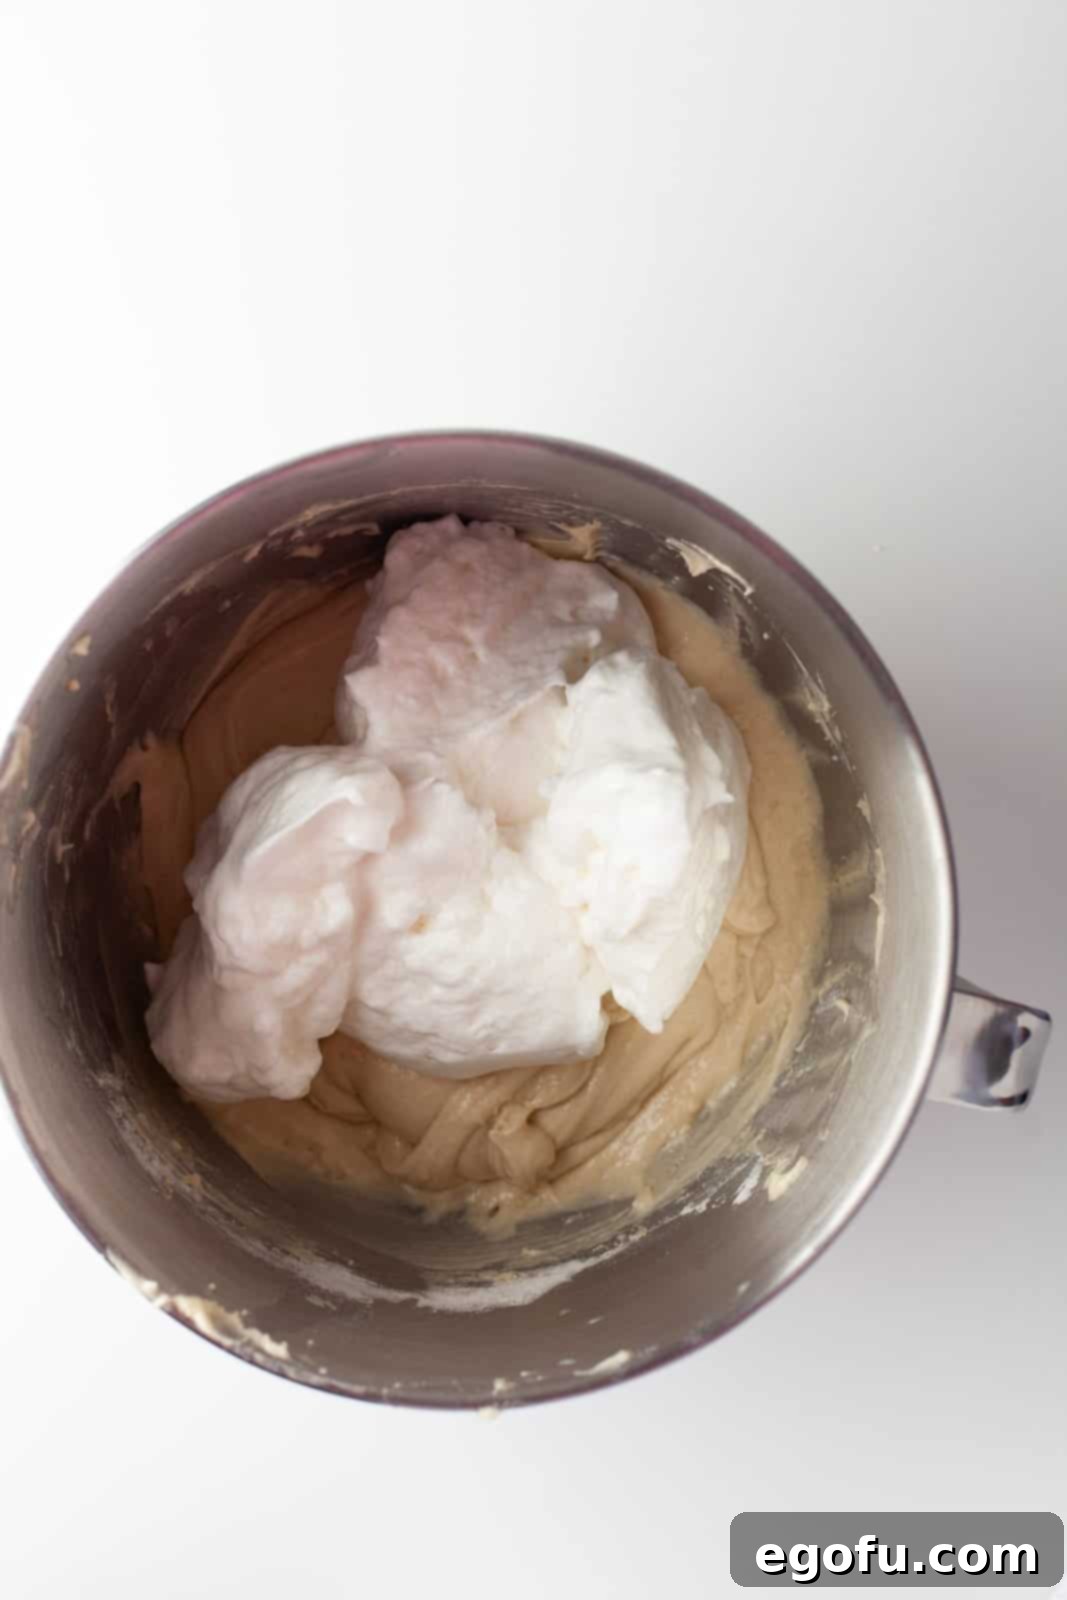
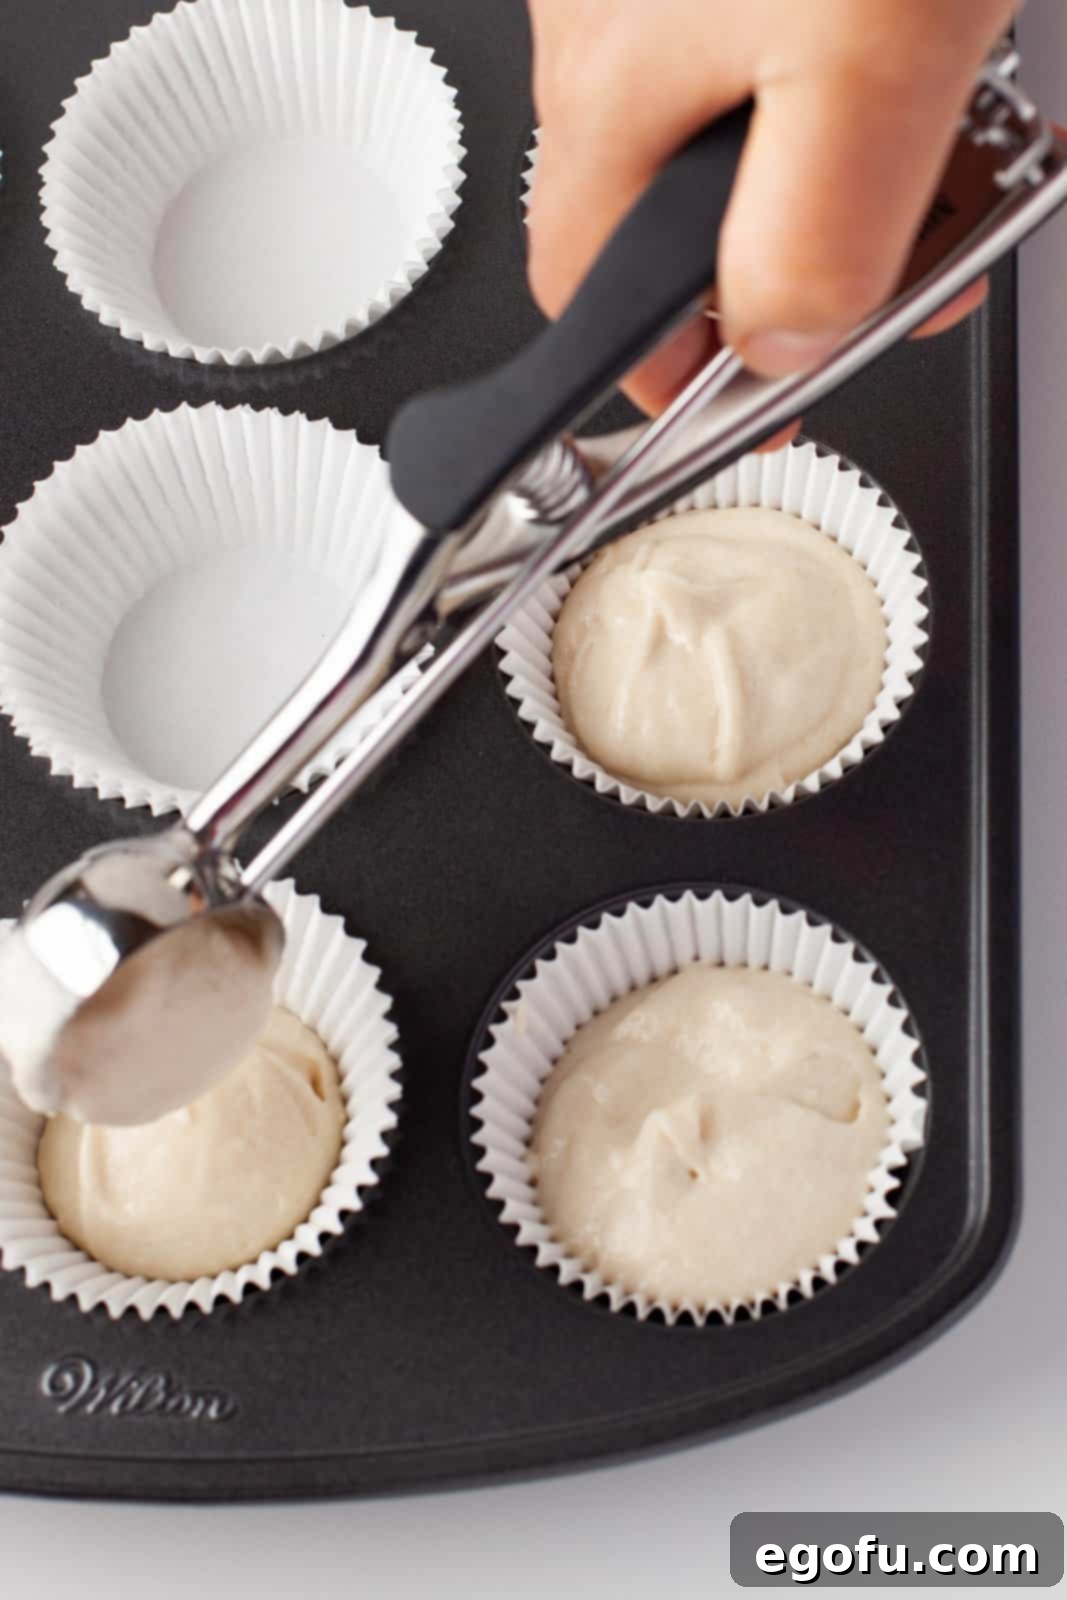
Step 7: Fill and Bake. Distribute the batter evenly among the prepared cupcake liners, filling each approximately two-thirds of the way full. This ensures they have enough room to rise without overflowing. Bake in the preheated oven for 19-20 minutes, or until a toothpick inserted into the center of a cupcake comes out clean. Once baked, remove the cupcakes from the oven and allow them to cool completely on a wire rack before attempting to frost them. Cooling is crucial to prevent the frosting from melting.
Step 8: Prepare the Buttercream. While your cupcakes cool, it’s time to make the delicious buttercream. In a stand mixer fitted with the paddle attachment (or using an electric hand mixer), cream 2 cups of softened salted butter until it’s light, pale, and incredibly fluffy. This typically takes about 3-5 minutes on medium-high speed.
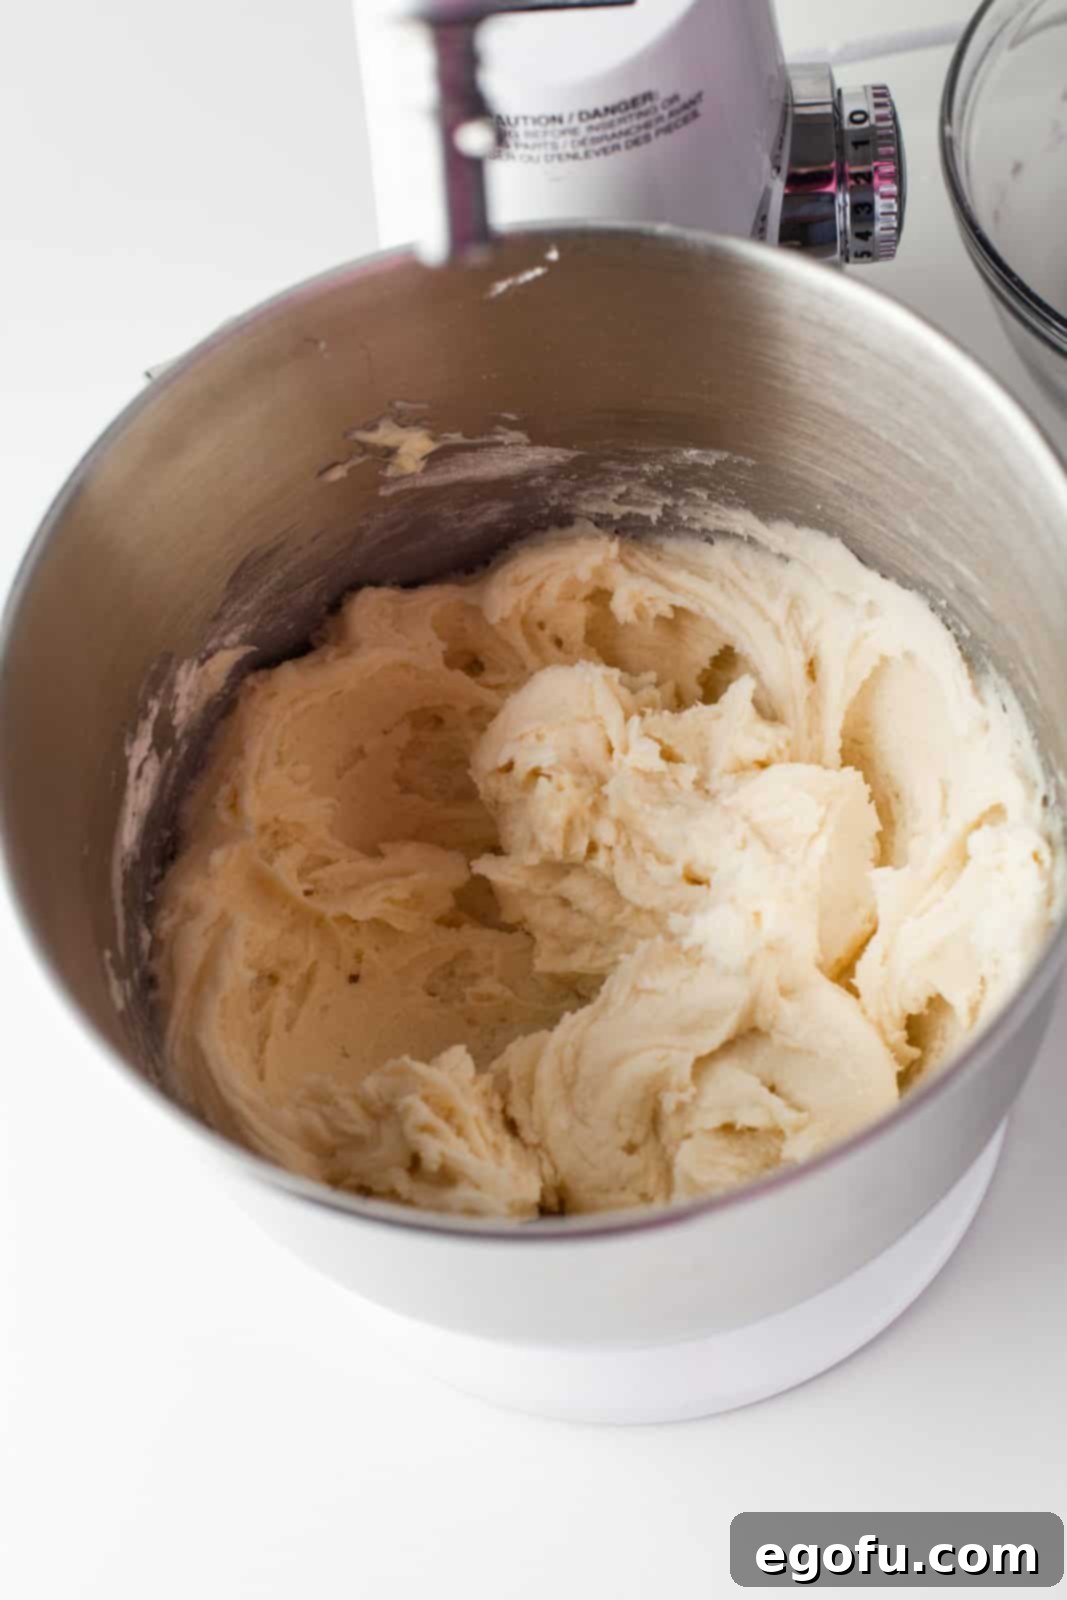
Step 9: Create the Buttercream Base. Gradually add 5½ cups of sifted powdered sugar to the creamed butter, alternating with 1 teaspoon of vanilla extract and 2 tablespoons of heavy whipping cream. Begin on low speed to avoid a cloud of sugar, then increase to medium-high and beat until the buttercream is smooth, fluffy, and holds its shape. If too thick, add a tiny bit more cream; if too thin, a bit more powdered sugar.
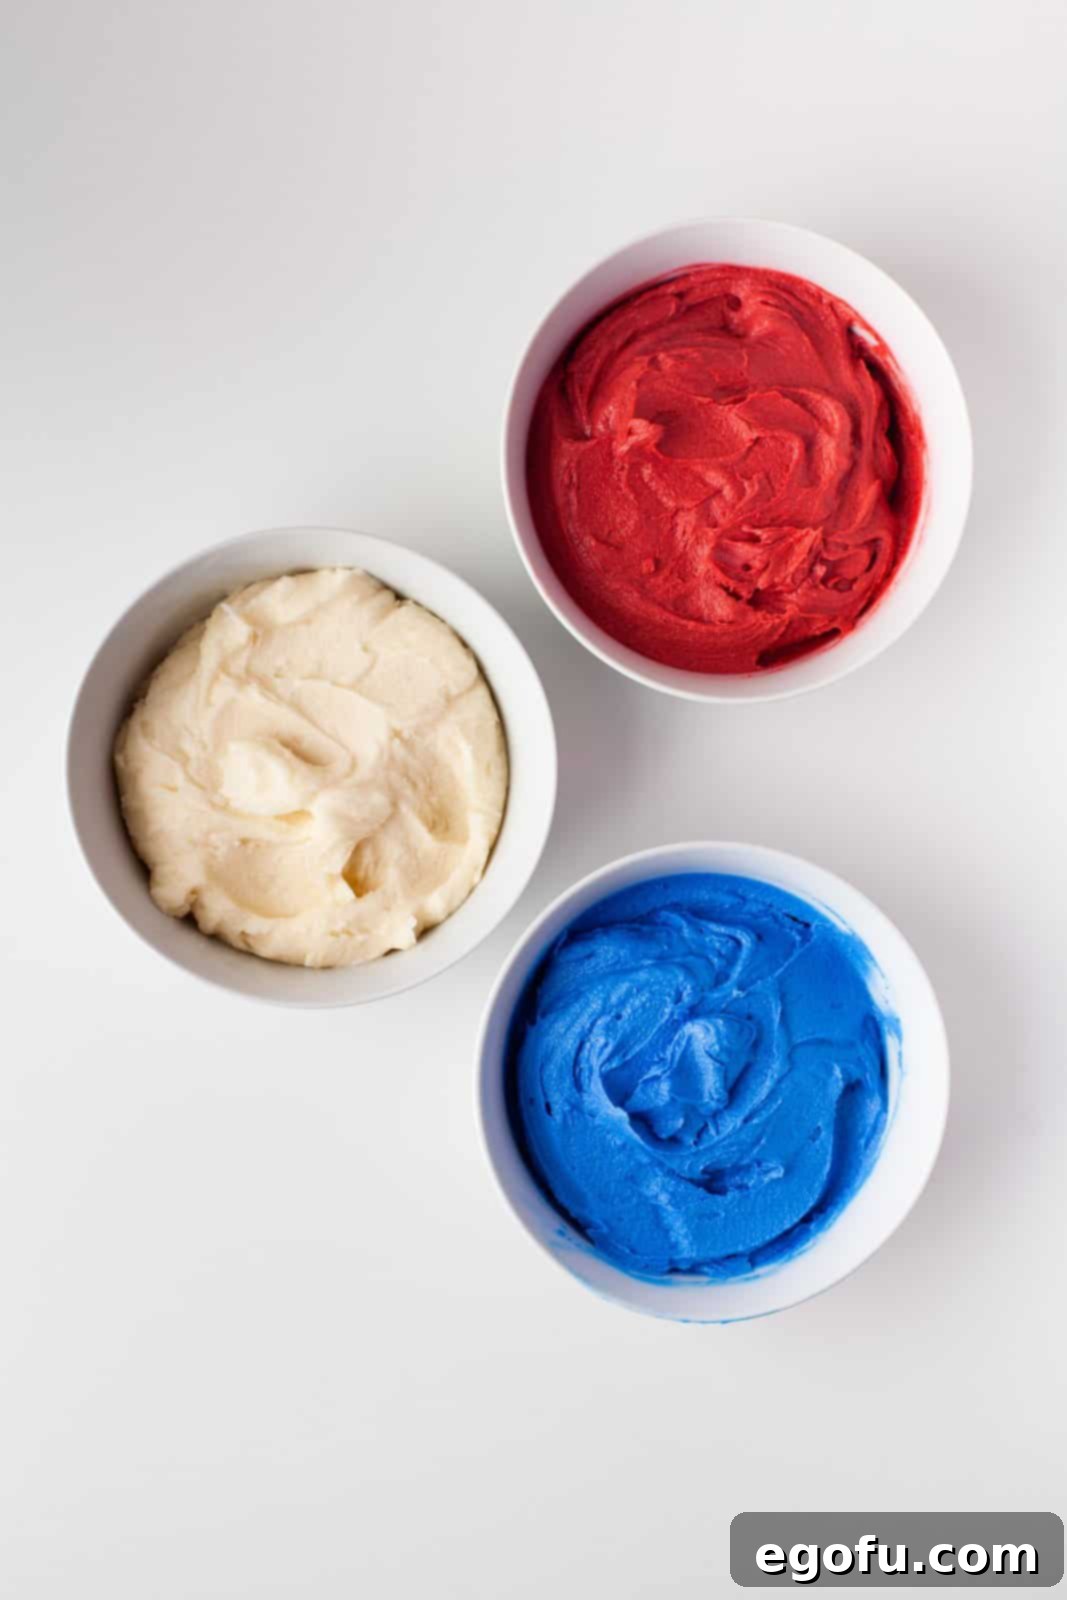
Step 10: Color Your Frosting. Divide the fluffy buttercream evenly into three separate bowls. Leave one bowl uncolored – this will be your white frosting. To the second bowl, add a few drops of red food coloring and mix until the color is vibrant and uniform. Repeat this process with blue food coloring in the third bowl. Gel food coloring is highly recommended for achieving rich, intense colors without altering the frosting’s consistency.
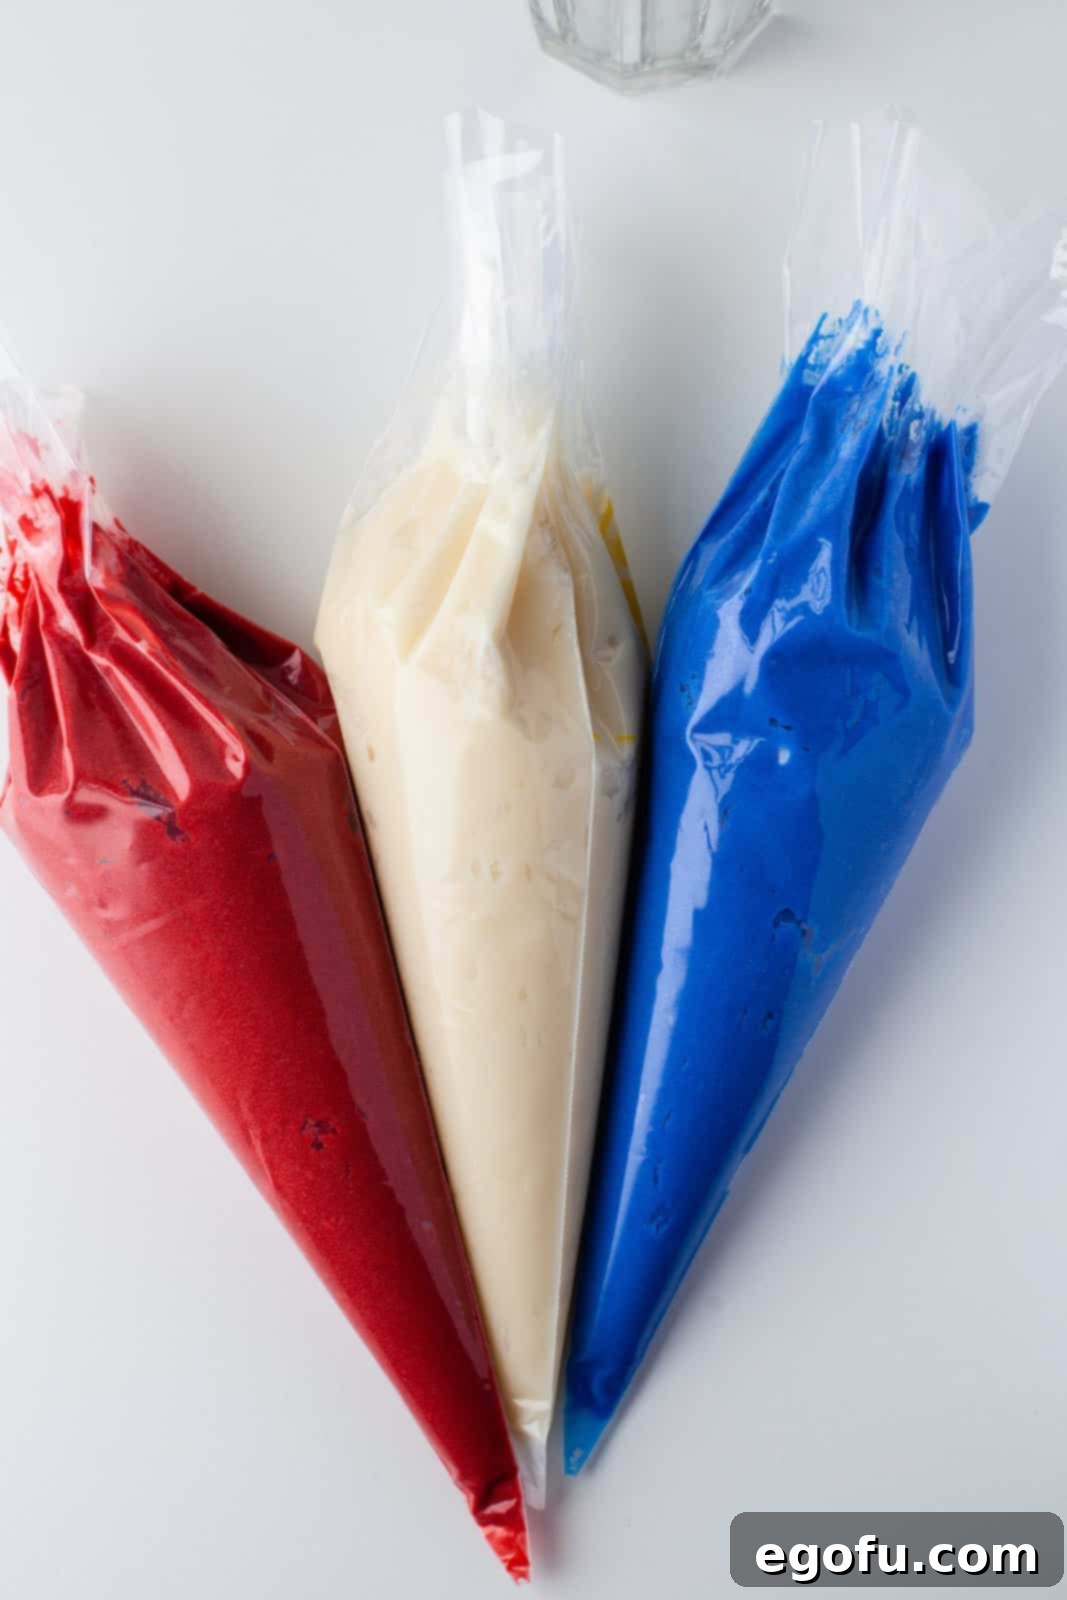
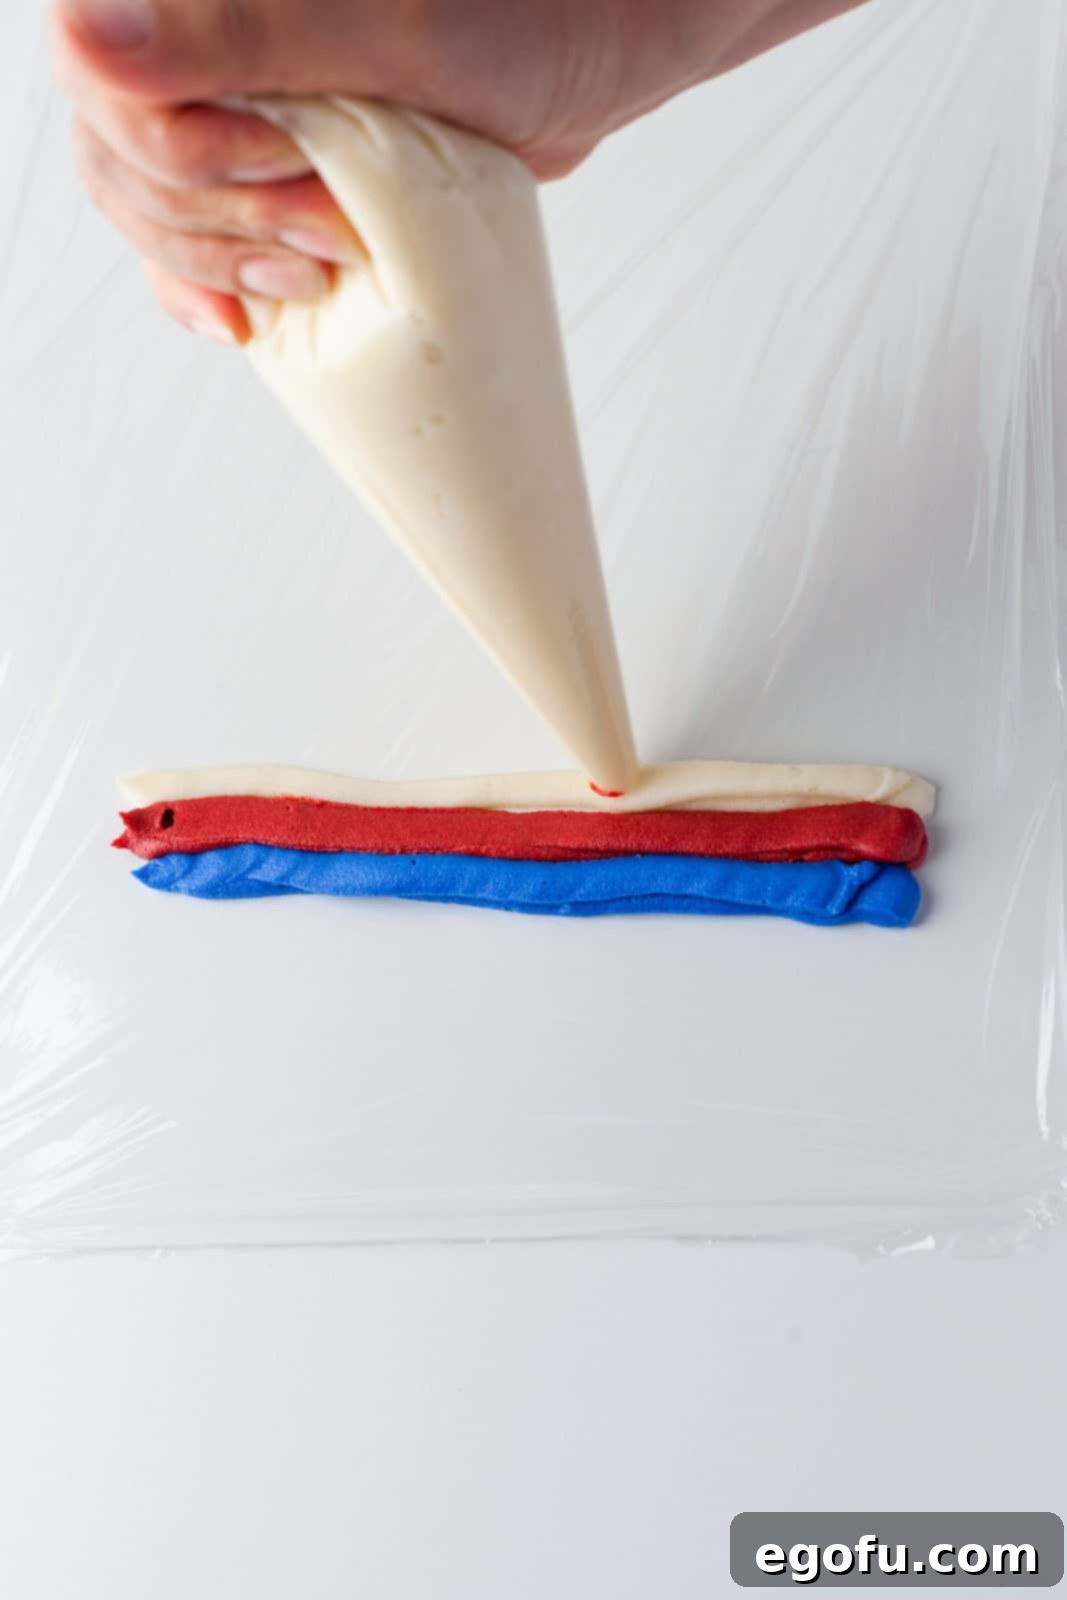
Step 11: Prepare for Swirl Effect. Transfer each colored frosting (red, white, and blue) into individual piping bags. Now comes the trick for the beautiful swirl: Lay a long piece of plastic wrap on your clean countertop. Take the blue frosting piping bag and pipe a line of blue frosting down the center of the plastic wrap, roughly the length of your final piping bag (which will hold the multi-colored frosting). Make this line double in thickness by piping over it again. Repeat this process with the white frosting, piping a line parallel and next to the blue, then the red. Continue layering the colors (blue, white, red, blue, white, red) until you have two lines of each color side-by-side.
Step 12: Assemble the Swirl Bag. Carefully roll one edge of the plastic wrap containing the layered frosting inwards until it meets the opposite edge, forming a neat cylinder of red, white, and blue. Tie off both ends of the plastic wrap to seal the frosting. Snip one end of this frosting cylinder. Insert this snipped end into a larger piping bag fitted with your chosen decorating tip (like the large French tip). This ingenious method ensures that as you pipe, all three colors emerge simultaneously, creating a distinct, unsmudged patriotic swirl.
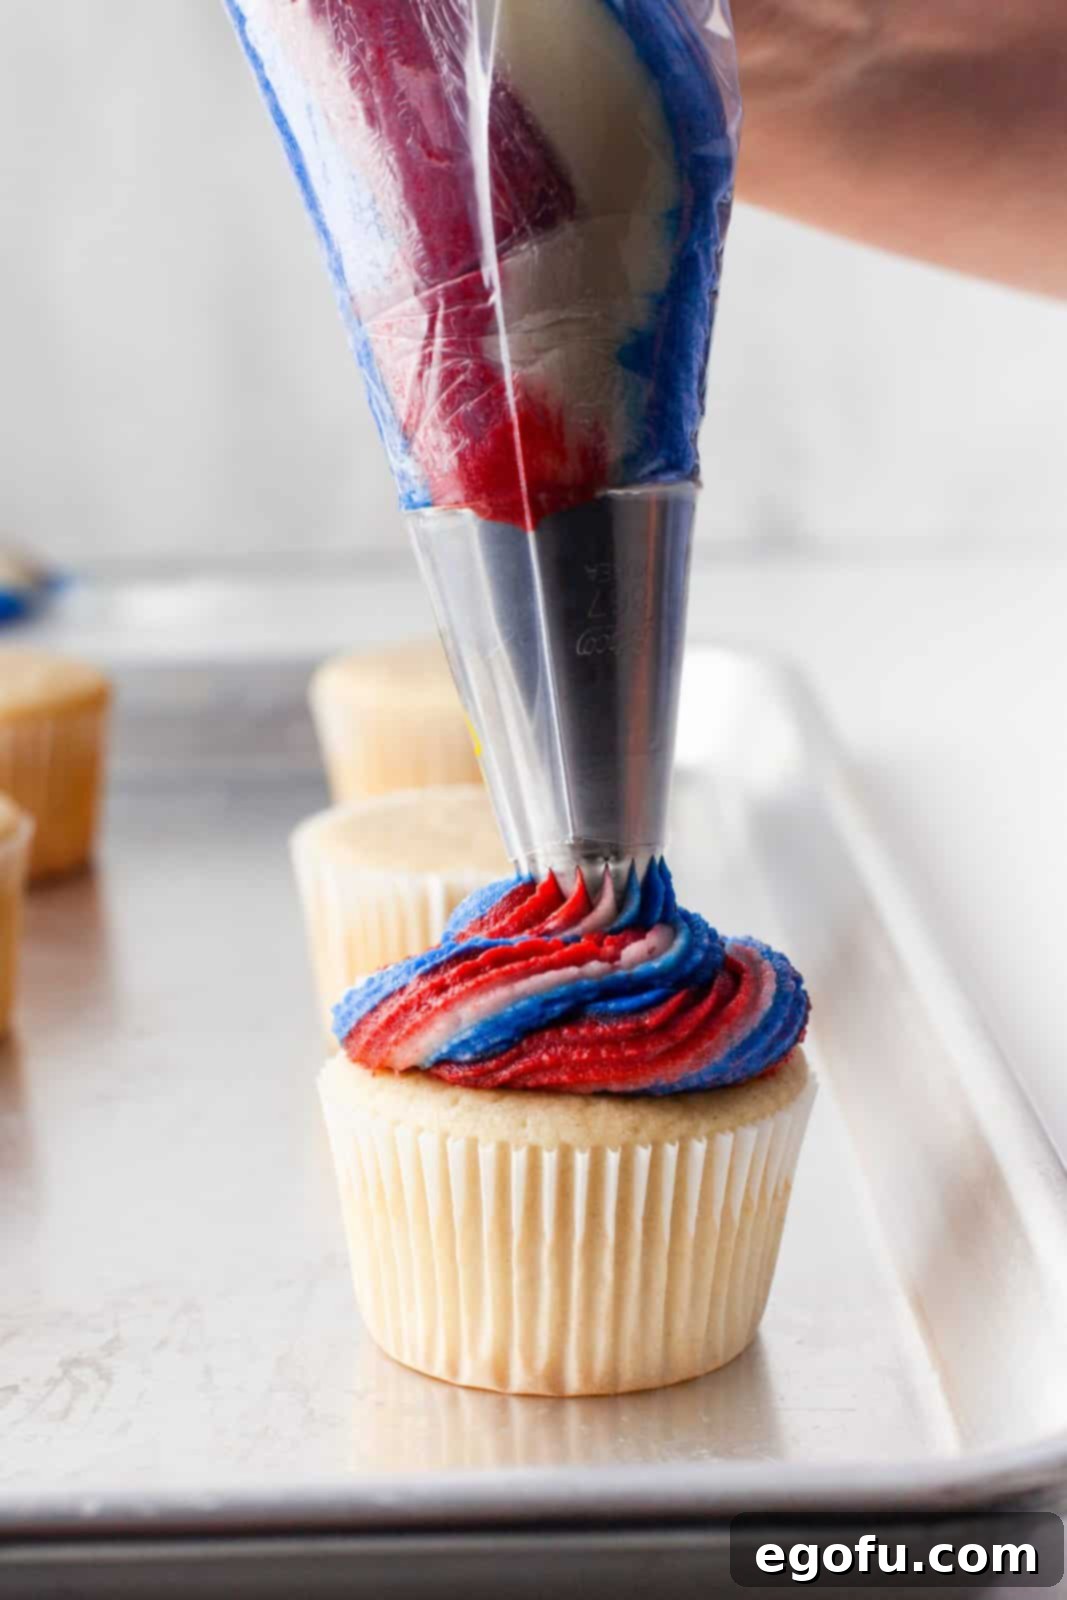
Step 13: Frost and Serve. Now for the grand finale! Pipe a generous, beautiful swirl of the red, white, and blue buttercream onto each completely cooled cupcake, starting from the outside and working your way inwards to create an elegant peak. Once all cupcakes are frosted, they are ready to be admired and devoured! Serve these festive treats with pride, and have a truly Happy 4th of July!
More Patriotic Delights to Explore
If you’ve enjoyed making these 4th of July Cupcakes and are hungry for more festive treats, explore these other delicious recipes perfect for celebrating American holidays:
- 4th of July Party Recipes
- Red, White and Blue Cupcakes (Alternative Recipe)
- Patriotic Jell-O Marshmallows
- Patriotic Mixed Berry Dessert
- Patriotic Sugar Cookie Bars
- Patriotic Homemade Funfetti Cake
- 4th of July Rice Krispies Treats
- Red, White & Blue Jell-O Shots
- 4th of July Flag Dip
Official Recipe: 4th of July Cupcakes
A fun and festive homemade dessert, these 4th of July Cupcakes are light, fluffy and colorful. Perfect for a patriotic holiday celebration!
Prep Time: 20 minutes
Cook Time: 20 minutes
Total Time: 40 minutes
Yield: 18 cupcakes
Author: Brandie Skibinski
Ingredients
For the Cupcakes:
- 9 Tablespoons salted butter, softened to room temperature
- ¾ cup granulated sugar (+ 1 ½ Tablespoons extra for the egg whites)
- ¼ cup white chocolate, melted
- 1 teaspoon baking powder
- ¼ teaspoon baking soda
- 2 cups all-purpose flour, sifted
- 1 cup (+ 1 Tablespoon) milk
- 1 teaspoon vanilla extract
- 3 egg whites
For the Red, White & Blue Buttercream:
- 5 ½ cups powdered sugar (confectioners sugar), sifted
- 2 cups salted butter, softened to room temperature
- 1 teaspoon vanilla extract
- 2 Tablespoons heavy whipping cream
- Red and blue gel food coloring
Instructions
- Preheat oven to 350°F (175°C). Line a cupcake pan with paper liners.
- In a stand mixer, cream 9 Tablespoons softened butter and ¾ cup granulated sugar until light and fluffy.
- Melt ¼ cup white chocolate in the microwave in 20-second intervals until smooth. Add to the butter/sugar mixture and mix until combined.
- In a separate bowl, whisk together the sifted all-purpose flour, baking powder, and baking soda.
- Gradually add the dry ingredients to the wet mixture, alternating with 1 cup + 1 Tablespoon of milk. Begin and end with dry ingredients. Mix until just combined, being careful not to over-mix.
- Mix in 1 teaspoon vanilla extract until just incorporated.
- In another clean bowl, whisk the 3 egg whites until light and fluffy. Gradually add the remaining 1½ tablespoons of sugar, continuing to whisk until stiff peaks form.
- Gently fold the whisked egg whites into the cupcake batter using a spatula.
- Distribute the batter evenly into the prepared cupcake liners, filling each about ⅔ full.
- Bake for 19-20 minutes, or until a toothpick inserted into the center comes out clean. Let cupcakes cool completely on a wire rack before frosting.
- To make the buttercream: In a stand mixer, cream 2 cups softened butter until light and fluffy.
- Gradually add 5½ cups sifted powdered sugar, alternating with 1 teaspoon vanilla extract and 2 Tablespoons heavy whipping cream. Beat until fluffy and smooth.
- Divide the buttercream into three separate bowls.
- Add red food coloring to one bowl and blue food coloring to another. Mix each until the color is even. Leave the third bowl white.
- Transfer each colored frosting into its own piping bag.
- Lay a piece of plastic wrap on the counter. Pipe a double line of blue frosting onto the plastic wrap (approximately the length of your final piping bag). Repeat with white, then red, layering until you have two lines of each color (blue, white, red, blue, white, red).
- Roll the plastic wrap tightly into a cylinder. Tie off the ends.
- Snip one end of the plastic wrap cylinder and place this into a larger piping bag fitted with your desired decorating tip (e.g., a large French tip).
- Pipe a large, festive swirl onto each cooled cupcake, starting from the outside and working inward. Serve immediately and enjoy!
Recipe Notes
- Gel food coloring provides the best vibrant colors without thinning the frosting.
- Feel free to use cream cheese frosting as an alternative to buttercream.
- These cupcakes freeze well for up to 3 months; refer to the FAQ section for detailed freezing and thawing instructions.
- Change the food coloring to adapt this recipe for other holidays or themes!
Course: Dessert
Cuisine: American
Nutrition Information (Estimate per cupcake)
Calories: 484 kcal | Carbohydrates: 57g | Protein: 3g | Fat: 28g | Sodium: 239mg | Fiber: 0.4g | Sugar: 46g
Nutritional Disclaimer
“The Country Cook” is not a dietician or nutritionist, and any nutritional information shared is an estimate. If calorie count and other nutritional values are important to you, we recommend running the ingredients through whichever online nutritional calculator you prefer. Calories and other nutritional values can vary quite a bit depending on which brands were used.
Did you make this recipe?
Share it on Instagram @thecountrycook and mention us #thecountrycook!
