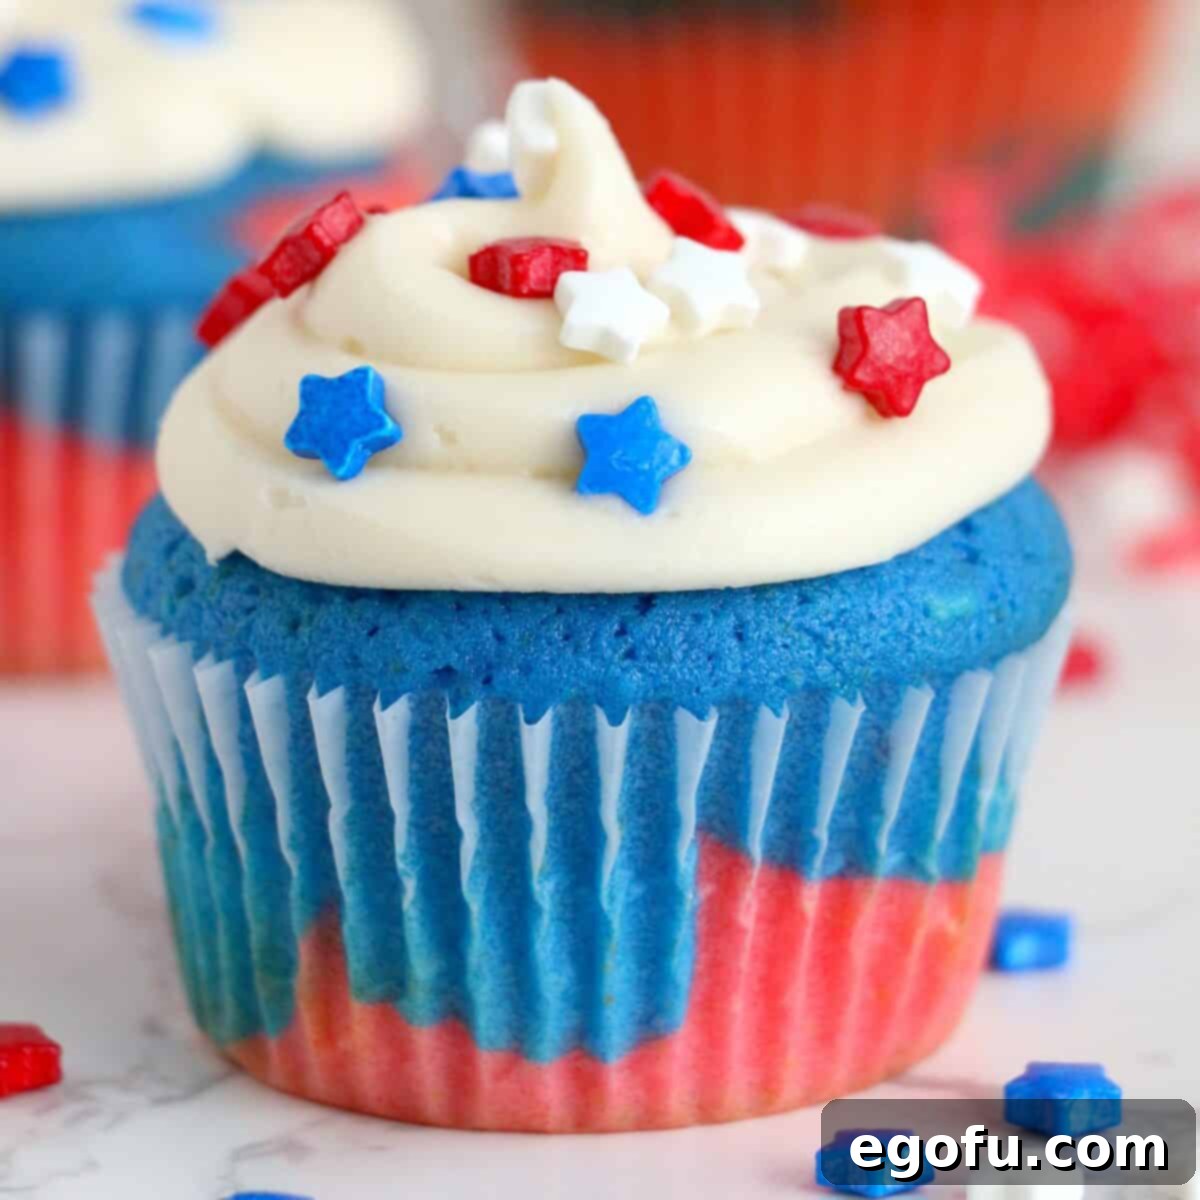
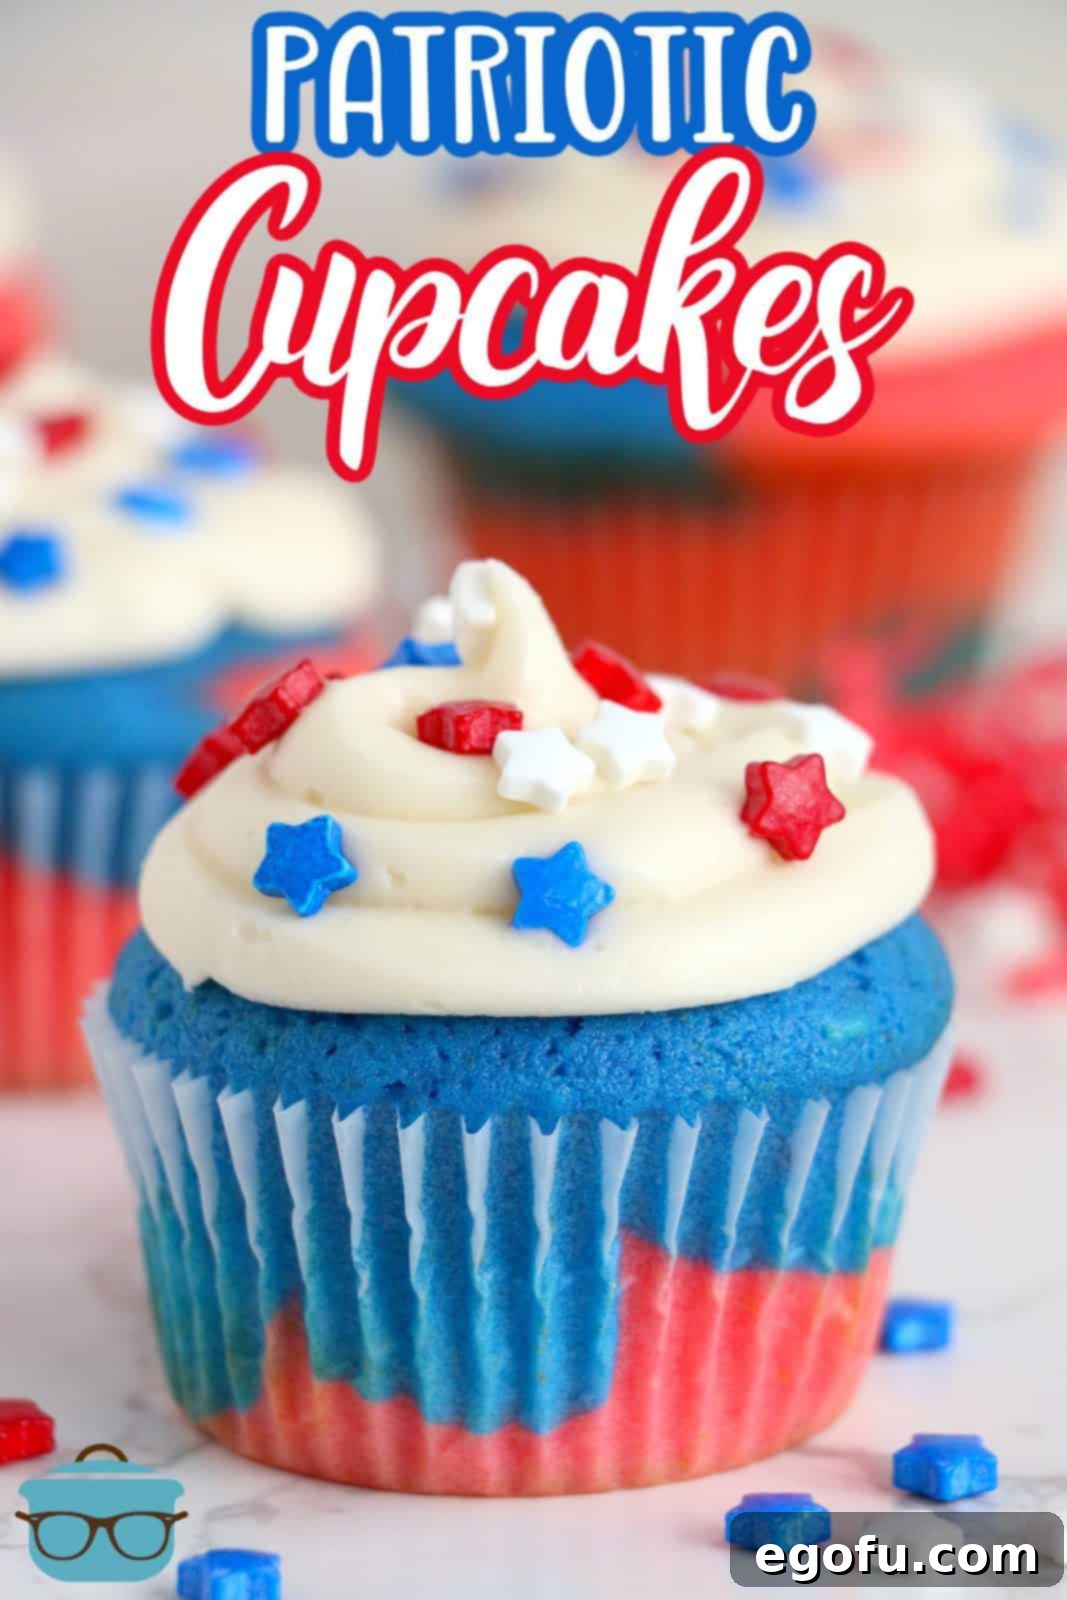
Welcome to a delightful journey of crafting the most vibrant and delicious patriotic dessert: Red, White, and Blue Cupcakes! These eye-catching treats are not just a feast for the eyes but also a joy to bake and a pleasure to eat. Perfect for celebrating national holidays like Memorial Day or the Fourth of July, these cupcakes are surprisingly simple to create, promising a dessert that will impress both young and old. Forget complicated baking projects; this recipe is designed for ease and maximum flavor, ensuring your celebrations are topped with a sweet, festive flair. Get ready to bake a batch of homemade cupcakes that are as fun and flavorful as they are patriotic!
The Ultimate Patriotic Cupcakes: Easy and Delicious
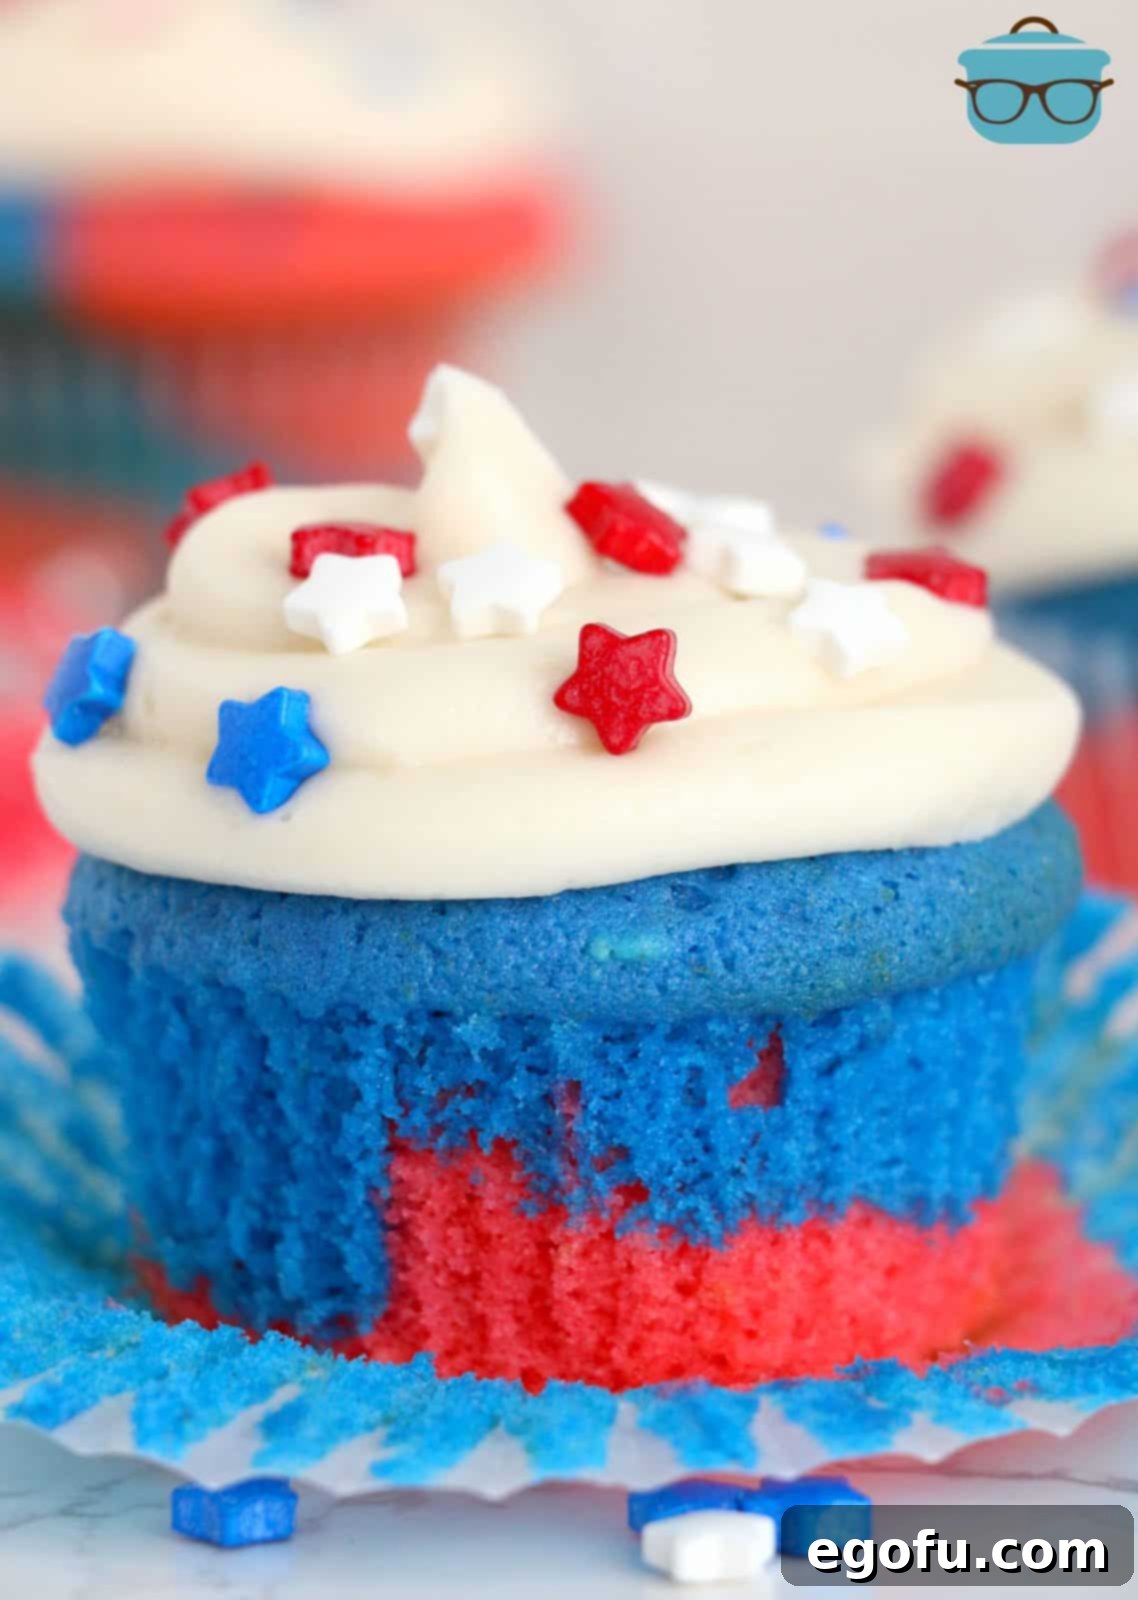
There’s something truly special about a dessert that captures the spirit of a celebration, and these Red, White, and Blue Cupcakes do just that. They present a stunning visual with their marbled red and blue batter, all crowned with creamy white frosting and festive sprinkles. While they appear sophisticated and intricate, the secret is in the simplicity of the steps. This recipe breaks down the process into manageable, enjoyable stages, making it accessible for bakers of all skill levels. Whether you’re hosting a grand holiday gathering, a backyard BBQ, or just looking for a fun kitchen activity, these homemade cupcakes are guaranteed to be a hit. Their tender crumb, rich flavor, and patriotic charm make them the perfect sweet treat to share with family and friends, creating lasting memories with every bite.
Frequently Asked Questions About Red, White, and Blue Cupcakes
For truly vibrant and intense colors in your patriotic cupcakes, we highly recommend using gel food coloring. Gel colors are highly concentrated, meaning you’ll need less product to achieve a vivid hue, and they won’t thin out your batter like liquid food coloring can. While regular liquid food coloring can be used, you’ll likely need to add a greater quantity to reach the desired intensity, which might slightly alter the batter’s consistency. Gel food coloring provides that striking red and blue contrast that makes these cupcakes so spectacular.
The inclusion of beaten egg whites is a crucial step for achieving an incredibly light and fluffy texture in these cupcakes. When egg whites are whipped to stiff peaks, they incorporate a significant amount of air. During baking, this trapped air expands and then evaporates, creating tiny pockets within the cupcake structure. This process helps the cupcakes rise beautifully and results in a wonderfully soft, tender, and airy crumb that melts in your mouth. It’s a simple technique that makes a big difference in the final product’s delicate texture.
Frosting cupcakes can be as simple or as elaborate as you like, and you don’t need a full set of decorating tools to make them look fantastic. A simple and effective method, especially if you’re a beginner or lack piping bags, is to use a sturdy zip-top bag. Simply snip a small corner off the bag, fill it with your prepared frosting, and gently squeeze to pipe beautiful swirls onto your cooled cupcakes. For an even easier approach, you can just use an offset spatula or the back of a spoon to spread the frosting evenly. Of course, if you have piping bags and various tips, feel free to use your favorite techniques to create intricate designs. The goal is deliciousness, and any method that gets the frosting on the cupcake works!
Absolutely! Using a white cake mix is a fantastic shortcut if you’re short on time or prefer the convenience. To adapt this recipe, simply prepare your favorite white cake mix according to the package directions. Once the batter is ready, divide it equally into two separate bowls. Add red food coloring to one bowl and blue food coloring to the other, mixing until the colors are vibrant and evenly distributed. From there, you can proceed with the rest of the recipe as written, alternating scoops of the colored batter into your cupcake liners. This modification makes the process even quicker without sacrificing the patriotic flair.
Proper storage ensures your delicious cupcakes remain fresh and moist. Leftover frosted or unfrosted cupcakes can be stored in an airtight container at room temperature for up to 2-3 days, or in the refrigerator for up to 4-5 days, especially if your frosting contains dairy. For longer storage, these cupcakes freeze exceptionally well, whether frosted or unfrosted. To freeze, place them in a single layer in a freezer-safe container or on a baking sheet until firm, then transfer them to a freezer bag or airtight container. They will keep in the freezer for up to 3 months. If frozen frosted, thaw them overnight in the refrigerator. If frozen unfrosted, they can be thawed on the countertop before you prepare and apply your fresh frosting and decorations.
Essential Ingredients for Your Patriotic Cupcakes
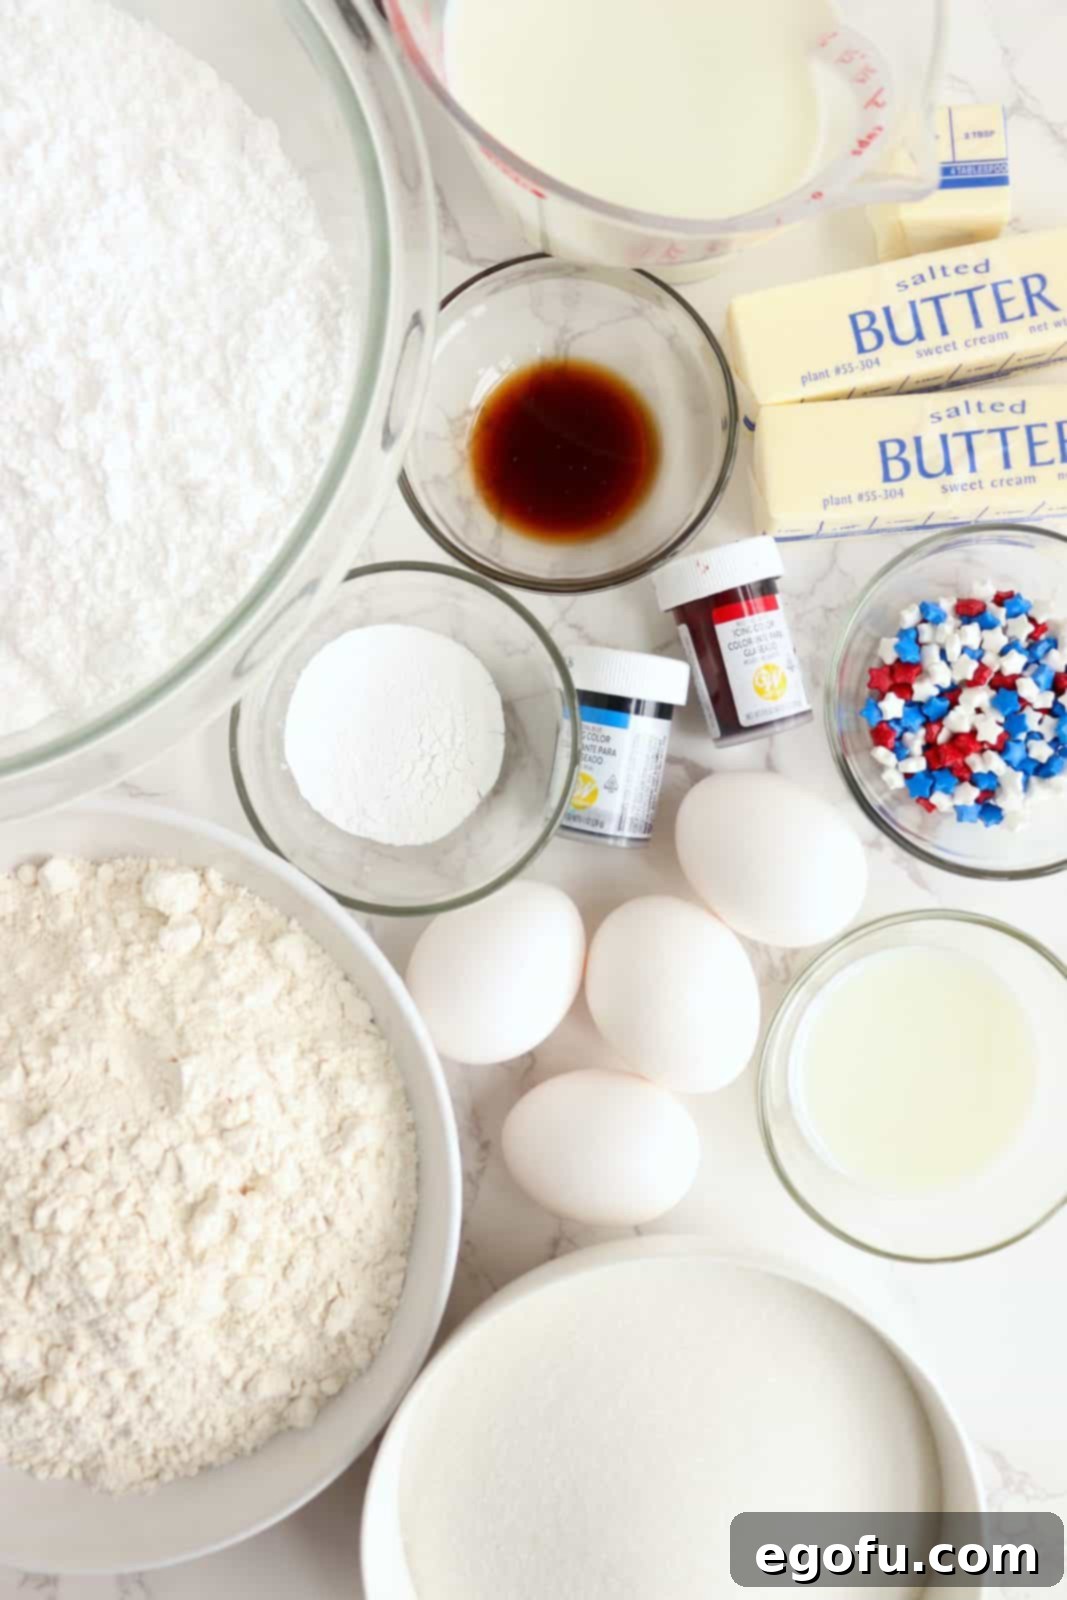
Gathering your ingredients before you begin is key to a smooth baking process. This recipe calls for common pantry staples, ensuring that these festive cupcakes are not only delicious but also convenient to make. Here’s what you’ll need for both the delightful cupcakes and their luscious frosting:
- For the Cupcakes:
- Softened salted butter
- Granulated sugar
- Milk
- All-purpose flour
- Baking powder
- Egg whites (for that perfect fluffy texture!)
- Blue and red gel food coloring (for vibrant, deep colors)
- For the Frosting:
- Softened salted butter
- Powdered sugar (confectioners’ sugar)
- Vanilla extract (pure vanilla for the best flavor)
- Milk (to achieve the ideal frosting consistency)
- Sprinkles of your choice (patriotic stars, nonpareils, or jimmies work wonderfully)
Ensuring your butter is properly softened for both the cupcake batter and the frosting is vital for smooth mixing and a consistent, tender result.
How to Make Red, White, and Blue Cupcakes: Step-by-Step
Creating these festive Red, White, and Blue Cupcakes is a fun and rewarding process. Follow these detailed instructions to bake up a batch of perfectly tender and visually stunning treats:
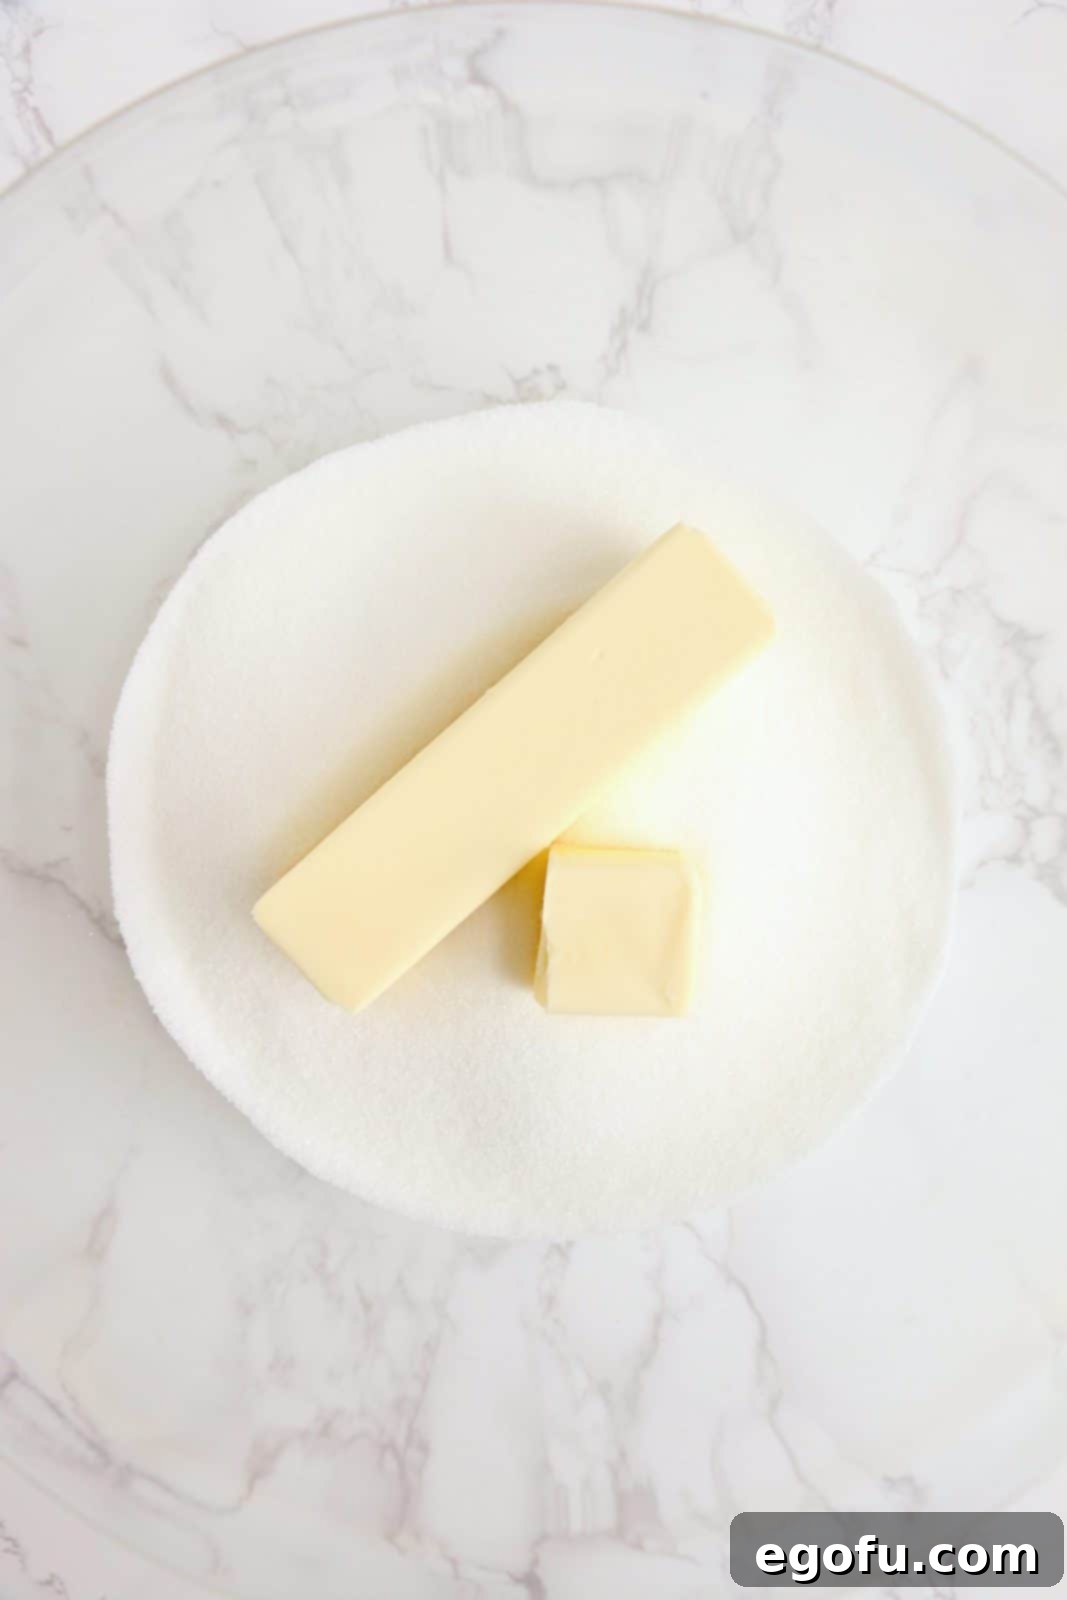
Step 1: Prepare Your Workspace. Begin by preheating your oven to 350°F (175°C). Line a standard 12-cup cupcake pan with paper liners. In a large mixing bowl, using an electric mixer, cream together the softened butter and granulated sugar until the mixture is light, fluffy, and pale in color. This step is crucial for incorporating air and ensuring a tender cupcake.
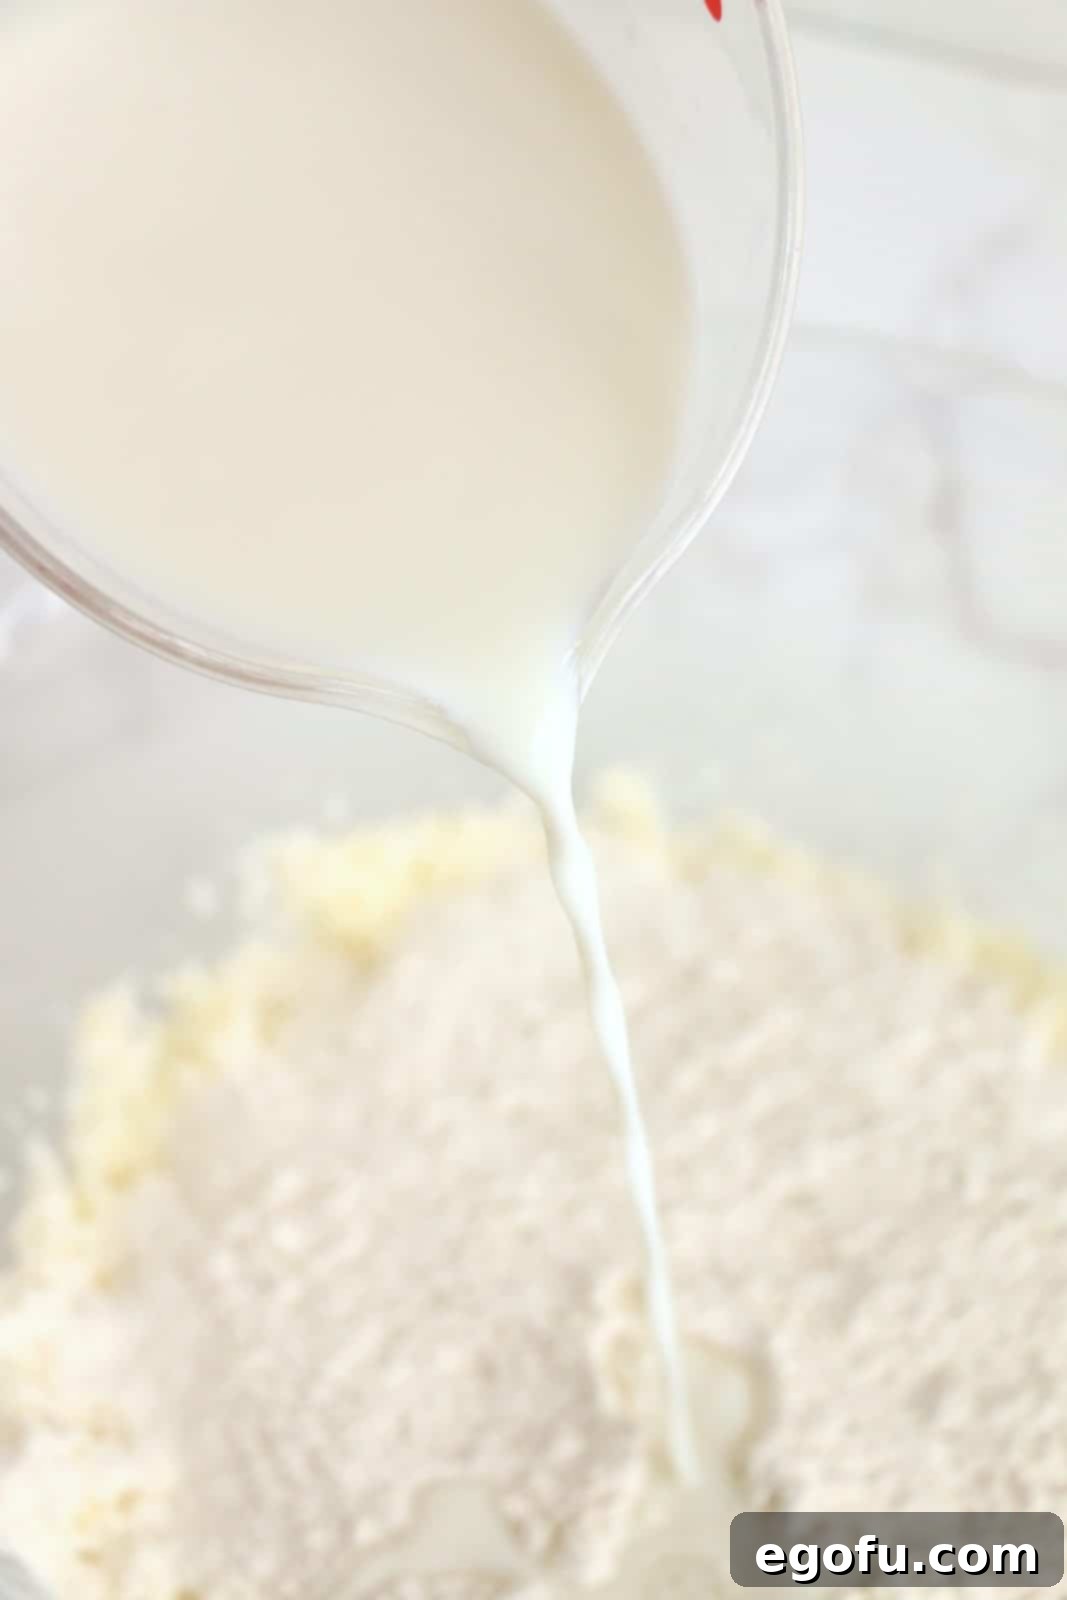
Step 2: Incorporate Dry and Wet Ingredients. Gradually add the milk and 2 cups of the all-purpose flour to the creamed butter and sugar mixture, alternating between the two and mixing gently after each addition until just combined. Be careful not to overmix. Once these are mostly incorporated, add the remaining cup of flour and the baking powder. Beat the batter well for another minute or two until smooth and fully combined, scraping down the sides of the bowl as needed.
Step 3: Prepare the Egg Whites. In a separate, clean, small mixing bowl, beat the four egg whites using an electric mixer on high speed. Continue beating until stiff peaks form. Stiff peaks mean that when you lift the beaters, the egg whites hold their shape firmly and don’t collapse. This step is essential for creating the light and airy texture of the cupcakes.

Step 4: Fold Egg Whites into Batter. Gently fold the beaten egg whites into the cupcake batter. Use a spatula to carefully incorporate the egg whites, preserving as much of the air as possible. Mix until just combined; avoid overmixing, which can deflate the egg whites and result in denser cupcakes. The batter should look light and airy.

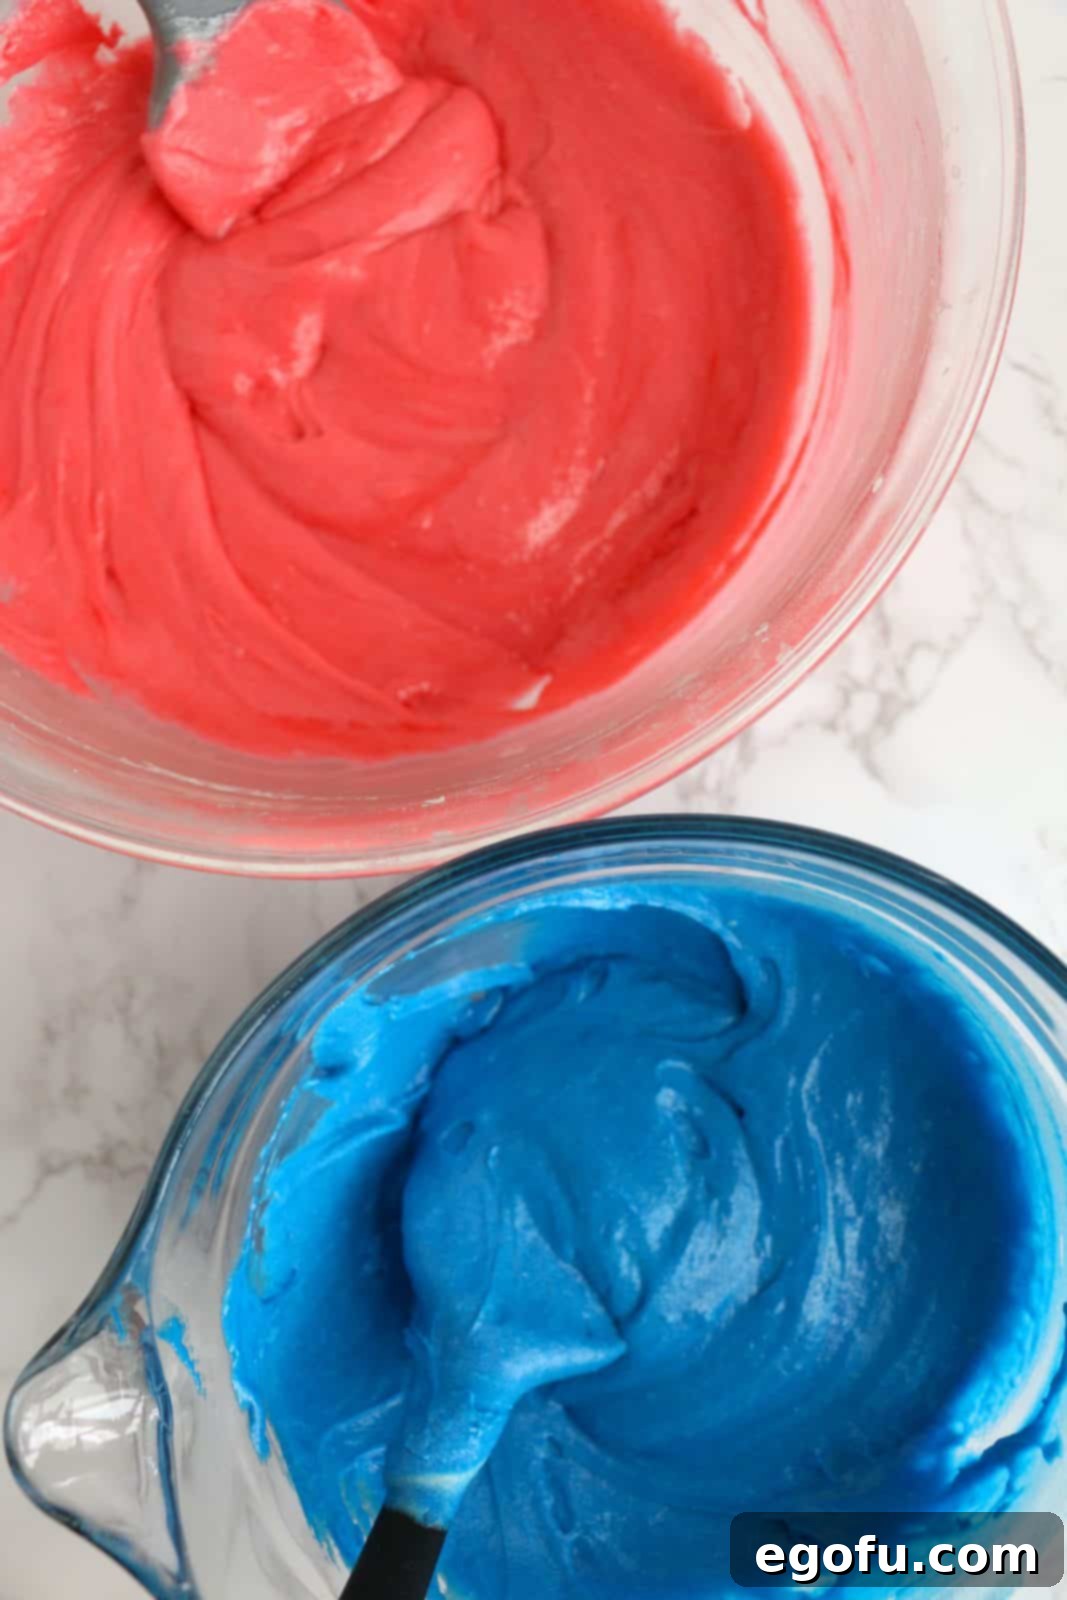
Step 5: Color the Batter. Divide the prepared cupcake batter evenly into two separate bowls. To one bowl, add red food coloring and mix until you achieve a vibrant red hue. To the second bowl, add blue food coloring and mix until a striking blue color is reached. The exact amount of food coloring will vary depending on whether you are using gel or liquid coloring; gel will require less for a more intense color.
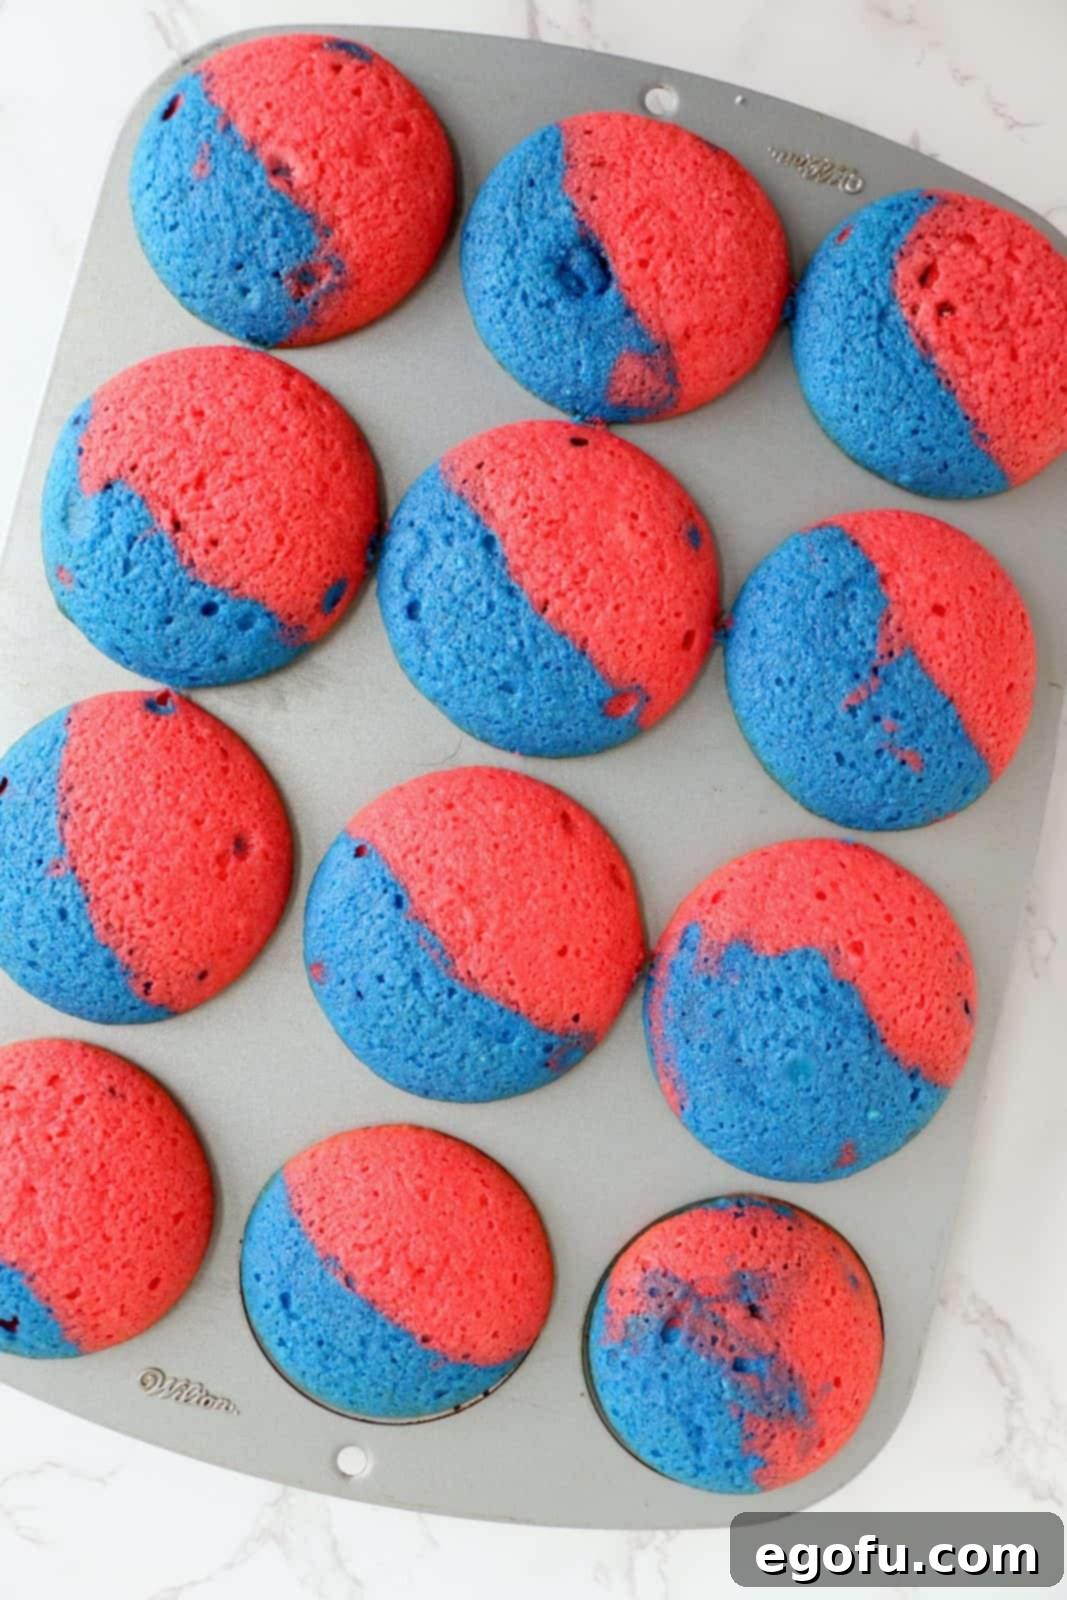
Step 6: Fill the Cupcake Liners. Using two separate spoons (or small scoops), alternate placing scoops of the red and blue batter into each cupcake liner. Fill each liner about two-thirds of the way full to allow for proper rising. You can gently swirl the colors with a toothpick for a marbled effect, or leave them as distinct scoops for a more layered look.
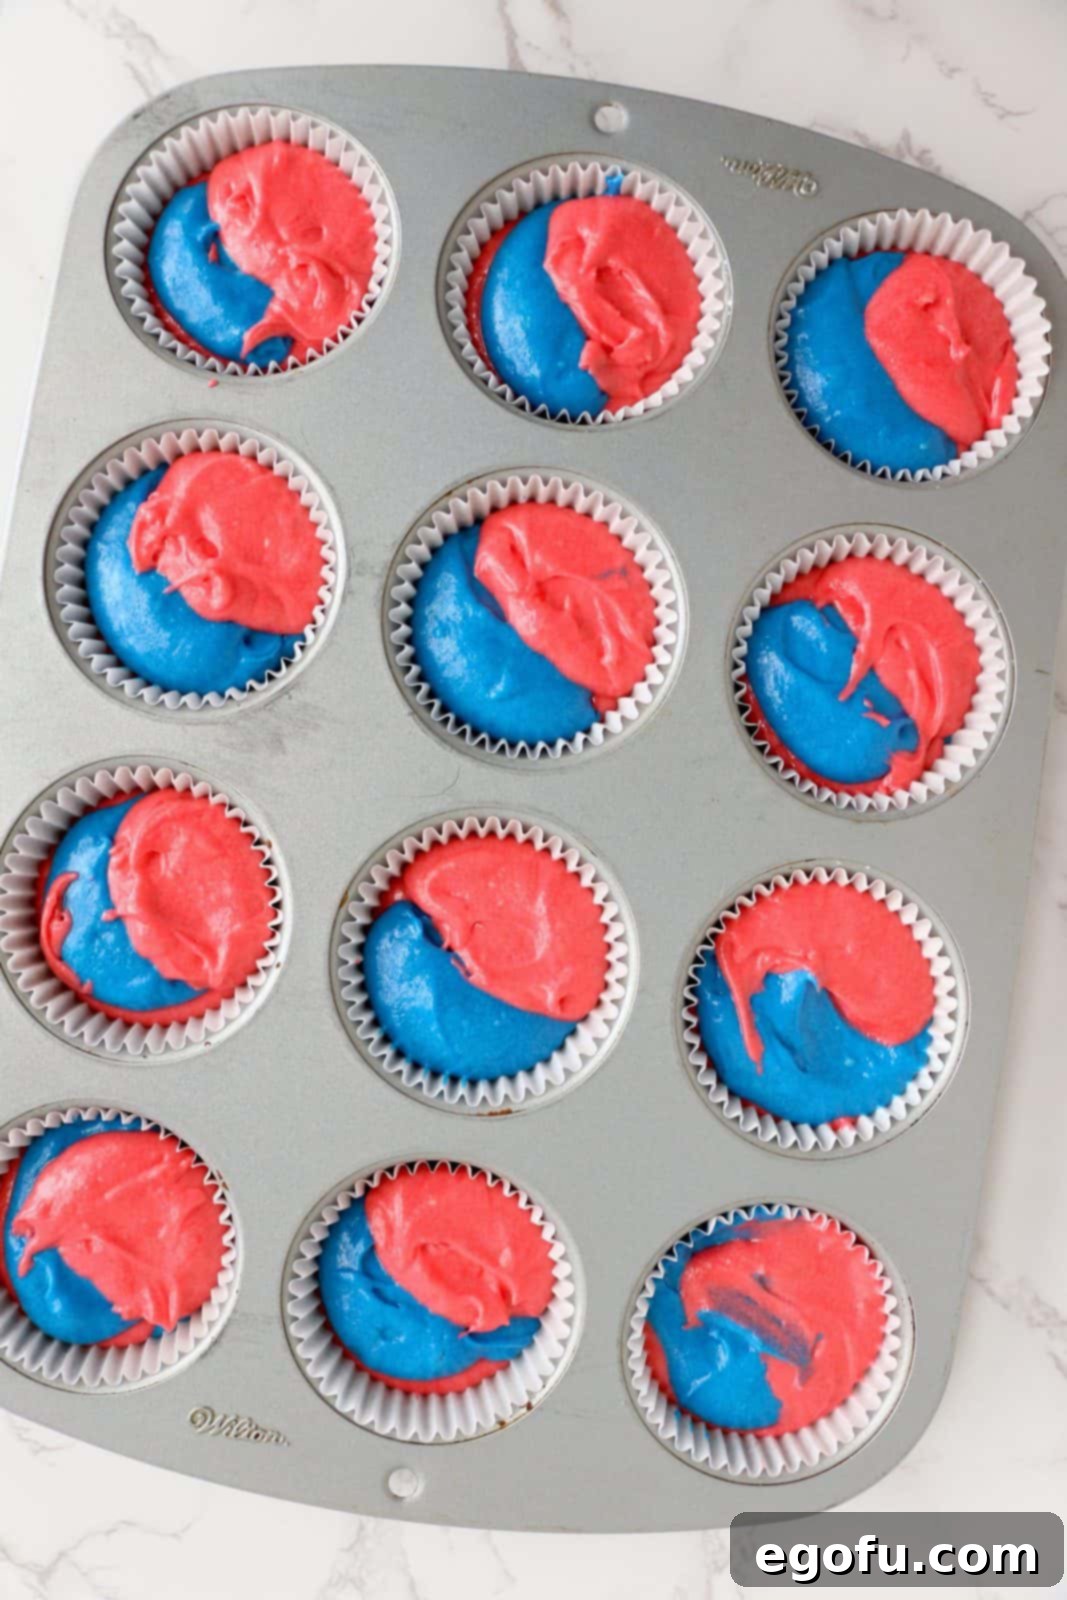
Step 7: Bake to Perfection. Place the cupcake pan in the preheated oven and bake for approximately 20 minutes. Baking time may vary depending on your oven, so check for doneness by inserting a toothpick into the center of a cupcake. If it comes out clean, they are ready. Once baked, remove the cupcakes from the oven and let them cool in the pan for a few minutes before transferring them to a wire rack to cool completely. It’s crucial that the cupcakes are entirely cool before frosting to prevent the frosting from melting.
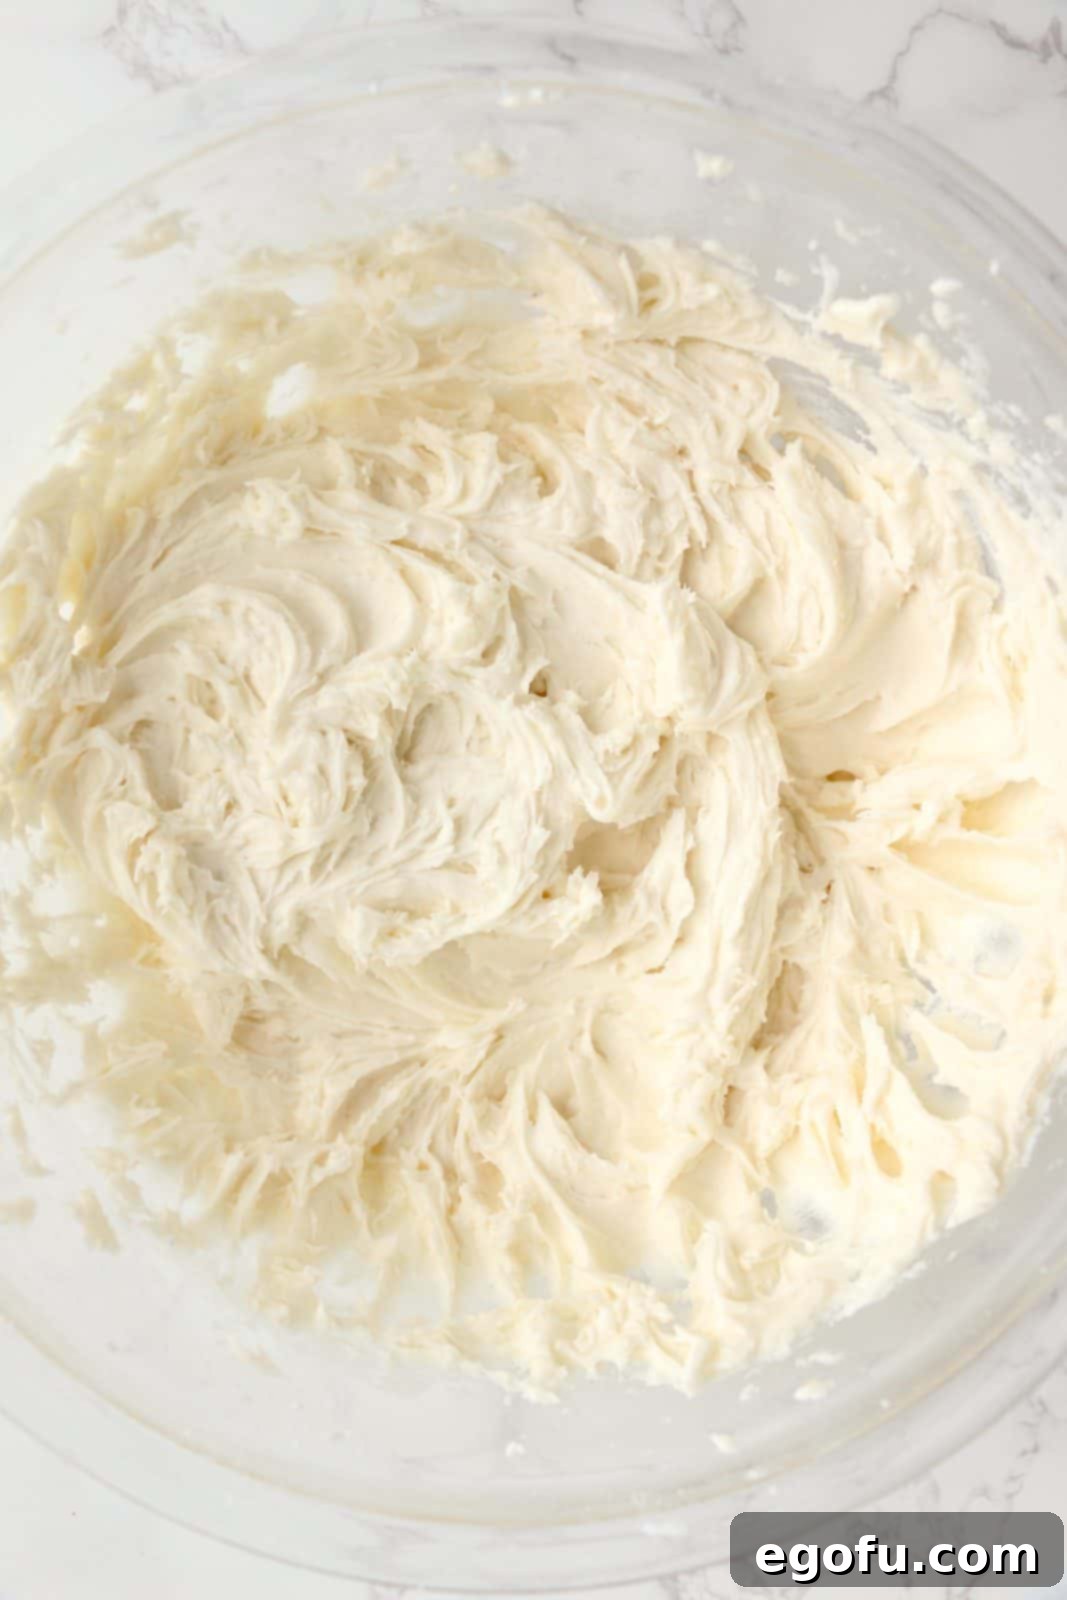
Step 8: Prepare the Buttercream Frosting. While the cupcakes are cooling, prepare your delicious buttercream frosting. In a large mixing bowl, beat the softened butter until creamy. Gradually add the powdered sugar, one cup at a time, mixing until the mixture becomes crumbly. Then, add the vanilla extract and 2 tablespoons of milk. Beat on medium-high speed until the frosting is light, fluffy, and smooth. If the frosting seems too thick, add more milk a teaspoon at a time until the desired consistency is reached. If it’s too thin, add a bit more powdered sugar.
Step 9: Frost the Cupcakes. Transfer the prepared frosting into a large zip-top bag. Push the frosting down towards one corner of the bag, then snip off a small tip from that corner. Pipe the frosting onto each cooled cupcake in a beautiful swirl or any pattern you desire. The zip-top bag acts as a makeshift piping bag, making frosting simple and mess-free.
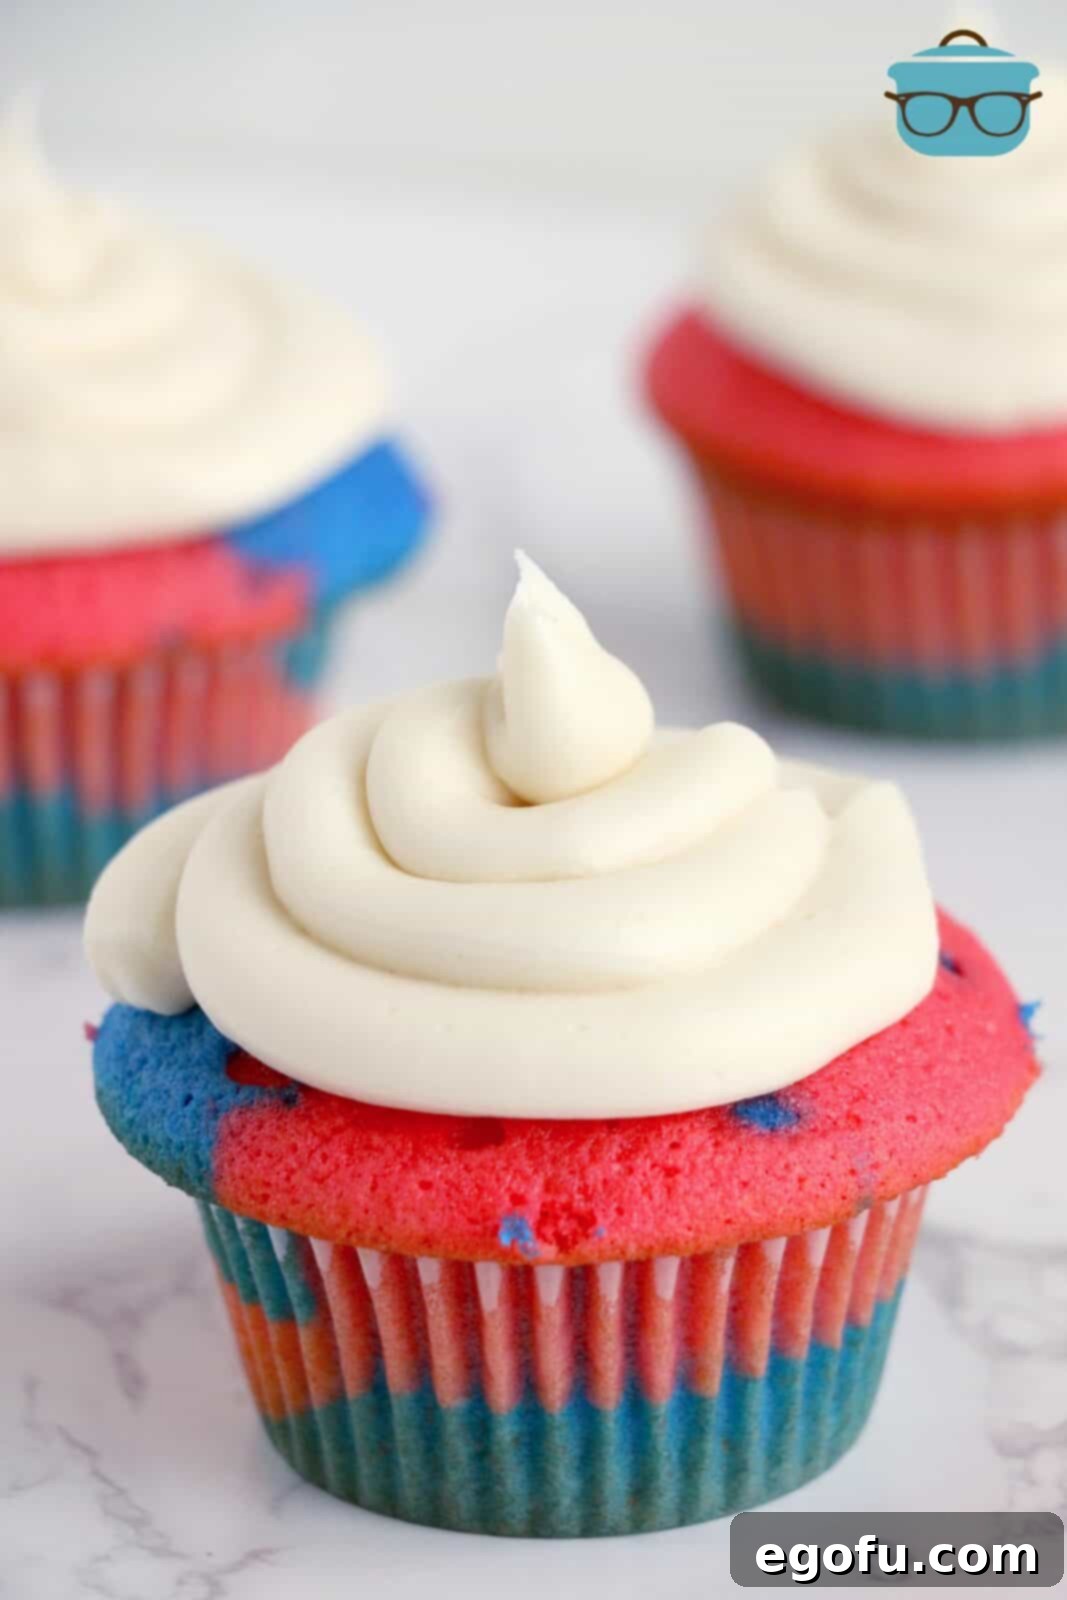
Step 10: Decorate and Enjoy! Finish your patriotic masterpieces by liberally adding sprinkles of your choice. Red, white, and blue star sprinkles, jimmies, or nonpareils are perfect for a festive touch. Once decorated, your beautiful Red, White, and Blue Cupcakes are ready to be served and enjoyed!

Why You’ll Love These Patriotic Cupcakes
These Red, White, and Blue Cupcakes aren’t just a dessert; they’re a celebration in every bite. Here’s why this recipe will quickly become a favorite:
- Visually Stunning: The marbled red and blue cake with white frosting creates an incredibly festive and appealing look perfect for any patriotic event.
- Delectably Fluffy: Thanks to the technique of beating egg whites separately, these cupcakes boast an airy, tender crumb that is simply irresistible.
- Simple to Make: Despite their impressive appearance, the steps are straightforward, making this a fantastic recipe for both seasoned bakers and beginners.
- Versatile for Any Occasion: While ideal for July 4th and Memorial Day, you can easily adapt the colors for other holidays or celebrations, making them a year-round treat.
- Kid-Friendly: Kids love helping with the coloring and decorating, making this a fun family activity that results in a delicious reward.
Pro Tips for Baking Success
To ensure your Red, White, and Blue Cupcakes turn out perfectly every time, keep these helpful tips in mind:
- Room Temperature Ingredients: Always ensure your butter, milk, and egg whites are at room temperature. This allows them to emulsify better, creating a smoother batter and a more consistent texture.
- Don’t Overmix: Overmixing the batter can develop the gluten in the flour too much, leading to tough cupcakes. Mix only until ingredients are just combined.
- Quality Food Coloring: Invest in good quality gel food coloring for the best, most vibrant results. It’s more concentrated than liquid coloring and won’t thin your batter.
- Evenly Fill Liners: Use an ice cream scoop or measuring cup to fill each cupcake liner consistently. This helps them bake evenly and look uniform.
- Cool Completely: Patience is key! Frosting warm cupcakes will cause the frosting to melt and slide off. Make sure they are completely cool before decorating.
- Adjust Frosting Consistency: The amount of milk needed for the frosting can vary. Start with the recommended amount and add more a teaspoon at a time until you reach your desired piping consistency.
Serving Suggestions and Variations
These patriotic cupcakes are fantastic on their own, but here are some ideas to elevate your serving and customize them:
- Dessert Platter: Arrange them on a platter with fresh berries (strawberries, blueberries) for an extra burst of color and freshness.
- Alongside Ice Cream: Serve them with a scoop of vanilla or strawberry ice cream for a delightful à la mode experience.
- Mini Cupcakes: Use a mini cupcake pan and liners for bite-sized treats perfect for parties. Adjust baking time accordingly (usually 10-12 minutes).
- Alternate Colors: Feel free to swap the red and blue food coloring for other colors to match different holidays or themes – green for St. Patrick’s Day, pastels for Easter, or team colors for game day!
- Cream Cheese Frosting: For a different flavor profile, consider using a cream cheese frosting instead of traditional buttercream.
- Fruit Topping: Garnish with a fresh raspberry and a blueberry on top of the frosting for a natural touch of color and flavor.
Craving More Patriotic Recipes?
If you loved these Red, White, and Blue Cupcakes, you’re in for a treat! Explore more delightful recipes perfect for your holiday gatherings and celebrations:
- Patriotic Sugar Cookie Bars
- 4th of July Cupcakes
- Patriotic Jell-O Marshmallows
- Patriotic Mixed Berry Dessert
- 4th of July Party Recipes
- Patriotic Funfetti Cake
- 4th of July Rice Krispies Treats
- Red, White & Blue Jell-O Cups

Red, White and Blue Cupcakes
A fun patriotic dessert, these Red, White and Blue Cupcakes are flavorful and super easy to bake up.
Pin Recipe
Ingredients
Cupcakes:
- 10 ounces salted butter, softened
- 2 cups granulated sugar
- 1 ¼ cups milk
- 3 cups all-purpose flour
- 3 teaspoons baking powder
- 4 egg whites
- Blue and red food coloring (gel recommended)
Frosting:
- 8 ounces salted butter, softened
- 4 cups powdered sugar
- 1 teaspoon vanilla extract
- 2-3 Tablespoons milk
- Sprinkles of your choice
Instructions
- Preheat the oven to 350ºF (175°C). Line a cupcake pan with paper liners.
- In a large mixing bowl, cream softened butter and granulated sugar together until light and fluffy.
- Alternately add milk and 2 cups of flour, mixing gently after each addition. Stir in the remaining cup of flour and baking powder, then beat well until smooth.
- In a separate small mixing bowl, beat egg whites until stiff peaks form.
- Gently fold the beaten egg whites into the cupcake batter until just combined.
- Divide the batter into two separate bowls. Add red food coloring to one bowl and blue food coloring to the other, mixing until desired vibrant colors are achieved.
- Using separate spoons, alternate scoops of red and blue batter into each cupcake liner, filling them approximately two-thirds full.
- Bake for 20 minutes, or until a toothpick inserted into the center of a cupcake comes out clean. Allow cupcakes to cool completely on a wire rack before frosting.
- To make the frosting, beat softened butter and powdered sugar together in a large bowl. The mixture will initially be crumbly.
- Add vanilla extract and 2 tablespoons of milk. Beat well until the frosting is smooth and fluffy. Adjust consistency by adding a bit more milk if too thick, or more powdered sugar if too thin.
- Transfer the frosting to a large zip-top bag. Snip a small corner off the bag to create a piping opening, then pipe frosting onto the cooled cupcakes.
- Finish by adding sprinkles of your choice and enjoy your patriotic treats!
Notes
- For the most vivid colors, we recommend using gel food coloring in this recipe.
- To make a smaller batch, you can easily halve all the ingredients.
- These cupcakes can be frozen. For details, refer to the storage section in the FAQs above.
- Feel free to change the food coloring to suit other holidays, themed parties, or special occasions.
Nutrition Facts (Estimated per serving)
Carbohydrates: 49g |
Protein: 3g |
Fat: 18g |
Sodium: 153mg |
Fiber: 1g |
Sugar: 37g
Nutritional Disclaimer
“The Country Cook” is not a dietician or nutritionist, and any nutritional information shared is an estimate. If calorie count and other nutritional values are important to you, we recommend running the ingredients through whichever online nutritional calculator you prefer. Calories and other nutritional values can vary quite a bit depending on which brands were used.
