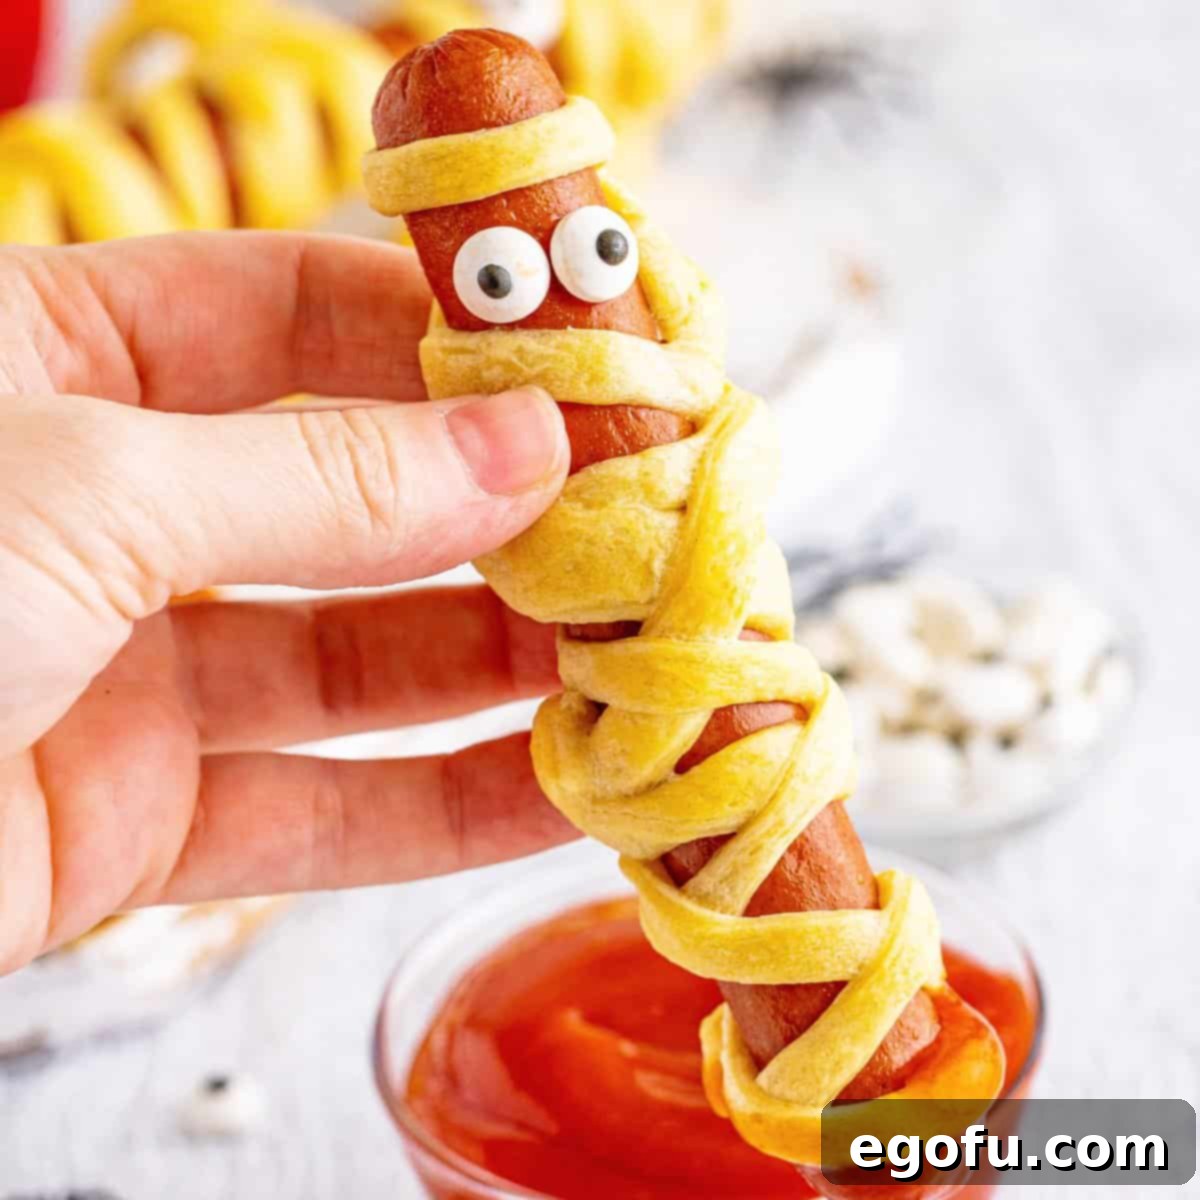
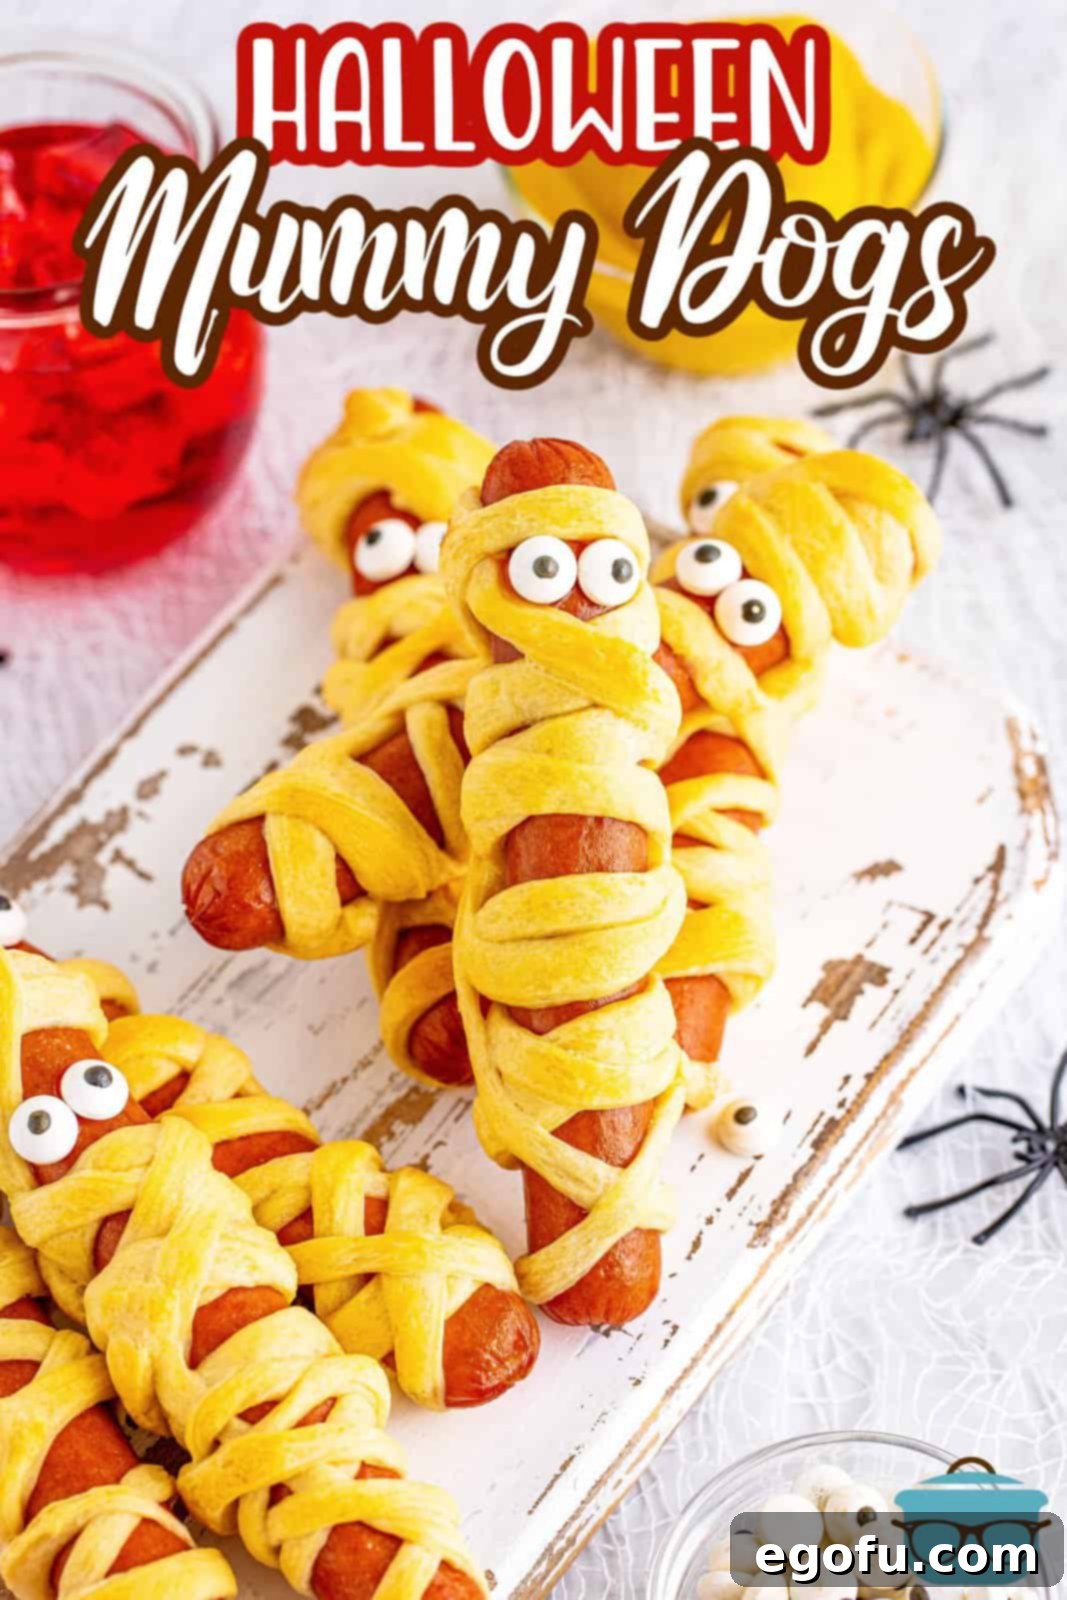
Looking for a ridiculously easy, incredibly fun, and utterly delicious meal or appetizer that screams Halloween spirit? These festive Halloween Mummy Dogs are not just a recipe; they’re an annual tradition everyone absolutely adores, from the youngest trick-or-treaters to the grown-ups who are still kids at heart!
Spooktacular Halloween Mummy Dogs: An Easy & Fun Family Tradition
There’s a reason some recipes become cherished annual traditions, and for my family, these Halloween Mummy Dogs top the list every single year. As the leaves turn golden and the air gets crisp, my loved ones eagerly anticipate this playful meal. They are truly one of the simplest and most enjoyable dishes you can whip up for the spooky season, captivating the imagination of children and bringing a smile to faces of all ages. You’re genuinely never too old to indulge in food this fun!
With just a handful of basic ingredients, these adorable mummies come together in mere minutes, making them an ideal choice for a quick lunch, a delightful dinner, or a charming addition to any Halloween party spread. Serve them alongside your favorite dipping sauces, and watch them disappear faster than ghosts on Halloween night. If you’re a fan of themed recipes and want to infuse some irresistible fun into your Halloween celebrations, then making these Halloween Mummy Dogs is an absolute must!
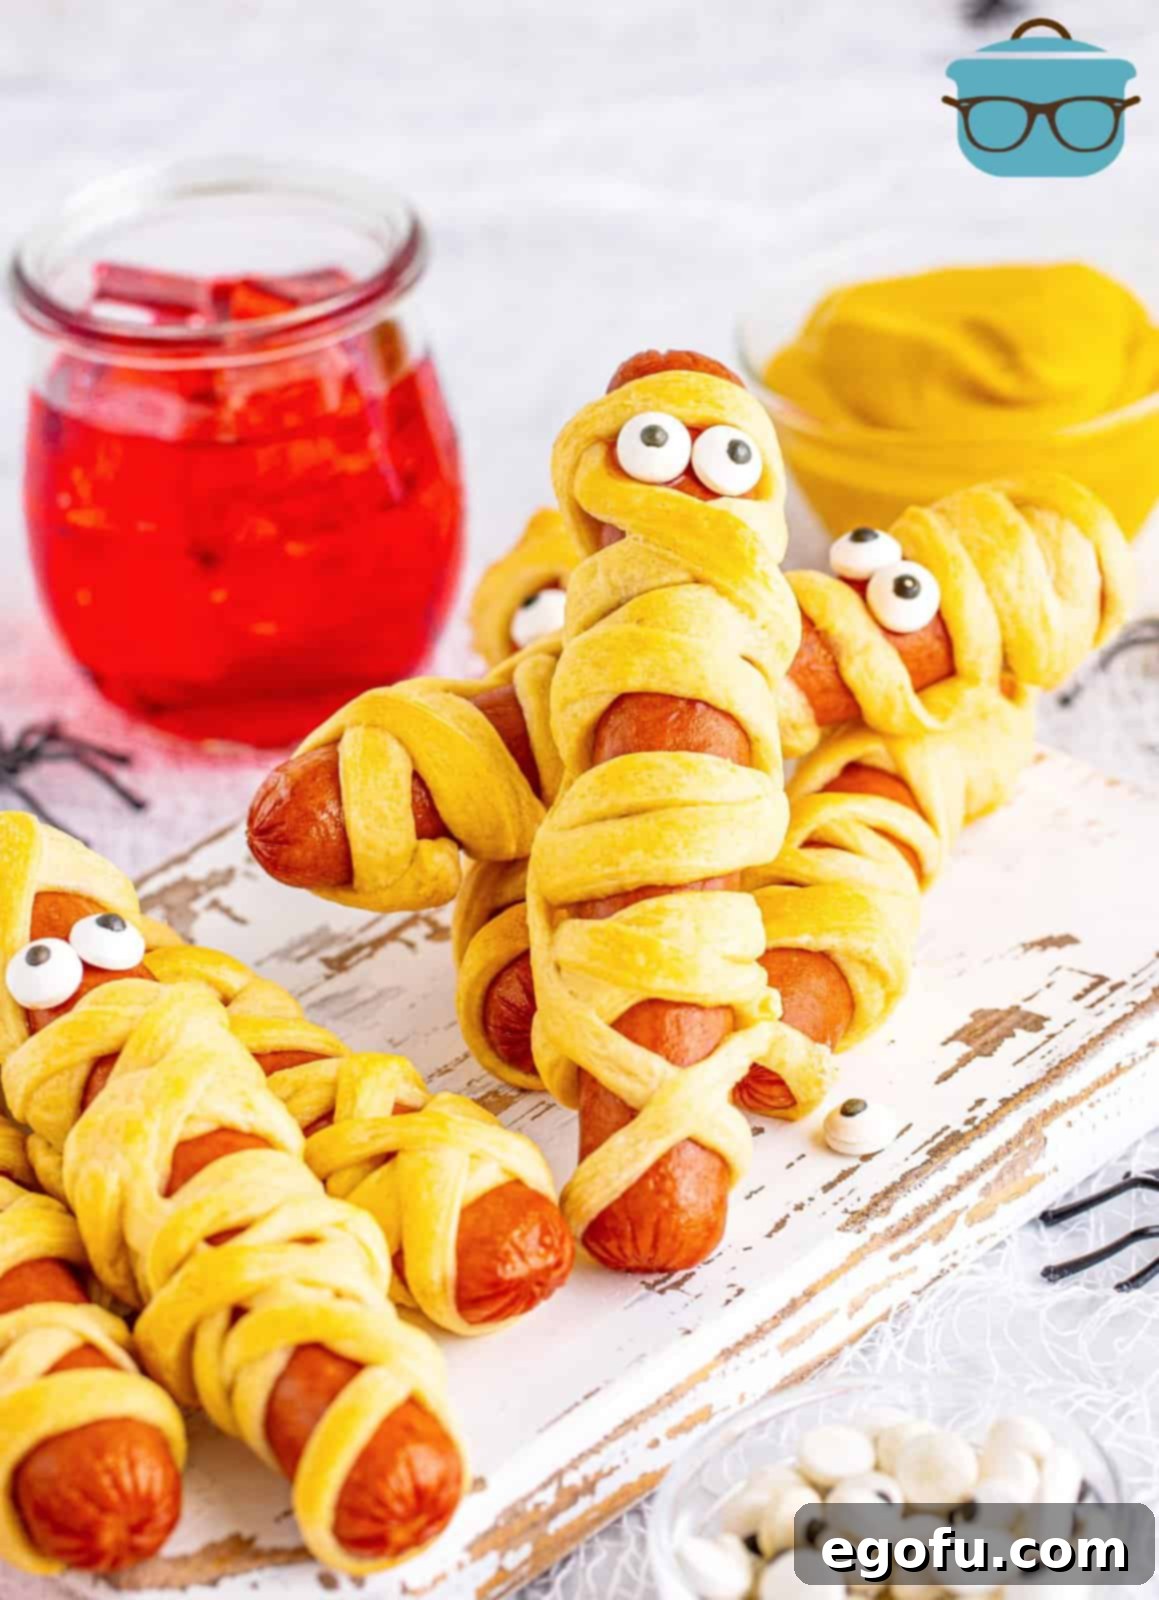
Why You’ll Adore These Halloween Mummy Dogs
- Effortlessly Simple: With minimal ingredients and straightforward steps, even novice cooks can master this recipe.
- Kid-Friendly Fun: The mummy design is a huge hit with children, making mealtime an exciting adventure.
- Versatile for Any Occasion: Perfect as a quick lunch, a satisfying dinner, or a charming appetizer for your Halloween gatherings.
- Customizable: Easily adapt with your favorite hot dogs, cheese, and a variety of dipping sauces.
- A Beloved Tradition: These spooky treats are guaranteed to become a cherished part of your annual Halloween festivities.
Frequently Asked Questions about Halloween Mummy Dogs
Do I have to use a crescent dough sheet?
While a crescent dough sheet is highly recommended for this recipe due to its ease of use – you simply unroll and cut it into strips – it’s not strictly mandatory. The dough sheet saves you time and ensures uniform strips. However, if you can’t find them, regular crescent rolls will work beautifully too! Just ensure you thoroughly seal the perforations of the individual triangles before you start cutting them into strips. This prevents the dough from separating during baking and helps create a smoother, more “mummy-like” wrap around your hot dogs.
What kind of hot dogs should I use for Mummy Dogs?
The beauty of this recipe is its flexibility! You can use any brand or flavor of hot dogs that your family loves. Whether you prefer all-beef, pork and beef blend, turkey, chicken, or even vegetarian hot dogs, they will all work wonderfully. We personally enjoy using Nathan’s Famous hot dogs for their classic flavor or the Kirkland brand hot dogs from Costco for their great value and taste. The most important tip, regardless of your choice, is to pat the hot dogs thoroughly dry with paper towels before wrapping. This helps the crescent dough adhere better and ensures a crispy, golden crust.
Do I have to use candy eyes for decoration?
No, using candy eyes is completely optional and purely for aesthetic fun! While they certainly add an adorable, spooky charm to your mummy dogs, there are plenty of creative alternatives if you don’t have them on hand or prefer not to use them. You can easily create “eyes” using small dots of yellow mustard for a classic look, or use mayonnaise for a lighter contrast. Other options include tiny pieces of black olive, a dab of cream cheese, or even mini chocolate chips if you’re feeling adventurous and want a sweet-and-savory twist. Just remember to apply these after the mummy dogs have cooled slightly.
I’ve seen these with cheese; can I add cheese to my Mummy Dogs?
Absolutely, incorporating cheese into your Halloween Mummy Dogs is a fantastic idea, and something we frequently do ourselves! The melted cheese adds an extra layer of flavor and gooey deliciousness that complements the hot dog and dough perfectly. To add cheese, you have a couple of options: you can cut slices of cheese (like American, cheddar, or mozzarella) into thin strips and wrap them around the hot dog first, and then proceed to wrap the crescent dough strips over the cheese. Alternatively, you can simply wrap a full slice of cheese around the hot dog before wrapping it with the dough. Both methods work great, just ensure the cheese is fully encased by the dough to prevent excessive melting and dripping during baking.
What are some great dipping sauces that pair well with these?
This is where you can truly let your taste buds run wild! Halloween Mummy Dogs are incredibly versatile and pair wonderfully with a wide array of dipping sauces. Classic choices like ketchup and mustard are always a hit. For something a little different, consider barbecue sauce, ranch dressing, honey mustard, or even a spicy sriracha mayo for the adults. You could also offer a “bloody” marinara sauce or a “swamp green” guacamole for an extra festive touch. Setting up a “dipping station” with several different options allows everyone to customize their mummy dog experience and adds another element of fun to your meal.
How do I store and reheat leftover Mummy Dogs?
If by some miracle you have any Halloween Mummy Dogs left over, storing them is simple! Place them in an airtight container and keep them in the refrigerator, where they will stay fresh for up to three days. For longer storage, these can also be frozen. Arrange the cooled mummy dogs in a single layer on a baking sheet and freeze until solid, then transfer them to a freezer-safe container or bag. They will keep well in the freezer for up to three months. To defrost, simply move them to the refrigerator overnight. For reheating, the oven is your best friend to maintain that delicious crispy texture. Reheat them at 350°F (175°C) until thoroughly warmed through. While the microwave can be used in a pinch, be aware that it might cause the dough to become a bit soggy, affecting the texture.
Simple Ingredients for Your Spooky Creation
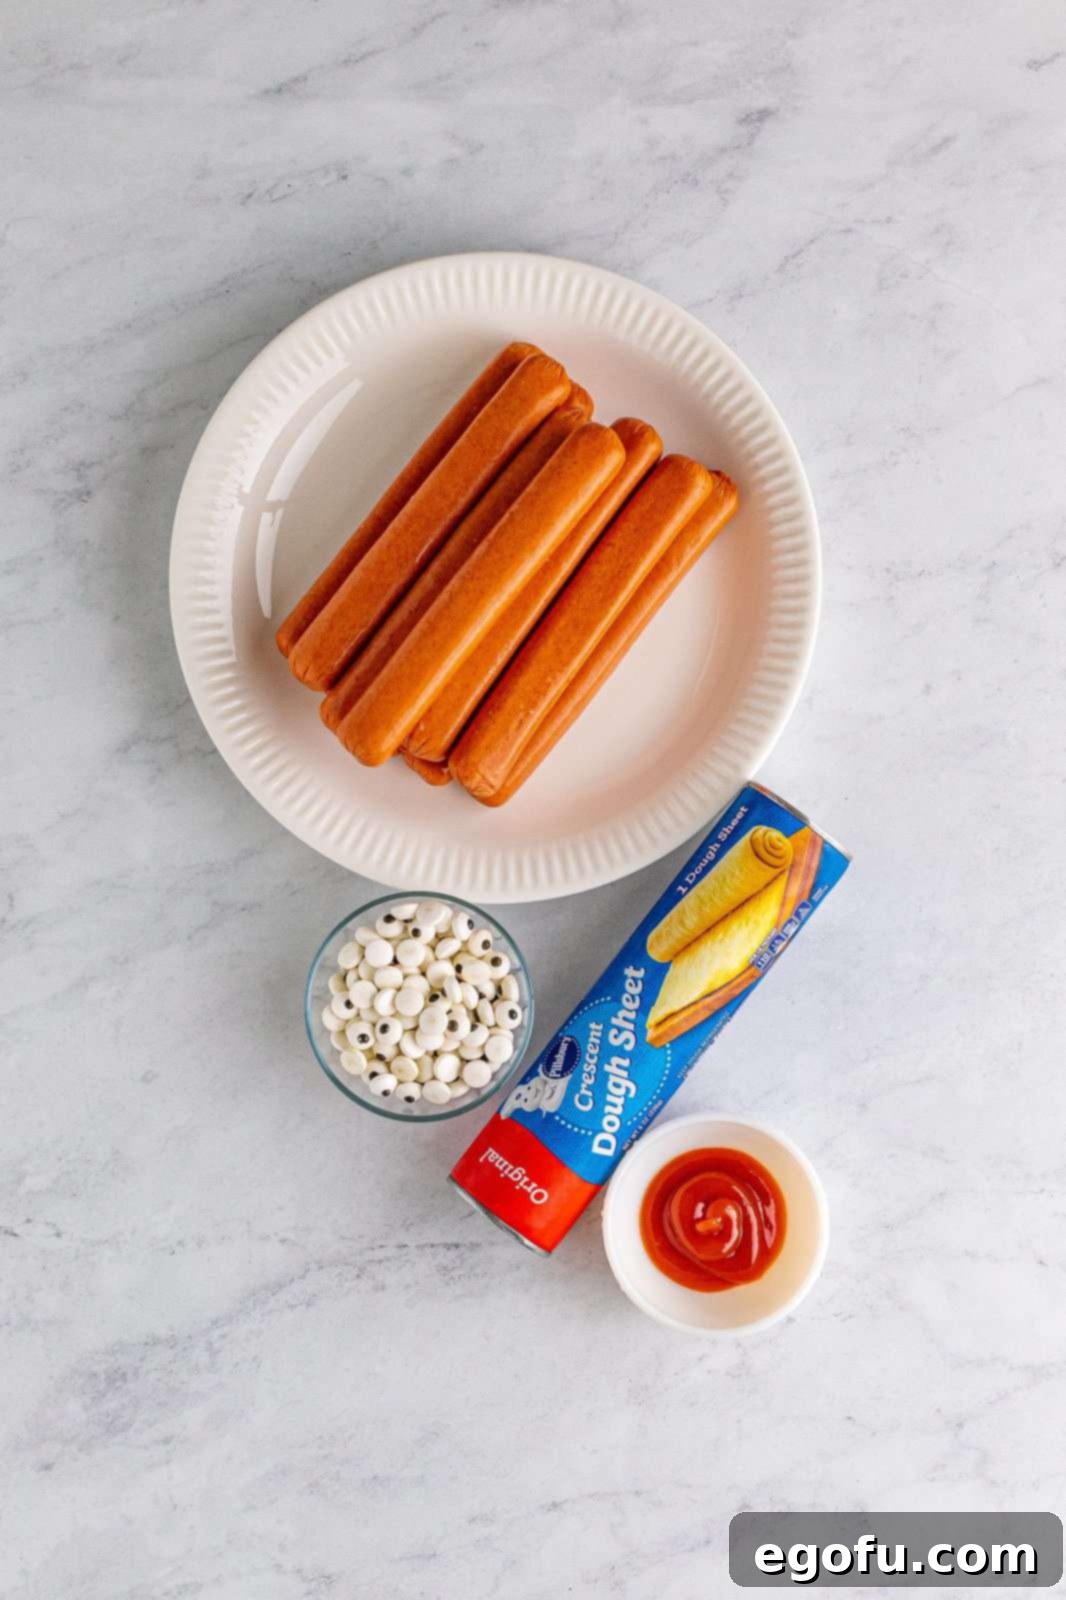
Gathering your ingredients for these Halloween Mummy Dogs couldn’t be easier. You’ll only need a few staple items to bring these adorable, spooky treats to life!
- Hot Dogs: 10 hot dogs of your favorite brand and type (beef, turkey, or even veggie).
- Crescent Roll Dough: 1 sheet of crescent roll dough (the seamless sheet is preferred for ease, but regular crescent rolls can be used with a little sealing).
- Ketchup: Approximately 1 teaspoon of ketchup (or mustard/mayo) for attaching the eyes.
- Candy Eyes: About 20 small candy eyes for decoration (optional, but highly recommended for maximum cuteness!).
- Dipping Sauces: Your favorite assortment of dipping sauces for serving.
How to Make Halloween Mummy Dogs: Step-by-Step Guide
Get ready to wrap up some fun with these easy and engaging steps to create your own batch of Halloween Mummy Dogs!
1. Preparation is Key
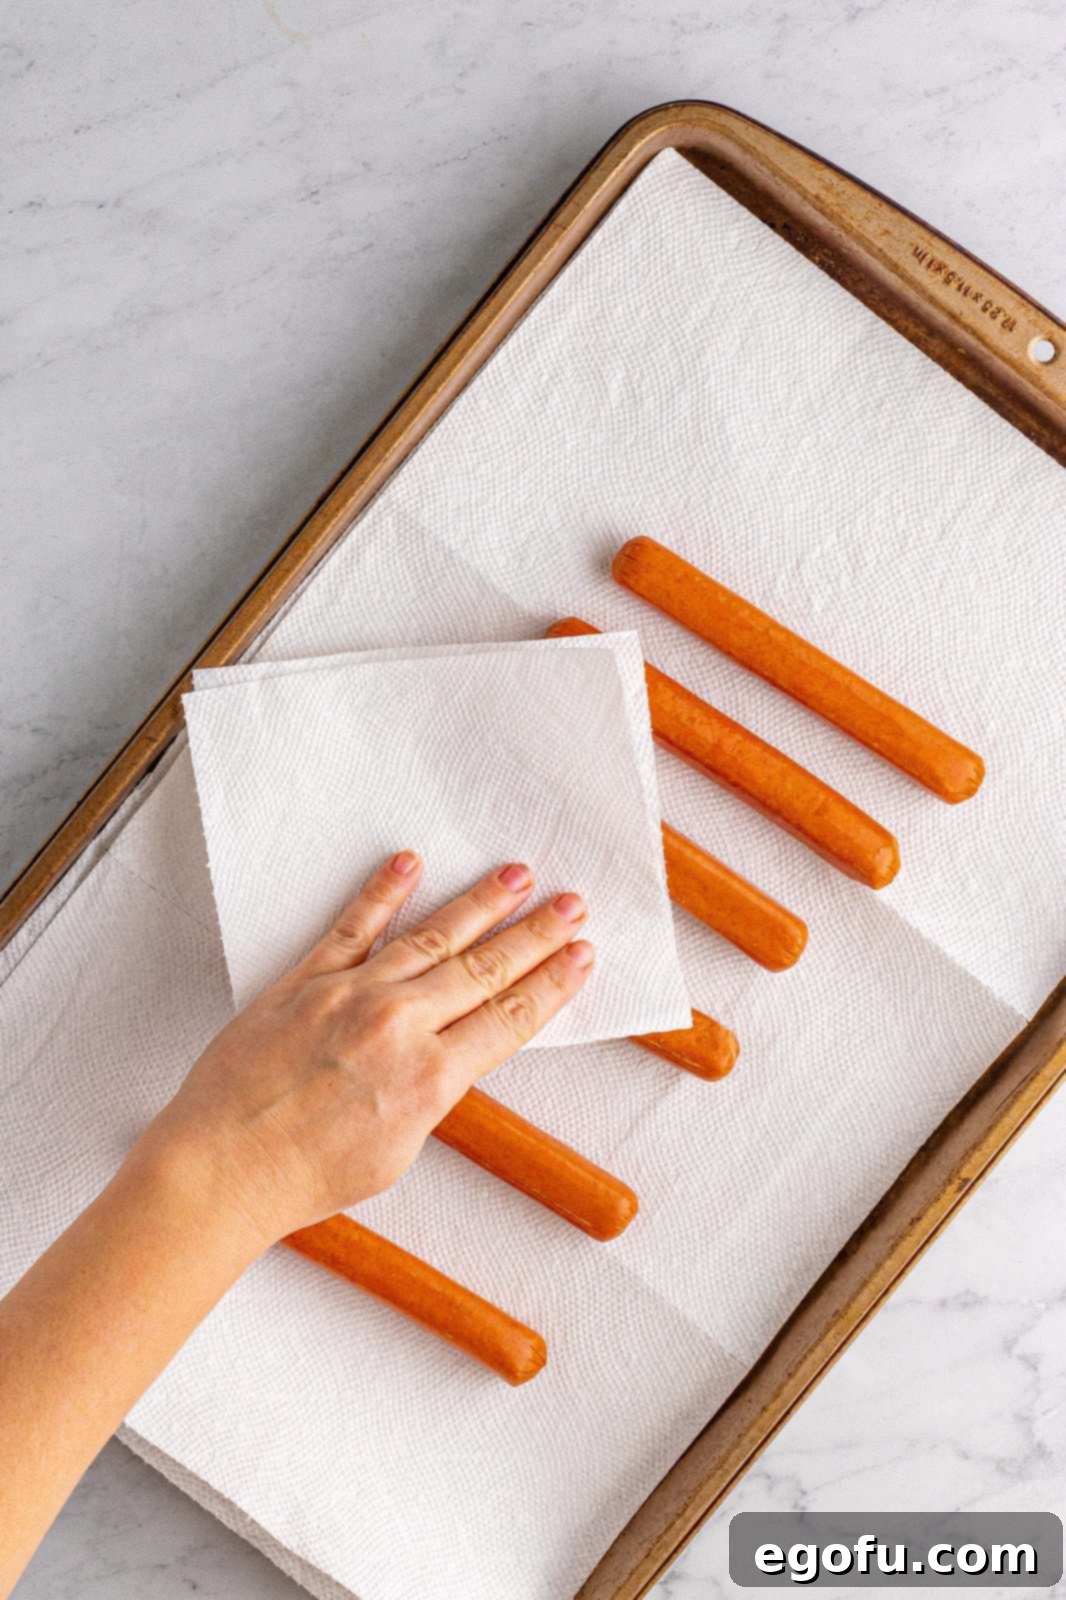
Begin by preheating your oven to 375°F (190°C). Prepare a sheet tray by lining it with parchment paper; this will prevent sticking and make cleanup a breeze. Set the prepared tray aside. Next, take your hot dogs and pat them thoroughly dry with paper towels. Removing excess moisture helps the dough stick better and allows for a crispier finish.
2. Prepare the Crescent Dough
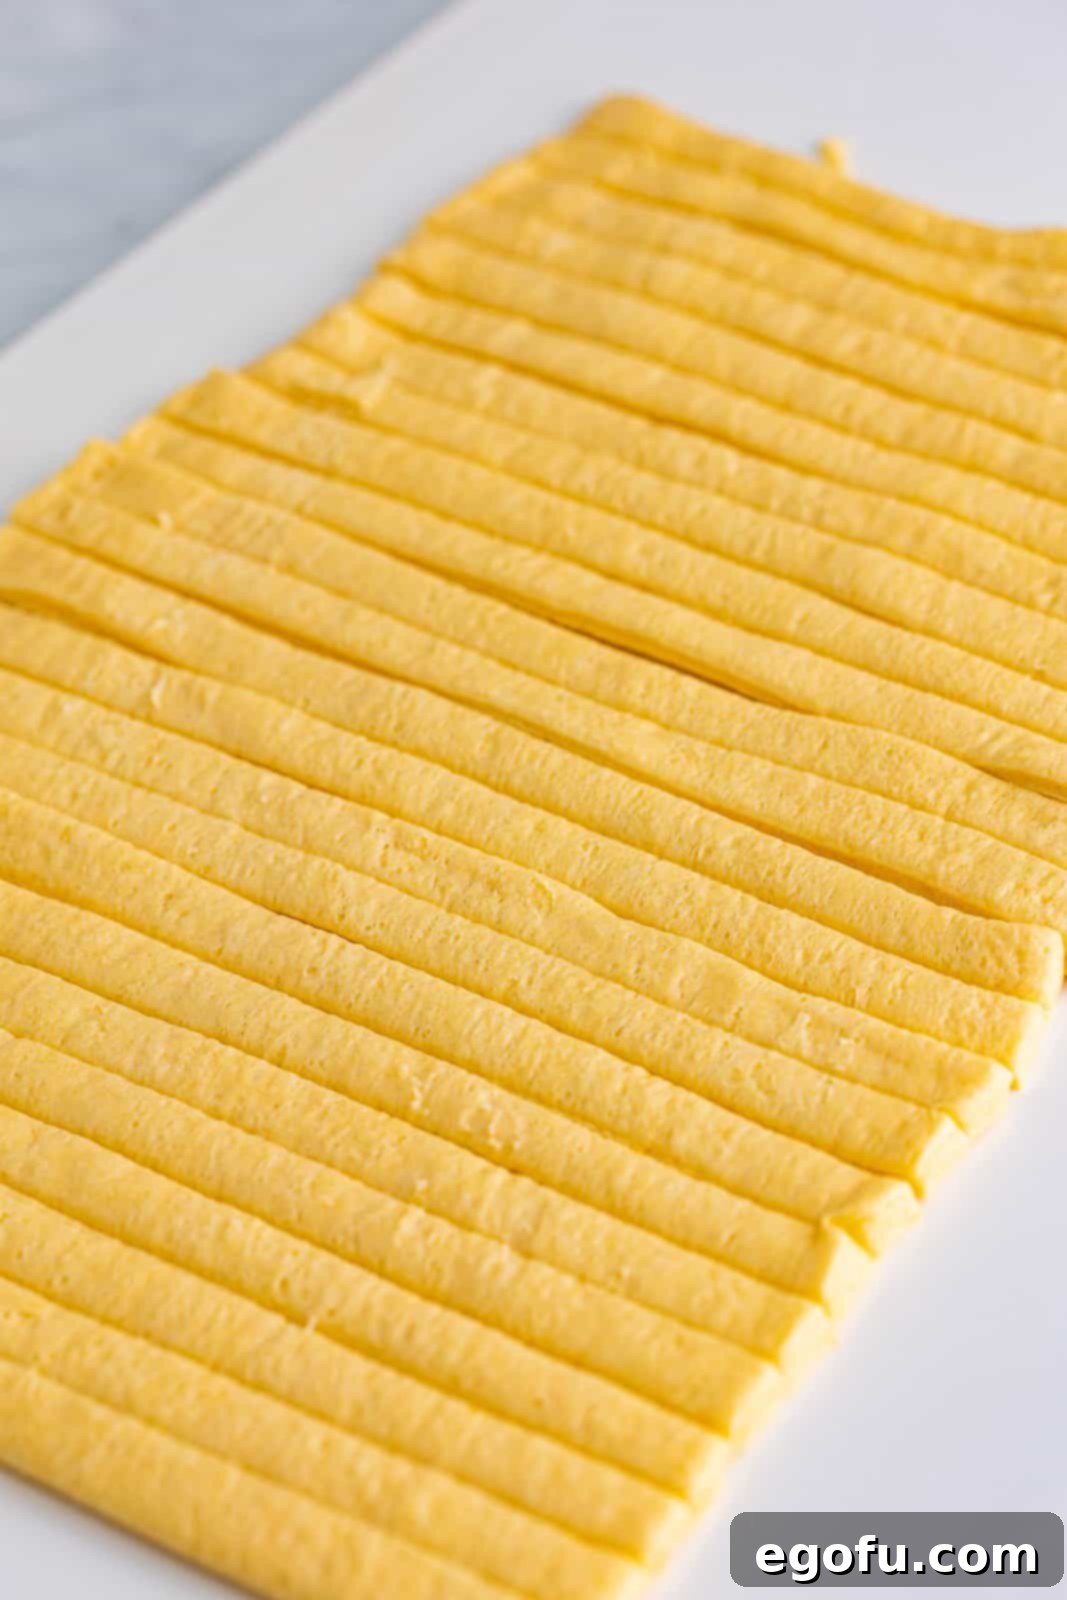
Carefully unroll your sheet of crescent dough onto a clean surface. Using a pizza cutter or a sharp knife, cut the dough into approximately ¼-inch wide strips. Aim for relatively even strips, but don’t worry about perfection – the irregular nature adds to the charm of your mummies!
3. The Art of Wrapping
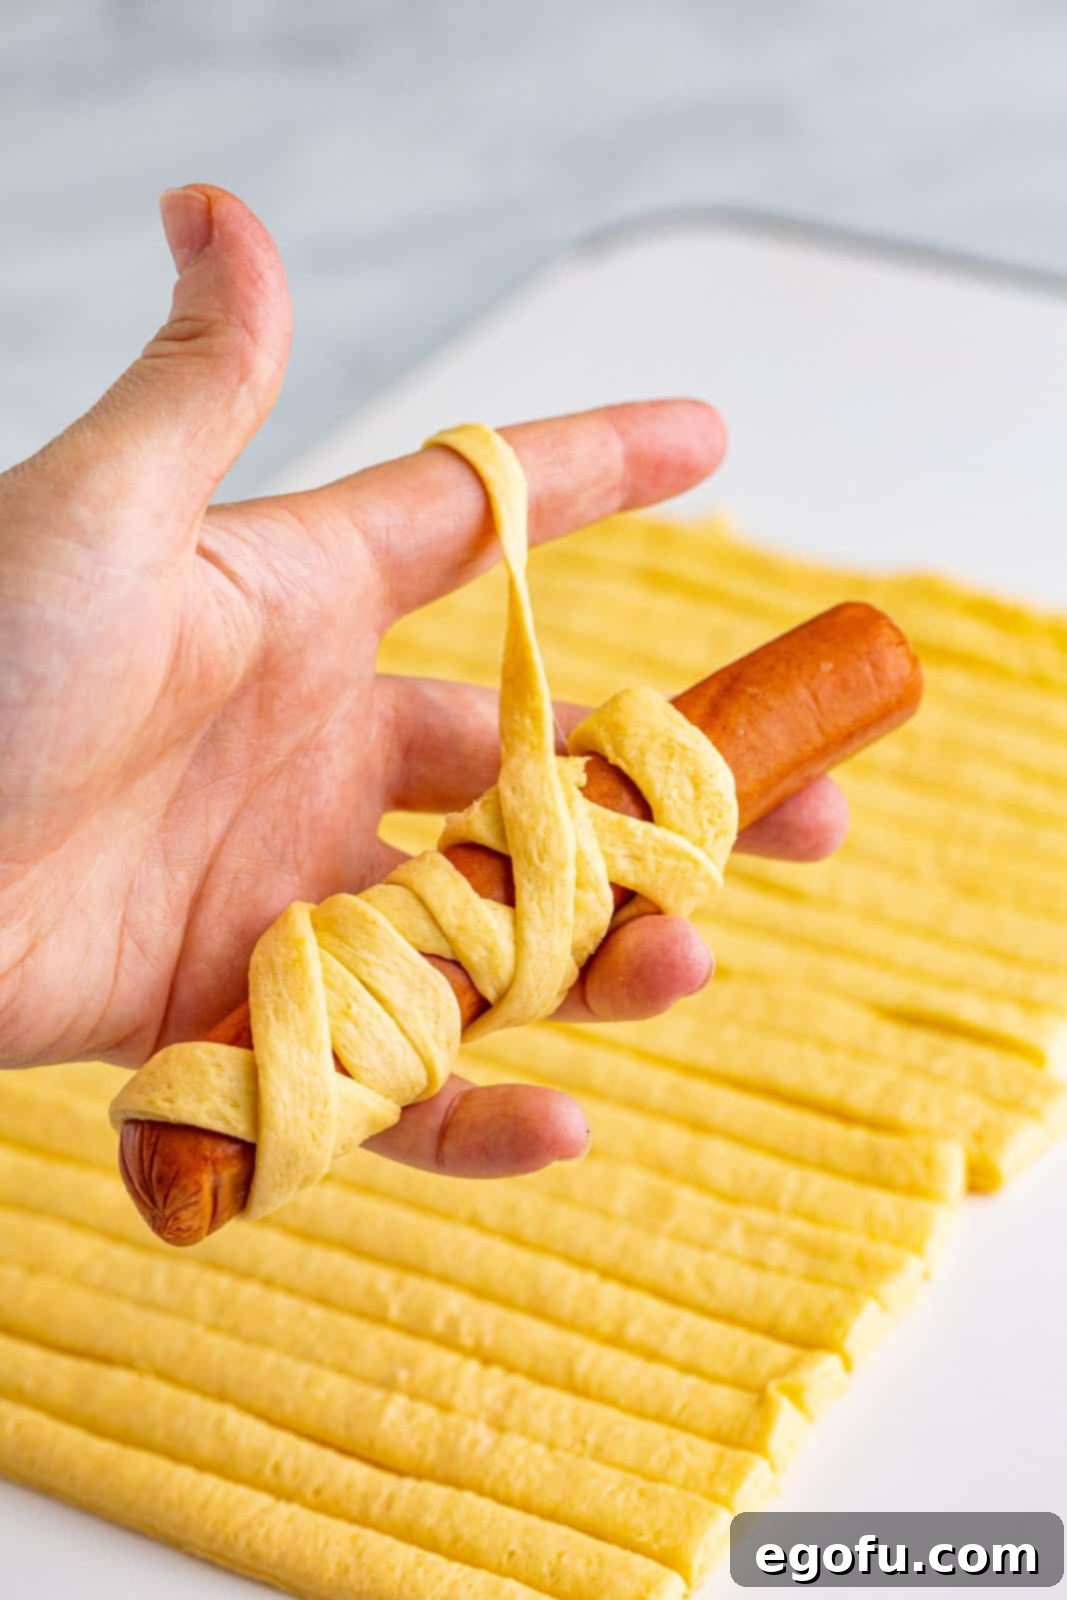
Now for the fun part! Take one hot dog and gently begin wrapping it with the strips of dough. Start from one end and work your way down, slightly stretching the dough as you go. Make sure to leave a small gap near the top for where the “eyes” will be placed later. You can choose to wrap them tightly for a fully covered mummy look, or leave some of the hot dog peeking through for a more distressed, ancient mummy vibe. Aim to tuck the seams and ends of the dough strips onto the underside of the hot dog to create a cleaner appearance once baked.
4. Bake to Golden Perfection
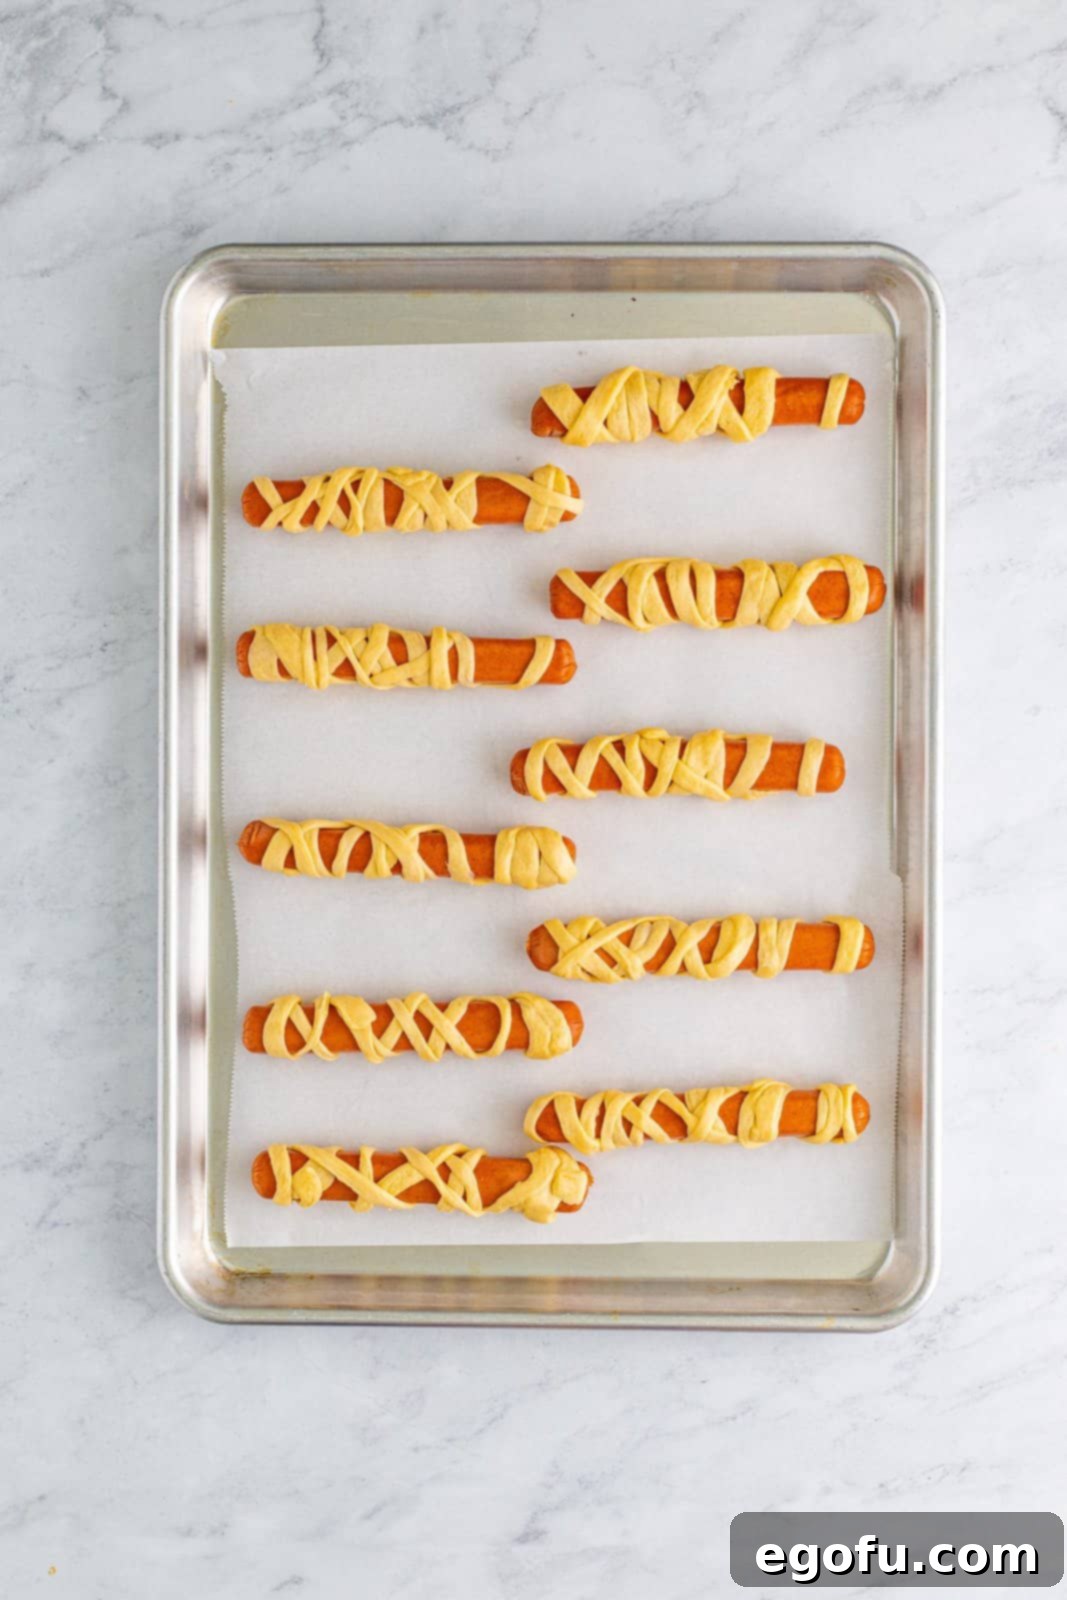
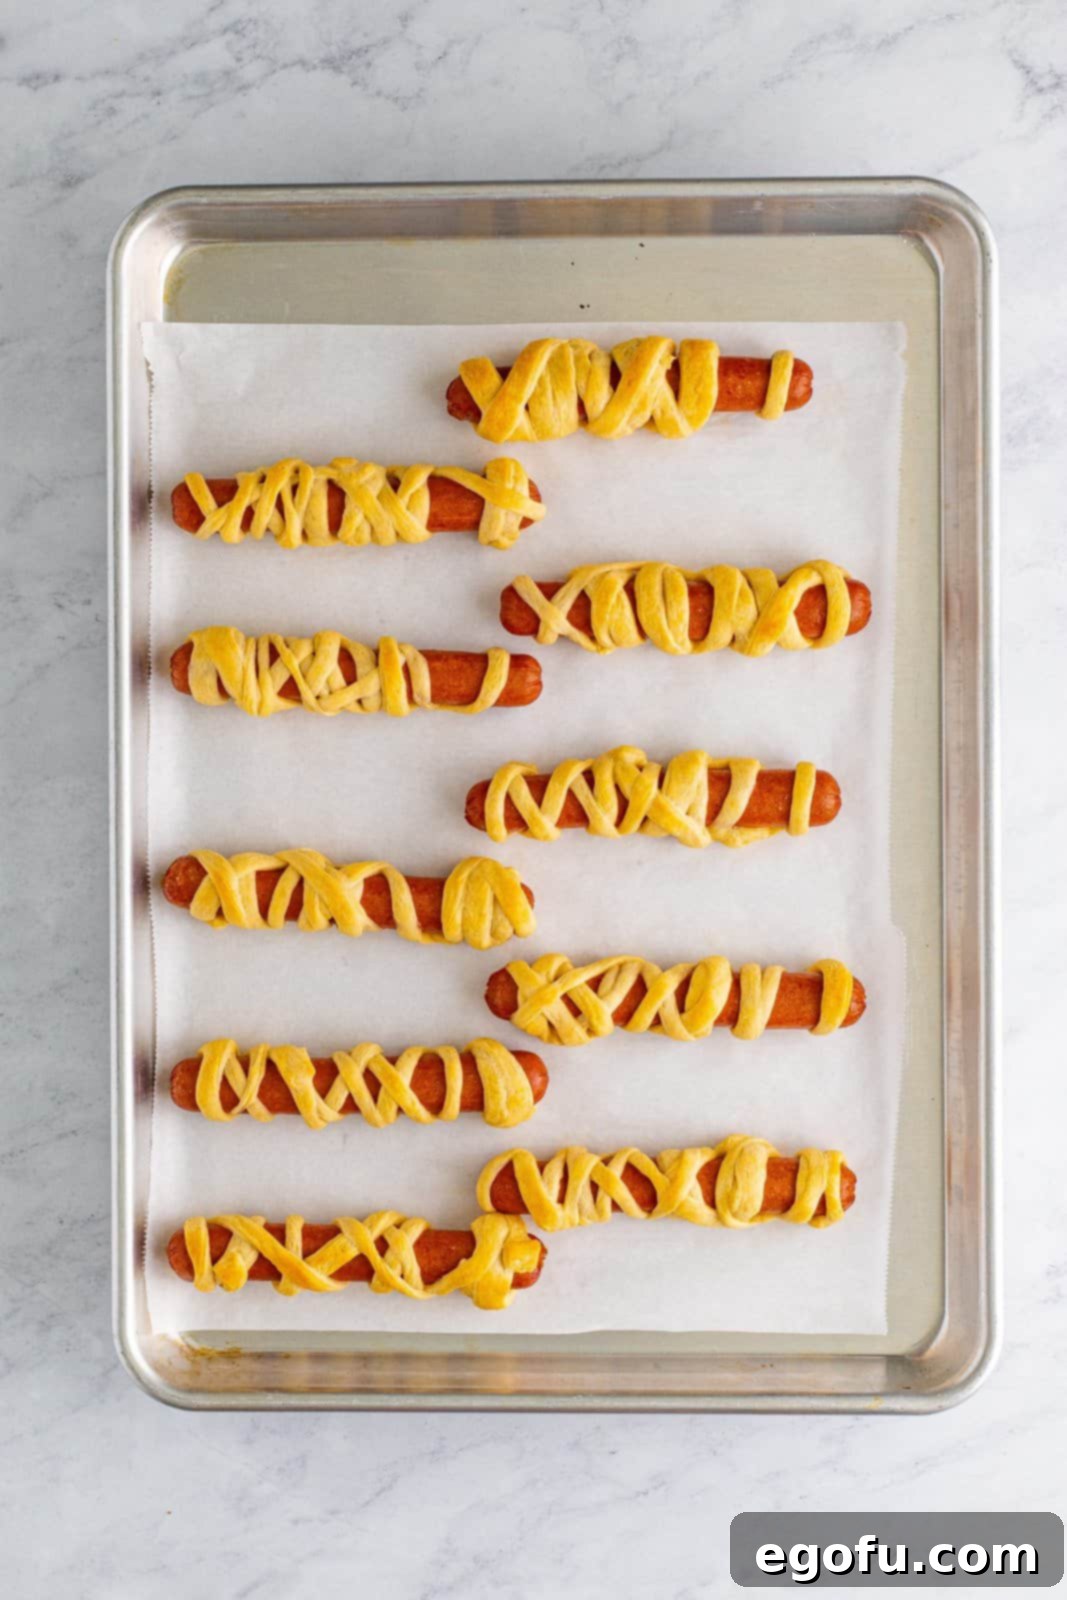
Once all your hot dogs are wrapped like mummies, place them seam-side down onto your prepared parchment-lined sheet tray. Ensure there’s a little space between each mummy dog for even baking. Bake in the preheated oven for approximately 11-13 minutes, or until the crescent dough turns a beautiful golden brown and the hot dogs are heated through and plump. Keep an eye on them to prevent over-browning.
5. Cool Before Decorating
After baking, remove the tray from the oven. It’s important to let the mummy dogs cool on the tray for about 5 minutes. This cooling period allows the dough to set slightly and become easier to handle, making the next step much simpler.
6. Bring Your Mummies to Life!
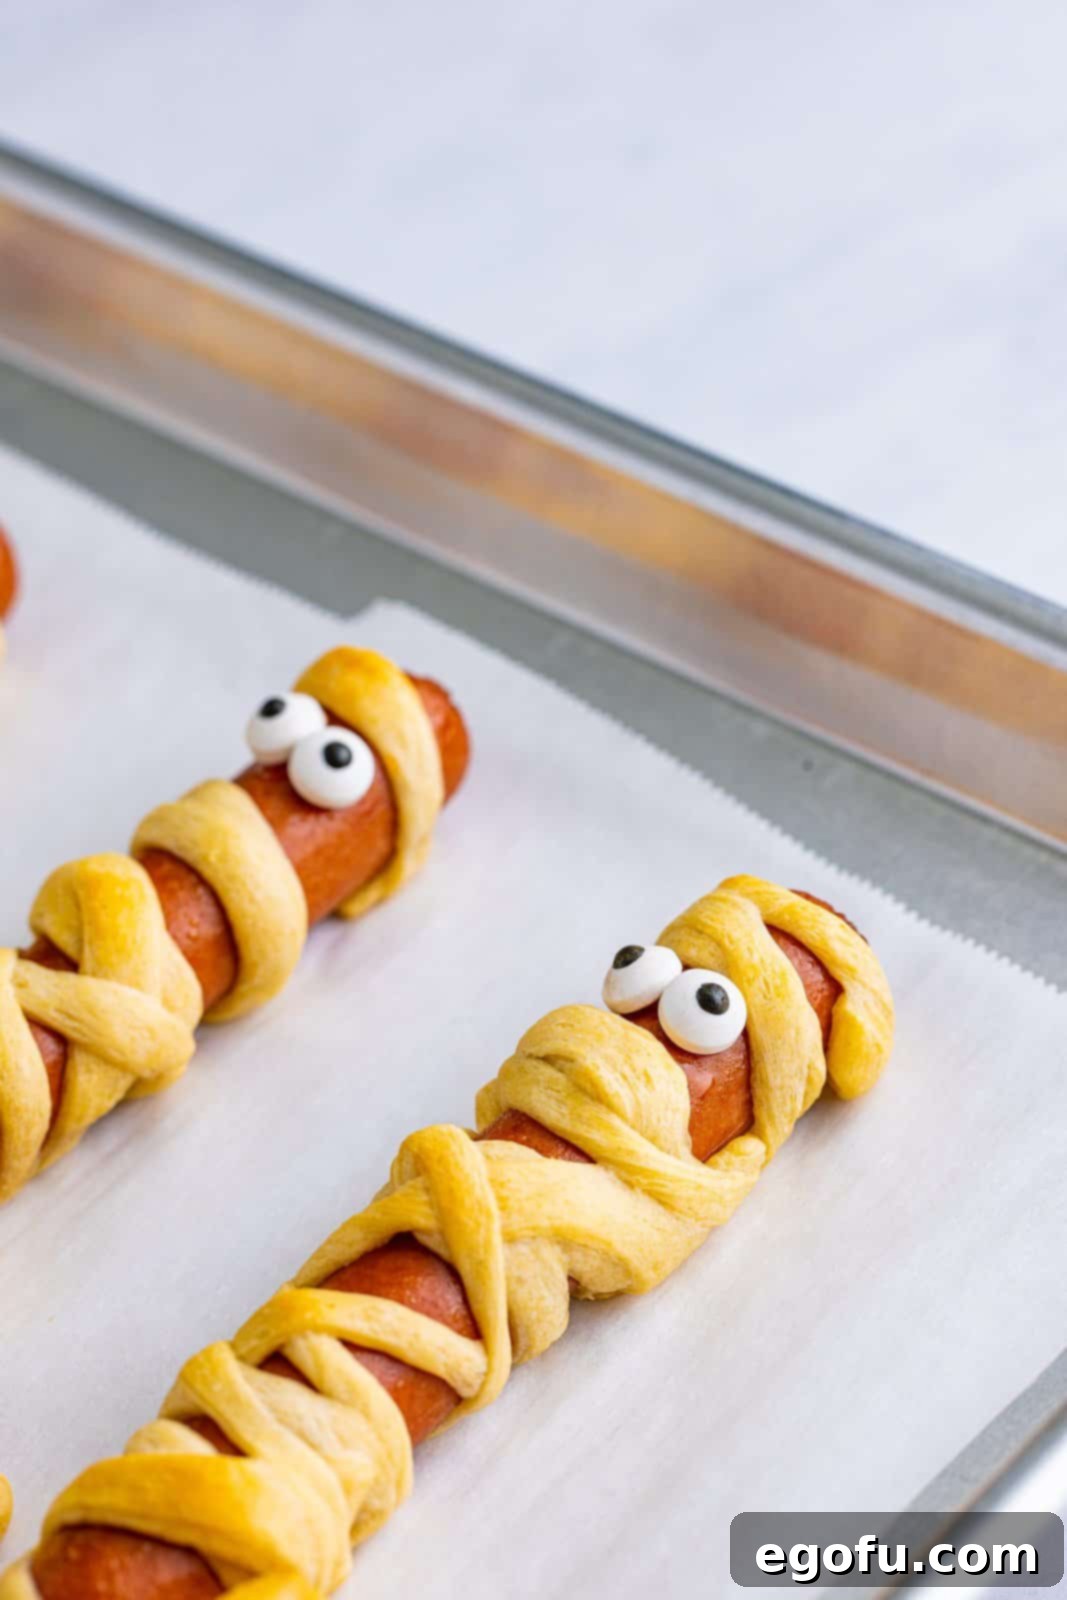
Now for the finishing touch that brings these spooky treats to life! Dab a tiny bit of ketchup (or mustard, mayo, or even melted chocolate if you want to experiment) onto the back of each candy eye. Carefully place the candy eyes onto the exposed hot dog area you left earlier, pressing gently so they stick. Repeat this process for all your mummy dogs. The eyes instantly transform them into adorable, somewhat goofy Halloween characters!
7. Serve and Enjoy!
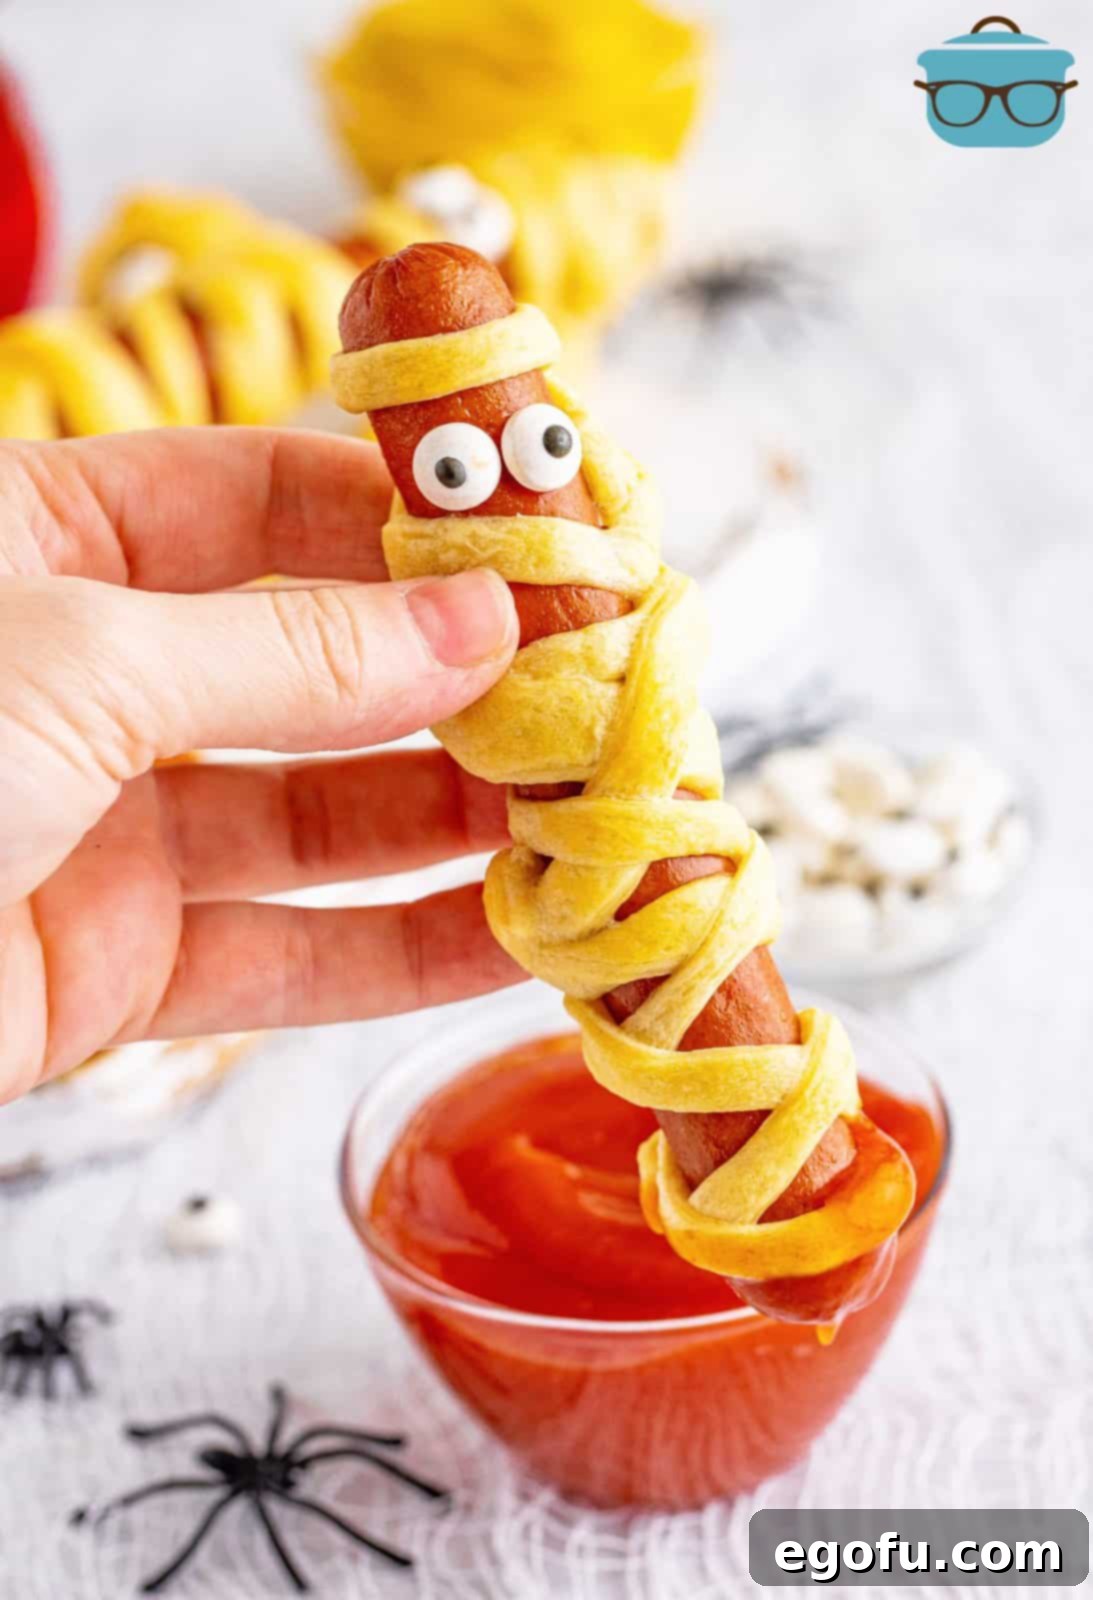
Serve your freshly baked and decorated Halloween Mummy Dogs immediately with a selection of your favorite dipping sauces. They are best enjoyed warm and fresh out of the oven, but they also make a great cold snack.
More Spooktacular Halloween Recipes to Try
If you’ve loved making these Halloween Mummy Dogs, why stop there? The spooky season is the perfect excuse to get creative in the kitchen. Explore these other fantastic Halloween-themed recipes to round out your festive menu or find more fun projects for the family:
- 20 Halloween Recipes
- Halloween White Trash Mix
- Witch Hat Cookies
- Spider Oreos
- Mummy Jalapeno Poppers
- Frankenstein Donuts
- Witches Brew Snack Bags
- Candy Corn Pudding Parfaits
- Graveyard Cups
- Poisoned Apple Jell-O shots
- Mummy Meatloaves
- Hocus Pocus Jell-O Shots
Halloween Mummy Dogs
A quick and easy lunch or dinner recipe, these Halloween Mummy Dogs are an annual tradition and festive meal that everyone absolutely loves!
Pin Recipe
10 minutes
13 minutes
23 minutes
10
Brandie Skibinski
Ingredients
- 10 hot dogs
- 1 sheet crescent roll dough
- 1 teaspoon ketchup (for eyes)
- 20 candy eyes (optional)
- Your favorite dipping sauce
Instructions
- Preheat the oven to 375°F (190°C). Line a sheet tray with parchment paper and set aside.
- Pat the hot dogs dry with paper towels, then set aside.
- Roll out the crescent dough and cut it into ¼ inch strips.
- Wrap each hot dog with the dough strips, gently stretching the dough as you wrap. Be sure to leave a small space for the eyes. You can wrap them to show some of the hot dog or completely cover it. Try to ensure the dough seams are on the underside of the hot dog.
- Place the wrapped hot dogs, seam side down, onto the prepared sheet tray. Bake for 11-13 minutes, or until the dough is golden brown and the hot dogs are warmed through.
- Let the mummies cool on the tray for 5 minutes before decorating.
- Put a small dab of ketchup (or mustard/mayo) on the back of each candy eye and carefully place them onto the hot dog in the designated space. Repeat for all mummies.
- Serve immediately with your favorite dipping sauces and enjoy your spooky treats!
Notes
- If you don’t have candy eyes, you can easily use small dots of mustard or mayonnaise to create the eyes.
- For an extra layer of deliciousness, add cheese! Simply wrap a strip or slice of your favorite cheese around the hot dog before wrapping it with the crescent dough.
- While crescent dough sheets are easiest, regular crescent rolls can be used. Just make sure to firmly seal the perforations before cutting them into strips.
- This recipe is incredibly easy to double or even triple for larger gatherings or parties.
- Get creative with your dipping sauces! Ketchup, mustard, barbecue sauce, ranch, or honey mustard are all fantastic choices.
- Leftover mummy dogs can be stored in an airtight container in the refrigerator for up to three days. For longer storage, they can be frozen for up to 3 months. Reheat in the oven at 350°F (175°C) for best results.
Appetizer, Lunch, Main Course
American
Nutrition
Calories: 191kcal | Carbohydrates: 17g | Protein: 6g | Fat: 12g | Sodium: 490mg | Fiber: 0.001g | Sugar: 2g
Nutritional Disclaimer
“The Country Cook” is not a dietician or nutritionist, and any nutritional information shared is an estimate. If calorie count and other nutritional values are important to you, we recommend running the ingredients through whichever online nutritional calculator you prefer. Calories and other nutritional values can vary quite a bit depending on which brands were used.
Did you make this recipe? Share it on Instagram @thecountrycook and mention us #thecountrycook!
