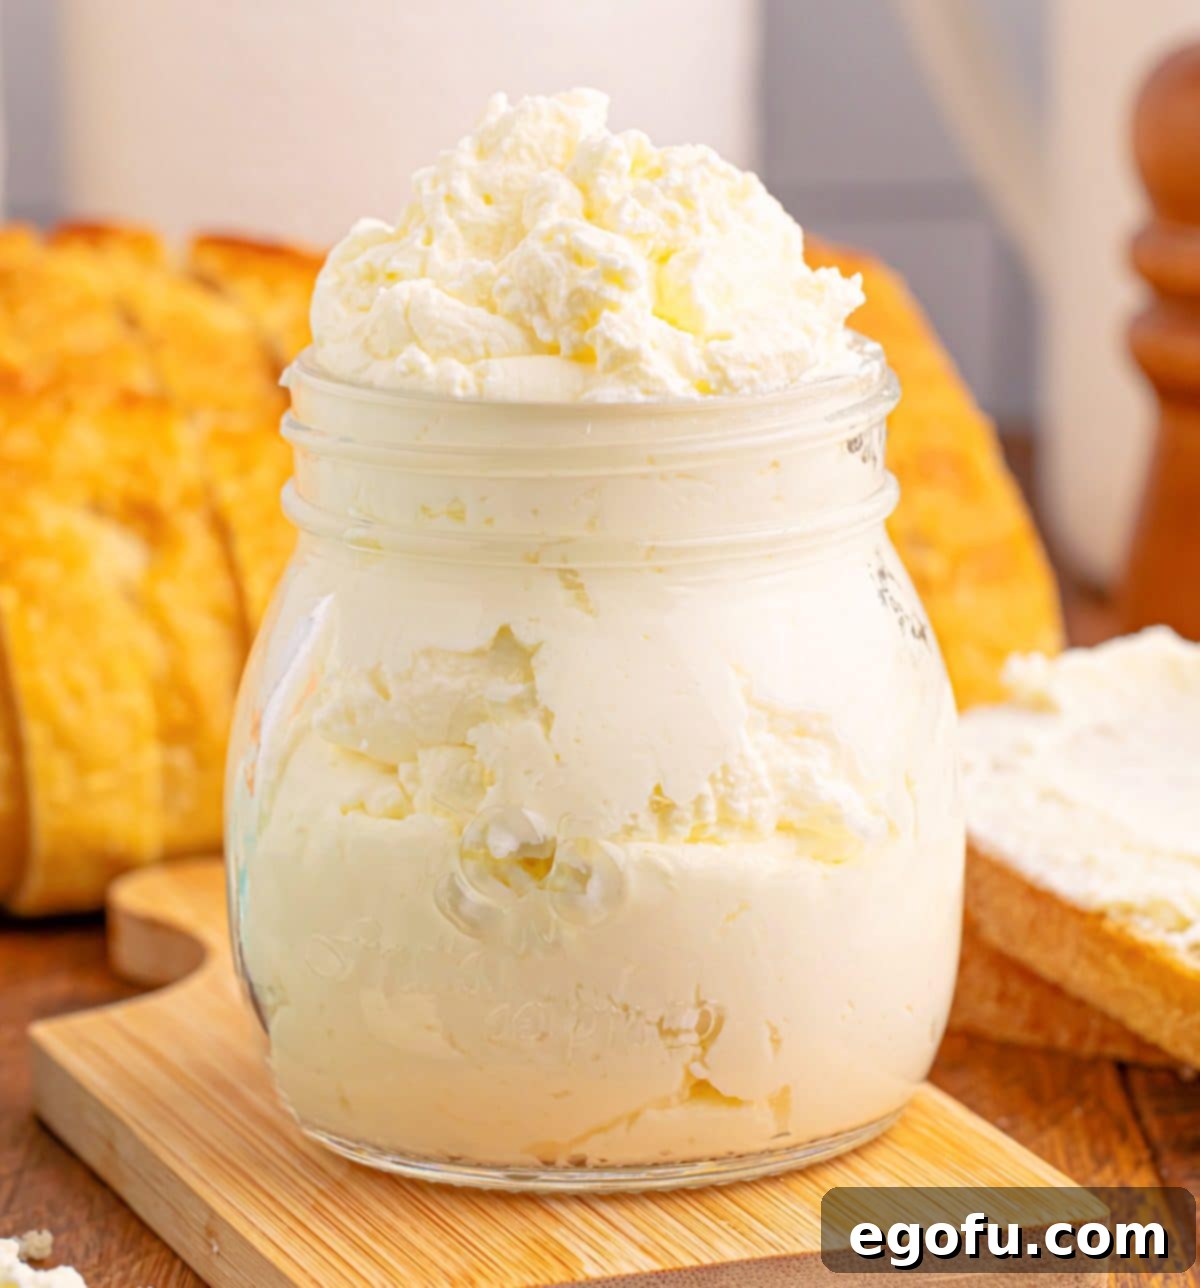
Homemade Whipped Butter: Your Guide to Perfectly Spreadable, Delicious Butter
Imagine a spread so rich, so creamy, and so effortlessly spreadable that it elevates even the simplest slice of toast into a gourmet experience. This isn’t just any butter; it’s **homemade whipped butter**, and it’s incredibly easy to make right in your own kitchen! With just two simple ingredients and a few minutes, you can transform ordinary heavy cream into the most luscious, flavorful, and easily spreadable butter you’ve ever tasted. Say goodbye to struggling with cold, hard butter and hello to a delightful culinary revelation!
The Art of Homemade Whipped Butter: Simple, Delicious, and Effortless
For anyone who appreciates the finer things in life, yet values simplicity, making your own **homemade whipped butter** is a game-changer. If you’ve ever embarked on the journey of making traditional butter, you already know the profound satisfaction of crafting something so fundamental from scratch. The flavor of fresh, homemade butter is unparalleled, a depth and richness that store-bought versions often lack. What makes whipped butter even more special is its sublime texture. By extending the whipping process just a touch beyond when regular butter forms, you achieve an airy, fluffy consistency that glides across warm bread, pancakes, or any dish with remarkable ease.
This process isn’t just easy; it’s genuinely rewarding. The transformation of liquid cream into solid, golden butter is almost magical, and the resulting product is not only superior in taste but also free from the artificial additives and preservatives often found in commercial butter. Once you experience the delight of spreading your own freshly whipped butter, you’ll wonder why you ever settled for anything less. It’s an indulgence that’s surprisingly accessible, guaranteeing you’ll be hooked from the very first bite!
Why Make Your Own Whipped Butter? Beyond Just Taste!
While the superior flavor is often the primary motivator for making **DIY butter**, there are several compelling reasons to embrace the simplicity and joy of crafting your own **creamy whipped butter** at home:
- Unmatched Flavor and Freshness: The taste of homemade butter is vibrant, creamy, and truly fresh, a stark contrast to the often muted flavor of mass-produced options. You control the quality of ingredients, ensuring the purest taste.
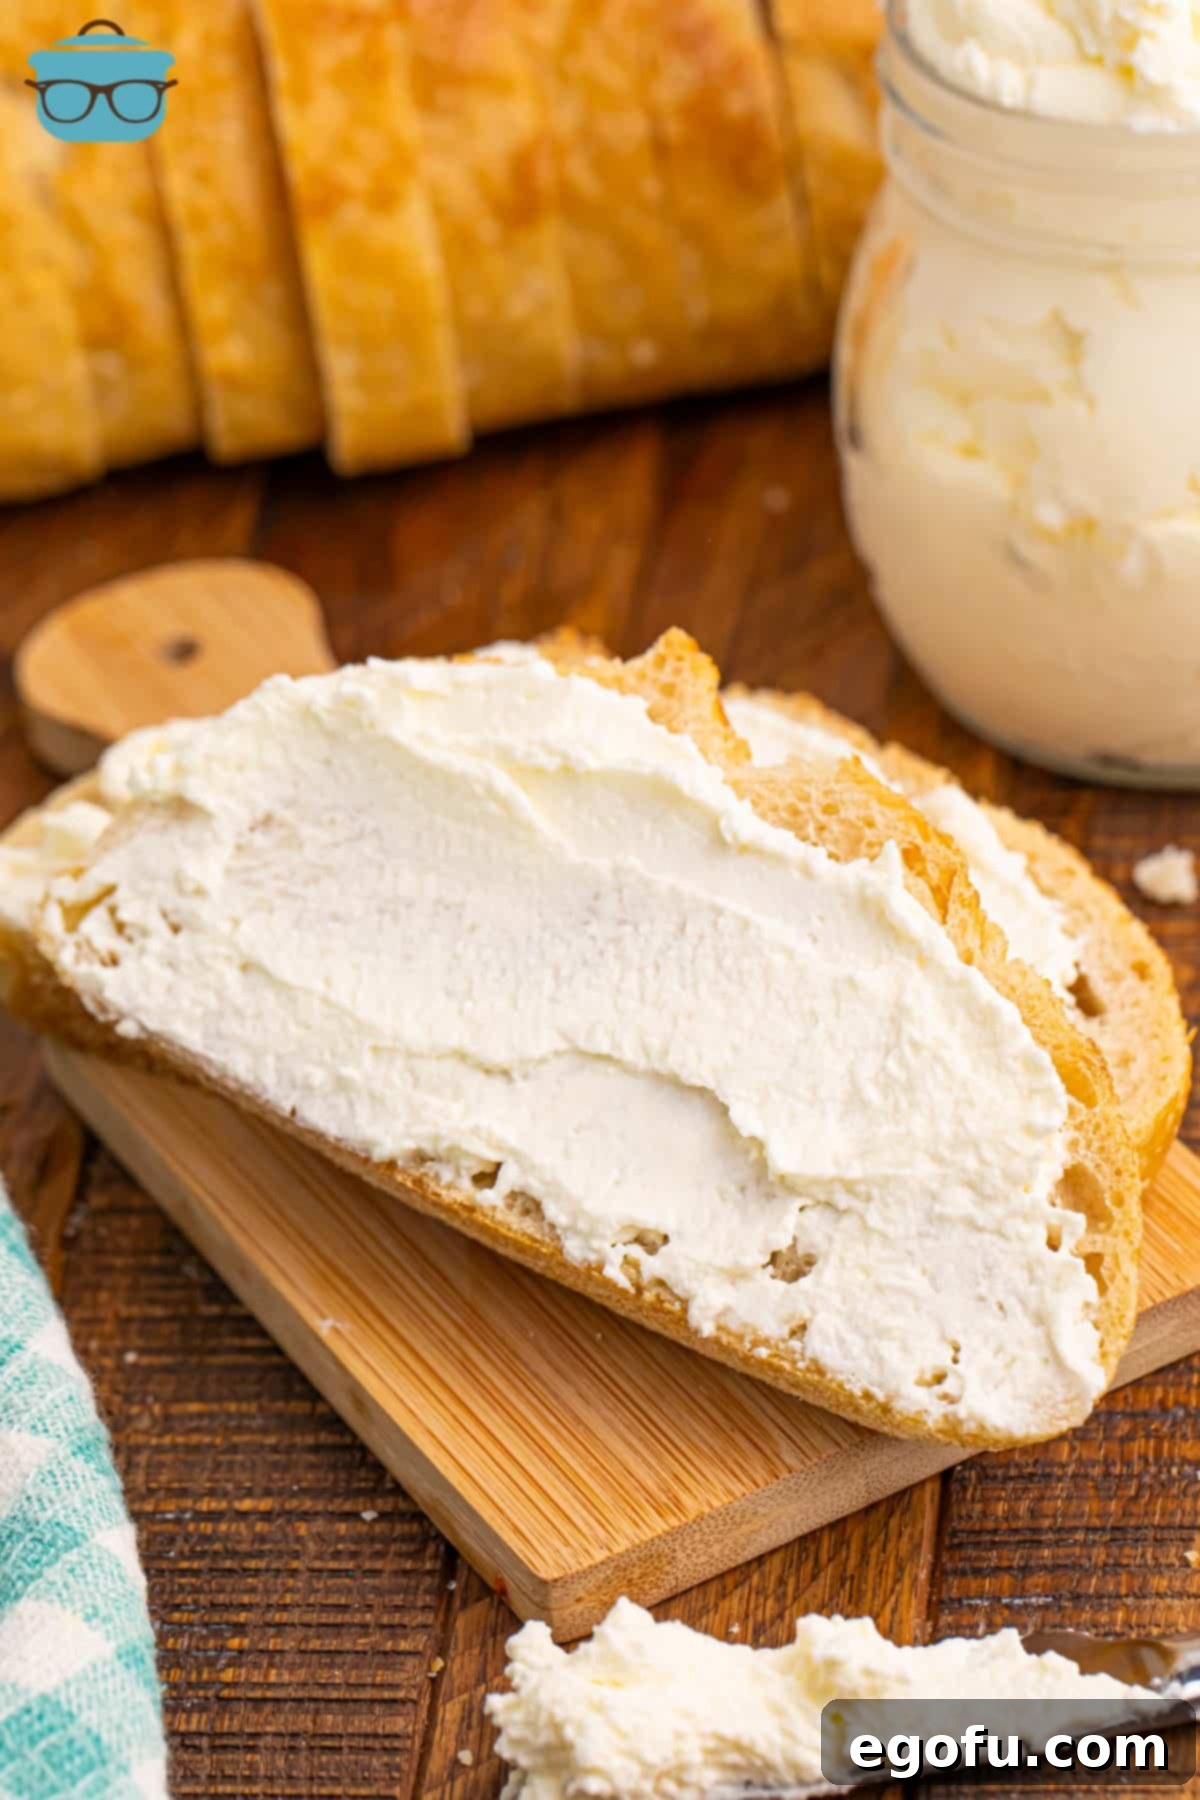
- Superior Spreadability: The “whipped” aspect is key here. By incorporating air, the butter becomes incredibly light and airy, making it effortlessly spreadable straight from the refrigerator. No more tearing your delicate toast!
- Control Over Ingredients: You know exactly what goes into your butter. No mysterious additives, emulsifiers, or unwanted oils. Just pure cream and a touch of salt, if you desire.
- Customization Opportunities: Homemade whipped butter is a blank canvas for flavor. Easily infuse it with herbs, garlic, honey, cinnamon, or even citrus zest to create gourmet spreads tailored to your preferences.
- Cost-Effective: While heavy cream might seem pricey, often, making your own butter can be more economical in the long run, especially if you catch cream on sale or buy in larger quantities.
- Rewarding Experience: There’s a profound satisfaction in creating staple ingredients from scratch. It’s a simple kitchen project that yields impressive results and connects you to your food in a deeper way.
Embrace the simplicity and elevate your culinary creations with this easy homemade staple. Once you experience the difference, there’s no going back!
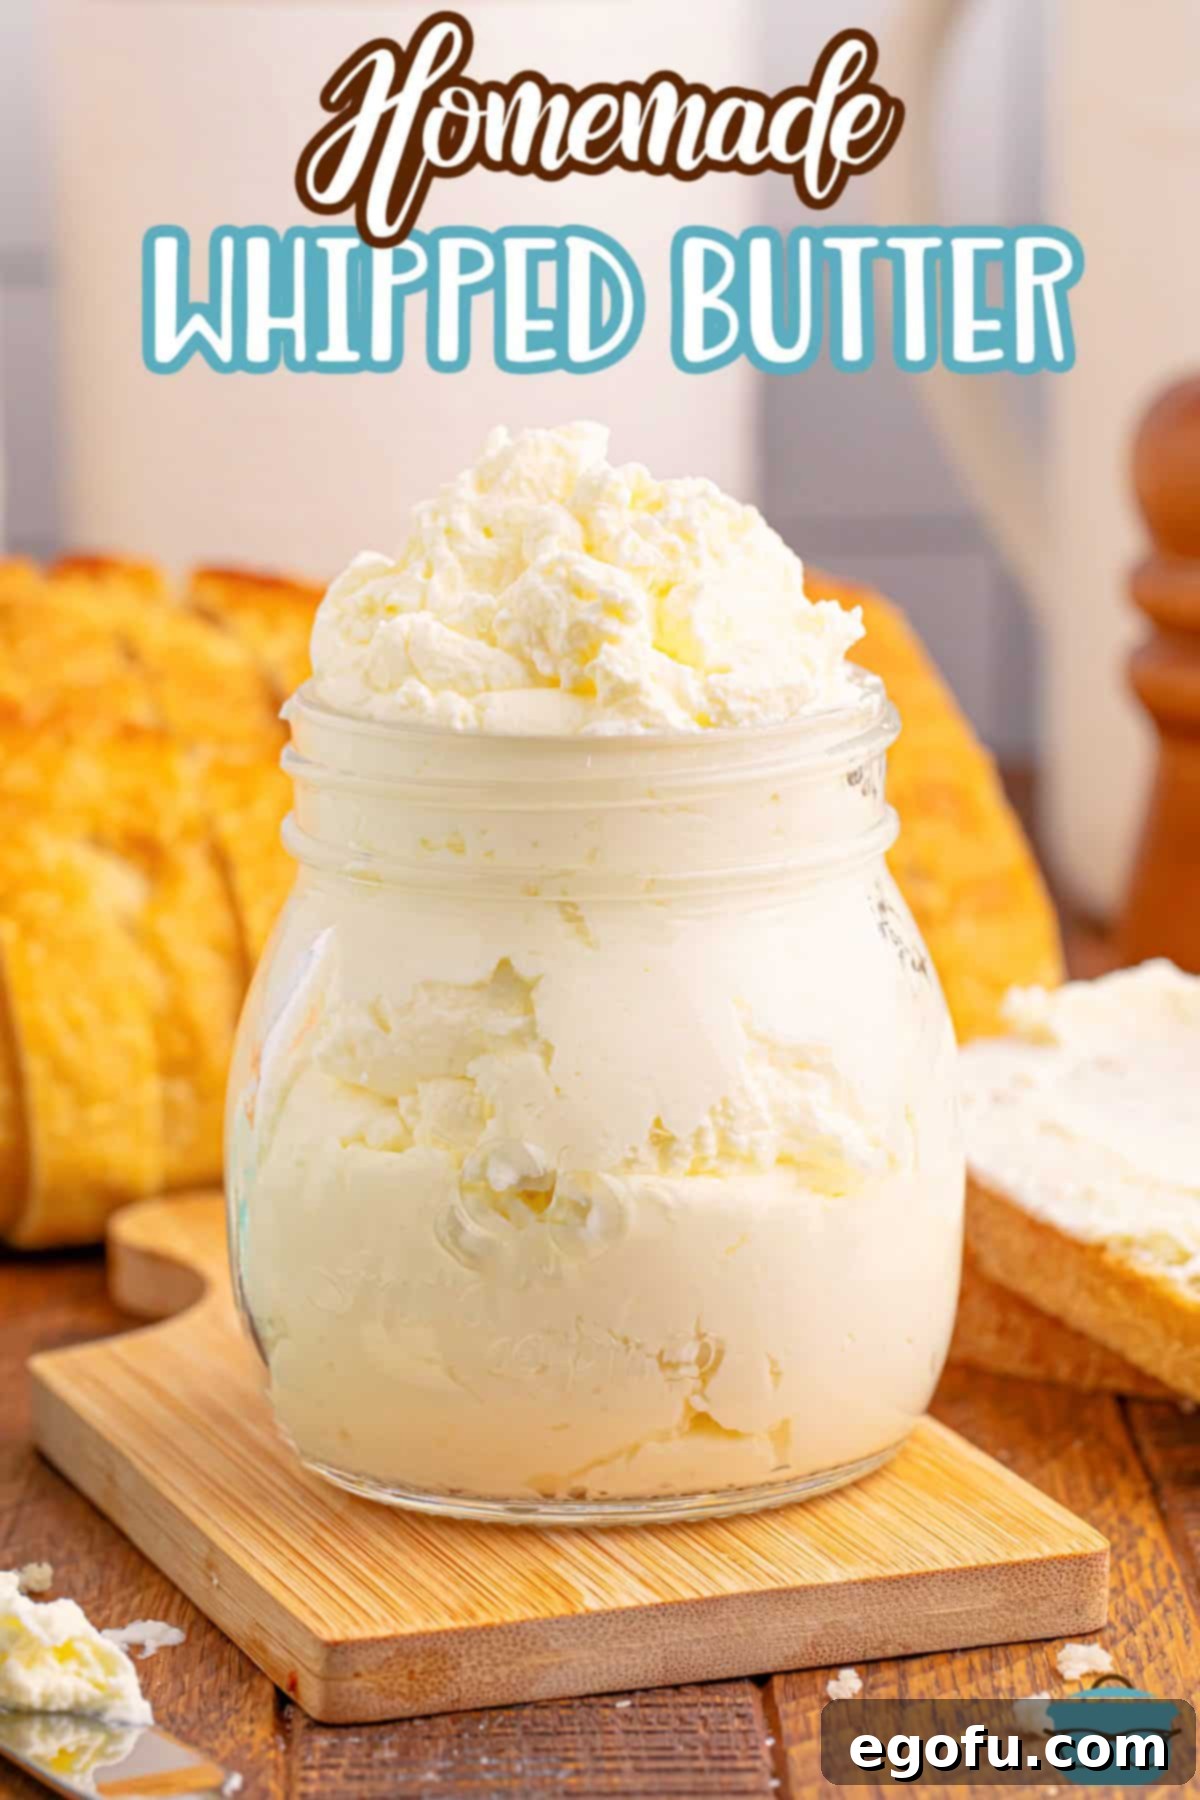
Essential Ingredients for Perfect Whipped Butter
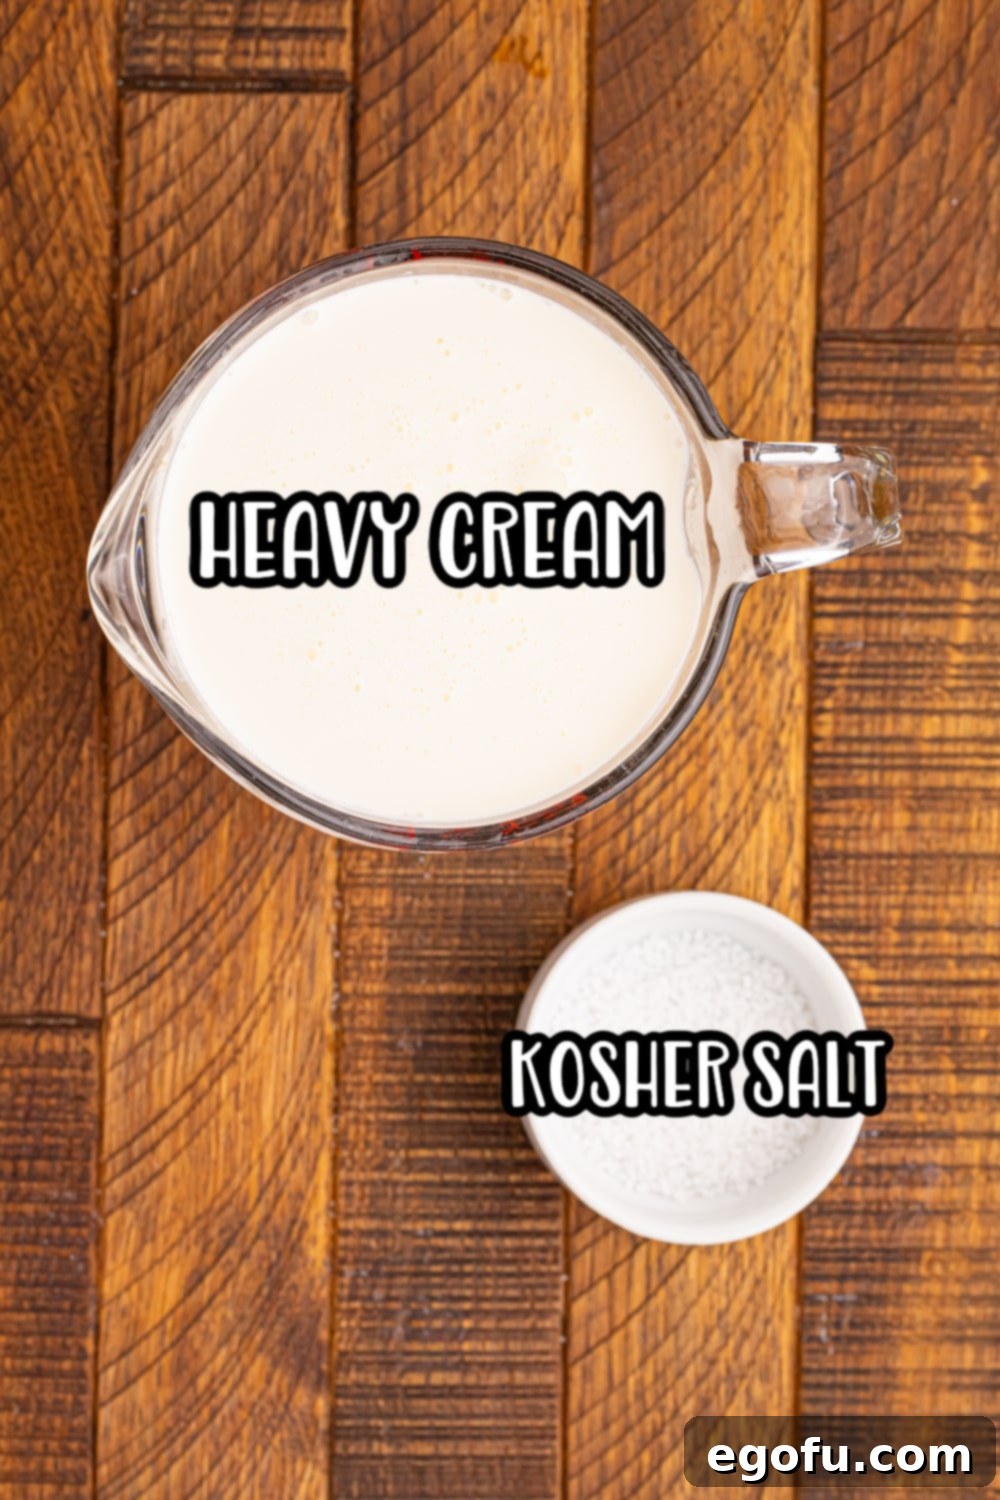
The beauty of this **easy whipped butter recipe** lies in its minimal ingredient list. You only need two core components, but choosing the right ones makes all the difference for achieving that luxurious, fluffy texture and rich flavor:
- Heavy Cream: This is the star of our show. Look for “heavy cream” or “heavy whipping cream.” They are essentially the same product, containing at least 36% milk fat, which is crucial for butter separation. Avoid “half and half” or “light cream” as they simply don’t have enough fat content to churn into butter. For optimal results, ensure your heavy cream is very cold. Chilling your mixing bowl and whisk attachments beforehand can also speed up the process and result in a firmer butter.
- Kosher Salt: A pinch of salt enhances the flavor of the butter beautifully. I highly recommend using kosher salt over iodized table salt. Kosher salt has larger crystals that dissolve nicely and provide a cleaner taste without the metallic aftertaste sometimes associated with iodized salt. Sea salt also works wonderfully, offering a subtle minerality. The amount of salt can be adjusted to your personal preference; start with a small amount and add more if you like a saltier butter. If you prefer unsalted butter for baking or other uses, you can simply omit the salt.
Step-by-Step Guide: How to Make Homemade Whipped Butter
Making your own **fluffy butter** at home is a straightforward process that’s more about patience and observation than complex techniques. Here’s how you can achieve perfect **spreadable butter** every time:
- Prepare Your Equipment: Start with a large, chilled mixing bowl. Metal bowls work best as they retain cold temperatures. If possible, also chill your whisk attachment for your electric stand mixer or hand mixer. This helps the cream whip faster and prevents it from getting too warm.
- Combine Ingredients: Pour your very cold heavy cream into the chilled bowl. Add the desired amount of kosher salt.
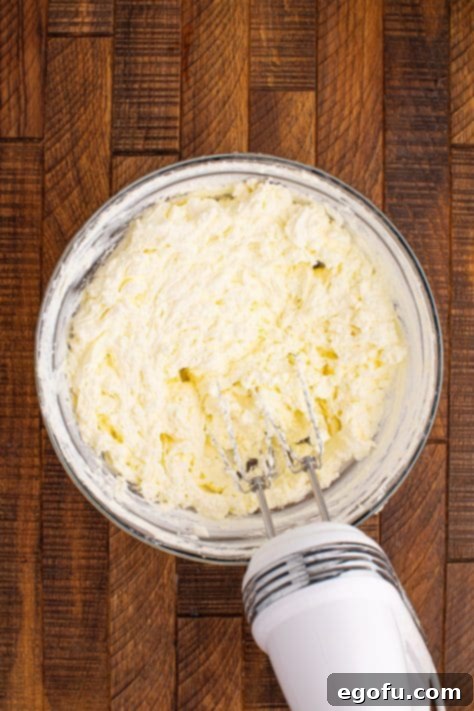
- Begin Whipping: Using an electric or stand mixer fitted with the whisk attachment, begin beating the cream and salt on medium-high speed. Initially, the cream will start to thicken, forming soft peaks, then stiff peaks, much like when you make whipped cream.
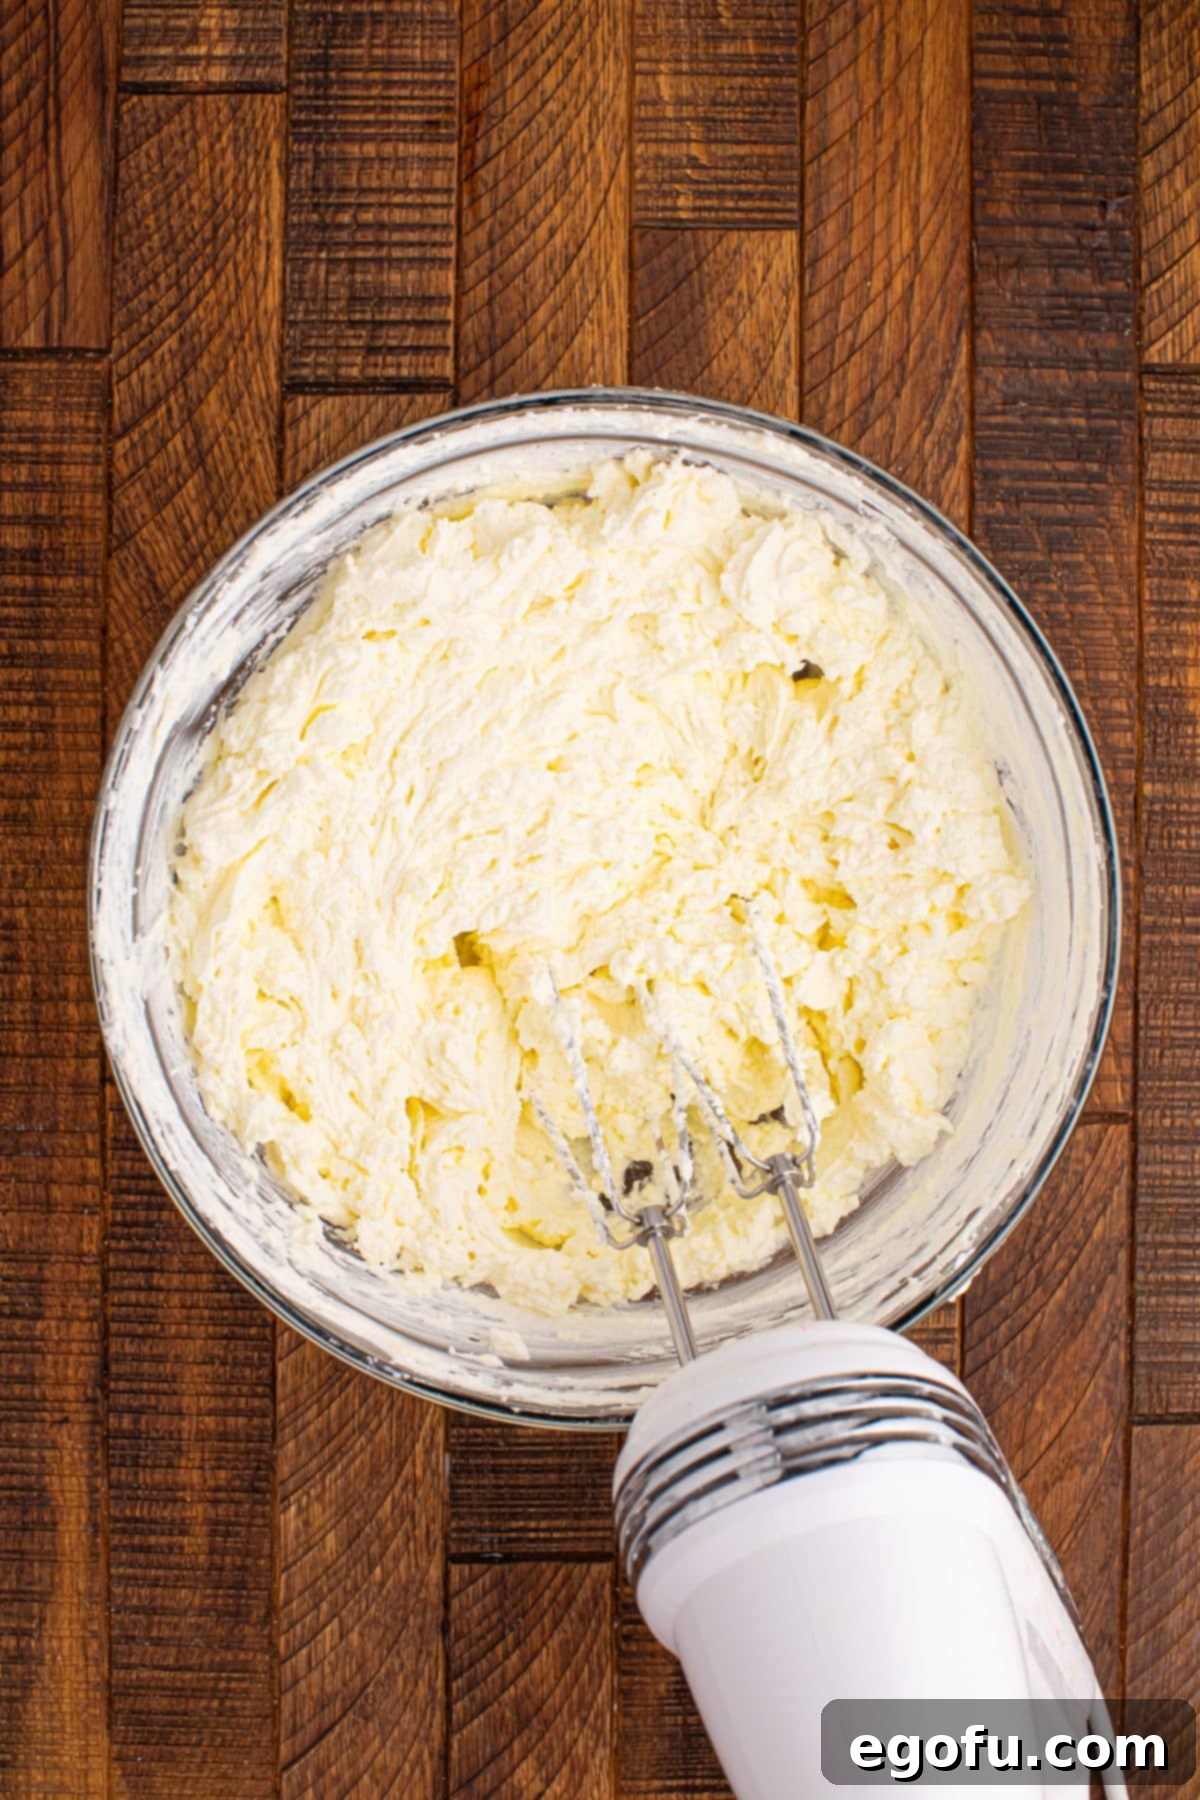
- Observe the Transformation: Continue beating. The cream will eventually separate into two distinct components: solid butterfat and liquid buttermilk. You’ll notice the mixture becoming grainy, then curdling, and finally, the butterfat will clump together, leaving a milky liquid at the bottom of the bowl. This is the magical moment of butter formation!
- Achieve Whipped Texture: For standard butter, you would stop as soon as the butter separates. However, for **whipped butter**, continue to beat for another minute or two beyond the point of initial separation. This extra whipping incorporates air, creating that wonderfully light and fluffy texture that makes it so easily spreadable. Be careful not to over-whip excessively, as it can make the butter greasy. Stop as soon as the desired fluffy consistency is achieved, resembling a very thick, airy frosting.
- Drain Buttermilk (Optional but Recommended for Storage): If you plan to store the butter for more than a few days, it’s a good idea to drain off the excess buttermilk. You can do this by pouring the mixture through a fine-mesh sieve lined with cheesecloth. Gently press out any remaining liquid. You can save the buttermilk for baking or other recipes!
- Rinse the Butter (Optional for Longer Storage): For even longer shelf life, you can “wash” the butter. Place the butter in a bowl of ice-cold water and knead it gently with a spoon or your hands to remove any residual buttermilk. Change the water a few times until it runs clear. This step is more critical for traditional, firm butter; for whipped butter, which is typically consumed more quickly, it’s often skipped.
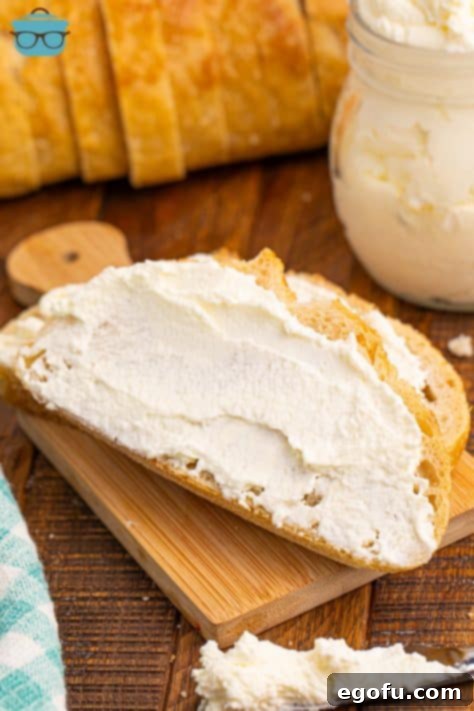
- Serve or Store: Once your **homemade whipped butter** reaches its perfect fluffy consistency, it’s ready to be served. Spread it generously over warm buns, toast, waffles, pancakes, bagels, or muffins. If you’re not using it all immediately, transfer it to an airtight container and store it in the refrigerator.
Enjoy the rich, creamy, and effortlessly spreadable delight of your very own **homemade whipped butter**!
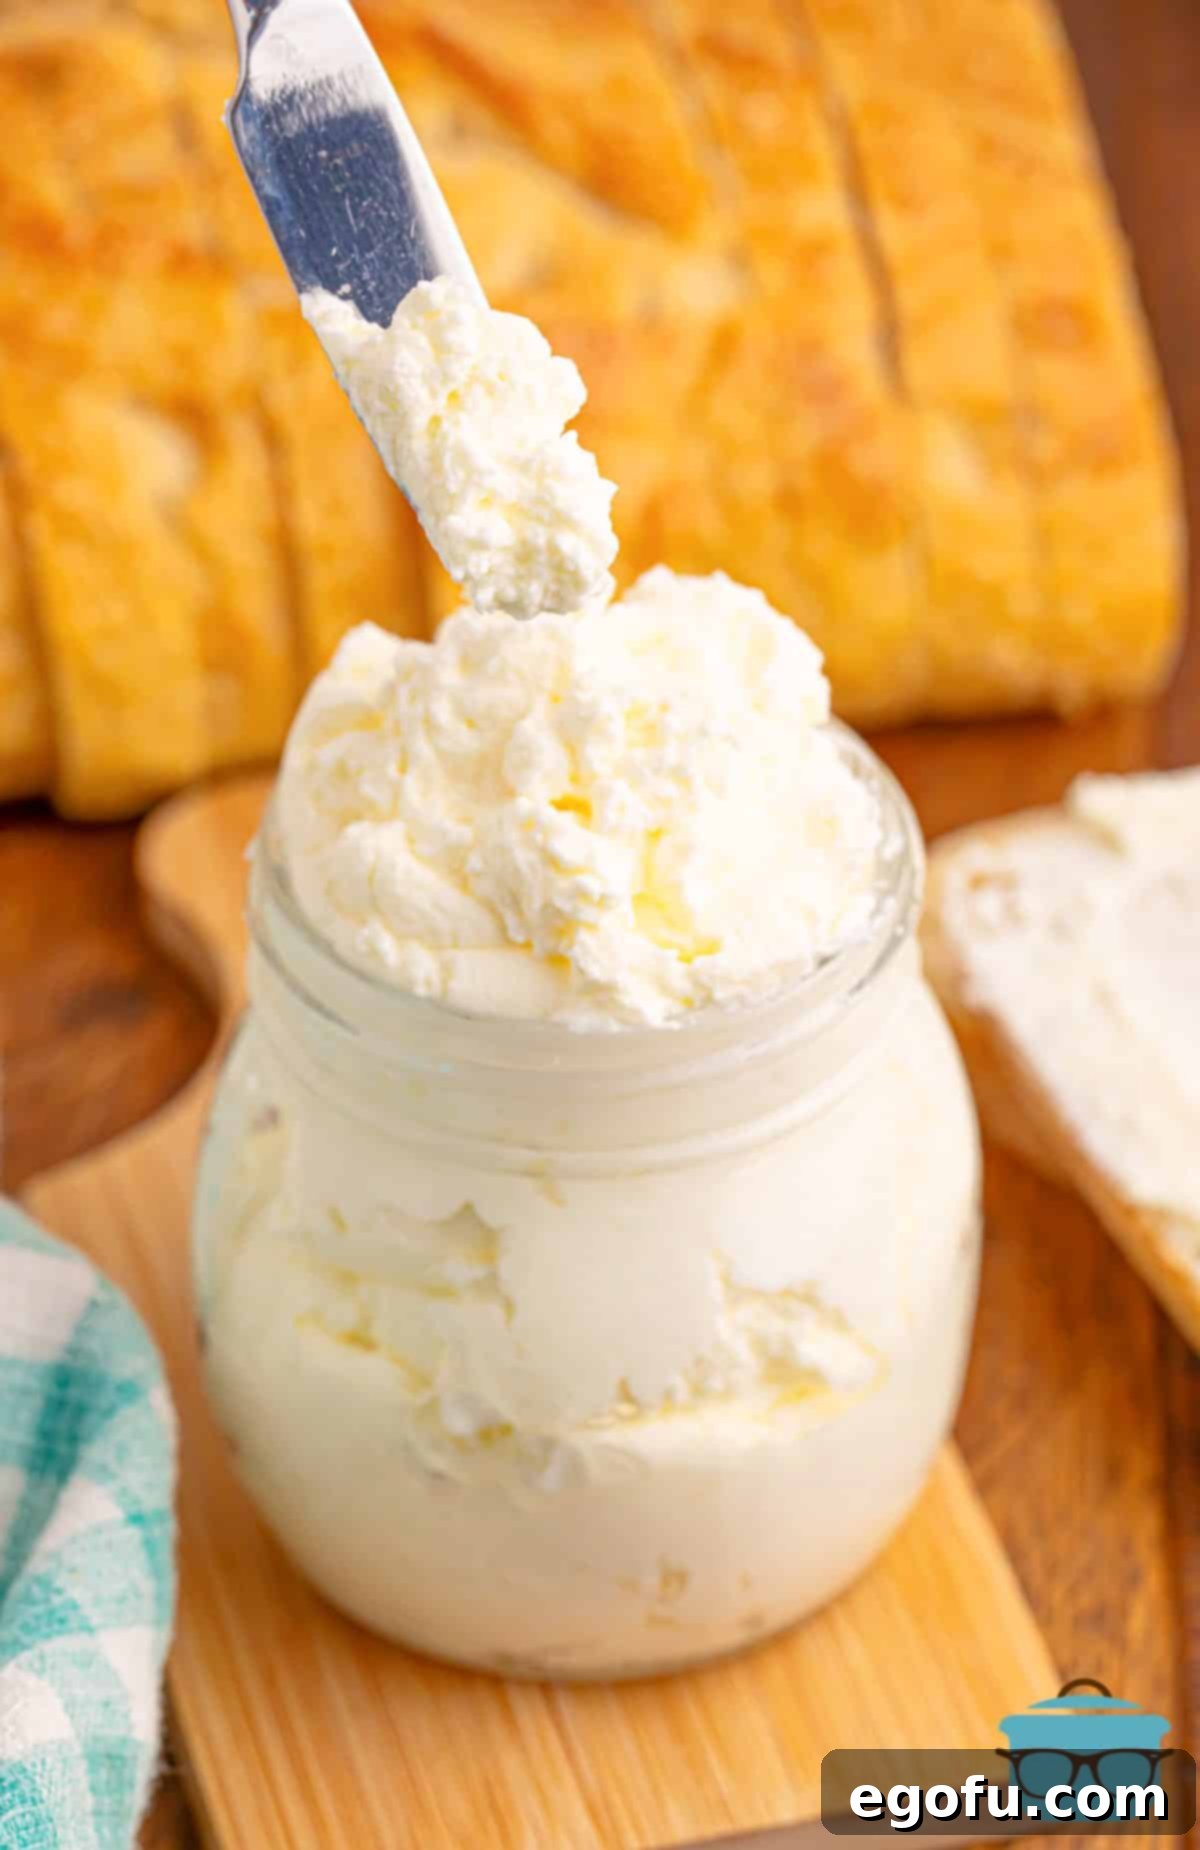
Versatile Serving Suggestions for Your Whipped Butter
Once you’ve made your own batch of **homemade whipped butter**, the possibilities for enjoying its luxurious texture and rich flavor are endless. This isn’t just for breakfast; it’s a versatile condiment that can enhance a multitude of dishes:
- Breakfast & Brunch Staples:
- Breads and Pastries: Spread it generously on warm homemade bagels, crusty artisan bread, fluffy croissants, or simple toast.
- Pancakes and Waffles: Dollop it on stacks of buttermilk waffles or pancakes. It melts beautifully, adding an extra layer of richness.
- French Toast & Muffins: Perfect for French Toast Sticks or freshly baked cornbread muffins.
- Savory Dishes:
- Potatoes: Swirl a spoonful into hot mashed potatoes for an instant upgrade in creaminess and flavor.
- Roasted Vegetables: Melt it over steamed or roasted vegetables like green beans, asparagus, or corn on the cob.
- Grilled Meats: A dollop of plain or herb-infused whipped butter on a freshly grilled steak or chicken breast adds moisture and incredible flavor.
- Creative Uses:
- Compound Butters: Easily mix in fresh herbs (chives, parsley, dill), minced garlic, honey, cinnamon, or even citrus zest to create flavored compound butters for various culinary applications.
- Sandwiches & Wraps: Use it as a base spread for sandwiches for added moisture and flavor.
Its naturally creamy and light texture means it integrates seamlessly into both sweet and savory recipes, making it a must-have in your kitchen.
Frequently Asked Questions About Homemade Whipped Butter
What should I use this whipped butter on?
The beauty of **homemade whipped butter** is its versatility! Its light, airy texture and rich flavor make it perfect for a wide array of dishes. It’s fantastic on homemade bagels, warm breads (like English muffin bread or any loaf), fluffy waffles, and classic pancakes. Don’t stop there! Try it on French Toast Sticks, warm cornbread muffins, or even on top of creamy mashed potatoes for an extra touch of richness. It’s also a superb base for creating flavored compound butters with herbs or spices.
What’s the best cream for making butter?
To ensure successful butter making, you absolutely need heavy cream. It’s also often labeled as “heavy whipping cream.” These terms refer to cream with a high milk fat content, typically 36% or higher. This high fat content is essential for the fat globules to coalesce and form butter. Do not use half and half, light cream, or whipping cream with a lower fat percentage, as they will not churn into butter correctly, if at all.
What do I do if my whipped butter hardens in the fridge?
It’s completely normal for butter to harden when it gets cold. Even whipped butter, with its airy texture, will firm up in the refrigerator. To restore its delightful spreadability, simply let it soften at room temperature for about 20-30 minutes before you plan to use it. If you’re in a hurry, you can refer to my post on How to Soften Butter Quickly for additional tips that don’t involve a microwave. It’s important to avoid microwaving butter as it can melt unevenly, creating hot spots and compromising its delicate whipped texture.
How do I store Homemade Whipped Butter?
Proper storage is key to keeping your **homemade whipped butter** fresh and delicious. Store it in an airtight container in the refrigerator. When stored correctly, it will typically last for 2-3 weeks. For longer storage, you can also freeze whipped butter. Place it in a freezer-safe, airtight container or tightly wrap it in plastic wrap and then foil. It can be frozen for up to 3-4 months. Thaw it in the refrigerator overnight before bringing it to room temperature for serving.
Exploring Variations: Elevate Your Whipped Butter
While classic salted whipped butter is a delight, don’t shy away from experimenting with flavors. Whipped butter is an excellent canvas for creating unique compound butters that can perfectly complement various dishes:
- Sweet Variations:
- Honey Cinnamon Whipped Butter: Blend in a tablespoon or two of honey and half a teaspoon of ground cinnamon (per cup of cream used) for a sweet, warm spread. This is heavenly on toast, pancakes, or sweet potato dishes.
- Maple Pecan Whipped Butter: Add maple syrup and finely chopped toasted pecans. A touch of vanilla extract can enhance this flavor profile.
- Citrus Zest Whipped Butter: Incorporate the finely grated zest of an orange, lemon, or lime for a bright, refreshing butter, perfect for scones or fish.
- Savory Variations:
- Garlic Herb Whipped Butter: Mix in minced fresh garlic (about 1-2 cloves per cup of cream) and a tablespoon of finely chopped fresh herbs like parsley, chives, rosemary, or thyme. This is divine on steaks, roasted vegetables, or garlic bread.
- Spicy Chili Whipped Butter: A pinch of red pepper flakes or a dash of your favorite hot sauce can give your butter a spicy kick, wonderful for corn on the cob or grilled chicken.
- Smoked Paprika Whipped Butter: Add smoked paprika for a rich, earthy flavor that pairs well with grilled meats and potatoes.
Always taste and adjust the seasonings to your preference. The beauty of homemade is complete control!
Craving More Delicious Recipes?
If you love the idea of creating simple, flavorful additions to your meals, explore these other fantastic recipes:
- Texas Roadhouse Cinnamon Honey Butter
- Raspberry Honey Butter
- Garlic Herb Butter
- Butter Dip (a.k.a. Butter Swim) Biscuits
- Butter Swim Yeast Rolls
- Garlic Butter Swim Biscuits
- Potato Rolls
- Dinner Rolls
- Air Fryer Butter Swim Biscuits
- Brioche Buns
- Homemade White Bread
- Cinnamon Whipped Cream
- Homemade Nacho Cheese Sauce
Homemade Whipped Butter Recipe
Discover how incredibly easy it is to make your own delightful Homemade Whipped Butter! You only need 2 simple ingredients to create the most delicious and easily spreadable butter that will elevate any meal.
Prep Time: 10 minutes
Total Time: 10 minutes
Servings: 6 servings
Author: Brandie Skibinski
Pin Recipe
Ingredients
- 1 cup cold heavy cream (or heavy whipping cream)
- ¼ teaspoon kosher salt (adjust to taste)
Instructions
Add 1 cup cold heavy cream and ¼ teaspoon kosher salt to a large, chilled mixing bowl. Using an electric or stand mixer with a whisk attachment, beat on medium-high speed until the cream thickens and becomes fluffy. Continue whipping just a bit longer than you would for regular butter, until it reaches an airy, whipped texture. Stop immediately once this consistency is achieved to prevent overworking the butter.

Once the butter is whipped to your desired consistency, it’s ready to use. Spread it generously over warm buns, toast, waffles, pancakes, bagels, or muffins for an unparalleled taste and texture. If not using immediately, store the butter in an airtight container in the refrigerator until ready to enjoy.

Notes
- For detailed answers to common questions, ingredient substitutions, and troubleshooting tips, please refer to the Frequently Asked Questions and ingredient list sections earlier in this article.
- For longer storage, you can optionally drain and rinse any residual buttermilk from the butter, though for whipped butter often consumed quickly, this step is less critical.
Course: Condiments, Side Dish
Cuisine: American
Nutrition Facts (Estimate per serving)
- Calories: 135 kcal
- Carbohydrates: 1g
- Protein: 1g
- Fat: 14g
- Sodium: 108mg
- Sugar: 1g
Nutritional Disclaimer
“The Country Cook” is not a dietician or nutritionist, and any nutritional information shared is an estimate. If calorie count and other nutritional values are important to you, we recommend running the ingredients through whichever online nutritional calculator you prefer. Calories and other nutritional values can vary quite a bit depending on which brands were used.
Conclusion: The Simple Pleasure of Homemade Whipped Butter
There’s a unique satisfaction that comes from creating something so essential and delicious from scratch. Making your own **homemade whipped butter** is not just a culinary task; it’s an experience that elevates everyday meals. From the moment you witness the heavy cream transform into golden, fluffy butter, to the first time it effortlessly glides across your warm toast, you’ll appreciate the simple elegance and superior quality of this DIY staple.
Whether you’re looking for a healthier alternative, seeking to impress guests with gourmet additions, or simply craving the freshest, most spreadable butter possible, this recipe delivers. It’s a testament to how two simple ingredients, combined with a little effort, can yield extraordinary results. So, grab your heavy cream, prepare your mixer, and embark on your journey to discover the unparalleled joy of homemade whipped butter. Your taste buds—and your breakfast table—will thank you!
