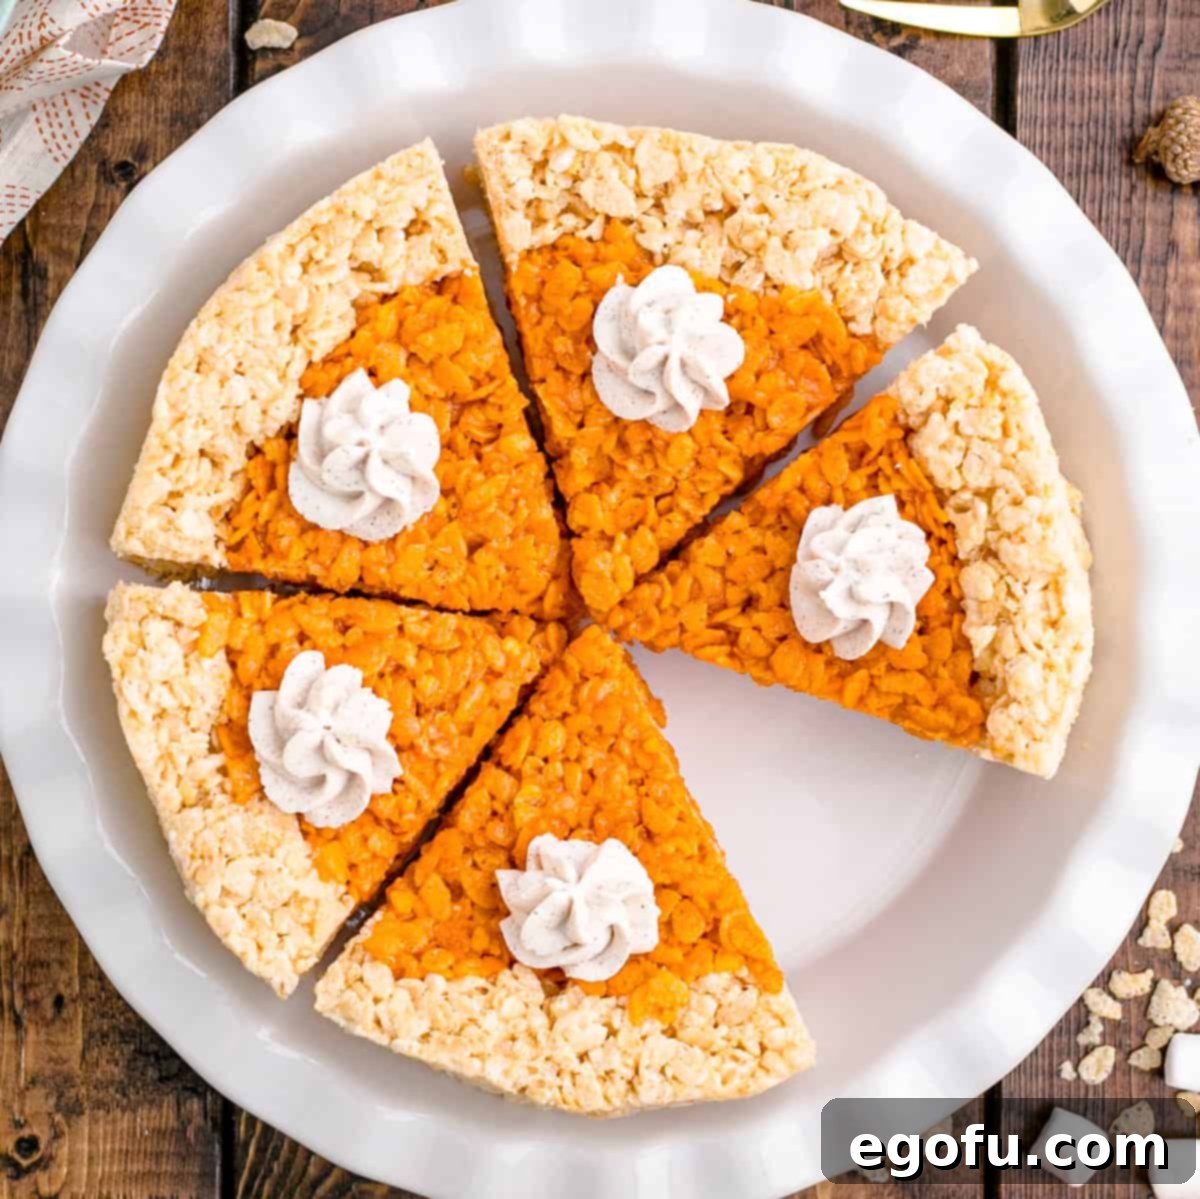
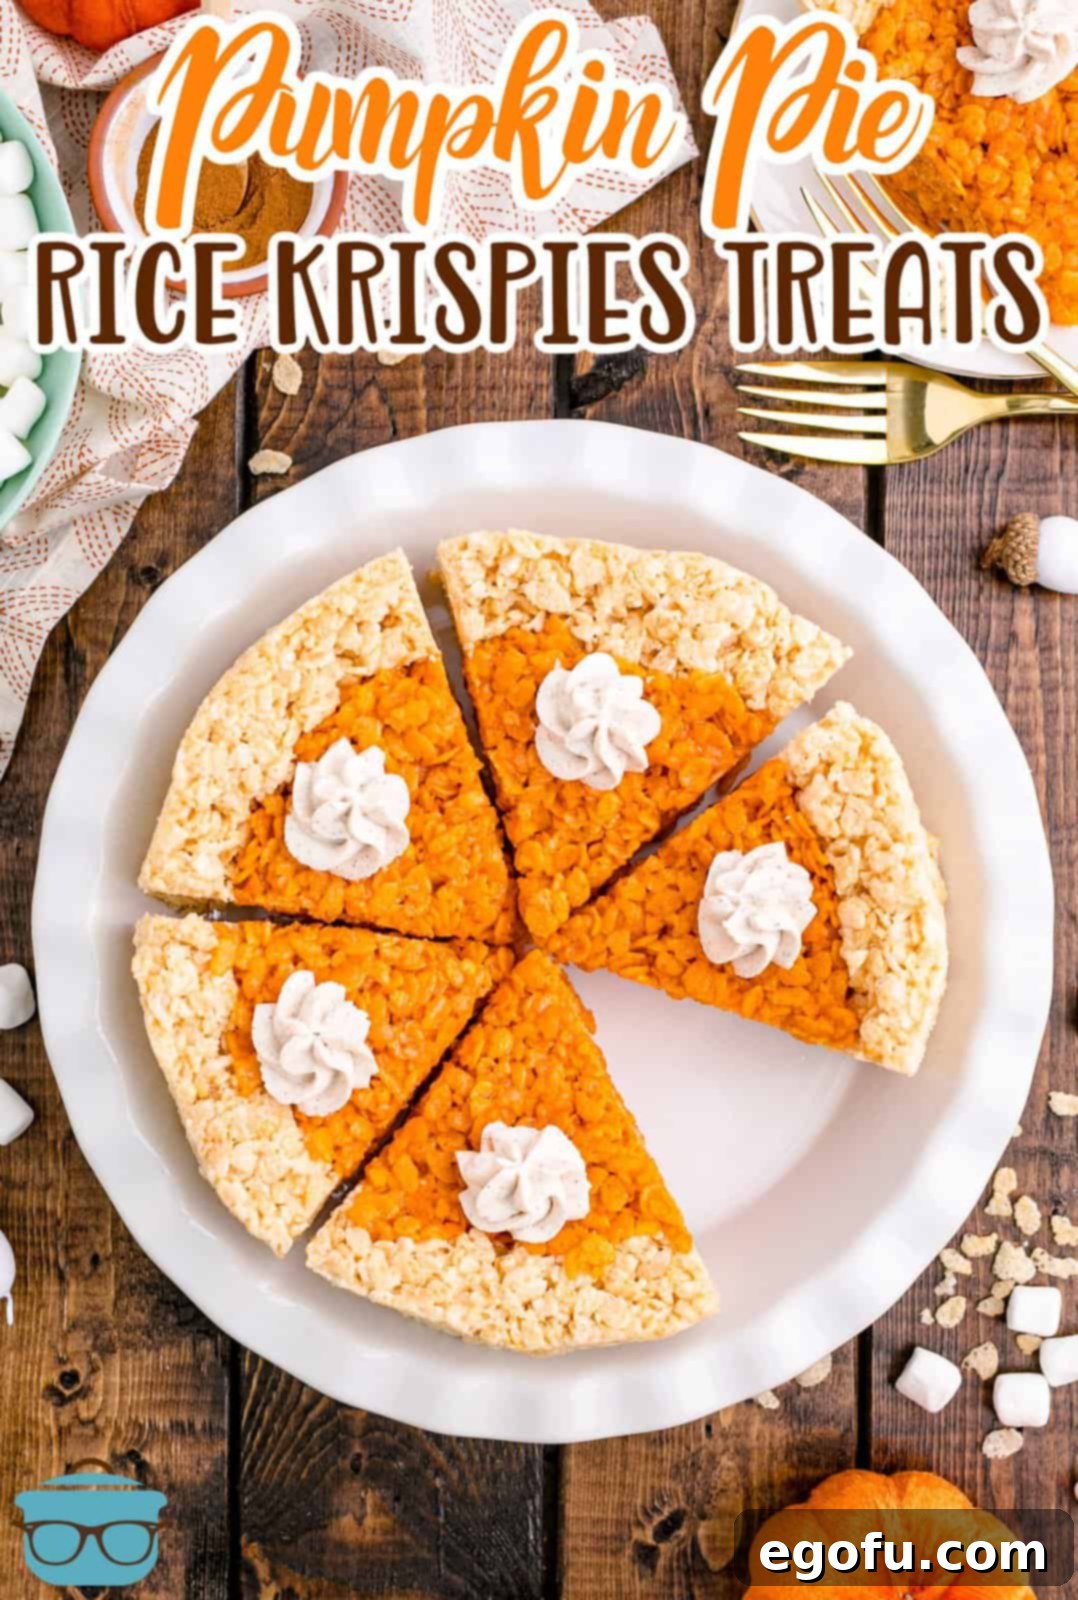
A festive and delightful Thanksgiving treat, these Pumpkin Pie Rice Krispies Treats offer a uniquely fun and incredibly kid-friendly dessert experience. They are not only irresistibly cute, perfectly capturing the essence of a classic pumpkin pie, but also bursting with authentic fall flavors. Prepare to impress your guests and add a charming, memorable touch to your holiday dessert table with this easy-to-make confection.
An Unforgettable Pumpkin Rice Krispies Treat Recipe for the Holidays
There’s something truly magical about Rice Krispies Treats – their simplicity, their versatility, and the joy they bring. This particular recipe elevates the beloved classic into a holiday masterpiece: Pumpkin Pie Rice Krispies Treats. It’s a remarkably easy and enjoyable recipe that our family cherishes making as the autumn leaves turn and the holiday season approaches. The true beauty lies in their vibrant, inviting colors and the rich, comforting pumpkin flavor that permeates every bite.
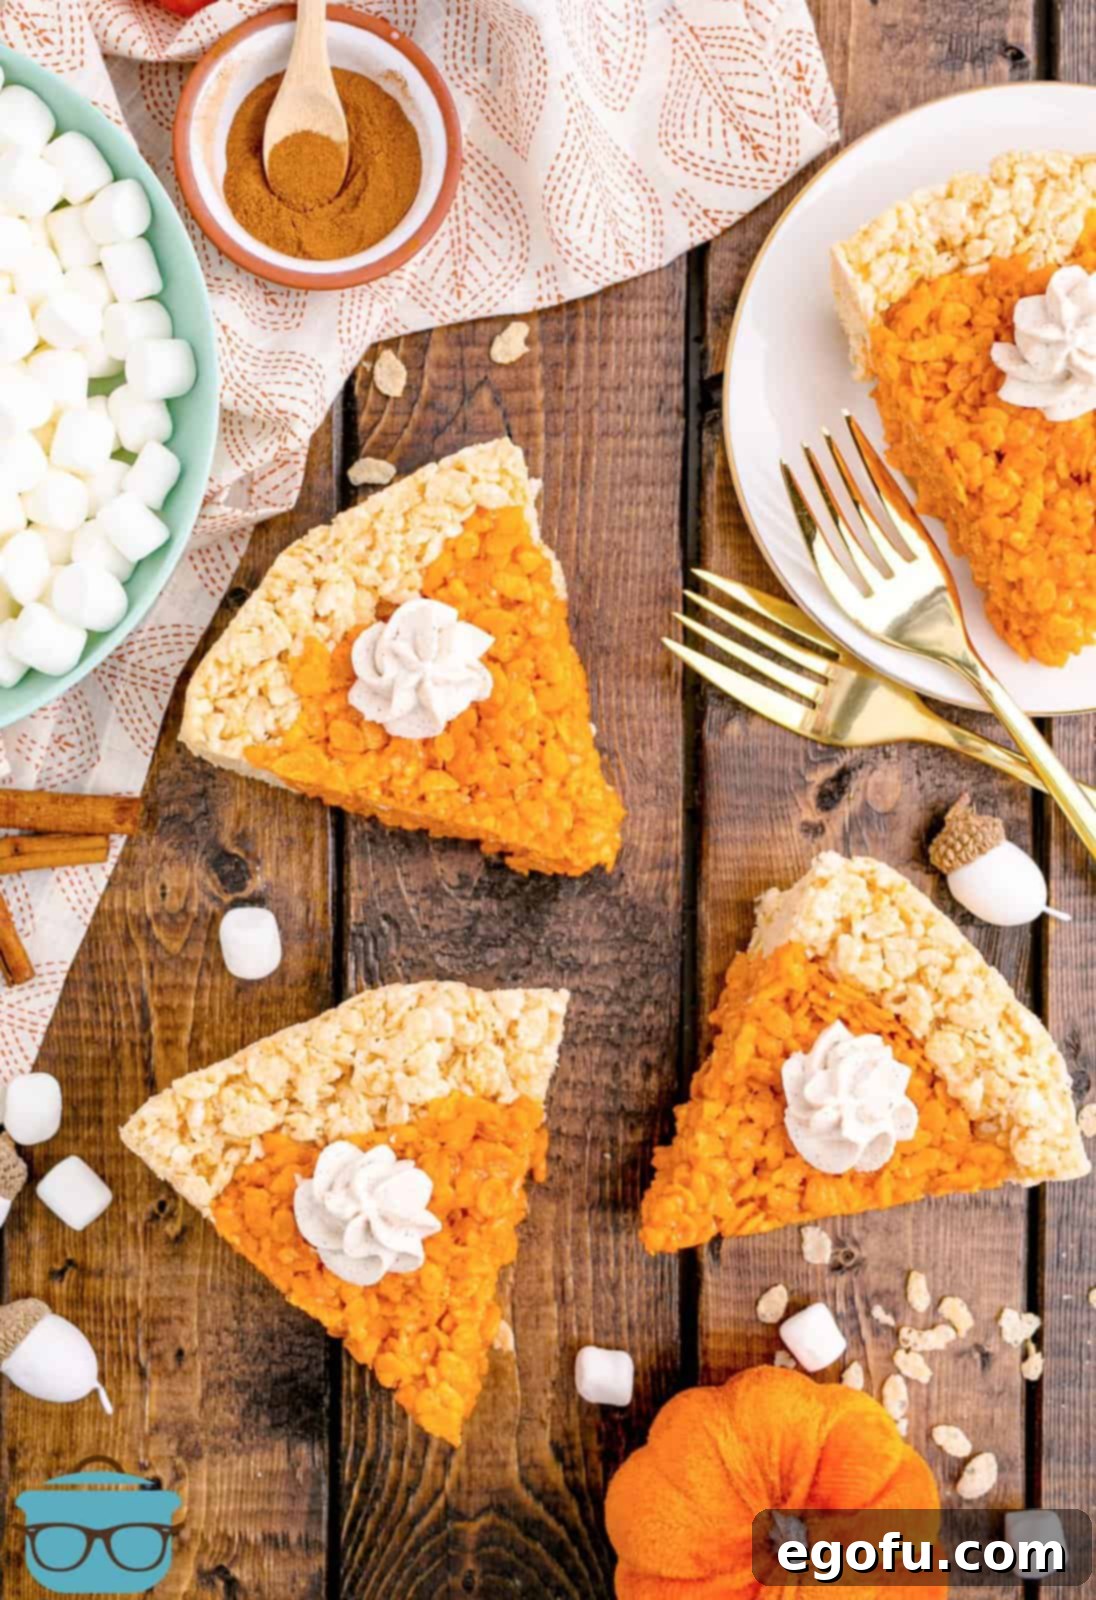
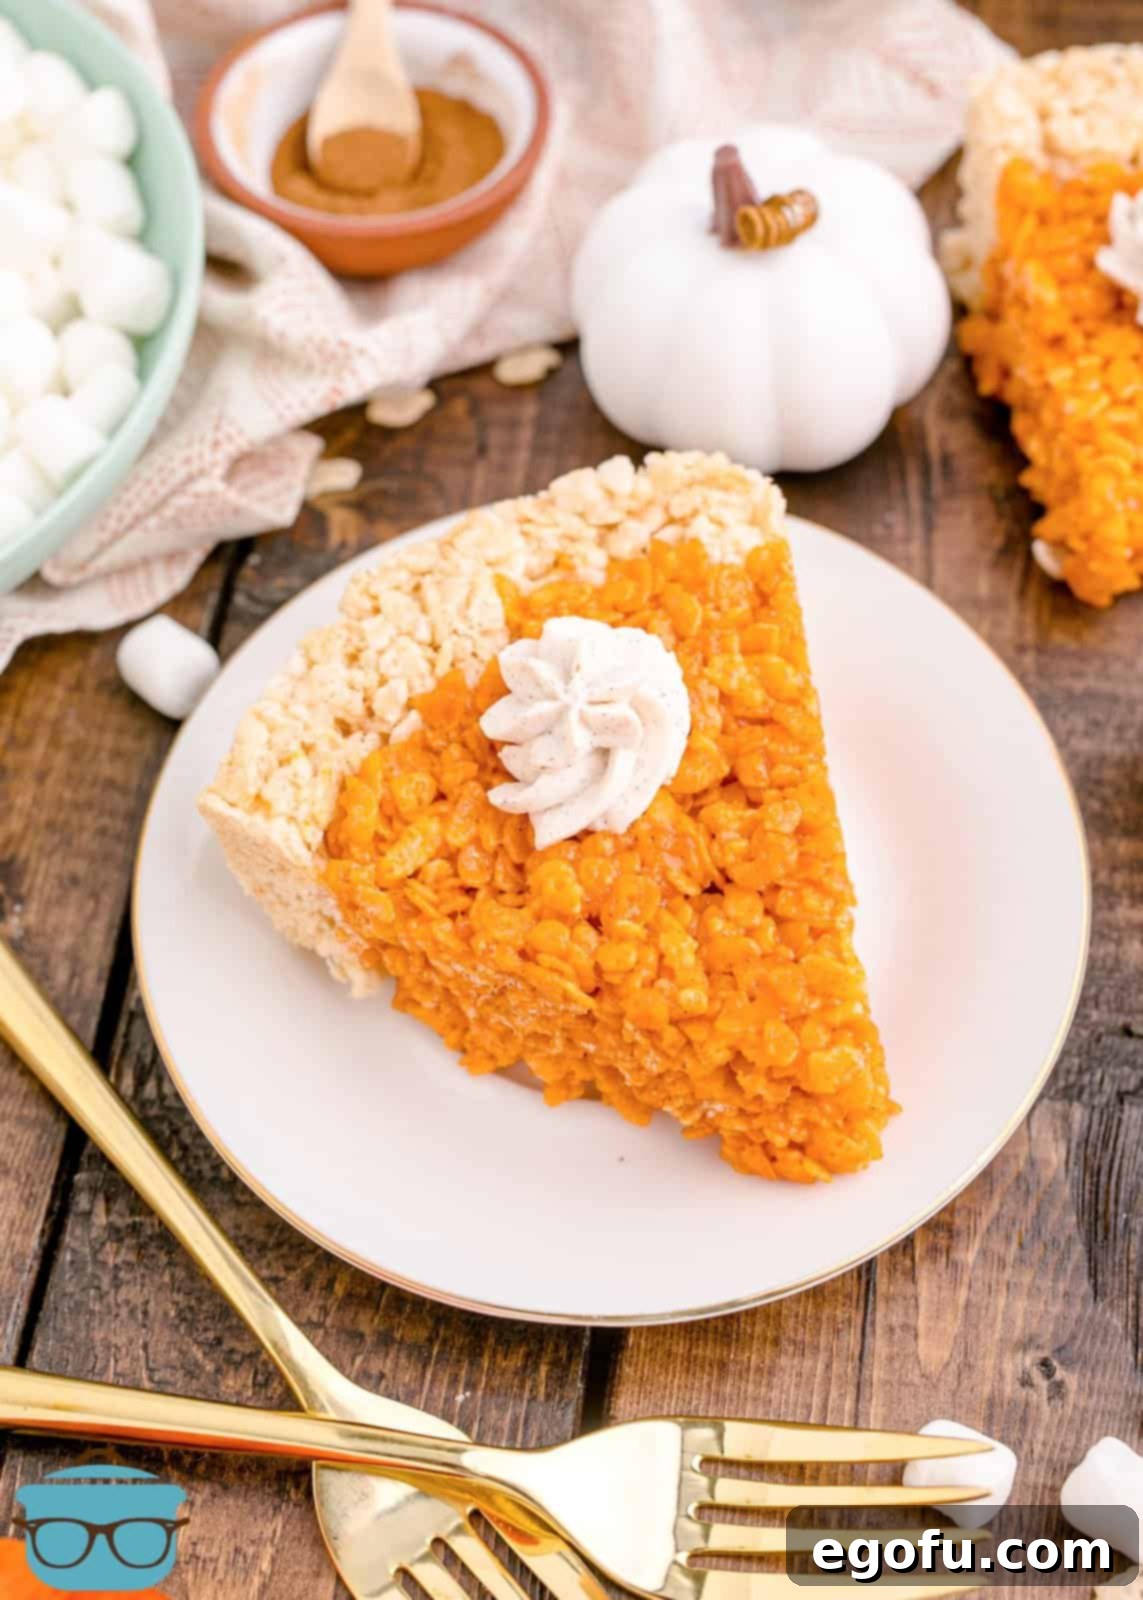
Imagine a dessert that looks exactly like a mini pumpkin pie but offers the delightful chewy texture of a Rice Krispies Treat – that’s precisely what you get here! The clever layering creates a distinct “crust” and “filling,” making them a visual standout. Once firm, simply slice them into charming little pie wedges and serve. For an extra touch of indulgence that truly enhances the “pie” experience, we highly recommend topping each slice with a dollop of our luscious Homemade Cinnamon Whipped Cream. It’s the perfect complement, adding a creamy, spiced finish that will have everyone reaching for another slice.
This holiday season, if you’re seeking a recipe that allows for creativity, minimal fuss, and maximum flavor, look no further. These Pumpkin Rice Krispies Treats are a fantastic way to involve children in the kitchen, offering a hands-on experience that results in a delicious reward. They are ideal for Thanksgiving gatherings, fall festivals, school potlucks, or simply as a cozy treat on a crisp autumn evening. The combination of sweet marshmallows, crisp cereal, and warm pumpkin spices creates a dessert that embodies the spirit of the season in every delightful mouthful.
Frequently Asked Questions About Pumpkin Pie Rice Krispies Treats
No, it’s crucial to use only pumpkin puree for this recipe. Pumpkin pie filling, while convenient for traditional pies, contains added sugars, spices, and often thickeners that will make the mixture too runny and prevent your Rice Krispies Treats from setting properly. The texture will be compromised, and the “pie” layers won’t hold their shape. Always opt for 100% pure pumpkin puree for the best results in terms of consistency and flavor control.
Absolutely! While these are “Pumpkin Pie” Rice Krispies Treats, you can easily adapt the filling to be a classic, delicious Rice Krispies Treat flavor while maintaining the festive orange appearance. To do this, simply omit the maple syrup, pumpkin pie spice, pumpkin puree, and cinnamon from the filling ingredients. Instead, add 1 teaspoon of pure vanilla extract to both the crust and the filling mixtures for that classic, sweet marshmallow taste. Then, incorporate the orange food coloring into the filling layer as directed to keep the beautiful pumpkin-inspired look. This ensures everyone can enjoy a slice!
This recipe is designed for a standard 9-inch pie plate. You can use either a regular depth or a deep-dish pie pan, depending on what you have on hand. A deep-dish pan might give you slightly thicker slices, while a regular pan will yield slightly thinner ones. The important thing is the 9-inch diameter to ensure the ingredient ratios for the crust and filling layers work out perfectly. Make sure to generously spray your pie plate with non-stick cooking spray for easy removal.
While the Cinnamon Whipped Cream is technically optional, we highly recommend it! It truly elevates the dessert, adding a light, creamy texture and a subtle hint of cinnamon that perfectly complements the “pumpkin pie” effect. It’s like the whipped cream on a traditional slice of pumpkin pie. However, if you’re not a fan of cinnamon or prefer a simpler approach, you can certainly serve these Rice Krispies Treats plain, or with a dollop of regular unsweetened whipped cream. A sprinkle of extra pumpkin pie spice on top of plain whipped cream can also be a lovely touch.
These treats are wonderful for making ahead, which is a huge plus during busy holiday preparations! Once cooled, store any leftovers in an airtight container at room temperature. They will remain fresh and delightfully chewy for up to 2 days. For longer storage, these treats can also be frozen. To freeze, individually wrap each slice (or the entire pie if uncut) tightly in plastic wrap, then place them in a freezer-safe container or a heavy-duty freezer bag. They will keep well in the freezer for up to 6 months. To defrost, simply remove them to the countertop and let them thaw at room temperature for an hour or two until soft and ready to enjoy again.
Essential Ingredients for Your Pumpkin Pie Rice Krispies Treats
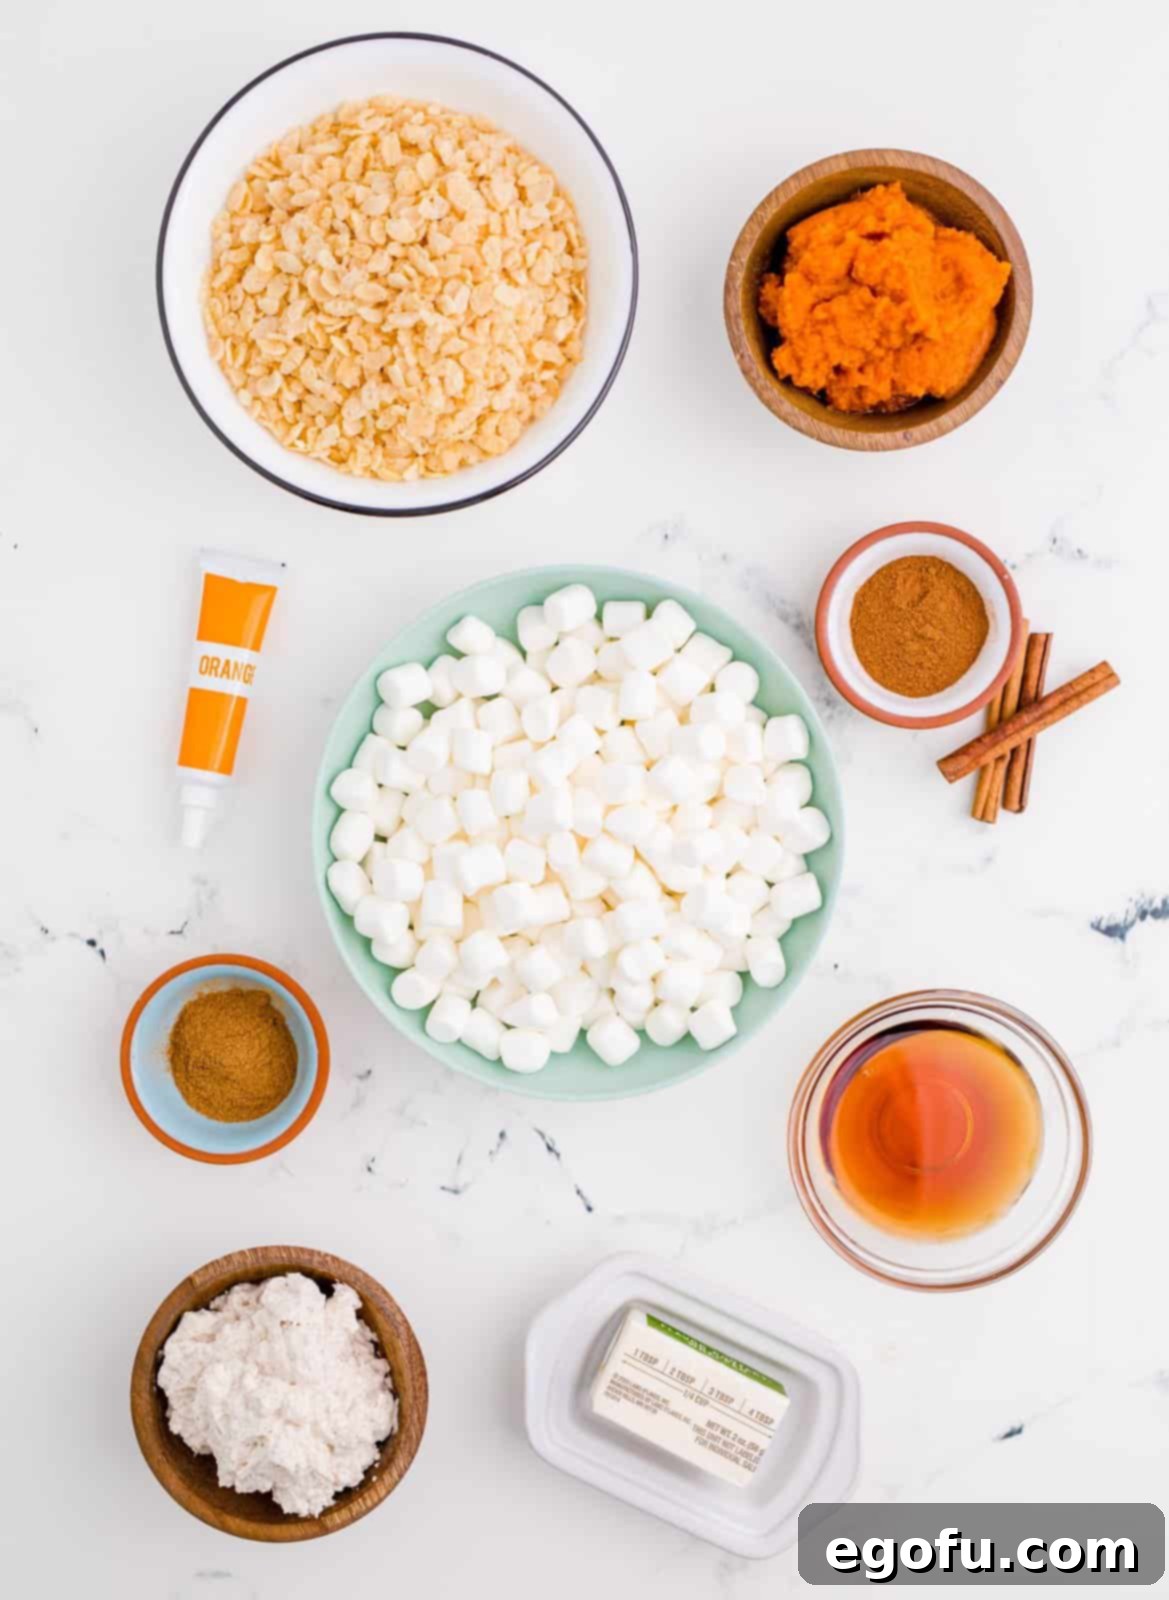
Gathering your ingredients is the first step towards creating this delightful holiday dessert. You’ll notice a few key components that work together to create both the “crust” and “filling” layers, delivering that authentic pumpkin pie flavor and iconic look. Here’s what you’ll need for this incredibly simple yet impressive recipe:
- Salted butter: Essential for the chewy texture and rich flavor in both layers. Using salted butter helps balance the sweetness.
- Mini marshmallows: The magical binding agent for Rice Krispies Treats. Mini marshmallows melt more quickly and evenly than large ones.
- Maple syrup: (Optional for the crust) A touch of maple syrup in the crust adds a subtle depth of flavor that complements the pumpkin notes in the filling.
- Rice Krispies cereal: The star of the show, providing the signature crispy texture that makes these treats so beloved.
- Pumpkin pie spice: This blend of cinnamon, nutmeg, ginger, and cloves is key to imparting that classic pumpkin pie aroma and taste to the filling.
- Pumpkin puree: (Not pumpkin pie filling) Provides the natural pumpkin flavor and color for the “pie” interior. Make sure it’s pure, unsweetened pumpkin.
- Cinnamon: An extra dash of cinnamon enhances the warmth and spice profile of the filling.
- Orange food coloring: Crucial for achieving that vibrant, authentic pumpkin pie hue in your filling layer, making the visual effect truly stunning.
- Cinnamon whipped cream: (Optional) For serving, this topping adds a creamy, spiced finish that perfects the “pie” experience.
Each ingredient plays a vital role in crafting these festive and flavorful Pumpkin Pie Rice Krispies Treats, ensuring a delicious outcome that celebrates the tastes of the season.
How to Craft Your Delicious Pumpkin Pie Rice Krispies Treats
Making these Pumpkin Pie Rice Krispies Treats is a straightforward and enjoyable process, broken down into two main sections: creating the “pie crust” and then the “pumpkin filling.” Each step is designed to be simple, ensuring a delightful and visually appealing result that will impress your holiday guests.
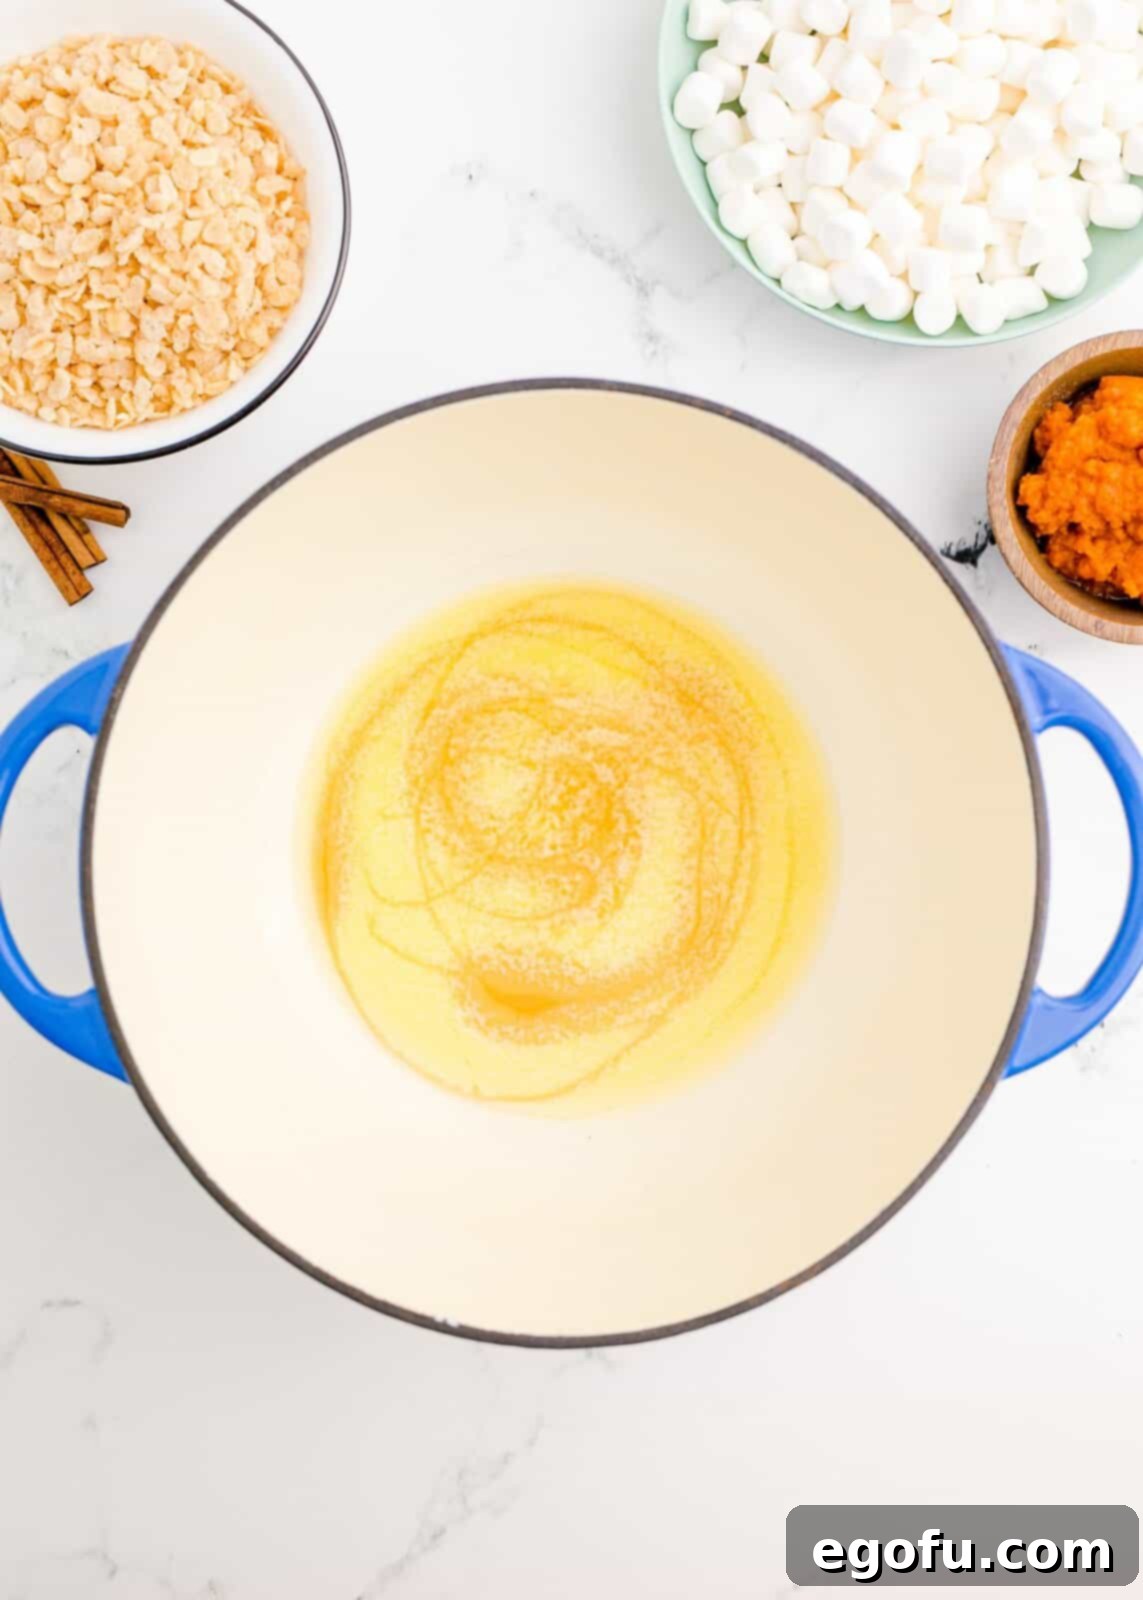
Step 1: Begin the “Crust” Base. Start by gently melting the salted butter in a medium-sized saucepan over low heat. It’s important to keep the heat low to prevent the butter from browning too quickly, which can alter the flavor. Once the butter is fully melted and glistening, whisk in the maple syrup until it’s thoroughly combined. This subtle addition will give your crust a lovely, nuanced sweetness.
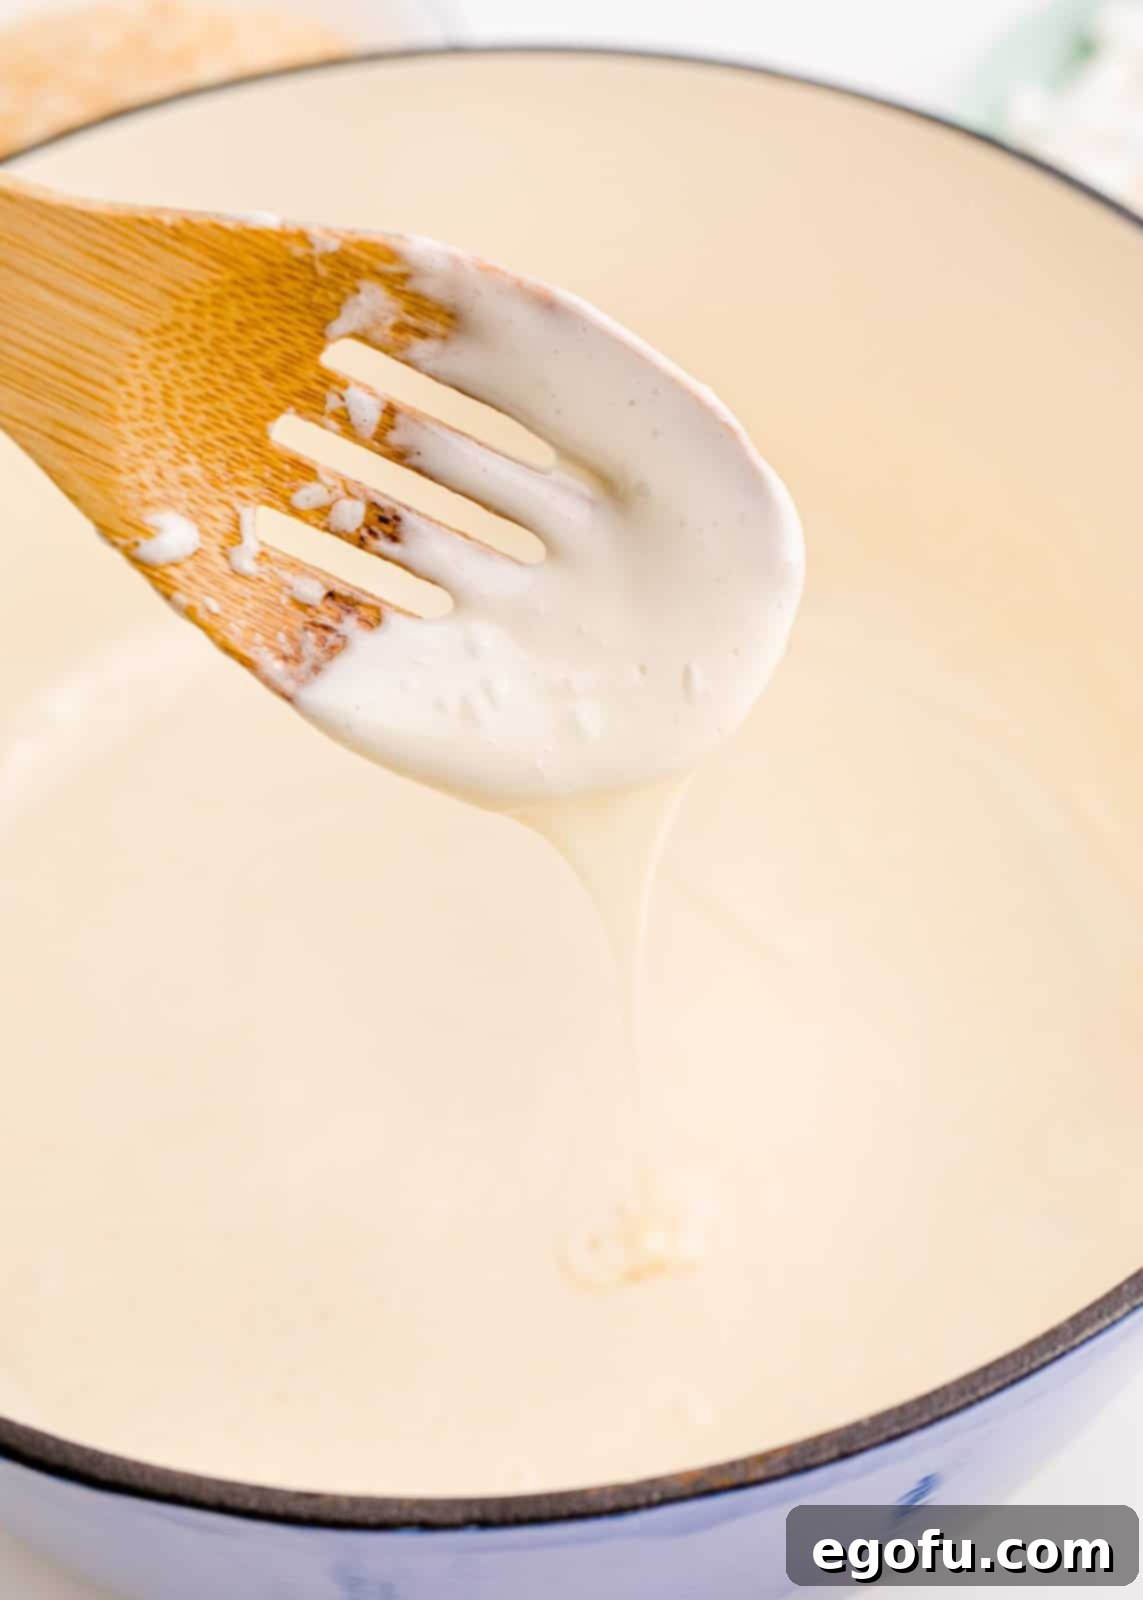
Step 2: Melt the Marshmallows for the Crust. Next, add your mini marshmallows to the saucepan with the butter and maple syrup. Continue to stir constantly over low heat. This continuous stirring is key to ensure the marshmallows melt evenly and smoothly, without scorching. You’re looking for a completely smooth, gooey marshmallow mixture, free of lumps, which will be the adhesive for your cereal.
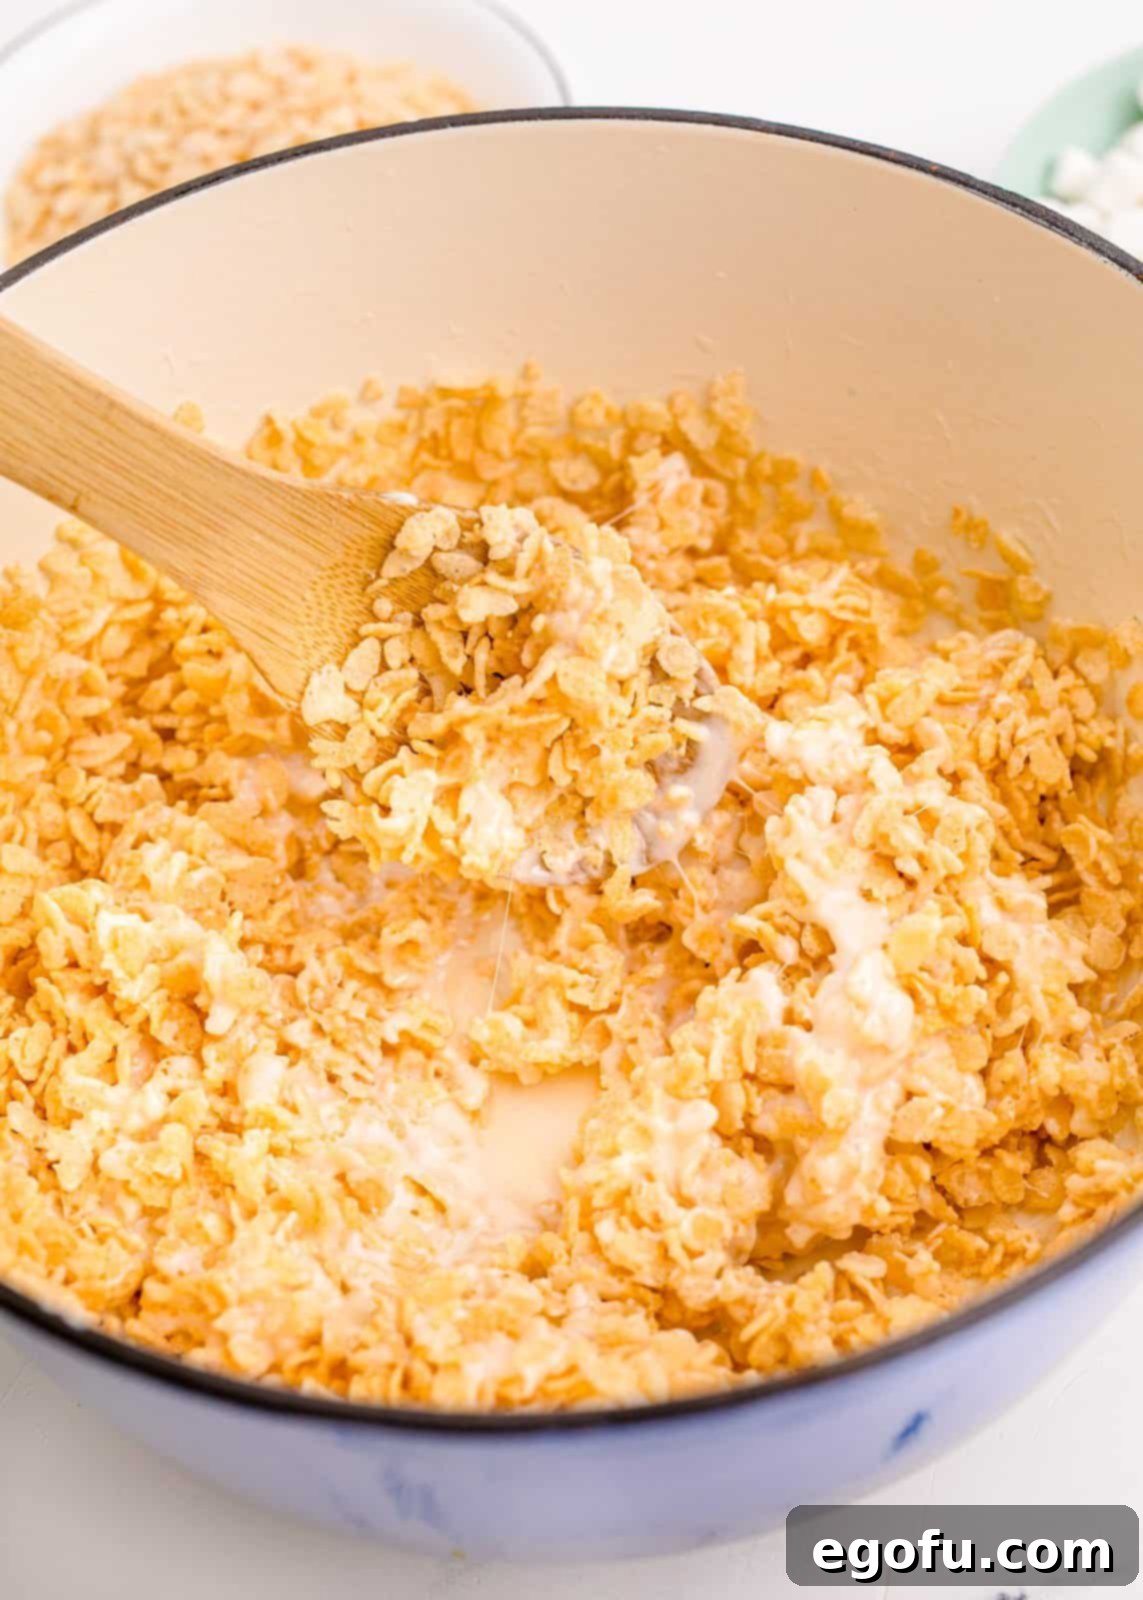
Step 3: Incorporate Rice Krispies into the Crust Mixture. Once the marshmallows are fully melted, remove the saucepan from the heat. Pour in the Rice Krispies cereal. Using a spatula, carefully and gently fold the cereal into the marshmallow mixture until every single piece is thoroughly coated. Work quickly but gently to avoid crushing the cereal, ensuring that signature crisp texture remains intact.
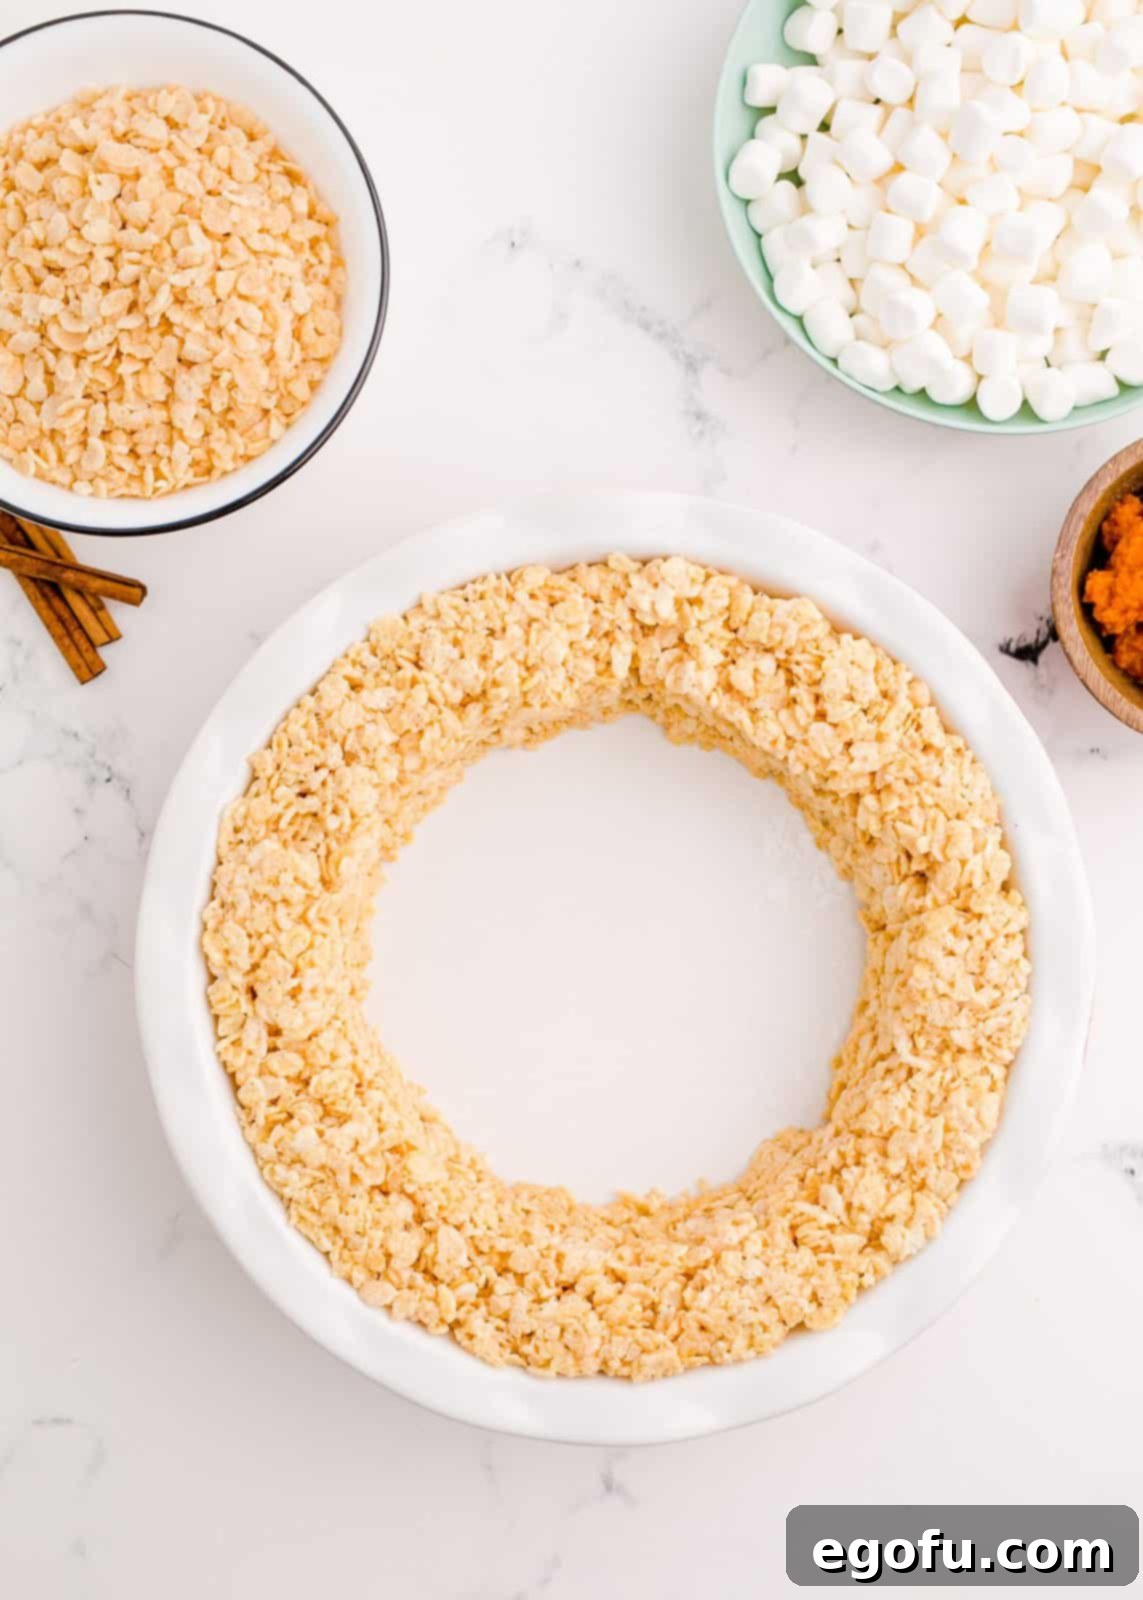
Step 4: Form the Pie “Crust.” Lightly spray a 9-inch pie dish with non-stick cooking spray – this is essential for easy removal later. Scrape the Rice Krispies “crust” mixture into the pie dish, specifically pressing it along the outside rim to form a distinct crust. Use a spatula or your buttered hands to firmly press the mixture into shape, creating a sturdy base and raised edges for your “pie.” Set this aside to cool and firm up slightly while you prepare the vibrant pumpkin filling.
Step 5: Prepare the Pumpkin “Pie Filling” Base. In a separate medium saucepan, melt the remaining salted butter over low heat. Once fully melted, whisk in the pumpkin pie spice, pumpkin puree, and an additional touch of cinnamon. Stir these ingredients together until they are well combined and fragrant, creating a rich, spiced pumpkin base for your filling.
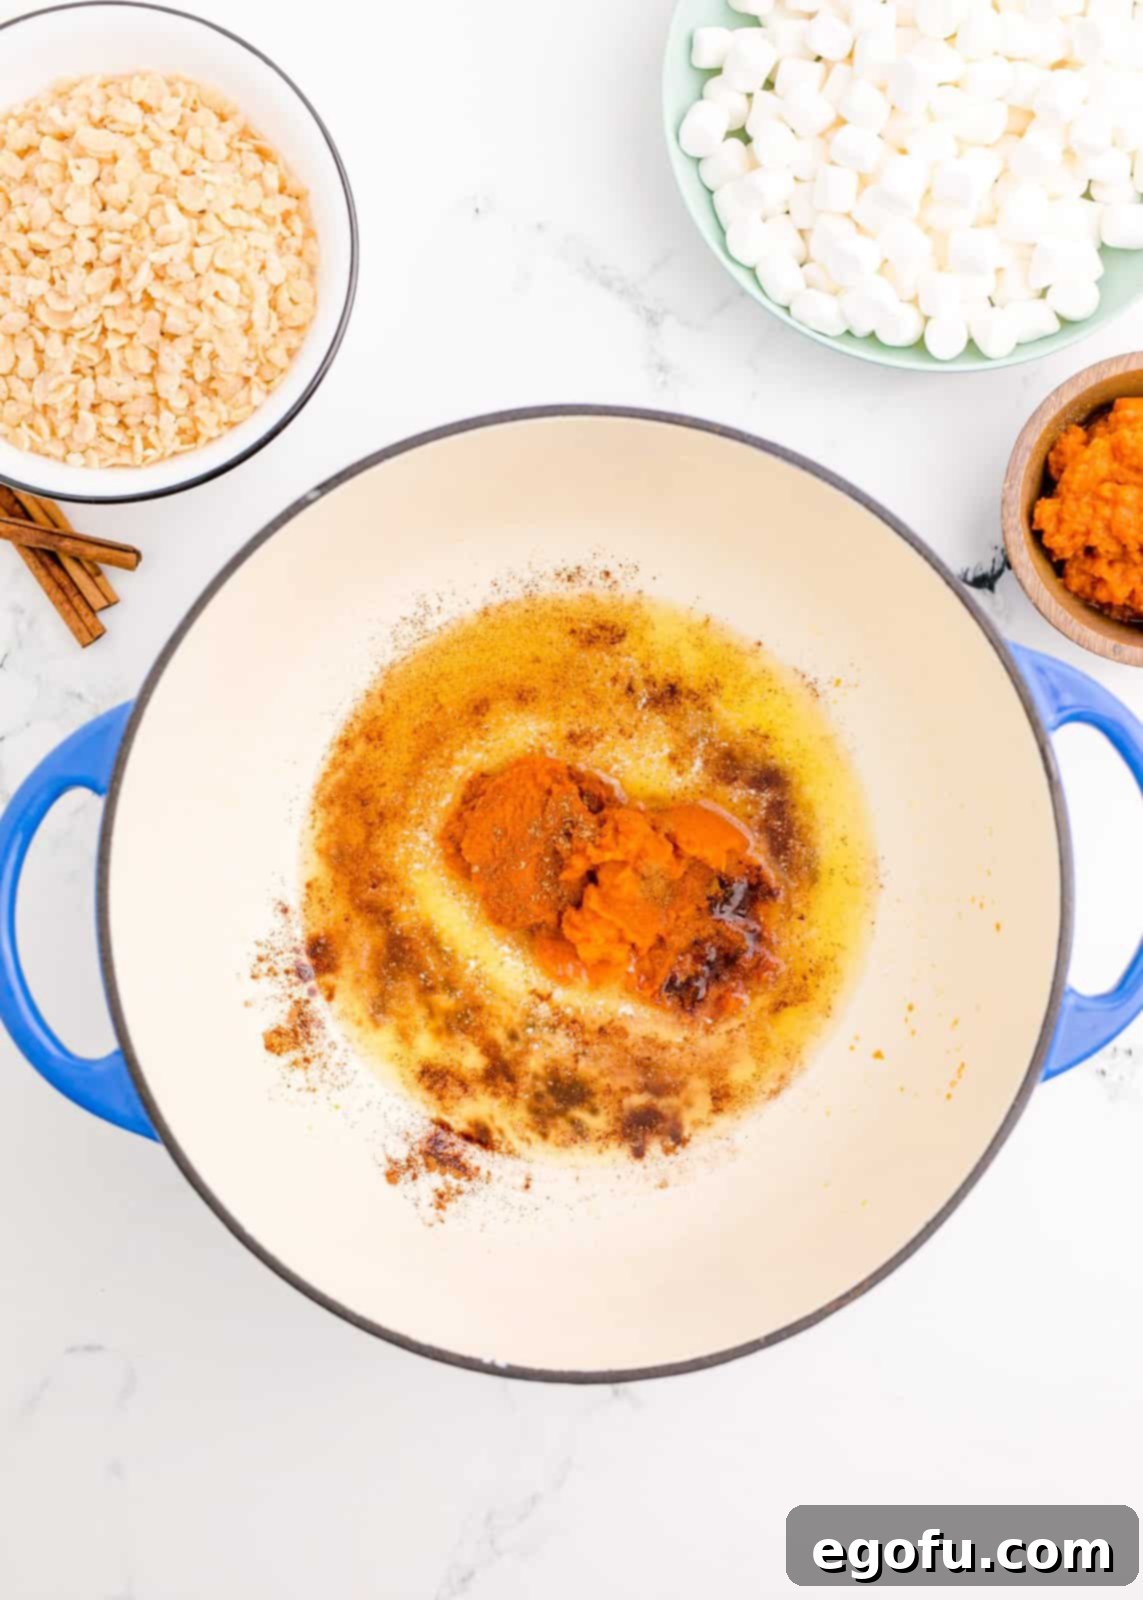
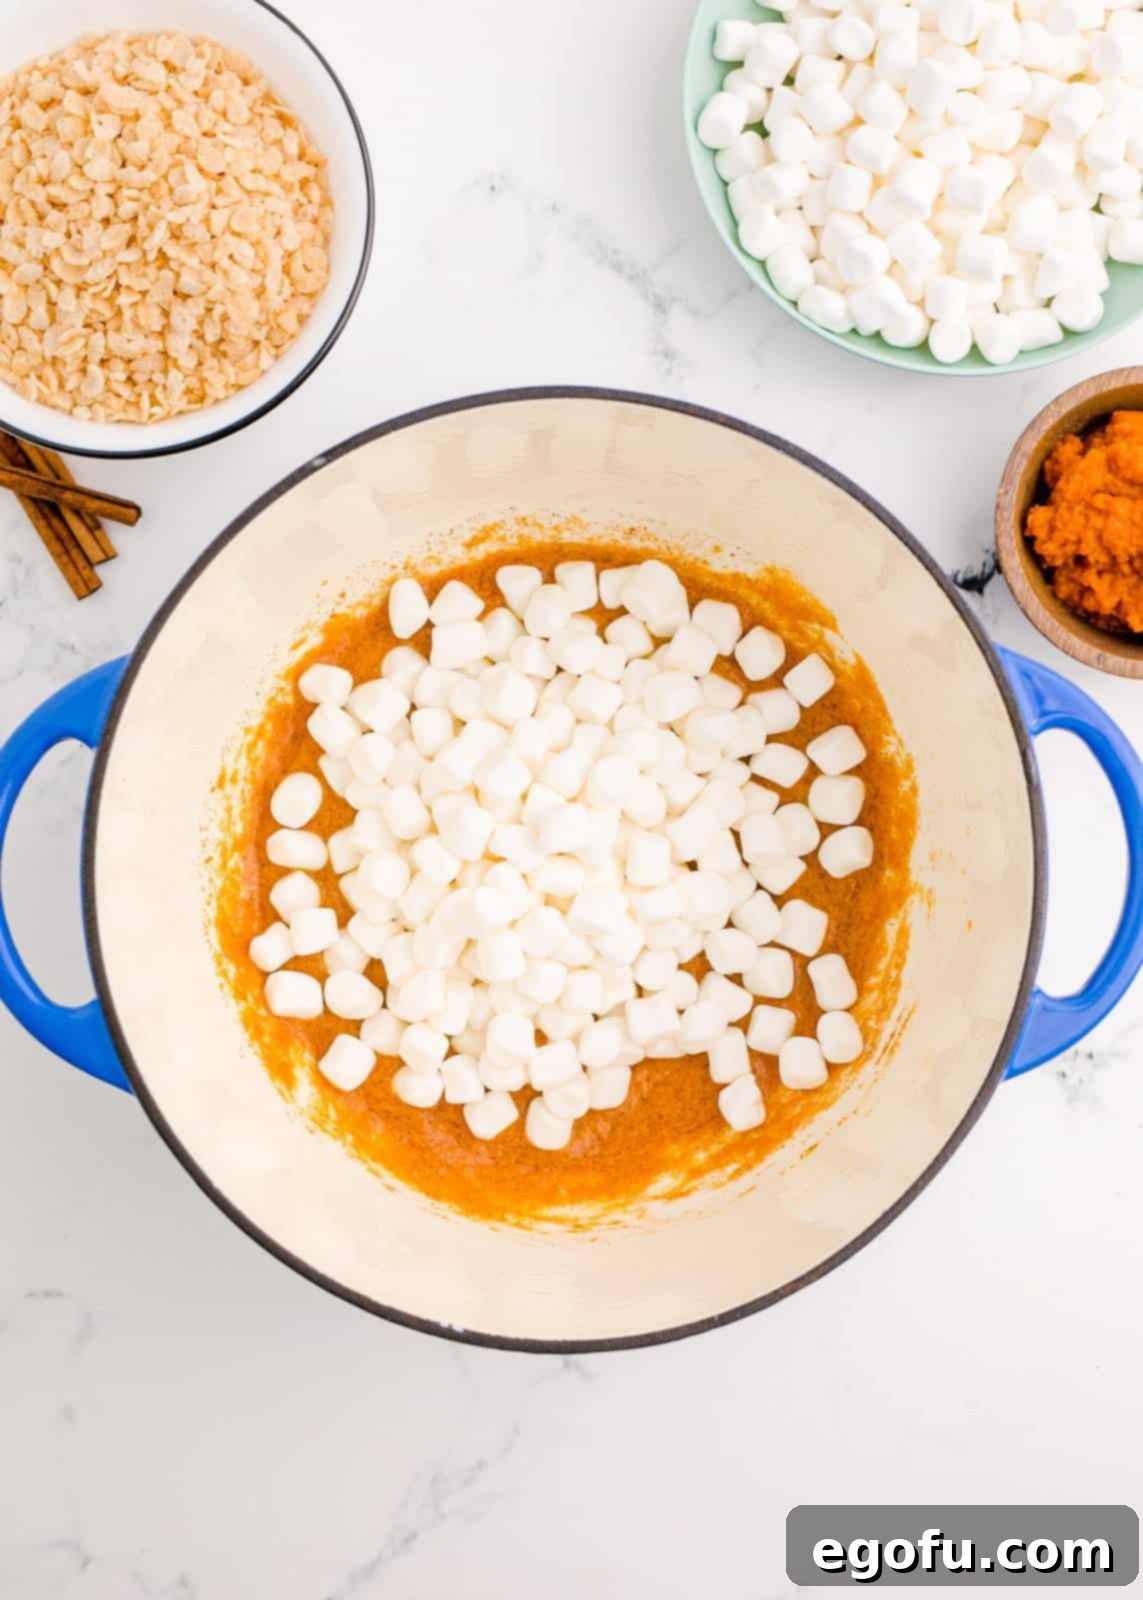
Step 6: Melt Marshmallows for the Filling. Once your pumpkin mixture is combined, add the remaining mini marshmallows to the saucepan. Continue to stir constantly over low heat until the marshmallows are completely melted and smooth. This gooey, spiced marshmallow mixture will form the luscious core of your pumpkin pie filling, ready to be infused with color and cereal.
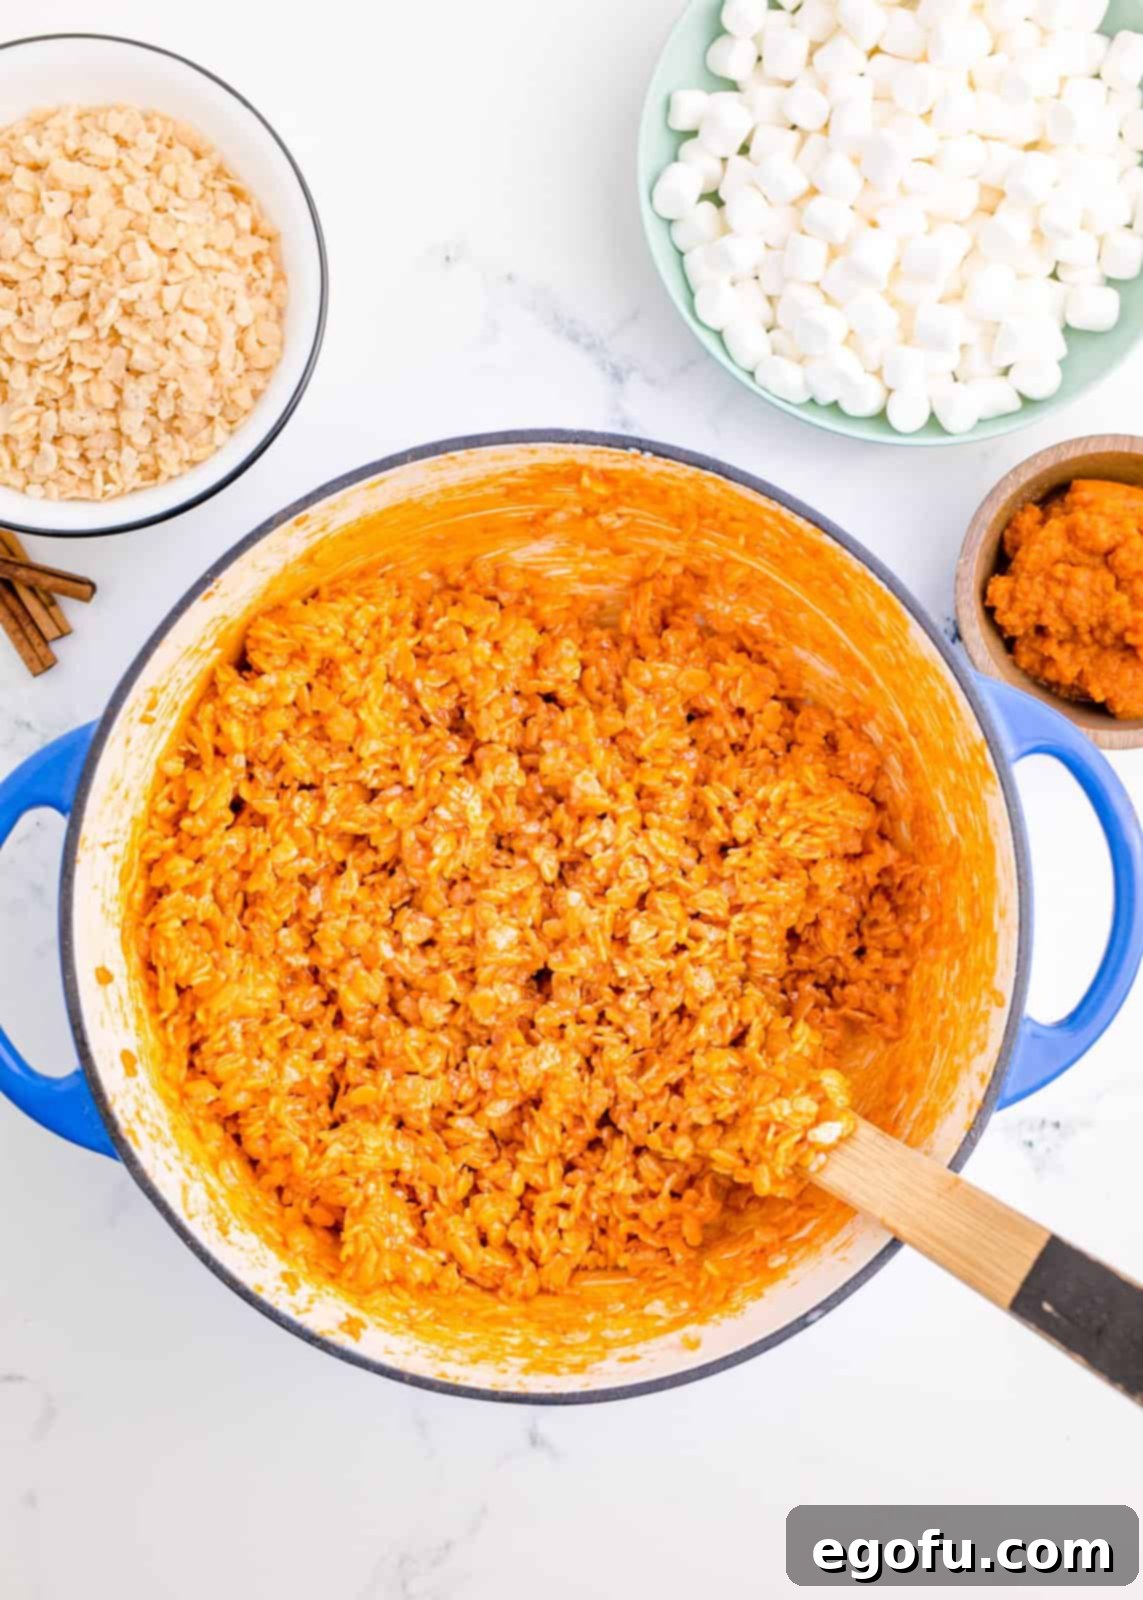
Step 7: Add Color and Cereal to the Filling. Remove the saucepan from the heat. Now, add your orange food coloring. Start with a few drops and stir, adding more gradually until you achieve a rich, vibrant orange color that truly resembles pumpkin pie filling. Once the desired color is reached, gently fold in the remaining Rice Krispies cereal until every piece is uniformly coated with the colorful, pumpkin-spiced marshmallow mixture. This creates the appealing texture and visual pop of the pie’s center.
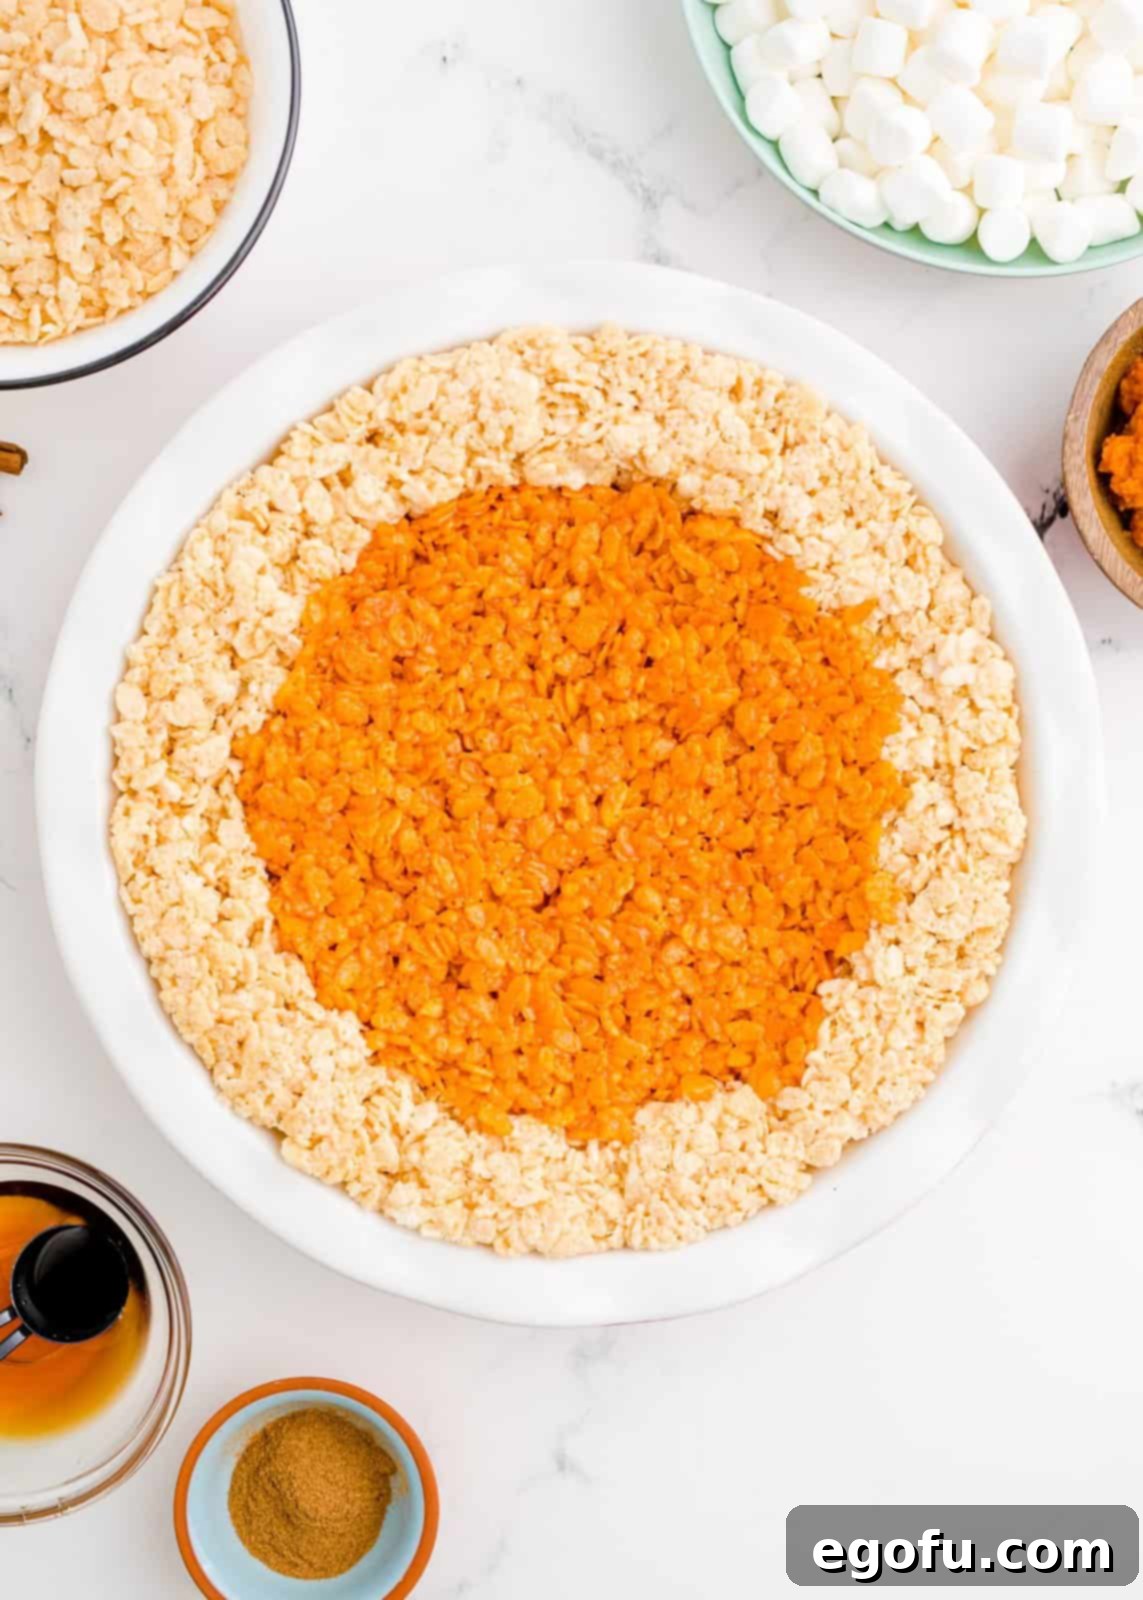
Step 8: Assemble Your Pumpkin Pie. Carefully pour the orange pumpkin filling mixture into the center of your prepared pie dish, nestled within the Rice Krispies “crust.” Use a buttered spatula or your hands (lightly buttered to prevent sticking) to gently and firmly press the filling into the crust. This step is important for melded the two layers together, ensuring a cohesive “pie” that holds its shape beautifully when sliced.
Step 9: Cool and Slice. Allow the Rice Krispies pie to cool completely at room temperature before attempting to slice it. This cooling period is crucial for the treats to firm up and set, making clean cuts possible. For even quicker setting and the neatest slices, you can pop the entire pie into the refrigerator for about 10-15 minutes before cutting. Once firm, use a sharp, buttered knife to cut the “pie” into wedges, just like a traditional pumpkin pie.
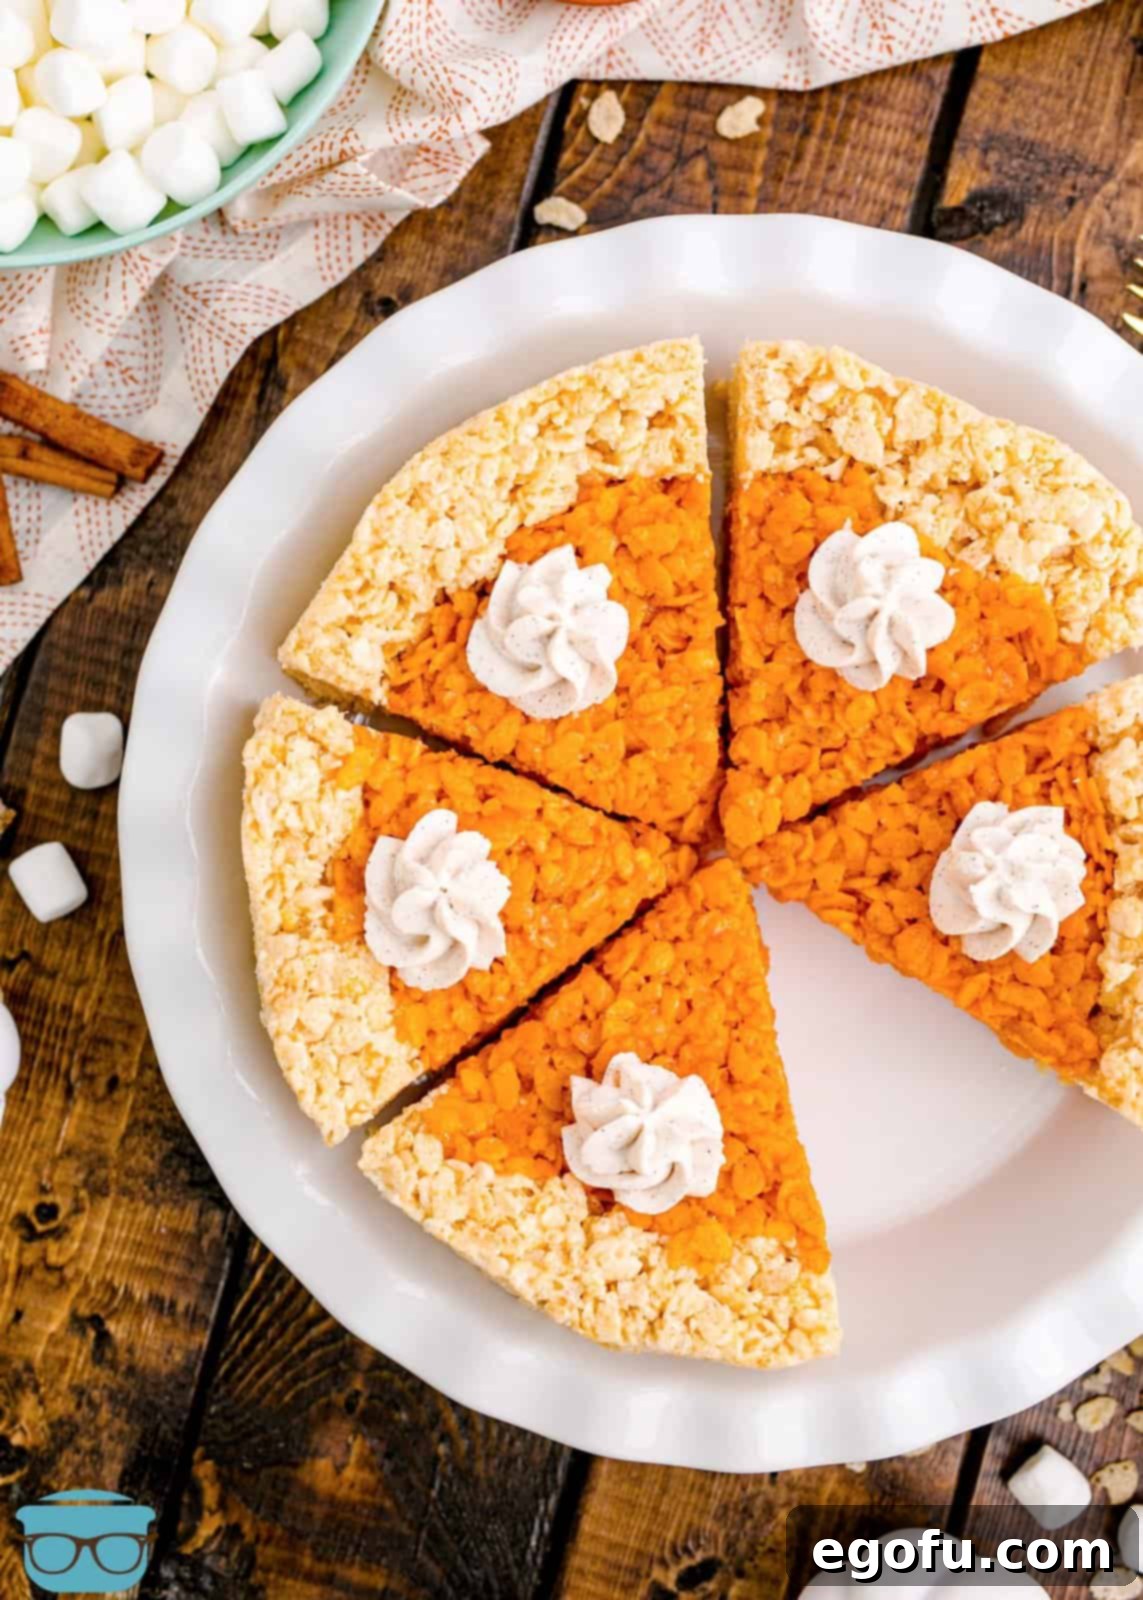
Step 10: Serve and Enjoy! As an optional, but highly recommended, finishing touch, top each individual slice with a generous dollop of our homemade cinnamon whipped cream. The creamy, spiced topping adds another layer of flavor and texture that perfectly mimics the traditional pumpkin pie experience. Serve immediately and watch these festive and flavorful Pumpkin Pie Rice Krispies Treats disappear!
Explore More Delicious Holiday and Fall Recipes!
If you’re looking for more creative and delicious treats to share during the festive season, or simply want to indulge in comforting fall flavors, be sure to check out these other fantastic recipes. From more Rice Krispies variations to unique holiday desserts and appetizers, there’s something here for every occasion:
- Thanksgiving Puppy Chow
- Turkey Cake Balls
- Turkey Dessert Cheeseball
- Thanksgiving Charcuterie Board
- Circus Animal Krispies Treats
- Peanut Butter Rice Krispies Treats
- Rice Krispies Christmas Wreaths
- Brown Sugar Pumpkin Pie
- Pumpkin Delight
Pumpkin Pie Rice Krispies Treats
10 minutes
20 minutes
30 minutes
6
Brandie Skibinski
Ingredients
Rice Krispie Pie Crust:
- 2 Tablespoons salted butter
- 2 cups mini marshmallows
- 1 teaspoon maple syrup (optional)
- 2 ½ cups Rice Krispies cereal
Rice Krispie Pie Filling:
- 3 Tablespoons salted butter
- ½ teaspoon pumpkin pie spice
- ⅛ cup pumpkin puree (not pumpkin pie mix)
- ¼ teaspoon cinnamon
- 3 cups mini marshmallows
- 4 cups Rice Krispies cereal
- orange food coloring (use enough to reach the desired color)
- cinnamon whipped cream (optional)
Instructions
Rice Krispie Pie Crust:
- Make the Rice Krispies “pie crust” first by melting the butter over low heat in a medium saucepan. Then whisk in the maple syrup until combined.
- Add the mini marshmallows and stir constantly until melted.
- Add in the Rice Krispie cereal and carefully fold in until completely coated.
- Scrape this mixture into the outside rim of a pie dish (sprayed with non-stick cooking spray) and form a “crust” by pressing the Rice Krispies mixture into it. Set this aside to cool down a bit while you make the filling.
Rice Krispie Pumpkin Pie Filling:
- To make the “pie filling”, melt the butter over low heat. Once melted, whisk in the pumpkin pie spice, pumpkin puree and cinnamon.
- Once combined, add the mini marshmallows and stir until melted.
- Add the orange food coloring until you reach the desired color, gently fold in the Rice Krispies cereal until completely coated.
- Evenly pour the filling mixture into the center of the pie dish and press firmly into the crust to meld the two Rice Krispies layers together.
- Let the Rice Krispies pie fully cool before slicing and serving.
- Optional: top each slice with a dollop of cinnamon whipped cream! Then enoy!
Notes
- You do not have to make this pumpkin flavored; see alternatives above for a classic flavor.
- These can be frozen for longer storage; refer to the FAQ section above for detailed instructions.
- The Cinnamon Whipped Cream is optional but highly recommended for an authentic “pie” experience.
Dessert
American
Nutrition
Carbohydrates: 61g |
Protein: 3g |
Fat: 10g |
Sodium: 269mg |
Fiber: 0.4g |
Sugar: 28g
Nutritional Disclaimer
“The Country Cook” is not a dietician or nutritionist, and any nutritional information shared is an estimate. If calorie count and other nutritional values are important to you, we recommend running the ingredients through whichever online nutritional calculator you prefer. Calories and other nutritional values can vary quite a bit depending on which brands were used.
