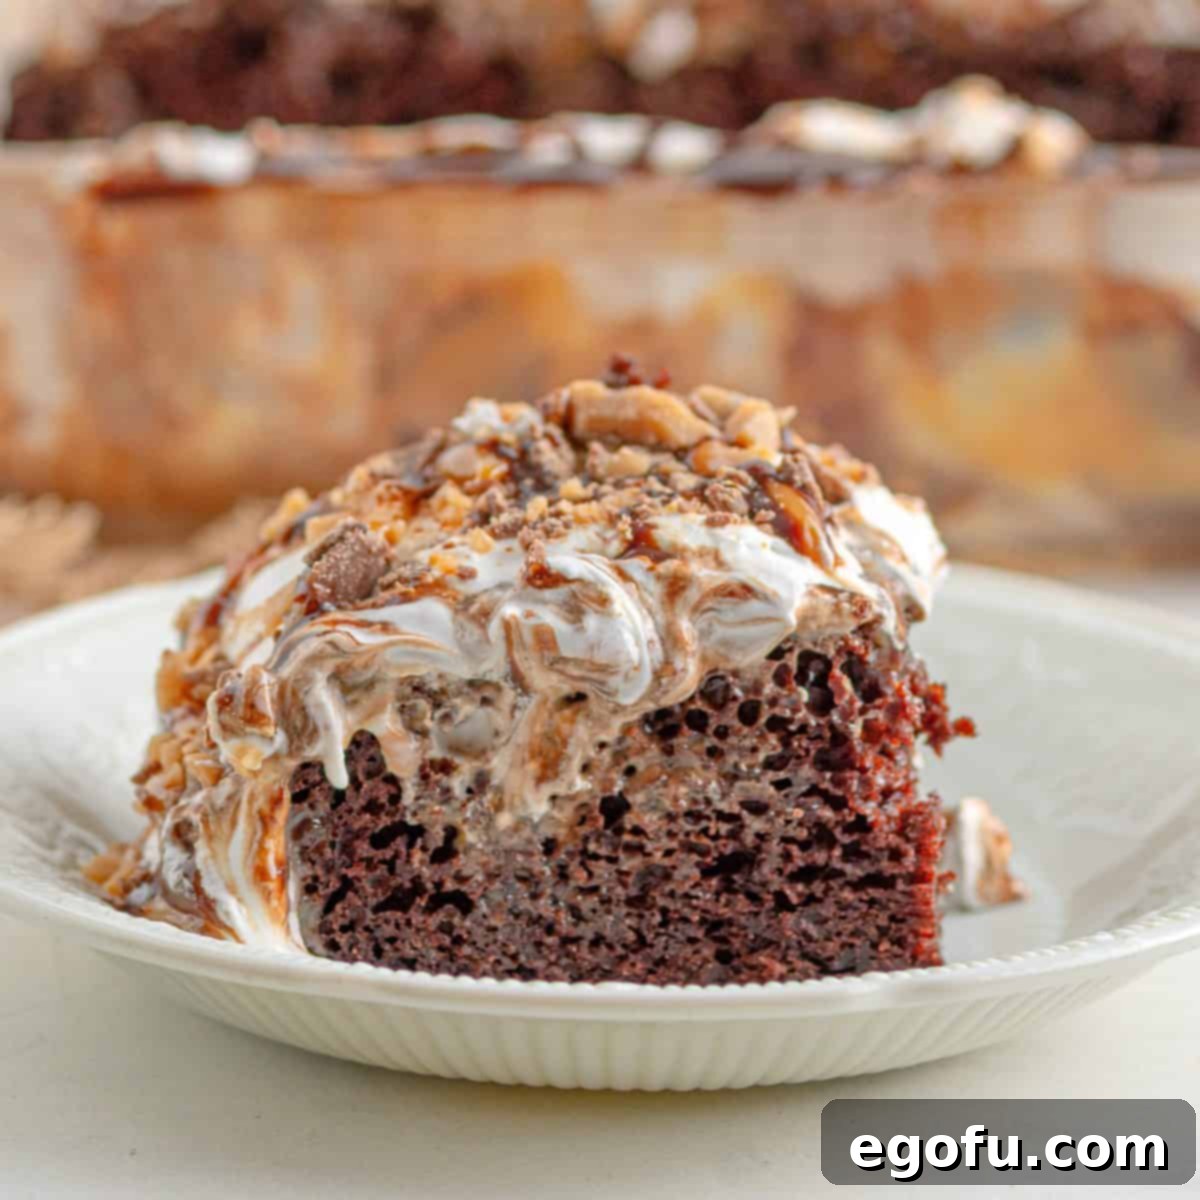
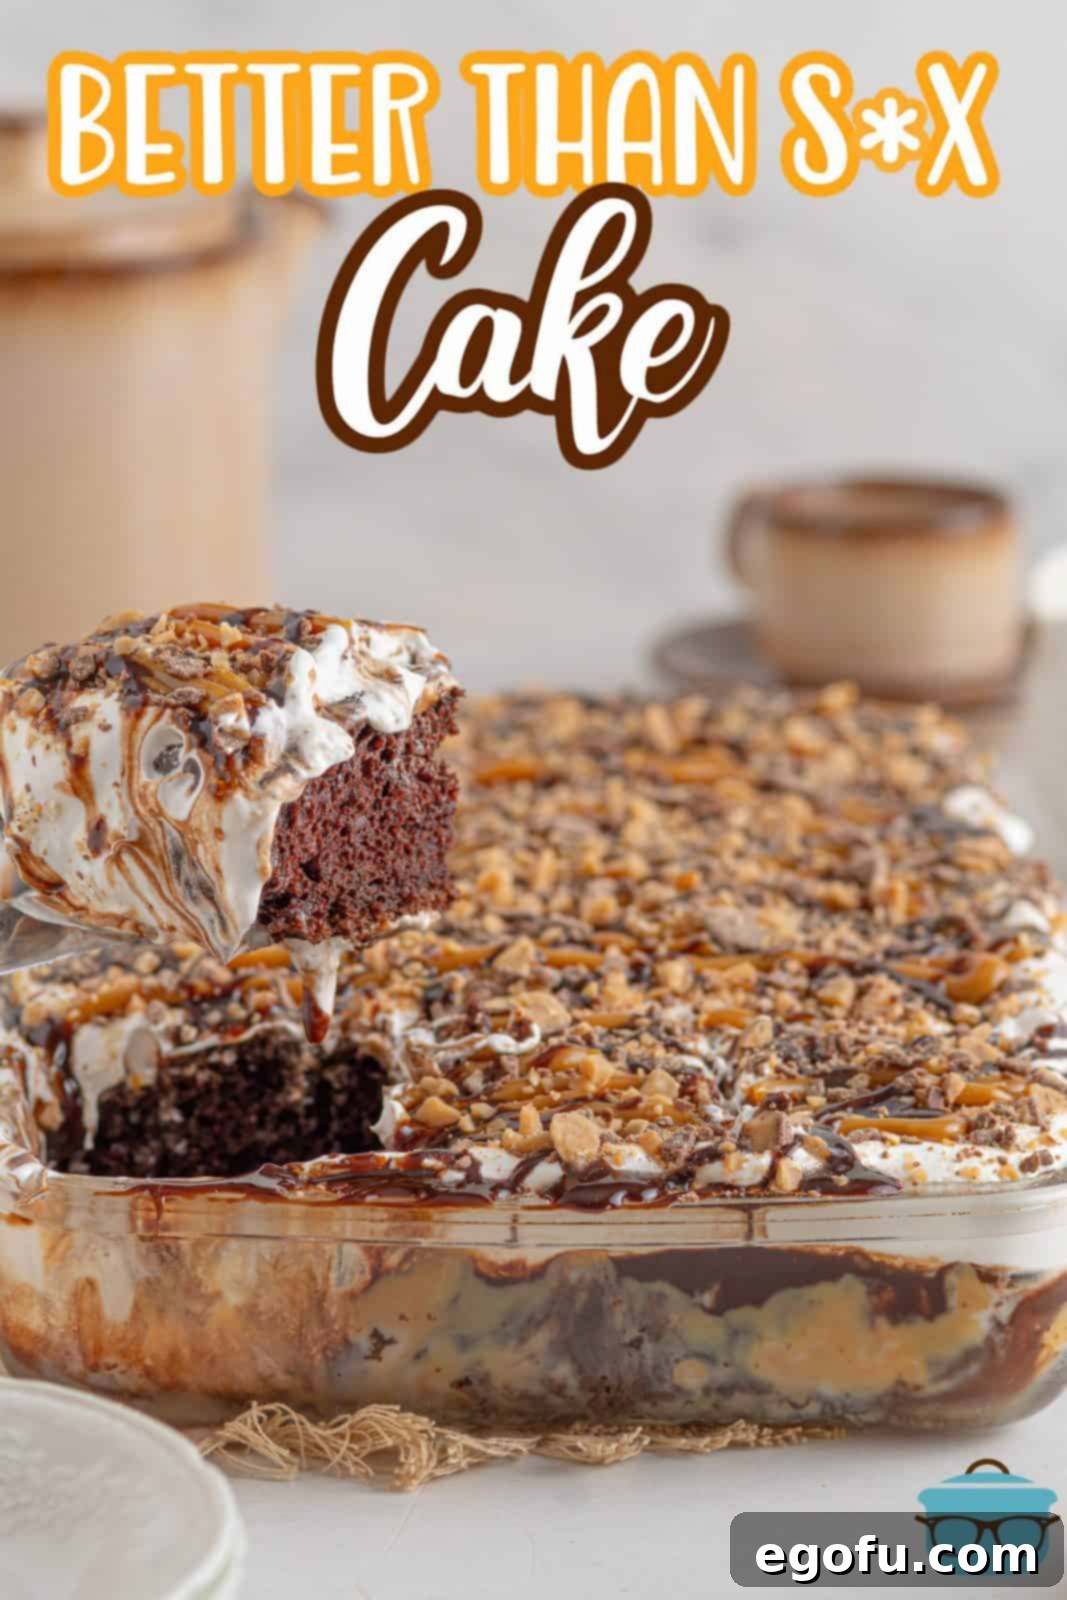
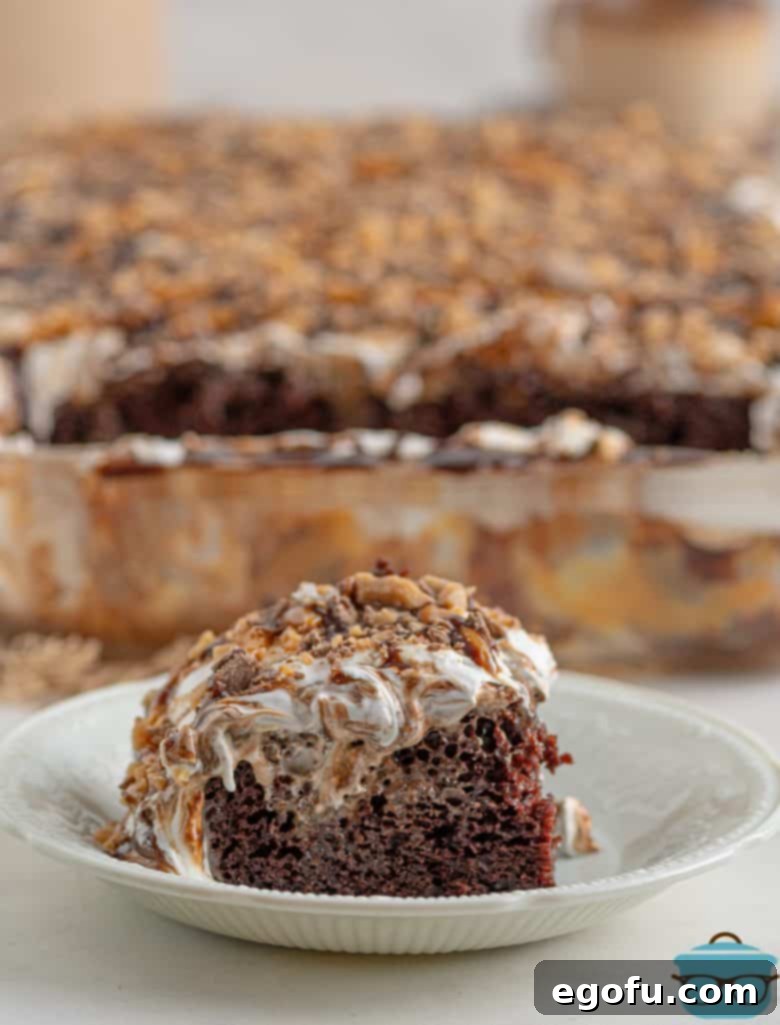
This easy recipe for Better Than Sex Cake is a truly indulgent chocolate and caramel cake, crowned with a luscious Cool Whip topping and delightful Heath candy bar bits. Prepare for a dessert experience that will have everyone asking for seconds!
Better Than Sex Cake: The Ultimate Chocolate Caramel Delight You Can’t Resist
Prepare yourself for an extraordinary dessert experience with our irresistible Better Than Sex Cake recipe! If you’ve yet to encounter this legendary treat, you are truly missing out on one of the most profoundly moist, decadent, and utterly delicious cakes known to mankind. Its intriguing name alone hints at the sheer bliss it delivers with every single bite.
For those times when little ears might be listening, feel free to call it “Better Than Anything Cake” – it’s still an accurate description of its heavenly taste without any awkward explanations! This incredible dessert begins with a simple boxed chocolate cake mix, transformed into a moist masterpiece by being generously poked and infused with sweet, rich sweetened condensed milk. But the indulgence doesn’t stop there. Layers of gooey dulce de leche caramelized milk, decadent chocolate syrup, fluffy Cool Whip, and a generous sprinkle of crunchy Heath candy bar bits create a symphony of textures and flavors that will tantalize your taste buds. If your heart yearns for pure chocolate and caramel bliss, combined with an unforgettable moistness, look no further than this phenomenal Better Than Sex Cake recipe.
Unveiling the Magic: A Chocolate Caramel Poke Cake Marvel
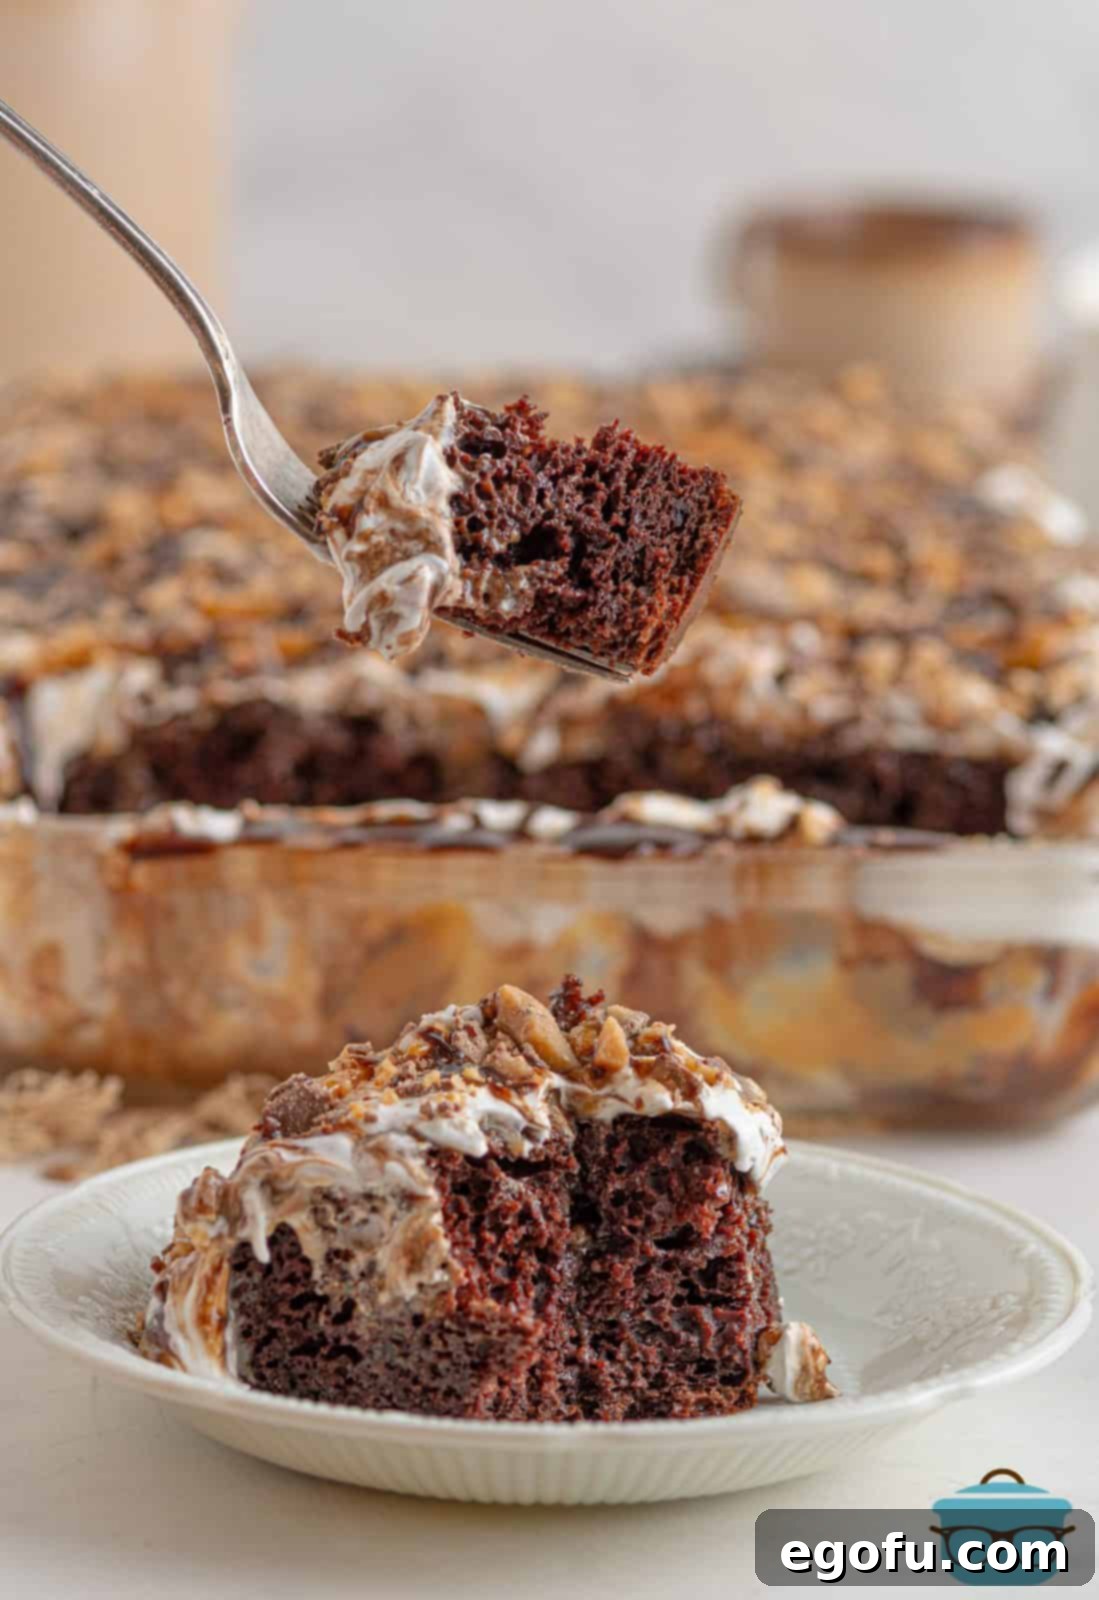
The secret to this cake’s unparalleled moisture and flavor lies in its ingenious “poke cake” technique. After baking a simple chocolate cake, you’ll create small holes across its surface. These tiny tunnels become conduits for liquid gold – sweetened condensed milk and warm dulce de leche – seeping deep into the cake layers, ensuring every forkful is saturated with rich, sweet goodness. This method not only enhances the flavor profile but also guarantees an incredibly tender and moist crumb that’s far from dry or bland. The combination of rich chocolate, luscious caramel (from the dulce de leche), and the creamy coolness of whipped topping creates a multi-layered dessert that’s both complex in taste and delightfully simple to prepare.
Why This Better Than Sex Cake is a Must-Try
Beyond its cheeky name and undeniable deliciousness, this cake boasts several qualities that make it a favorite for home bakers and dessert enthusiasts alike:
- Effortlessly Decadent: Starting with a boxed cake mix simplifies the baking process, allowing you to create a show-stopping dessert with minimal fuss. It proves that you don’t need to be a pastry chef to achieve extraordinary results.
- Unbelievable Moisture: The poke cake method, combined with generous soakings of sweetened condensed milk and dulce de leche, ensures an incredibly moist cake that stays fresh and delightful for days. Say goodbye to dry, crumbly cakes!
- Flavor Harmony: Chocolate, caramel, and toffee bits (from Heath bars) are a match made in heaven. Each ingredient complements the others, building a symphony of sweet, rich, and slightly salty notes that are utterly addictive.
- Crowd-Pleaser: Whether it’s a family gathering, a potluck, a birthday party, or just a casual dessert night, this cake is guaranteed to be a hit. Its appealing layers and familiar flavors make it universally loved.
- Customizable: While the classic recipe is perfect, it also offers flexibility for personalization. You can experiment with different chocolate cake flavors, substitute candy toppings, or even try homemade whipped cream.
- Make-Ahead Friendly: In fact, this cake actually improves with time as the flavors meld and deepen while it chills. This makes it an ideal dessert to prepare in advance, reducing stress on the day of your event.
Frequently Asked Questions About Better Than Sex Cake
The beauty of this recipe is its versatility! You can use any of your favorite chocolate cake flavors to build your base. Options like milk chocolate, dark chocolate, double chocolate, devil’s food cake, chocolate fudge, or even German chocolate cake mixes all work wonderfully. Each will lend a slightly different character to the final dessert. Personally, I find Duncan Hines’ Dark Chocolate Fudge Cake Mix delivers an excellent rich flavor and moist texture that pairs perfectly with the caramel and toffee. Feel free to choose the chocolate flavor that best suits your preference or whatever you have on hand!
Dulce de leche, a thick, caramelized milk, is a key component of this cake’s incredible flavor. You can typically find it pre-made in a can or a squeeze bottle in the international or Hispanic food aisle of most large grocery stores. If you enjoy a bit of a kitchen adventure, you absolutely can make your own! It’s a simple, albeit time-consuming, process that yields a deeply rich and satisfying caramel. You’ll need an additional can of sweetened condensed milk (beyond the one used for poking the cake).
Here’s how to make homemade dulce de leche from a can:
- First, carefully remove the paper label from the sweetened condensed milk can.
- Place the unopened can into a large pot.
- Fill the pot with enough water to completely cover the top of the can by at least 1 inch.
- Place the pot over medium-high heat and bring it to a rolling boil. Reduce heat to maintain a gentle simmer and let it boil for approximately 4 hours. Don’t worry; the can will not explode as long as it remains submerged in water!
- Throughout the boiling process, it’s crucial to ensure the water level consistently covers the can. Check the water level every 15-20 minutes and add more hot water as needed to keep the can fully submerged.
- Once the 4 hours are up, carefully remove the can from the hot water using tongs and allow it to cool completely to room temperature before opening. This cooling step is very important for safety and texture.
- Once cooled, open the can to reveal a magical transformation: a rich, thick, and delicious caramelized sweetened condensed milk, ready to be enjoyed as dulce de leche!
While you can serve this cake immediately after assembly, I highly recommend chilling it. Chilling allows all the wonderful flavors to meld together beautifully and gives the liquid layers (sweetened condensed milk, dulce de leche, chocolate syrup) ample time to fully soak into the cake, creating that signature moistness and rich texture. A minimum of 3 hours in the refrigerator is ideal, but for the absolute best results, an overnight chill (6-8 hours or more) will elevate the cake to its peak deliciousness, making it firmer, cleaner to slice, and even more flavorful. The longer it sits, the better it truly gets!
Absolutely! If you prefer a homemade touch or aren’t a fan of store-bought whipped topping brands like Cool Whip, feel free to use your favorite recipe for homemade whipped cream. Ensure you prepare enough to generously cover the entire surface of the cake. A good rule of thumb is to use 2 cups of heavy whipping cream, whipped with about 1/4 to 1/2 cup of powdered sugar and a teaspoon of vanilla extract, to achieve a similar volume and coverage to the 2 cups of Cool Whip specified in the recipe. The fresh, creamy taste of homemade whipped cream will add another layer of gourmet flavor to this already fantastic dessert.
While Heath bar bits (which are essentially toffee bits) provide a wonderful crunchy texture and buttery caramel flavor that beautifully complements the other ingredients, they are not mandatory. If you’re not a fan of Heath bars, or simply want to try a variation, you can easily omit them or substitute them with other chocolate candy pieces. Popular alternatives include chopped Butterfingers for a peanut buttery crunch, crushed Oreos for a cookies-and-cream twist, mini chocolate chips, chopped Snickers, or even just plain chopped pecans or walnuts for a nutty element. Feel free to get creative and customize the topping to your liking!
You’ll typically find bags of pre-chopped candy bar toppings, including Heath bits, in the baking aisle of your grocery store. Look near the chocolate chips, sprinkles, and other dessert decorations. If you can’t find them pre-packaged, it’s incredibly easy to make your own from whole Heath candy bars. Simply unwrap about two standard-sized Heath bars, place them in a zip-top bag, and gently pound them with a rolling pin or the flat side of a meat tenderizer until they break into small, desirable pieces. This method allows you to control the size of your toffee bits.
This cake stores exceptionally well, and as mentioned, often tastes even better the next day! To keep leftovers fresh, simply cover the pan tightly with plastic wrap or aluminum foil. Store the covered cake in the refrigerator. It will maintain its delicious moisture and flavor for up to 5 days. I do not recommend freezing this cake, as the whipped topping and the overall texture can be negatively affected by the freezing and thawing process, potentially becoming watery or losing its creamy consistency.
The name “Better Than Sex Cake” is a playful, hyperbolic declaration of its sheer deliciousness, suggesting it’s one of the most pleasurable desserts one can experience. It’s an informal, evocative name that has been popular in American home cooking since the 1980s. The cake is also sometimes known as “Robert Redford Cake” or “Death by Chocolate Cake” due to its rich and irresistible nature. Regardless of the name, the sentiment remains the same: this cake is incredibly good and a true indulgence.
Essential Ingredients for Your Decadent Better Than Sex Cake
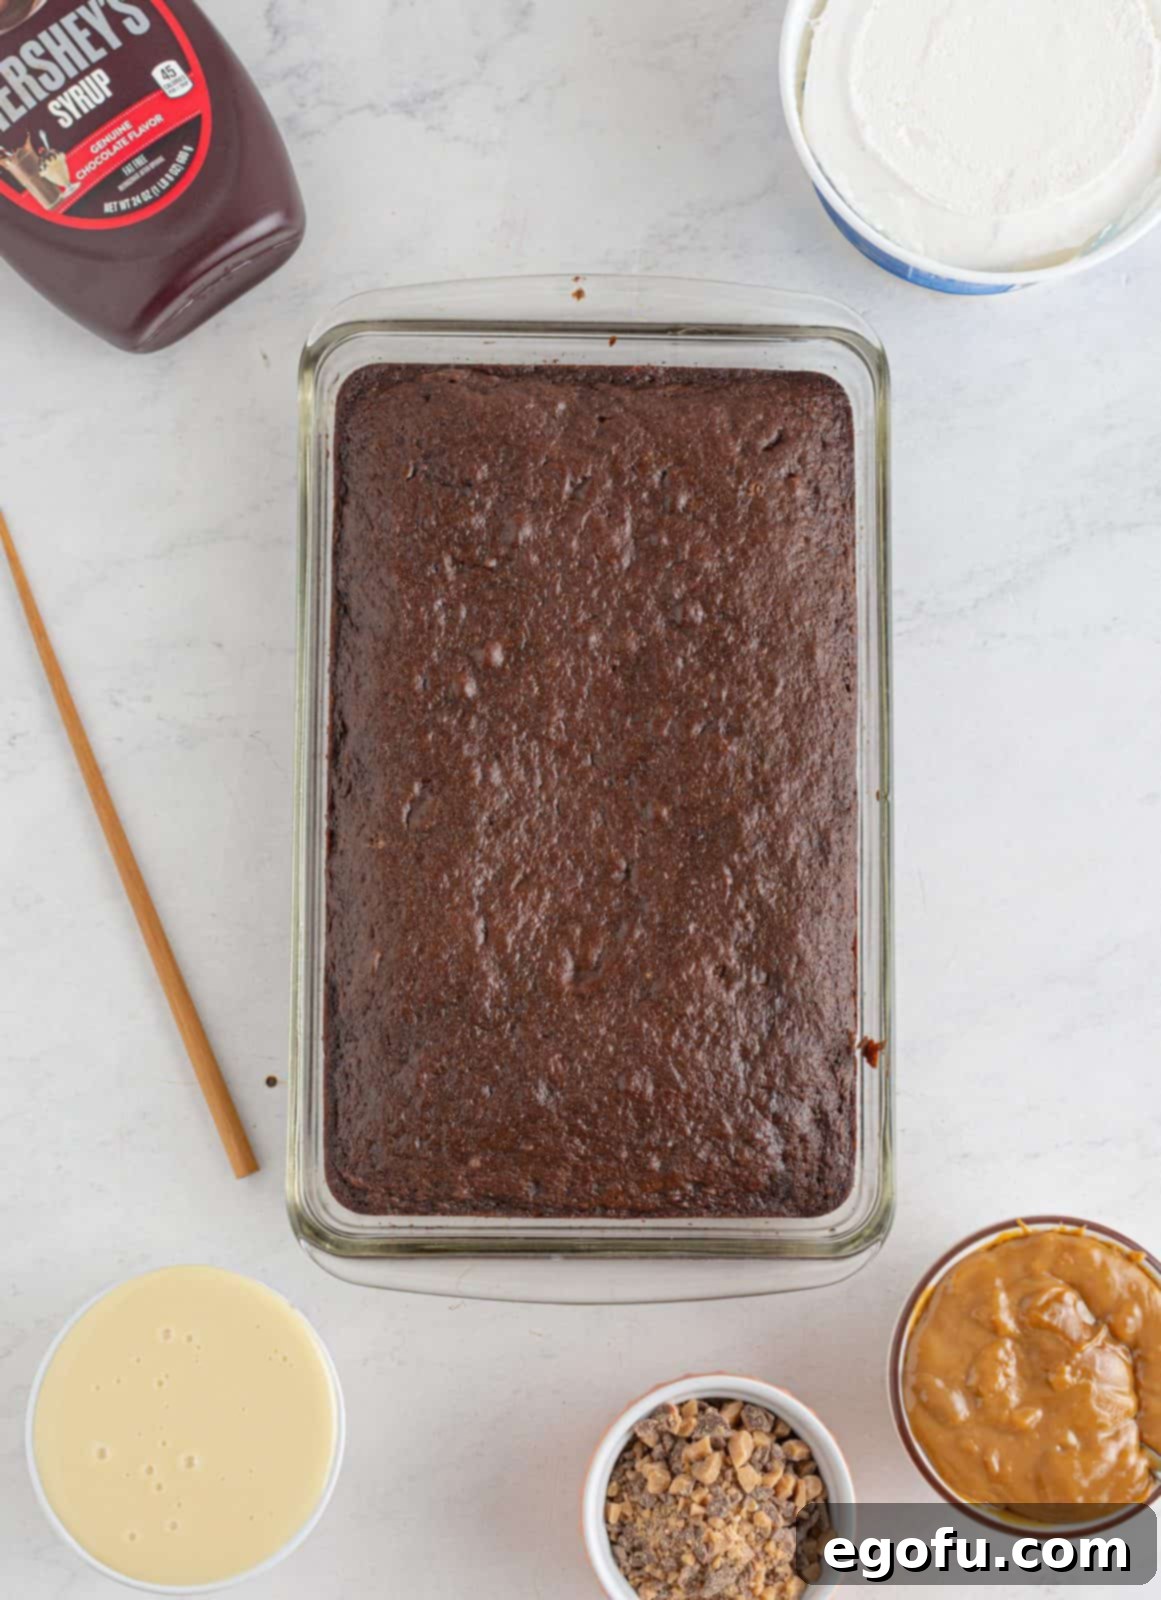
Gathering your ingredients is the first step towards creating this unbelievably moist and flavorful chocolate caramel masterpiece. Here’s what you’ll need:
- Chocolate Cake Mix: One 15.25 oz box of your favorite chocolate cake mix (along with the eggs, oil, and water specified on the back of the box for preparation). This forms the delicious foundation of our cake.
- Sweetened Condensed Milk: One 14-ounce can. This sweet, thick milk is key to the poke cake technique, infusing the cake with incredible moisture and sweetness.
- Dulce de Leche: One 13.4-ounce can, divided for use. This caramelized milk provides a rich, buttery caramel flavor that takes the cake to another level. (See FAQ for how to make your own!)
- Chocolate Syrup: ¾ cup, divided for use. For an extra boost of chocolate flavor and a beautiful drizzled finish.
- Cool Whip Whipped Topping: 2 cups. This provides a light, creamy, and cool contrast to the rich cake and caramel layers.
- Heath Candy Bar Bits: ½ cup. These toffee bits add a delightful crunch and a unique buttery, caramelized flavor.
Step-by-Step Guide: How to Craft the Perfect Better Than Sex Cake
Making this cake is surprisingly simple, and the results are consistently spectacular. Follow these steps for an unforgettable dessert:
1. Prepare and Bake the Chocolate Cake
Begin by preparing your chosen chocolate cake mix according to the package directions. Typically, this involves combining the cake mix with eggs, oil, and water. Pour the batter into a 9×13 inch baking pan and bake as instructed. Once baked, remove the cake from the oven and allow it to cool in the pan on a wire rack for about 10-15 minutes. This slight cooling period prevents the cake from crumbling excessively when poked.
2. Create the “Pokes”
Once your cake has slightly cooled but is still warm, it’s time for the signature “poke” technique. Using a chopstick, the handle of a wooden spoon, or a large straw, carefully poke holes all over the surface of the cake. Aim for holes that are about ¾ of an inch deep and spaced approximately 1 inch apart. These holes are crucial for allowing the sweet liquids to penetrate deep into the cake, ensuring every bite is incredibly moist and flavorful.
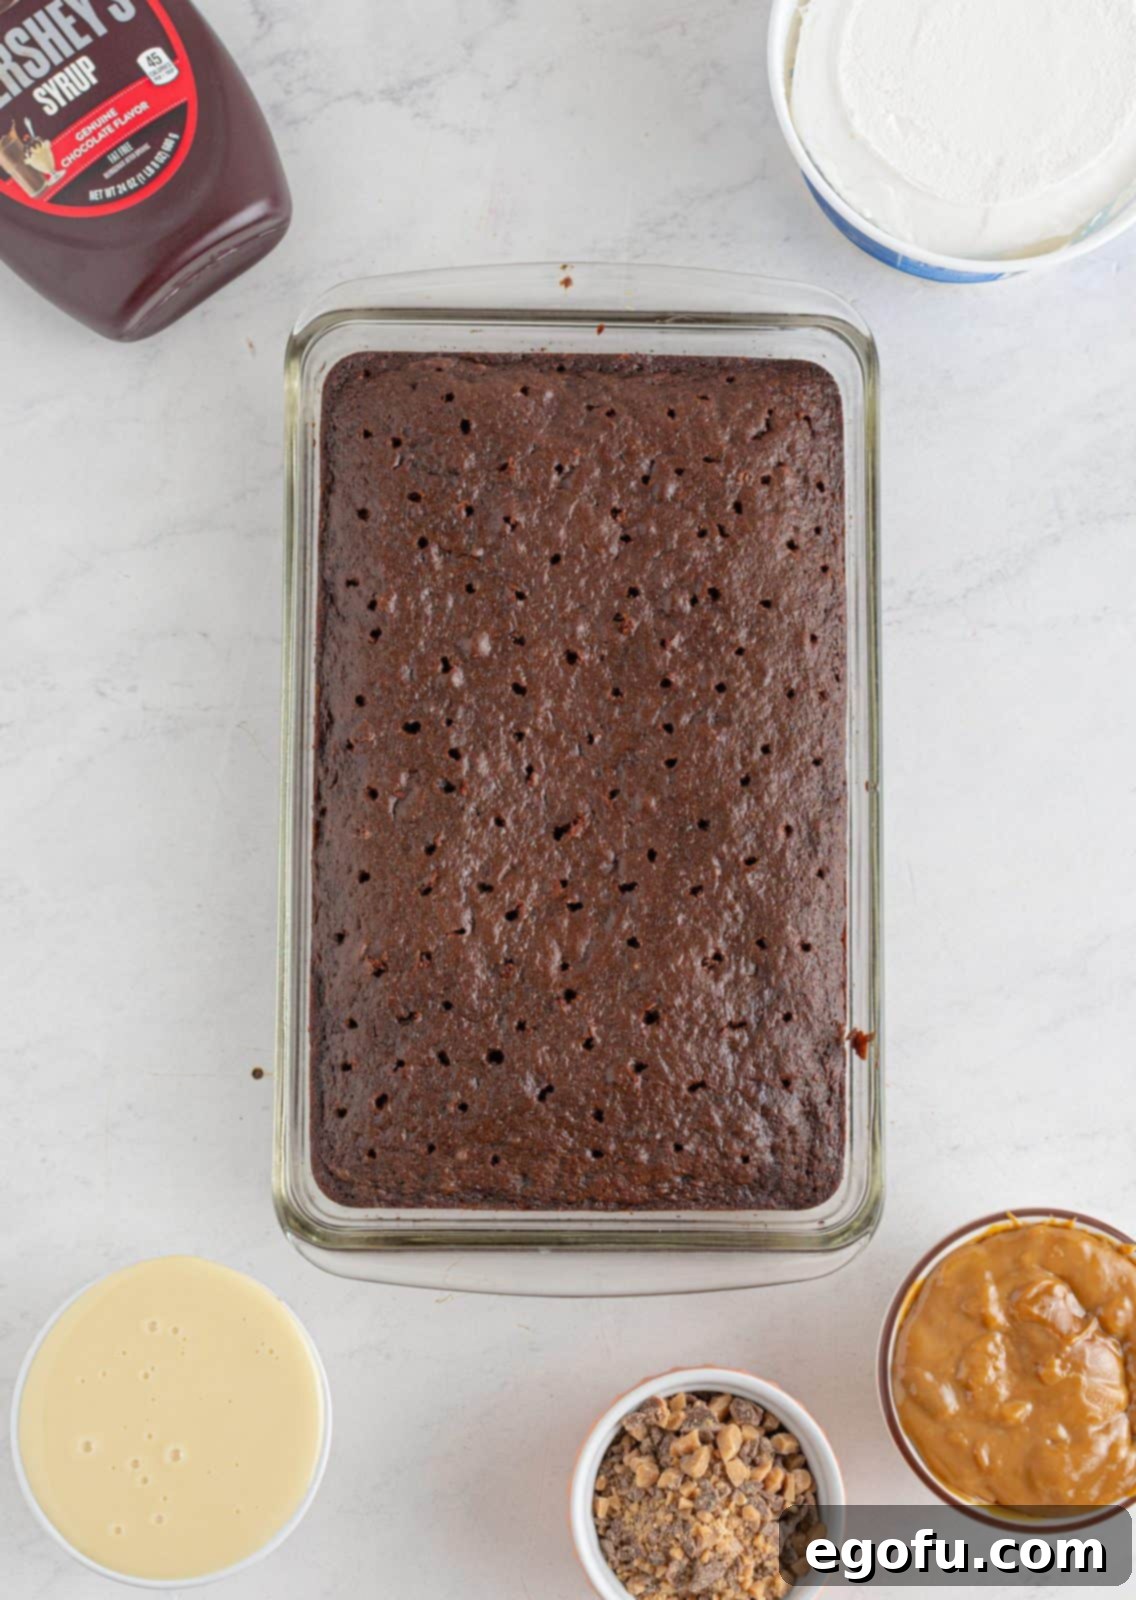
3. Drench with Sweetened Condensed Milk
Pour the entire can of sweetened condensed milk evenly over the poked surface of the cake. The holes you created will act like little wells, drawing the rich milk down into the cake. Allow it to soak in for a few minutes, giving the cake ample time to absorb all that sweet goodness. You’ll notice the cake visibly absorbing the liquid, becoming even more tender.
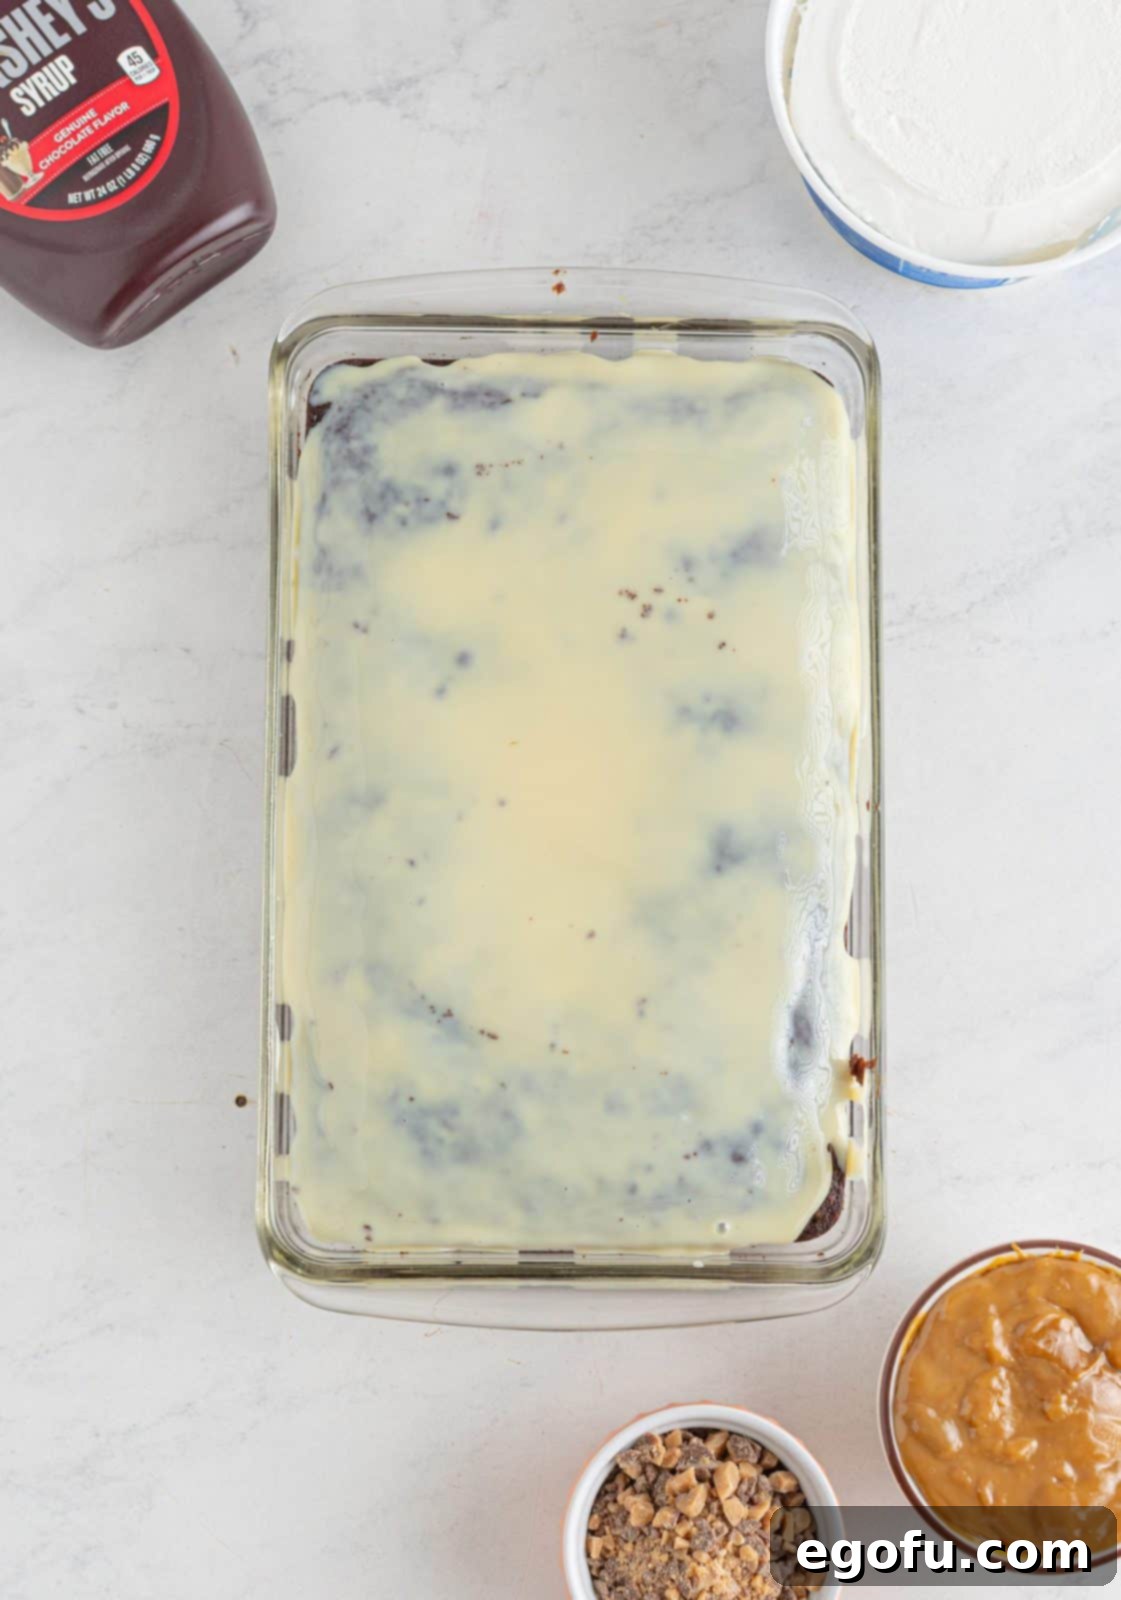
4. Add the First Layer of Dulce de Leche
Next, transfer about half of your can of dulce de leche into a microwave-safe measuring cup or bowl. Warm it in the microwave for 15-30 seconds, or just until it becomes smooth and easily spreadable. You want it warm enough to drizzle, but not hot. Drizzle this warmed dulce de leche over the sweetened condensed milk layer, spreading it gently with the back of a spoon or an offset spatula to cover the surface as best as possible. The goal is an even layer of luscious caramel.
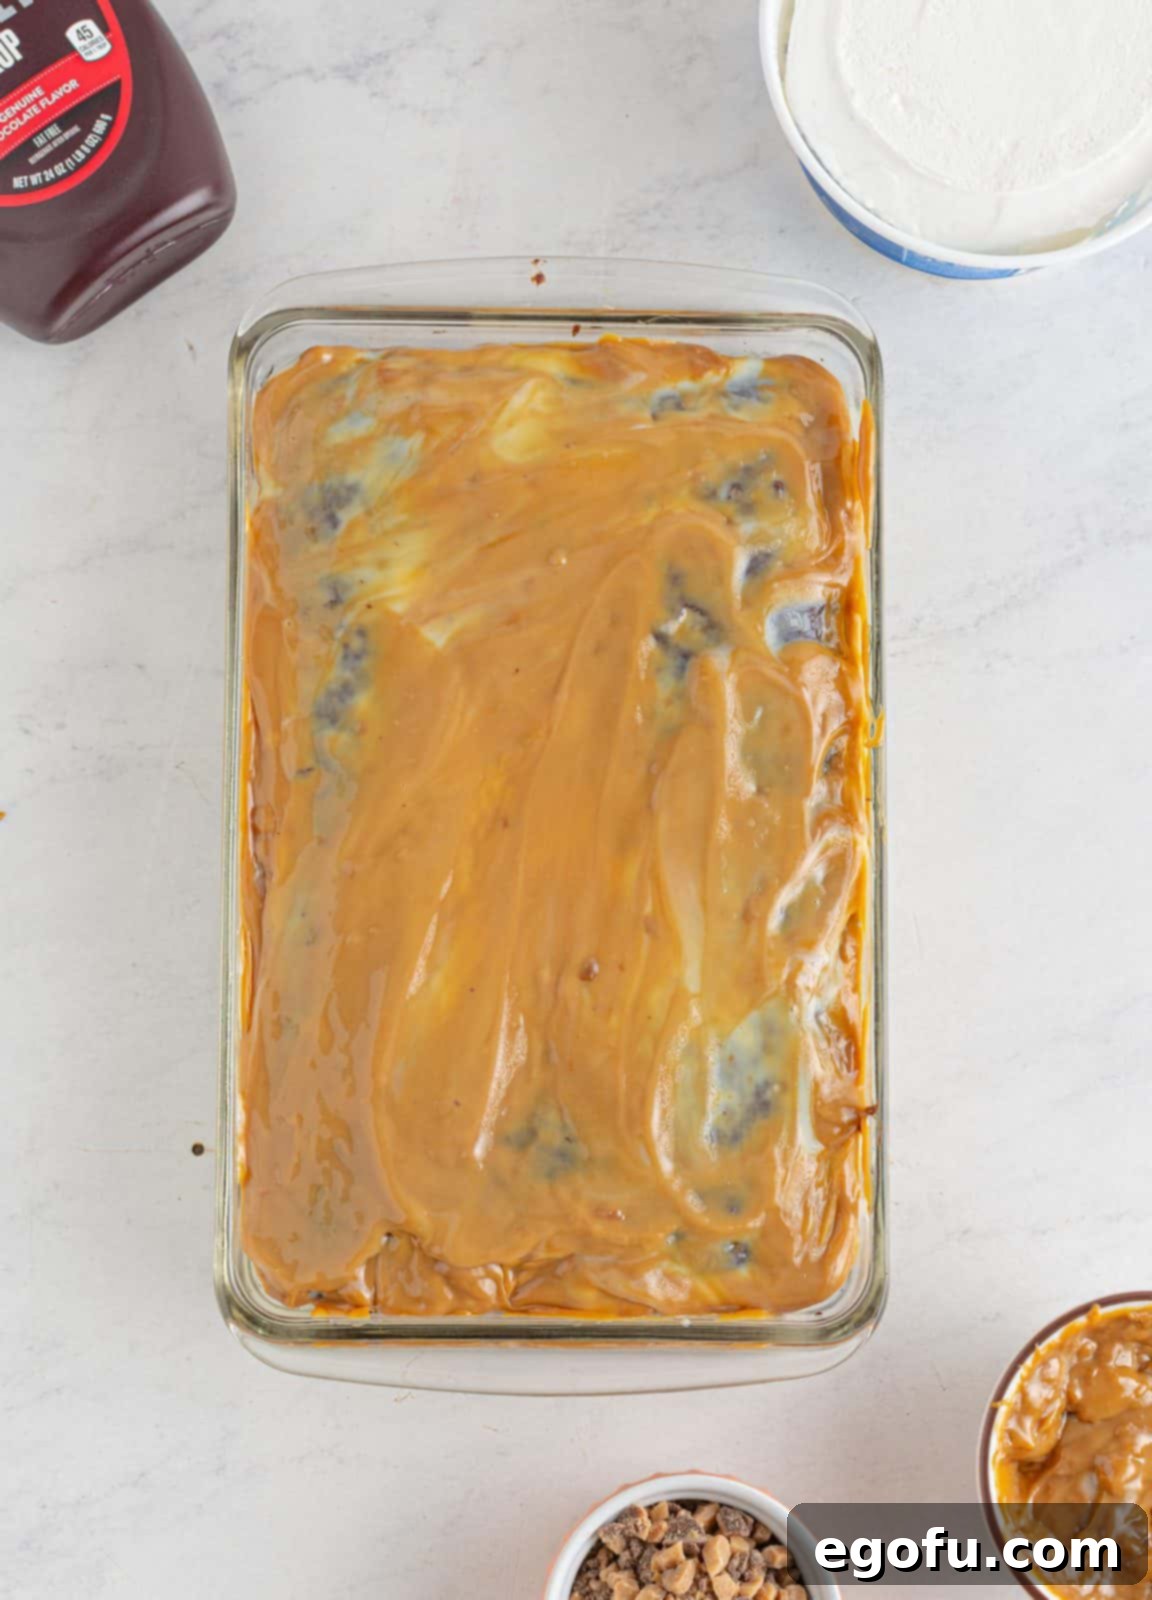
5. Drizzle with Chocolate Syrup
Measure out ½ cup of chocolate syrup and drizzle it over the dulce de leche layer. For a visually appealing effect, you can drizzle it in a decorative criss-cross pattern across the entire cake. This adds another dimension of chocolatey flavor and creates a beautiful marbling effect when cut.
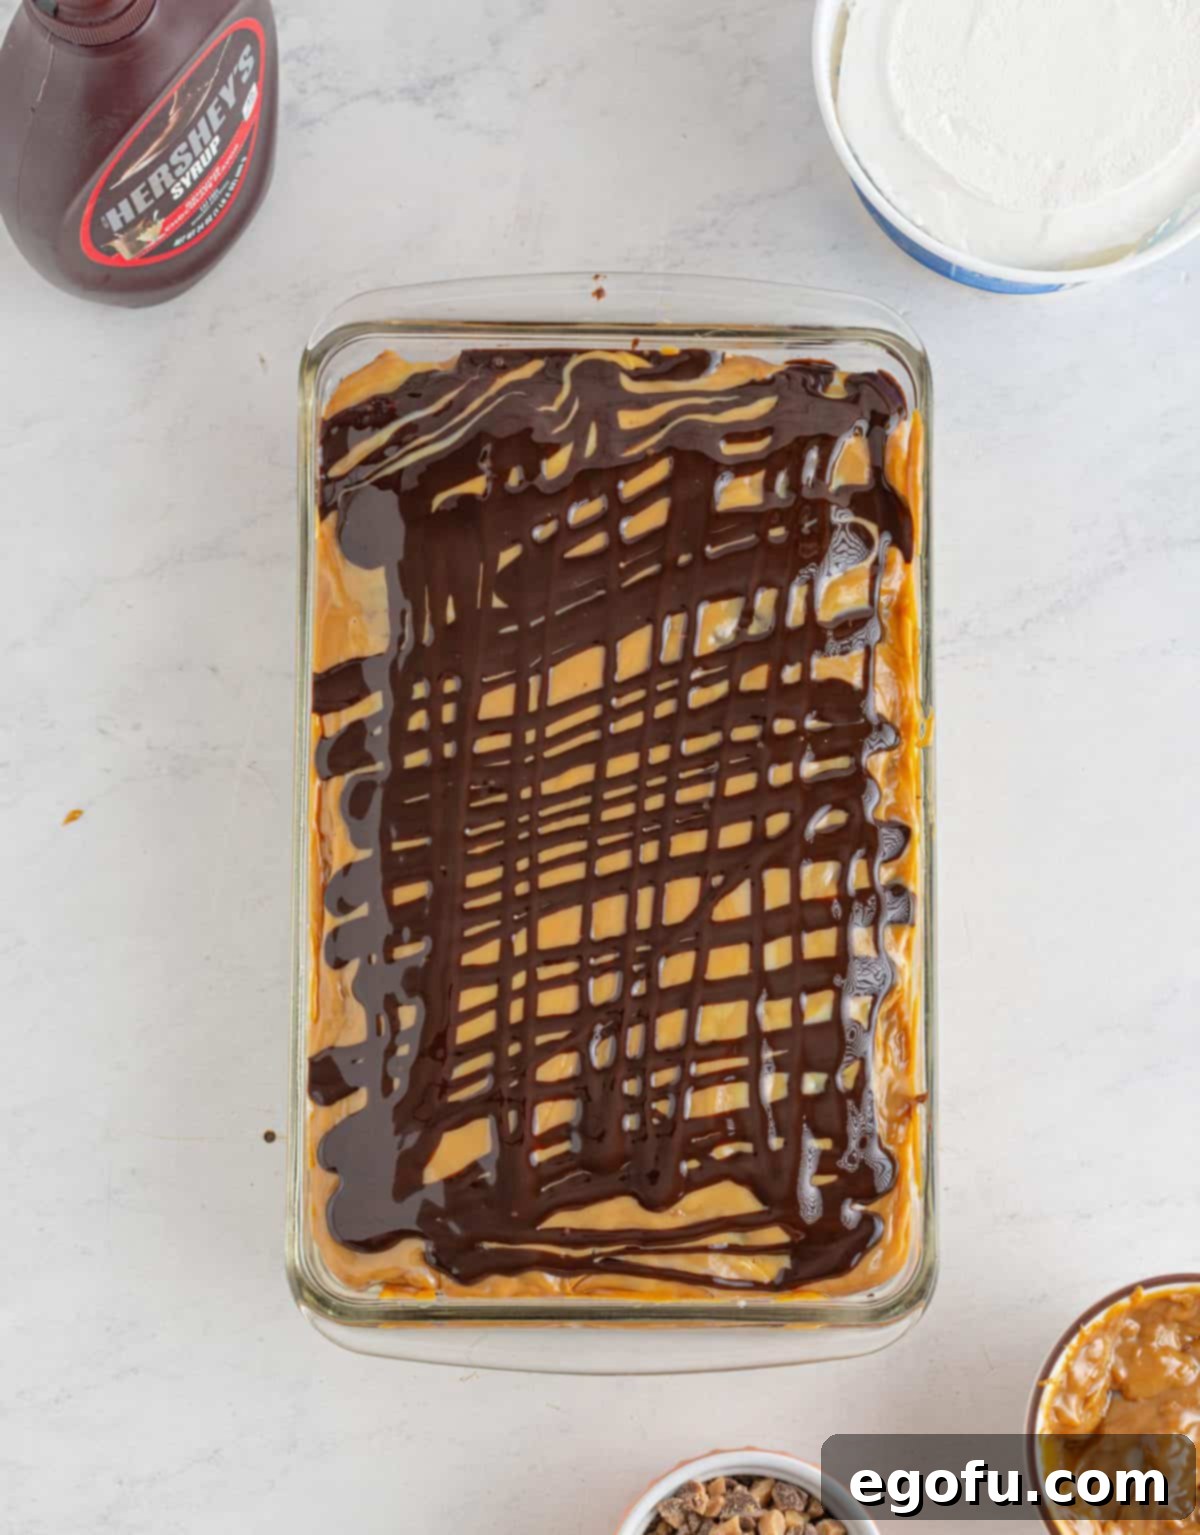
6. Top with Cool Whip and Heath Bits
Spoon the entire 2 cups of Cool Whip whipped topping over the chocolate syrup layer. Gently spread it out using an offset spatula or the back of a spoon to create an even, fluffy white topping that covers the entire cake. Immediately after, sprinkle the ½ cup of Heath candy bar bits evenly over the surface of the Cool Whip. The contrast of the creamy Cool Whip with the crunchy toffee bits is exquisite.
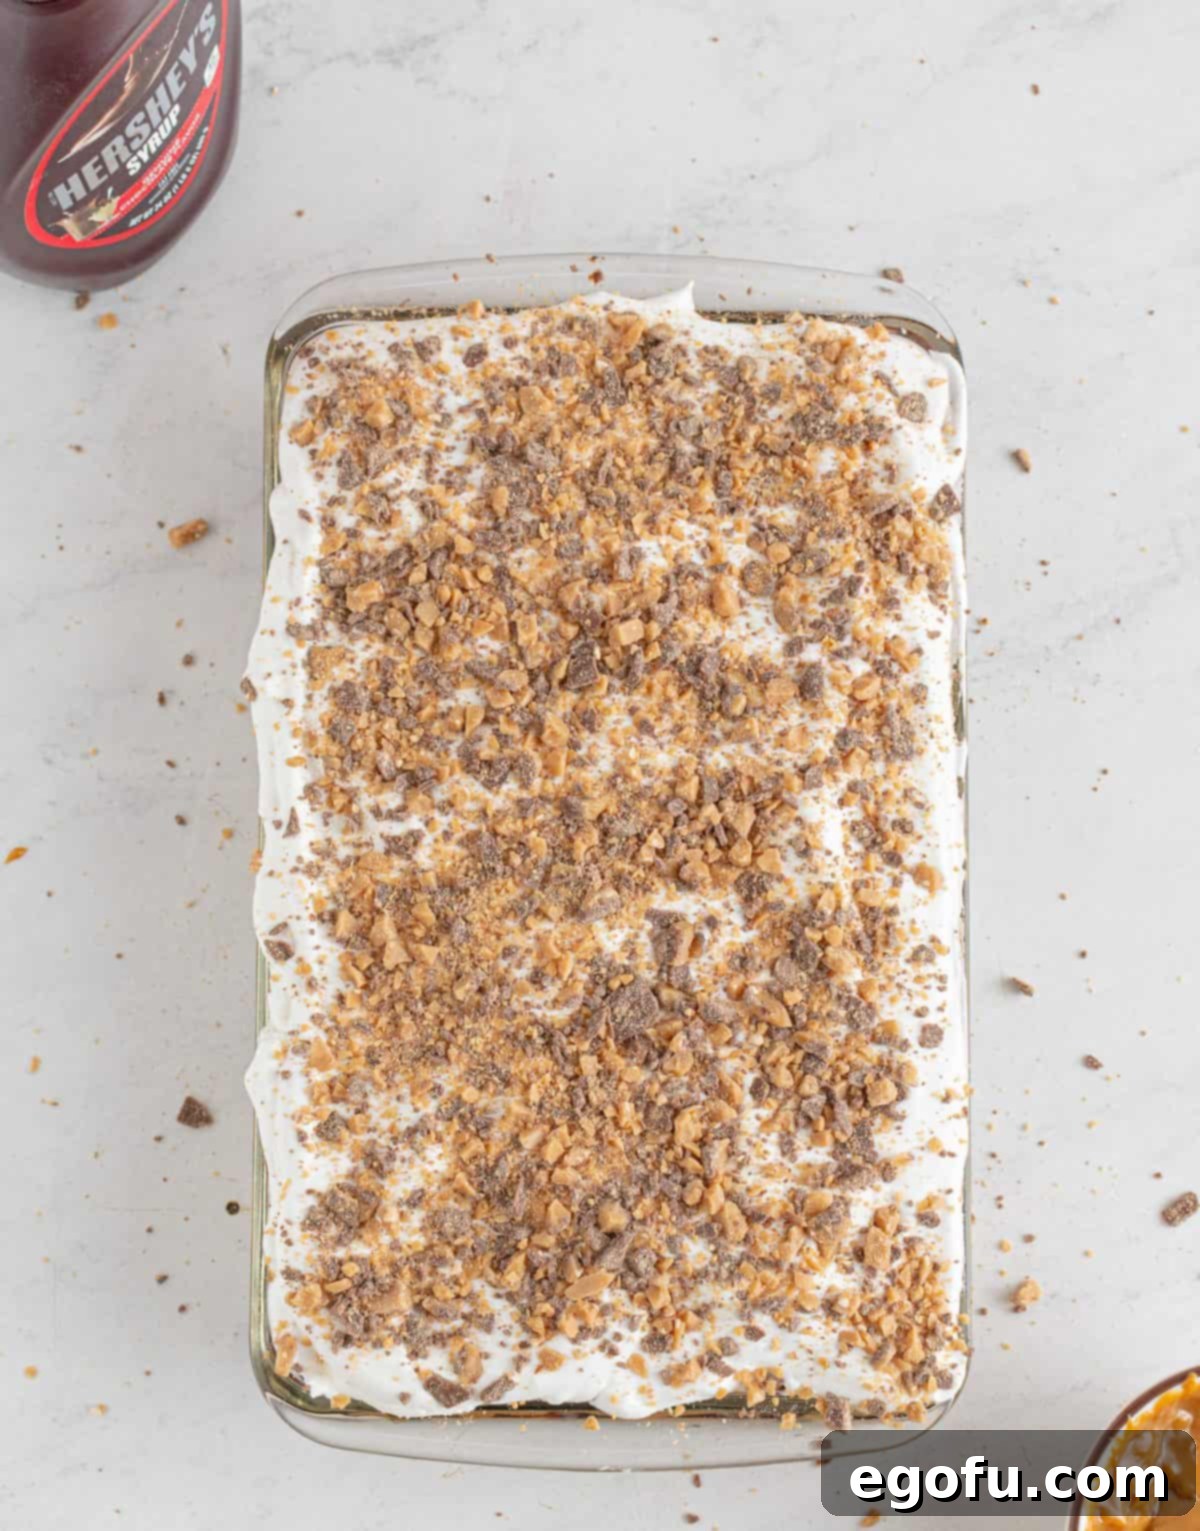
7. Final Dulce de Leche Drizzle
Take the remaining half of your dulce de leche. If it has cooled and thickened, warm it slightly in the microwave again until it’s pourable. Drizzle this remaining dulce de leche artfully over the Cool Whip and Heath bits. This final caramel layer adds another burst of rich flavor and a beautiful visual appeal to the finished cake.
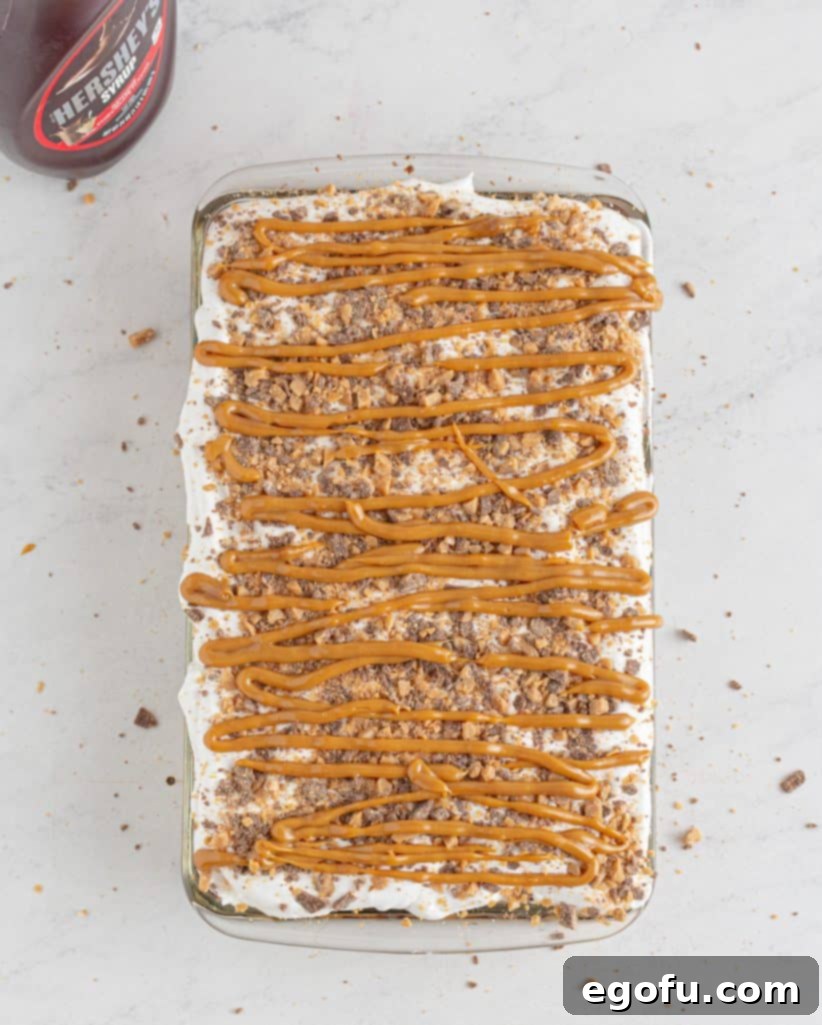
8. The Last Chocolate Drizzle
Finally, take the remaining ¼ cup of chocolate syrup and drizzle it over the entire cake, again in a decorative pattern if desired. This adds the finishing touch, marrying all the rich flavors together with a final flourish of chocolate.
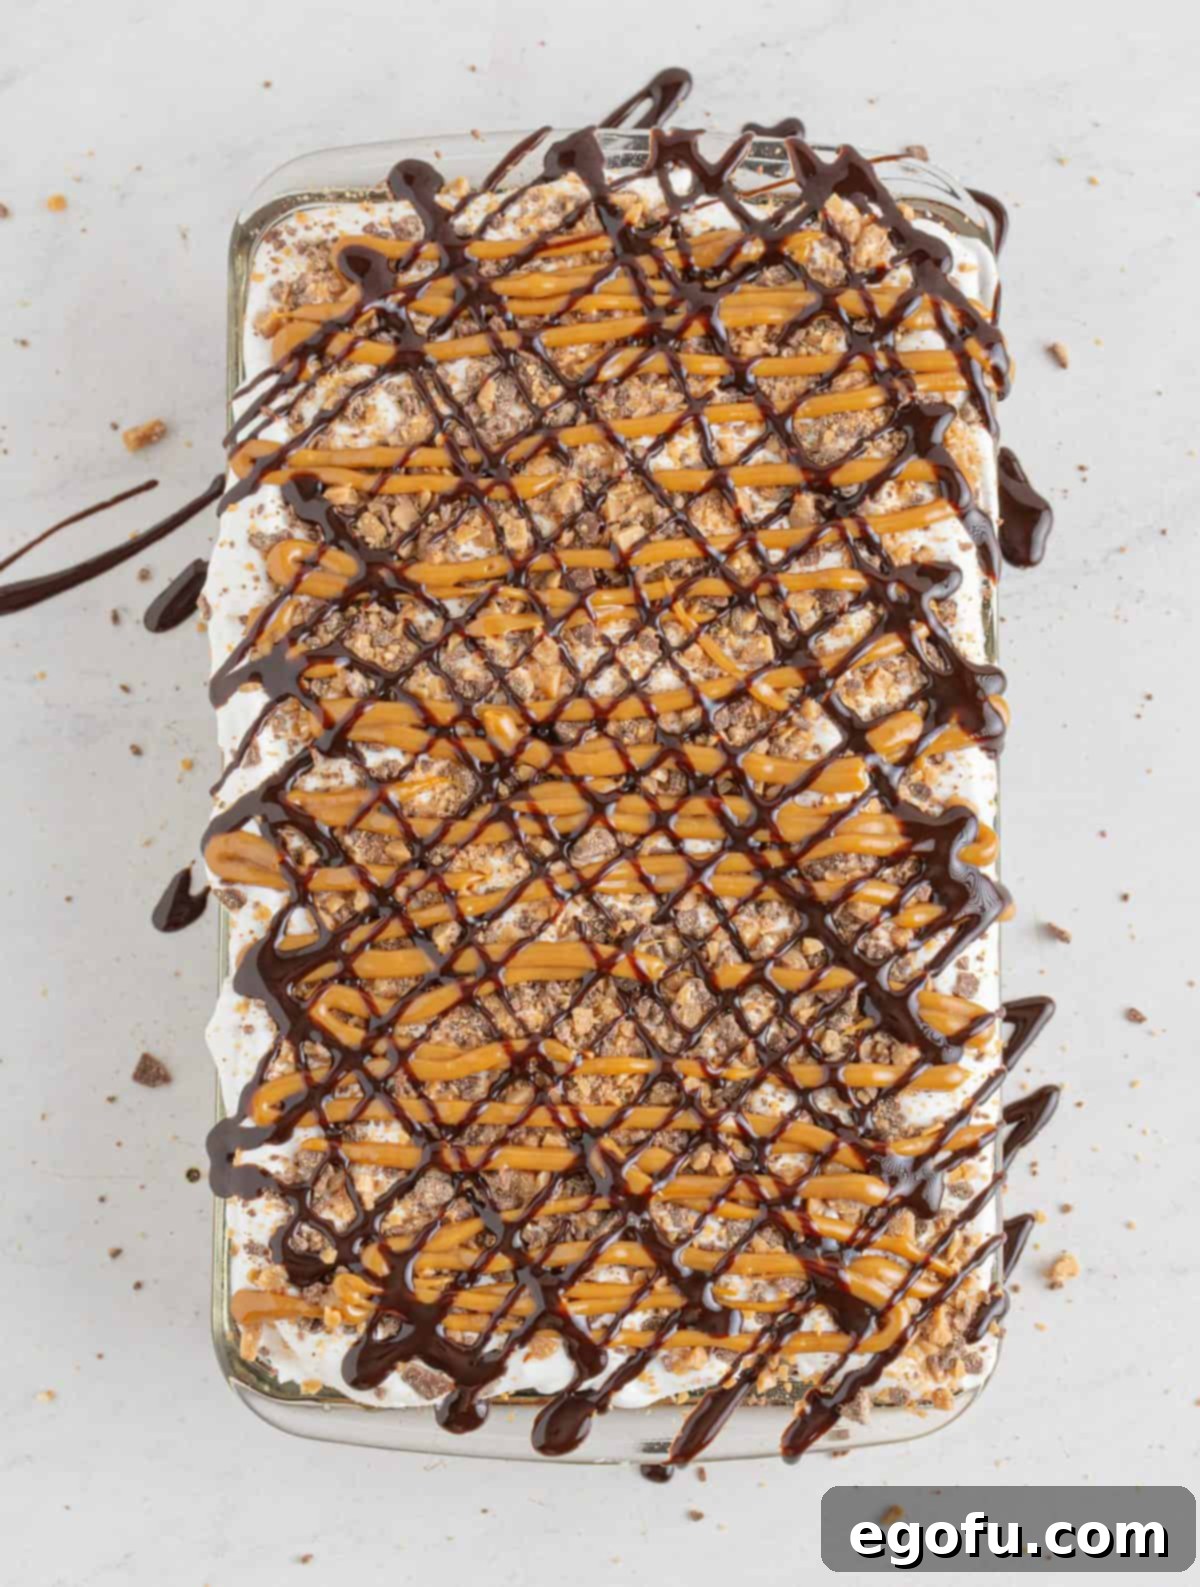
9. Chill and Serve
At this point, the cake is assembled and technically ready to serve. However, for optimal flavor and texture, I highly recommend chilling it in the refrigerator for at least 3 hours. This allows the various layers to set, the flavors to deepen and meld, and the cake to firm up slightly, making for much cleaner slices. While immediate serving is fine, expect a slightly messier (though no less delicious!) experience. The longer it chills, the better it becomes!
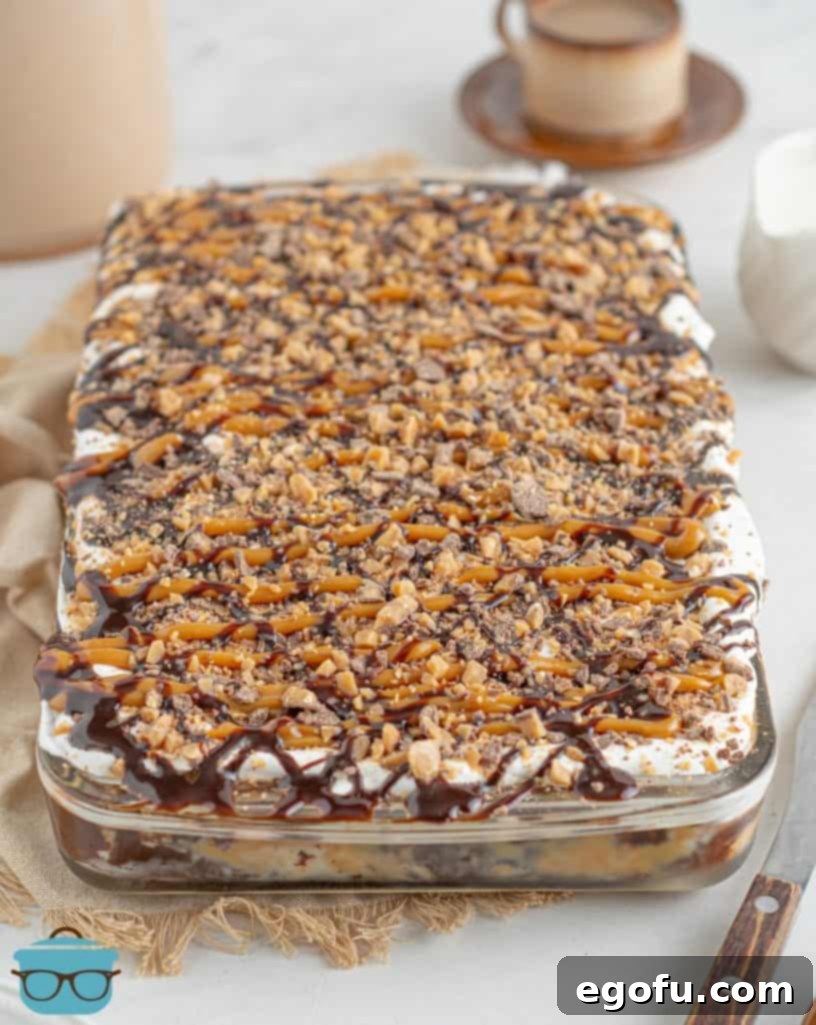
Once properly chilled, slice into generous portions and prepare for a chorus of compliments. Enjoy this utterly decadent and surprisingly easy-to-make Better Than Sex Cake!
Pro Tips for a Flawless Better Than Sex Cake
- Don’t Skimp on the Pokes: Ensure you create enough holes across the cake’s surface. These are essential for the liquids to fully penetrate and moisten the cake.
- Warm the Dulce de Leche: Warming the dulce de leche makes it much easier to drizzle and spread evenly, creating a smooth layer. Just be careful not to overheat it.
- Chill for Perfection: As emphasized, chilling is key. The extended refrigeration time allows the cake to fully absorb the flavors, firm up, and become incredibly moist and easy to slice. Plan ahead for the best results!
- Gentle Spreading: When spreading the Cool Whip, use a light hand. This prevents it from mixing too much with the lower layers and keeps your topping clean and fluffy.
- Customize Your Toppings: While Heath bits are classic, feel free to experiment. Crushed Butterfingers, mini chocolate chips, chopped nuts, or even a different type of candy bar can add a personal touch.
- Serving Temperature: This cake is best served chilled, directly from the refrigerator, for the best texture and flavor experience.
Explore More Irresistible Desserts from Our Kitchen
If you loved this decadent chocolate and caramel delight, you’ll surely want to explore more of our tempting dessert recipes. From rich chocolate cakes to creative poke cake variations, we have something to satisfy every sweet tooth:
- One Bowl Chocolate Cake with Creamy Frosting
- Oreo Better than Sex Cake (A fun twist on the classic!)
- Ultimate Chocolate Poke Cake
- Bailey’s Chocolate Poke Cake (For the adults!)
- Classic Chocolate Mayonnaise Cake
- Crock Pot Chocolate Spoon Cake (Effortless indulgence!)
- Oreo Pudding Poke Cake
- Easy Oreo Dump Cake
- Grandma’s Classic Texas Sheet Cake
Better Than Sex Cake
Print
Pin
Ingredients
- 15.25 oz chocolate cake mix (including ingredients on back)
- 14 ounce can sweetened condensed milk
- 13.4 ounce can dulce de leche, divided use
- ¾ cup chocolate syrup, divided use
- 2 cups Cool Whip whipped topping
- ½ cup Heath candy bar bits
Instructions
- Bake the cake according to package directions (for a 9″x13″ cake).
- To assemble this cake, poke the baked chocolate cake with a chopstick or straw to create holes.
- Pour sweetened condensed milk over the entire surface and allow it to soak in for a couple of minutes.
- Next, add HALF of the dulce de leche to a microwave safe measuring cup and microwave it just until it is smooth and spreadable. Drizzle it over the sweetened condensed milk and spread out to cover.
- Drizzle ½ cup chocolate syrup over the dulce de leche layer, in a criss-cross pattern.
- Spoon the Cool Whip over the top and gently smooth it out.
- Then, sprinkle Heath candy bar bits evenly over the surface of the Cool Whip.
- Drizzle the remaining half of the dulce de leche over the Cool Whip and Heath bar bits. Note: if necessary, you may need to warm it up slightly to get it to drizzle again.
- Finally, drizzle with the remaining ¼ cup chocolate syrup (again, a criss-cross pattern works well).
- This cake is best after it has chilled in the refrigerator for several hours (3+ hours or overnight). However, it can be served right away, though it may be a little messier to slice and serve.
Notes
- This cake truly benefits from chilling; its flavors meld and it becomes even more moist the longer it sits.
- Consider making your own dulce de leche for an extra special touch. Refer to the FAQ section above for instructions.
- If Heath bits aren’t your preference, feel free to substitute them with other chocolate candy pieces like Butterfingers or crushed Oreos.
Nutrition
Nutritional Disclaimer
“The Country Cook” is not a dietician or nutritionist, and any nutritional information shared is an estimate. If calorie count and other nutritional values are important to you, we recommend running the ingredients through whichever online nutritional calculator you prefer. Calories and other nutritional values can vary quite a bit depending on which brands were used.
