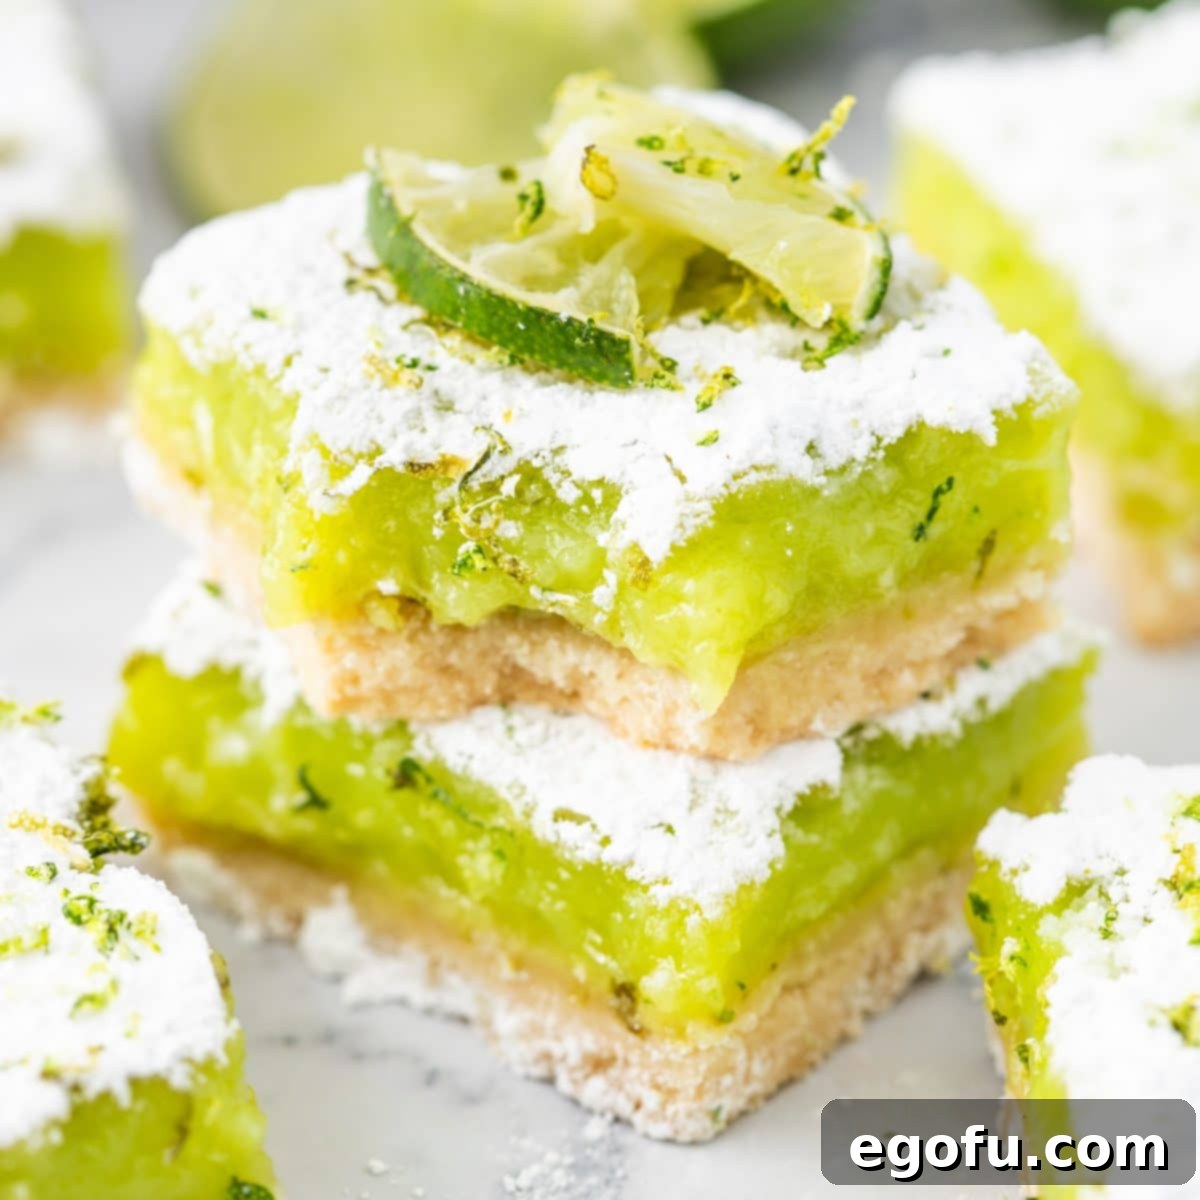
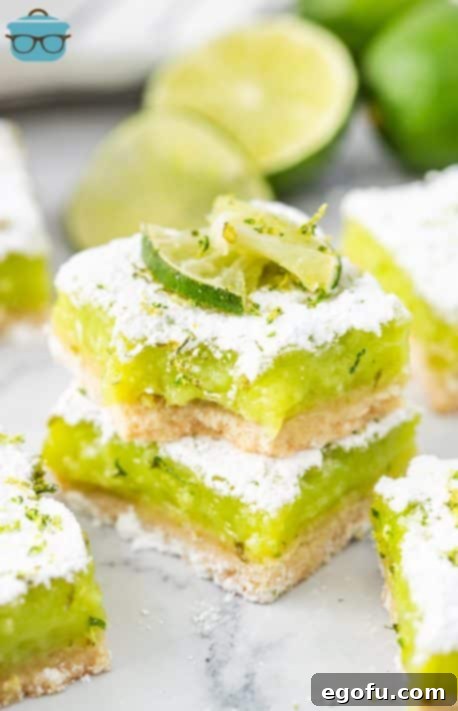
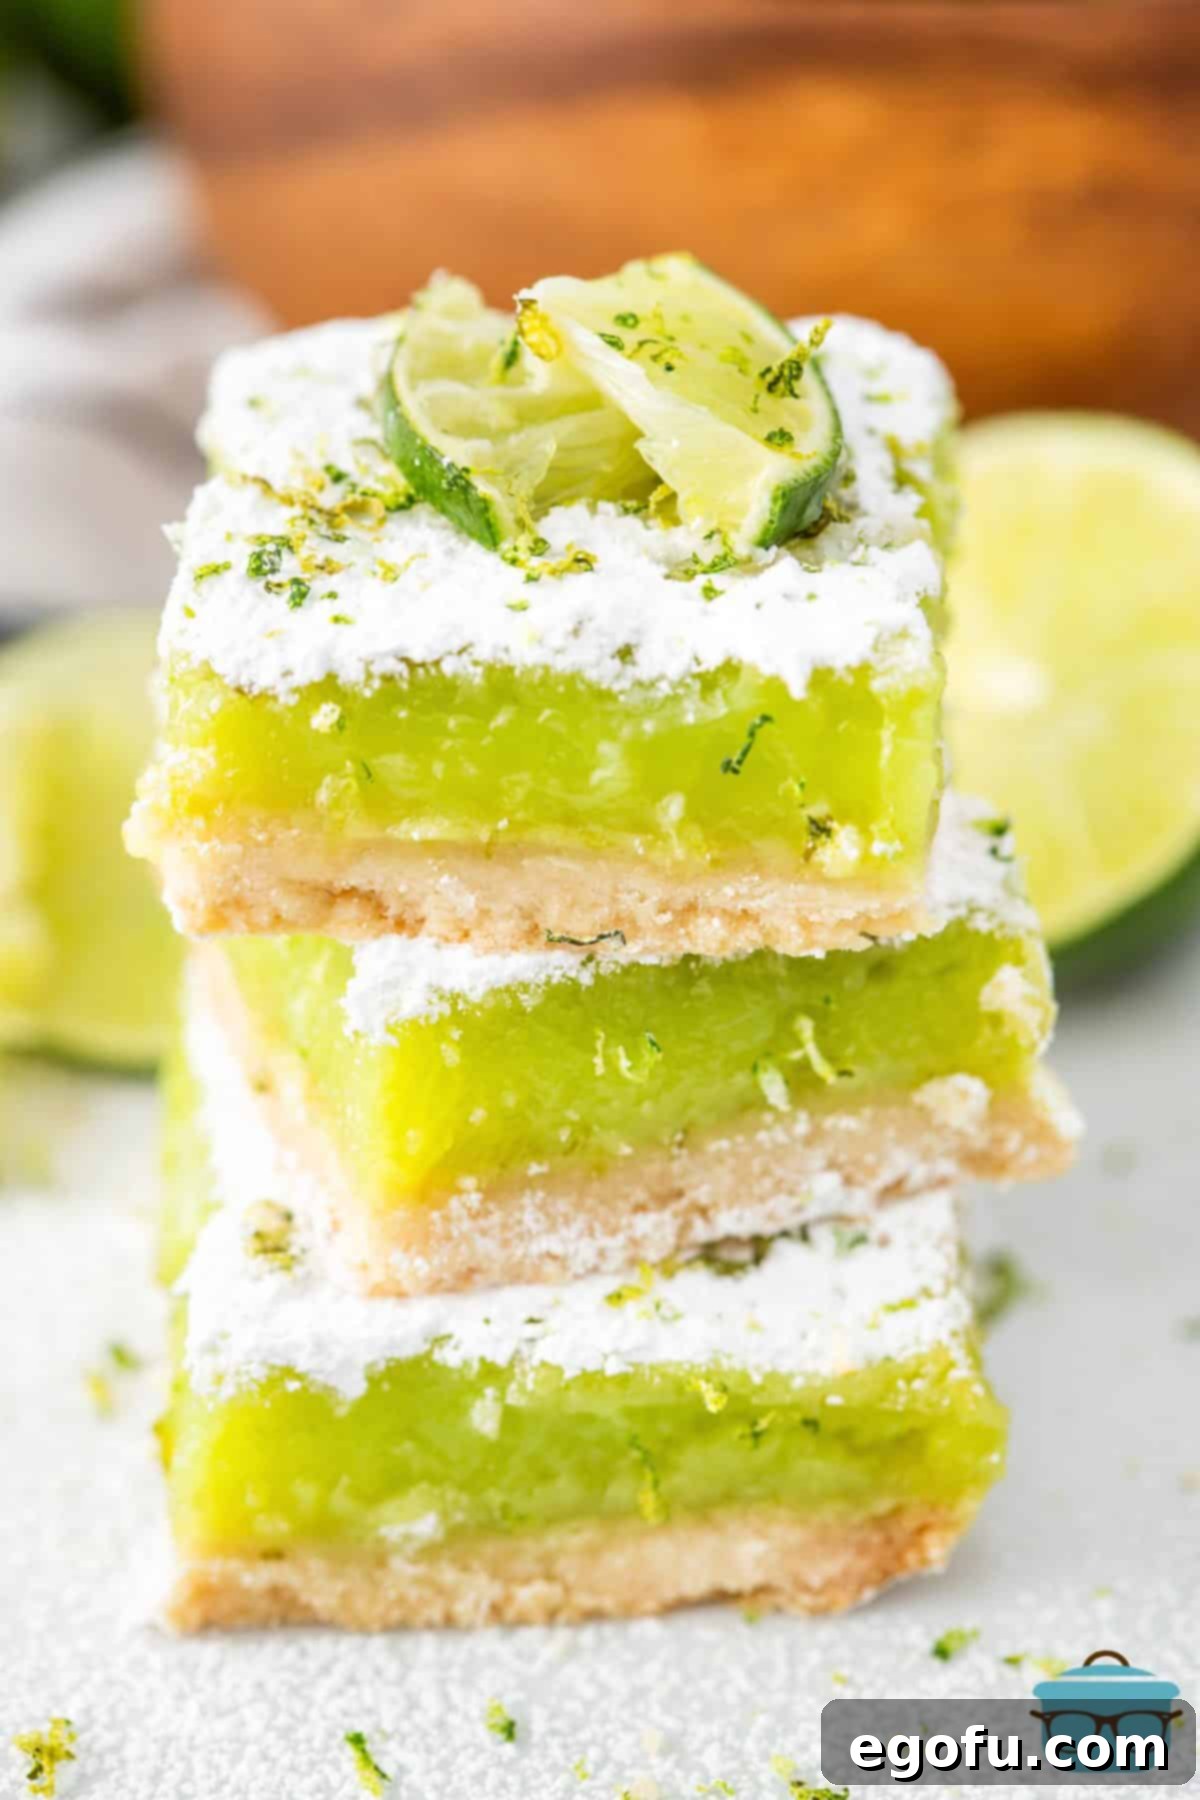
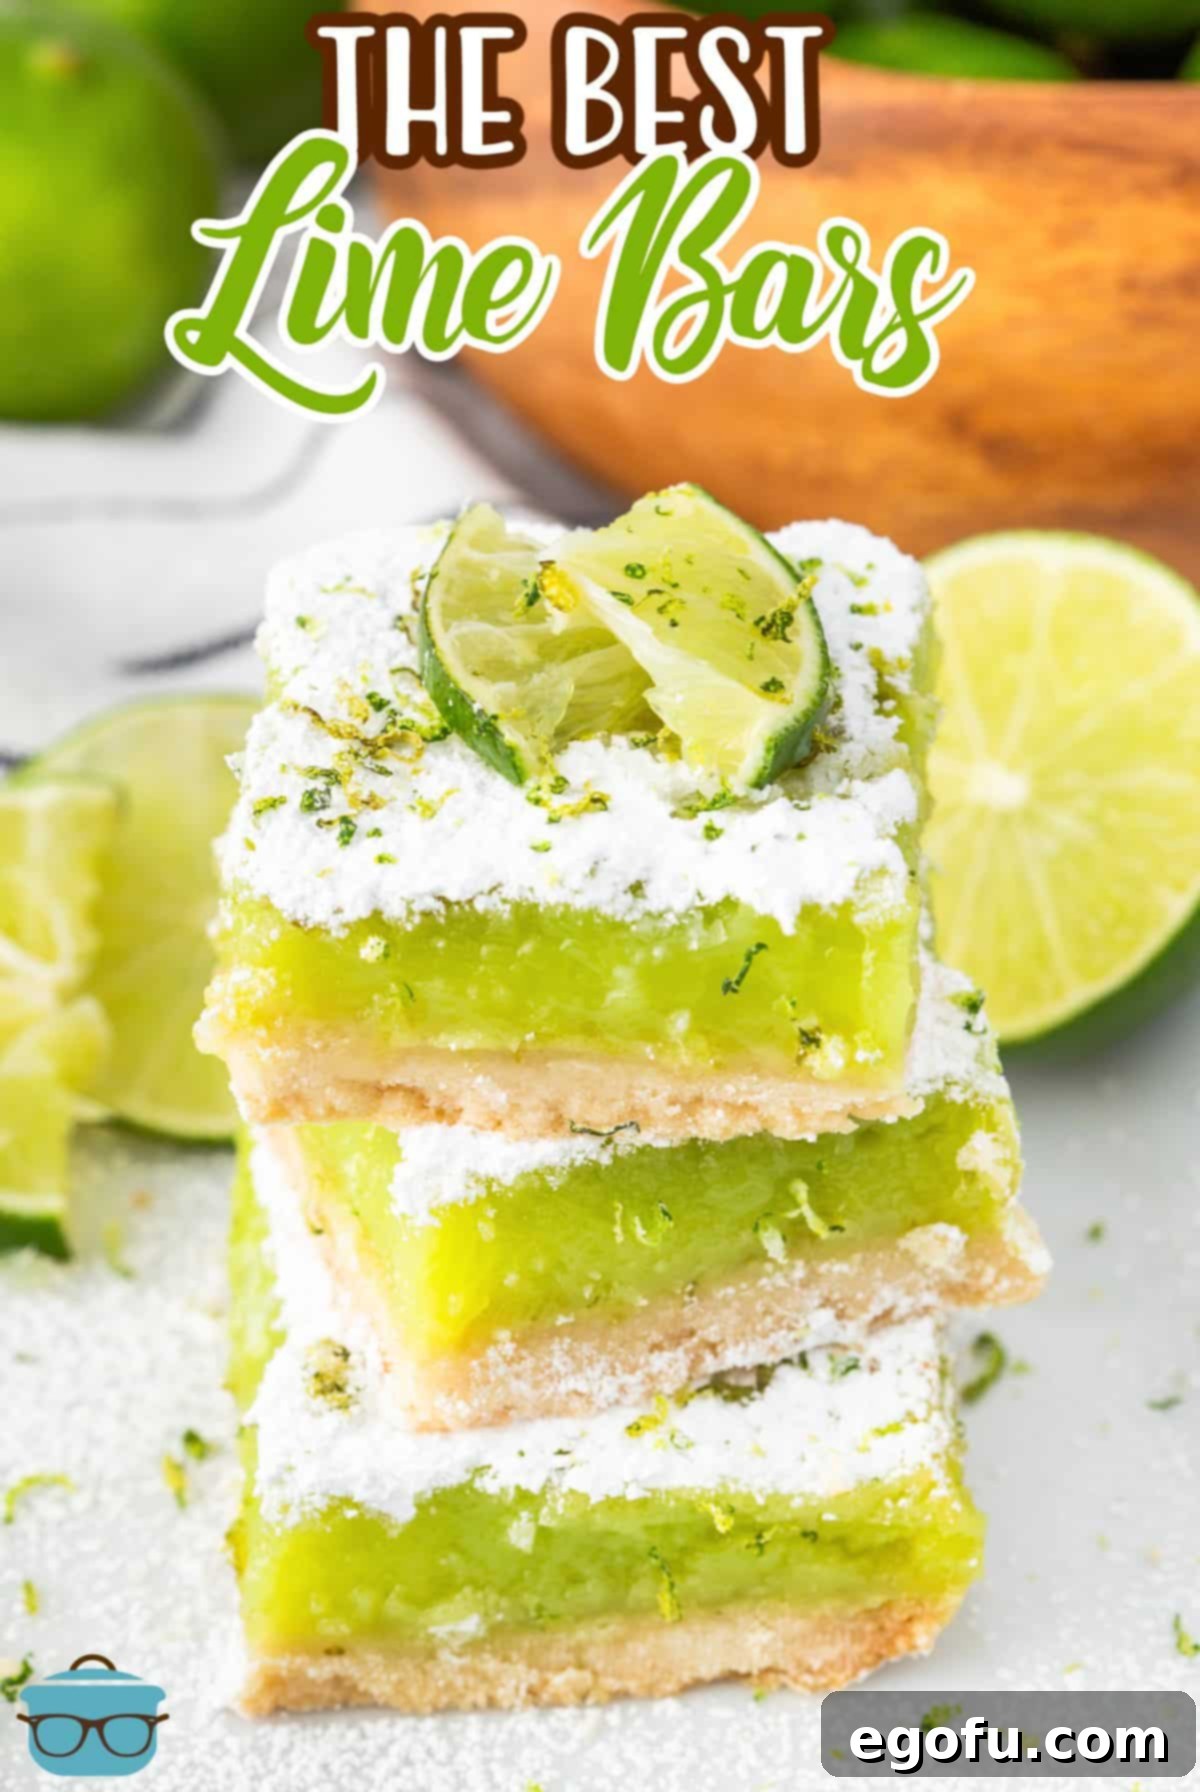
Experience the vibrant taste of summer with these exquisite Lime Bars. Featuring a perfectly buttery, crisp crust and a luscious, tangy lime filling, they strike the ideal balance of sweet and tart, making them an irresistible treat for any occasion.
Irresistible Lime Bars: Your Ultimate Summer Dessert Recipe
There’s nothing quite like the refreshing zest of lime to awaken your senses, especially on a warm day. Just like the beloved Lemon Bars, these Lime Bars deliver a delightful symphony of flavors. Each bite offers the perfect harmony of tanginess, sweetness, and a hint of invigorating tartness that’s simply perfect for warm weather enjoyment. This recipe is surprisingly easy to whip up, allowing you more time to savor other summer activities, perhaps lounging by the pool while these beauties chill to perfection in your refrigerator. What truly sets these lime bars apart is their wonderfully mellow flavor, a nuanced profile that makes them a more approachable and equally satisfying alternative to their more intense Key Lime counterparts.
Why These Lime Bars Are a Must-Try
Beyond their dazzling flavor, these Lime Bars are incredibly versatile and always a crowd-pleaser. They’re fantastic for backyard barbecues, picnics, potlucks, or simply as a refreshing treat after a long day. The vibrant green (if you choose to add food coloring) and bright citrus aroma make them an instant hit. Unlike many desserts that require elaborate steps or specialized equipment, this recipe keeps things simple without compromising on taste or texture. The contrasting textures of the tender, melt-in-your-mouth crust and the smooth, creamy filling create a truly memorable dessert experience.
Frequently Asked Questions About Lime Bars
Key limes are notably smaller, possess a distinct floral fragrance, and are generally more acidic and tart than regular (Persian) limes. Regular limes, which are more commonly found in grocery stores, are larger, have a slightly milder acidity, and a less intense tartness. Both can be used in lime bar recipes, but they will yield different flavor profiles. Our recipe specifically calls for regular limes to achieve that perfect mellow balance.
For this particular recipe, we’ve designed it to shine with regular Persian limes. Their balanced acidity and juicy pulp are ideal for creating the filling’s signature flavor. However, if you prefer a more intensely tart experience, Key limes can absolutely be substituted. Just be aware that you might need a few more Key limes to get the same amount of juice, and the flavor will be tangier.
While our buttery shortbread-style crust is a classic choice, a graham cracker crumb crust offers a delightful alternative. To make one, simply combine about 1½ cups of graham cracker crumbs with ¼ cup granulated sugar and 6 tablespoons of melted unsalted butter. Press this mixture into your prepared pan and bake for about 10-12 minutes before adding the lime filling. You could also experiment with a vanilla wafer crust for a different twist!
Achieving clean, smooth edges on your bars is simple with a few tricks. First, ensure the bars are thoroughly chilled before cutting – this is crucial. Before each cut, wipe your knife blade clean with a damp paper towel to prevent sticking and dragging. For extra smooth lines, you can run your knife under warm water, dry it quickly, and then make a cut. Repeat this process for each slice. This technique helps create beautifully presented bars every time.
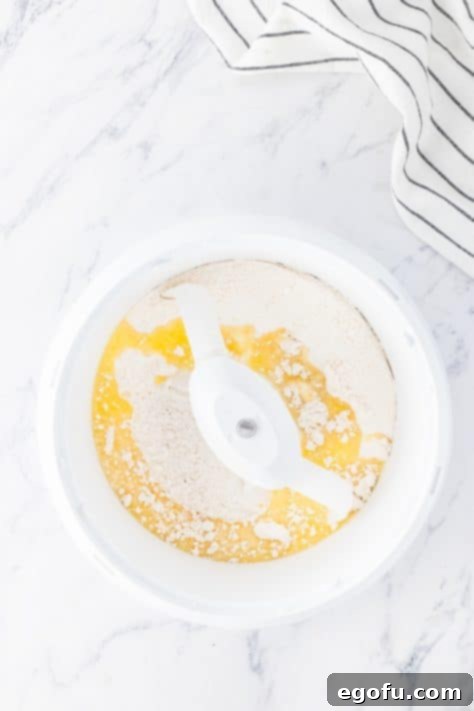
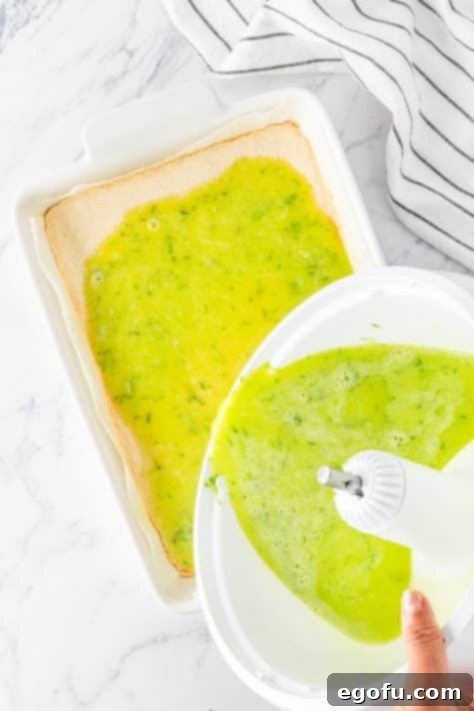
Many readers ask about the mixer featured in our process photos! I used a Bosch mixer (paid affiliate link) for this Lime Bar recipe. While it’s a fantastic piece of equipment, any good quality stand mixer or even a hand-held electric mixer will work perfectly well for this recipe. Don’t feel you need a high-end mixer to achieve delicious results – your standard kitchen appliances are more than capable!
To maintain their freshness and flavor, leftover Lime Bars should be stored in an airtight container in the refrigerator. They will keep beautifully for up to a week. For longer storage, you can also freeze these bars. Wrap them tightly in plastic wrap and then aluminum foil, and they’ll stay fresh in the freezer for up to 3 months. Thaw them in the refrigerator before serving for the best texture.
Absolutely! These lime bars are an excellent make-ahead dessert. You can prepare them a day or two in advance and store them in an airtight container in the refrigerator. The flavors often deepen and meld beautifully after a day, making them even more delicious. Just dust with powdered sugar right before serving for the freshest presentation.
Beyond a generous dusting of powdered sugar, there are several delightful ways to garnish your Lime Bars. Freshly grated lime zest adds an extra burst of aroma and visual appeal. Thin slices of fresh lime, perhaps a half-slice or a small wedge, can be placed on top of each bar for an elegant touch. For a more decadent option, a dollop of whipped cream or a sprinkle of toasted coconut flakes can also complement the lime flavor beautifully.
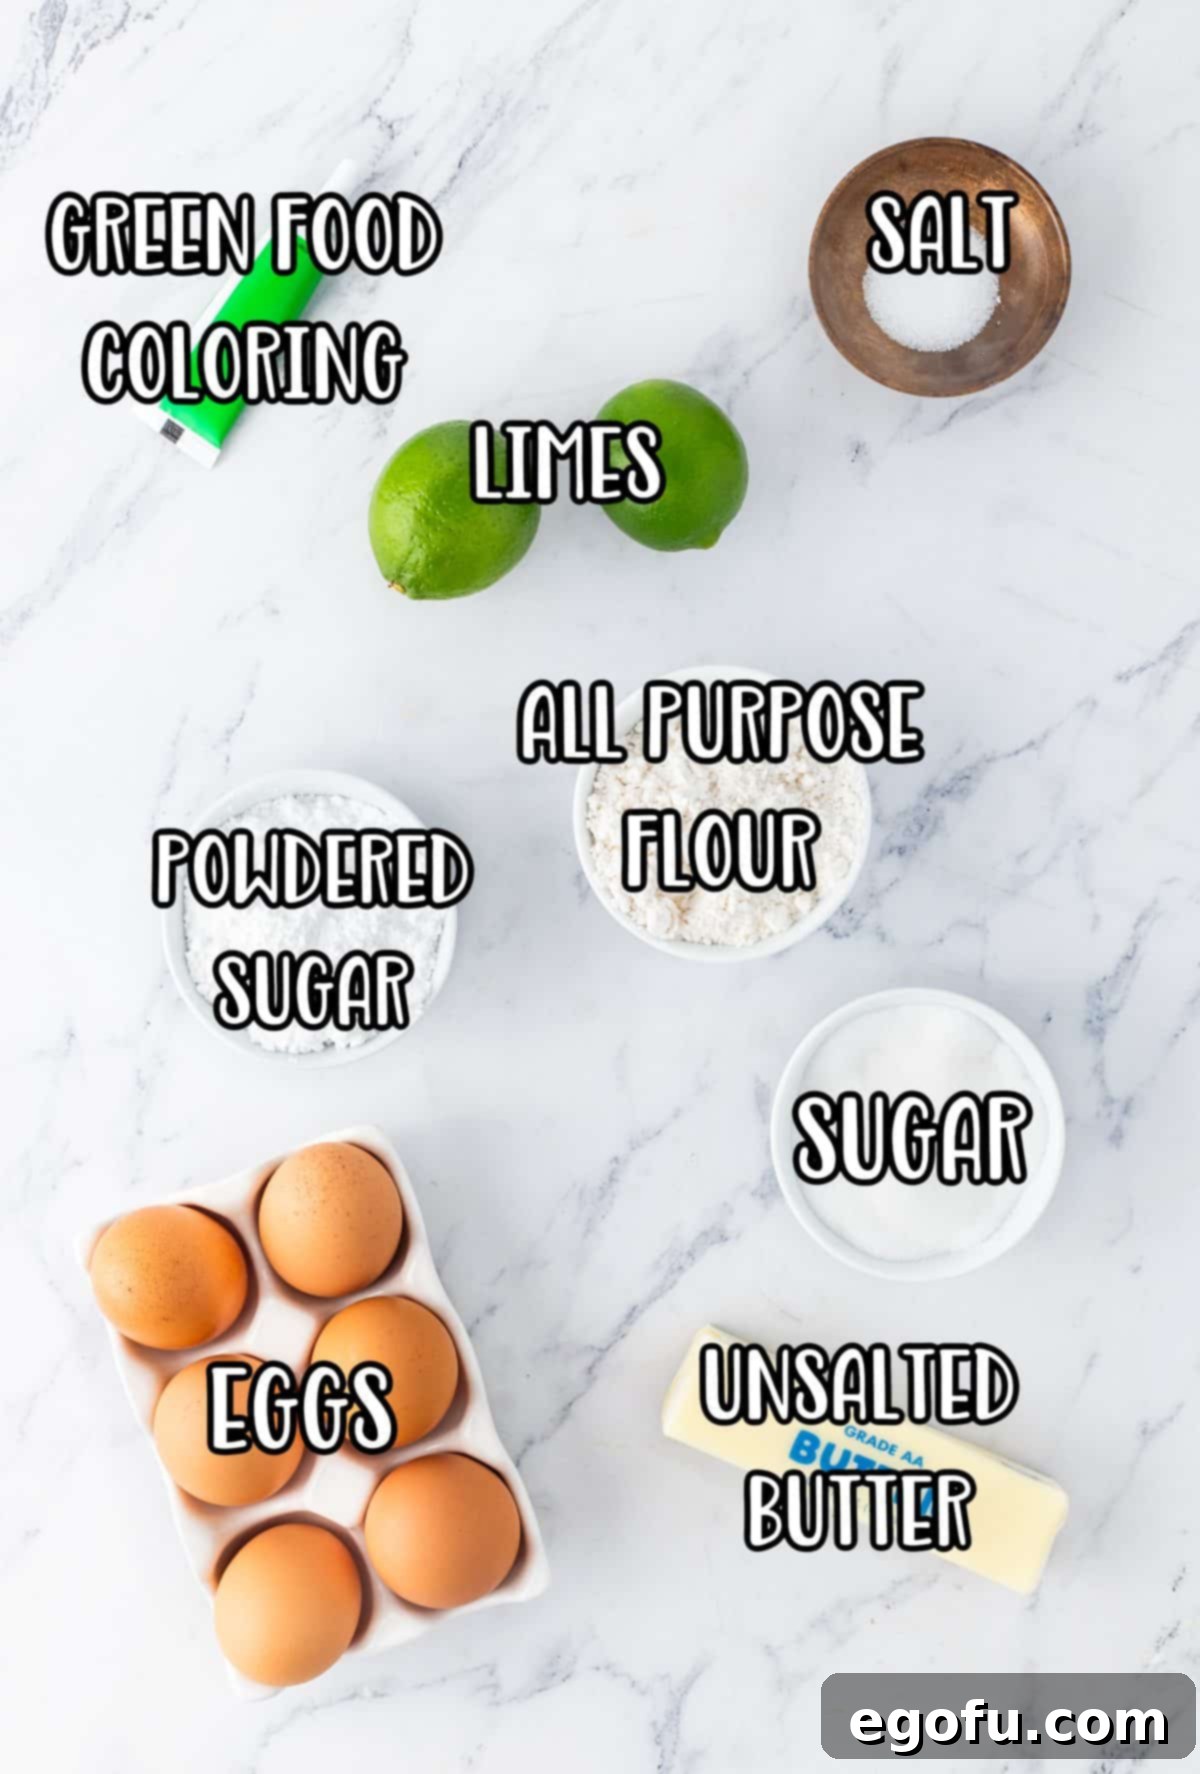
Key Ingredients for Unforgettable Lime Bars
The magic of these Lime Bars lies in a few simple, high-quality ingredients. Each component plays a vital role in achieving that perfect balance of texture and flavor. Here’s a closer look at what you’ll need and why each ingredient is important for achieving that delightful tangy-sweet perfection:
Essential Ingredients
- All-purpose flour: Forms the sturdy yet tender base of our shortbread crust. Ensure it’s measured correctly for the right consistency.
- Powdered sugar: Also known as confectioners’ sugar, it contributes to the delicate, melt-in-your-mouth texture of the crust and is essential for dusting the finished bars.
- Salt: A pinch of salt enhances all the other flavors, balancing the sweetness in both the crust and the filling. Don’t skip it!
- Unsalted butter: The backbone of our rich, buttery crust. Using unsalted butter allows you to control the overall saltiness of the recipe. Ensure it’s melted evenly.
- Granulated sugar: Provides the sweetness for the vibrant lime filling, balancing the tartness of the fresh lime juice.
- Lime zest: This is where a significant portion of that bright, fragrant lime flavor comes from. You’ll need the zest from about three to four fresh limes. Be sure to zest only the green part, avoiding the bitter white pith.
- Fresh lime juice: This is a non-negotiable component for authentic lime flavor. Bottled lime juice often contains preservatives and lacks the natural brightness and complexity of fresh juice, yielding a significantly inferior taste. Squeeze your limes just before use for maximum freshness.
- Large eggs: Eggs are crucial for the custard-like texture of the lime filling, acting as a binding agent and providing richness. Ensure they are at room temperature for better emulsification and a smoother filling.
- Green food coloring (optional): If you desire the vibrant green color typically associated with lime desserts, a few drops of food coloring will do the trick. However, if you prefer a more natural appearance, the bars will taste just as delicious without it, sporting a pale yellow hue from the eggs and lime juice.
Selecting fresh, juicy limes is paramount. Look for limes that are firm, heavy for their size, and have bright, unblemished skin. These characteristics indicate a higher juice content and stronger flavor.
How to Craft Your Perfect Lime Bars: A Step-by-Step Guide
Creating these delightful Lime Bars is a straightforward process that yields impressive results. Follow these detailed instructions to ensure your bars turn out perfectly every time.
Preparing the Buttery Shortbread Crust
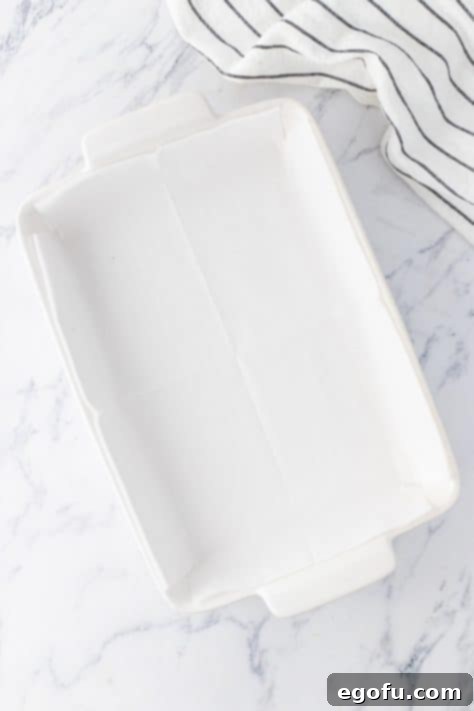
Begin by preheating your oven to 350°F (175°C). This ensures the oven is at the correct temperature when your crust is ready to bake, leading to even cooking. Next, prepare a 9×13-inch baking pan by lining it with parchment paper, leaving an overhang on the sides to easily lift the bars out later. Alternatively, you can thoroughly spray the pan with a nonstick baking spray. Set the prepared pan aside.
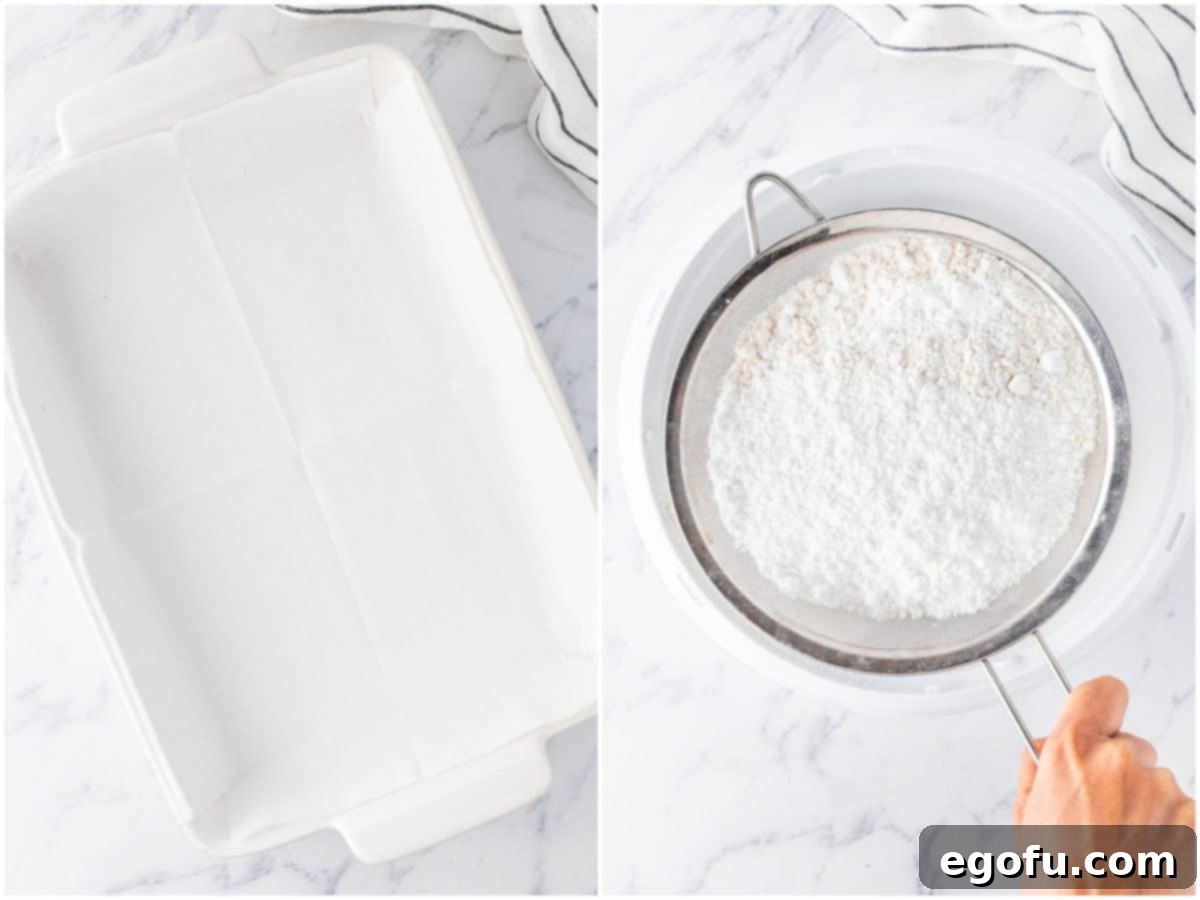
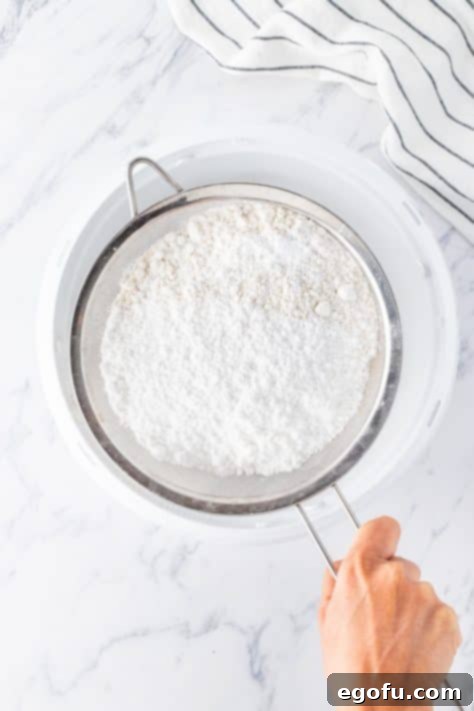
In a medium bowl, or the bowl of your stand mixer fitted with the paddle attachment, sift together the all-purpose flour, powdered sugar, and salt. Sifting helps to aerate the flour and ensures a light, uniform crust. Once these dry ingredients are combined, gradually add the melted unsalted butter. Mix on low speed until the mixture comes together and forms a crumbly dough. This crumbly texture is exactly what you want for a tender shortbread crust.
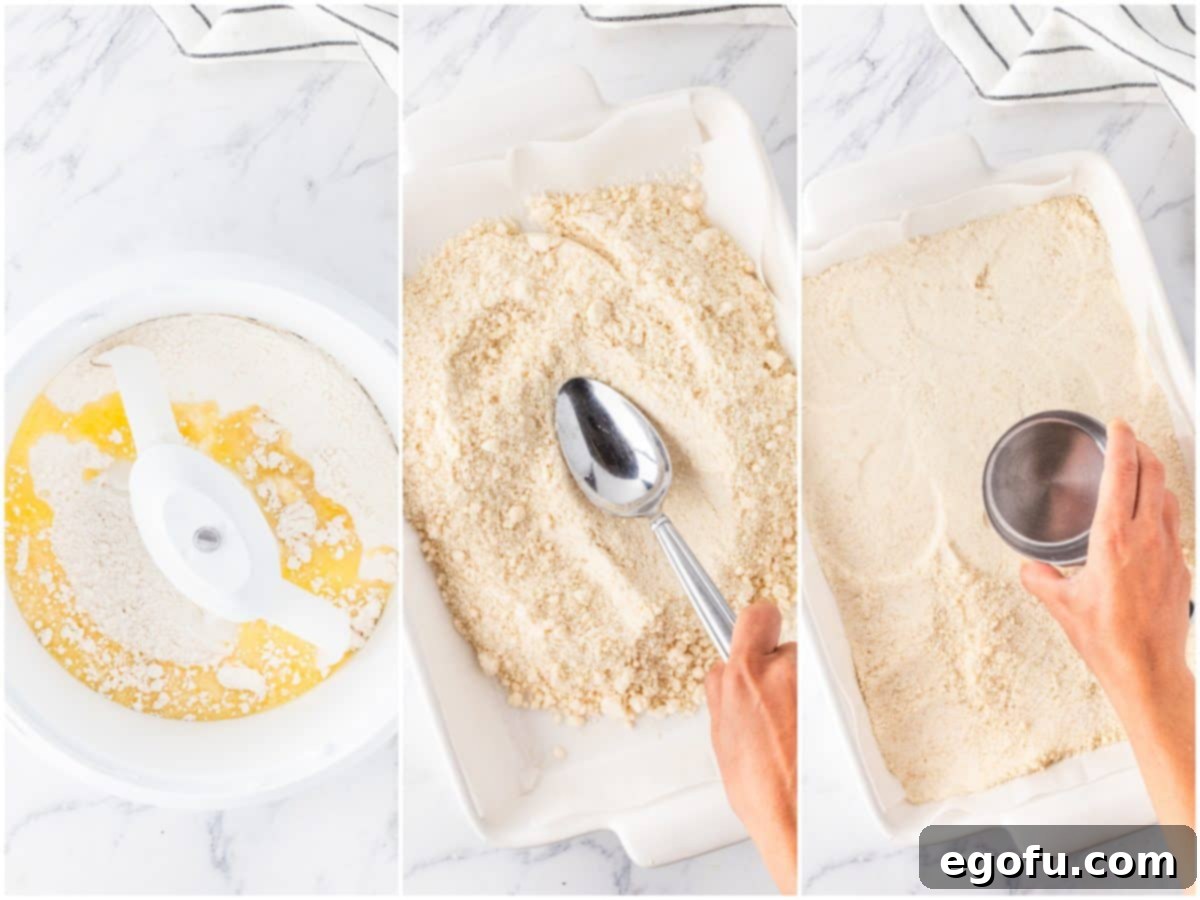
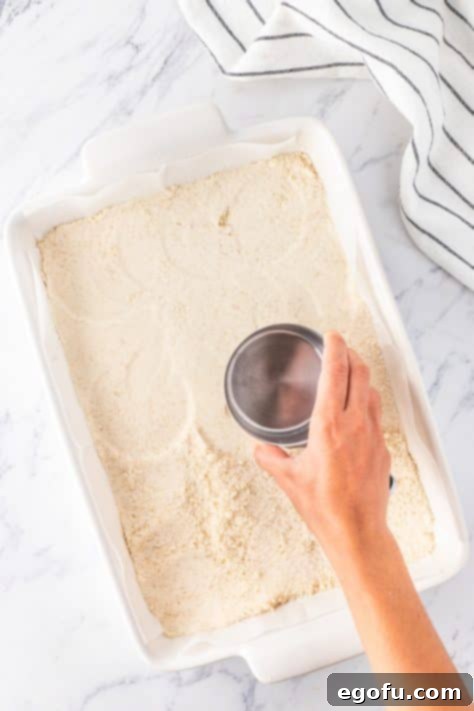
Transfer the crust dough into your prepared baking pan. Using the bottom of a measuring cup or your clean hands, firmly and evenly press the dough into a flat, thin layer across the entire bottom of the pan. Pay attention to the edges to ensure an even thickness. Bake the crust for approximately 20 minutes, or until you see a light golden color forming around the edges. This par-baking step ensures the crust is perfectly crispy and doesn’t become soggy once the filling is added.
Crafting the Zesty Lime Filling
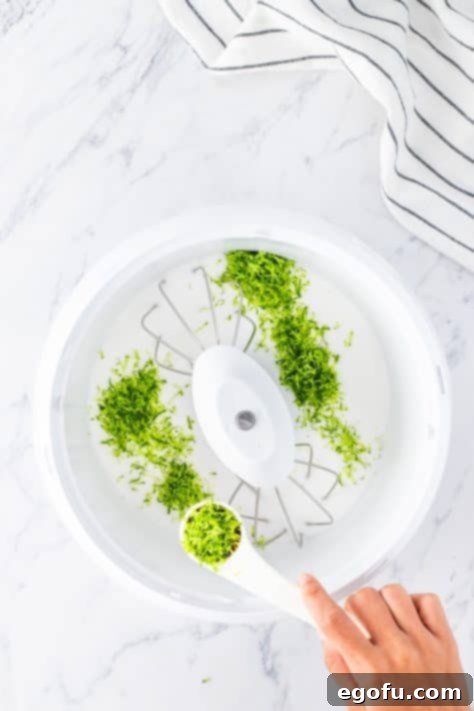
While your crust is baking, you can begin preparing the vibrant lime filling. In a food processor or the bowl of a stand mixer, combine the granulated sugar and lime zest. Process or mix until the zest is thoroughly incorporated into the sugar. This step, often called “zest-infused sugar,” is crucial as it helps to release the essential oils from the lime zest, intensifying the citrus flavor and aroma in the final product. The sugar becomes beautifully fragrant.
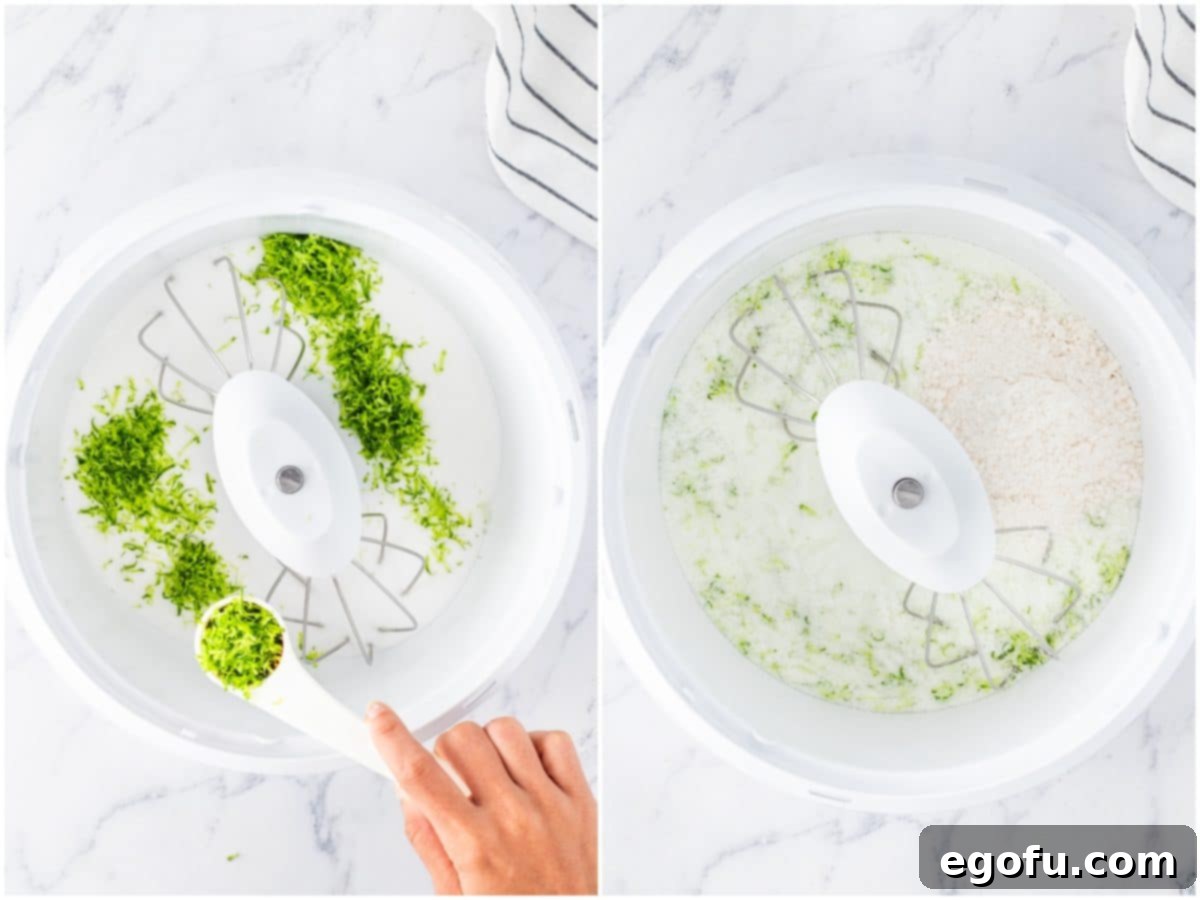
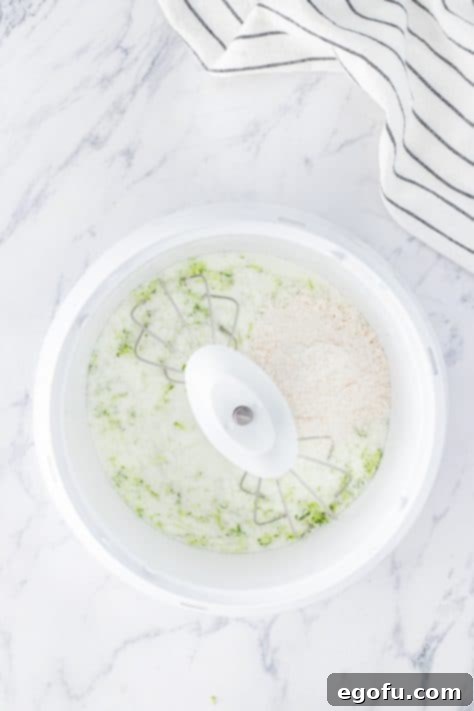
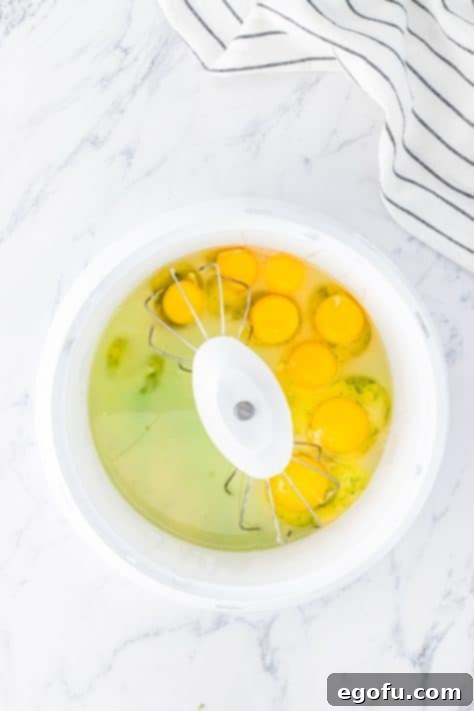
Next, add the remaining half cup of all-purpose flour to the fragrant sugar mixture and pulse or mix again until just combined. This small amount of flour helps to stabilize the filling, giving it that classic creamy, yet firm, texture. Then, pour in the fresh lime juice and add the large eggs, which should be at room temperature for the best results. If you desire a greener hue, now is the time to add 6 drops of green food coloring. Mix all these ingredients until they are completely combined and the mixture is smooth. Be careful not to overmix at this stage; just mix until everything is homogenous.
Baking and Chilling to Perfection
Once the crust is par-baked and slightly cooled, carefully pour the prepared lime filling evenly over the warm crust in the baking pan. Place the pan back into the preheated oven. Bake for approximately 30-40 minutes. To ensure even baking, rotate the pan 180 degrees after about 15 minutes. You can check for doneness by gently wiggling the pan. If the center no longer jiggles, your lime bars are done. It’s important not to overbake, as this can lead to a rubbery texture. The filling will continue to set as it cools.
Remove the pan from the oven and allow the bars to cool completely on a wire rack for about an hour at room temperature. This gradual cooling is important for the filling to set properly. After cooling on the counter, transfer the pan to the refrigerator and chill for at least two hours, or ideally, overnight. Chilling is essential for achieving the perfect firm, sliceable consistency and intensifying the refreshing flavors.
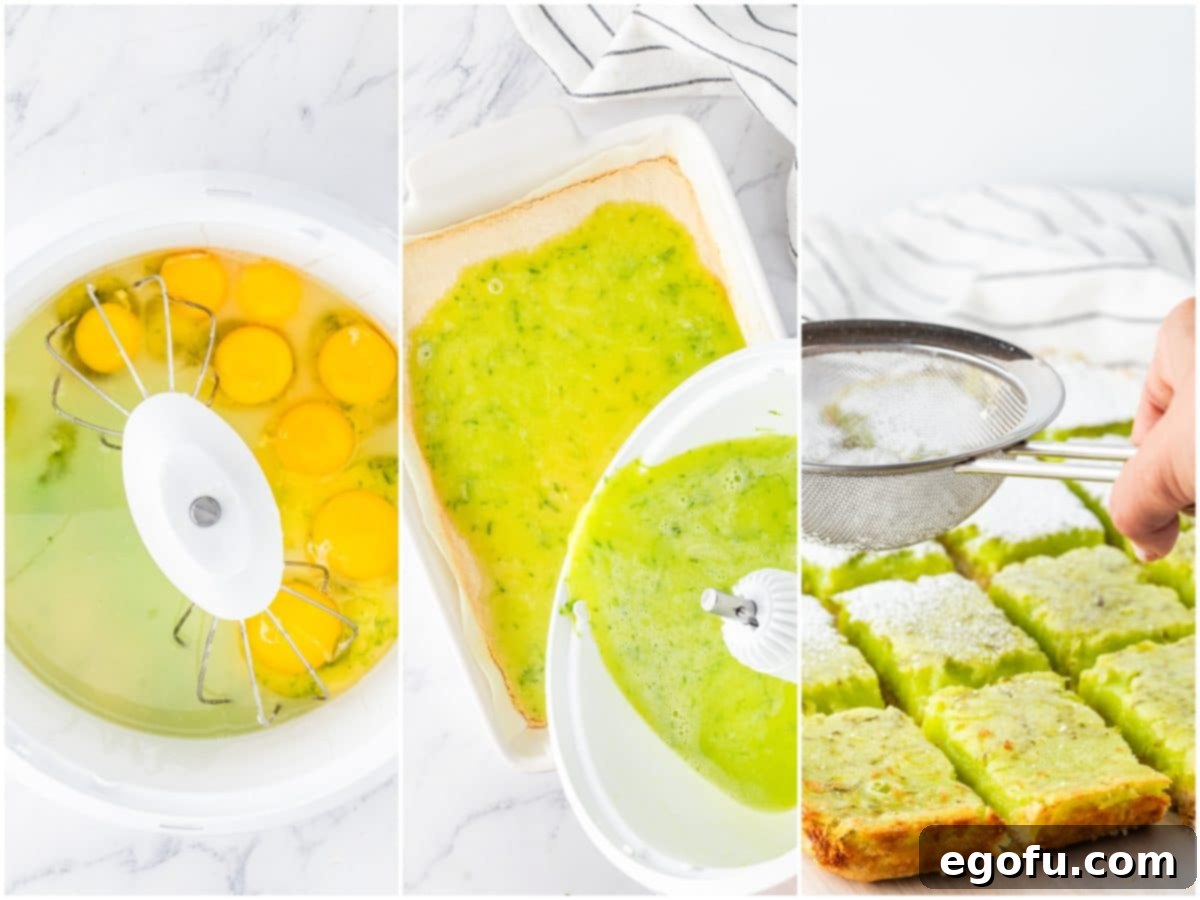
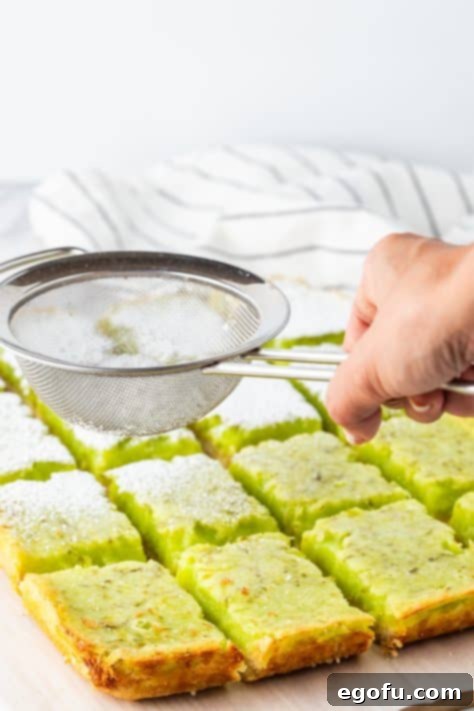
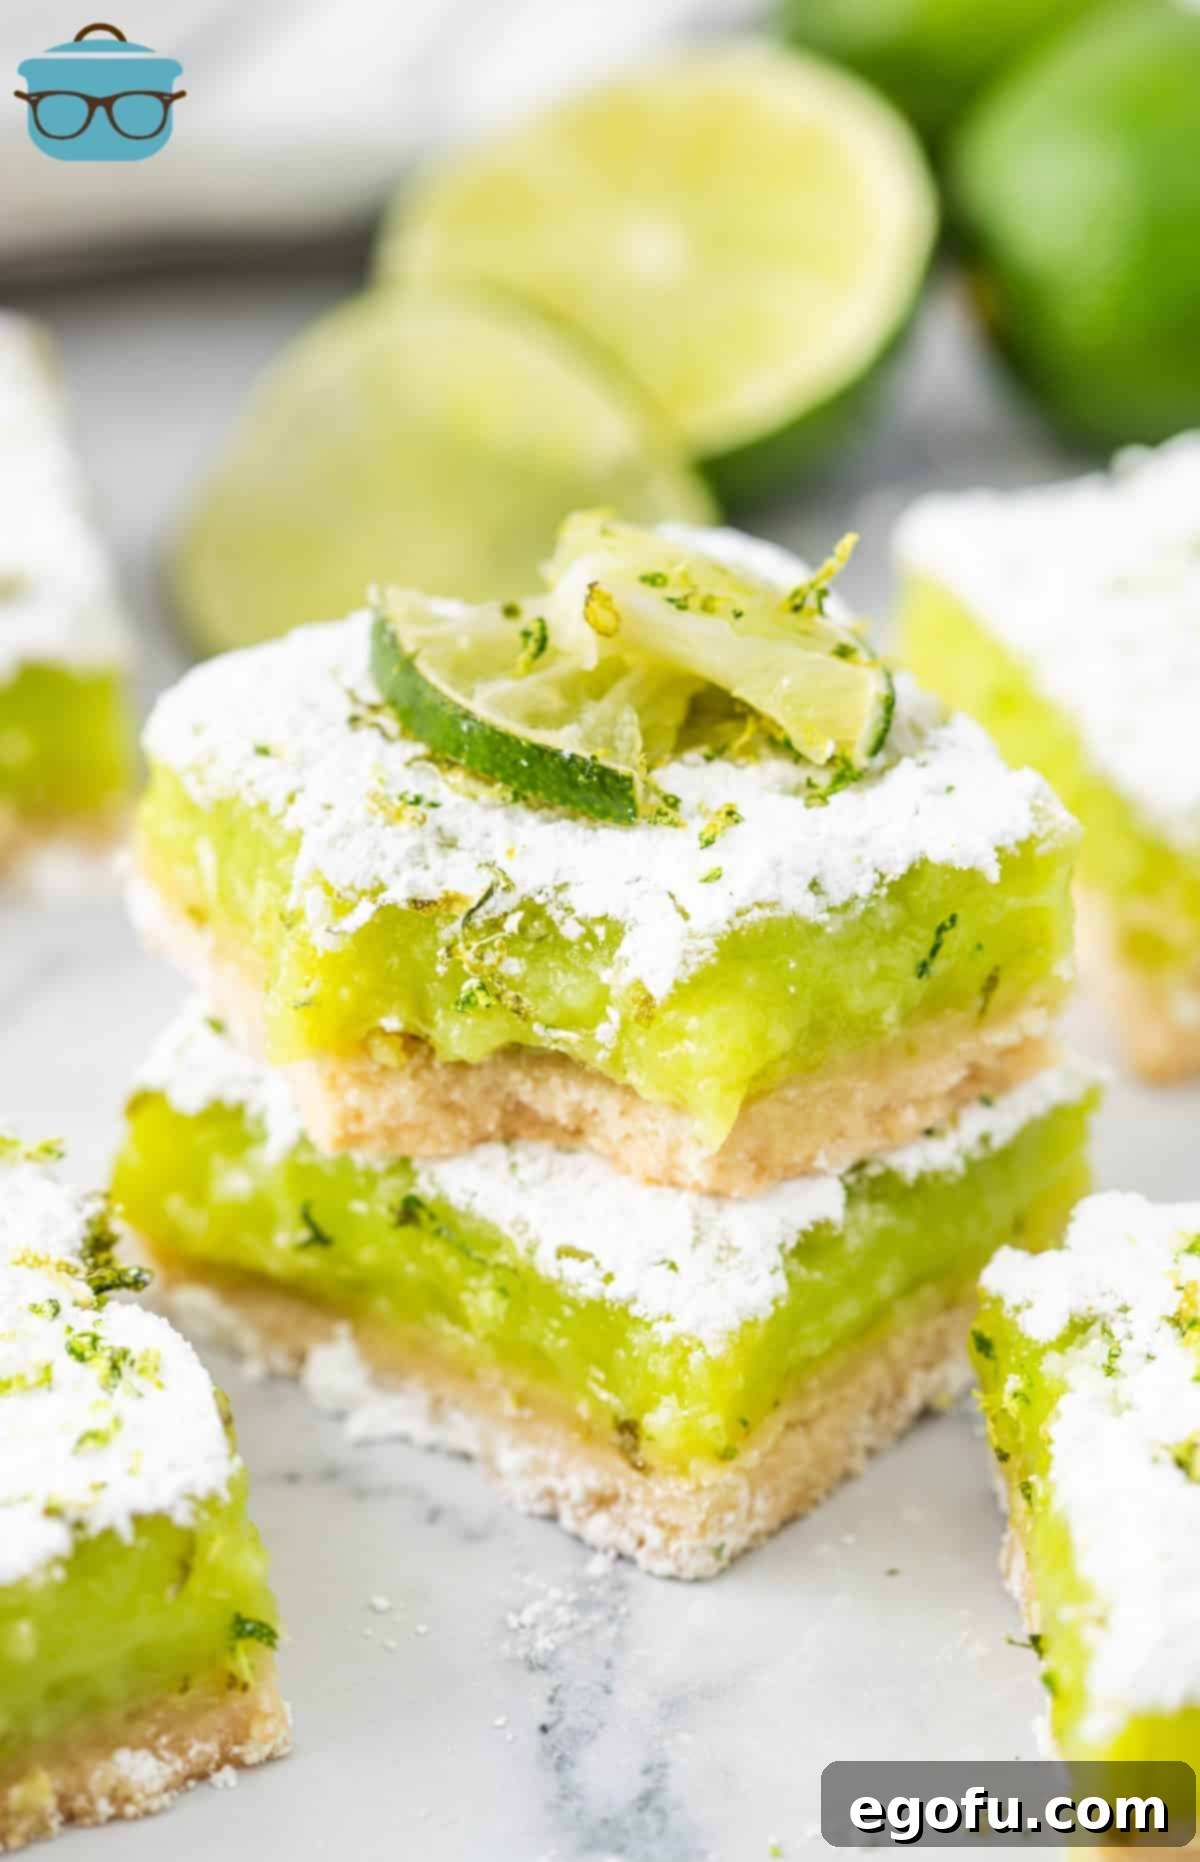
When your Lime Bars are thoroughly chilled and ready to serve, generously dust the entire surface with an extra ¼ cup of powdered sugar. This adds a beautiful snowy finish and a touch of extra sweetness. Then, using a sharp, clean knife (wiping between cuts as suggested in the FAQ), cut the slab into 16 equal bars. For an optional, yet recommended, final flourish, sprinkle the tops with additional fresh lime zest to amplify that bright citrus aroma and flavor.
Craving More Citrus & Sweet Treats?
- Classic Lemon Bars
- Homemade Key Lime Pie
- Lime Jell-O Poke Cake
- Key Lime Poke Cake
- Key Lime Cream Pie
- Blueberry Lemon Bars
- 3-Ingredient Lemon Bars
- Creamy Lemon Bars
- Peaches and Cream Bars
- Peach Pie Bars
- Strawberries and Cream Bars
- Pecan Pie Bars
- Strawberry Crumble Cheesecake Bars
Lime Bars
Print
Pin
Rate
Ingredients
For the Crust
- 3 cups all-purpose flour, divided use
- ⅔ cups powdered sugar
- ½ teaspoon salt
- 12 Tablespoons unsalted butter, melted (a stick and a half)
For the Lime Filling
- 3 cups granulated sugar
- 3 Tablespoons lime zest (about 3-4 limes)
- 1 cup fresh lime juice
- 8 large eggs (room temperature)
- 6 drops green food coloring (optional)
- ¼ cup powdered sugar (for dusting on top)
Instructions
Crust
- Preheat the oven to 350F degrees.
- Line a 9×13-inch baking pan with parchment paper or spray with nonstick baking spray. Set aside.

- In a bowl (or the bowl of a stand mixer), sift together 2 1/2 cups all purpose flour, 2/3 cups powdered sugar and 1/2 teaspoon salt.

- Then add 12 Tablespoons unsalted butter, melted and mix until combined.

- Put the crust dough into the lined pan and press into a flat thin layer with the bottom of a measuring cup.

- Bake for about 20 minutes, until a light golden color around the edges.
Lime Filling
- In a food processor or stand mixer, add in 3 cups granulated sugar and 3 Tablespoons lime zest. Mix until the zest is fully incorporated.

- Add remaining half cup of flour to the sugar mixture and pulse again.

- Add 1 cup fresh lime juice, 8 large eggs and 6 drops green food coloring, and mix until completely combined.

- Pour the filling over the crust and place in oven. Bake for about 30-40 minutes, turning the pan after 15 minutes. Check for doneness by wiggling the pan. If it doesn’t jiggle in the middle, it’s done. Do not overbake.

- Remove from the oven and allow to cool for about an hour before chilling in the refrigerator. Then chill for at least two hours.
- When ready, dust heavily with 1/4 cup powdered sugar and then cut into 16 bars. Optional: Sprinkle the tops with additional lime zest.

- Then enjoy!

Notes
- Please refer to my FAQ’s (Frequently Asked Questions) and ingredient list above for other substitutions or for the answers to the most common questions.
Nutrition
Nutritional Disclaimer
“The Country Cook” is not a dietician or nutritionist, and any nutritional information shared is an estimate. If calorie count and other nutritional values are important to you, we recommend running the ingredients through whichever online nutritional calculator you prefer. Calories and other nutritional values can vary quite a bit depending on which brands were used.
