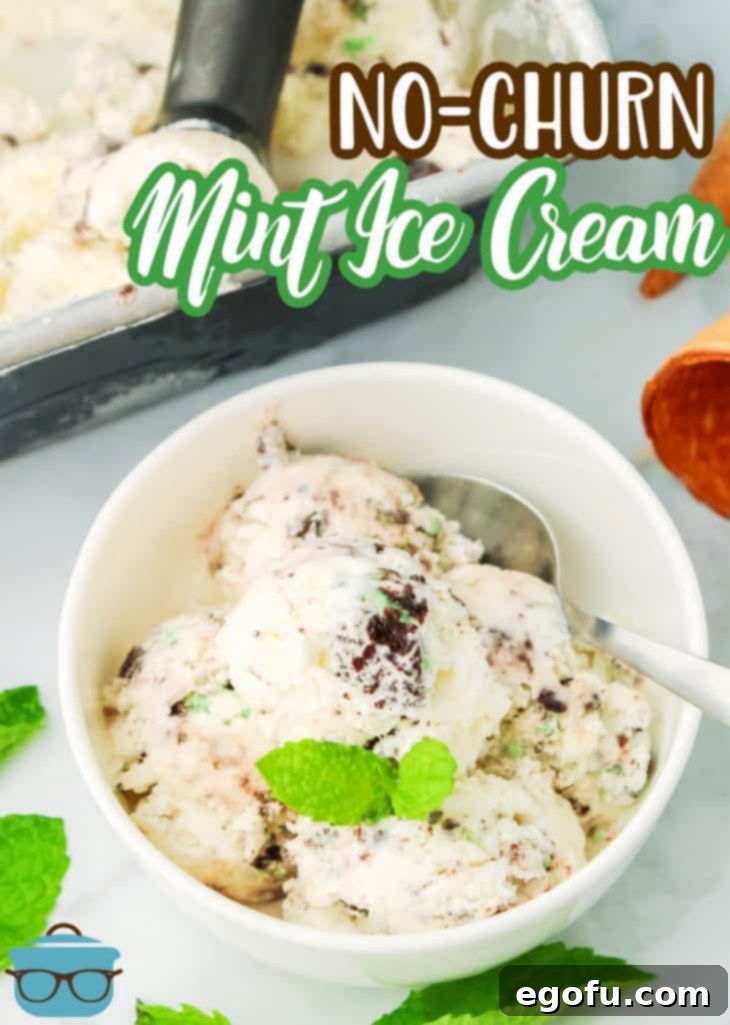
This No-Churn Mint Ice Cream is a refreshingly simple and incredibly delicious treat, brimming with the classic flavors of vanilla and mint, complemented by crunchy cookies. It’s the perfect homemade dessert for a hot summer day, and best of all, you don’t need an ice cream maker to create this creamy delight!
Indulge in Homemade Bliss: No-Churn Mint Ice Cream
There’s nothing quite like a generous scoop of ice cream to beat the heat, especially when summer temperatures soar. This No-Churn Mint Ice Cream recipe takes the experience to a new level, offering a cool, creamy escape with one of the most beloved flavors: refreshing mint. We’ve meticulously crafted this recipe to be ridiculously easy, requiring just a handful of simple, readily available ingredients. Beyond its smooth texture and vibrant minty taste, this ice cream is generously loaded with delightful mint-flavored cookies, ensuring every spoonful offers a satisfying crunch alongside its velvety consistency. If you’ve been dreaming of making delicious, high-quality ice cream right in your own kitchen without any specialized equipment, then this No-Churn Mint Ice Cream recipe is an absolute must-try!
Imagine the smiles on your family’s faces as they enjoy this vibrant green treat, studded with chocolatey mint cookie pieces. It’s more than just a dessert; it’s a moment of joy, a taste of summer, and a testament to the fact that extraordinary flavors can come from simple processes. Whether you’re hosting a backyard barbecue, planning a picnic, or simply seeking a comforting treat for a quiet evening, this no-churn recipe promises to be a crowd-pleaser that delivers on flavor, texture, and ease.

Frequently Asked Questions About No-Churn Mint Ice Cream
To ensure your homemade no-churn mint ice cream turns out perfectly every time, we’ve gathered and answered some common questions you might have about the ingredients and process. Understanding these details will help you achieve the best possible texture and flavor.
While any mint-flavored cookie will be a fantastic addition to this recipe, we highly recommend using mint-flavored Oreo cookies for their distinct chocolatey crunch and vibrant green filling. The classic combination of chocolate and mint in these cookies truly elevates the ice cream. Alternatively, if you can find them, Girl Scout Thin Mint Cookies are an excellent choice, offering a slightly different, yet equally delicious, texture and flavor profile. Feel free to experiment with other brands of mint cream-filled sandwich cookies or even crushed mint chocolate chip cookies for a unique twist. The key is to select a cookie that provides both mint flavor and a satisfying textural contrast to the creamy ice cream base.
For optimal consistency, a minimum freezing time of 4 hours is required. However, for a truly firm, scoopable ice cream that holds its shape beautifully, we recommend freezing it for 8 hours or, ideally, overnight. Allowing it to freeze longer ensures that the ice cream sets completely, preventing it from being too soft or runny. If you prefer a softer, more “soft-serve” like consistency, you can certainly enjoy it after the initial 4-hour freeze. Keep in mind that freezer temperatures can vary, so you might need to adjust the freezing time slightly based on your appliance.
Yes, for this no-churn ice cream recipe, the fat content of the milk is crucial for achieving that wonderfully creamy texture. We strongly recommend using at least 2% milk, or preferably whole milk. The higher fat content contributes significantly to the richness and smooth consistency of the ice cream, helping to prevent ice crystals from forming. While we haven’t personally tested this recipe with almond milk, oat milk, or other non-dairy alternatives, their lower fat content may result in a different texture that isn’t as rich or creamy. If you do opt for a non-dairy milk, choose a full-fat version designed for cooking or baking to maximize your chances of a good result.
Proper storage is essential to keep your homemade No-Churn Mint Ice Cream fresh and free of ice crystals. The best method is to keep it in the loaf pan in which it was frozen. First, press a layer of plastic wrap directly against the surface of the ice cream, ensuring no air is trapped between the ice cream and the wrap. This critical step helps prevent ice crystals from forming on the surface. Next, wrap the entire loaf pan tightly with a layer of aluminum foil. This double layer of protection further seals out air and insulates the ice cream. Stored this way, your delicious mint ice cream should maintain its quality for up to 1 month in the freezer, ready for whenever a craving strikes!
Crafting the Perfect No-Churn Mint Ice Cream: A Step-by-Step Guide
Making your own ice cream at home has never been easier or more rewarding. This no-churn method simplifies the process, eliminating the need for bulky equipment while still delivering a remarkably creamy and flavorful dessert. Follow these detailed steps to create your own batch of irresistible Mint Ice Cream, complete with that satisfying cookie crunch.
Essential Ingredients for Your Minty Masterpiece
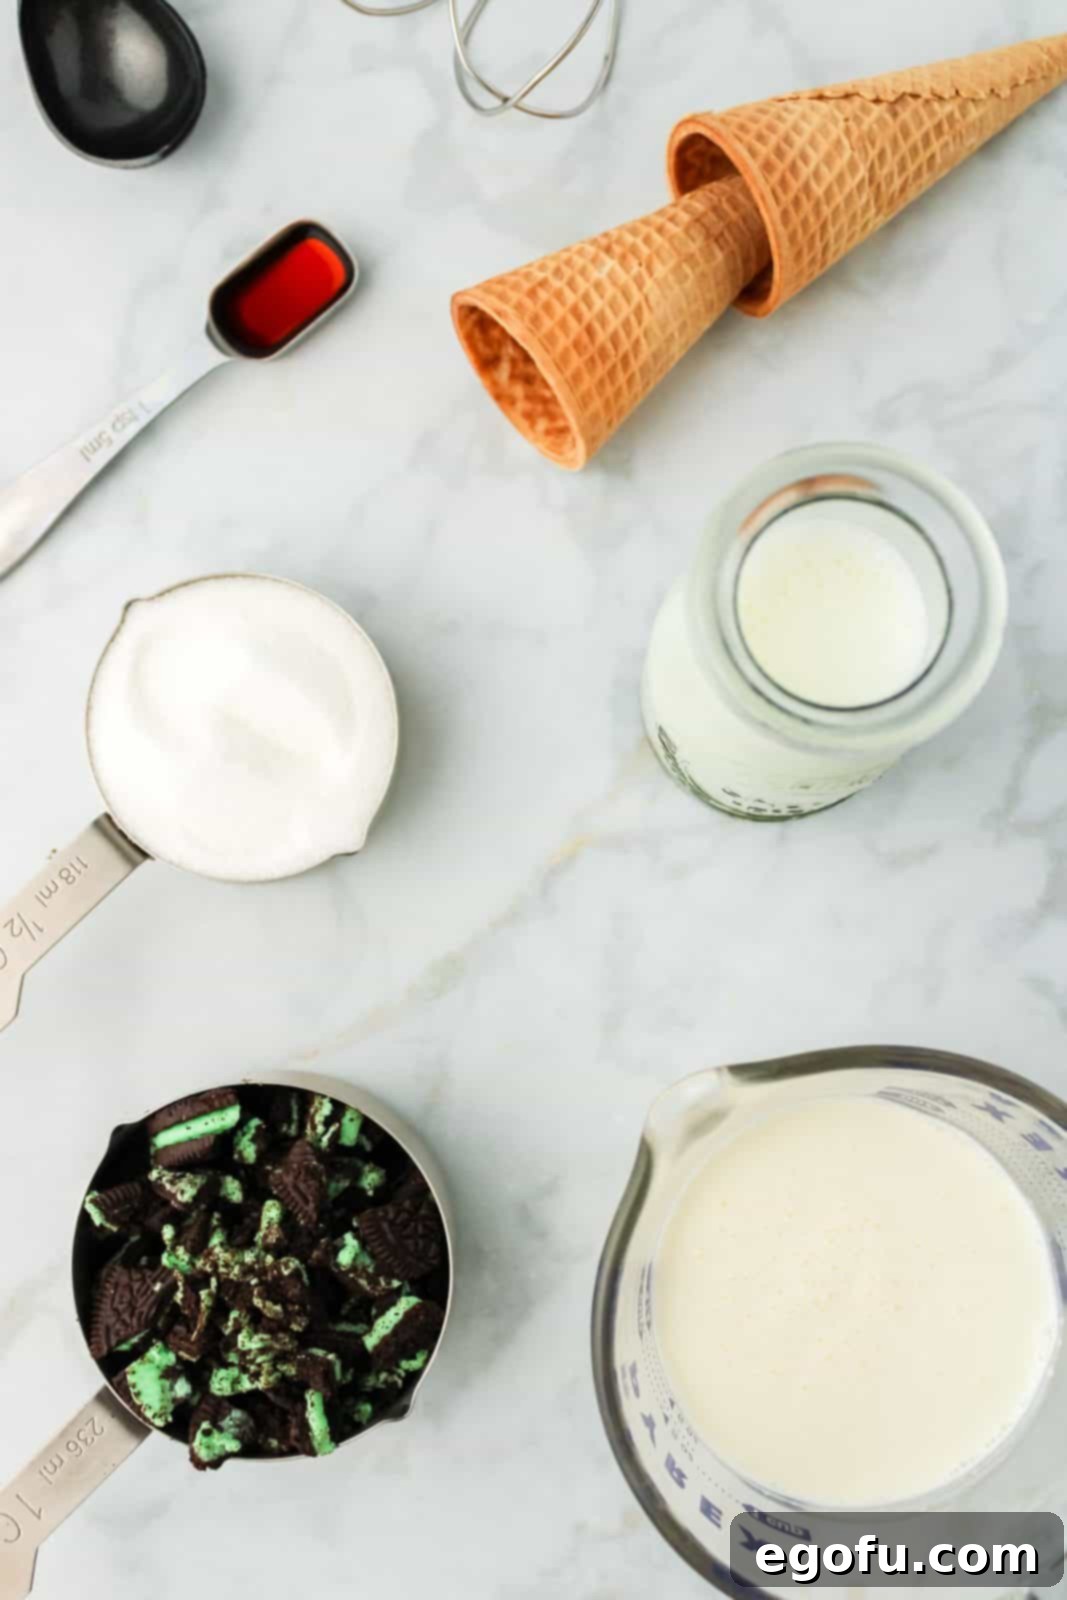
Gathering your ingredients before you start is key to a smooth and enjoyable cooking process. For this decadent no-churn mint ice cream, you’ll need just a few simple components, each playing a vital role in achieving the perfect balance of flavor and texture:
- Milk: We recommend 2% or whole milk for its crucial fat content, which contributes to the ice cream’s creamy consistency.
- Granulated Sugar: For sweetness and to help create a smooth base.
- Heavy Whipping Cream: The star of the show for no-churn ice cream, providing the necessary air and richness.
- Vanilla Extract: A touch of pure vanilla enhances all the other flavors.
- Mint Cookies: Your choice of mint-flavored sandwich cookies, like Mint Oreos, for that delightful crunch and extra minty kick.
Detailed Instructions for No-Churn Mint Ice Cream
Get ready to impress yourself and your loved ones with this surprisingly simple recipe. The secret to no-churn ice cream lies in whipping the cream to stiff peaks and gently folding in the other ingredients, creating an airy base that freezes beautifully without the need for churning.
- Prepare for Chilling: Start by placing an empty loaf pan (approximately 9×5 inches) and a large mixing bowl (either glass or metal) into your freezer. Chilling these items thoroughly before you begin will help the ice cream mixture freeze faster and result in a smoother, more consistent texture.
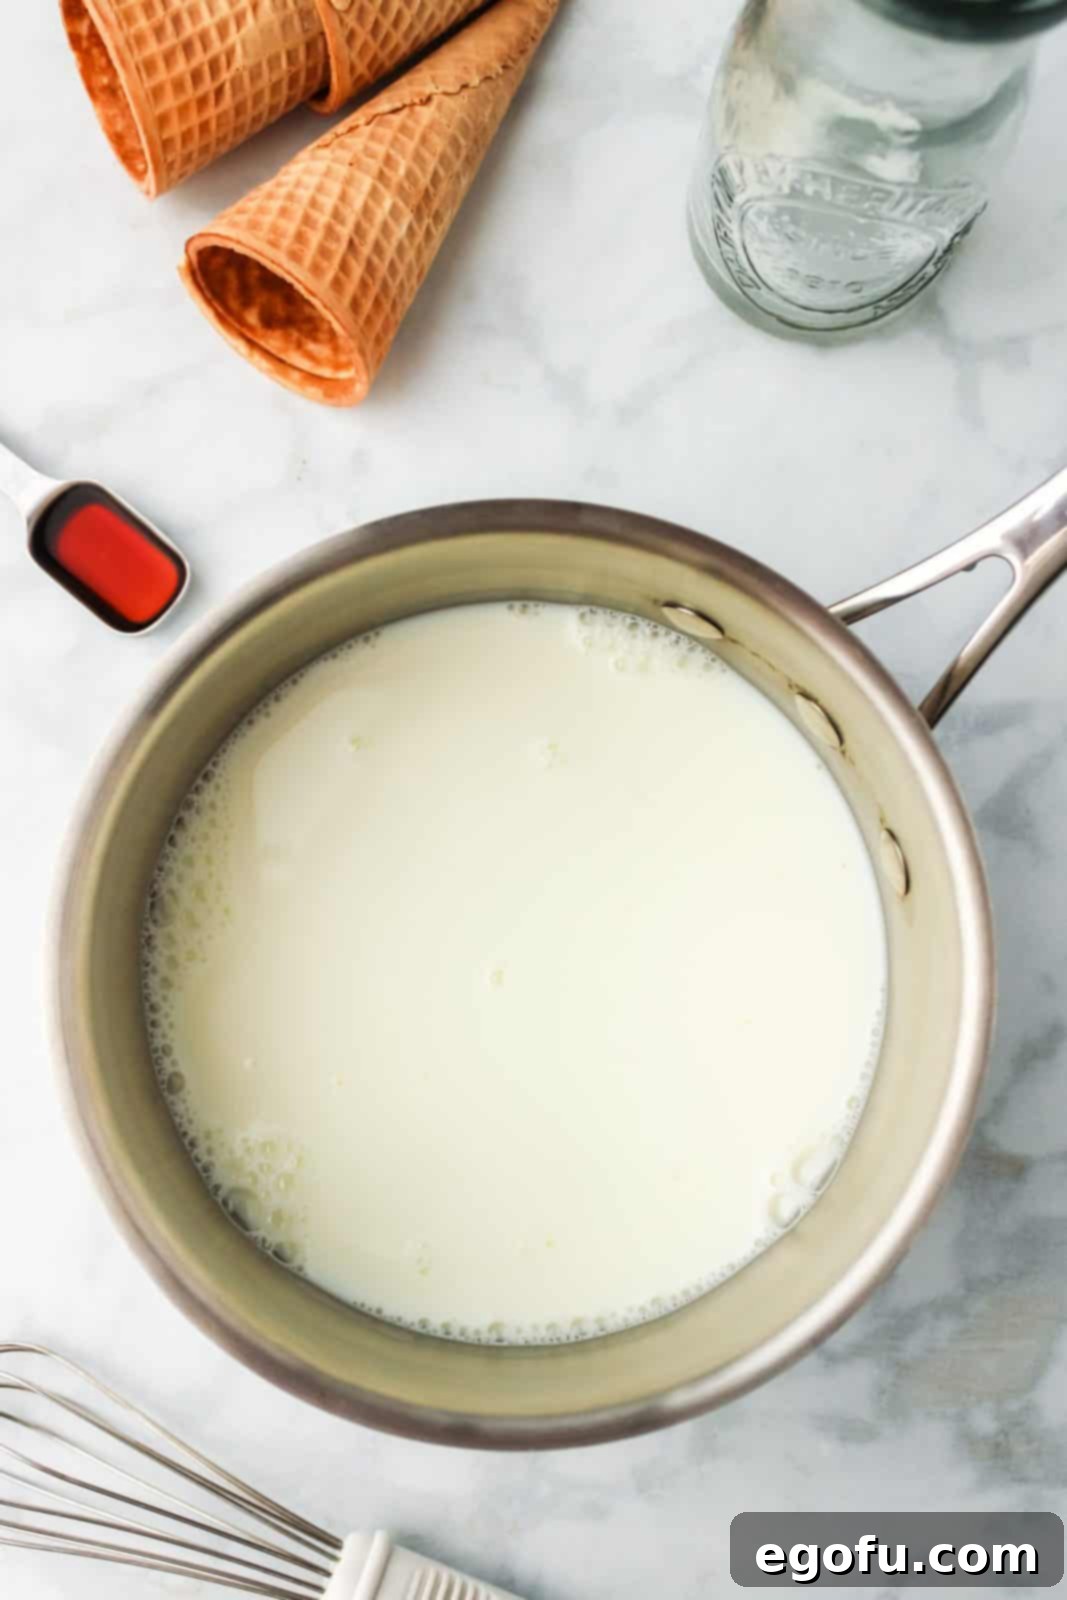
- Dissolve the Sugar: In a small saucepan, combine the milk and granulated sugar. Heat this mixture over low heat, stirring continuously, just until the sugar completely dissolves. This should only take about 1 minute; there’s no need to bring the milk to a boil. Once the sugar is dissolved, remove the saucepan from the heat and transfer the milk and sugar mixture to a separate container. Place it in the refrigerator to chill thoroughly. A cold base is essential for the best results.
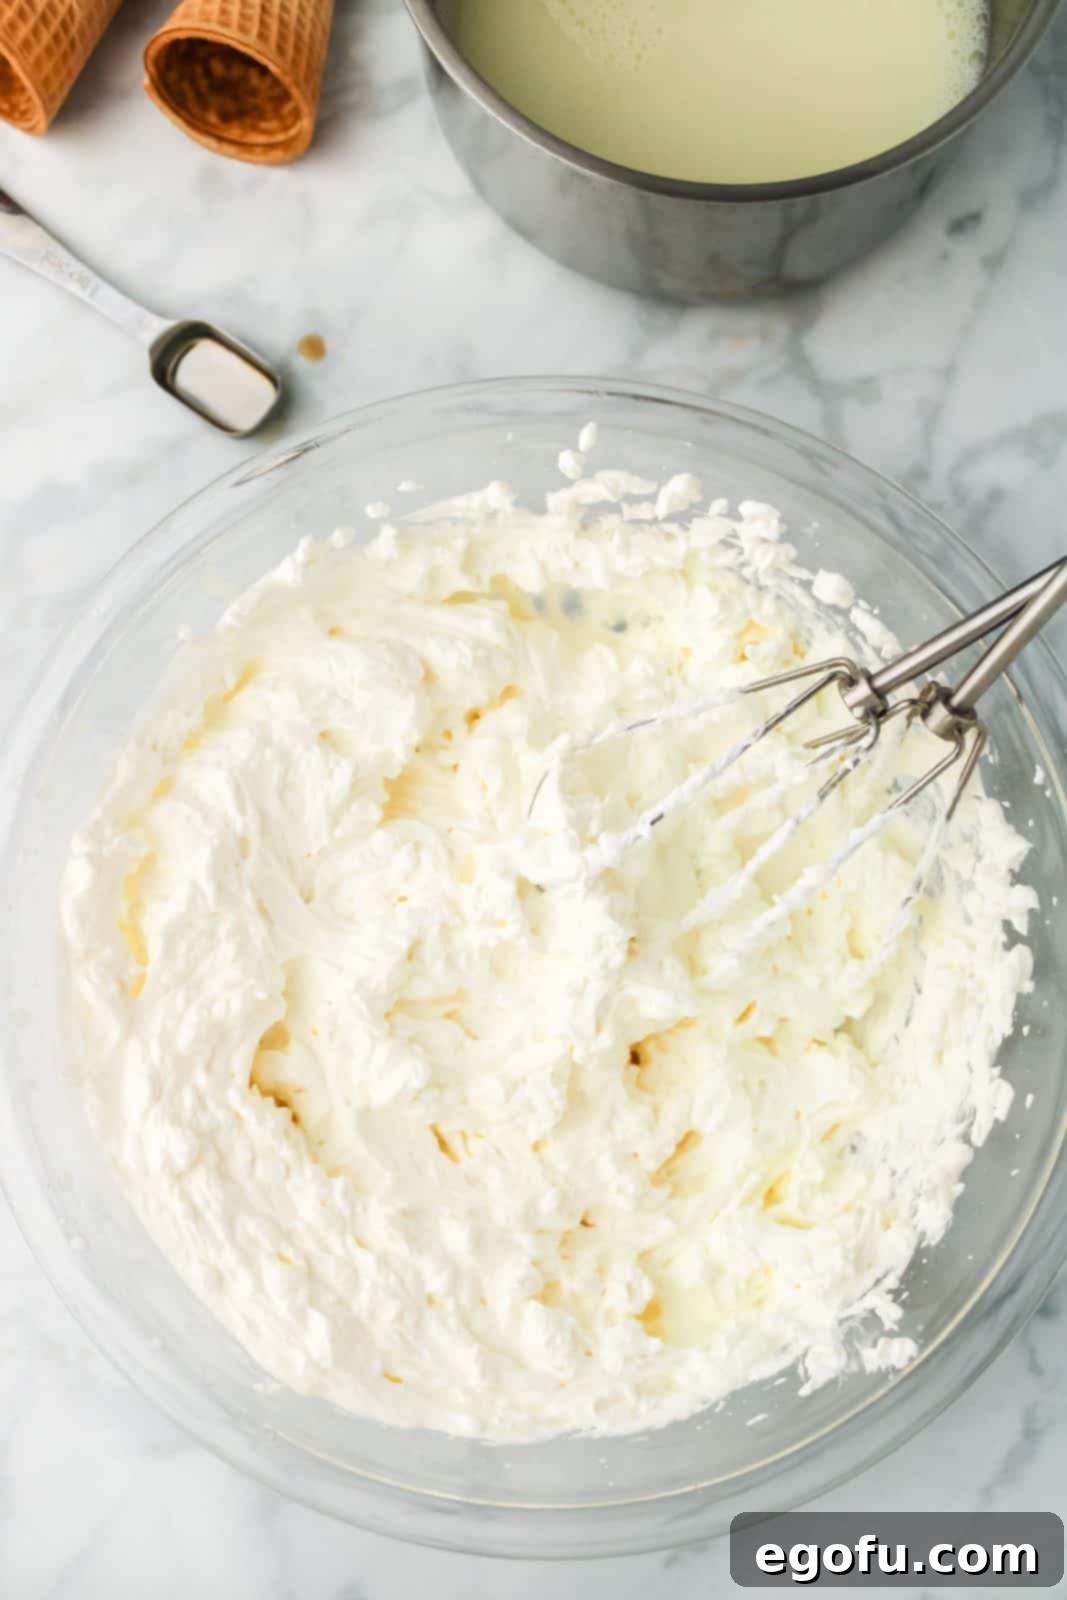
- Whip the Cream to Perfection: Retrieve your chilled large bowl from the freezer. Pour the heavy whipping cream into this cold bowl. Using an electric mixer (handheld or stand mixer), beat the whipping cream on high speed until stiff peaks form. The cream should be thick, airy, and hold its shape, similar to the consistency of store-bought whipped cream. Be careful not to over-whip, as it can turn granular.
- Combine the Base: Take the chilled milk and sugar mixture out of the refrigerator and stir in the vanilla extract. Now, it’s time to gently combine this liquid base with your whipped cream. Carefully fold half of the milk mixture into the whipped cream using a spatula, working until it’s just incorporated. Then, add the remaining half and continue to fold until everything is uniformly combined. The resulting mixture should have a smooth, pourable consistency, somewhat resembling melted ice cream. It’s crucial to fold gently to retain as much air in the whipped cream as possible.
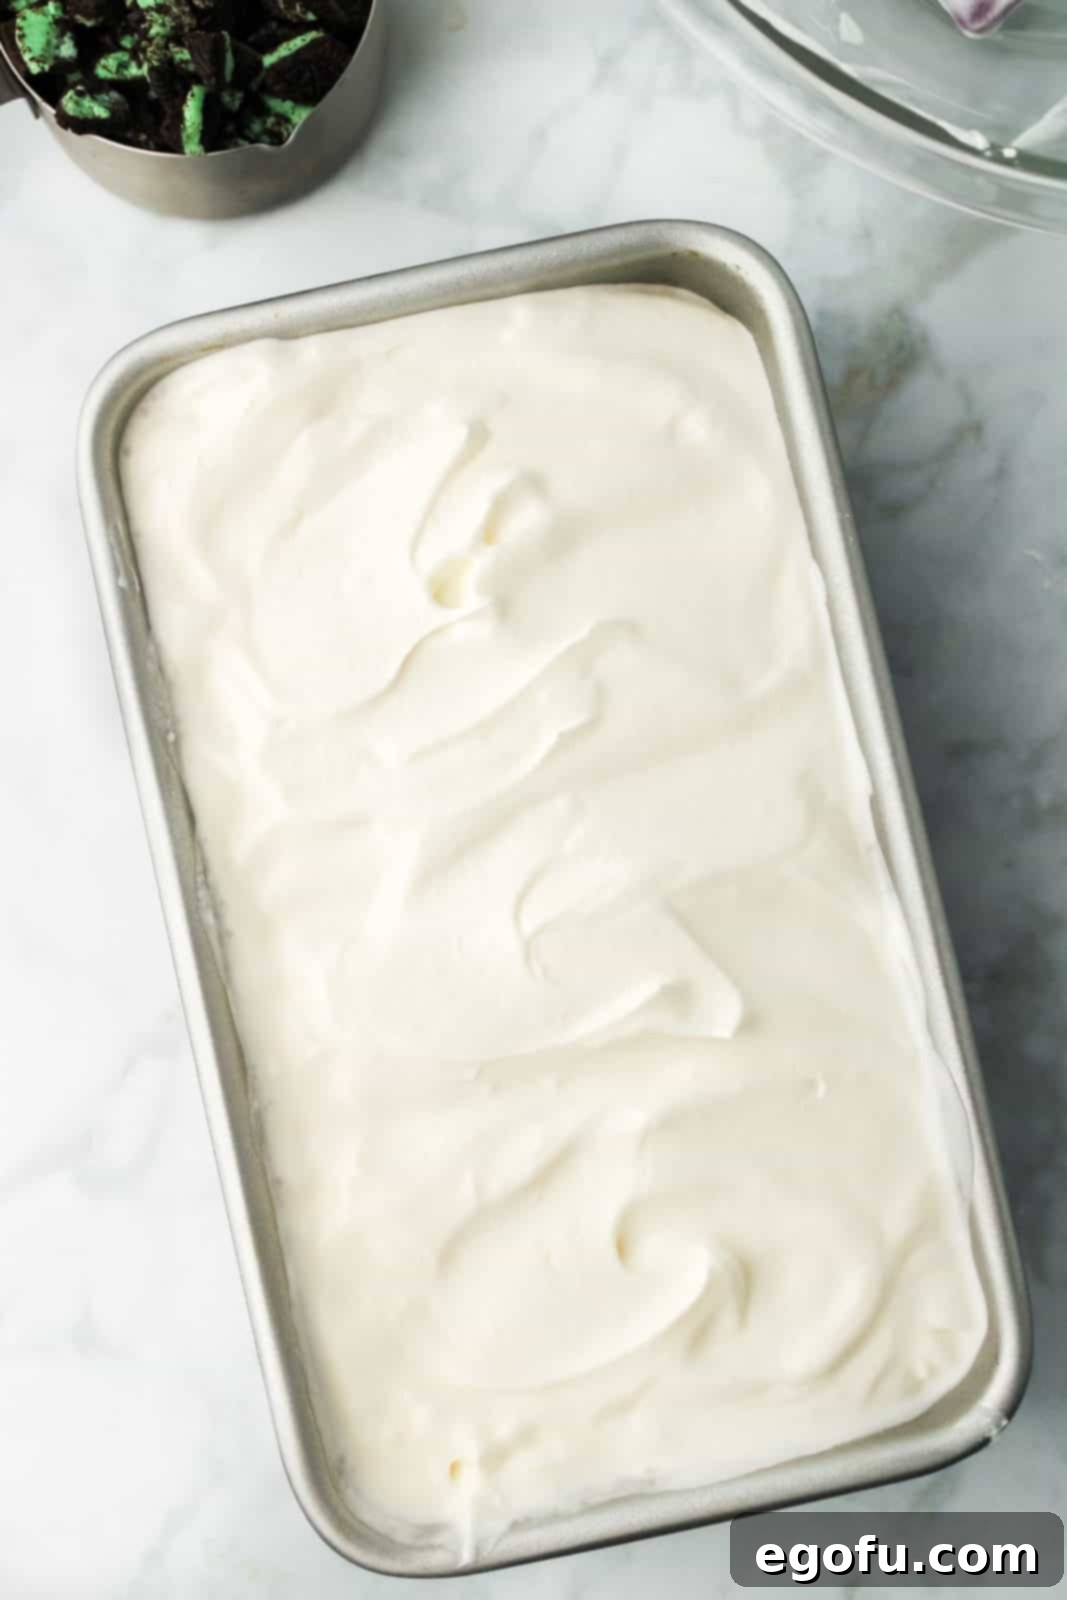
- Initial Freeze: Pour the smooth ice cream base into your chilled loaf pan. Cover the pan tightly with aluminum foil, ensuring a good seal to prevent freezer burn. Place it back into the freezer for approximately 2 hours. This initial freezing time allows the base to firm up slightly before you add the cookies.
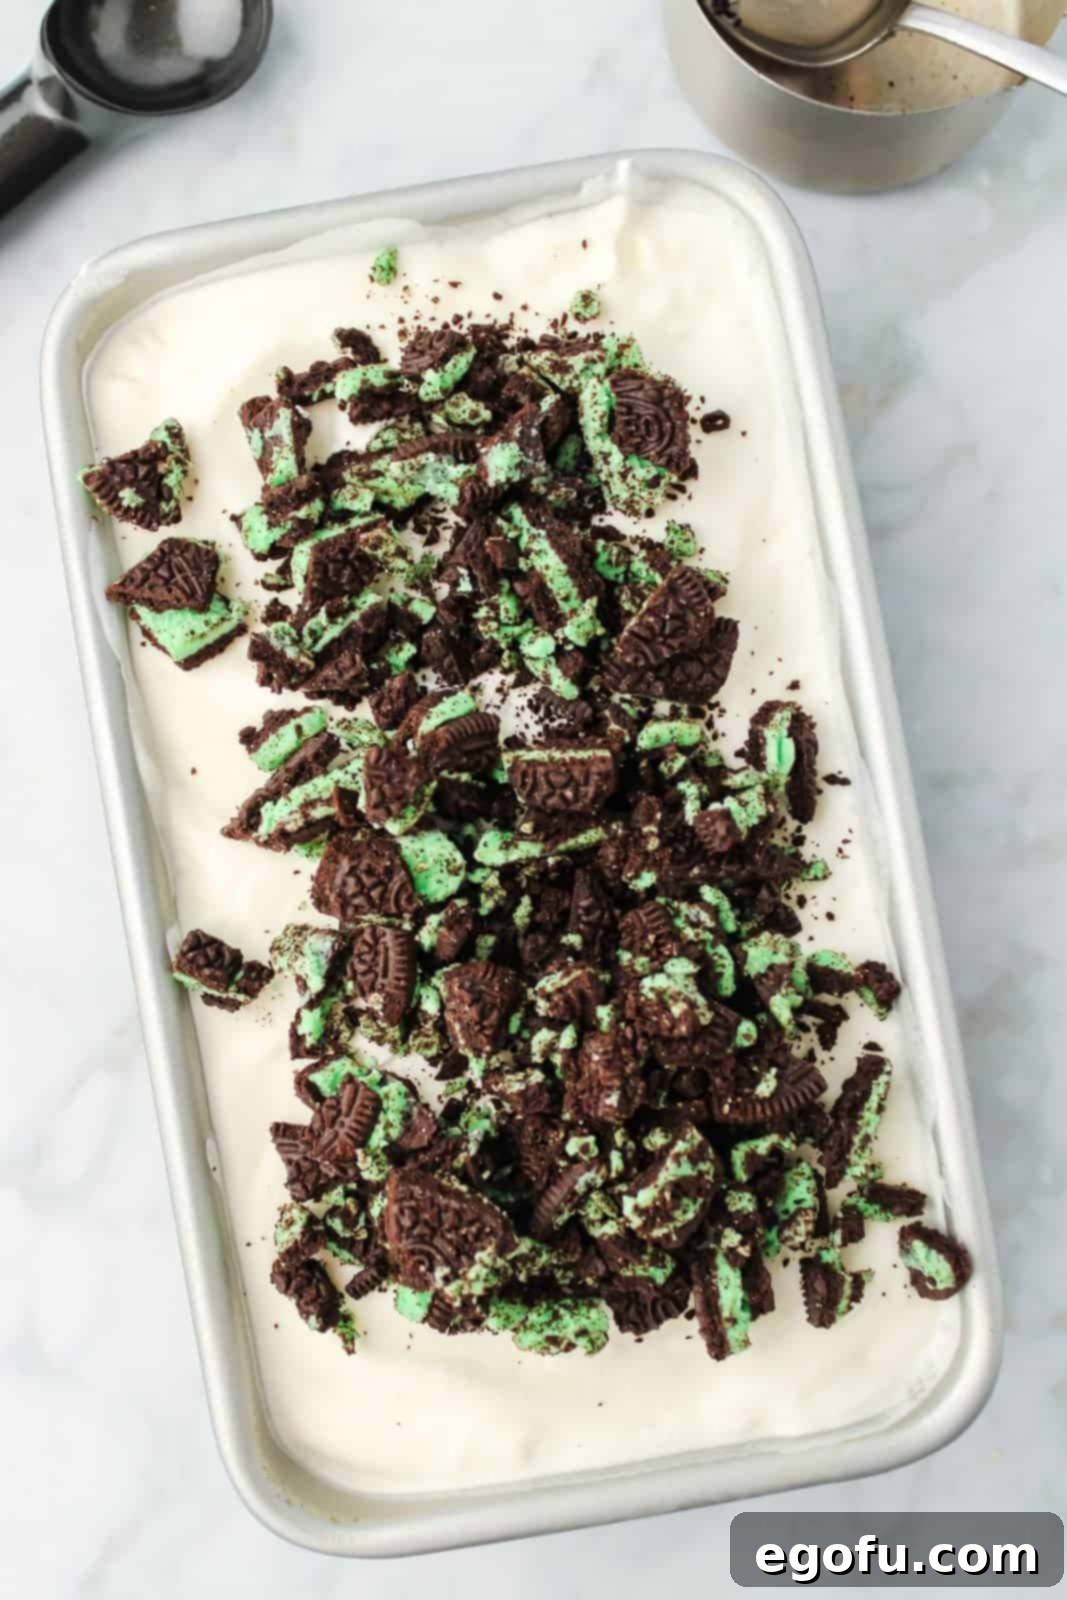
- Incorporate the Cookies: After the initial 2 hours, remove the loaf pan from the freezer. The ice cream should be partially set, similar to a very soft serve. Add about half of your roughly chopped mint cookies to the ice cream. Gently stir them in or use a spoon to push them down into the mixture. Then, add the remaining cookies, stirring some in and leaving a generous amount scattered on top for a beautiful presentation. This two-step addition helps ensure the cookies are distributed throughout the ice cream and don’t all sink to the bottom.
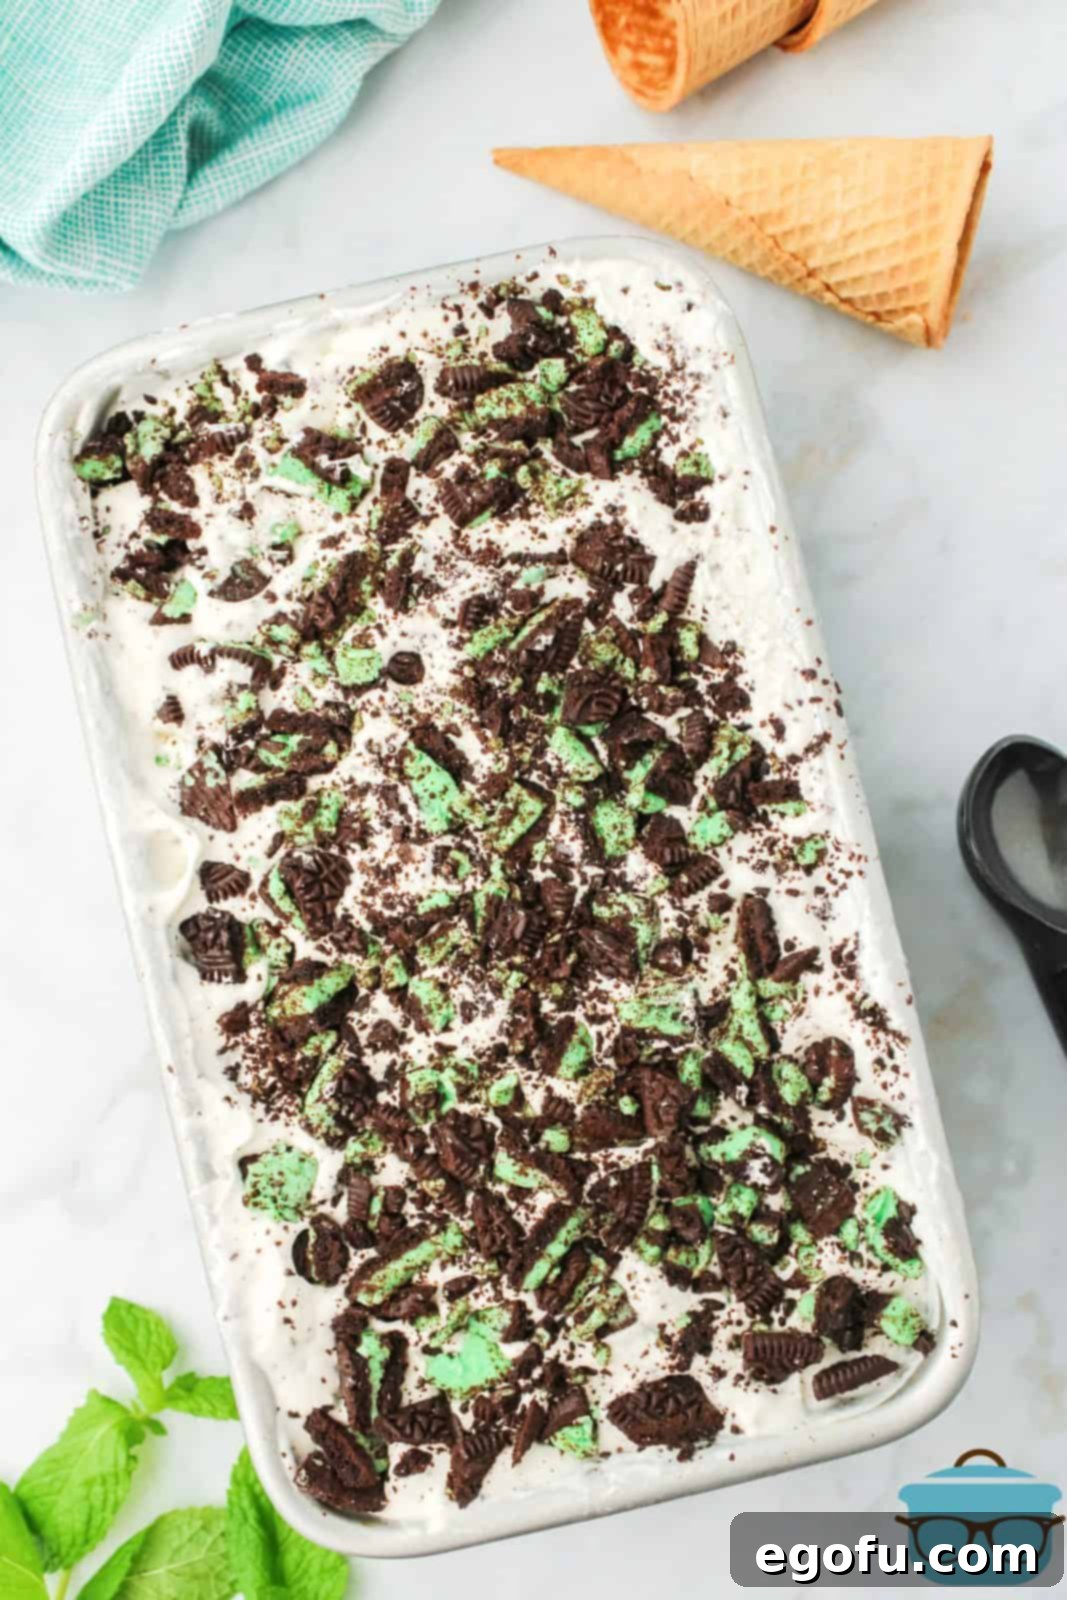
- Final Freeze and Serve: Re-cover the loaf pan tightly with aluminum foil. Return it to the freezer for another 4 hours, or ideally, overnight, for the best and firmest results. Once fully frozen, remove the ice cream from the freezer and let it sit on your countertop for a few minutes to thaw slightly, making it easier to scoop.
- Enjoy! Scoop your glorious homemade No-Churn Mint Ice Cream into cones or bowls. Garnish with an extra mint leaf or a sprinkle of chopped mint cookies if desired. This refreshing treat is sure to become a favorite!

Tips for No-Churn Ice Cream Success
- Always use cold ingredients, especially the heavy whipping cream and the milk/sugar mixture. This helps the cream whip up better and prevents the ice cream from taking too long to set.
- Don’t skip chilling the loaf pan and mixing bowl. It’s a small step that makes a big difference in the final texture.
- When folding the milk mixture into the whipped cream, be gentle. You want to maintain as much of the air you whipped into the cream as possible, as this is what gives no-churn ice cream its light and creamy texture.
- For the most uniform distribution of cookies, ensure the ice cream is slightly set (like soft-serve) before stirring them in. If it’s too liquid, the cookies will sink.
- Taste the milk and sugar mixture before combining with the whipped cream to adjust sweetness to your preference, though the recipe ratios are well-balanced.
Craving More Easy & Delicious Recipes?
If you’ve enjoyed the simplicity and deliciousness of this No-Churn Mint Ice Cream, you’re in luck! We have a treasure trove of other delightful recipes that are just as easy to make and perfect for any occasion. Explore some of our other no-churn favorites and more:
- No-Churn Peach Ice Cream
- No-Churn Cherry Cheesecake Ice Cream
- No-Churn Strawberry Ice Cream
- No-Churn Peanut Butter Chocolate Chip Ice Cream
- Mint Chip Ice Cream Pie
- Heath Bar Magic Shell
- No-Churn Butter Pecan Ice Cream
- Mint Chocolate Chip Poke Cake

No-Churn Mint Ice Cream
This No-Churn Mint Ice Cream is a cool and easy treat filled with vanilla, mint flavor and cookies. An amazingly delicious summertime recipe! No ice cream maker needed!
Rating: 5 out of 5 stars (from 1 vote)
- Prep Time: 10 minutes
- Cook Time: 0 minutes
- Freeze Time: 8 hours
- Total Time: 8 hours 10 minutes
- Servings: 6
- Author: Brandie Skibinski
Ingredients
- 1 cup milk (2% milk or whole is recommended)
- 1 cup granulated sugar
- 2 cups heavy whipping cream
- 1 teaspoon vanilla extract
- 2 cups mint Oreo cookies, roughly chopped
Instructions
- Place a loaf pan and a large bowl (glass or metal) in the freezer to chill.
- In a small saucepan, combine milk and sugar. Heat on low just until sugar dissolves (about 1 minute). It is not necessary to warm the milk to a high temperature. Chill the mixture thoroughly in the refrigerator.
- In the chilled bowl, beat heavy whipping cream on high speed until stiff peaks form. The consistency should be similar to store-bought whipped cream.
- Remove the chilled milk and sugar mixture from the refrigerator and stir in vanilla extract. Gently fold half of the milk mixture into the whipped cream until just incorporated, then add the other half. Continue folding until the mixture is uniform and resembles melted ice cream.
- Pour the mixture into the chilled loaf pan and cover it tightly with aluminum foil for about 2 hours in the freezer.
- After 2 hours, remove the ice cream from the freezer. It should be partially set, like soft-serve. Add half of the roughly chopped mint cookies, and gently stir or push them down into the ice cream. Then, add the remaining cookies, stirring some in and leaving the rest artfully arranged on the top.
- Re-cover the loaf pan with foil and freeze for another 4 hours, or ideally, overnight, for the best firm consistency.
Notes
- For a truly creamy texture, use at least 2% milk or whole milk. The fat content is essential for preventing ice crystals.
- Before pouring into the loaf pan, ensure your ice cream mixture is smooth. If you notice any small lumps, gently whisk them out.
- As a convenient alternative, 8 ounces of thawed Cool Whip can be substituted for the homemade whipped cream.
- While this recipe specifies mint Oreo cookies, feel free to use any other variety of mint cookies you prefer.
- Freezer temperatures can vary. Before adding the cookies, the ice cream should have a soft-serve consistency. If it’s too liquid, the cookies may sink to the bottom.
- For a hard, scoopable ice cream, a freezing time of 6-8 hours (or overnight) is recommended.
- To store leftover ice cream and prevent ice crystals, press plastic wrap directly onto the surface of the ice cream in the loaf pan, then wrap the entire pan with aluminum foil. It will keep well in the freezer for up to one month.
Recipe Details
- Course: Dessert
- Cuisine: American
Nutrition Information
This is an estimated nutritional breakdown per serving:
- Calories: 674 kcal
- Carbohydrates: 75 g
- Protein: 6 g
- Fat: 41 g
- Sodium: 294 mg
- Fiber: 1 g
- Sugar: 57 g
Nutritional Disclaimer
“The Country Cook” is not a certified dietician or nutritionist, and any nutritional information provided here is an estimate. If precise calorie counts and other nutritional values are important for your dietary needs, we recommend using a trusted online nutritional calculator with the specific brands of ingredients you use. Nutritional values can vary significantly based on ingredient brands and exact measurements.
Did you make this refreshing recipe? We’d love to see it! Share your creation on Instagram @thecountrycook and make sure to mention us using the hashtag #thecountrycook!
