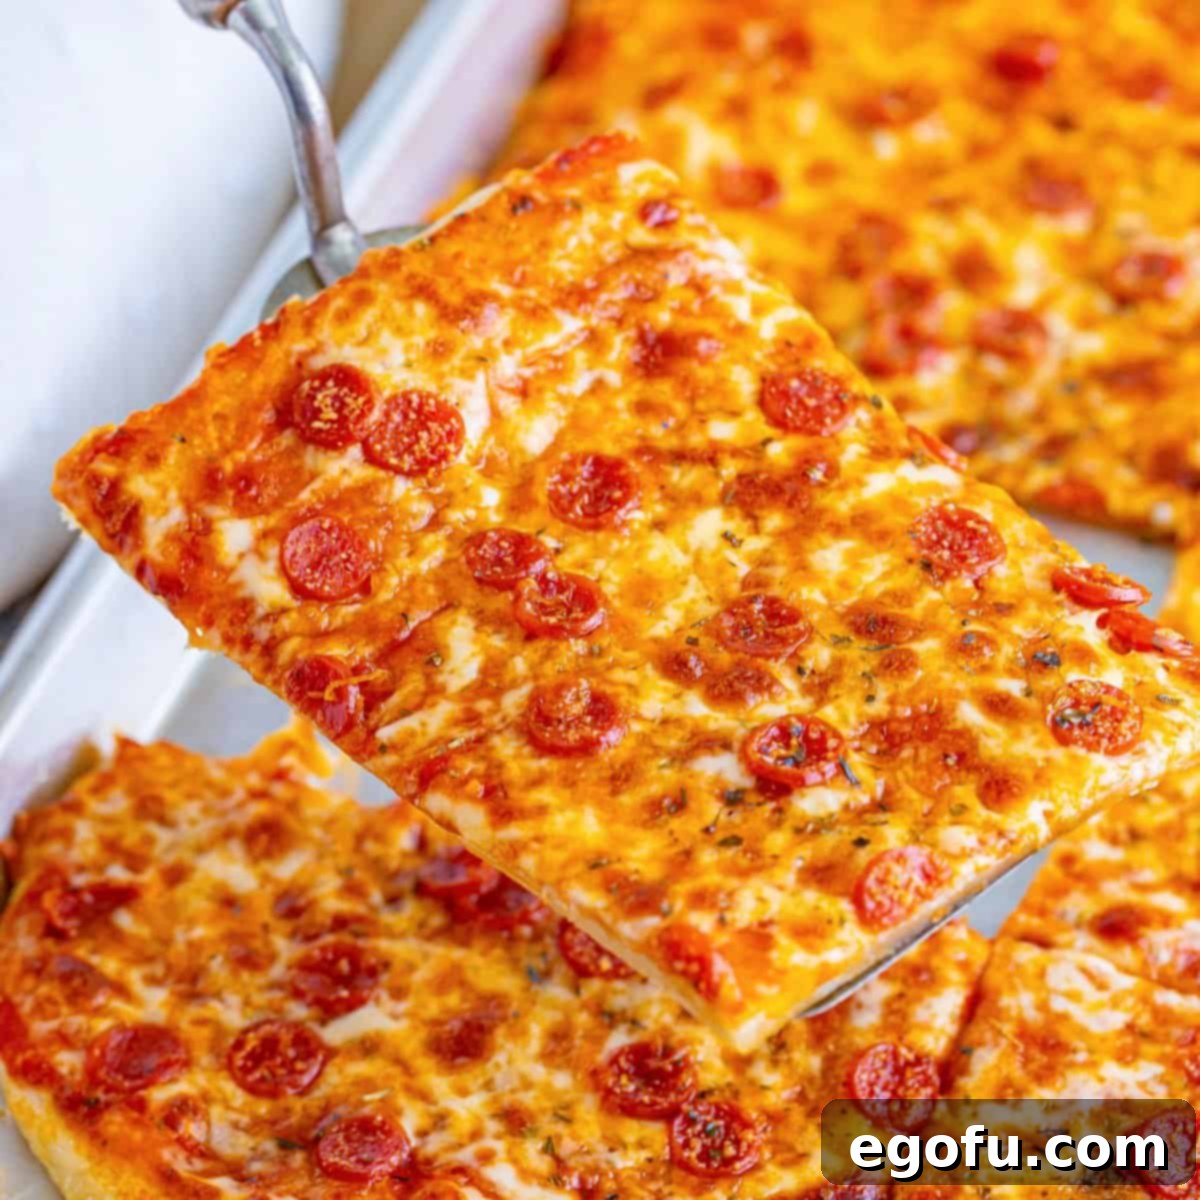
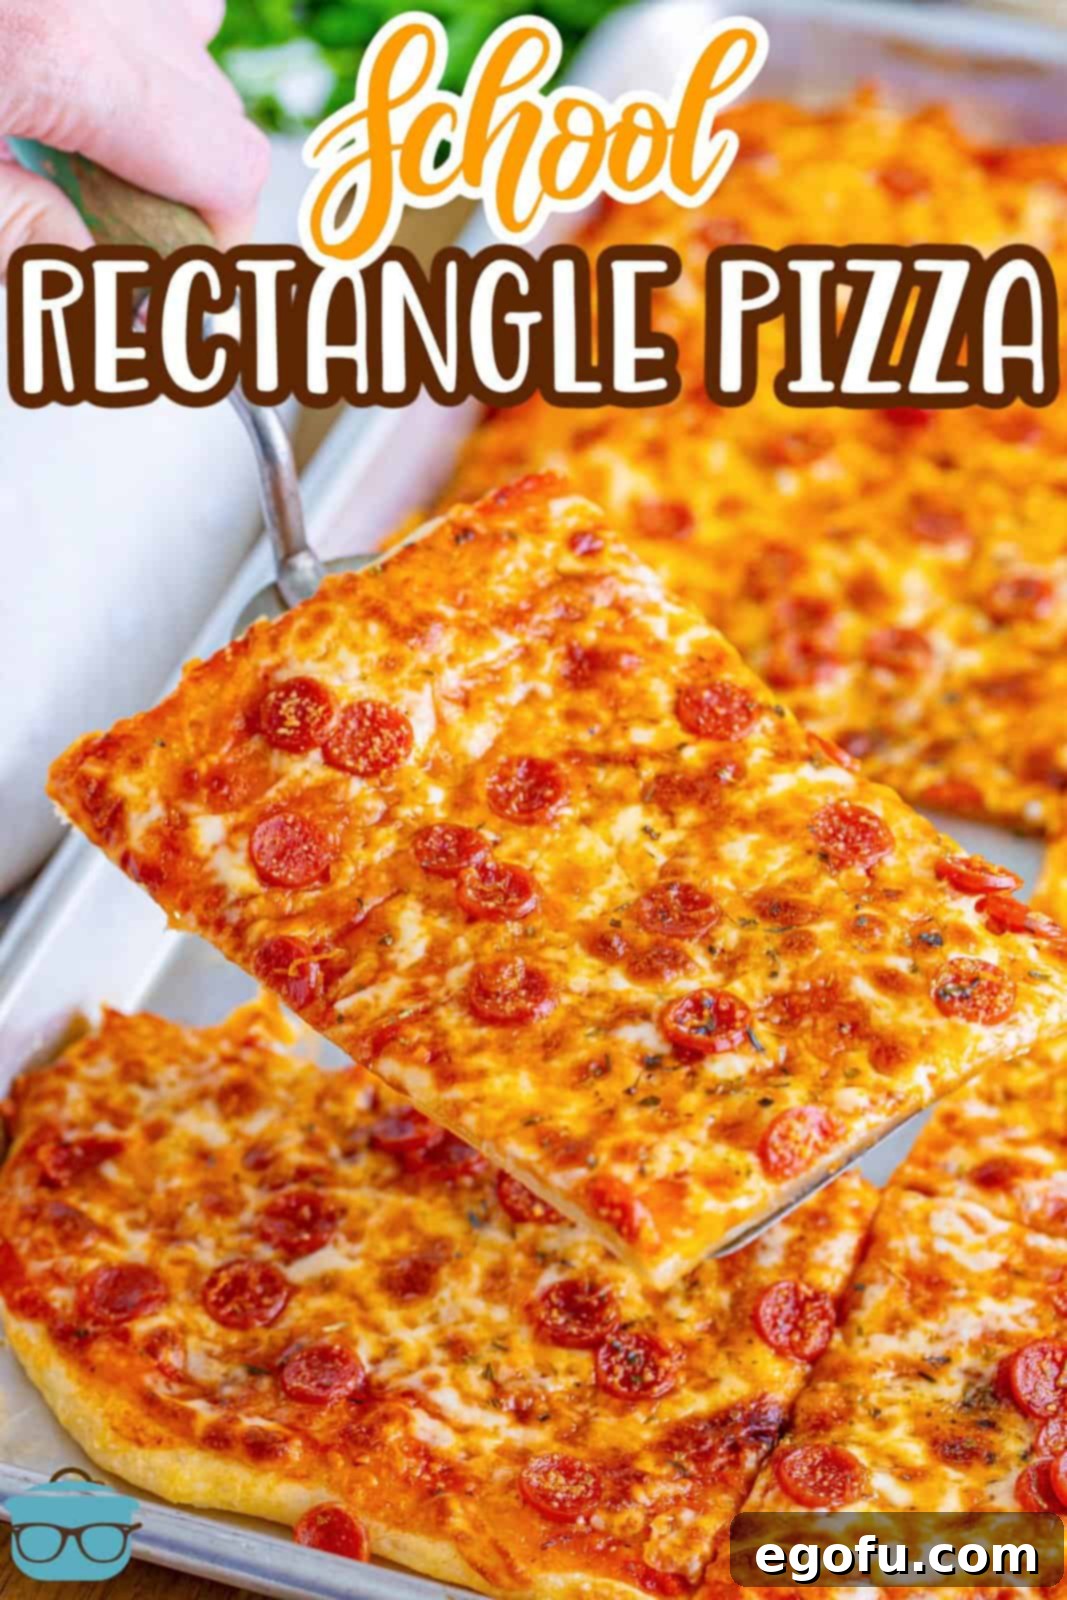
Get ready to take a delicious trip down memory lane with our ultimate Copycat Rectangle School Pizza recipe. This isn’t just a meal; it’s a nostalgic experience designed to bring back those cherished childhood lunchroom vibes right to your kitchen!
Recreating Childhood Lunchroom Vibes
Few things evoke the sweet nostalgia of childhood quite like the iconic taste of school lunch pizza. For many of us, the rectangular slice, with its slightly crispy crust and perfectly melty cheese, was the highlight of the week. It wasn’t just pizza; it was a symbol of carefree days, playground adventures, and shared moments with friends. This recipe aims to capture that exact magic, allowing you to recreate the legendary lunchroom version in your own home with surprising ease. Whether you’re a parent introducing a classic to your kids or simply craving a taste of your youth, this homemade rendition delivers all the best flavors and a wave of cherished memories with minimal effort. It’s a universally loved comfort food that promises to please everyone at your dinner table.
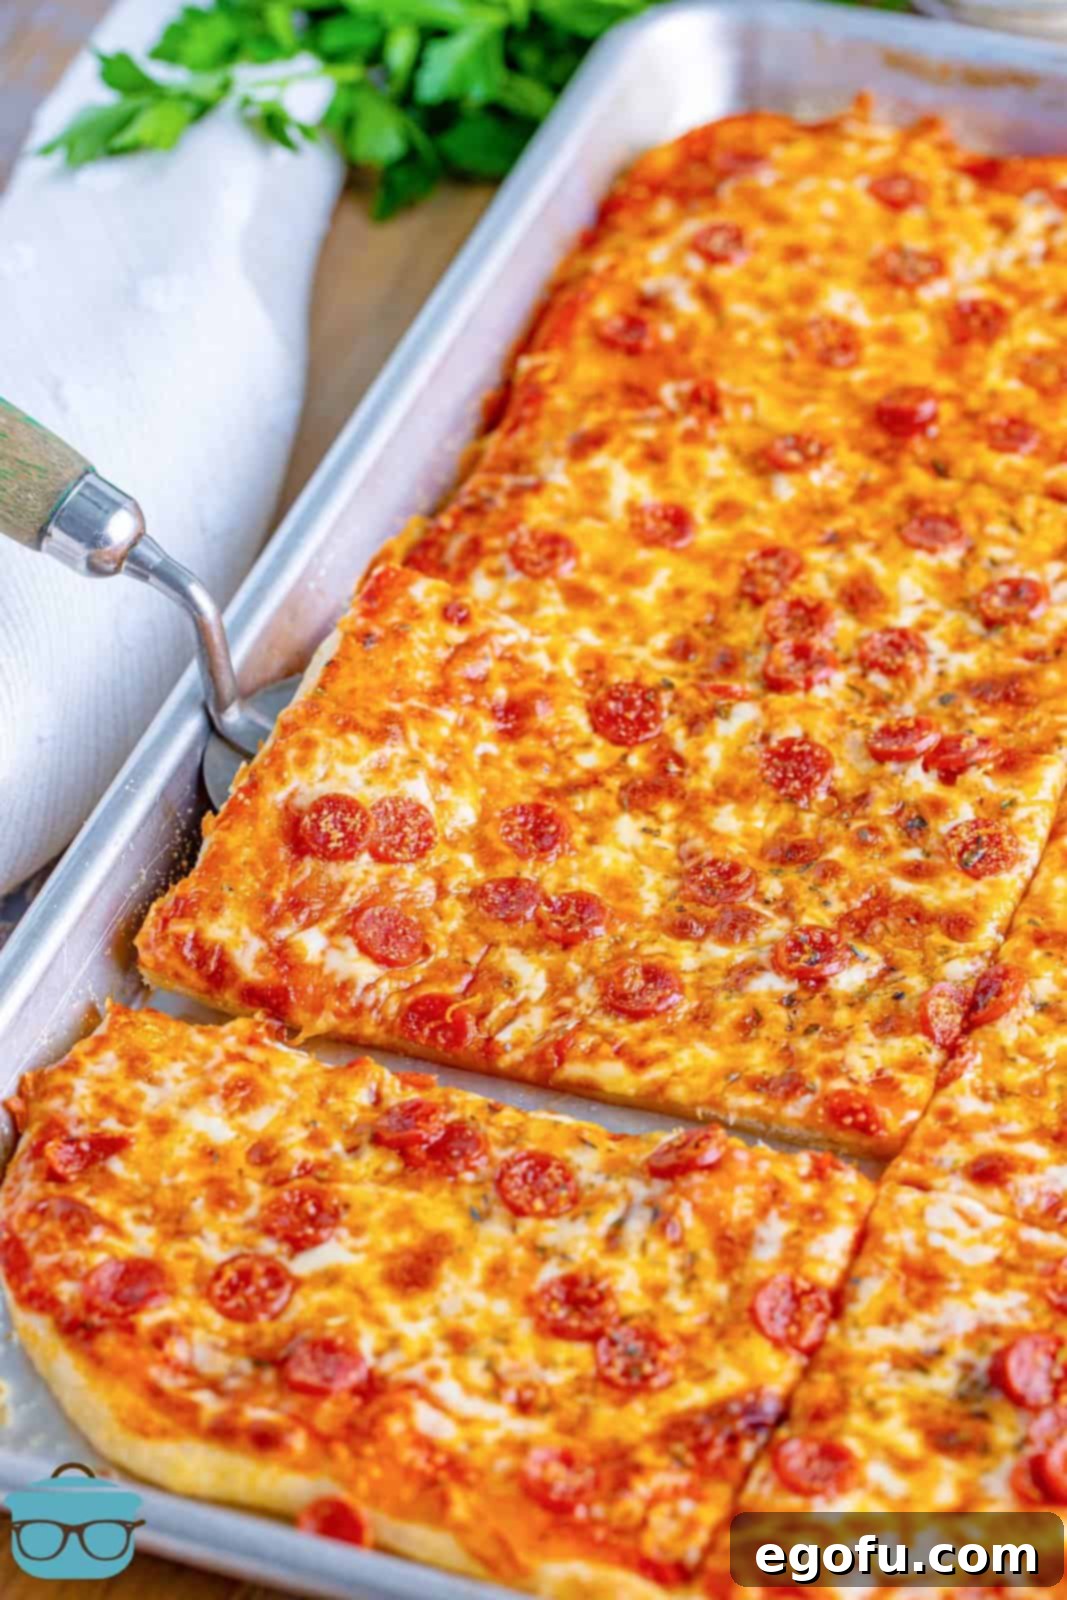
Why Make Your Own Copycat School Pizza?
Beyond the undeniable nostalgia, there are numerous compelling reasons to whip up your own batch of rectangle school pizza. Firstly, it offers unparalleled customization. You control every ingredient, from the quality of the dough to the freshness of the toppings, allowing you to tailor it precisely to your family’s preferences. No more mystery meat or soggy crusts! Secondly, making pizza at home can be a fantastic, engaging activity for the whole family, transforming meal prep into a fun, collaborative experience. Kids love to help spread the dough and sprinkle the cheese, fostering a sense of ownership over their meal. Moreover, homemade pizza often proves to be more cost-effective than ordering takeout, and it allows you to avoid preservatives and artificial ingredients often found in frozen or pre-made options. Embrace the joy of creating a healthier, tastier, and truly personalized version of this beloved childhood classic.
Frequently Asked Questions About Homemade School Pizza
The approach to pizza dough in schools varied significantly by decade and institution. Some cafeterias prided themselves on baking from scratch, crafting fresh dough daily, while others relied on pre-made frozen crusts for efficiency. The key is that this recipe works wonderfully with both options. You can absolutely embrace the authenticity by making your own homemade pizza dough, which adds an extra layer of flavor and satisfaction. However, to keep this recipe accessible and ideal for busy weeknights, using quality store-bought pizza dough is a perfectly acceptable and delicious shortcut. It’s all about creating that familiar taste with a method that suits your lifestyle.
Spreading pizza dough evenly to fit a rectangular pan can indeed be a bit tricky, especially if the dough is cold. Cold dough tends to be less elastic and more resistant to stretching. The best tip is patience: allow your pizza dough to come closer to room temperature before you start working with it. Remove it from the refrigerator about 30-60 minutes before you plan to bake. If it’s still stubborn, don’t force it. Gently press it out as far as it easily goes, then let it rest for another 5-10 minutes, covered, to allow the gluten to relax. You’ll find it becomes much more pliable and easier to stretch into the desired shape. A little olive oil on your hands can also help prevent sticking and aid in the stretching process.
While many memories center around classic plain cheese, pepperoni, or simple sausage school pizza, the beauty of making it at home is that you’re no longer confined by cafeteria menus! Feel free to customize your pizza with any toppings your heart desires. Popular additions include cooked ground beef, sliced mushrooms, bell peppers, onions, or even a sprinkle of oregano. If you’re aiming for true authenticity, stick to single-topping options or simple combinations. My primary suggestion is to avoid overloading the crust with too many heavy toppings. An excessive amount can make the pizza soggy, difficult to cook evenly, and challenging to slice and serve, detracting from that perfect school pizza experience. Balance is key!
Absolutely not! While using an 18×13-inch (half-sheet) rectangle pan is recommended to perfectly replicate the iconic shape and portion size of traditional school pizza, any pizza pan you prefer will work beautifully. A round pizza stone or pan will yield a delicious pizza, even if it doesn’t look exactly like the cafeteria version. Furthermore, if you desire a thicker, chewier crust reminiscent of some school cafeteria styles, simply use a slightly smaller rectangular sheet pan, allowing the dough to be spread less thinly. This flexibility ensures you can enjoy this nostalgic treat regardless of your kitchen equipment.
Leftover homemade school pizza is a treat in itself! To maintain its freshness and flavor, ensure it’s completely cooled before storing. Place individual slices or stacks of slices in an airtight container or wrap them tightly in plastic wrap or aluminum foil. Stored this way, the pizza will keep well in the refrigerator for up to 3-4 days. For longer storage, you can freeze leftovers for up to 3 months. To freeze, wrap slices individually in plastic wrap, then place them in a freezer-safe bag or container. This makes for quick and easy reheating whenever a craving strikes.
Reheating pizza correctly is crucial to preserve its delicious texture. The microwave is generally not recommended, as it tends to make the crust soggy and the cheese rubbery. For best results, use your oven or an air fryer. To reheat in the oven, preheat it to 350°F (175°C), place slices directly on the oven rack or on a baking sheet, and bake for 8-12 minutes, or until the cheese is melted and bubbly and the crust is crisp. In an air fryer, set the temperature to 325-350°F (160-175°C) and cook for 3-5 minutes, or until heated through and crispy. Both methods will bring your leftover school pizza back to its delicious glory.
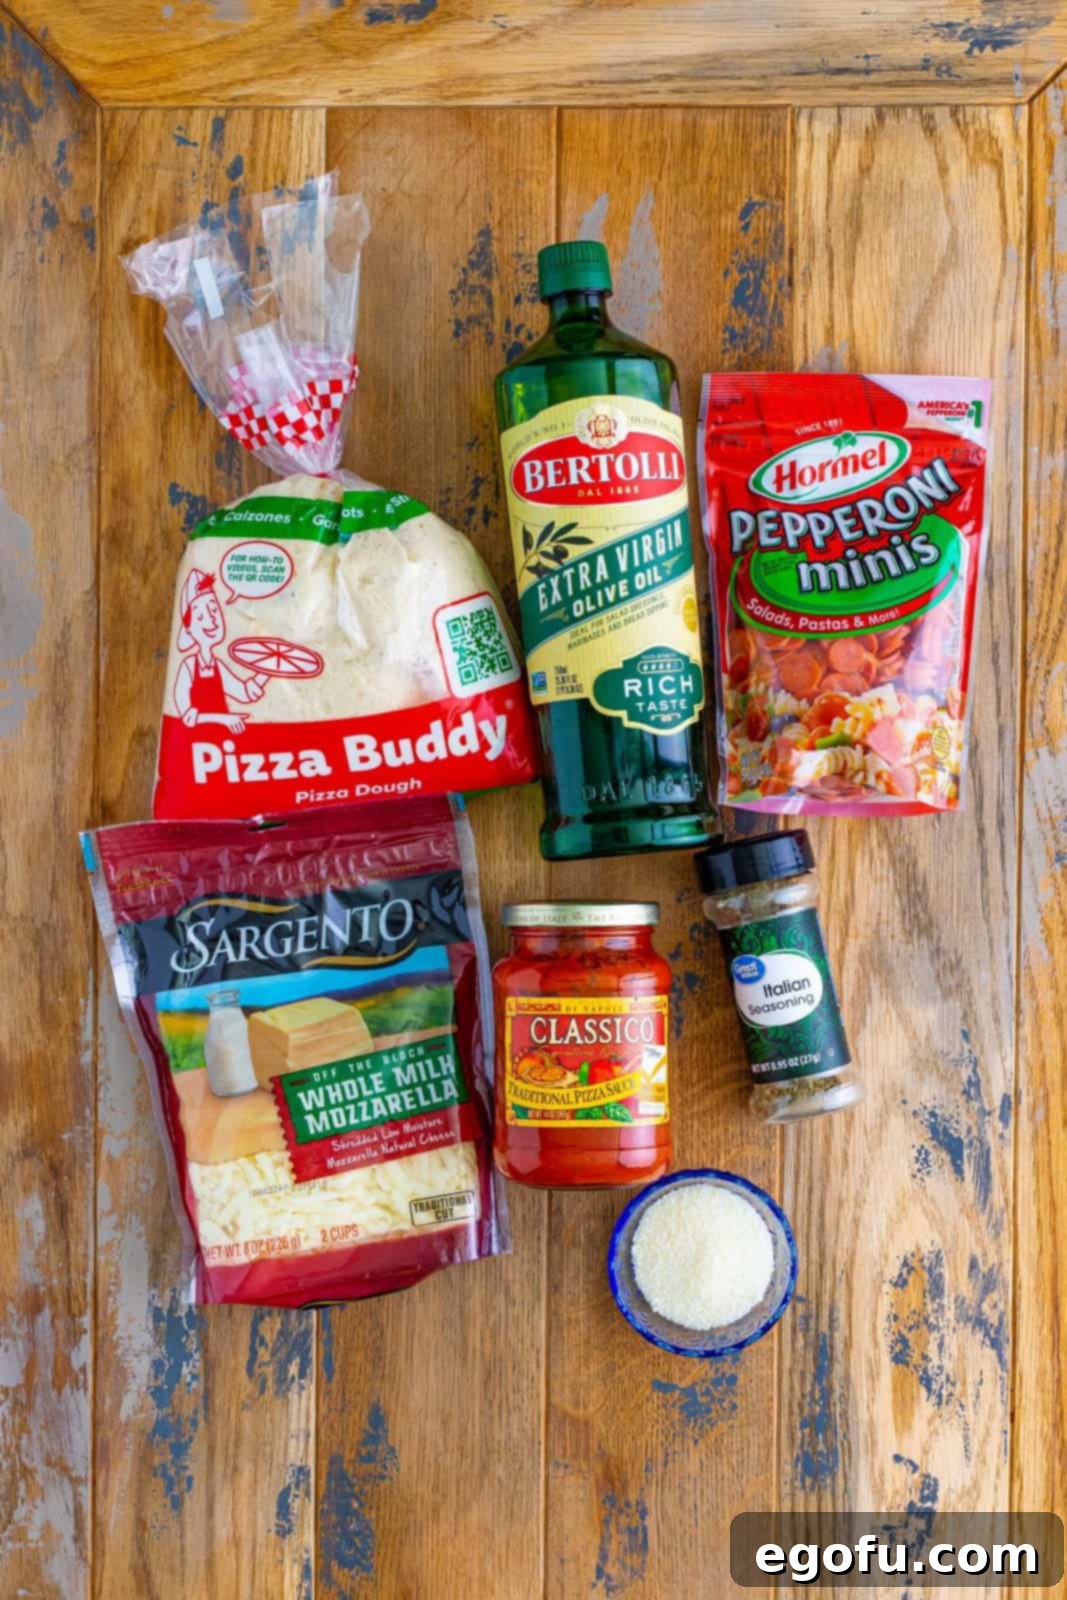
Essential Ingredients for Your Retro Pizza
Crafting the perfect copycat school pizza requires a few simple, yet key ingredients. The beauty of this recipe lies in its straightforwardness, using components readily available to achieve that unmistakable flavor profile.
- Olive Oil: Essential for preventing the dough from sticking to the baking pan and for achieving a wonderfully crisp bottom crust. Its subtle flavor also complements the other ingredients. Vegetable oil can be used as an alternative if preferred.
- Pizza Dough: The foundation of our pizza! While store-bought dough offers convenience for a quick weeknight meal, for an even more authentic taste and texture, consider making your own. We provide a fantastic homemade pizza dough recipe here. Ensure your dough is close to room temperature for easier handling and stretching.
- Pizza Sauce: The heart of the pizza’s flavor. You can opt for a high-quality store-bought pizza sauce for simplicity, or elevate your pizza with a vibrant, homemade version. Find our delicious homemade pizza sauce recipe here. Aim for a sauce that has a balanced sweet and savory profile, similar to what you might remember.
- Shredded Mozzarella Cheese: The quintessential pizza cheese known for its incredible melting properties and classic mild flavor. Pre-shredded cheese is a convenient choice, but shredding a block of whole-milk mozzarella yourself often results in an even creamier, smoother melt.
- Mini Pepperoni: While mini pepperoni adds a charming, nostalgic touch and distributes flavor beautifully, regular-sized pepperoni slices are also perfect and arguably look more like the traditional school pizza slices you remember. You can adjust the amount to your liking – some prefer a generous layer, while others opt for a lighter touch.
- Grated Parmesan Cheese: This is an optional but highly recommended addition. A light sprinkle of grated parmesan cheese over the mozzarella and pepperoni brings an extra layer of salty, umami depth that significantly enhances the overall flavor of the pizza, giving it a gourmet touch within a nostalgic context.
- Italian Seasoning: A small amount of Italian seasoning, sprinkled over the toppings before the final bake, adds a fragrant, herbaceous aroma and a burst of classic Italian flavor. It’s the subtle touch that makes each bite truly flavorful and authentic.
Step-by-Step Guide: How to Make Classic Rectangle School Pizza
Follow these straightforward steps to create your very own authentic copycat school pizza and enjoy a taste of pure childhood bliss.
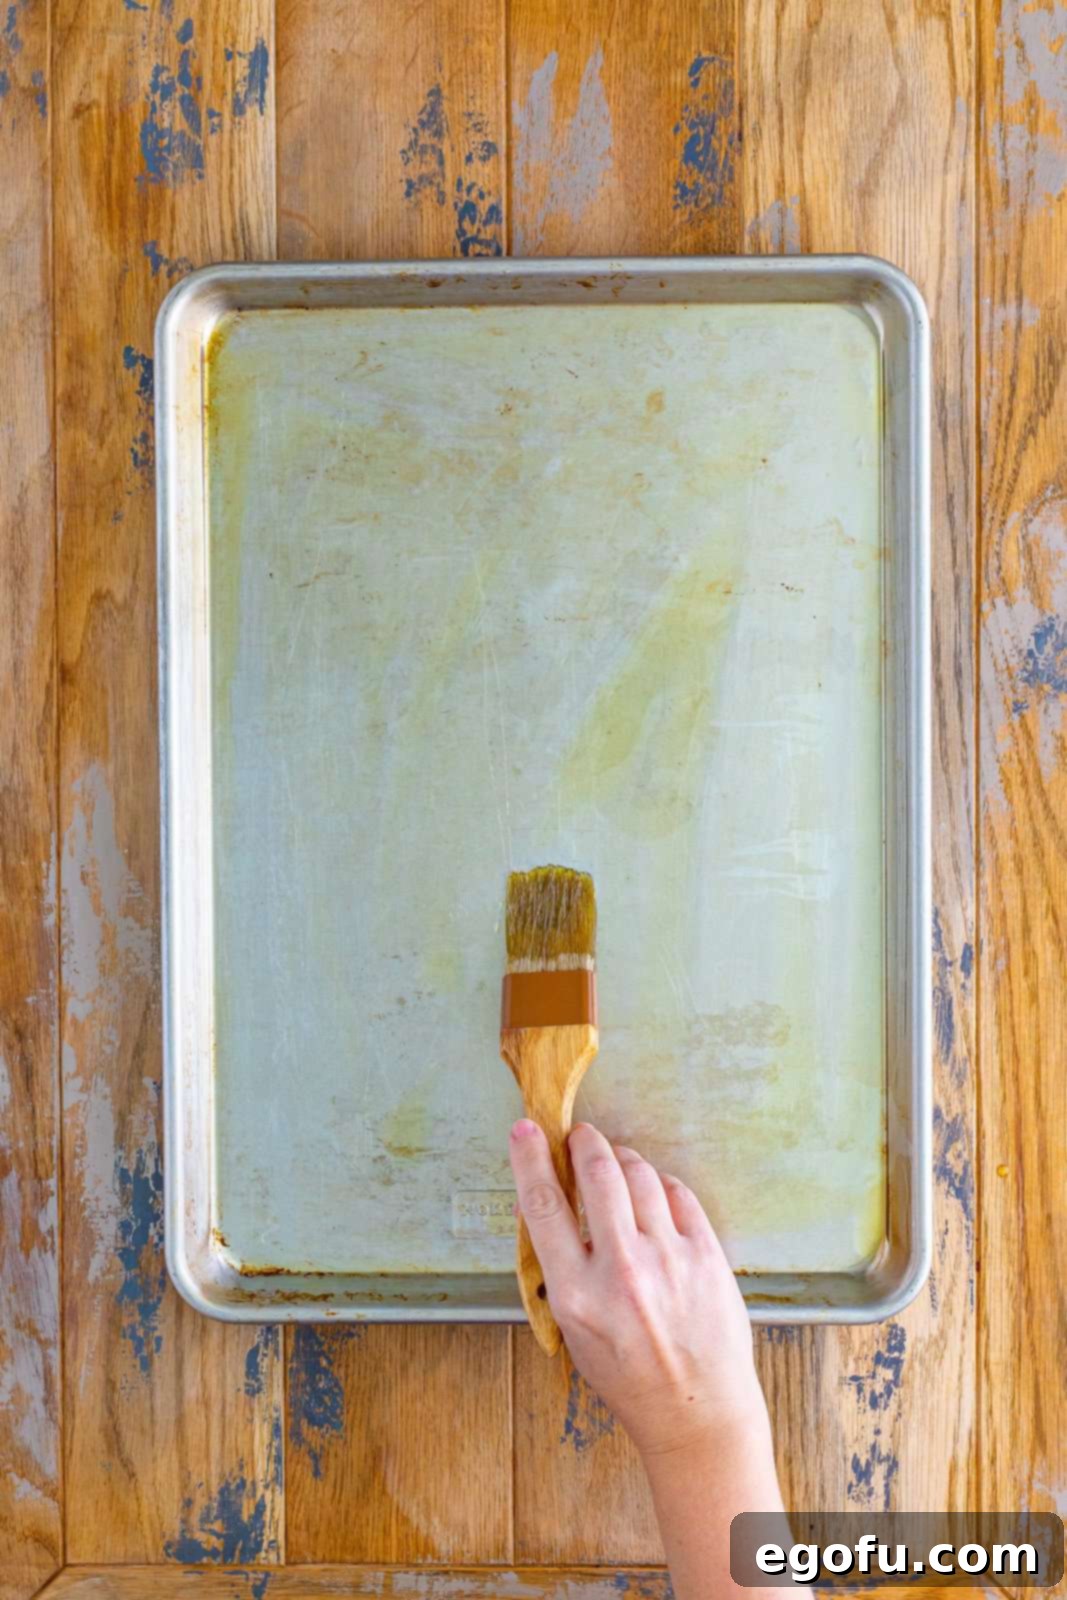
1. Prepare Your Oven and Pan: Begin by preheating your oven to a robust 425°F (220°C). This high temperature is crucial for achieving that signature crispy crust. While the oven heats, generously brush an 18×13-inch (half-size) sheet pan, or a pan of similar dimensions, all over with olive oil. Ensure the entire surface, including the edges, is well coated to prevent sticking and aid in browning.
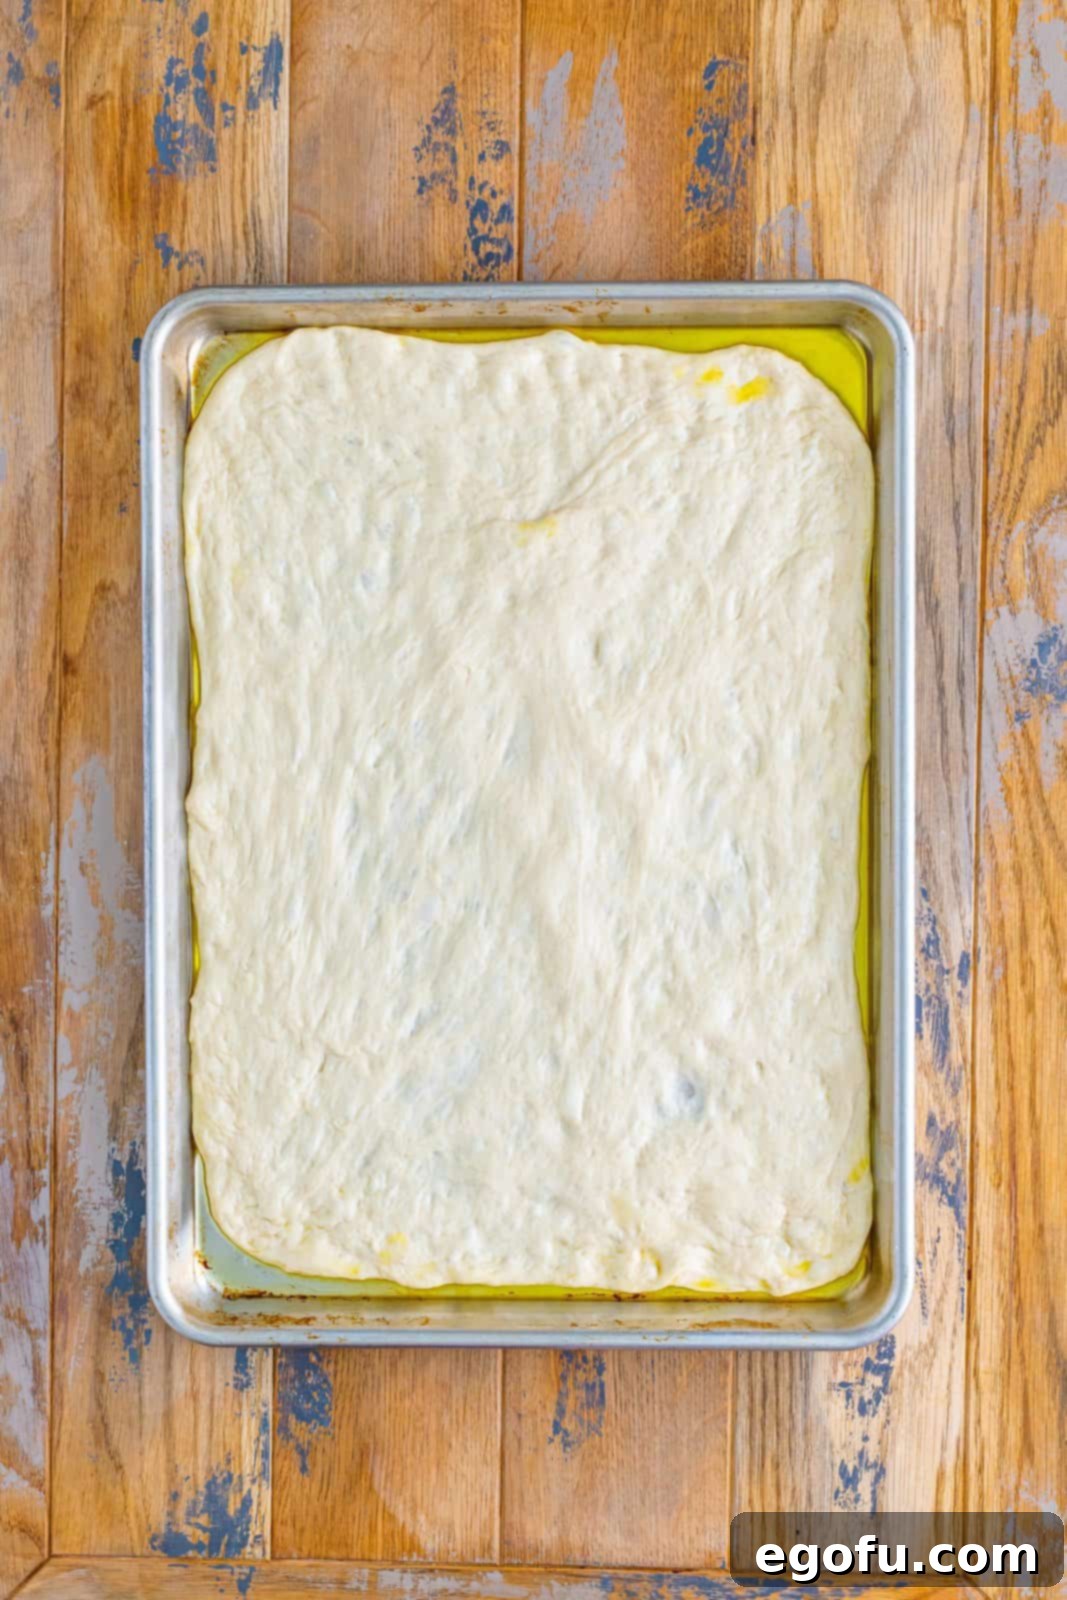
2. Spread the Pizza Dough: Carefully unroll or place your pizza dough onto the oiled sheet pan. Begin gently spreading it out with your hands, working from the center outwards, to fit the size of the tray. If the dough resists stretching or seems too tight, simply let it rest, covered, for 5-10 minutes. This allows the gluten to relax, making it much easier to spread to the corners of the pan without tearing. Patience here ensures an even crust.
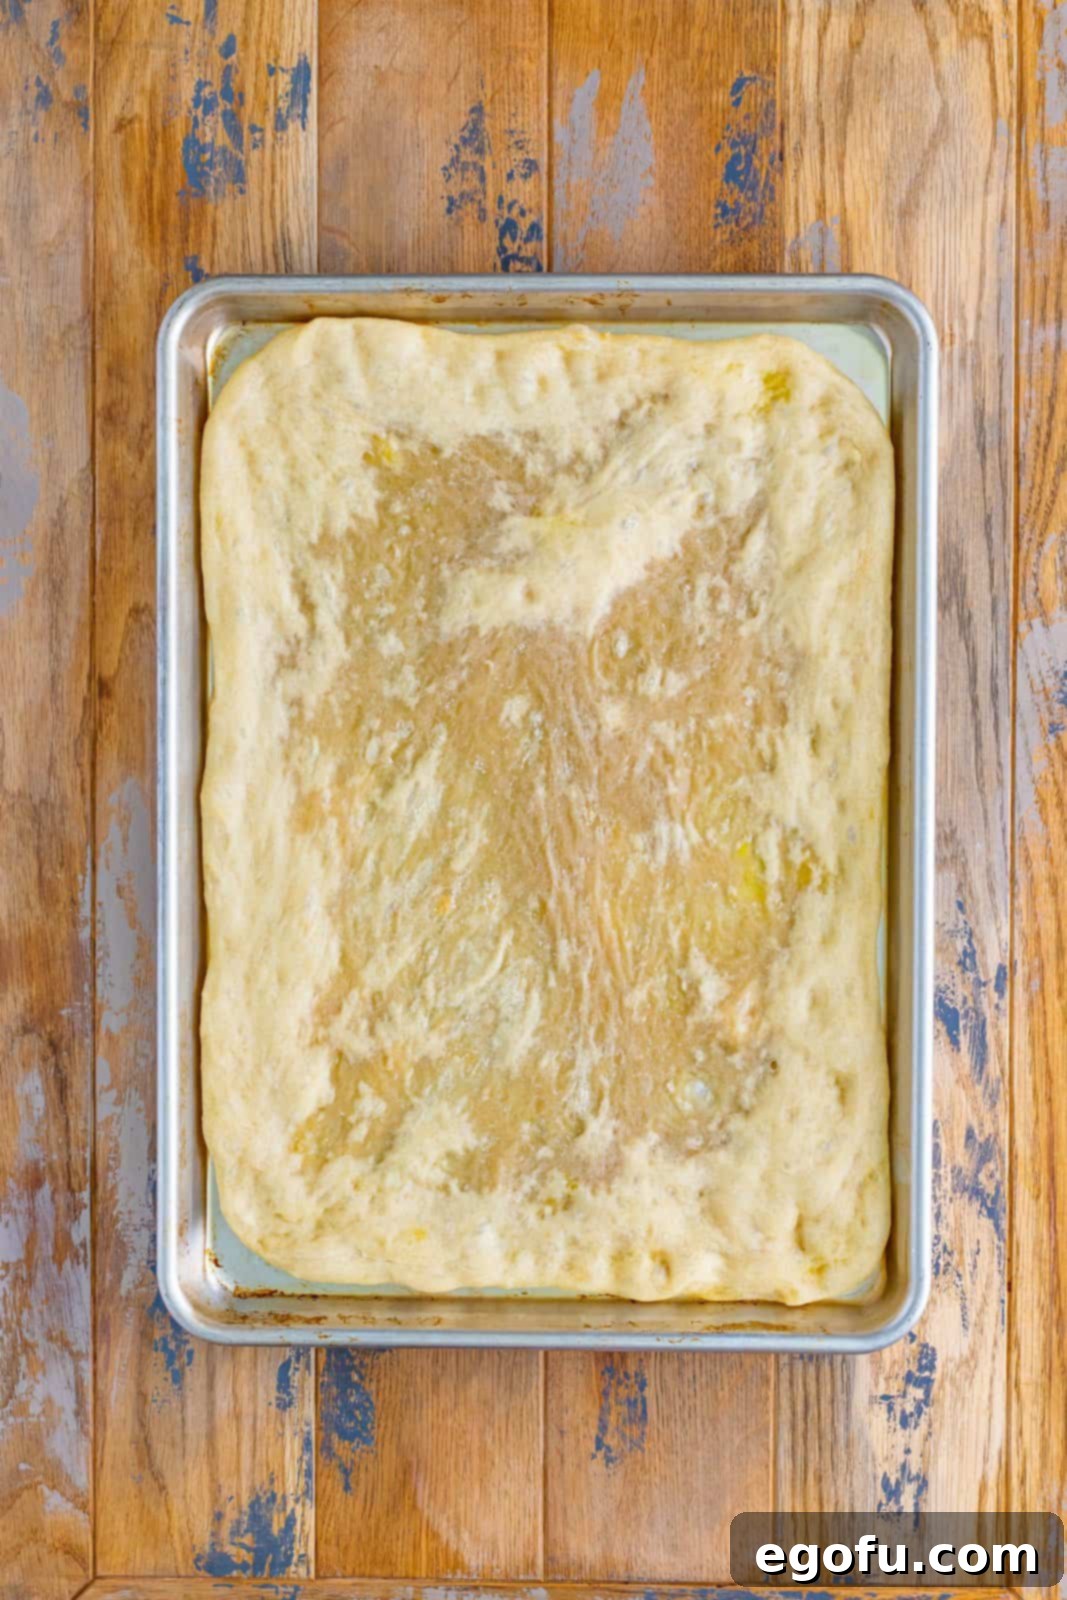
3. Pre-bake the Crust: Once your dough is spread, bake the crust in the preheated oven for 5-7 minutes. This crucial step, known as pre-baking or par-baking, helps to dry out the dough slightly, ensuring a crispier bottom crust that won’t get soggy under the sauce and toppings. The longer you bake it at this stage, the crisper your final crust will be, so adjust according to your personal preference for crunchiness.
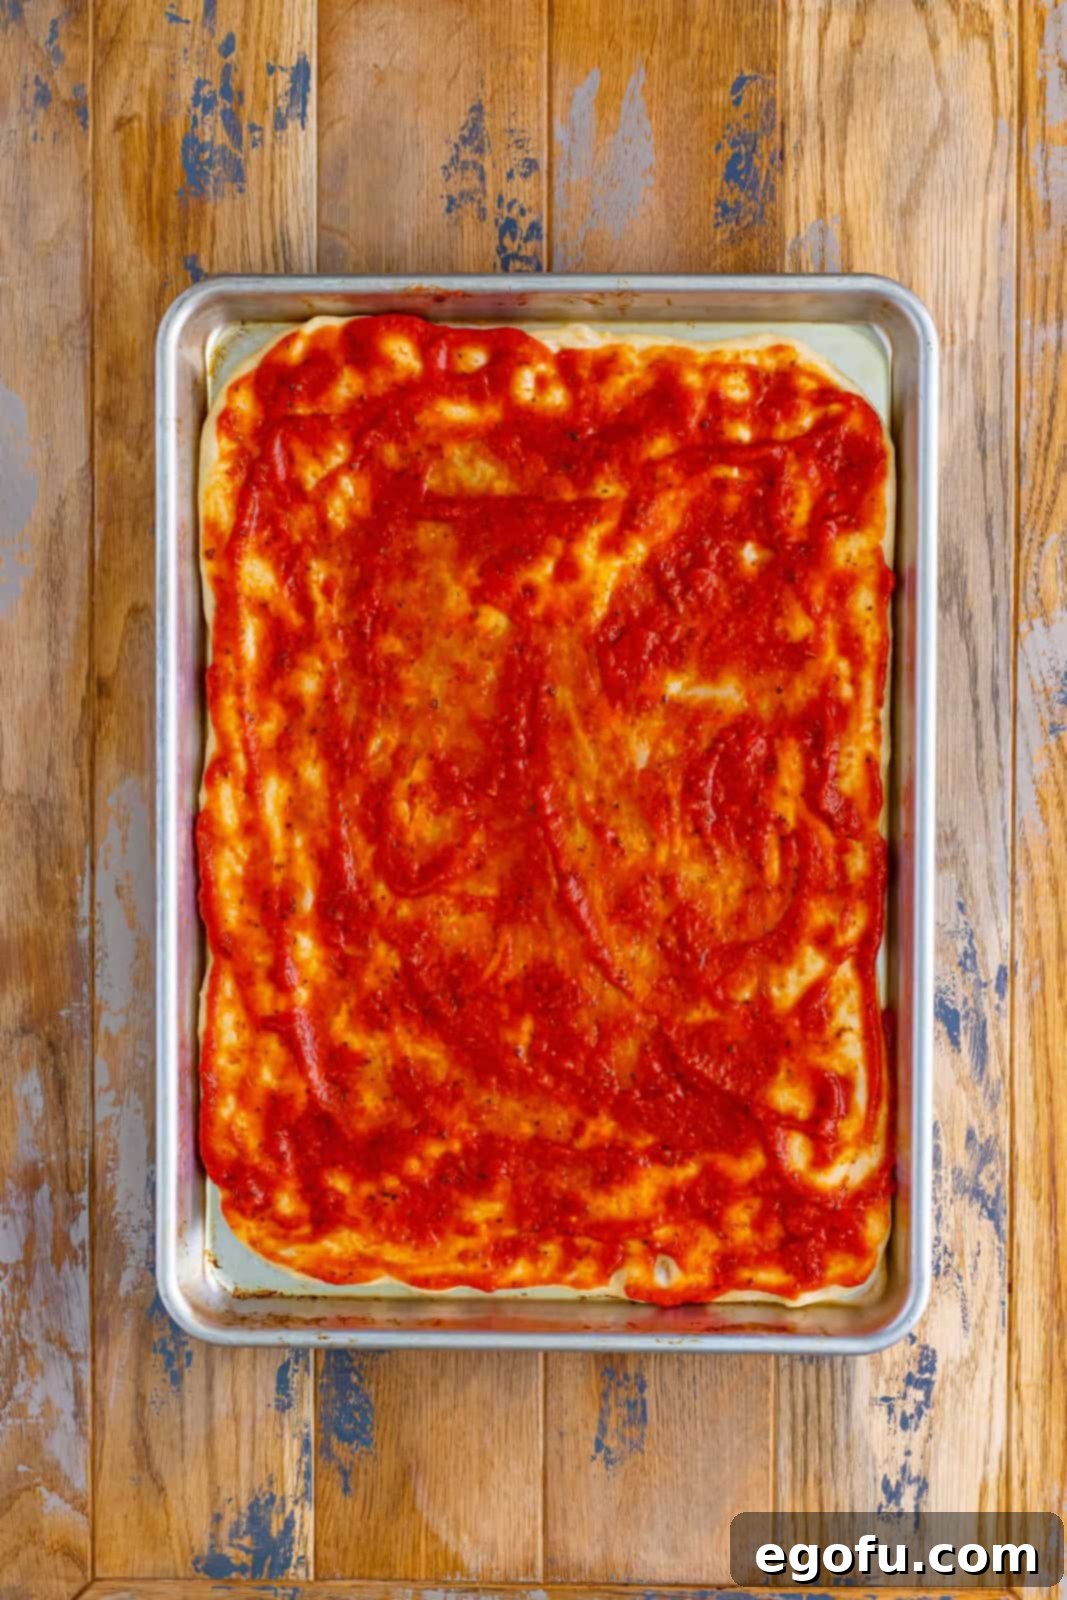
4. Add the Pizza Sauce: Remove the partially baked crust from the oven. Evenly spread your chosen pizza sauce all over the dough, making sure to go all the way to the edges. This edge-to-edge saucing is a hallmark of authentic school pizza and ensures every bite is flavorful, eliminating dry crust corners.
5. Layer Cheese and Pepperoni: Next, evenly sprinkle the shredded mozzarella cheese over the sauce. Follow this with your pepperoni (mini or regular). You can be as generous or as conservative as you like; the image shows approximately ½ cup of mini pepperonis, which provides a good distribution without overwhelming the pizza. Aim for an even layer to ensure every slice has a delicious balance of cheese and meat.
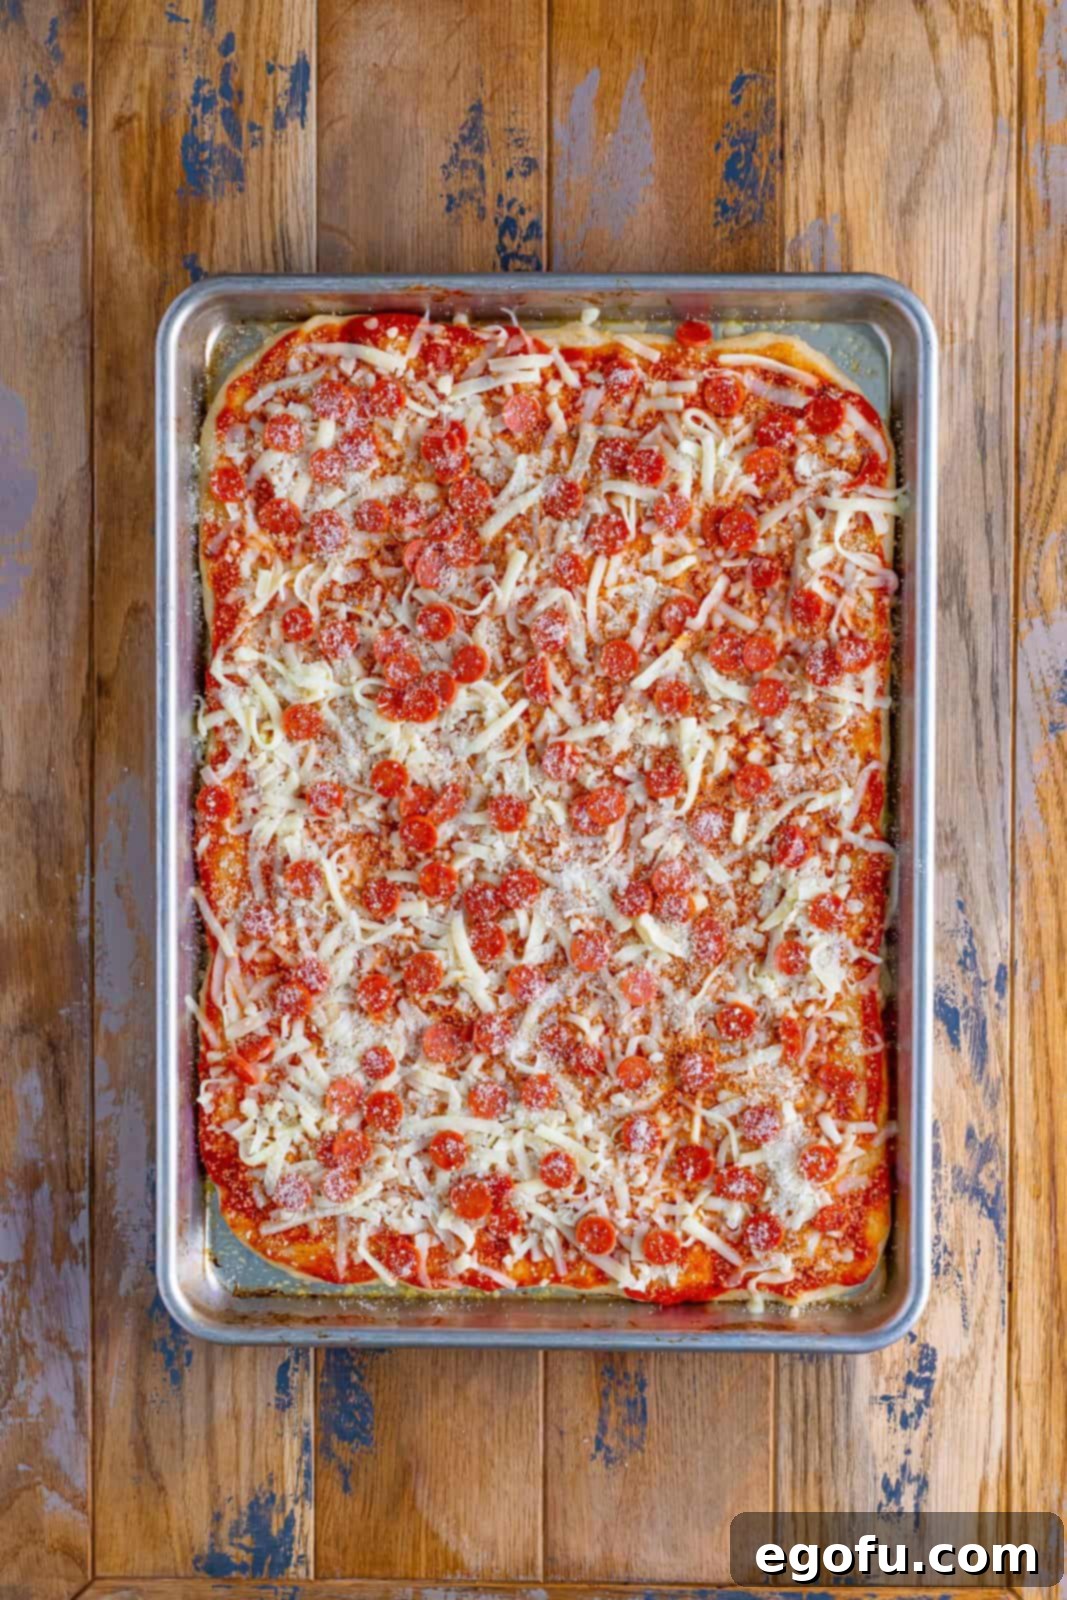
6. Final Touches and Bake: Evenly sprinkle the grated parmesan cheese over the mozzarella and pepperoni, followed by a light dusting of Italian seasoning. These additions enhance the overall flavor profile. Return the pizza to the oven and bake for another 8-10 minutes. Keep an eye on it until the crust edges are golden brown, the cheese is thoroughly melted, bubbly, and slightly browned in spots, and the pepperoni is crisp. The aroma filling your kitchen will be a sure sign it’s ready!
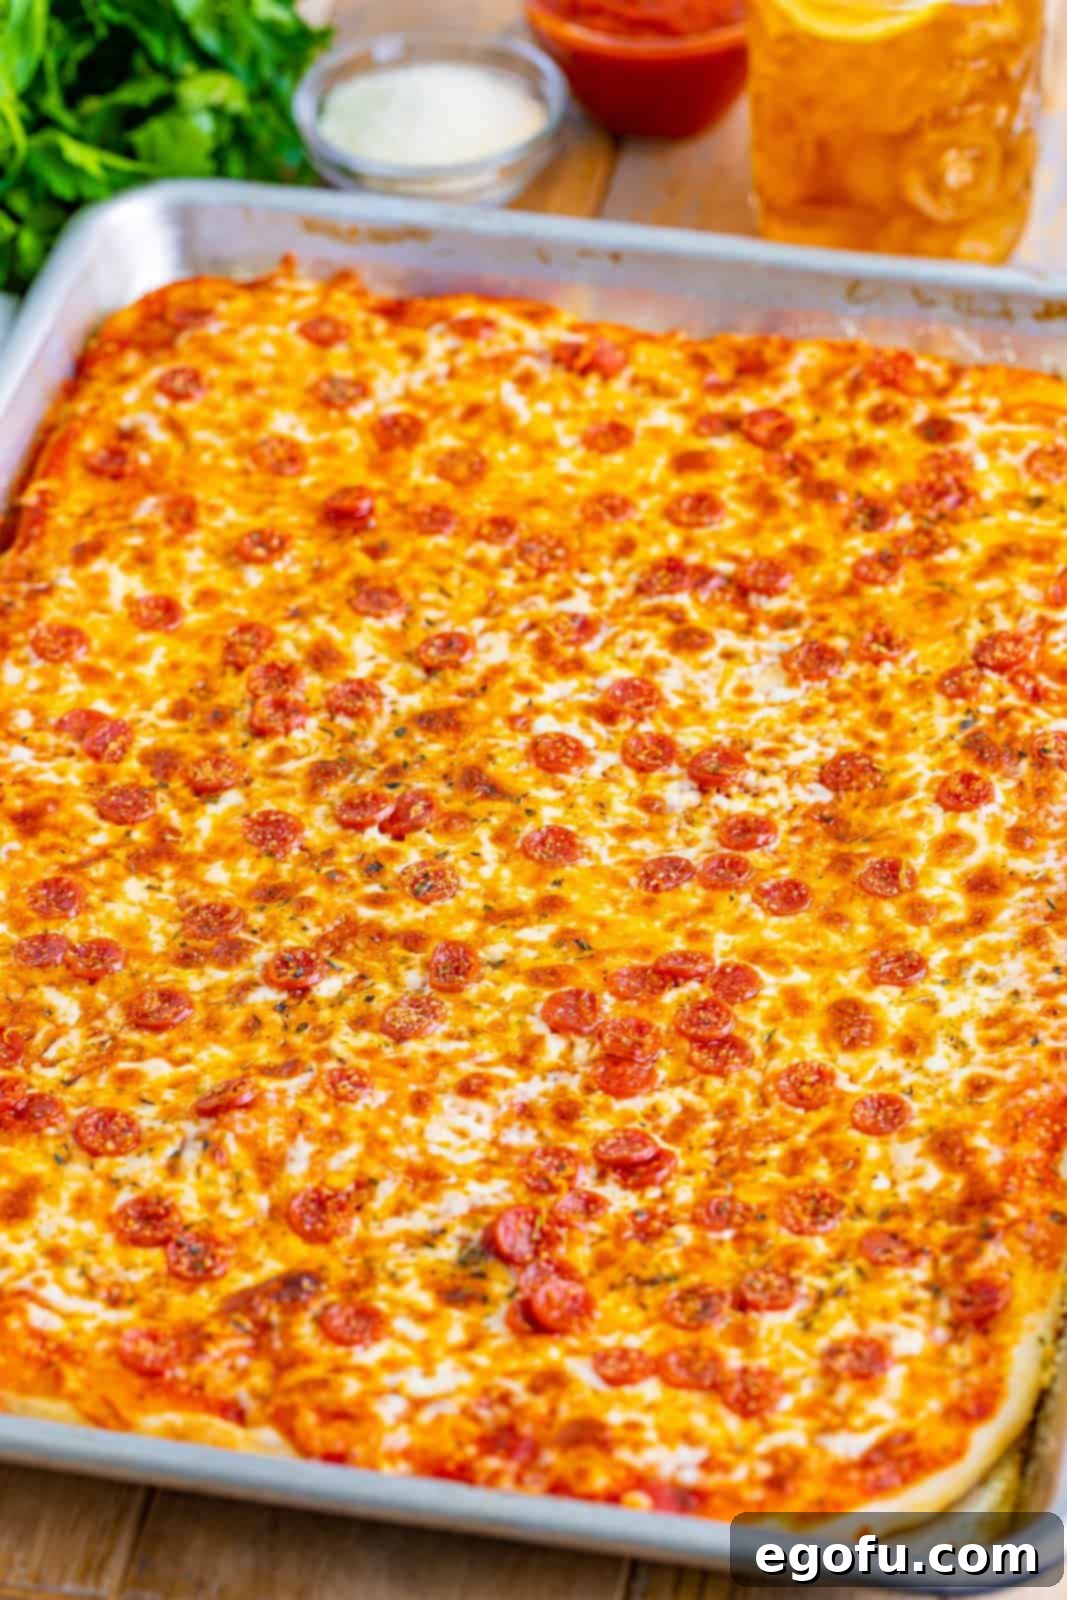
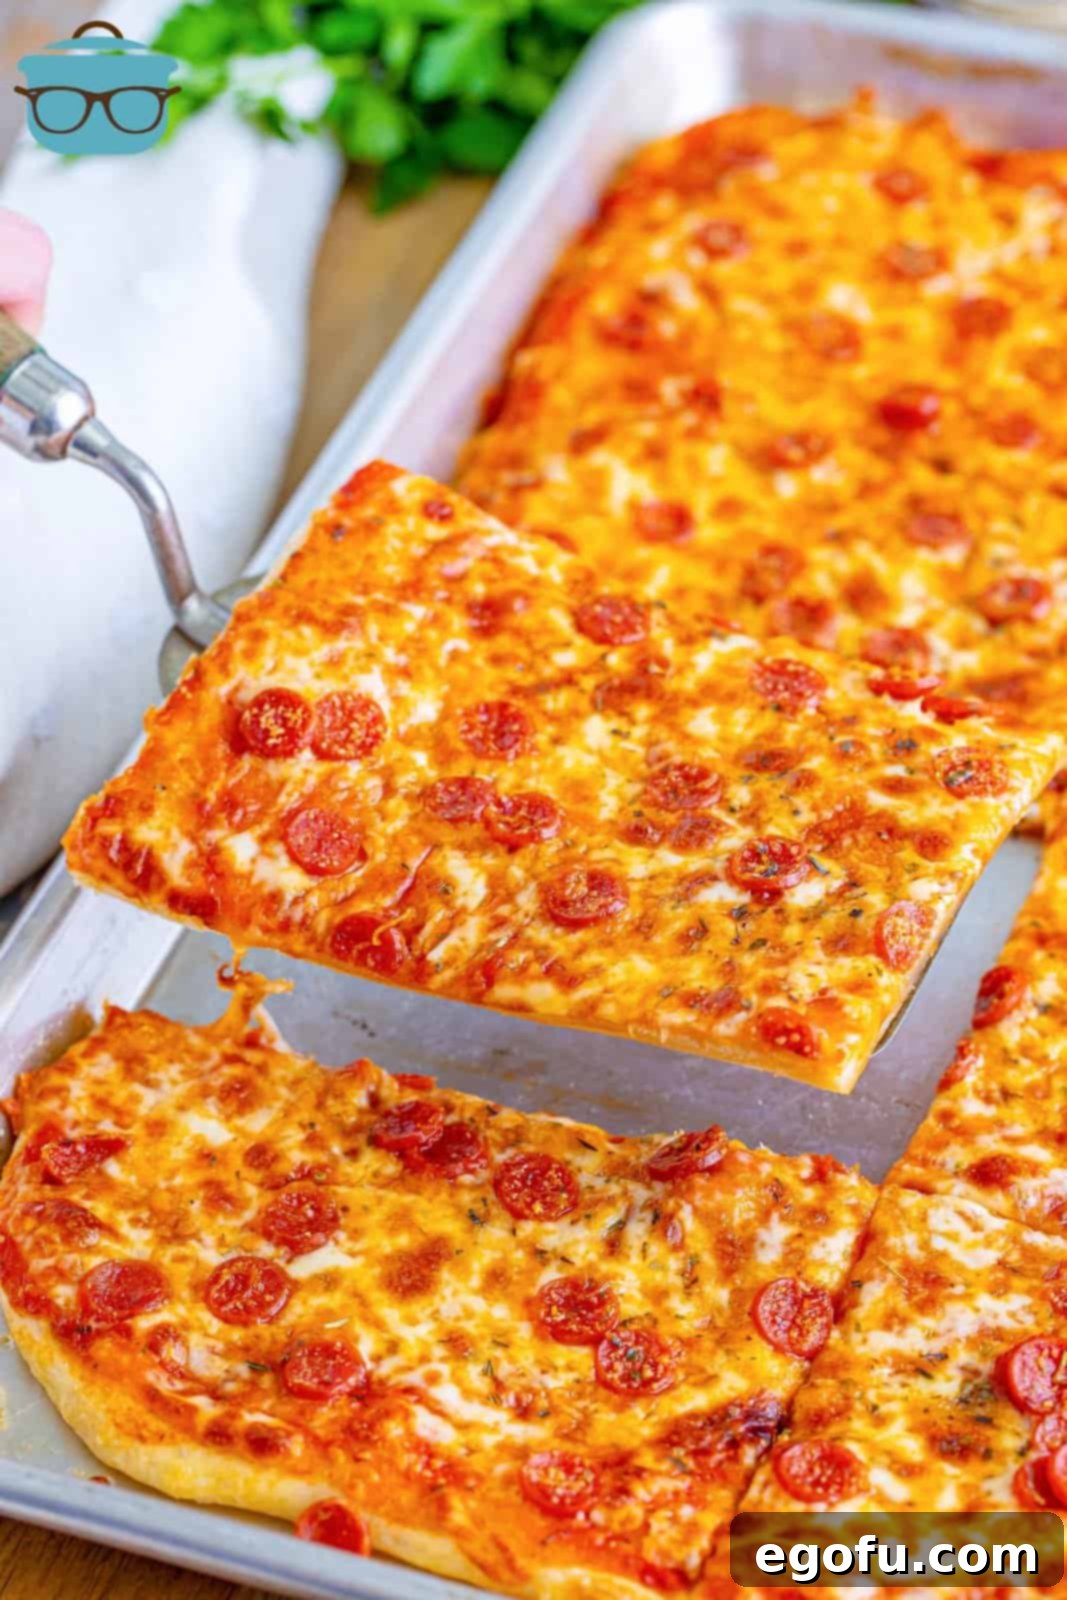
7. Cool and Serve: Once baked to perfection, remove the pizza from the oven. It’s crucial to let it cool for at least 5 minutes before slicing. This brief cooling period allows the cheese to set slightly, making for cleaner cuts and preventing the toppings from sliding off. After cooling, slice your rectangle pizza into squares or traditional school pizza rectangles, and serve immediately. Prepare for a wave of delicious nostalgia!
Serving Suggestions & Creating the Full Lunchroom Experience
To truly complete your nostalgic school pizza experience, consider pairing it with classic cafeteria sides. A simple green salad with a light vinaigrette, some crisp carrot sticks, or a side of fruit slices can balance the meal beautifully. For drinks, nothing beats a cold glass of milk, or perhaps a retro fruit punch. Serve your rectangular slices on paper plates for an authentic touch, and let the memories flow as you savor every bite of this homemade classic!
Craving More Nostalgic Recipes?
If this trip down memory lane has you hungry for more childhood favorites, explore these other delicious copycat recipes:
- School Cafeteria Spaghetti
- Copycat School Bosco Sticks
- Cafeteria Chili
- Lunch Lady Peanut Butter Cookies
- Cafeteria Noodles
- Easy Breakfast Pizza
- Copycat Blaze White Top Pizza

Rectangle School Pizza
Ingredients
- 2 Tablespoons olive oil
- 1 pound pizza dough, close to room temperature
- ¾ cup pizza sauce
- 2 cups shredded mozzarella cheese
- ½ – ¾ cup mini pepperoni (or regular pepperoni)
- 2 Tablespoons grated parmesan cheese
- ½ teaspoon Italian seasoning
Instructions
- Preheat the oven to 425°F. Brush an 18×13-inch (half size) sheet pan or one of similar size all over with the olive oil.
- Add the pizza dough to the pan and gently spread it out to fit the size of the sheet tray. If it is not stretching easily for you, let it rest for 5 minutes and try again.
- Bake the crust for 5-7 minutes. Note: the longer you bake it the crispier the crust will get so make it to your personal preferences.
- Add the pizza sauce all over the dough, all the way to the edge to mimic school pizza.
- Evenly sprinkle the mozzarella on top followed by the pepperoni; put as little or as much as you like.
- Then add the parmesan cheese evenly on top followed by the Italian seasoning.
- Bake again for another 8-10 minutes until golden brown and melty.
- Let cool for 5 minutes, then slice and serve.
Notes
- Please refer to our FAQ’s and ingredient list above for other substitutions or for the answers to the most common questions.
- Add any toppings you like! Customization is key to making this your perfect pizza.
- Use a smaller sheet pan for a thicker crust, or experiment with round pans for a different take on the classic.
- You can use any pizza dough or pizza sauce that you prefer. We’ve also provided links above to recipes for making your own homemade dough and sauce for an extra personal touch.
- Store in the fridge for up to 4 days in an airtight container, or freeze for up to 3 months. We suggest reheating in the oven or air fryer to prevent it from becoming soggy, as can happen in the microwave.
Nutrition
Carbohydrates: 29g |
Protein: 13g |
Fat: 15g |
Sodium: 828mg |
Fiber: 1g |
Sugar: 5g
Nutritional Disclaimer
“The Country Cook” is not a dietician or nutritionist, and any nutritional information shared is an estimate. If calorie count and other nutritional values are important to you, we recommend running the ingredients through whichever online nutritional calculator you prefer. Calories and other nutritional values can vary quite a bit depending on which brands were used.
Did you make this recipe?Share it on Instagram @thecountrycook and mention us #thecountrycook!
