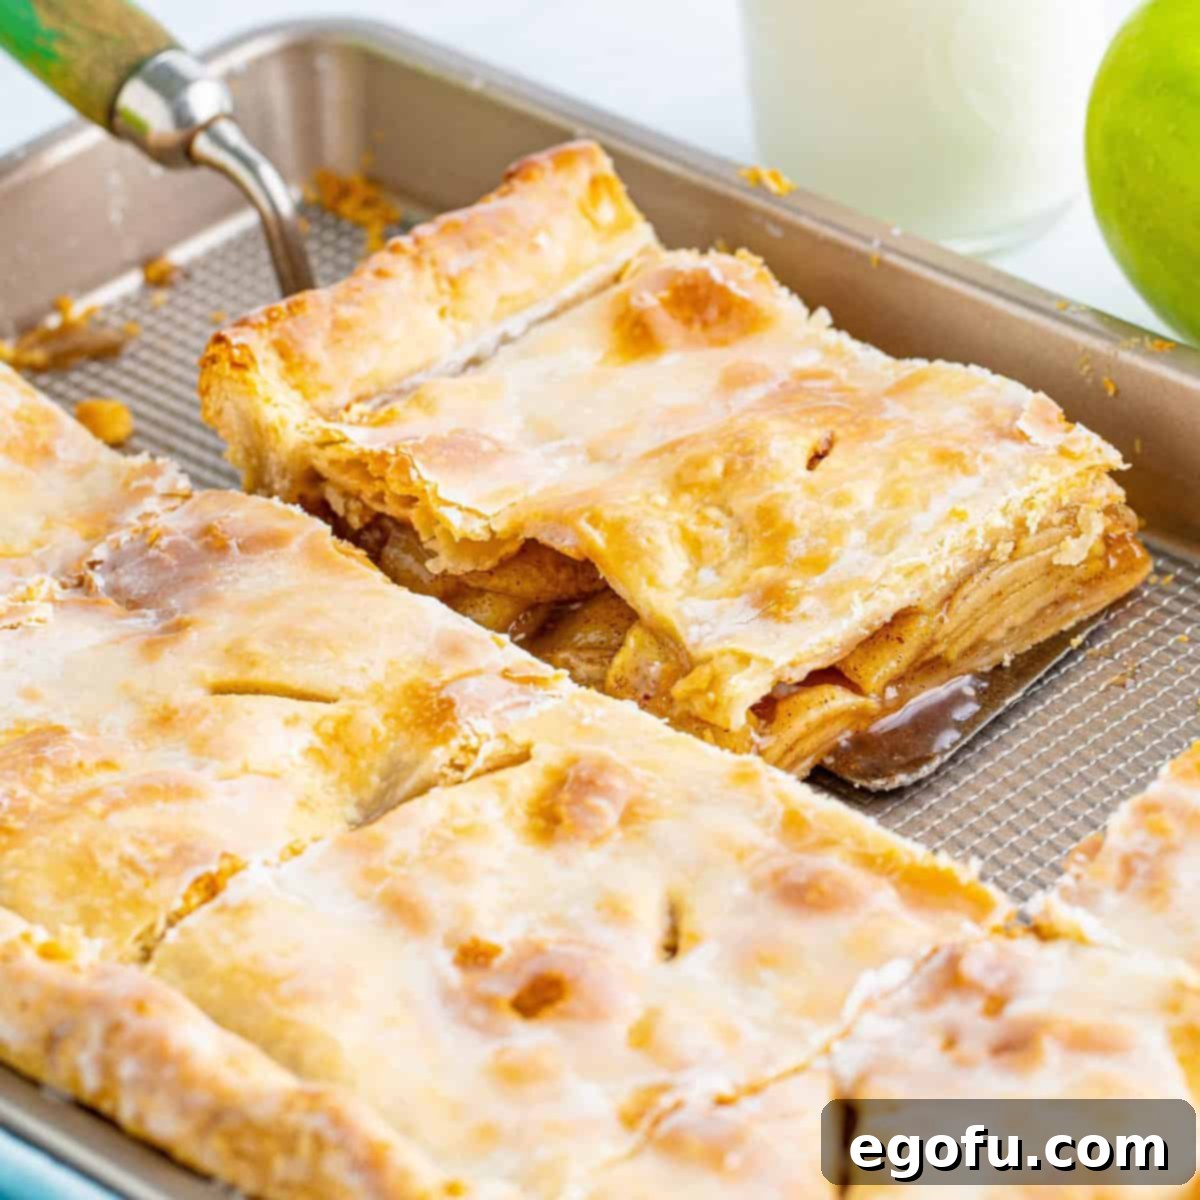
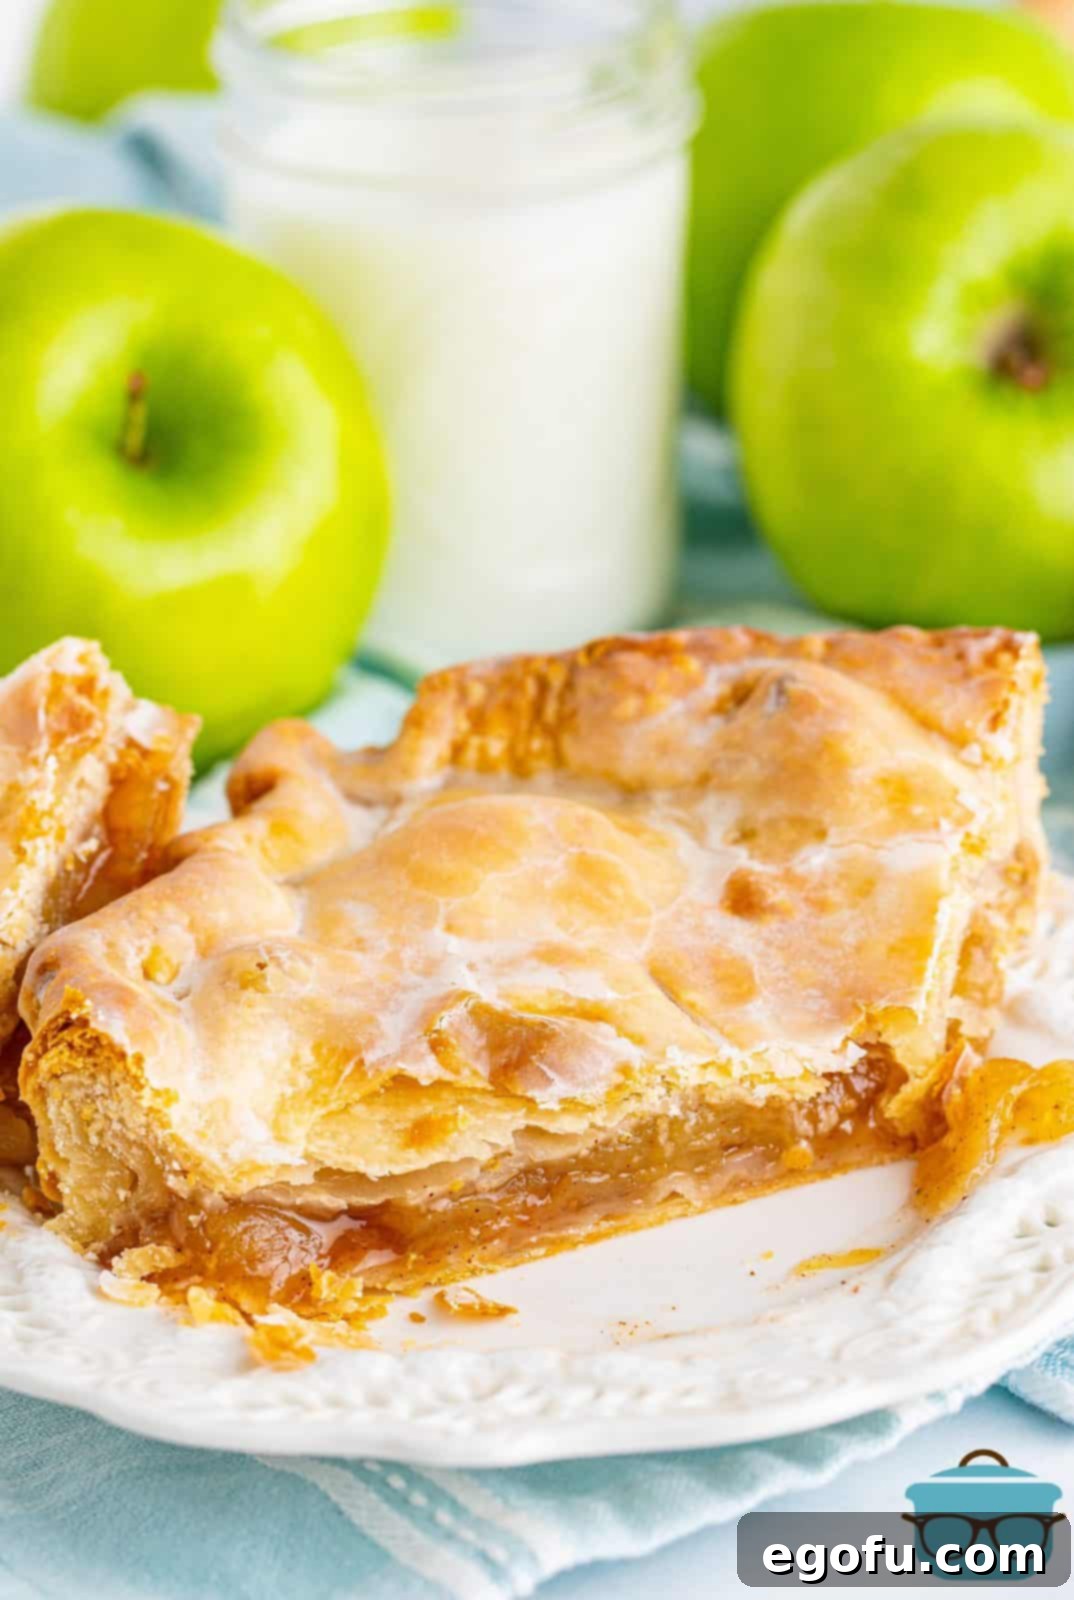
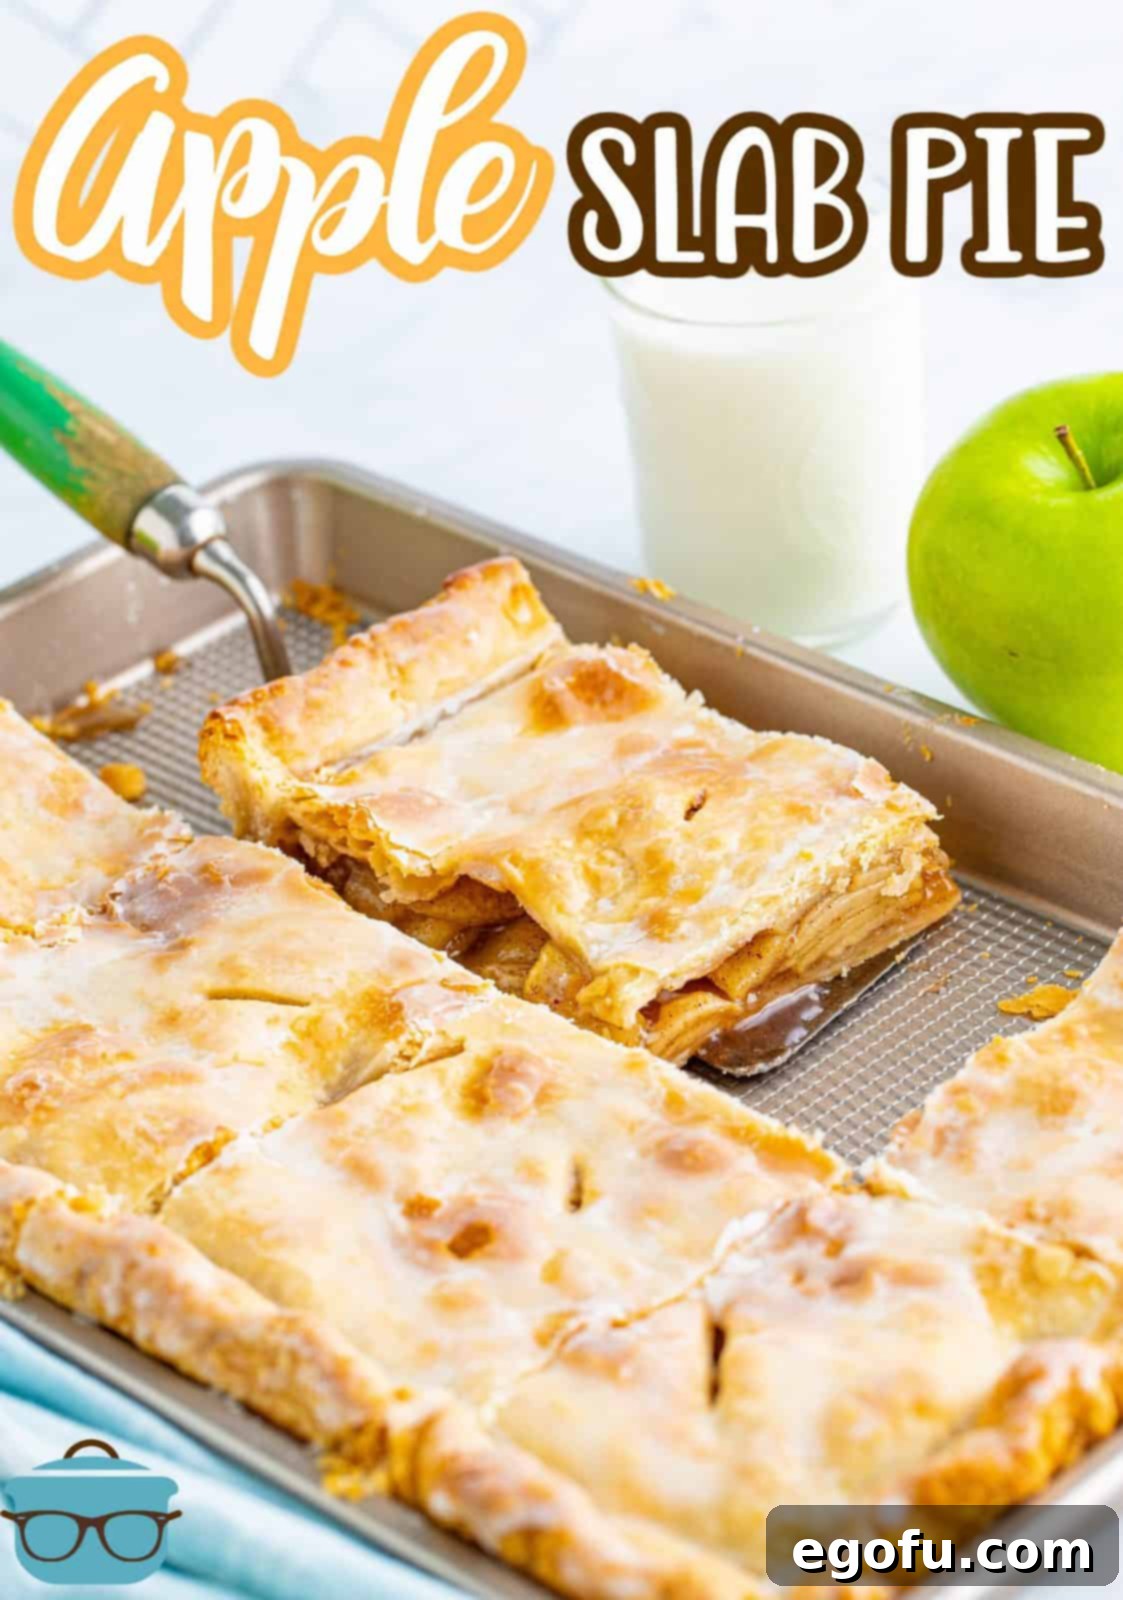
Experience a delightful twist on a timeless dessert with this incredible Apple Slab Pie! It packs all the beloved flavors of classic apple pie into a convenient, large format, perfect for feeding a crowd. Baked in a sheet pan, generously glazed, and served in easy-to-handle square slices, this recipe is your go-to for effortless entertaining or simply enjoying more pie for longer!
Effortless Apple Perfection: The Ultimate Apple Slab Pie Recipe
There’s nothing quite like the comforting aroma and taste of a homemade apple pie. However, the traditional process of making multiple pies for a gathering can be quite time-consuming. This is where the Apple Slab Pie truly shines. It takes everything you love about classic apple pie – the tender, spiced apples, the flaky crust, and the sweet glaze – and transforms it into a large, easy-to-serve dessert baked in a single jelly roll pan. Imagine serving a warm, golden pie that’s effortlessly cut into bars rather than challenging wedges, making serving a breeze and allowing everyone to enjoy a generous portion. Whether you’re hosting a large family dinner, bringing a dessert to a potluck, or simply want an easier way to enjoy your favorite fall treat, this Apple Slab Pie recipe is a delicious and practical solution. It’s sweet, satisfying, and utterly perfect for any occasion, especially during the crisp autumn months.
Frequently Asked Questions About Apple Slab Pie
Absolutely! While this recipe conveniently uses store-bought refrigerated pie crusts, feel free to use your favorite homemade double pie crust recipe. Just ensure you prepare enough dough to equal four standard single crusts (typically two double crust recipes). This will provide ample crust for both the bottom and top layers of your large slab pie.
For a perfect apple pie filling that holds its shape and offers a balanced flavor, my top recommendation is Granny Smith apples. Their tartness beautifully complements the sugar and spices, and their firm texture prevents them from turning mushy during baking. Red apple varieties tend to be too soft for most baked desserts and can break down excessively. Other excellent baking apple choices include Golden Delicious, Jonathan, Jonagold, and Braeburn. A blend of two or three varieties can also create a more complex and delightful flavor profile.
While the glaze adds a wonderful touch of sweetness and a beautiful finish to the Apple Slab Pie, it’s not strictly necessary. You can certainly enjoy the pie as is if you prefer a less sweet dessert. However, for those who love an extra layer of flavor, the glaze is highly recommended! For a delightful twist, consider adding a hint of maple syrup or maple extract to your glaze. Alternatively, for a simpler yet equally delicious crust topping, you can brush the top crust with melted butter and sprinkle it generously with a cinnamon-sugar mixture before baking. This creates a lovely golden-brown, subtly sweet crust.
No problem at all! If nutmeg isn’t to your taste, you can easily substitute it with an equal amount of ground cinnamon, or even a little more if you love that warm cinnamon flavor. Another fantastic option is to replace all the individual spices (cinnamon and nutmeg) with a pre-mixed apple pie spice blend. These blends often contain cinnamon, nutmeg, allspice, and sometimes ginger or cardamom, providing a harmonious flavor profile specifically designed for apple desserts.
“Tenting” in baking refers to the technique of loosely covering your baked good with aluminum foil during the cooking process. This creates a “tent” of foil that prevents the top crust from browning too quickly or burning, while still allowing the filling to cook through and the rest of the pie to bake evenly. For this Apple Slab Pie, I recommend tenting it after the first 15 minutes of baking. This ensures the crust achieves a beautiful golden color without becoming overly dark. You can remove the foil entirely for the last few minutes if you feel the crust needs a bit more browning to reach your desired golden hue. Always keep a close eye on it during this final stage to prevent over-browning.
The recipe is designed to yield a bit of extra glaze, and there are several delicious ways to utilize it! You can generously baste the Apple Slab Pie with additional layers of glaze every 15-30 minutes as it cools. This allows the pie to absorb more of that sweet, shiny coating as it sets, intensifying the flavor and appearance. Alternatively, you can save the leftover glaze and drizzle a small amount over each individual slice just before serving. We find that extra glaze is always a welcome addition, enhancing the sweetness and visual appeal of this already tempting dessert!
Storing leftovers is simple. Once completely cooled, you can keep the Apple Slab Pie in the pan, securely wrapped with plastic wrap, and store it in the refrigerator for up to 4 days. If you prefer, transfer individual slices to an airtight container before refrigerating. This pie also freezes exceptionally well! To freeze, ensure the pie is completely cool. You can freeze it directly in the pan by wrapping it tightly with plastic wrap, followed by a layer of aluminum foil. For easier portioning later, you can slice the entire pie into individual bars, arrange them in a single layer in a freezer-safe container, and then wrap that container well. Frozen Apple Slab Pie will maintain its quality for up to 3 months. To enjoy, simply defrost it in the refrigerator overnight before serving.
Why You’ll Love Making This Apple Slab Pie
This Apple Slab Pie isn’t just another dessert; it’s a game-changer for anyone who loves the comforting flavors of apple pie but dreads the fuss. Here’s why this recipe will quickly become a cherished favorite in your kitchen:
- **Feeds a Crowd Effortlessly:** Forget baking multiple round pies! This single sheet-pan pie yields generous square slices, making it perfect for large family gatherings, holiday parties, potlucks, or any event where you need to serve many people without extra effort.
- **Simplified Preparation:** Utilizing store-bought refrigerated pie crusts significantly cuts down on prep time without compromising on taste. The slab format means less intricate crimping and shaping compared to traditional round pies.
- **Classic Flavor, Modern Presentation:** All the nostalgic, warm, and spicy apple pie flavors are here, but presented in a fun, modern, and easy-to-handle bar shape. The sweet glaze adds a beautiful sheen and an extra layer of deliciousness.
- **Versatile and Customizable:** Easily adapt the spices to your preference (hello, extra cinnamon!), and feel free to experiment with different apple varieties to find your perfect balance of sweet and tart.
- **Make-Ahead and Freezer-Friendly:** This pie can be prepared in advance, and leftovers store beautifully in the fridge or freezer, allowing you to enjoy a slice of homemade goodness whenever a craving strikes.
- **Visually Impressive:** Despite its ease, the golden-brown crust and glistening glaze make this Apple Slab Pie look incredibly appetizing, guaranteed to impress your guests.
Get ready to embrace the joy of apple pie without the traditional fuss. This Apple Slab Pie is designed for maximum flavor with minimal effort, ensuring a satisfying dessert experience every time.
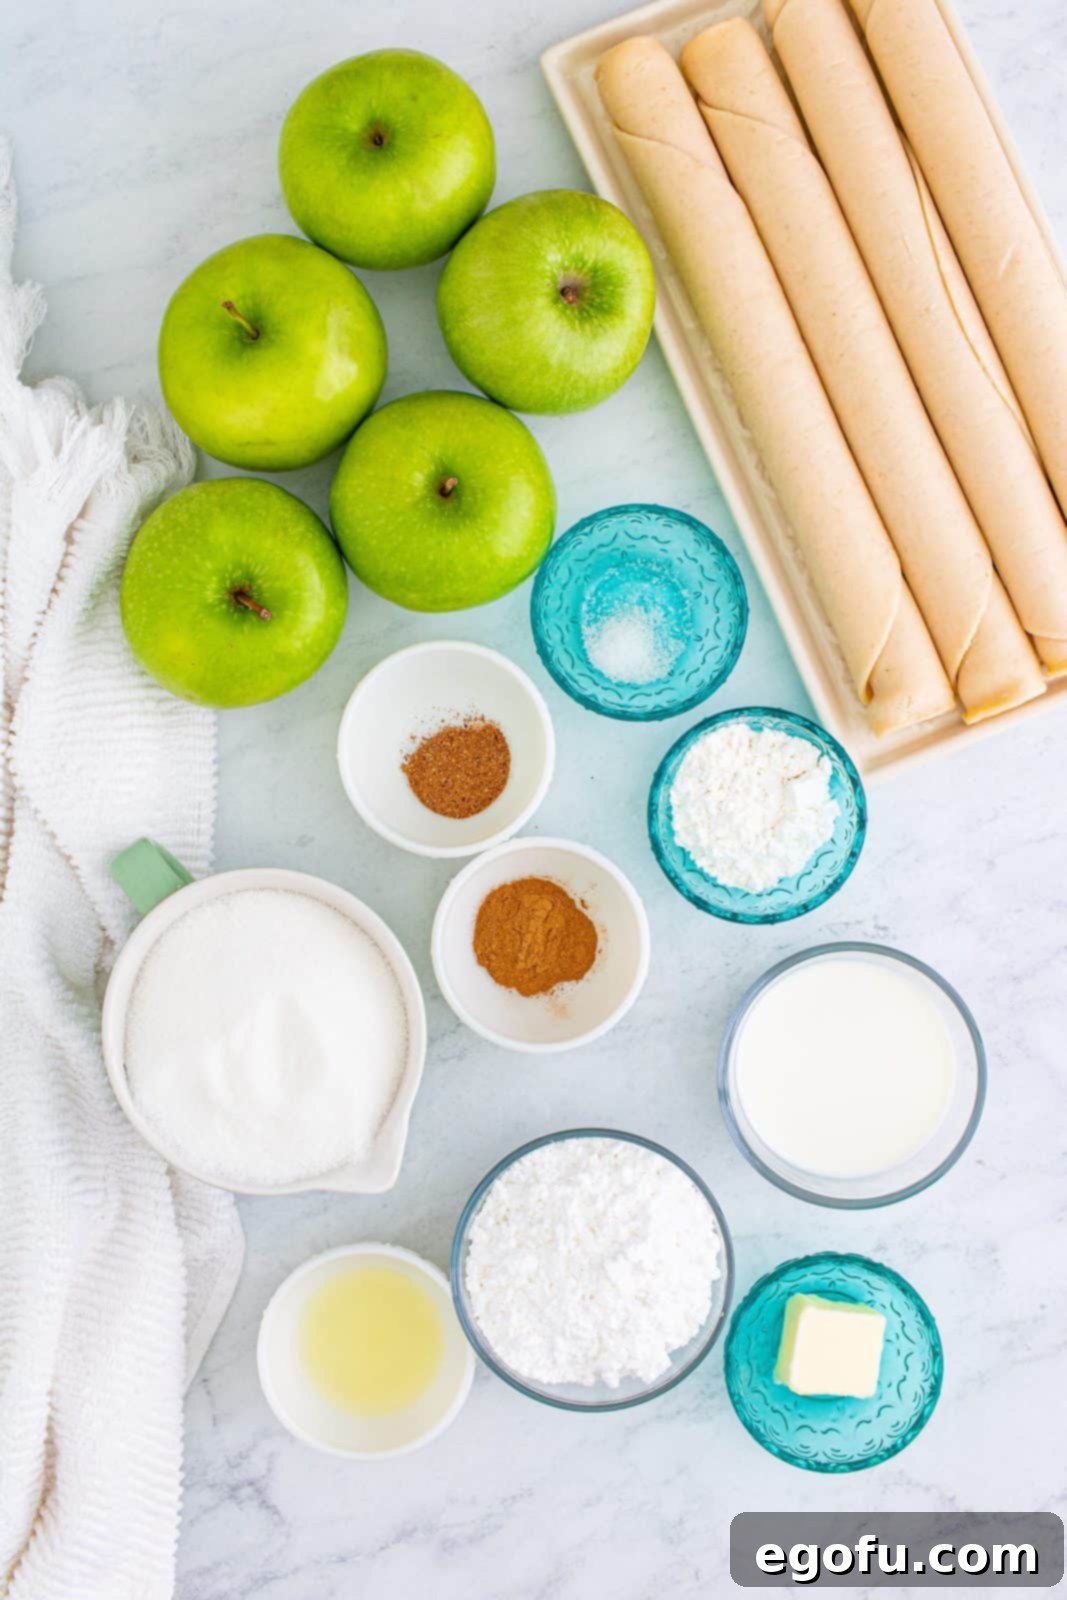
Ingredients Needed:
- Refrigerated pie crusts (4 total, typically 2 packages)
- Fresh apples (Granny Smith recommended), peeled, cored, and thinly sliced
- Granulated sugar
- Cornstarch (for thickening the filling)
- Fresh lemon juice (brightens the apple flavor)
- Ground cinnamon
- Ground nutmeg (optional, see FAQ for substitution)
- Fine sea salt (enhances all flavors)
For the Glaze:
- Whole milk
- Salted butter
- Powdered sugar (confectioners’ sugar)
How To Make The Perfect Apple Slab Pie: A Step-by-Step Guide
Creating this crowd-pleasing Apple Slab Pie is simpler than you might think. Follow these detailed steps to achieve a flaky crust, perfectly spiced apple filling, and a luscious glaze.
Preparation and Crust Assembly:
- Preheat your oven to 425°F (218°C). While the oven heats, remove your four refrigerated pie crusts from their packaging and let them sit at room temperature as directed on the box. This makes them much easier to unroll and work with.
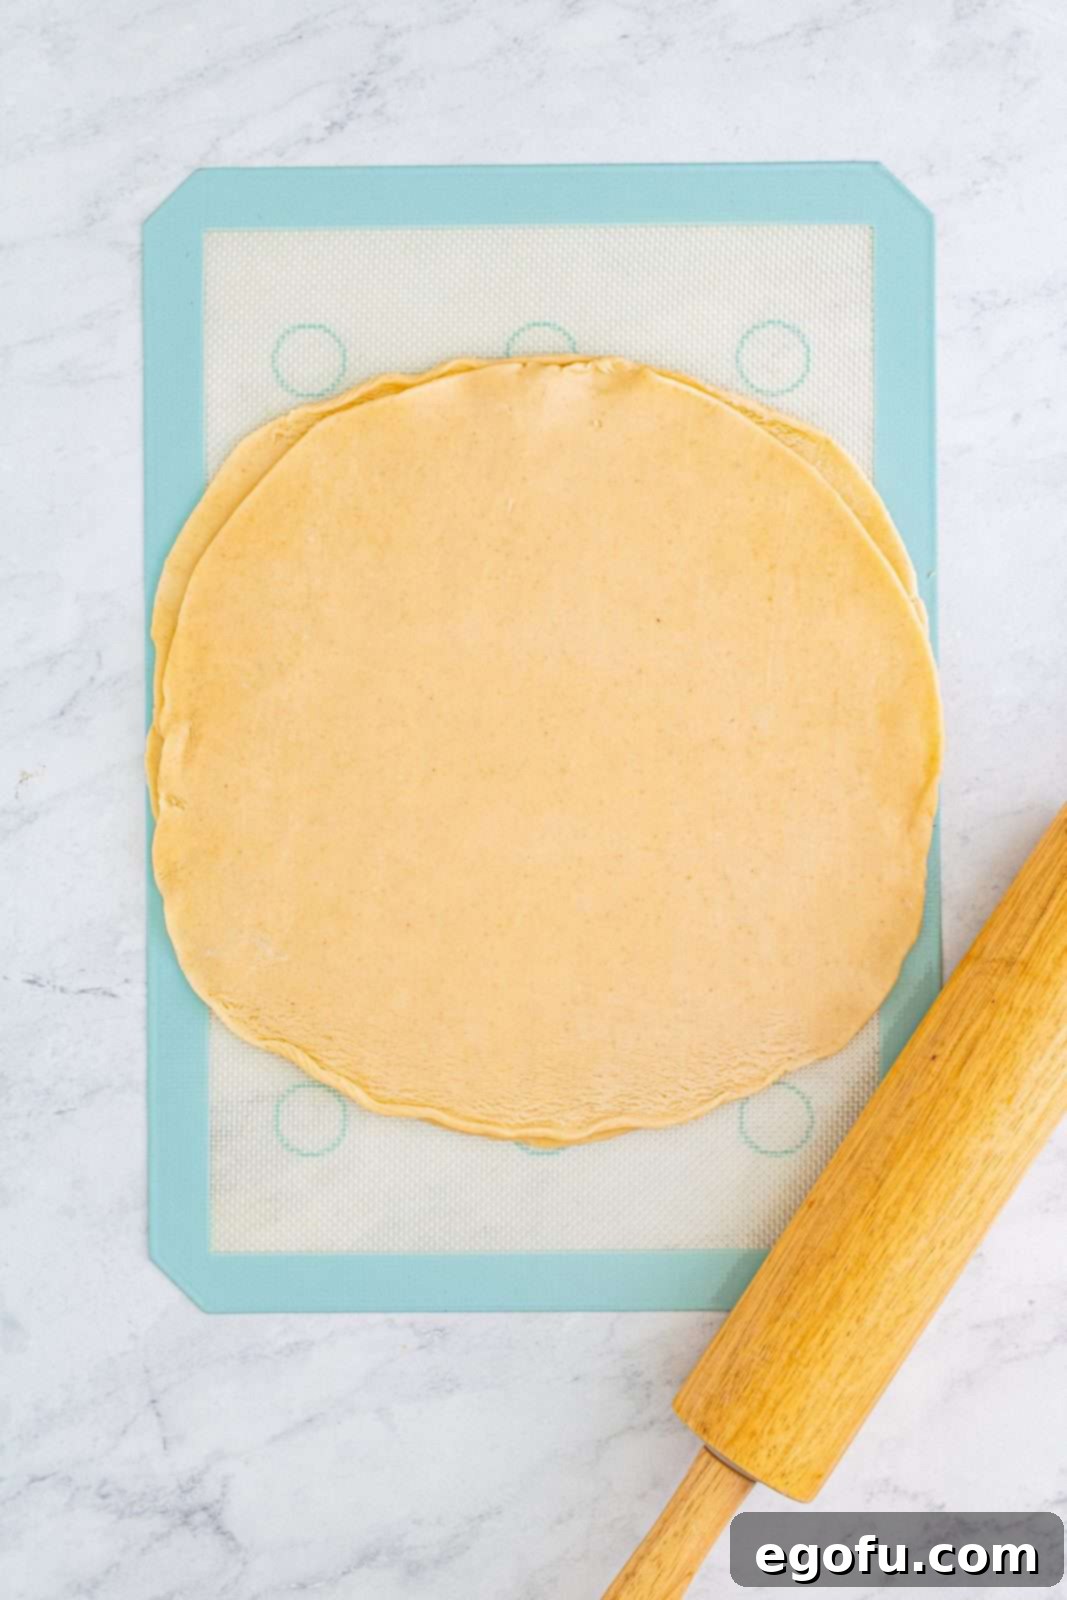
- On a lightly floured work surface, carefully stack two of the pie crusts one on top of the other. Using a rolling pin, roll them out together into a rough rectangular shape, approximately 18×12 inches. The slight flouring prevents sticking and makes the crust easier to handle.
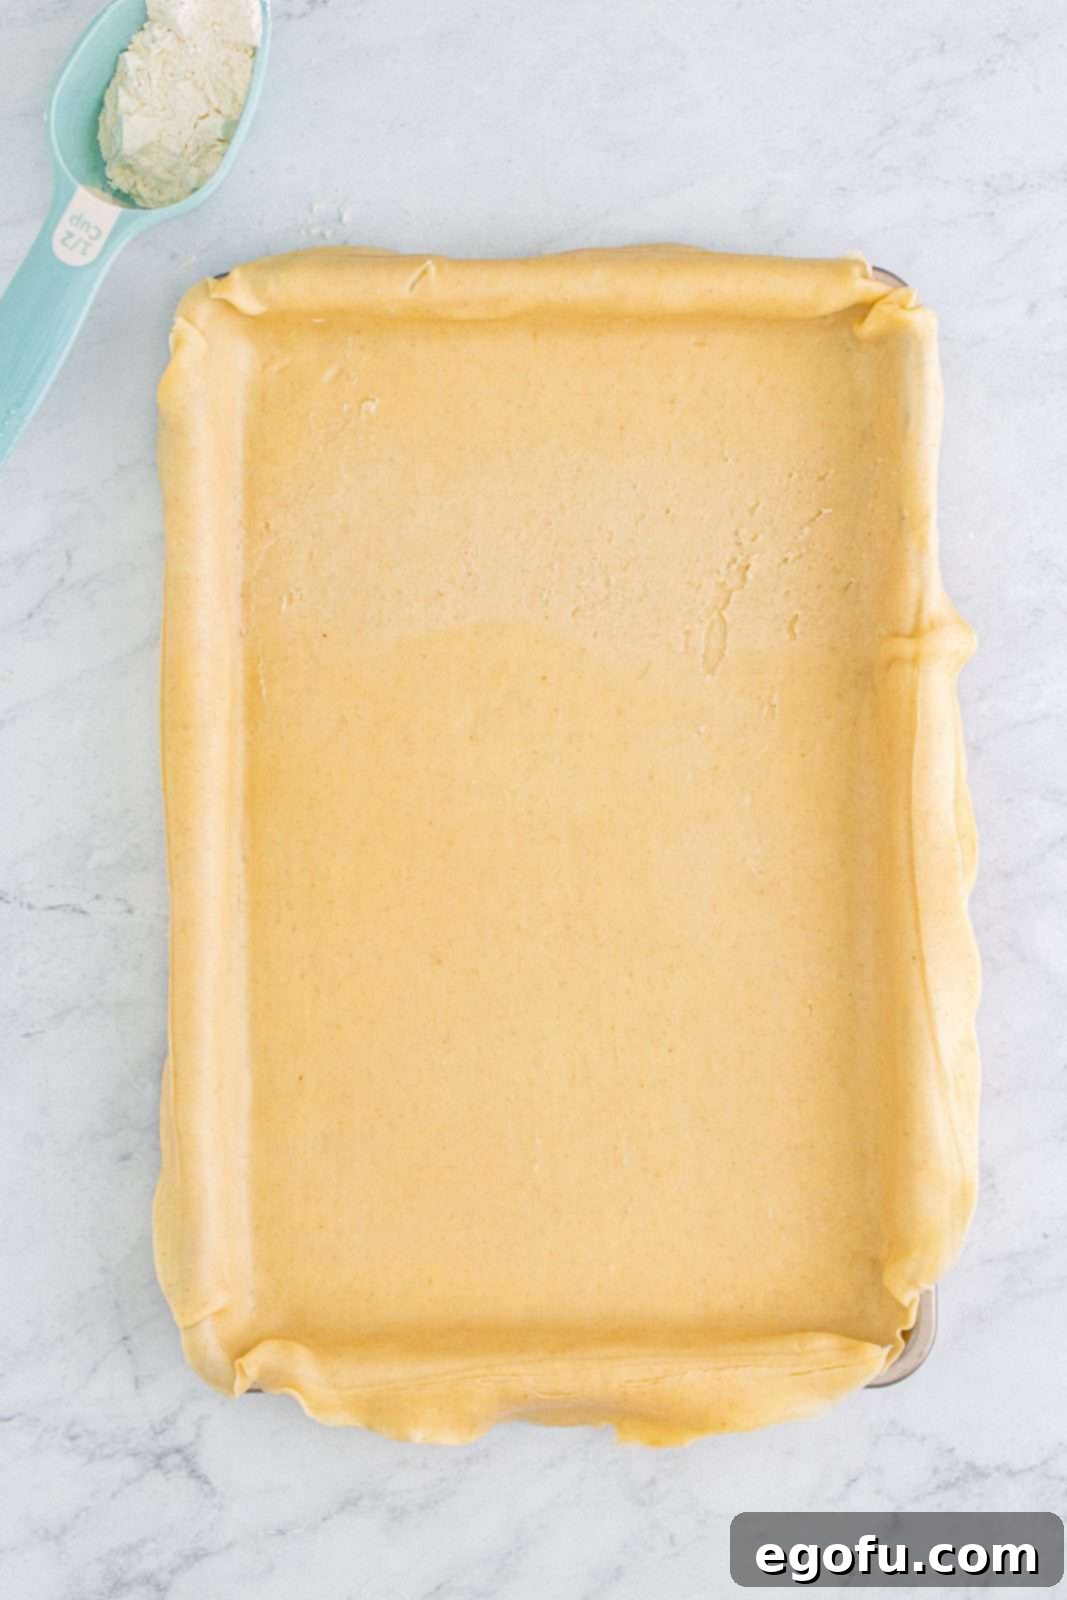
- Gently transfer the rolled-out crust into a 10x15x1-inch jelly roll pan. Carefully press the dough into the bottom and up the sides of the pan, allowing any excess crust to overlap the edges. This forms the sturdy base for your pie. Set the pan aside.
Crafting the Apple Filling:
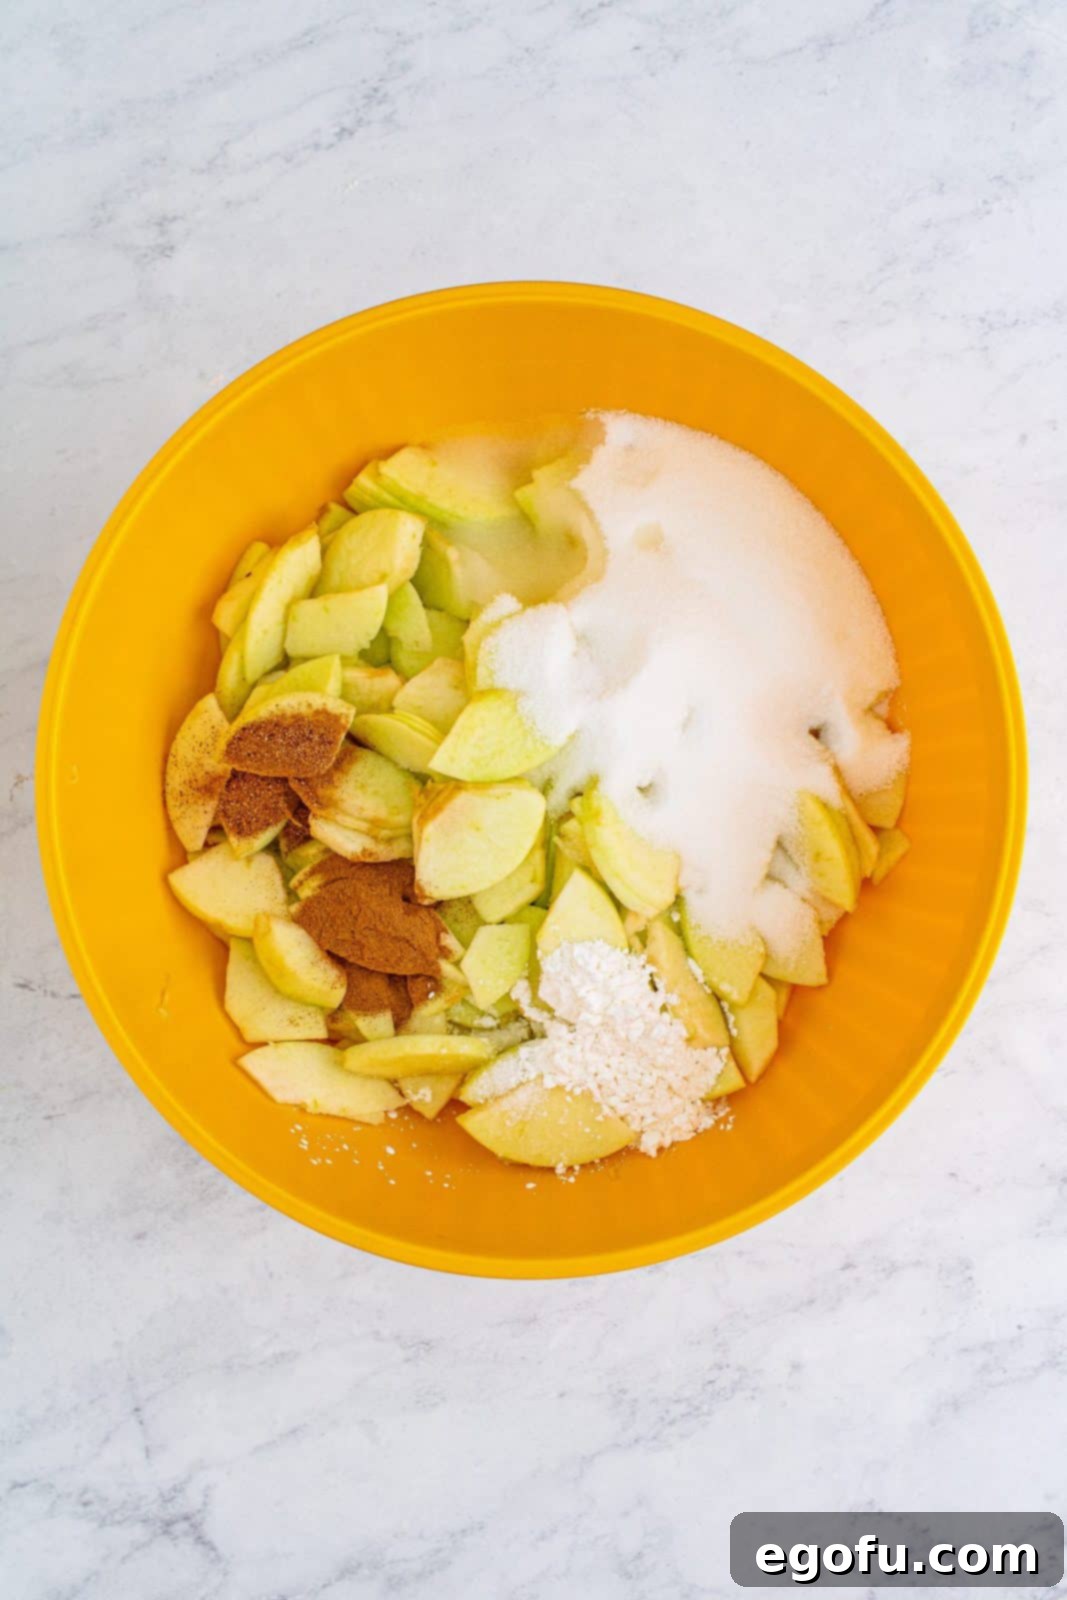
- In a large mixing bowl, combine the thinly sliced and peeled apples, granulated sugar, cornstarch (which helps thicken the juices during baking), fresh lemon juice (for a bright contrast), ground cinnamon, ground nutmeg, and fine sea salt. These ingredients will create the classic, aromatic apple pie flavor.
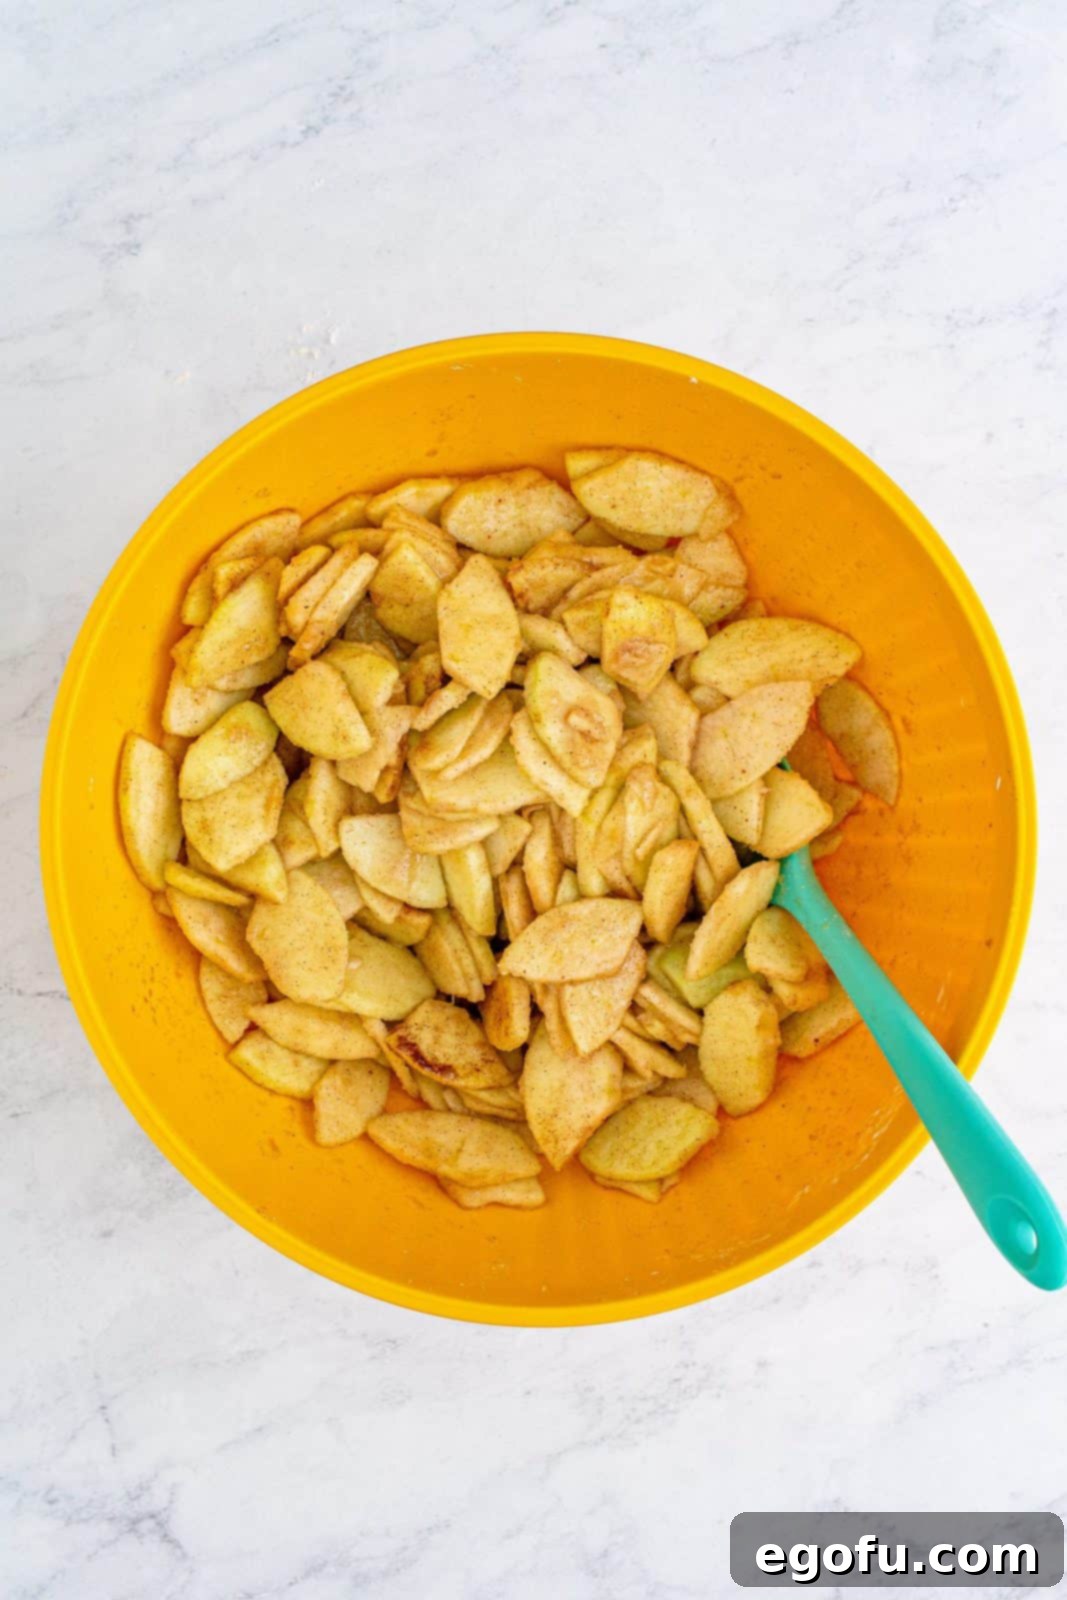
- Stir the mixture thoroughly until all the apple slices are evenly coated with the sugar and spice blend. This ensures every bite of your pie is bursting with flavor.
- Spoon the prepared apple mixture evenly over the bottom pie crust in the jelly roll pan, spreading it all the way to the edges.
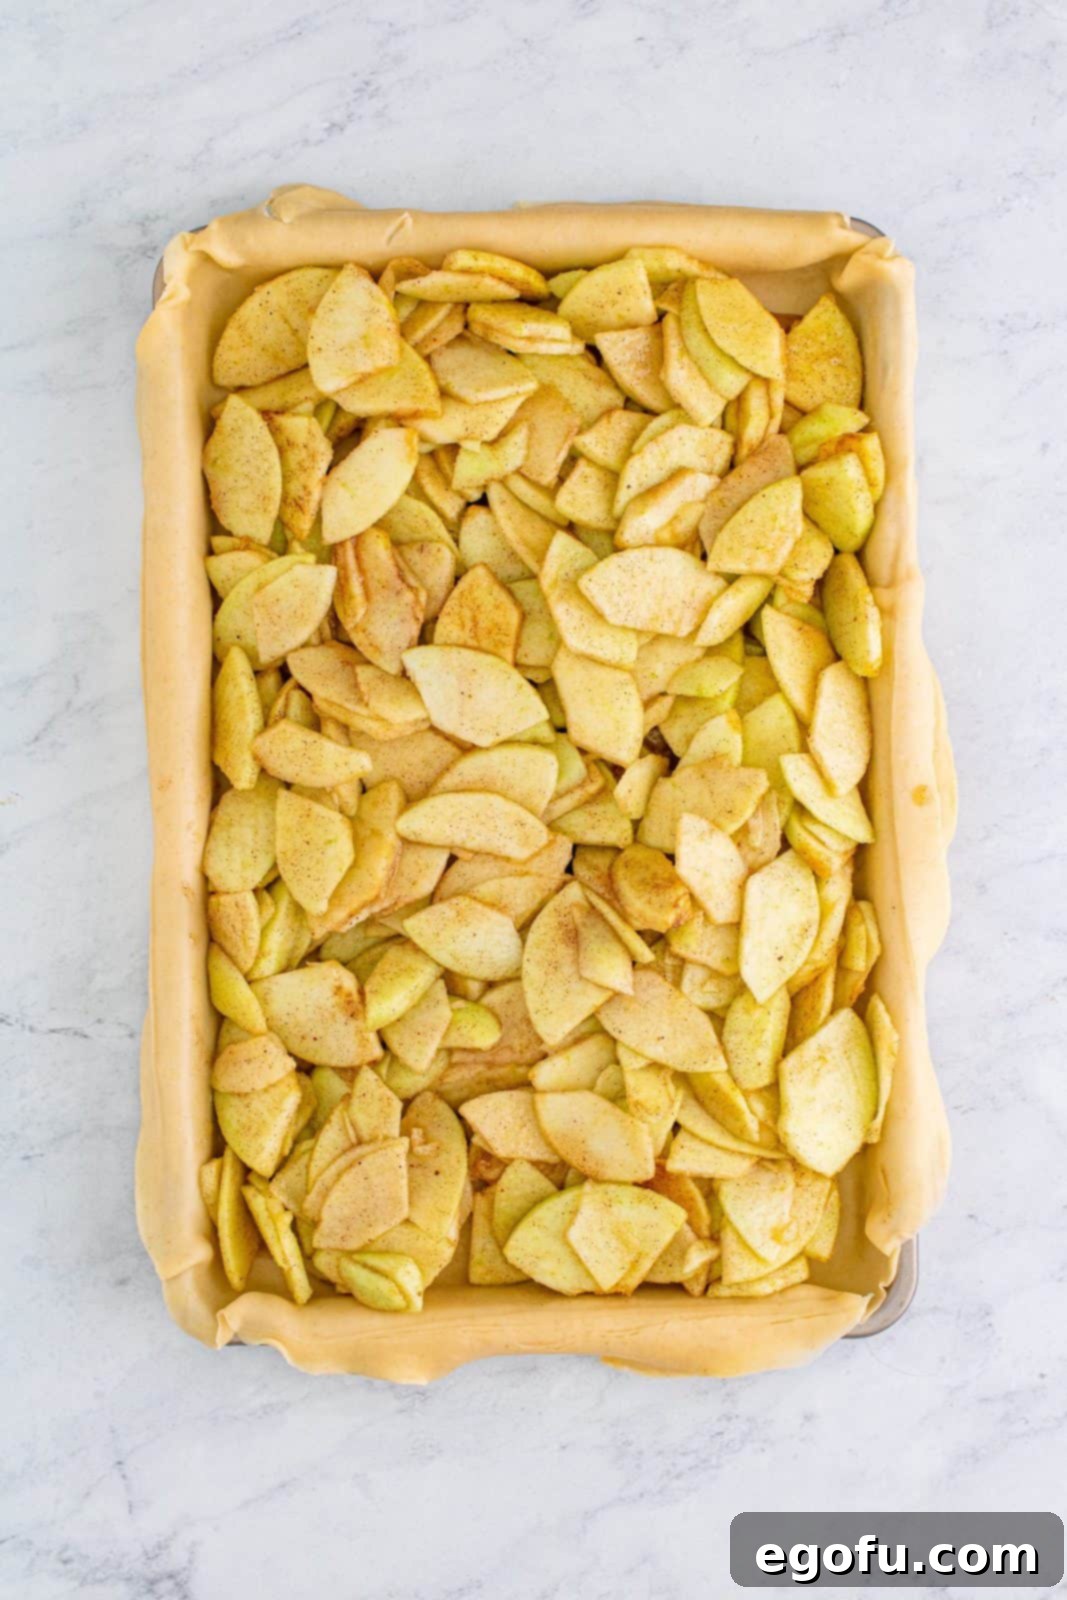
Top Crust and Baking:
- Roll out the remaining two pie crusts together, just as you did for the bottom layer, into an 18×12-inch rectangle. Carefully place this top crust over the apple filling in the pan.
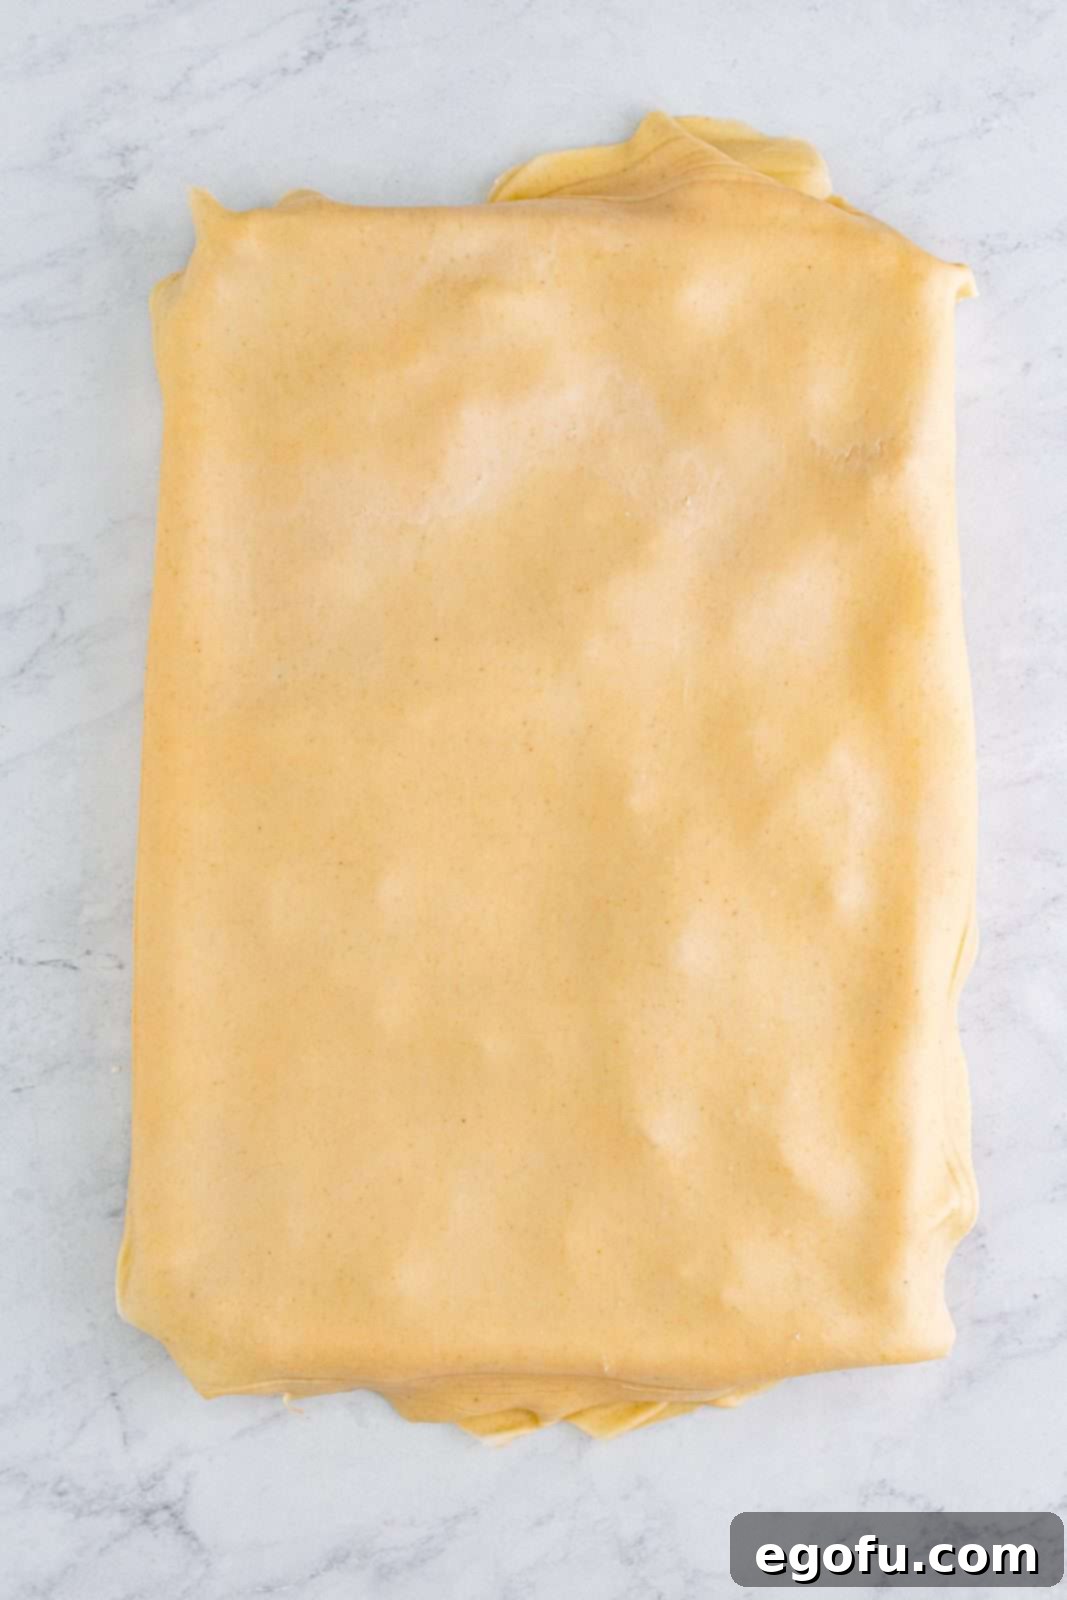
- Gently tuck the edges of the top crust under the bottom crust that is overlapping the pan. Then, crimp the edges together to seal the pie completely. Using a sharp knife, cut several slits in the top crust; these vents allow steam to escape during baking, preventing a soggy crust and ensuring a bubbly, cooked-through filling.
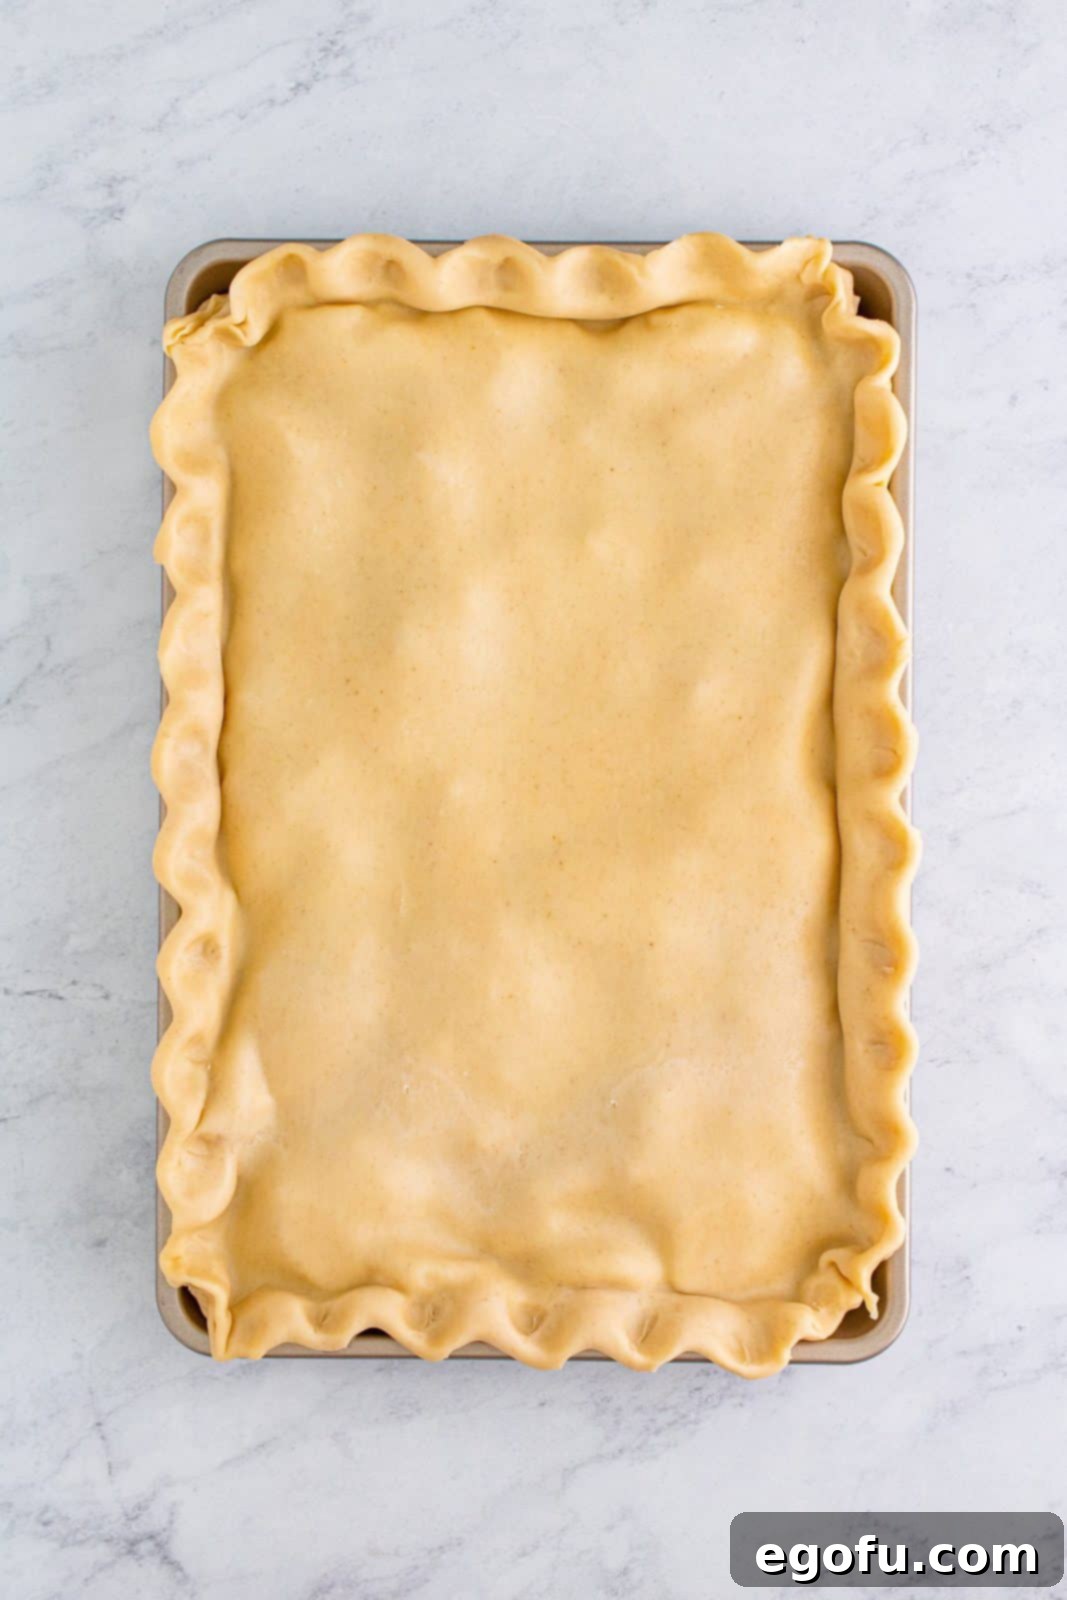
- Bake the pie in the preheated oven for 30-35 minutes. After the first 15 minutes, carefully cover the pie loosely with aluminum foil (this is “tenting”) to prevent the crust from browning too quickly. Continue baking until the crust is a beautiful golden brown and the filling is bubbling. If, after 35 minutes, you desire more browning, remove the foil and continue baking for a few more minutes, watching closely.
- Once baked to perfection, remove the pie from the oven and place it on a wire rack to cool for at least 1 hour. This cooling period is crucial for the filling to set properly and for the crust to maintain its crispness.
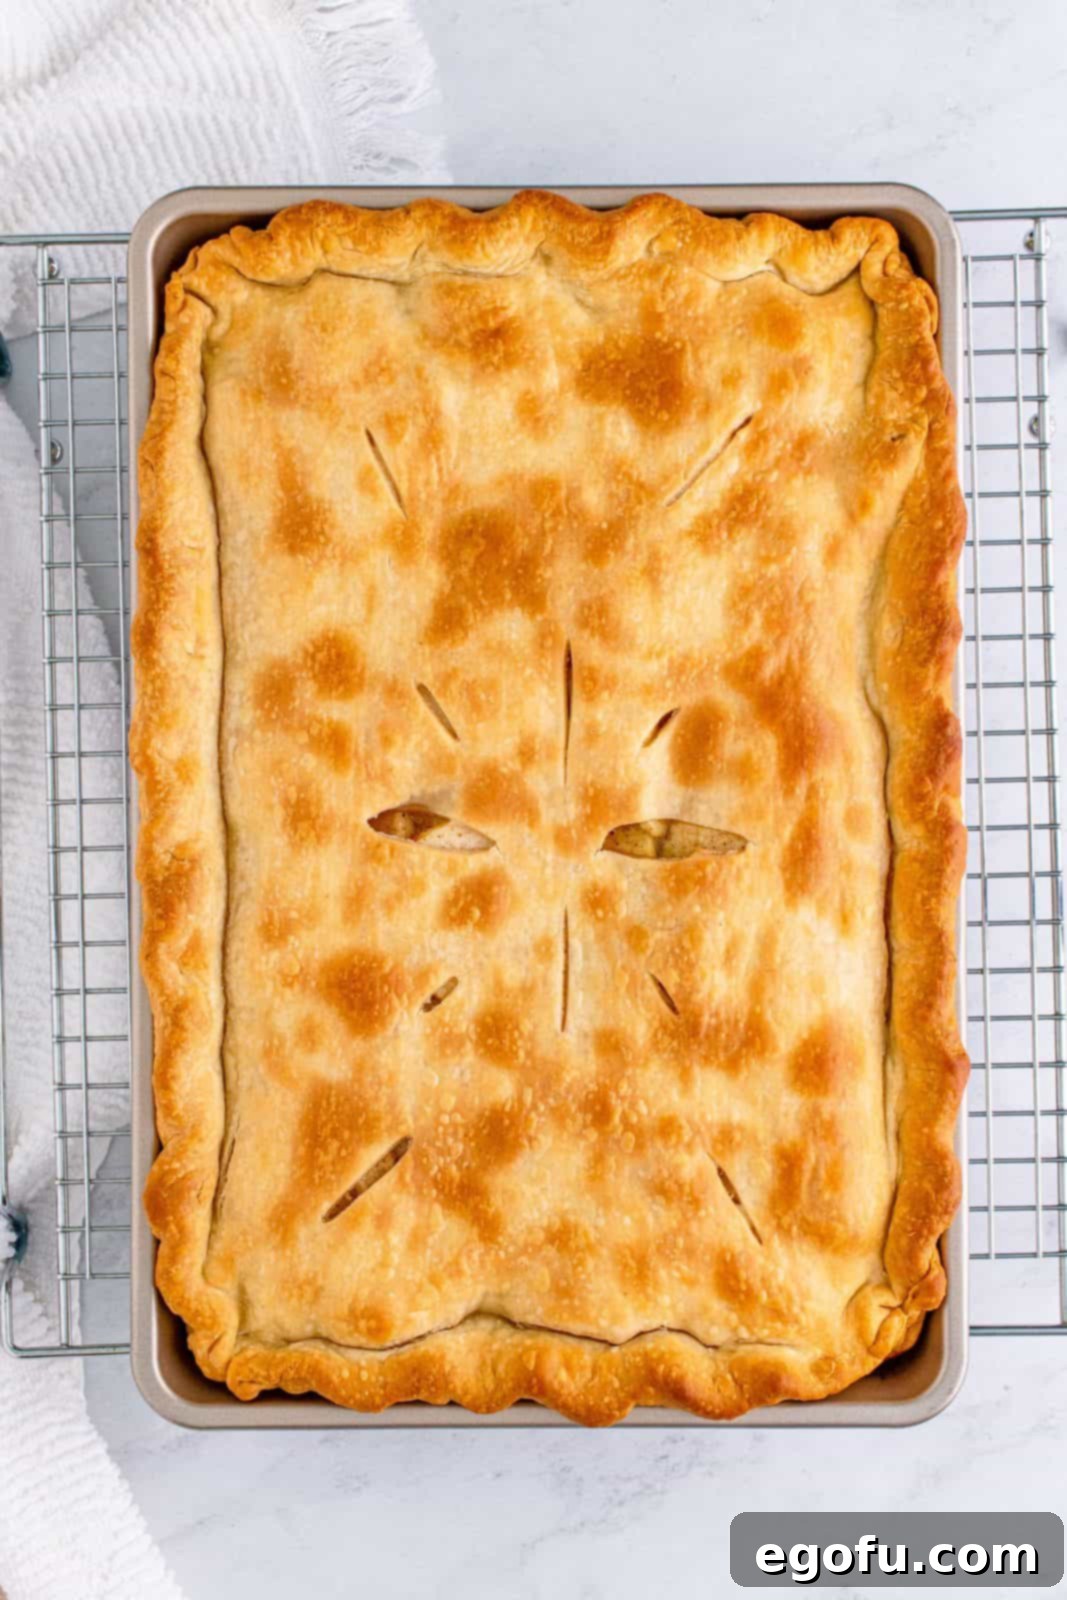
Preparing the Sweet Glaze:
- While the pie is cooling, prepare your rich glaze. In a small saucepan, gently heat the whole milk over medium-low heat. Stir occasionally. As soon as you see the very first signs of bubbling around the edges (do not let it boil vigorously), remove the saucepan from the heat.
- Whisk in the salted butter until it is completely melted and incorporated into the warm milk. Allow this mixture to cool down to room temperature.
- Once cooled, gradually whisk in the powdered sugar until the glaze is smooth, thick, and free of lumps. This will create a perfectly pourable, yet substantial, glaze.
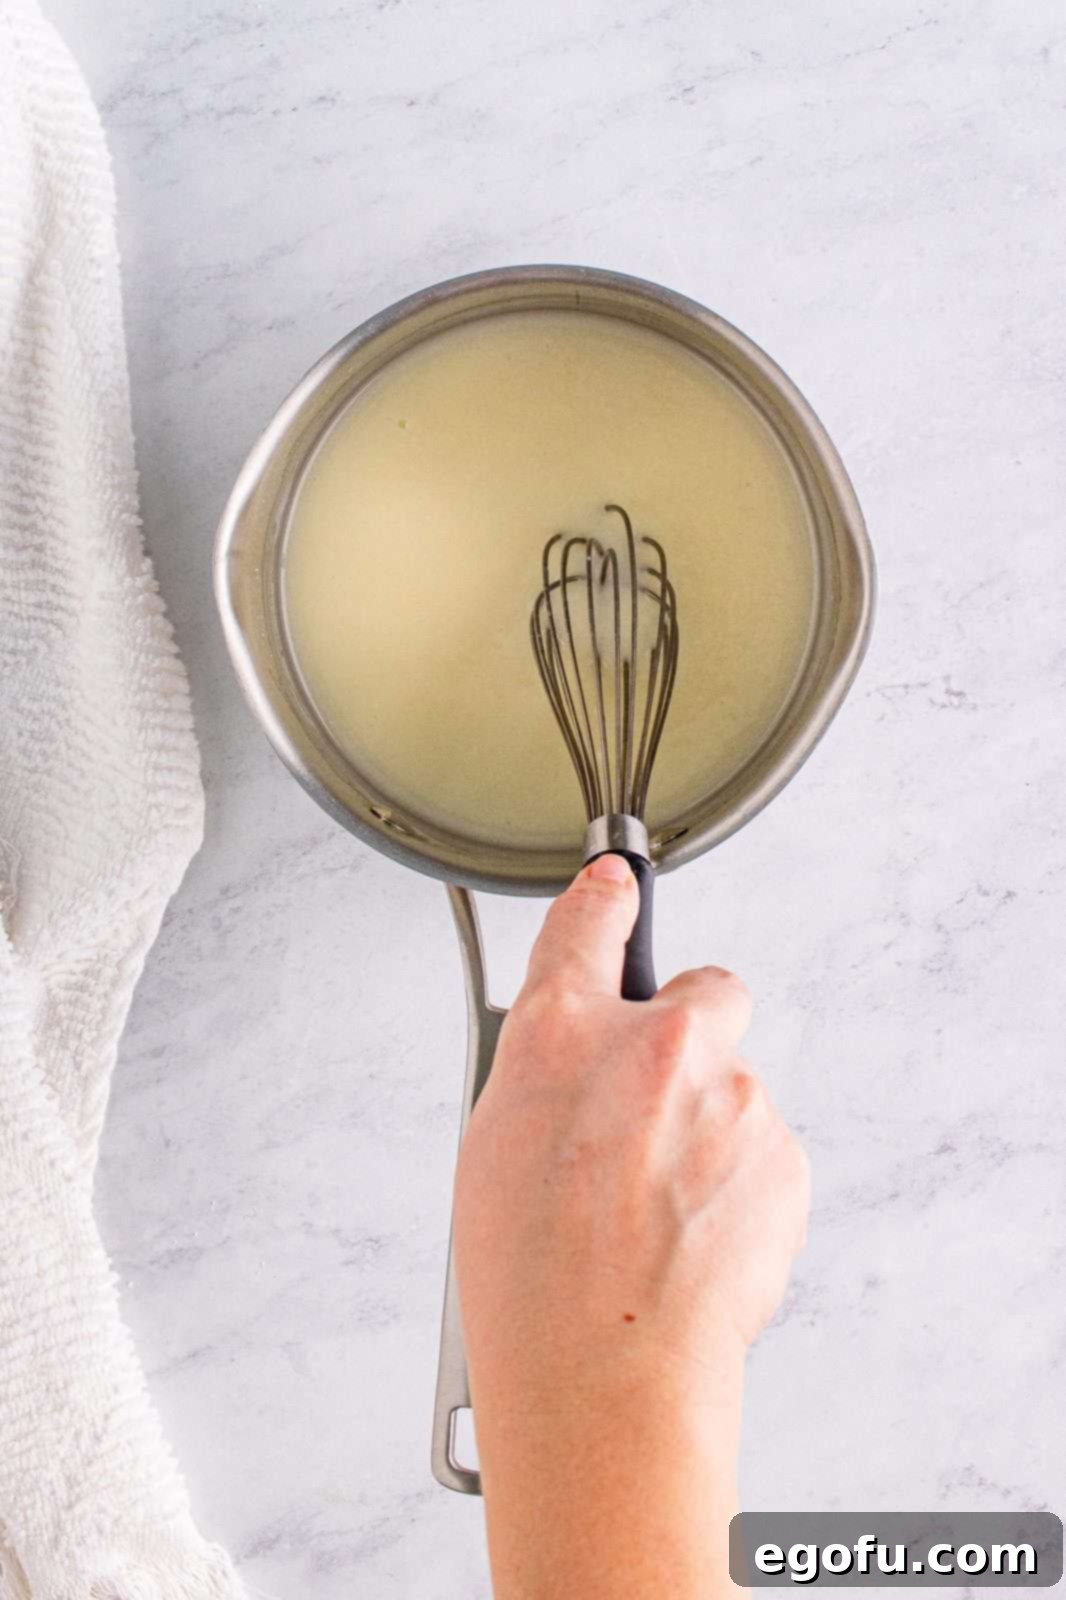
Glazing and Serving:
- After the pie has cooled for the initial 1 hour, use a pastry brush to generously apply the first layer of glaze all over the top crust. Ensure even coverage for a beautiful, shiny finish.
- Allow this first layer of glaze to set for about 30 minutes. Then, apply a second layer of glaze for extra sweetness and an even richer appearance.
- Let the pie cool for another 30 minutes to allow the glaze to fully set before slicing. Once the glaze is firm, slice your Apple Slab Pie into desired square or rectangular portions. Serve warm or at room temperature, perhaps with a scoop of vanilla ice cream or a dollop of whipped cream for an ultimate treat!
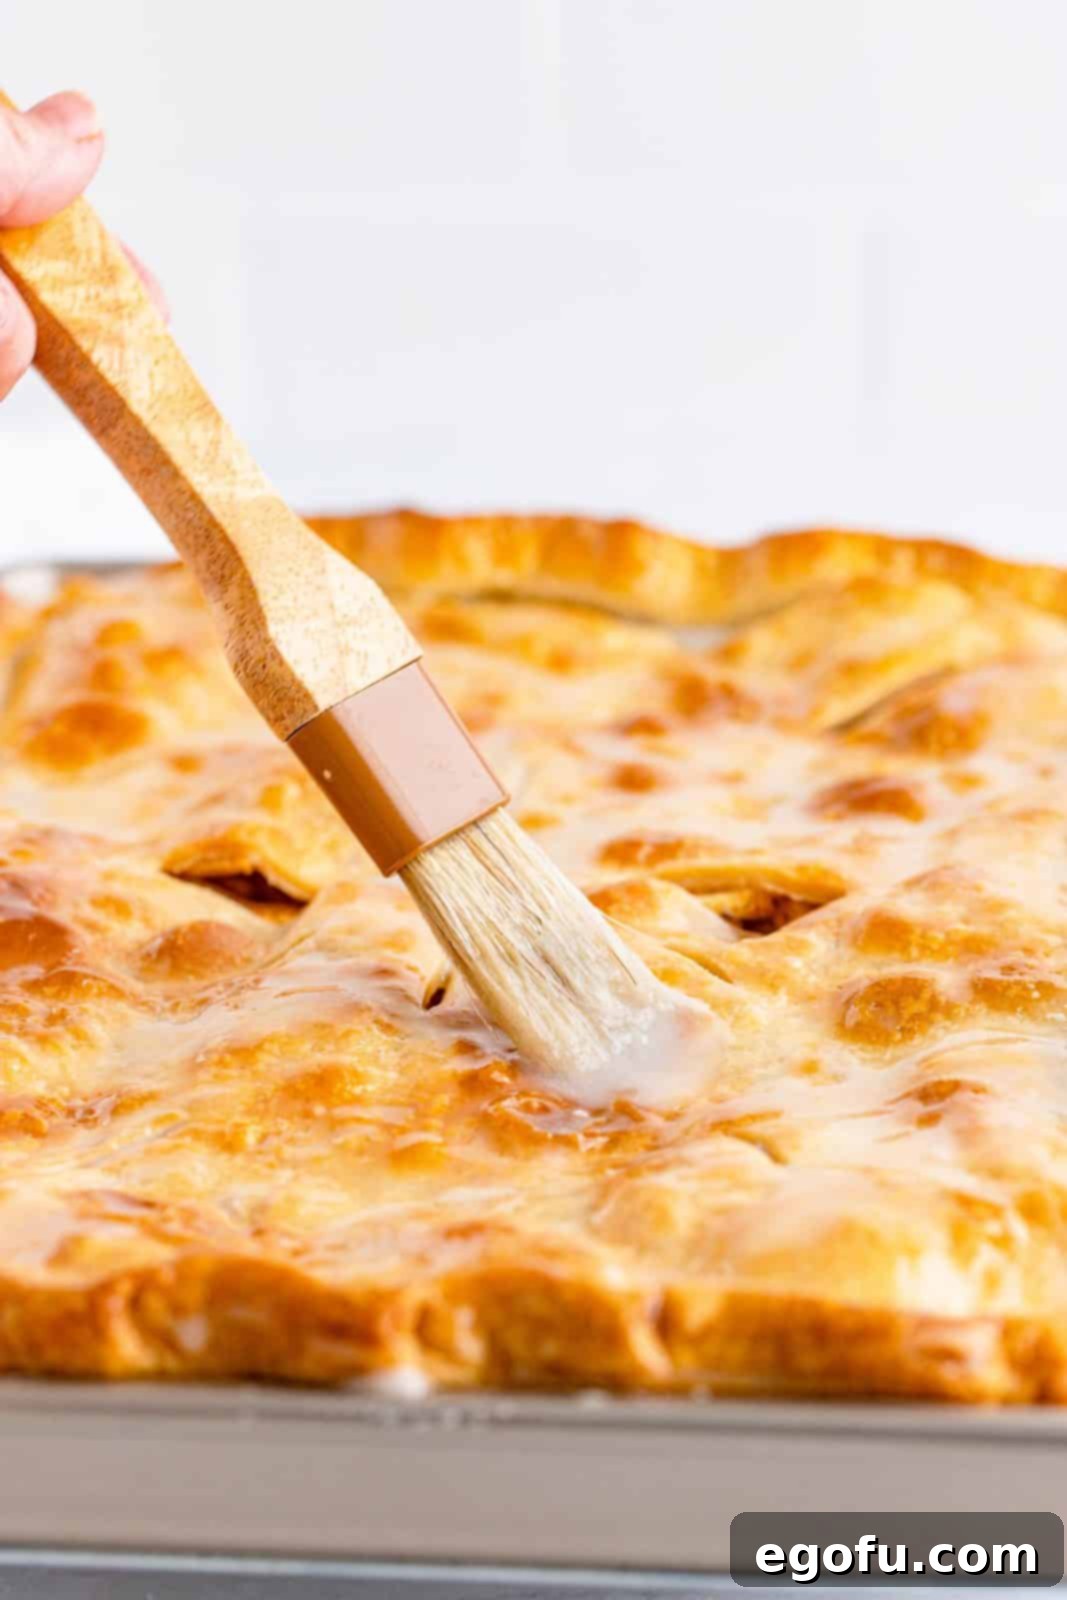
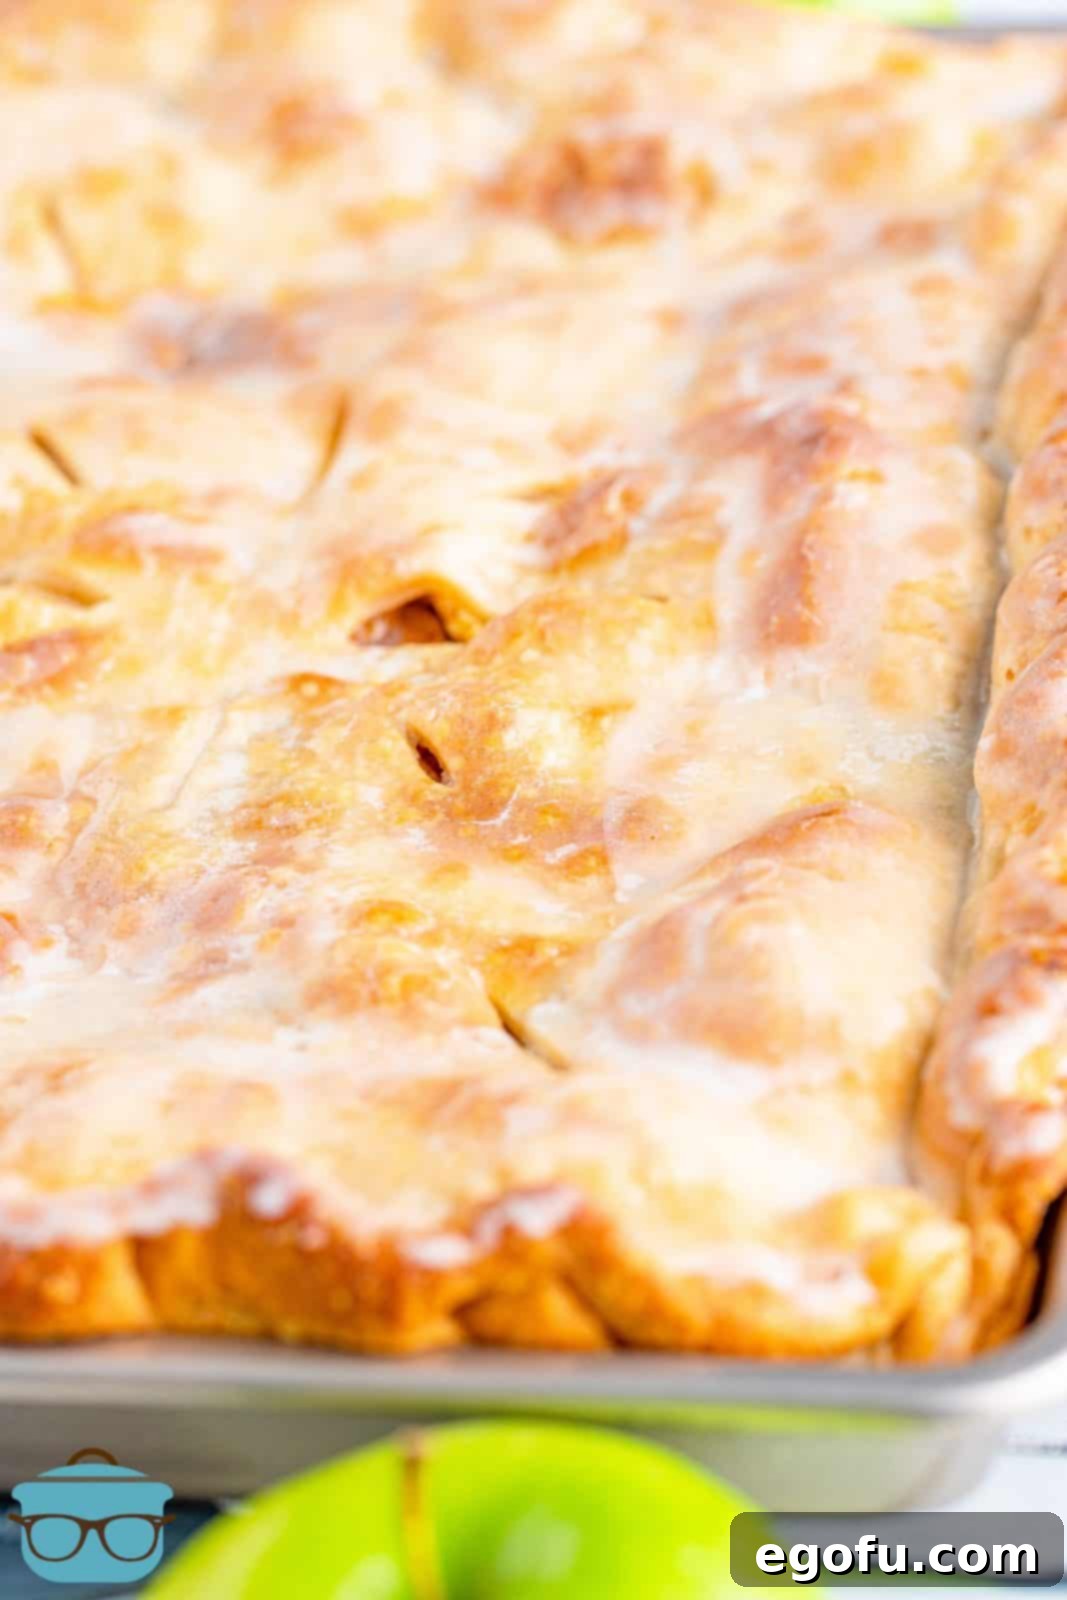
Slice your beautifully glazed Apple Slab Pie and serve generously. This pie is a true crowd-pleaser and a delightful dessert for any occasion, especially when apples are in season.
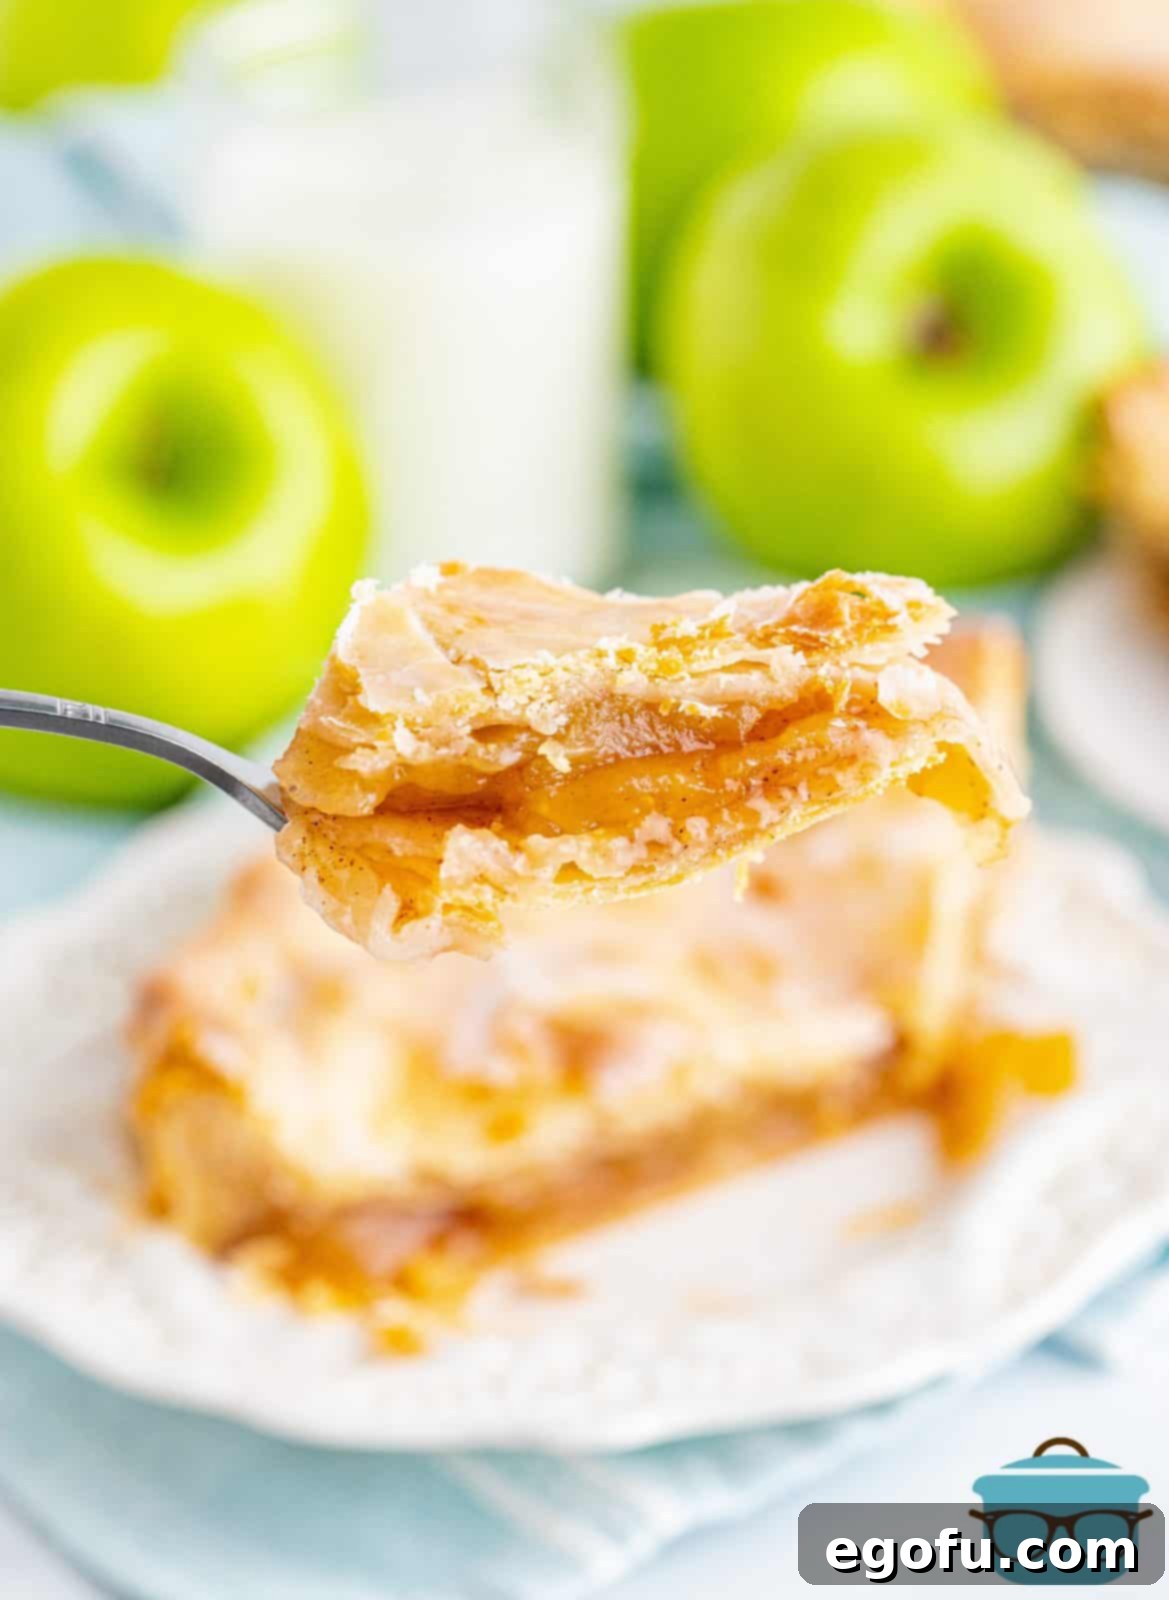
Craving More Delicious Recipes? Explore These Favorites!
- Sweet Potato Slab Pie
- Pumpkin Slab Pie
- Blueberry Slab Pie
- Apple Pie Bread
- Easy Apple Pie Cups
- Southern Fried Apple Pies
- Easy Apple Dumplings
- Simple Southern Fried Apples

Apple Slab Pie
A twist on a classic, this Apple Slab Pie has your favorite apple pie flavors baked in a large pan, glazed and served in square slices! Perfect for a crowd!
Average Rating: 5 out of 5 stars (12 Reviews)
Print Recipe |
Pin Recipe
Prep Time: 15 minutes | Cook Time: 35 minutes | Total Time: 50 minutes
Servings: 12
Author: Brandie Skibinski
Ingredients
- 4 refrigerated pie crusts
- 9 cups Granny Smith apples (peeled and thinly sliced)
- 1 ½ cups granulated sugar
- 2 tablespoons cornstarch
- 1 tablespoon fresh squeezed lemon juice
- 1 teaspoon ground cinnamon
- ½ teaspoon ground nutmeg
- ¼ teaspoon salt
For the glaze:
- 6 tablespoons whole milk
- 1 tablespoon salted butter
- 1 ¼ cups powdered sugar (also called confectioners sugar)
Instructions
- Preheat the oven to 425°F. Leave the 4 refrigerator pie crusts out to come to room temperature per the directions on the box.
- Place two of the pie crusts on top of each other on a lightly floured work surface. Using a rolling pin, roll it out to a rough rectangle that is 18×12 inches.
- Using a 10x15x1-inch jelly roll pan, place the crust in the pan, forming it in the pan with the excess crust overlapping the sides. Set aside.
- In a large bowl, add 9 cups Granny Smith apples (peeled and thinly sliced), 1 ½ cups granulated sugar, 2 tablespoons cornstarch, 1 tablespoon fresh squeezed lemon juice, 1 teaspoon ground cinnamon, ½ teaspoon ground nutmeg and ¼ teaspoon salt. Stir together until fully combined.
- Spoon the apples evenly onto the crust.
- Again, roll out the last two pie crusts into an 18×12 rectangle. Place them on top of the pan.
- Tuck the top crust under the bottom and crimp the edges. Cut slits in the top crust so air can escape.
- Bake for 30-35 minutes, tenting with foil after the first 15 minutes. Bake until golden brown. If you think it needs more browning after 35 minutes, take the foil off and watch closely until your desired color is reached.
- Place on a wire rack to cool for 1 hour.
- While the pie is cooling, place 6 tablespoons whole milk in a small saucepan and place it on the stove over medium-low heat. Stir occasionally, at the very first sign of any bubbling, take it off the heat, and whisk in 1 tablespoon salted butter. Let it cool to room temperature and then whisk in 1 ¼ cups powdered sugar.
- After the pie has cooled for 1 hour, brush it all over with the glaze with a pastry brush. Wait 30 minutes, brush another layer of glaze on. Let cool for 30 more minutes, slice and serve.
Video
Notes
- We like Granny Smith apples for this recipe, but you can use any of your favorite baking apples; see the FAQ section above for some suggestions.
- You can make your own pie crust, just make sure you make enough to have the equivalent of four 9-inch crusts.
- You can substitute the nutmeg for more cinnamon if you are not a fan of nutmeg.
- This pie can be frozen for up to 3 months. Refer to the FAQ section for detailed freezing and storage instructions.
Course: Dessert | Cuisine: American
Nutrition
Calories: 472kcal | Carbohydrates: 80g | Protein: 4g | Fat: 16g | Sodium: 285mg | Fiber: 4g | Sugar: 47g
Nutritional Disclaimer
“The Country Cook” is not a dietician or nutritionist, and any nutritional information shared is an estimate. If calorie count and other nutritional values are important to you, we recommend running the ingredients through whichever online nutritional calculator you prefer. Calories and other nutritional values can vary quite a bit depending on which brands were used.
Did you make this recipe?
Share it on Instagram @thecountrycook and mention us #thecountrycook!
