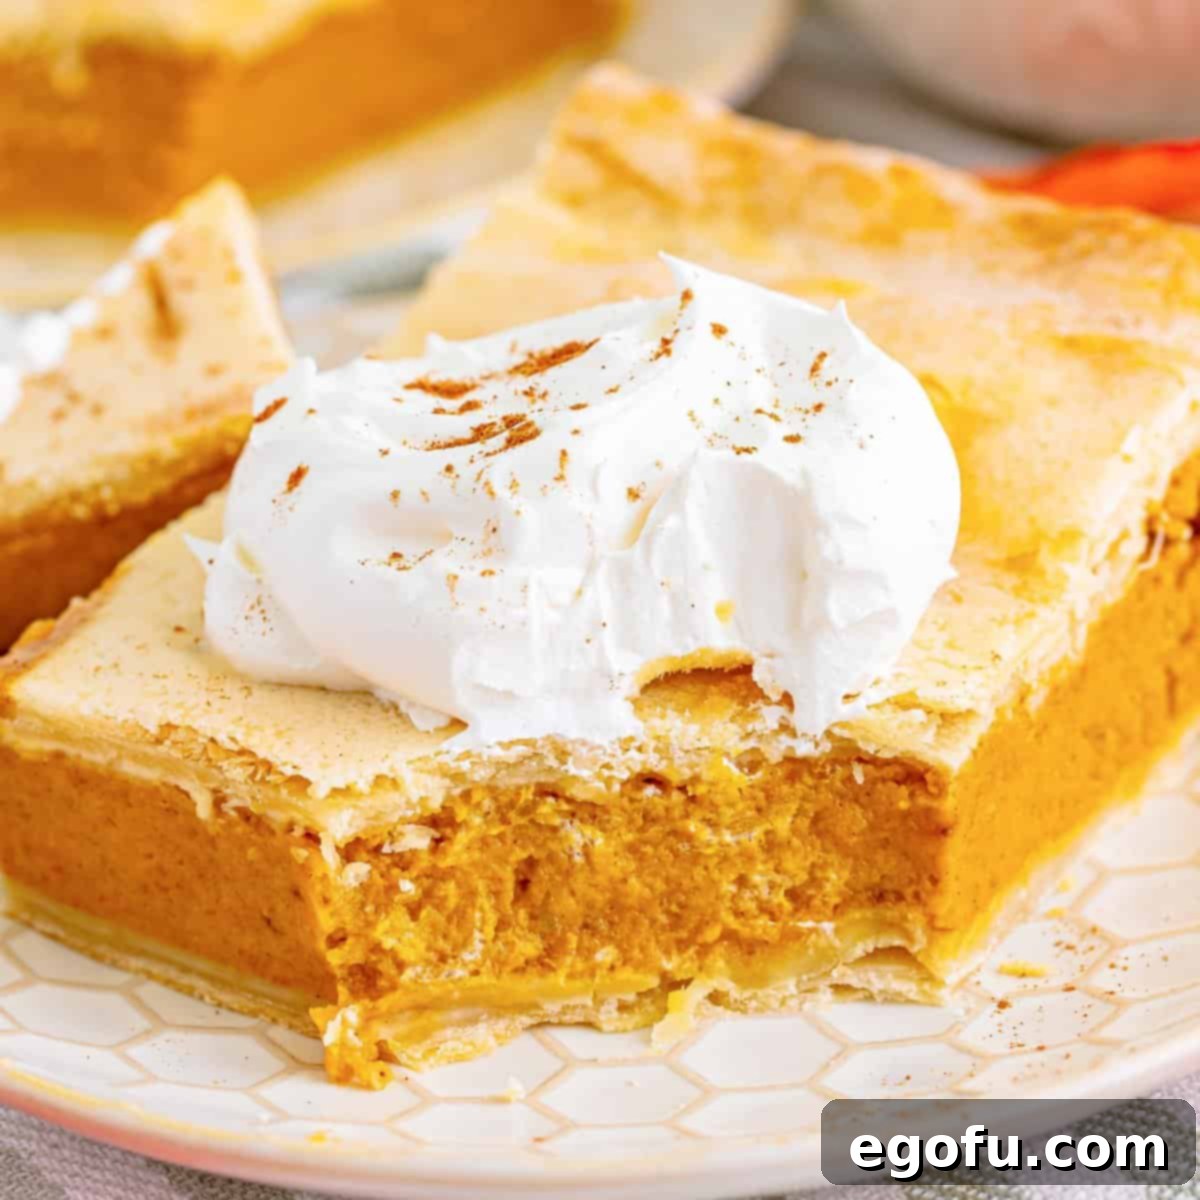
Simple, easy, and incredibly flavorful, this Pumpkin Slab Pie is a delightful and practical dessert, perfect for serving a large gathering. Its generous size and classic taste make it the ultimate holiday showstopper!
Pumpkin Slab Pie: The Ultimate Holiday Dessert for a Crowd
There’s nothing quite like the warm, inviting aroma of pumpkin pie baking, especially during the autumn and holiday seasons. But when you’re hosting a big family dinner or a festive party, making multiple individual pies can be a real challenge. That’s where the magic of a Pumpkin Slab Pie comes in! This isn’t just a bigger pie; it’s a game-changer for entertaining, offering all the beloved flavors of traditional pumpkin pie in a convenient, easy-to-serve format.
Slab pies are a fantastic solution for any large gathering, effortlessly feeding a crowd without sacrificing taste or presentation. They are inherently simple to prepare, despite their impressive size, and this Pumpkin Slab Pie recipe is no exception. It features a rich, velvety pumpkin filling cradled between two flaky, golden crusts – a dream come true for anyone who appreciates a hearty double-crust pie. To elevate it further, we crown this masterpiece with a luscious, buttery powdered sugar glaze that adds a touch of sweetness and an irresistible sheen, truly setting it apart from your average pumpkin dessert.
Imagine the ease of slicing into one large, perfectly baked pie, rather than fumbling with several smaller ones. Each slice is a generous portion of autumnal bliss, making it ideal for holiday feasts, potlucks, or any occasion where you need to impress a larger group. If you’re searching for a dessert that’s not only completely delicious but also a true showstopper, designed for effortless serving and maximum enjoyment, then this Pumpkin Slab Pie is precisely what you need to try this season!
Why Choose a Pumpkin Slab Pie for Your Next Celebration?
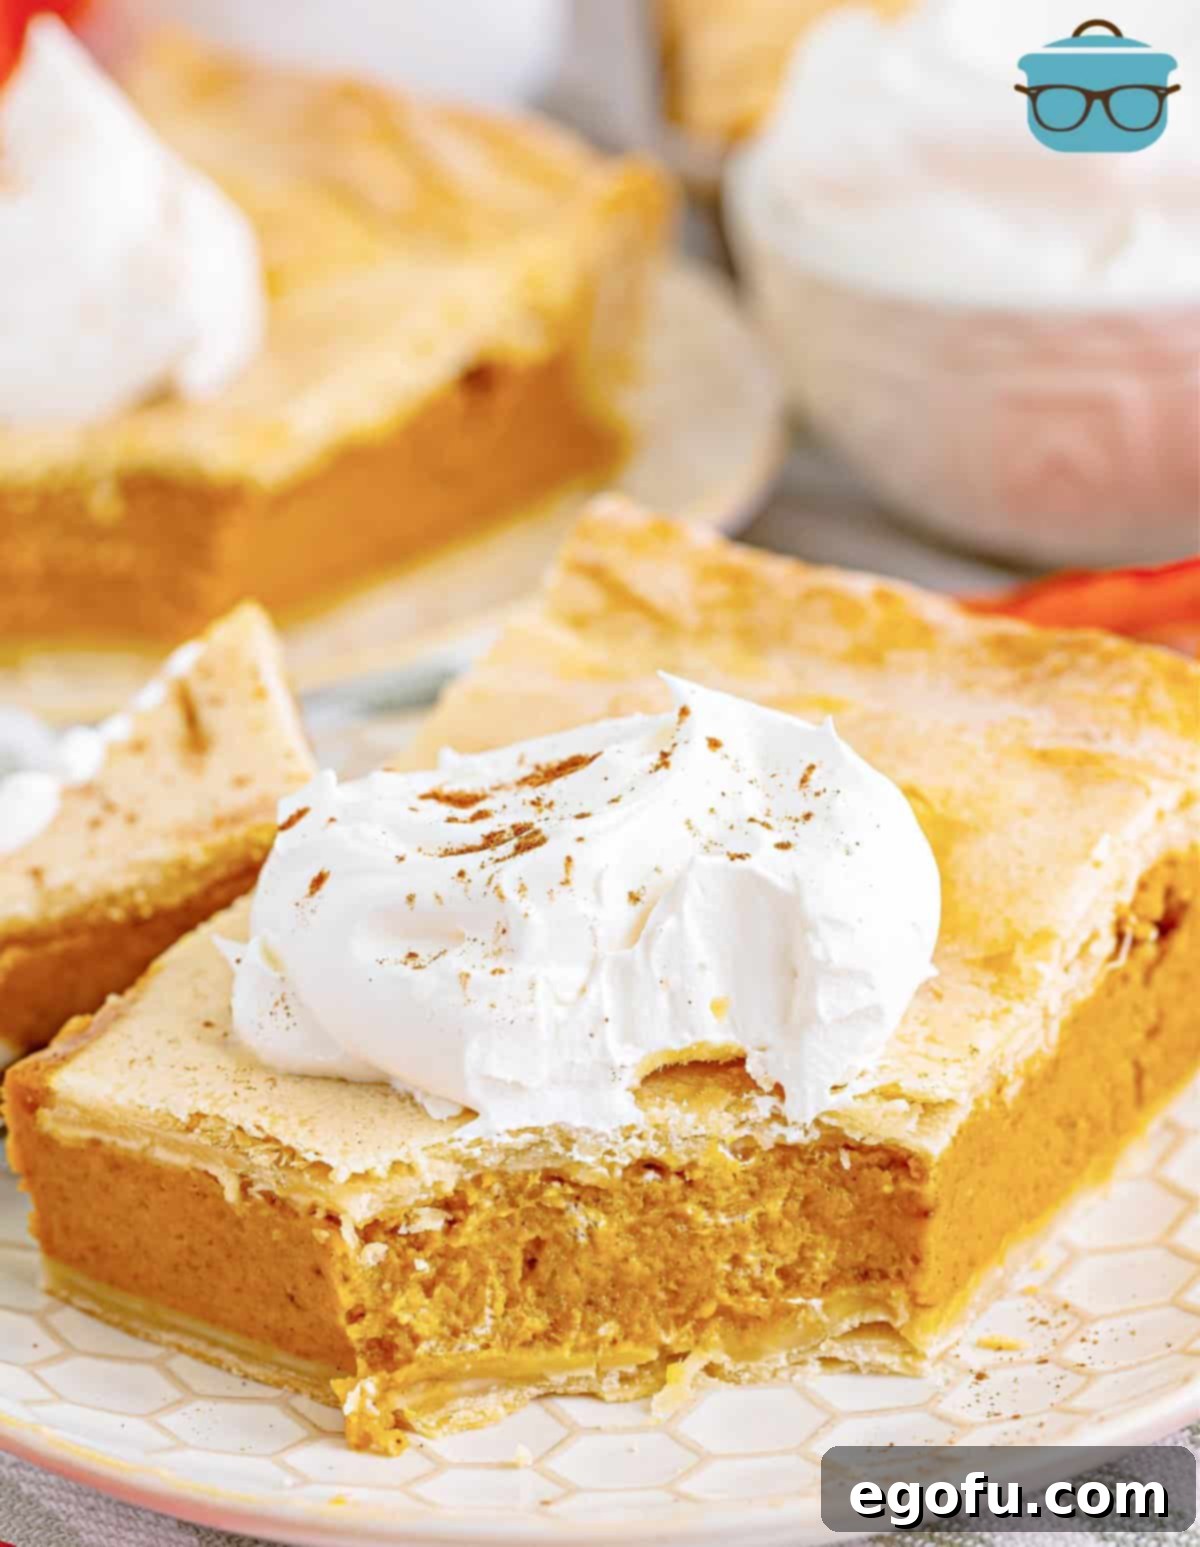
While traditional round pies hold a special place in our hearts, the slab pie offers distinct advantages, especially when feeding a larger number of guests. Its rectangular shape means more pie for everyone, and fewer dishes to bake. This expansive surface area also allows for beautifully even baking and a consistent crust-to-filling ratio in every slice. No more fighting over the last piece – there’s plenty to go around!
Effortless Serving and Sharing
One of the primary benefits of a slab pie is its unparalleled ease of serving. Unlike round pies, which can sometimes be tricky to cut into neat, equal portions, a slab pie cuts into clean, uniform squares or rectangles with minimal fuss. This makes plating a breeze, allowing you to quickly and efficiently serve your guests without the usual holiday kitchen chaos. It’s perfect for buffets, large family dinners, or office parties where speed and consistency are key.
A Unique and Impressive Presentation
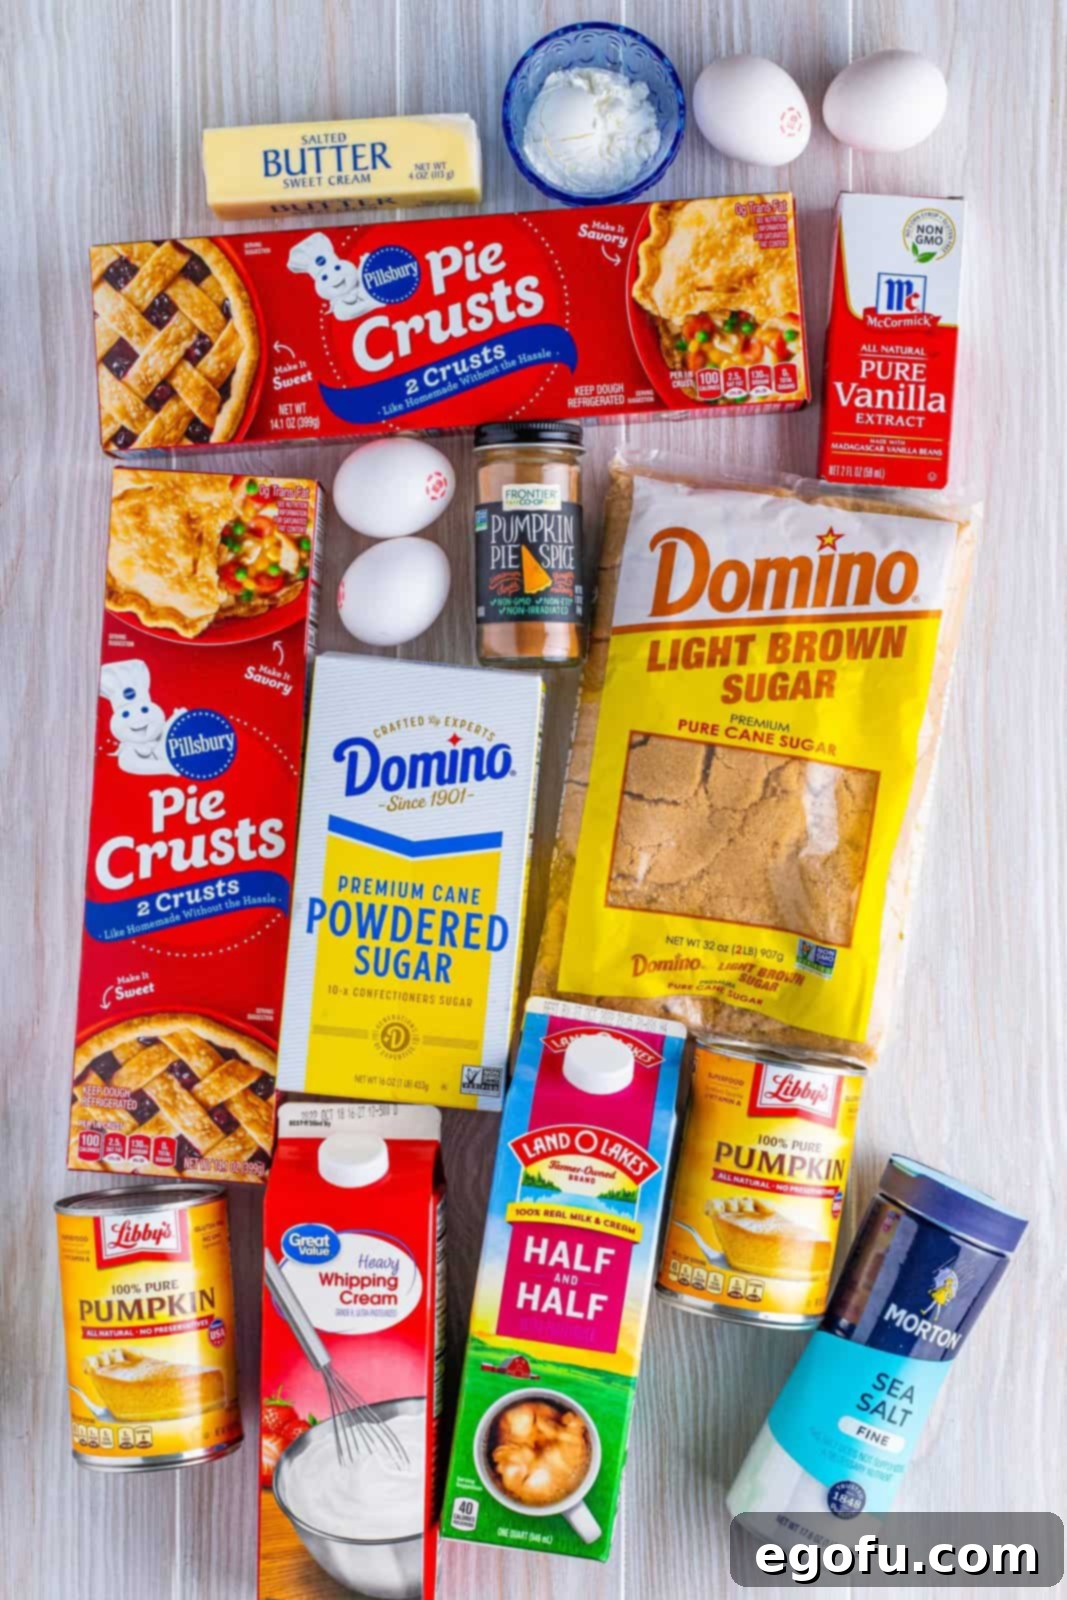
Beyond practicality, a pumpkin slab pie also makes a stunning visual statement. Its grand scale fills a serving table with an undeniable presence, often inspiring awe from guests accustomed to smaller, round desserts. The expansive canvas of the top crust provides ample opportunity for creative embellishments, whether you prefer a simple crimped edge, a lattice top, or festive cut-outs. Paired with its golden-brown crust and glistening glaze, this dessert isn’t just a treat for the taste buds; it’s a feast for the eyes.
Perfect for Double Crust Lovers
For those who believe a pie isn’t complete without a top crust, the Pumpkin Slab Pie delivers generously. This recipe is specifically designed with a full double crust, ensuring that every bite includes that delightful textural contrast between flaky pastry and creamy filling. The top crust also helps to lock in moisture and flavor, creating a more robust and satisfying pumpkin pie experience.
Frequently Asked Questions About Pumpkin Slab Pie
While pumpkin pie spice offers a convenient blend of classic autumnal flavors, it’s not strictly necessary. If you don’t have any on hand, you can easily create your own blend. A common and delicious alternative is to use 1 tablespoon of ground cinnamon mixed with ¼ teaspoon of ground nutmeg. For an even richer flavor, consider adding a pinch of ground ginger and cloves to this homemade blend.
For this specific recipe to turn out perfectly, you will need a 10x15x1-inch jelly roll pan. It’s crucial to use this exact size to ensure the correct crust-to-filling ratio and proper baking time. Using a different size pan could result in a pie that’s too thin or too thick, affecting both the texture and cook time.
This recipe is developed using pure pumpkin puree, which is just cooked, mashed pumpkin. Canned pumpkin pie filling, on the other hand, is pre-sweetened and pre-spiced, often containing milk or other ingredients. I have not tested this recipe with canned pumpkin pie filling, so I strongly recommend sticking to pure pumpkin puree and following the filling ingredients exactly as written to achieve the intended flavor and consistency.
If half and half isn’t available, you can substitute it with milk for both the filling and the glaze. Whole milk will yield the best results due to its higher fat content, which closely mimics the richness of half and half. While lighter milks can be used, they might result in a slightly less creamy filling and a thinner glaze.
The filling requires ample time to properly set and firm up, which is essential for clean slices and a delightful texture. It will need to chill in the refrigerator for at least 6 hours, or ideally, overnight (up to 24 hours). This makes it an excellent make-ahead dessert, allowing you to prepare it the day before your event and reduce stress on the big day.
Leftovers of this delicious slab pie can be stored in the refrigerator. Simply cover the pan tightly with plastic wrap or aluminum foil, and it will remain fresh for up to 1 week. Yes, you can also freeze this recipe for longer storage! To do so, wrap the entire pan securely in plastic wrap, then wrap it again in aluminum foil. It will keep well in the freezer for up to 3 months. To defrost, transfer the frozen pie to the refrigerator overnight. You can enjoy it cold once defrosted, or let it sit at room temperature for a while before serving.
A soggy bottom crust is a common pie dilemma, but it can be avoided! Ensure your oven is preheated to the correct temperature (425°F) before placing the pie in. Also, a thin layer of egg wash or a sprinkle of breadcrumbs on the bottom crust before adding the filling can act as a barrier. Making sure your pie bakes fully until the crust is golden brown and cooked through is also key.
Ingredients for Your Delicious Pumpkin Slab Pie
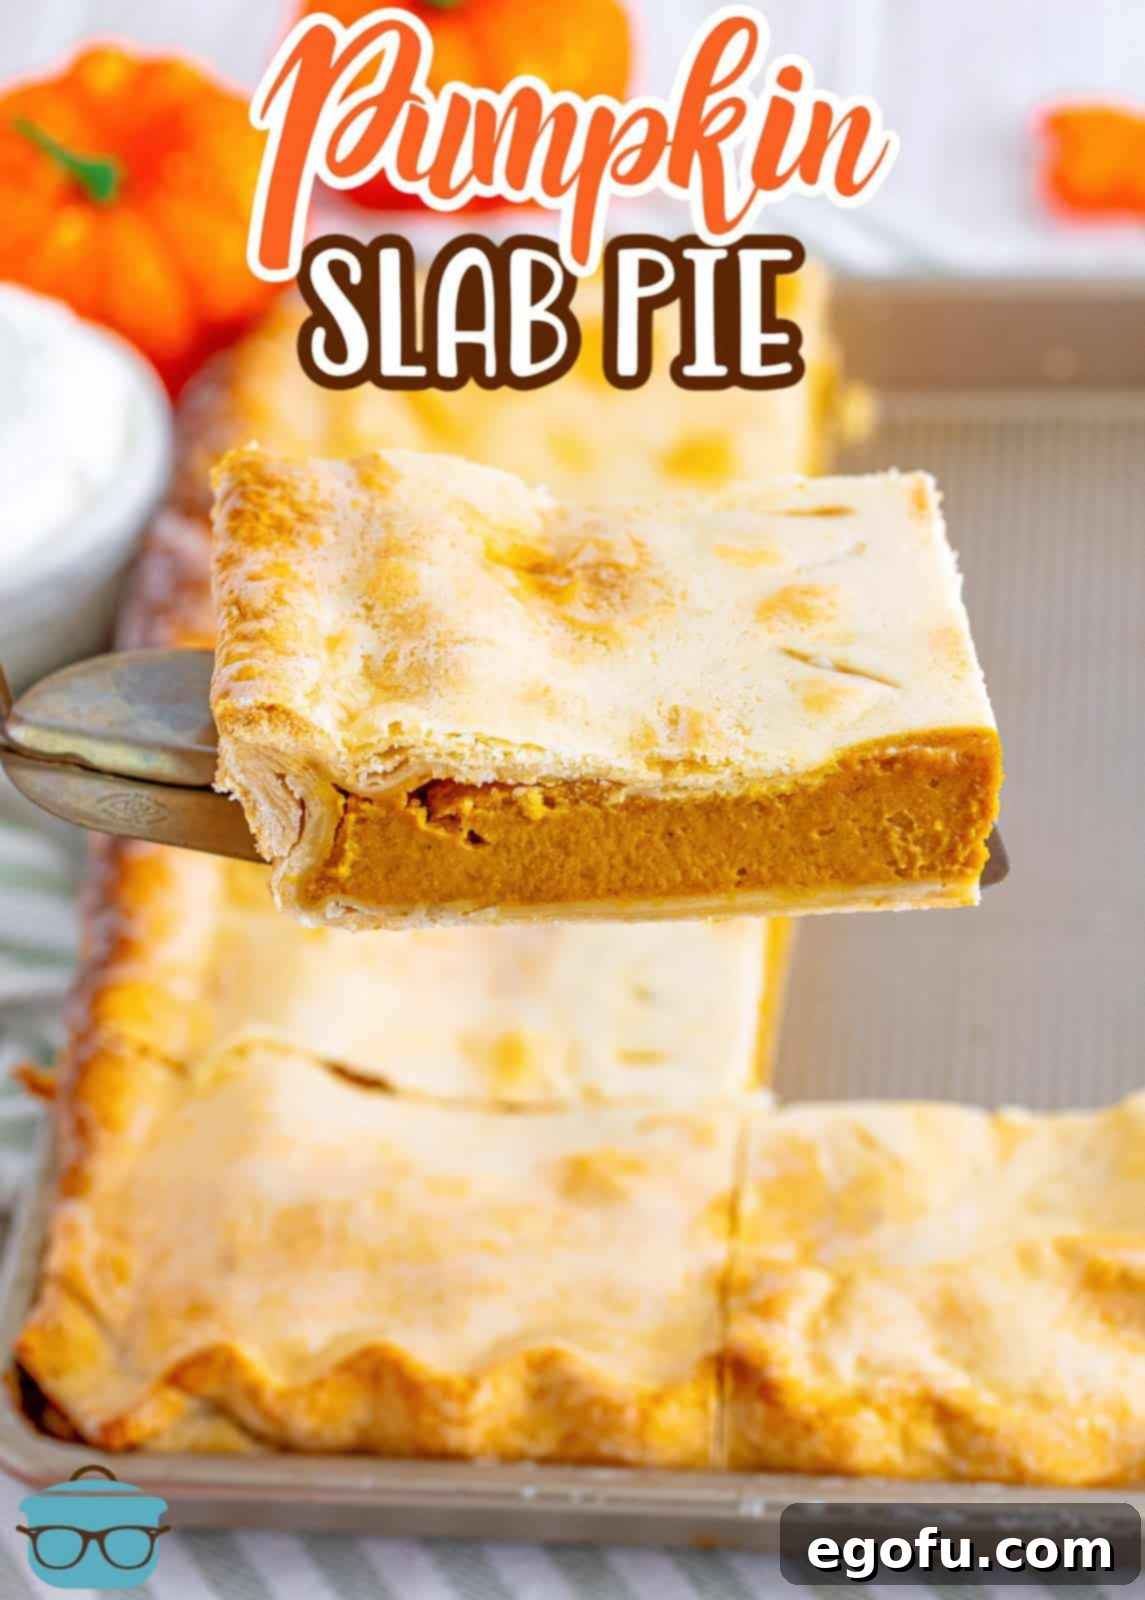
Crafting this incredible Pumpkin Slab Pie requires a careful selection of fresh ingredients to ensure maximum flavor and perfect texture. Here’s what you’ll need to gather:
- Pure Pumpkin Puree: Ensure it’s 100% pure pumpkin, not pumpkin pie filling.
- Light Brown Sugar: Adds a deep, caramel-like sweetness that complements the pumpkin beautifully.
- Heavy Cream: For a rich and luxurious filling consistency.
- Half and Half: Contributes to the creamy texture of the filling and forms the base of our luscious glaze.
- Large Eggs: Act as a binder, giving the pie its structure and smooth texture.
- Cornstarch: A crucial thickening agent, ensuring the filling sets perfectly.
- Vanilla Extract: Enhances all the other flavors with its warm, aromatic notes.
- Pumpkin Pie Spice: The essential blend of cinnamon, nutmeg, ginger, and cloves for that iconic pumpkin pie taste.
- Salt: Balances the sweetness and amplifies the overall flavor profile.
- Refrigerator Pie Crusts: For convenience and a consistently flaky base and top.
- Salted Butter: The secret to a rich, glossy glaze.
- Powdered Sugar: The main component of our smooth, sweet glaze.
Each ingredient plays a vital role in creating a pumpkin slab pie that’s not only easy to make but also bursts with traditional holiday flavor. The combination of warming spices, creamy dairy, and sweet pumpkin creates a truly irresistible dessert that your family and friends will adore.
How to Make a Crowd-Pleasing Pumpkin Slab Pie: Step-by-Step Guide
Making this impressive Pumpkin Slab Pie is simpler than you might think. Follow these detailed steps to create a dessert that will be the highlight of any festive table.
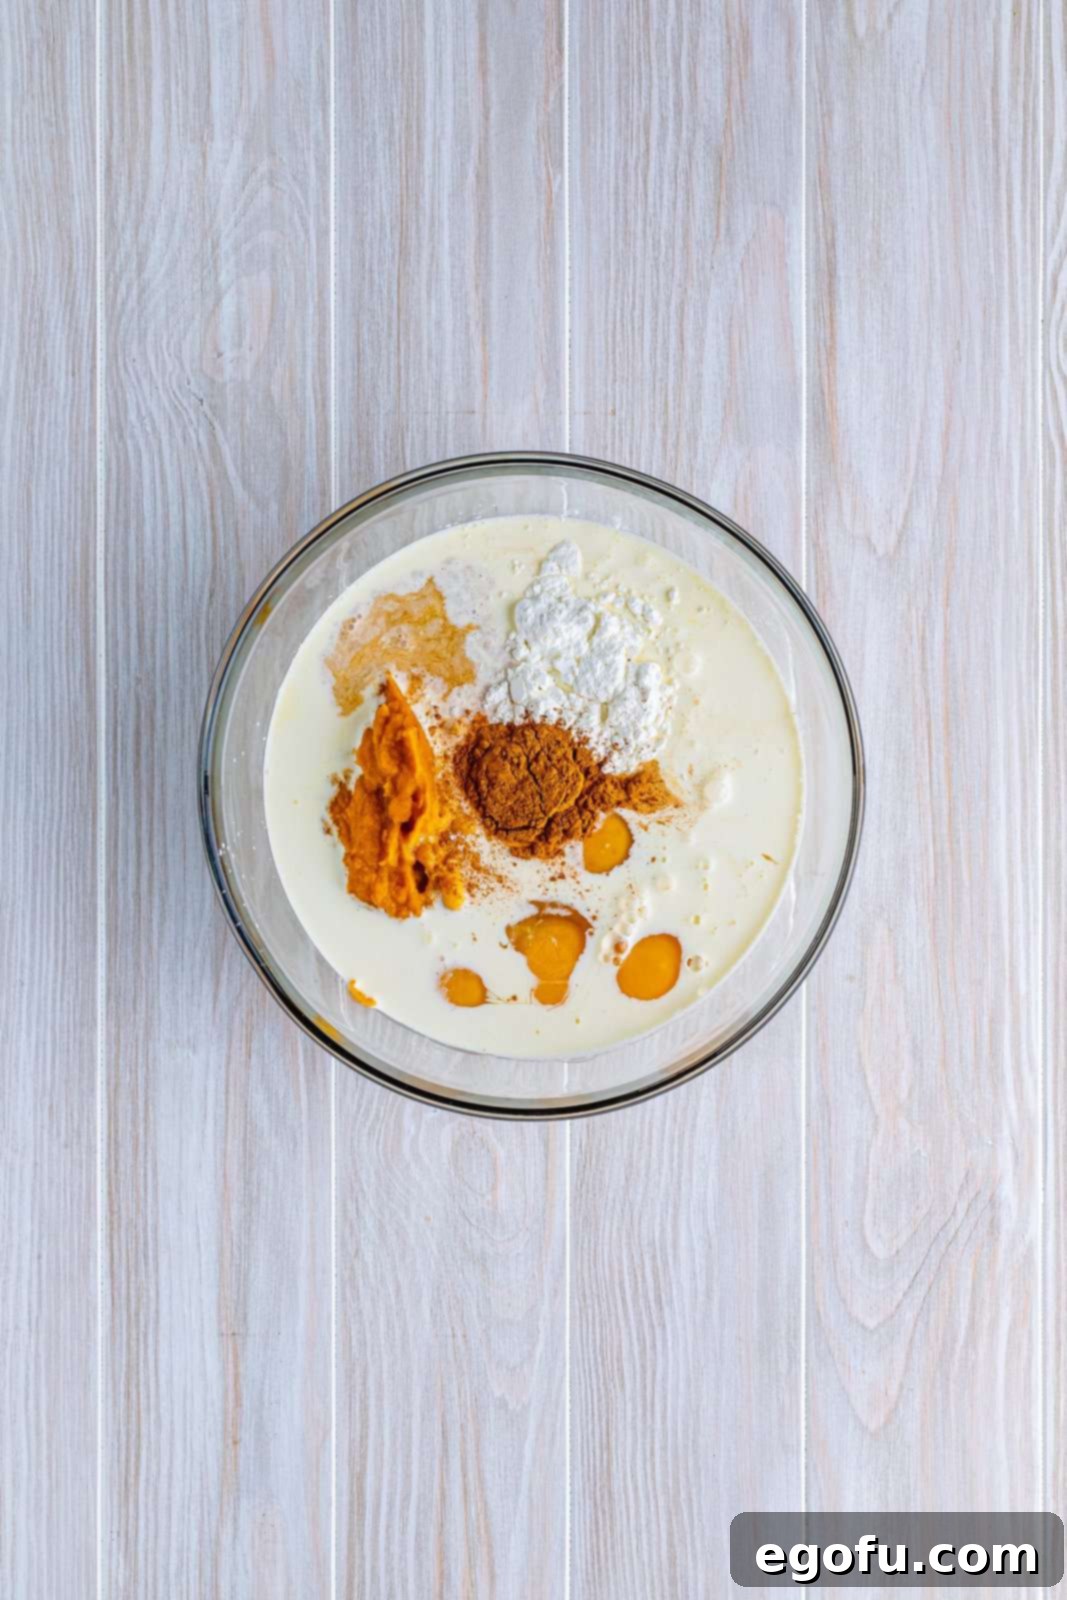
Step 1: Prepare the Oven and Filling Base. Begin by preheating your oven to a precise 425°F (220°C). In a generously sized bowl, combine your pure pumpkin puree, packed light brown sugar, heavy cream, half and half, eggs, cornstarch, vanilla extract, a full tablespoon of pumpkin pie spice, and the salt. These ingredients form the heart of your creamy pumpkin filling.
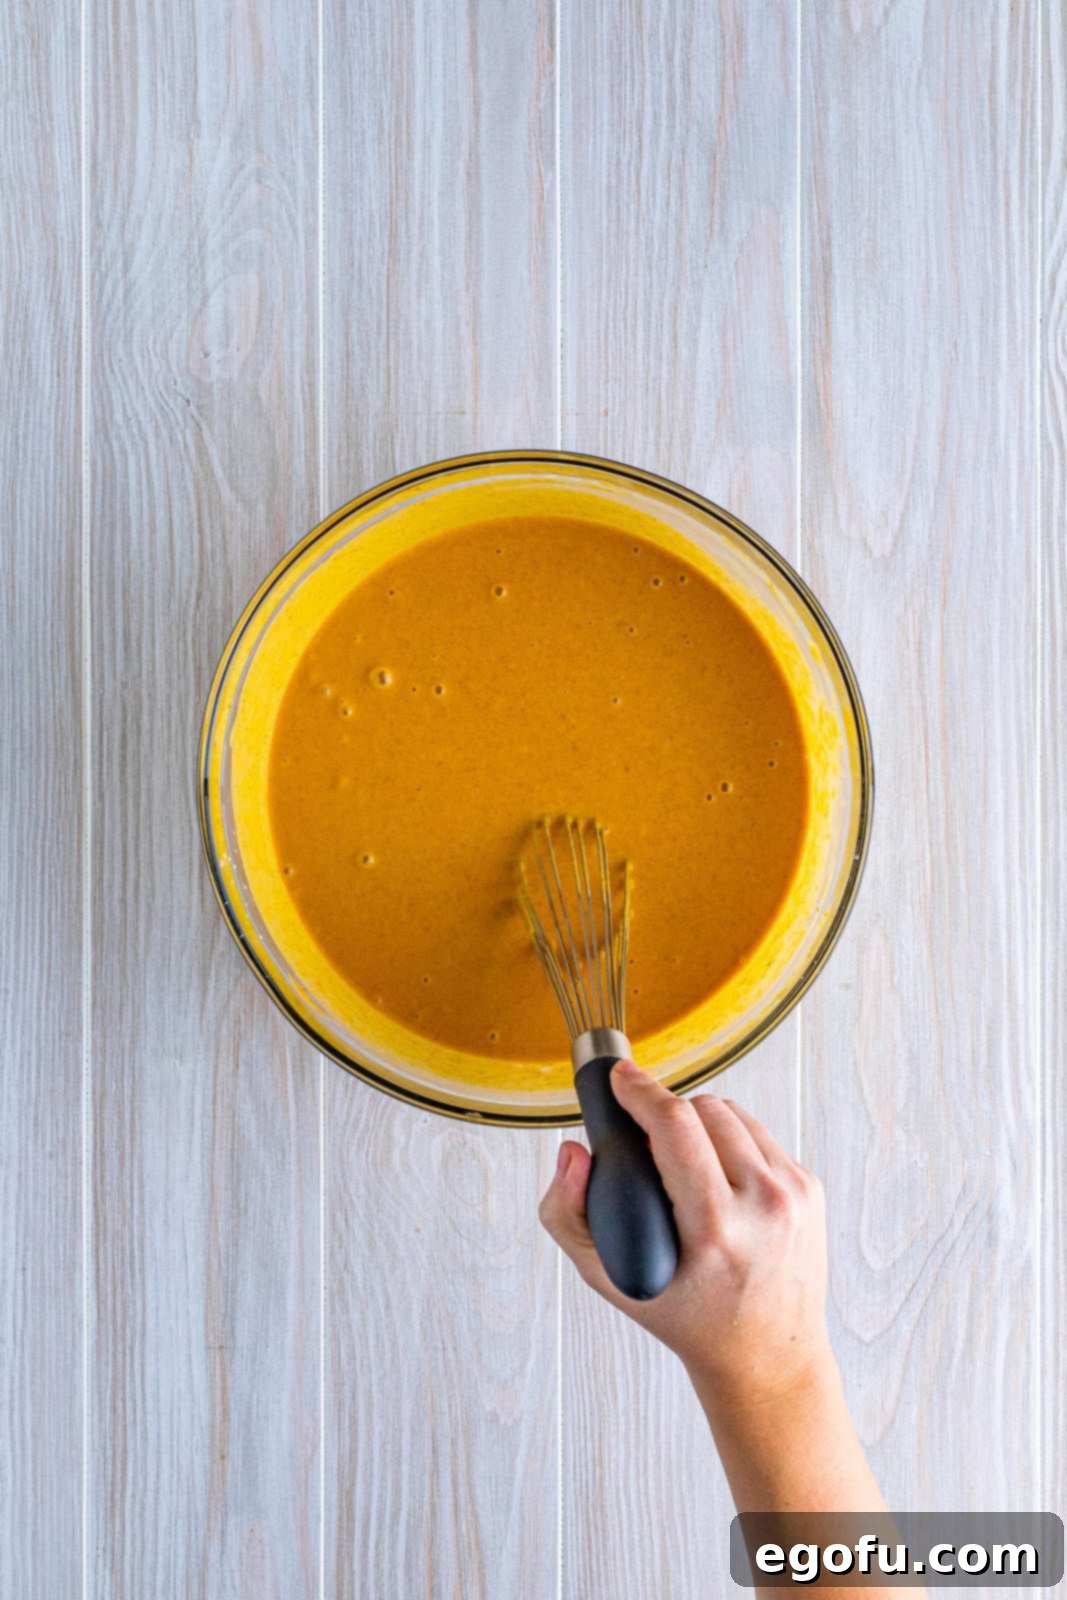
Step 2: Whisk to Perfection. Using a whisk, vigorously mix all the filling ingredients together until the mixture is completely smooth and thoroughly combined. Ensure there are no lumps of cornstarch or brown sugar. Once smooth, set this vibrant orange mixture aside while you prepare your pie crust.
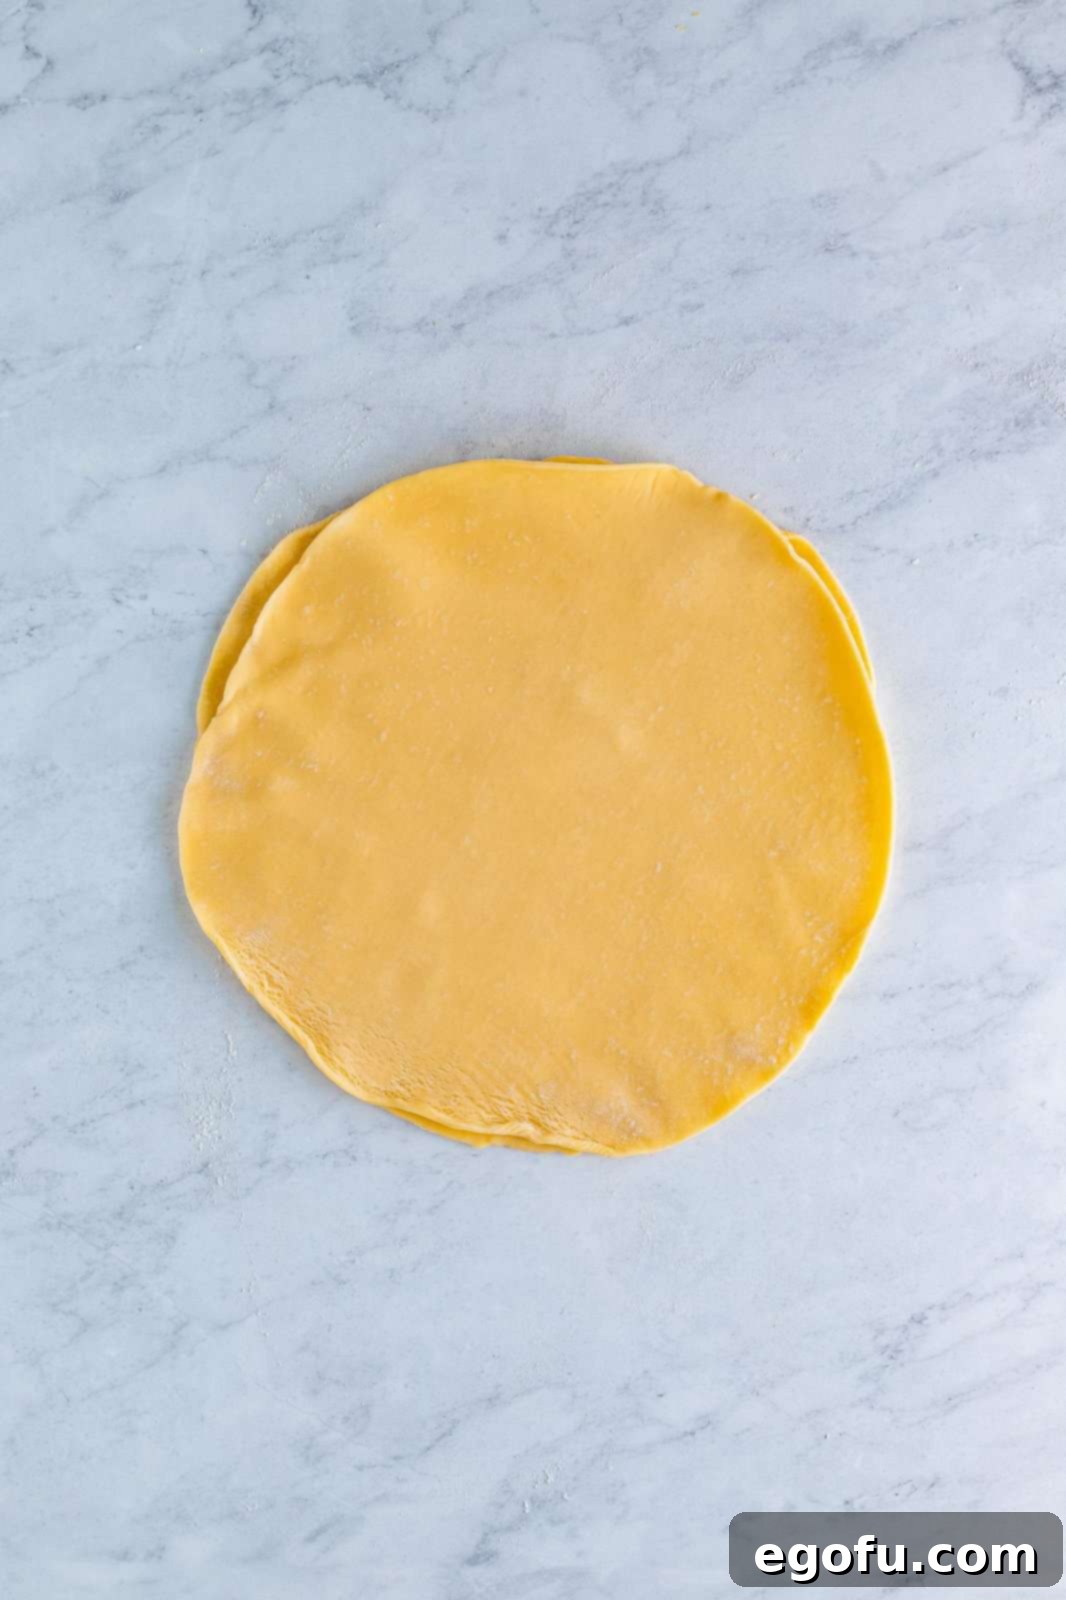
Step 3: Prepare the Bottom Crust. On a clean, lightly floured work surface, carefully unroll two of your refrigerator pie crusts. Gently lay one crust directly on top of the other. This layering technique helps to create a larger, more robust base for your slab pie.
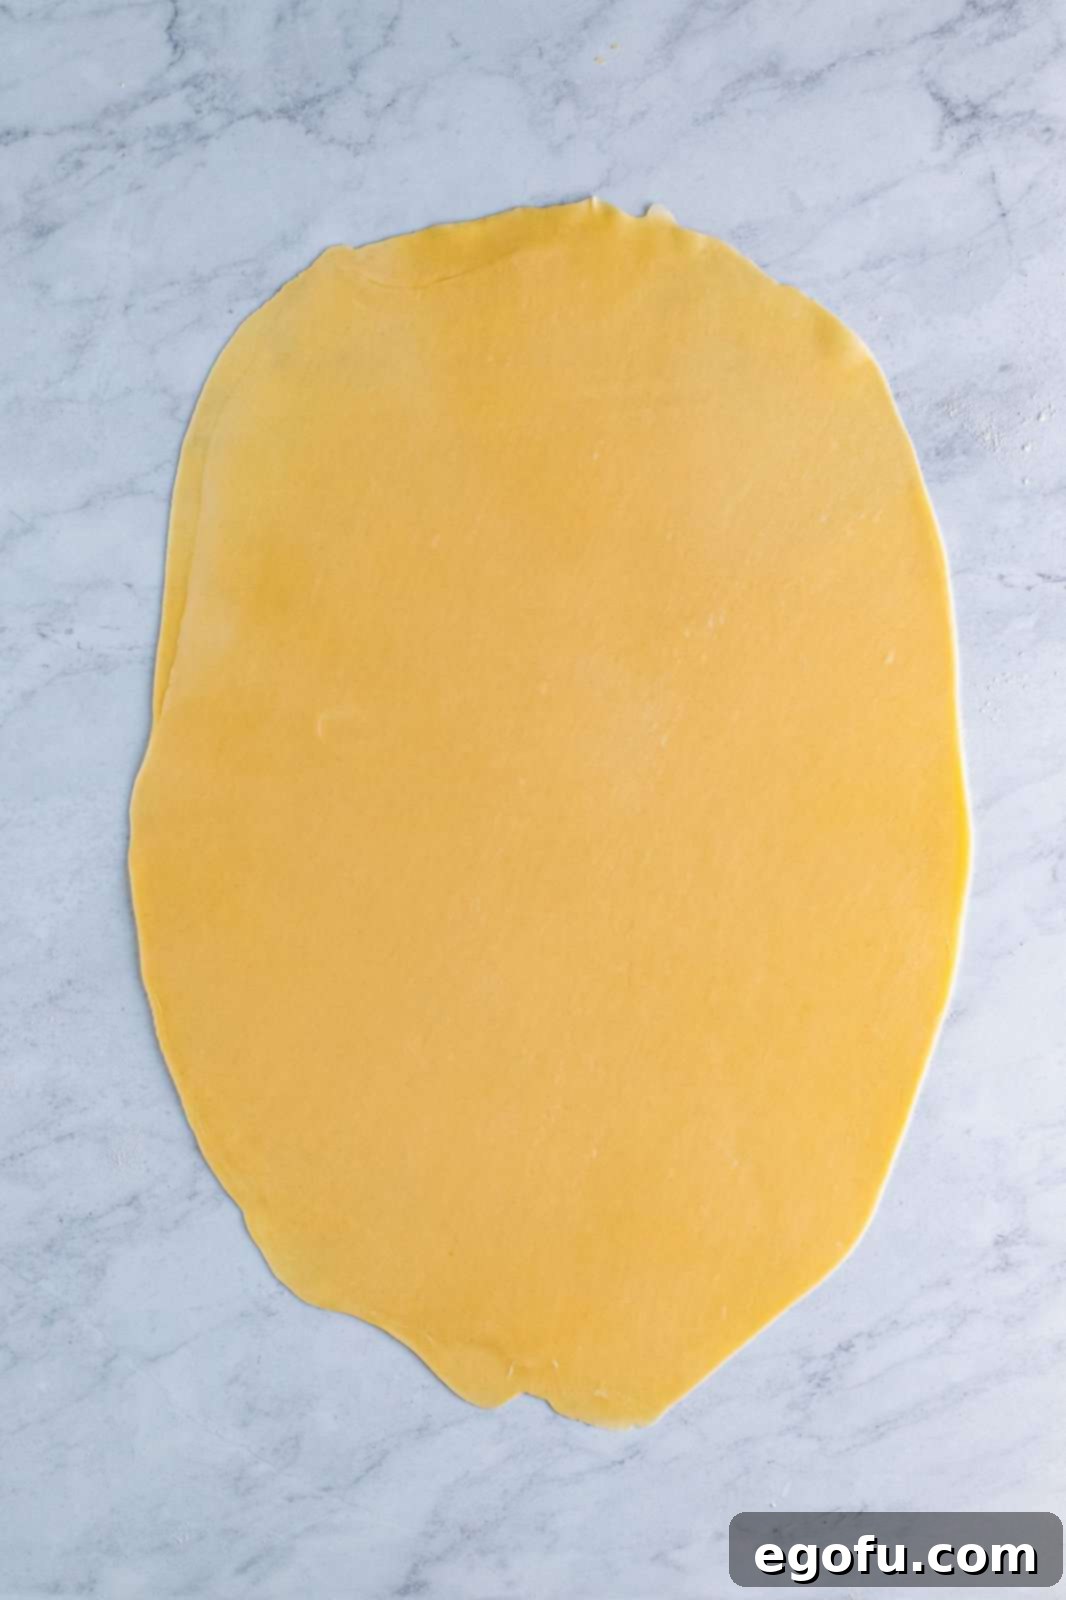
Step 4: Roll Out the Combined Crust. Using a rolling pin, carefully roll out the layered pie crusts into a rough rectangle measuring approximately 18×12 inches. Aim for an even thickness to ensure uniform baking. This larger size is necessary to fit your jelly roll pan.
Step 5: Line Your Baking Pan. Carefully transfer the rolled-out crust into your 10x15x1-inch jelly roll pan. Gently mold the crust to fit the contours of the pan, pressing it firmly into the corners and up the sides. Allow any excess crust to overlap the edges of the pan; this will be used to crimp with the top crust.
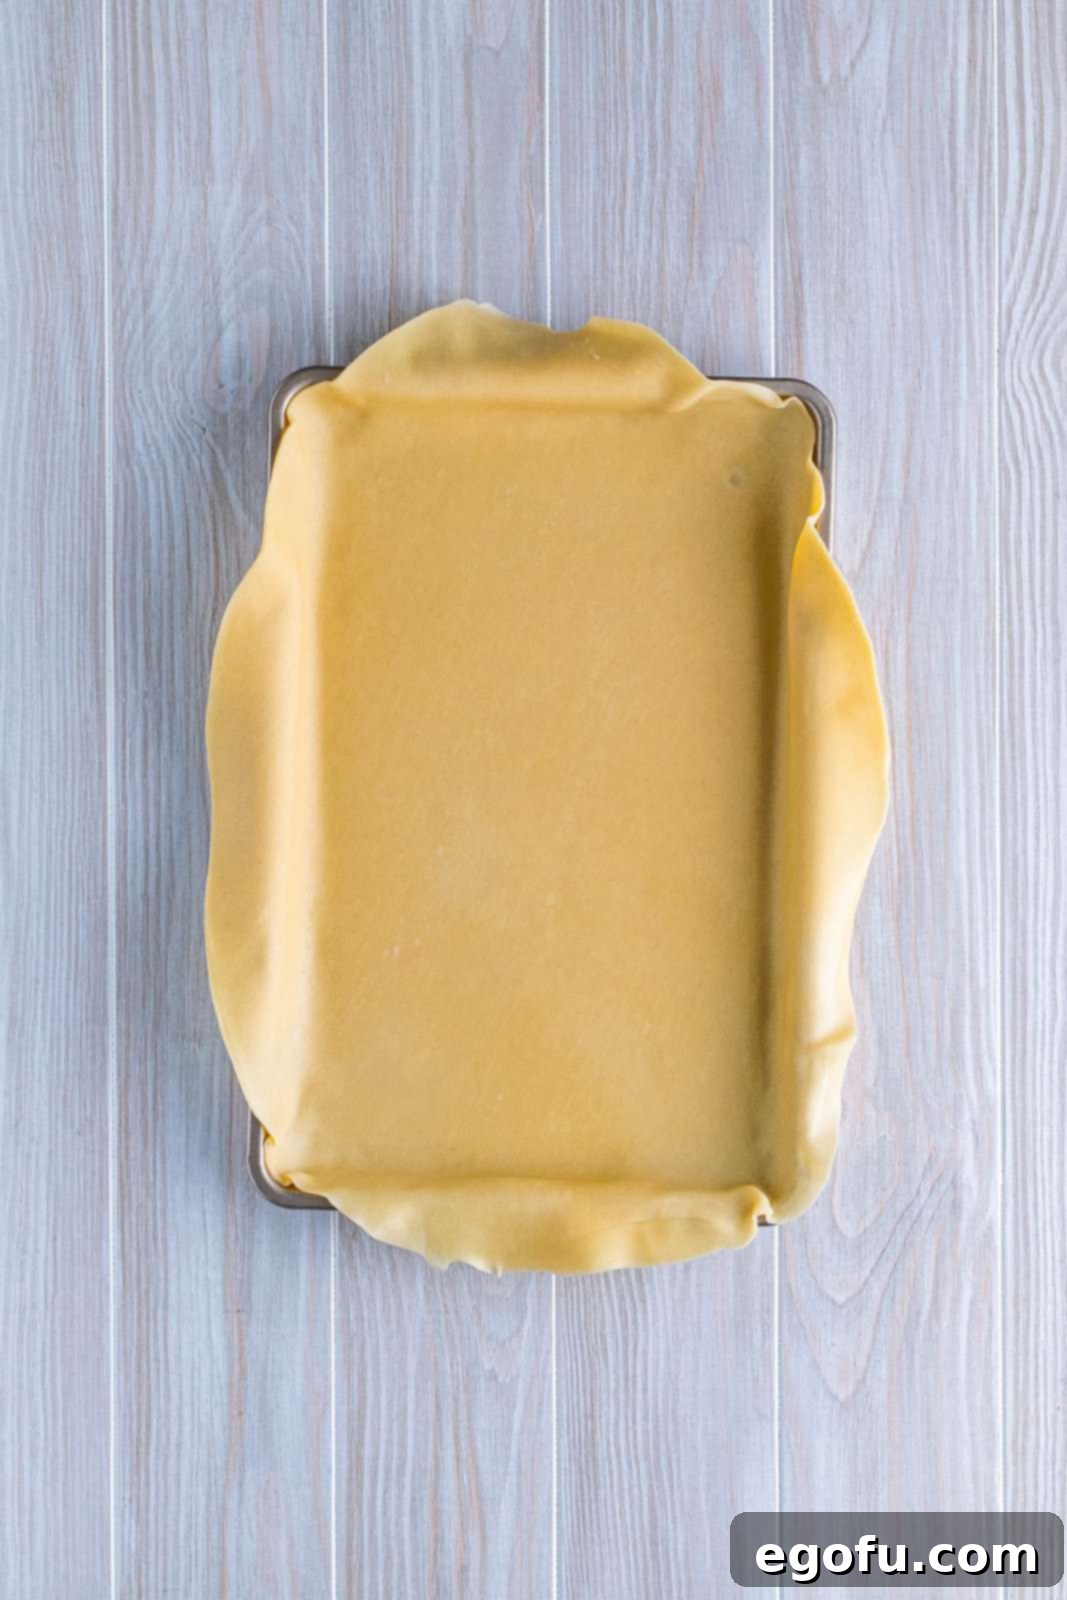
Step 6: Fill the Crust. Pour the prepared pumpkin filling into the crust-lined pan. Be careful not to overfill the crust; a little filling may be left over, which is perfectly normal. Distribute the filling evenly across the bottom crust with a spatula.
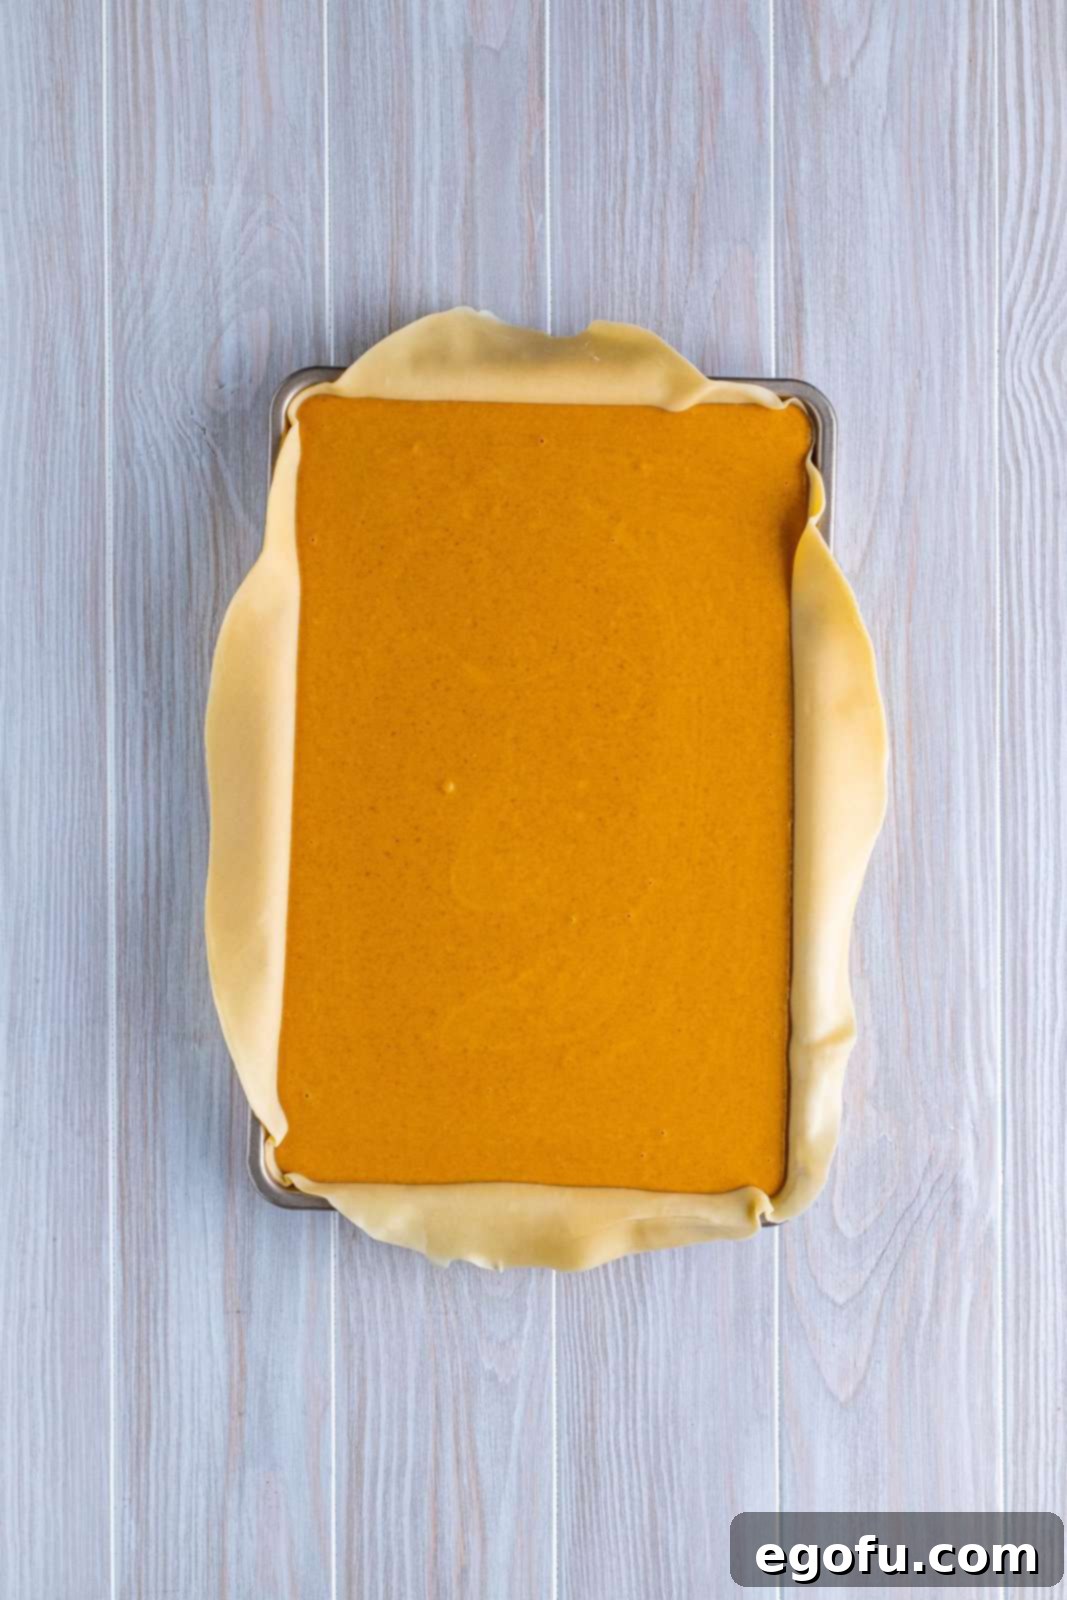
Step 7: Add the Top Crust. Roll out the remaining two pie crusts together, just as you did for the bottom crust, creating another 18×12-inch rectangle. Carefully lay this second large crust over the pumpkin filling. Tuck the edges of the top crust under the bottom crust’s overhang and firmly crimp the edges all around the perimeter of the pan. This seals in the filling and creates a beautiful decorative border.
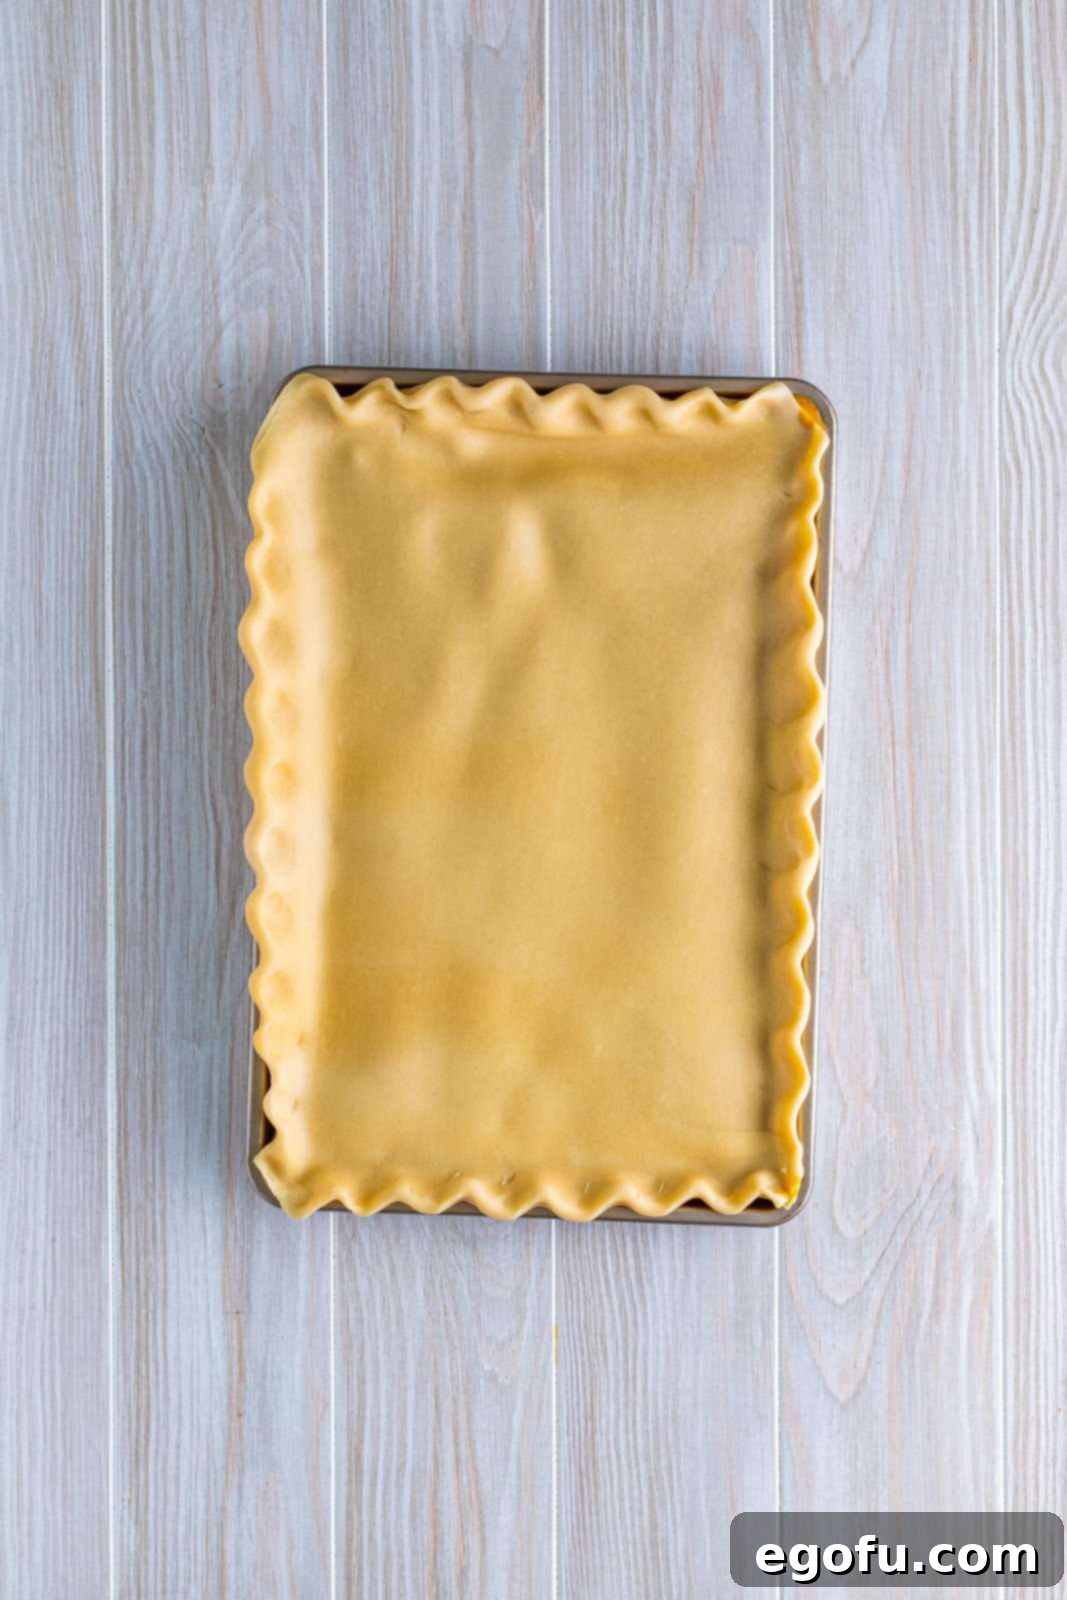
Step 8: Vent the Pie. Using a sharp knife, cut several slits or decorative shapes into the top crust. These vents are essential to allow steam to escape during baking, preventing the crust from bubbling up and ensuring an even bake for your pie.
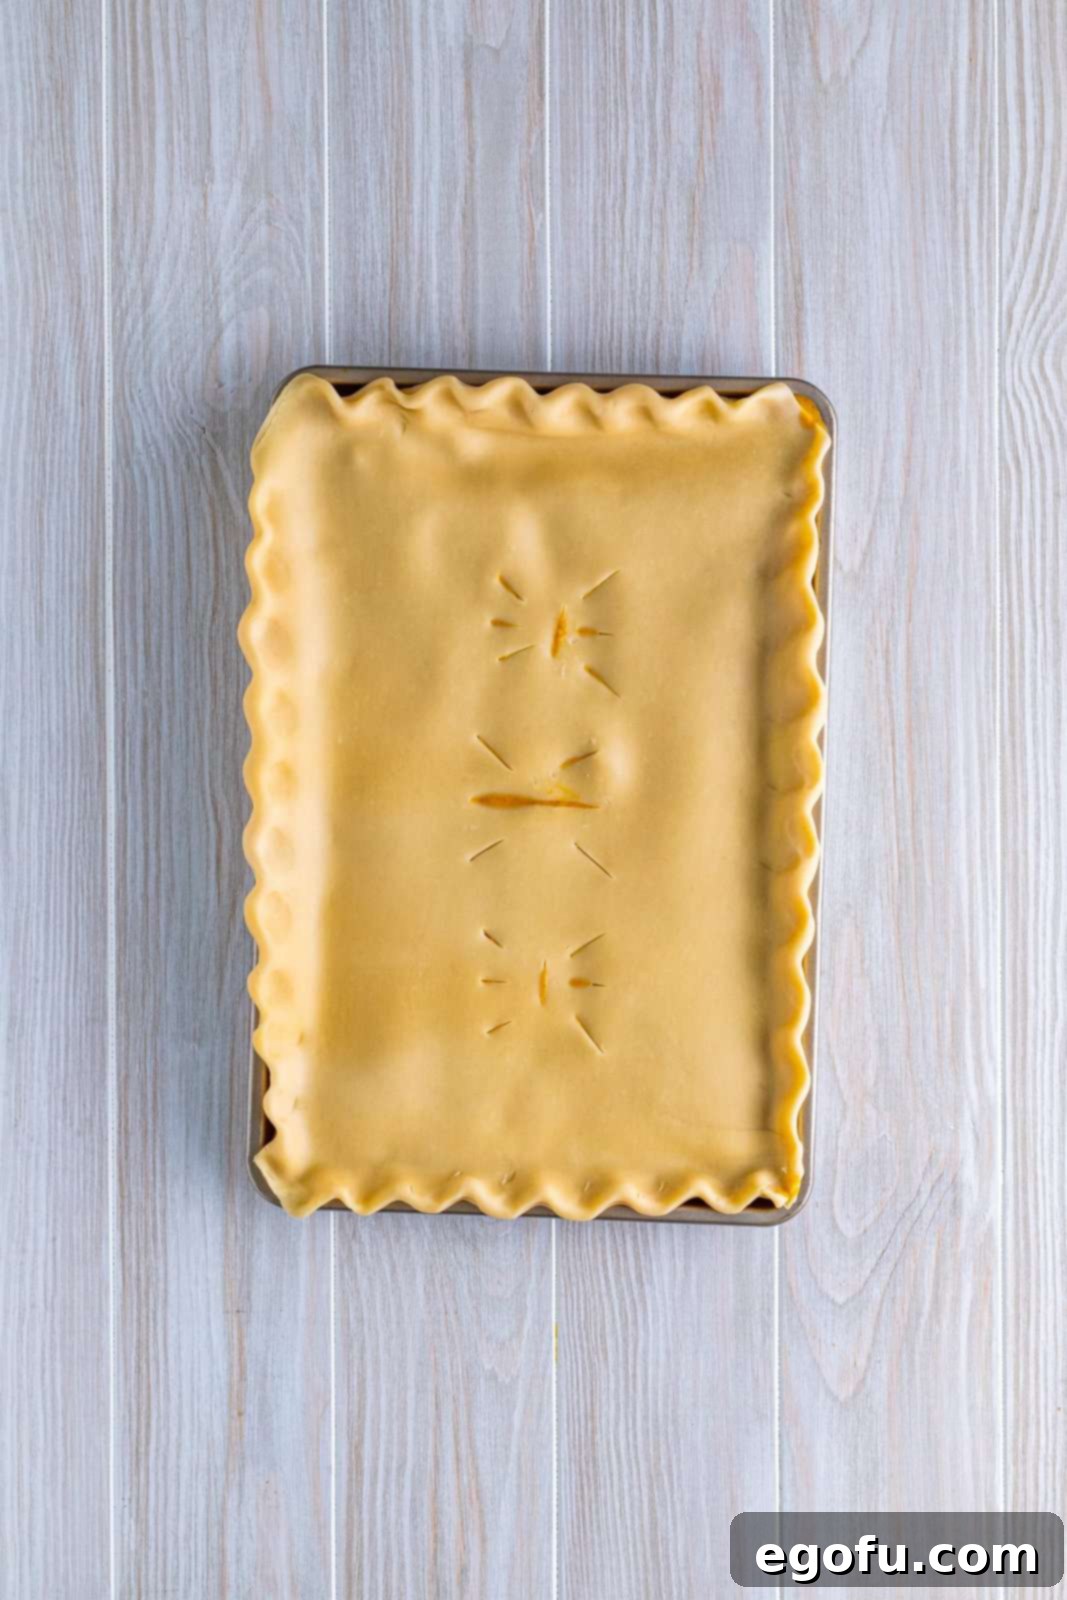
Step 9: Bake to Golden Perfection. Place the pie in the preheated oven and bake for 30-35 minutes. Keep an eye on the crust; if it starts to brown too quickly halfway through baking, gently tent the pie with aluminum foil to prevent over-browning. The pie is done when the crust is a beautiful golden brown and a toothpick inserted into the center of the pie comes out mostly clean. A slightly moist toothpick is acceptable, but if it’s wet with filling, it needs more baking time. Once baked, remove the pie from the oven and let it cool completely on a wire rack for 1 hour.
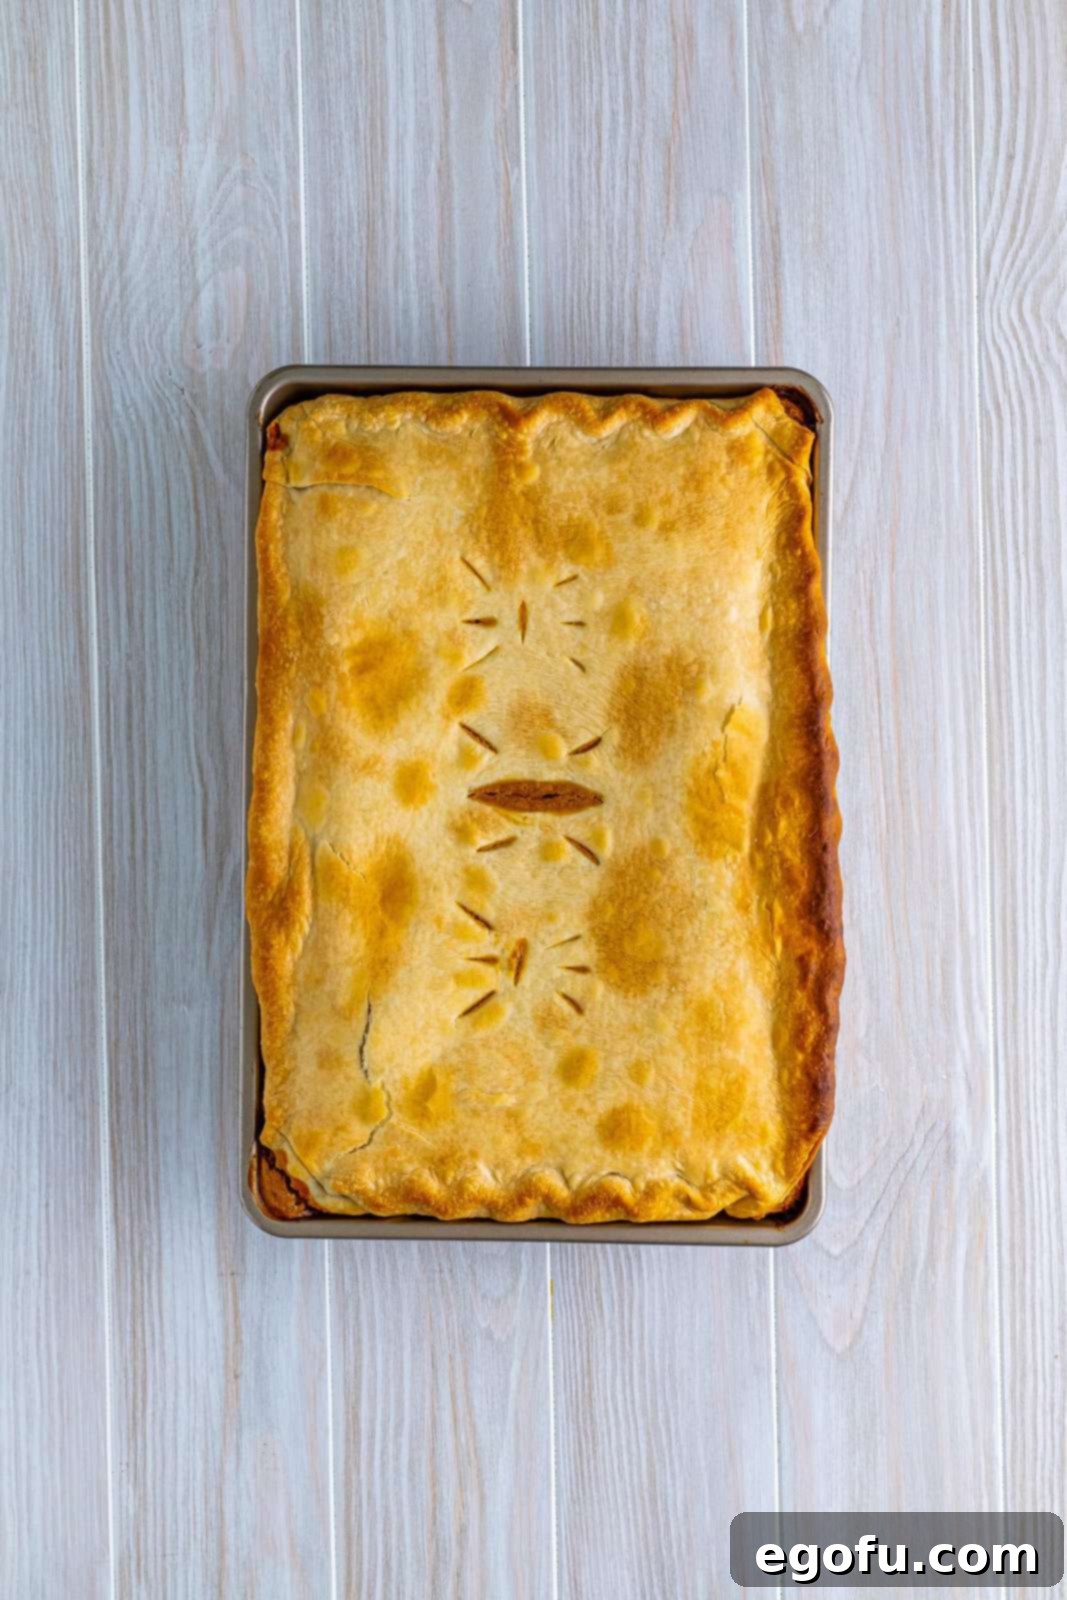
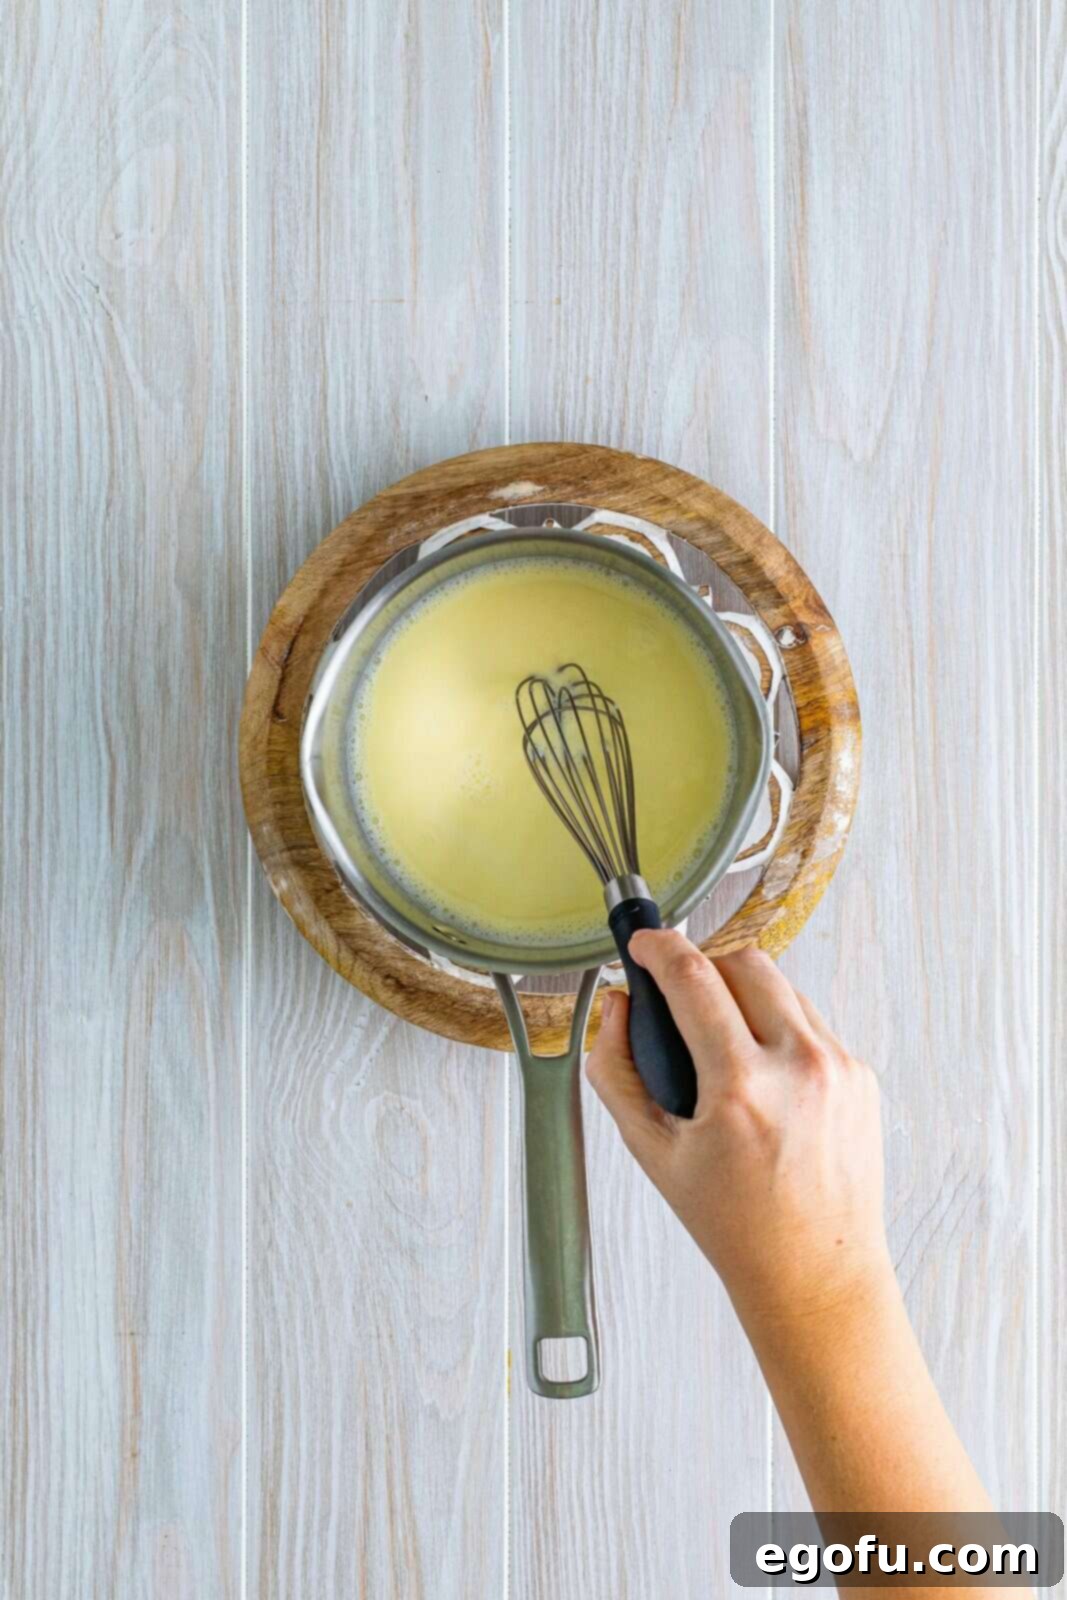
Step 10: Prepare the Glaze. While your pie is cooling, begin preparing the simple yet delectable glaze. In a small saucepan, combine the half and half and salted butter. Place the saucepan over medium-low heat, stirring occasionally to help the butter melt and integrate. Bring the mixture just to a simmer; as soon as you see the first bubbles appear around the edges, immediately remove it from the heat.
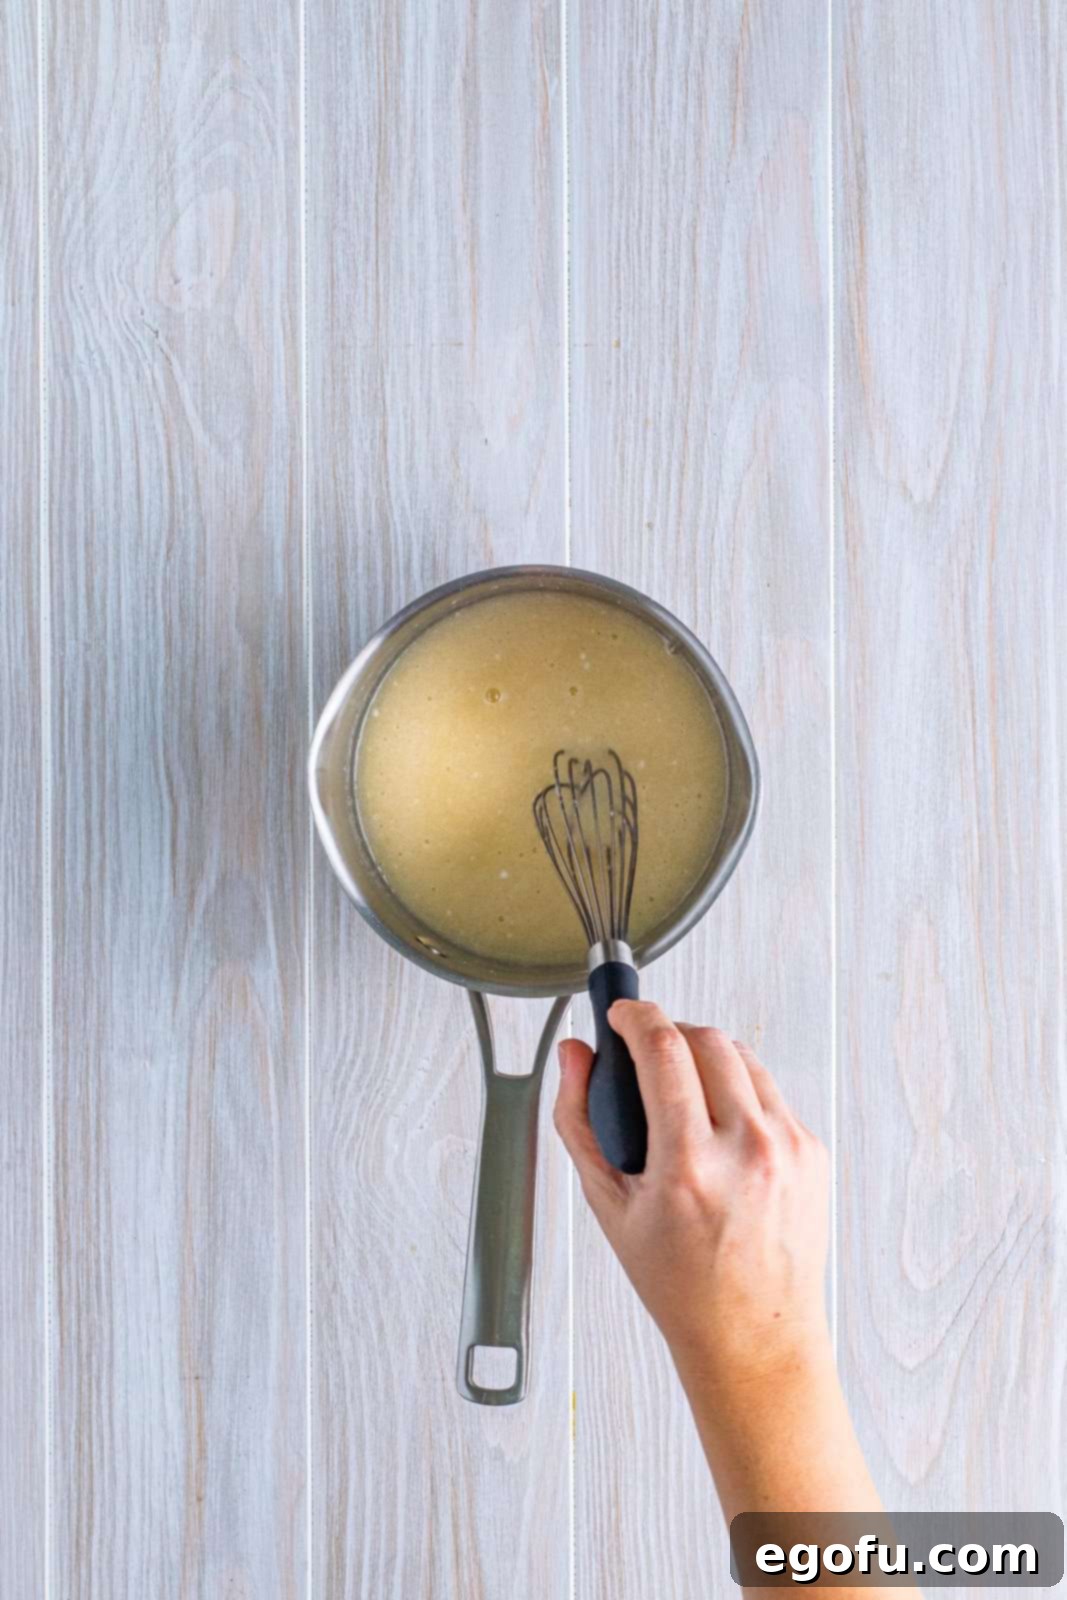
Step 11: Finish the Glaze. Allow the hot half and half and butter mixture to cool down to room temperature, which typically takes about 45 minutes to an hour. Once cooled, gradually whisk in the powdered sugar, a little at a time, until it is fully combined and smooth. Finally, stir in the vanilla extract to complete your rich, sweet glaze. The consistency should be pourable but thick enough to coat a spoon.
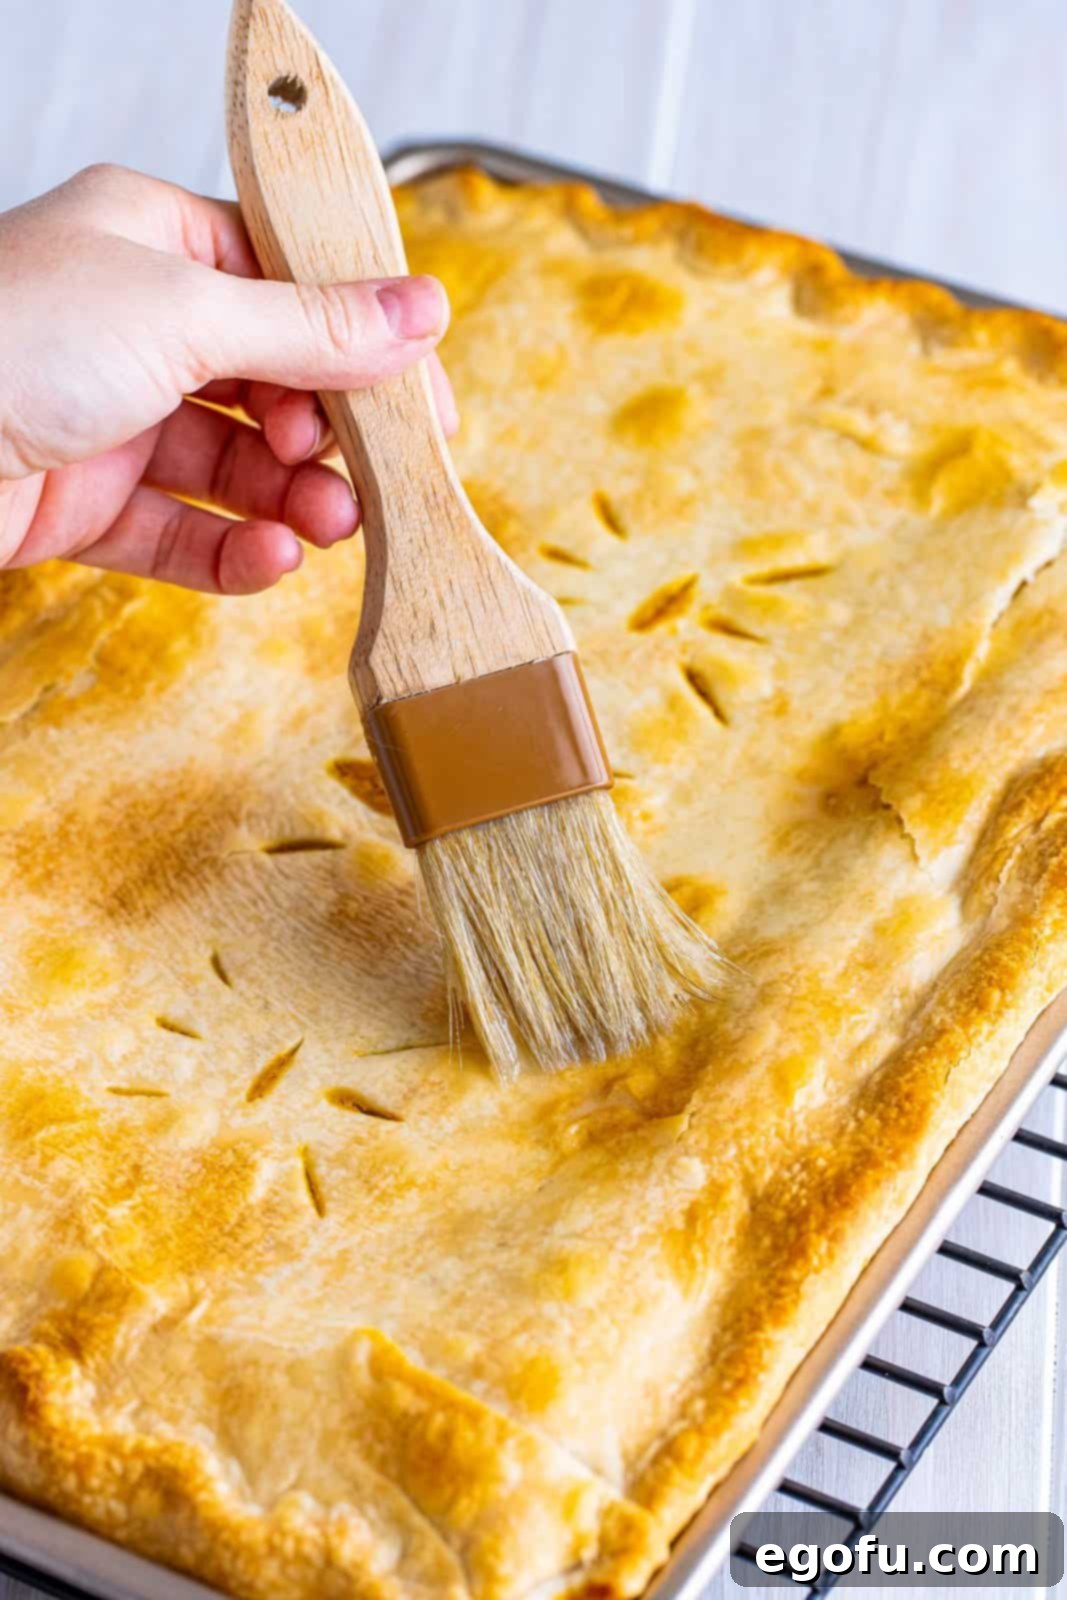
Step 12: Glaze the Pie. After the pie has cooled for the initial hour, it’s time to apply the glaze. Using a pastry brush, generously brush the glaze evenly over the entire top crust of the pie. Wait 30 minutes for the first layer to partially set, then apply a second layer of glaze. Wait another 30 minutes, and then apply one final, third layer of glaze. This triple glazing technique builds a beautiful, thick, and shiny finish.
Step 13: Chill to Set. Once glazed, place the entire pie in the refrigerator for at least 6 hours, or ideally, overnight. This crucial chilling period allows the pumpkin filling to fully set and firm up, resulting in perfectly structured slices that hold their shape beautifully.
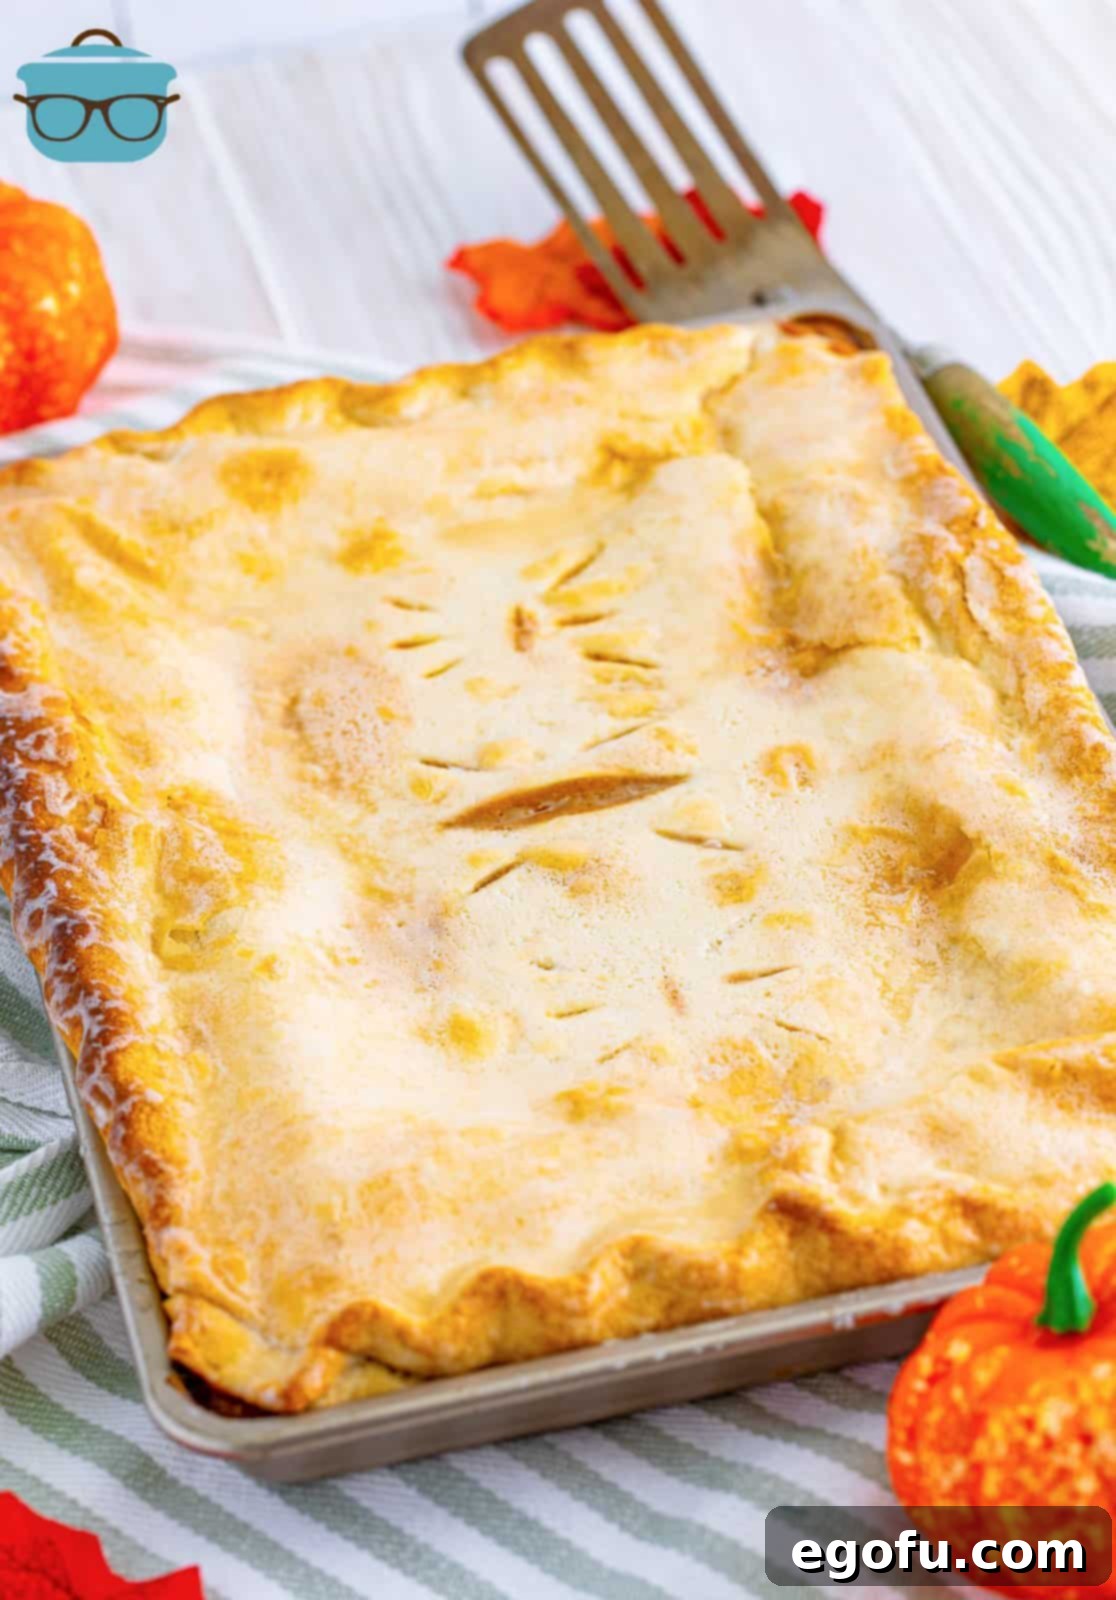
Step 14: Slice and Serve! Once thoroughly chilled and set, your Pumpkin Slab Pie is ready to be sliced into individual portions and served. Enjoy this festive and flavorful dessert!
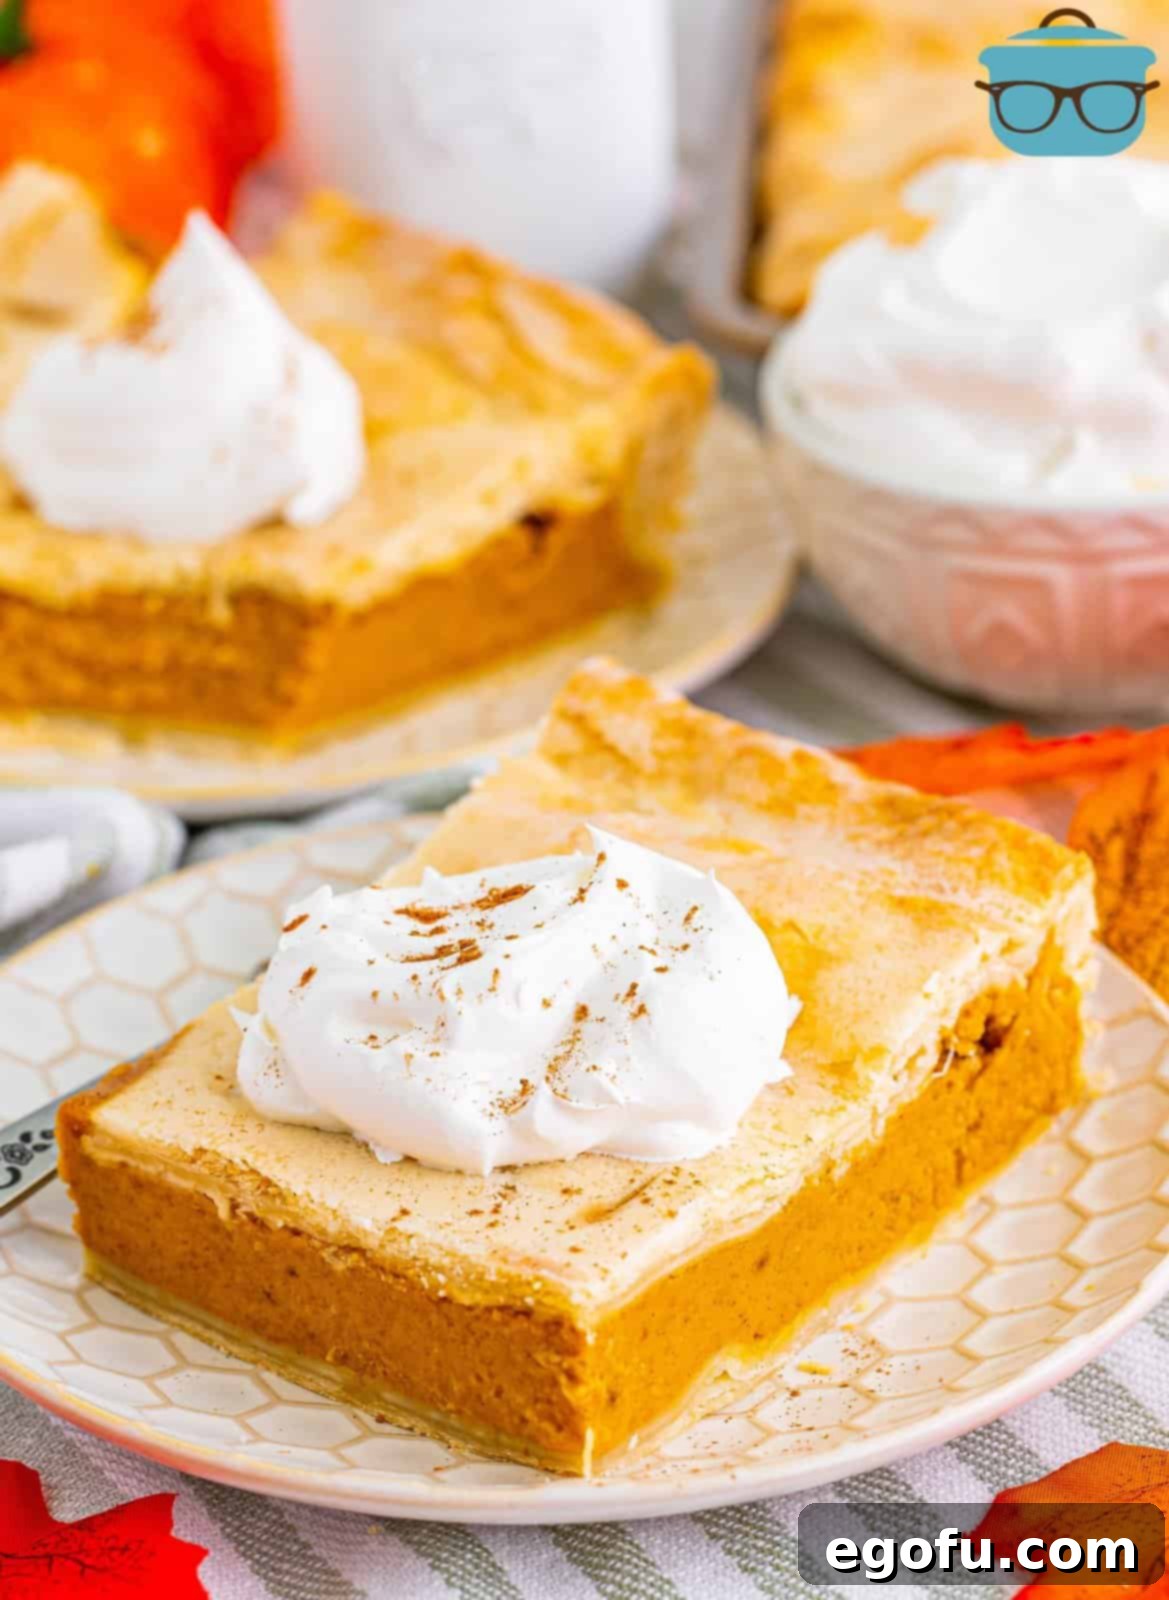
Serving Suggestions and Customization for Your Slab Pie
This Pumpkin Slab Pie is magnificent on its own, but a few simple additions can elevate it even further. Serve slices with a dollop of freshly whipped cream, a scoop of vanilla bean ice cream, or a sprinkle of extra pumpkin pie spice for an artistic touch. A light dusting of cinnamon or nutmeg also adds a wonderful aromatic flourish. For a more adult twist, a drizzle of caramel sauce or a sprinkle of toasted pecans can introduce additional textures and flavors.
Variations to Explore:
- Spiced Up Glaze: Add a pinch of cinnamon or a tiny dash of rum extract to your glaze for an extra layer of flavor.
- Decorative Crust: Use cookie cutters to create festive shapes (leaves, pumpkins, stars) from extra pie crust dough to adorn the top before baking.
- Nutty Topping: Before baking, sprinkle a layer of chopped pecans or walnuts over the pumpkin filling for a delightful crunch.
- Gingerbread Crust: Consider using a homemade gingerbread-flavored pie crust for an even more holiday-centric dessert.
Want More Delicious Recipes?
- Sweet Potato Slab Pie
- Blueberry Slab Pie
- Apple Slab Pie (+Video)
- Magic Pumpkin Cake
- The Best Pumpkin Pie (+Video)
- Buttermilk Pie
- Pumpkin Honey Bun Cake
- 40 Best Pumpkin Recipes
Pumpkin Slab Pie Recipe
This recipe has received 11 reviews with an average rating of 5 stars.
Print Recipe | Pin Recipe | Rate this Recipe
30 minutes
35 minutes
8 hours
9 hours 5 minutes
16
Brandie Skibinski
Ingredients
- 30 ounces pure pumpkin puree (2 cans)
- 1 ¾ cups packed light brown sugar
- 1 ½ cups heavy cream
- 1 cup half and half
- 4 large eggs
- 2 Tablespoons cornstarch
- 1 Tablespoon vanilla extract
- 1 Tablespoon pumpkin pie spice
- 1 ½ teaspoons salt
- 4 refrigerator pie crusts (2 boxes)
For the glaze:
- 6 Tablespoons half and half
- 1 Tablespoon salted butter
- 1 ¼ cups powdered sugar
- 1 teaspoon vanilla extract
Instructions
- Preheat the oven to 425°F (220°C).
- In a large bowl, add 30 ounces pure pumpkin puree, 1 ¾ cups packed light brown sugar, 1 ½ cups heavy cream, 1 cup half and half, 4 large eggs, 2 Tablespoons cornstarch, 1 Tablespoon vanilla extract, 1 Tablespoon pumpkin pie spice, and 1 ½ teaspoons salt.
- Whisk together until smooth and well combined, then set aside.
- On a clean work surface, unroll and place two of the 4 refrigerator pie crusts on top of each other.
- Roll out into a rough 18×12 inch rectangle.
- Mold the crust into a 10x15x1-inch jelly roll pan, allowing the excess crust to overlap the sides.
- Fill with the pumpkin mixture, being careful not to overfill. There may be a little filling left over.
- Roll out the remaining 2 pie crusts like the first two. Carefully lay this one on top of the filling. Tuck the top crust under the bottom and crimp the edges to seal.
- Cut several slits into the top crust to allow air to escape during baking.
- Bake for 30-35 minutes. If the crust begins to brown too much halfway through, tent the pie with aluminum foil. The pie is done when the crust is golden brown and a toothpick inserted into the pie comes out mostly clean (a little moist is okay, but wet filling indicates more baking time is needed).
- Let the pie cool on a wire rack for 1 hour.
- While the pie is baking, make the glaze. Place 6 Tablespoons half and half and 1 Tablespoon salted butter into a small saucepan over medium-low heat, stirring occasionally. Bring to a simmer, then immediately remove from heat as soon as bubbles appear.
- Allow the mixture to cool to room temperature (about 45 minutes to an hour). Whisk in 1 ¼ cups powdered sugar a little at a time until fully combined, then stir in 1 teaspoon vanilla extract.
- After the pie has cooled for 1 hour, glaze it generously all over using a pastry brush. Wait 30 minutes, then glaze again. Wait another 30 minutes and apply one final glaze.
- Place the pie in the refrigerator for at least 6 hours or overnight to set up completely.
- Slice and serve your delicious Pumpkin Slab Pie.
Notes
- Ensure you use a 10x15x1-inch jelly roll pan for the best results with this recipe.
- The buttery powdered sugar glaze is optional but highly recommended for an elevated flavor and presentation.
- Allowing the pie to set for at least 6 hours in the refrigerator is crucial for a firm, sliceable filling.
- Don’t forget to cut slits in the top crust before baking to allow steam to escape, preventing a puffy crust.
- This recipe can be frozen for later enjoyment. Refer to the FAQ section above for detailed freezing and defrosting instructions.
- Consider adding a pinch of cinnamon or nutmeg to the glaze for an extra aromatic twist.
Dessert
American
Nutrition (Estimated per serving)
Calories:
473
kcal
|
Carbohydrates:
61
g
|
Protein:
6
g
|
Fat:
23
g
|
Sodium:
442
mg
|
Fiber:
3
g
|
Sugar:
36
g
Nutritional Disclaimer
“The Country Cook” is not a dietician or nutritionist, and any nutritional information shared is an estimate. If calorie count and other nutritional values are important to you, we recommend running the ingredients through whichever online nutritional calculator you prefer. Calories and other nutritional values can vary quite a bit depending on which brands were used.
Did you make this recipe?
Share it on Instagram @thecountrycook and mention us #thecountrycook!
