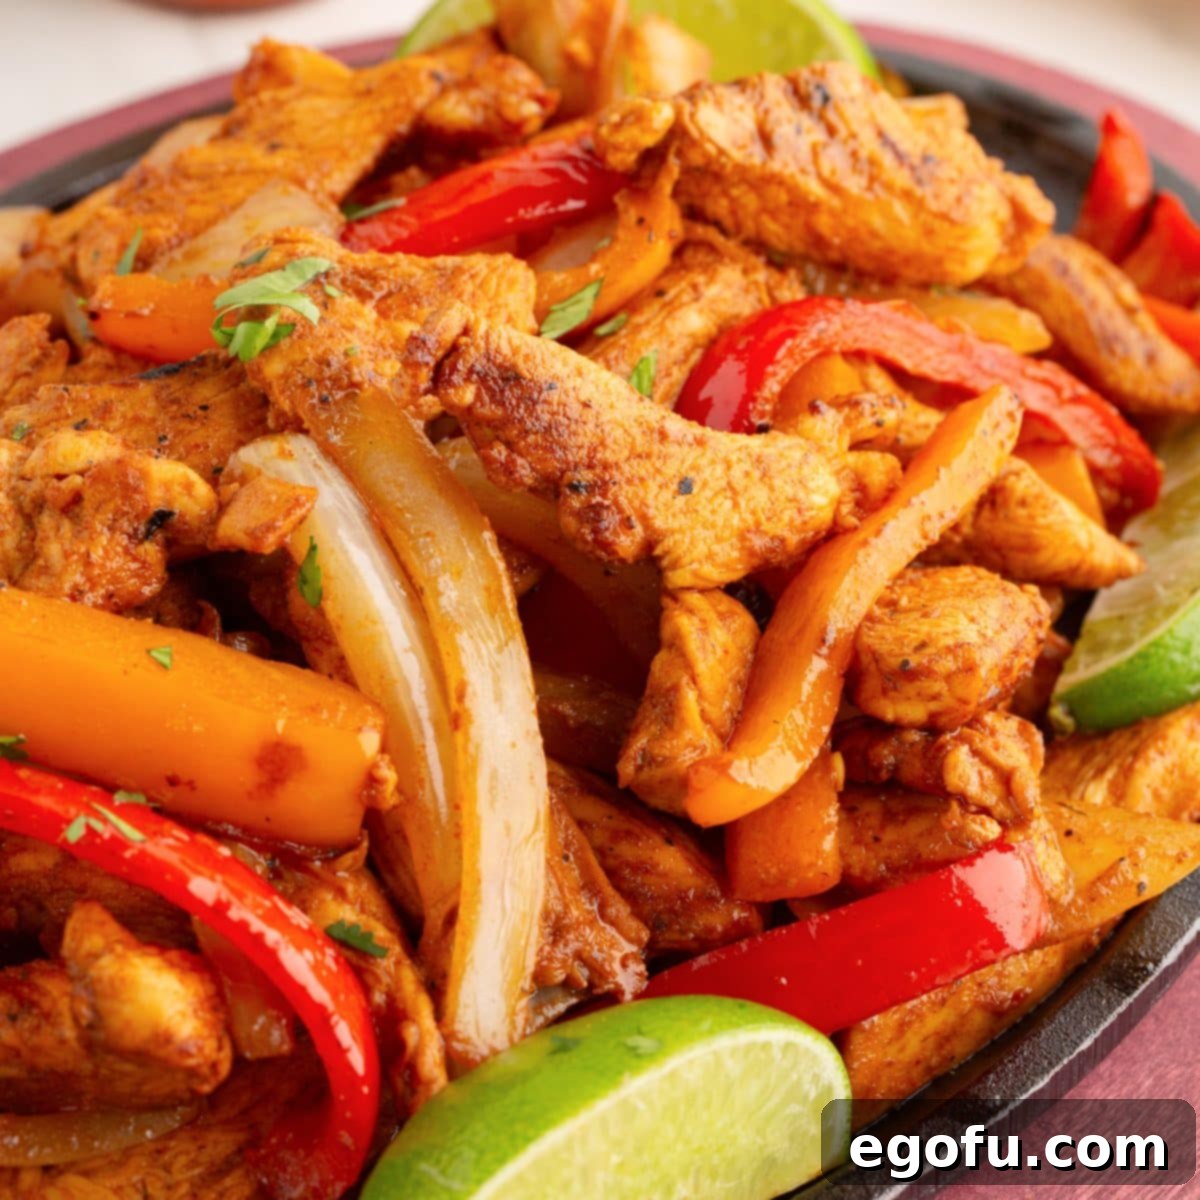
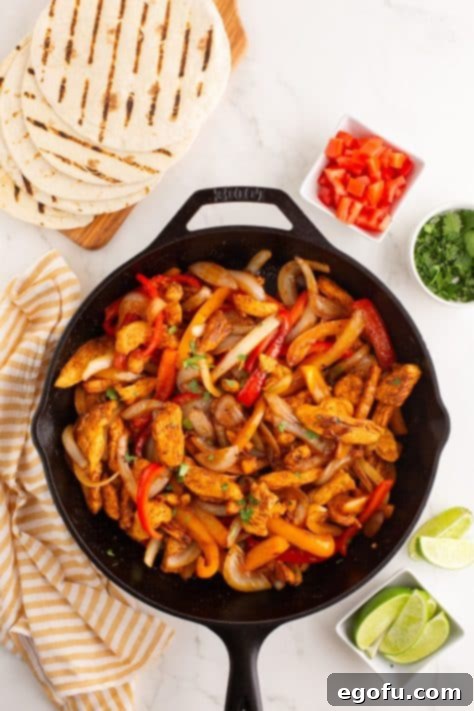
Experience a burst of vibrant flavors and tender textures with these sensational Chicken Fajitas. Featuring perfectly seasoned chicken, caramelized onions, and colorful bell peppers, all nestled within warm flour tortillas, this dish promises an effortless yet incredibly satisfying dinner that will transport your taste buds straight to a bustling taqueria.
THE ULTIMATE HOMEMADE CHICKEN FAJITAS RECIPE
There’s an undeniable magic to sizzling fajitas, and with this recipe, you’ll discover how simple it is to recreate that restaurant-quality experience right in your own kitchen. For years, my Crock Pot Chicken Fajitas recipe has been a fan favorite, but I’ve consistently received requests for a stovetop method that delivers the same incredible flavor and ease. This dedicated stovetop version is designed to be straightforward, ensuring that even on your busiest weeknights, you can whip up a meal that feels both special and incredibly comforting.
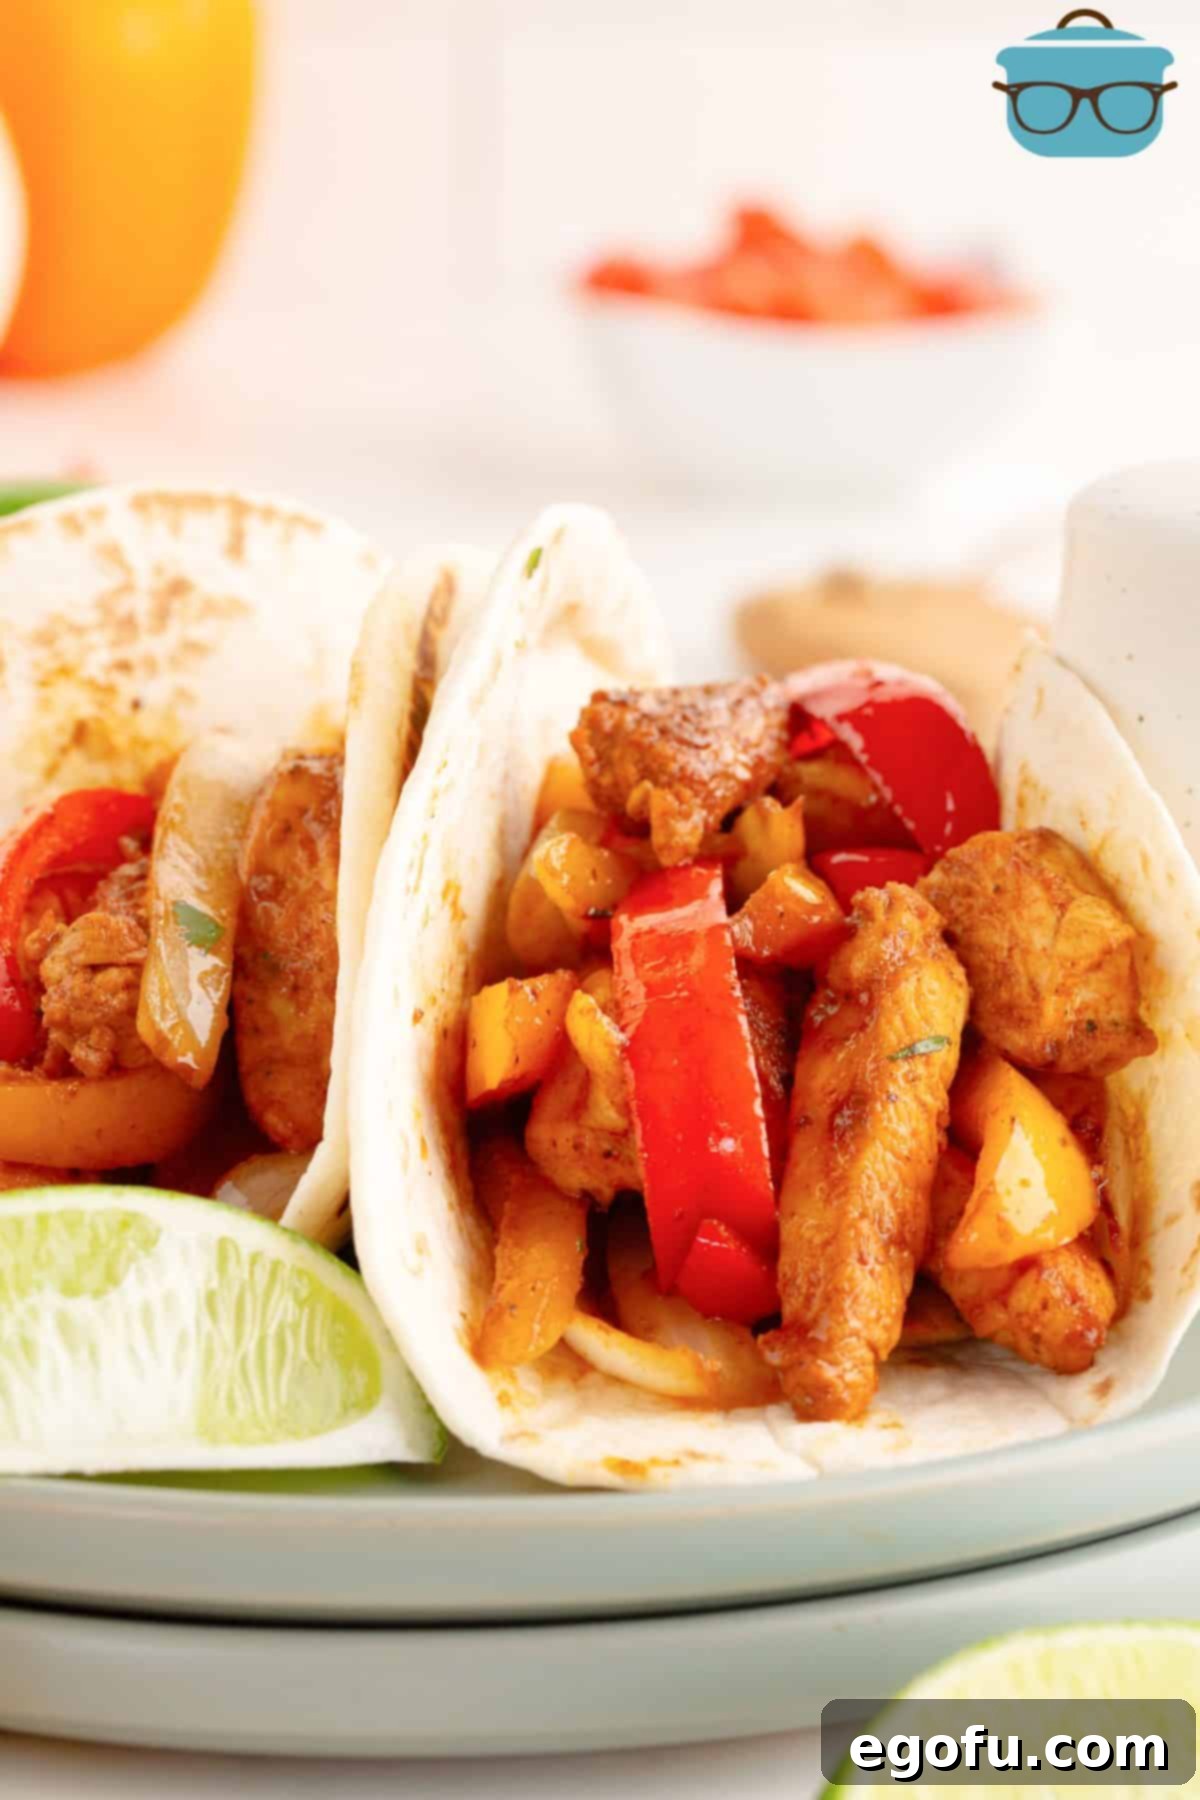
Chicken Fajitas are more than just a meal; they’re an experience. They’re the perfect answer for those moments when ‘Taco Tuesday’ feels a bit too routine, offering a dynamic and interactive alternative that still boasts all the craveable Mexican-inspired flavors you love. Imagine tender strips of chicken, seared to perfection and coated in a zesty, smoky marinade, mingling with sweet, crisp-tender onions and bell peppers. Serve them alongside an array of delicious toppings, and watch as everyone at the table creates their perfect personalized fajita masterpiece. It’s a joyful, communal way to enjoy dinner that’s bursting with flavor and fun.
FREQUENTLY ASKED QUESTIONS ABOUT CHICKEN FAJITAS
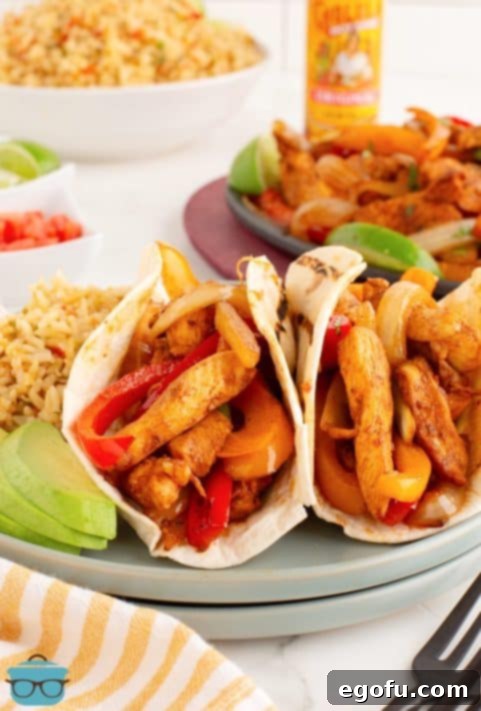
The beauty of fajitas lies in their versatility, especially when it comes to toppings! Classic choices include a dollop of cool sour cream, a sprinkle of shredded Monterey Jack or cheddar cheese, creamy slices of avocado or a scoop of fresh guacamole, vibrant chopped cilantro, a squeeze of fresh lime juice, and juicy diced tomatoes. Don’t forget popular additions like pico de gallo and your favorite salsa. For the ultimate interactive dining experience, arrange several topping options in separate bowls on the table, allowing everyone to customize their fajitas exactly how they like them. This makes dinner fun and ensures there’s something for every palate.
Absolutely! While flour tortillas are traditional for fajitas, feel free to use whichever type of shell or tortilla you enjoy most. If you opt for corn tortillas, it’s crucial to warm them properly before serving. Corn tortillas tend to be less pliable and can split easily if not adequately heated. A quick warm-up in a dry skillet, microwave, or oven will make them soft and flexible, preventing breakage and enhancing their flavor and texture for your delicious fajita filling.
Certainly! If you’re craving beef fajitas, the transition is simple. Many of the seasonings and cooking methods remain the same. For a dedicated beef version, I recommend trying my Sheet Pan Beef Fajitas recipe, which offers a fantastic and equally flavorful alternative. It’s perfect for those who prefer red meat or simply want to switch things up from chicken. The key is to slice the beef against the grain for tenderness and marinate it well to infuse maximum flavor.
Yes, you absolutely can! If you prefer the convenience of a slow cooker, which allows for minimal hands-on time, my Slow Cooker Chicken Fajitas recipe is an excellent choice. This method is perfect for busy days when you want to set it and forget it, returning to a wonderfully aromatic and flavorful meal. The slow cooking process tenderizes the chicken and allows the spices to deeply meld, creating a rich and satisfying fajita filling.
Proper storage is key to enjoying your delicious fajitas later. Leftover chicken and vegetable fajita filling should be stored in an airtight container in the refrigerator. When stored correctly, it will remain fresh and flavorful for up to 5 days. If you’ve made a larger batch or want to save some for an even longer period, you can freeze the leftovers in a freezer-safe container for up to 3 months. Be sure to label and date your container for best results.
Reheating fajitas effectively ensures they retain their wonderful texture and flavor. You have a couple of good options: For speed, the microwave works well. Place the fajita filling in a microwave-safe dish, sprinkle a tad bit of water over it to prevent drying, cover, and microwave for 2-3 minutes, stirring halfway, until thoroughly hot. Alternatively, for a more even reheat, use the stovetop. Heat the filling in a skillet over medium heat, again adding a splash of water and covering, until it’s heated through. This method helps keep the chicken tender and prevents the vegetables from becoming overly soft.

INGREDIENTS FOR PERFECT STOVETOP CHICKEN FAJITAS
Creating flavorful chicken fajitas begins with selecting the right ingredients. Here’s a closer look at what you’ll need and some tips for each item:
- Boneless, Skinless Chicken Breast: For this recipe, aim for about 1 ½ pounds of chicken, which typically equates to two large chicken breasts. To ensure even cooking and a tender bite, slice each breast lengthwise into two thinner cutlets, then proceed to cut them into ¼-inch strips. This preparation allows the chicken to cook quickly and absorb the marinade beautifully. If you prefer a richer flavor and slightly juicier texture, boneless, skinless chicken thighs can be an excellent substitute.
- Vegetable Oil: You’ll use vegetable oil in two ways: as a base for the marinade and for cooking the chicken and vegetables. It’s essential to use a flavorless oil with a high smoke point, such as vegetable, canola, or grapeseed oil. This ensures that the oil won’t overpower the spices and can withstand the high heat needed to achieve that perfect sizzle and slight char on your fajitas.
- Lime Juice: Fresh lime juice is non-negotiable for an authentic fajita flavor! It adds a crucial bright, tangy, and zesty note to the marinade that balances the spices and tenderizes the chicken. While bottled lime juice is convenient, trust me when I say that freshly squeezed lime juice makes a remarkable difference in the overall vibrancy and freshness of the dish.
- Smoked Paprika: This spice is a game-changer for fajitas, imparting a wonderfully rich, smoky depth that elevates the chicken’s flavor profile. It’s what gives fajitas that characteristic outdoor-cooked essence. If smoked paprika isn’t available, regular sweet paprika can be used, but you’ll miss out on that distinctive smoky aroma and taste.
- Salt: Essential for seasoning, salt enhances all the other flavors in the marinade and the final dish. It helps to draw out moisture from the chicken slightly, allowing the spices to penetrate deeper. Adjust to your taste preferences, but don’t skip it!
- Sugar: You might be surprised to see sugar in a savory fajita recipe, but it plays a critical role! A small amount of sugar helps the chicken and vegetables caramelize and brown beautifully in the hot skillet, contributing to that desirable charred flavor and appearance. Rest assured, it won’t make your fajitas taste sweet; instead, it rounds out the savory flavors. If you prefer, you can omit it, but you might lose some of that excellent browning.
- Garlic Powder: A foundational spice in many Mexican-inspired dishes, garlic powder provides a consistent and mellow garlic flavor throughout the chicken and marinade. It’s easier to distribute evenly than fresh minced garlic in a marinade, ensuring every strip of chicken is infused with its aromatic goodness.
- Cumin: This earthy, warm, and slightly pungent spice is absolutely vital for authentic fajita flavor. Cumin is a cornerstone of Mexican and Tex-Mex cuisine and is largely responsible for the savory depth and aroma of your chicken fajitas.
- Black Pepper: Paired with salt, black pepper contributes to the overall seasoning, providing a subtle warmth and enhancing the aromatic qualities of the other spices. Freshly ground black pepper offers the best flavor.
- Cayenne Pepper: For those who love a bit of heat, cayenne pepper adds a delightful kick to the fajita seasoning. The amount can be adjusted to your preference – a ¼ teaspoon offers a mild warmth, while more can be added for extra spice. If you or your guests prefer no heat at all, it can be easily omitted without compromising the core flavors.
- Onion: Use one large or two medium-sized onions for this recipe. Yellow, white, or sweet onions are all excellent choices. When sliced into ¼-inch strips and cooked, they become tender, sweet, and slightly caramelized, adding a crucial aromatic and textural element to the fajita filling.
- Bell Peppers: Bell peppers are not just for color; they bring a wonderful sweetness, crunch, and fresh flavor to your fajitas. Using two different colored peppers, such as red and green or yellow and orange, will make your platter visually appealing and offer a slightly varied flavor profile. Slice them into ¼-inch strips, similar to the onions, so they cook evenly with the chicken.
- Tortillas: The perfect vehicle for your delicious filling! Six-inch flour tortillas are most commonly used for fajitas, but corn tortillas are also a great option if you prefer. Remember the earlier tip: always heat your tortillas before serving. A quick warm-up in a hot, dry skillet until slightly charred, or wrapped in foil in the oven, makes them pliable, fragrant, and ready to hold all that amazing chicken and veggie goodness.

HOW TO MAKE SIZZLING CHICKEN FAJITAS
Get ready to cook up some incredibly delicious chicken fajitas with these straightforward steps. The key to that signature sizzle and flavor lies in proper preparation and high-heat cooking.
Step 1: Prepare the Chicken and Marinade. Begin by slicing your boneless, skinless chicken breasts into uniform ¼-inch strips. This ensures they cook quickly and evenly. In a medium bowl, combine 3 tablespoons of vegetable oil, the fresh lime juice, smoked paprika, salt, sugar, garlic powder, cumin, black pepper, and cayenne pepper. Whisk these ingredients together until well combined, creating your flavorful marinade. Add the chicken strips to the marinade, ensuring each piece is thoroughly coated. Cover the bowl and let the chicken marinate at room temperature for at least 30 minutes. This marinating time is crucial for infusing the chicken with deep flavor and helping to tenderize it.

Step 2: Slice Vegetables and Cook Onions and Peppers. While the chicken marinates, prepare your vegetables. Slice the onion and bell peppers into ¼-inch strips, mimicking the size of your chicken strips for consistent cooking. Heat 1 tablespoon of vegetable oil in a large 12-inch cast iron skillet or heavy-bottomed pan over high heat. Once the oil is shimmering, add the sliced onion and bell pepper strips to the hot pan. Cook the vegetables, stirring regularly, for 3-4 minutes until they begin to soften and develop a slight char on the edges. This char adds a wonderful smoky flavor. Once cooked to your desired tenderness, remove the onions and peppers from the pan and set them aside on a plate.

Step 3: Cook the Marinated Chicken. Reduce the heat to medium-high. Add the marinated chicken, along with any remaining marinade from the bowl, to the hot skillet. To ensure proper searing and avoid overcrowding the pan, which can lead to steaming rather than browning, it’s often best to cook the chicken in two separate batches, especially if you have a smaller skillet. Cook each batch for approximately 4-5 minutes, stirring regularly to prevent sticking and burning, until the chicken is thoroughly cooked through. The internal temperature of the chicken should reach 165°F (74°C). Once the first batch is done, remove it and repeat with the second batch.
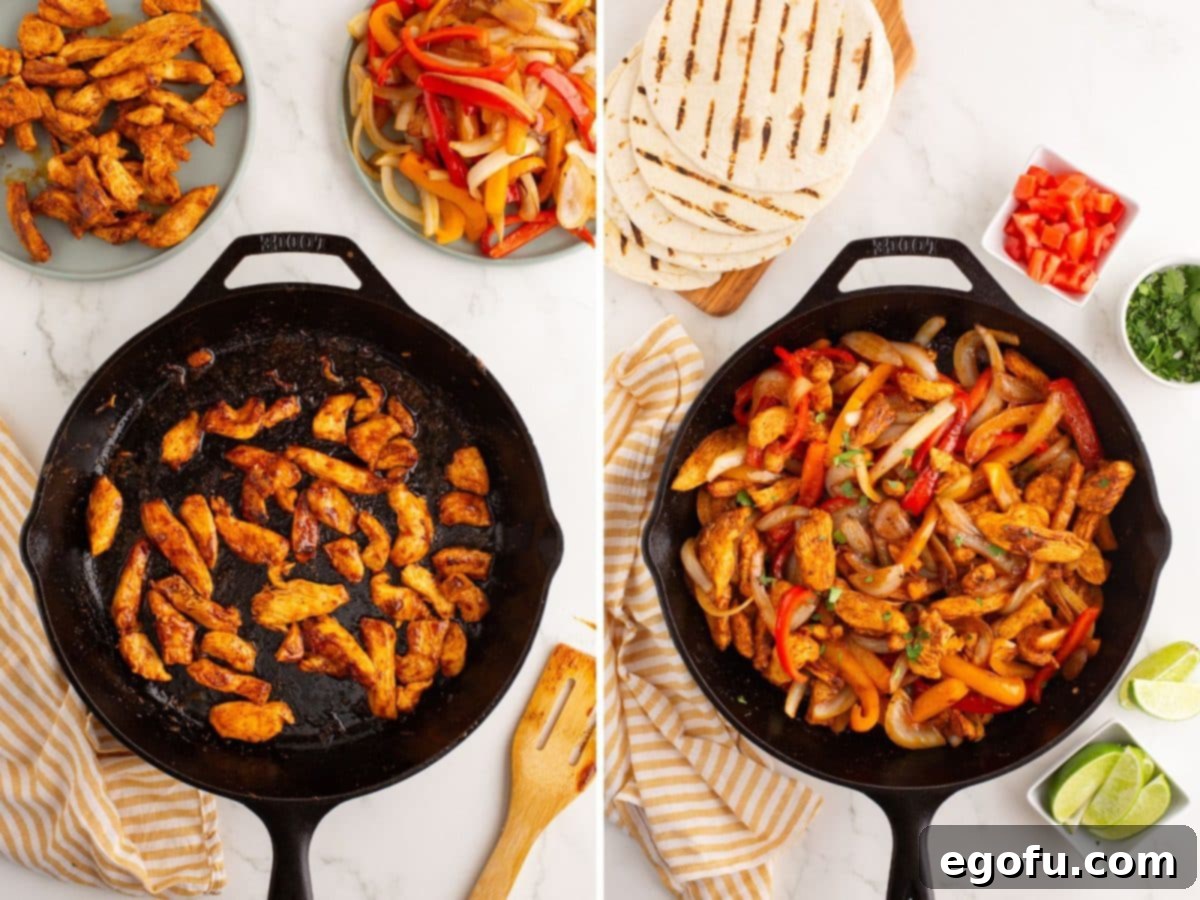
Step 4: Combine and Finish. After all the chicken has been cooked, return the first batch of chicken, along with the reserved cooked peppers and onions, back to the skillet with the second batch of chicken. Toss everything together, cooking for an additional 1-2 minutes. This brief cooking period allows the flavors to meld beautifully and ensures everything is piping hot before serving. The vibrant colors and sizzling sounds will indicate your fajita filling is perfectly ready.
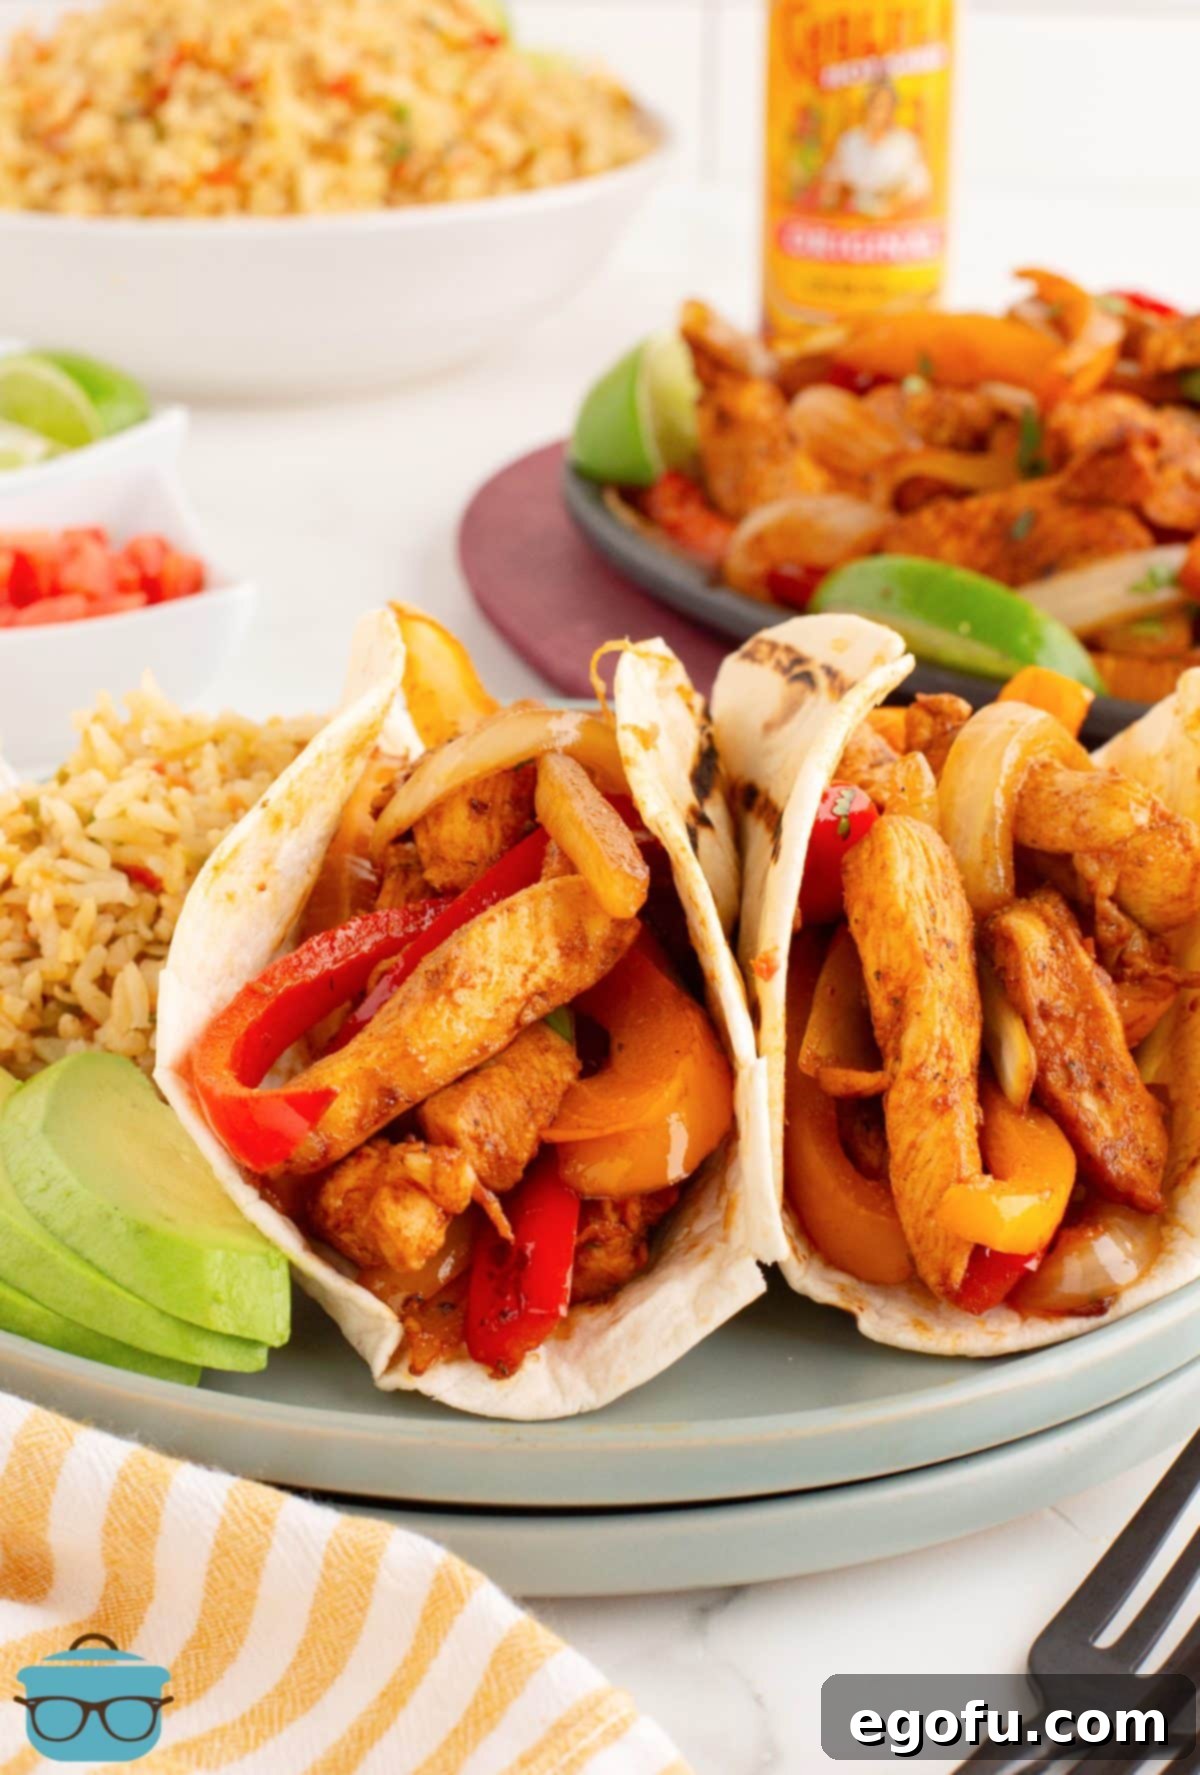
Step 5: Serve Hot and Enjoy! Transfer the hot, sizzling chicken and vegetable mixture to a serving platter. Serve immediately alongside warm tortillas. Provide a selection of fresh garnishes such as minced cilantro, lime wedges for an extra burst of freshness, and diced tomatoes. Offer additional toppings like sour cream, guacamole, and salsa to allow everyone to customize their fajitas. This recipe typically yields about 8 fajitas, comfortably serving 4 people with two fajitas each. Dig in and savor the incredible homemade flavors!
CRAVING MORE TEX-MEX INSPIRED RECIPES?
If you’ve enjoyed these delicious chicken fajitas, you’ll love exploring other flavorful recipes from our kitchen. Here are some favorites that share similar zesty and comforting profiles:
- Homemade Fajita Seasoning: Master the secret to perfect fajitas with your own custom blend.
- Crock Pot Chicken Fajitas: The original, easy, set-it-and-forget-it version.
- Applebee’s Fiesta Lime Chicken: A restaurant classic you can make at home.
- Chicken Fajita Casserole: All the fajita flavors in a comforting baked dish.
- Sheet Pan Beef Fajitas: Another fantastic beef option for easy cleanup.
- Steak Bite Fajita Bowls: Perfect for a low-carb or grain-free option.
- Air Fryer Steak Fajitas: Quick and crispy fajitas using your air fryer.
- Crock Pot Chicken and Rice Burrito Bowls: A hearty and convenient slow cooker meal.
- Taco Bell Mexican Pizza: Recreate this iconic fast-food favorite at home.
- BBQ Chicken Tostadas: A delicious twist with smoky BBQ flavors.
- Cornbread Taco Bake: A comforting casserole with a cornbread topping.
- Crock Pot Refried Beans: Homemade refried beans, simple and flavorful.
- Mexican Rice: An incredibly easy side dish to complement any meal.
- Taco Rice: A simple one-pan dinner for busy nights.
- Crock Pot Mexican Shredded Beef: Versatile and perfect for tacos, burritos, or bowls.
- Mexican Lasagna: Layered goodness with all your favorite Tex-Mex flavors.
- Easy Layered Taco Bake: A family-friendly casserole that’s quick to assemble.

Chicken Fajitas
Prep Time: 10 minutes
Cook Time: 20 minutes
Marination Time: 30 minutes
Total Time: 1 hour
Servings: 4 servings
Author: Brandie Skibinski
Ingredients
- 2 boneless, skinless chicken breasts
- 3 Tablespoons vegetable oil
- 2 Tablespoons lime juice
- 1 ½ teaspoons smoked paprika
- 1 teaspoon salt
- 1 teaspoon sugar
- 1 teaspoon garlic powder
- ½ teaspoon cumin
- ½ teaspoon black pepper
- ¼ teaspoon cayenne pepper
- 1 onion
- 2 bell peppers
- flour tortillas for serving
Instructions
- Slice 2 boneless, skinless chicken breasts into ¼-inch strips.
- In a bowl combine 3 Tablespoons vegetable oil, 2 Tablespoons lime juice, 1 ½ teaspoons smoked paprika, 1 teaspoon salt, 1 teaspoon sugar, 1 teaspoon garlic powder, ½ teaspoon cumin, ½ teaspoon black pepper and ¼ teaspoon cayenne pepper. Add chicken strips, cover, and marinate at room temperature for 30 minutes.

- Slice 1 onion and 2 bell peppers into ¼-inch strips.

- Heat 1 Tablespoon of vegetable oil in a 12-inch cast iron skillet on high heat. Add onion and bell pepper strips. Cook vegetables, stirring regularly, until they begin to char, 3-4 minutes. Remove onions and peppers from the pan, set aside.

- Reduce heat to medium-high. Cook the marinated chicken along with the marinade. NOTE: If you have a smaller pan, you may need to cook the chicken in two separate batches. Cook until chicken is cooked through (internal temperature should be at 165F degrees when done.) Make sure to stir regularly to prevent burning.

- Once all the chicken is cooked, add the sliced peppers and onions back to the skillet. Cook for 1-2 minutes longer, stirring to combine.

- Serve chicken with flour tortillas and any toppings you enjoy.

Notes
- Please refer to my FAQ’s (Frequently Asked Questions) and ingredient list above for other substitutions or for the answers to the most common questions.
- This should serve 4 people with two fajitas per person.
Course: Dinner, Main Course
Cuisine: American (Tex-Mex inspired)
Nutrition
Nutritional Disclaimer
“The Country Cook” is not a dietician or nutritionist, and any nutritional information shared is an estimate. If calorie count and other nutritional values are important to you, we recommend running the ingredients through whichever online nutritional calculator you prefer. Calories and other nutritional values can vary quite a bit depending on which brands were used.
Share it on Instagram @thecountrycook and mention us #thecountrycook!
