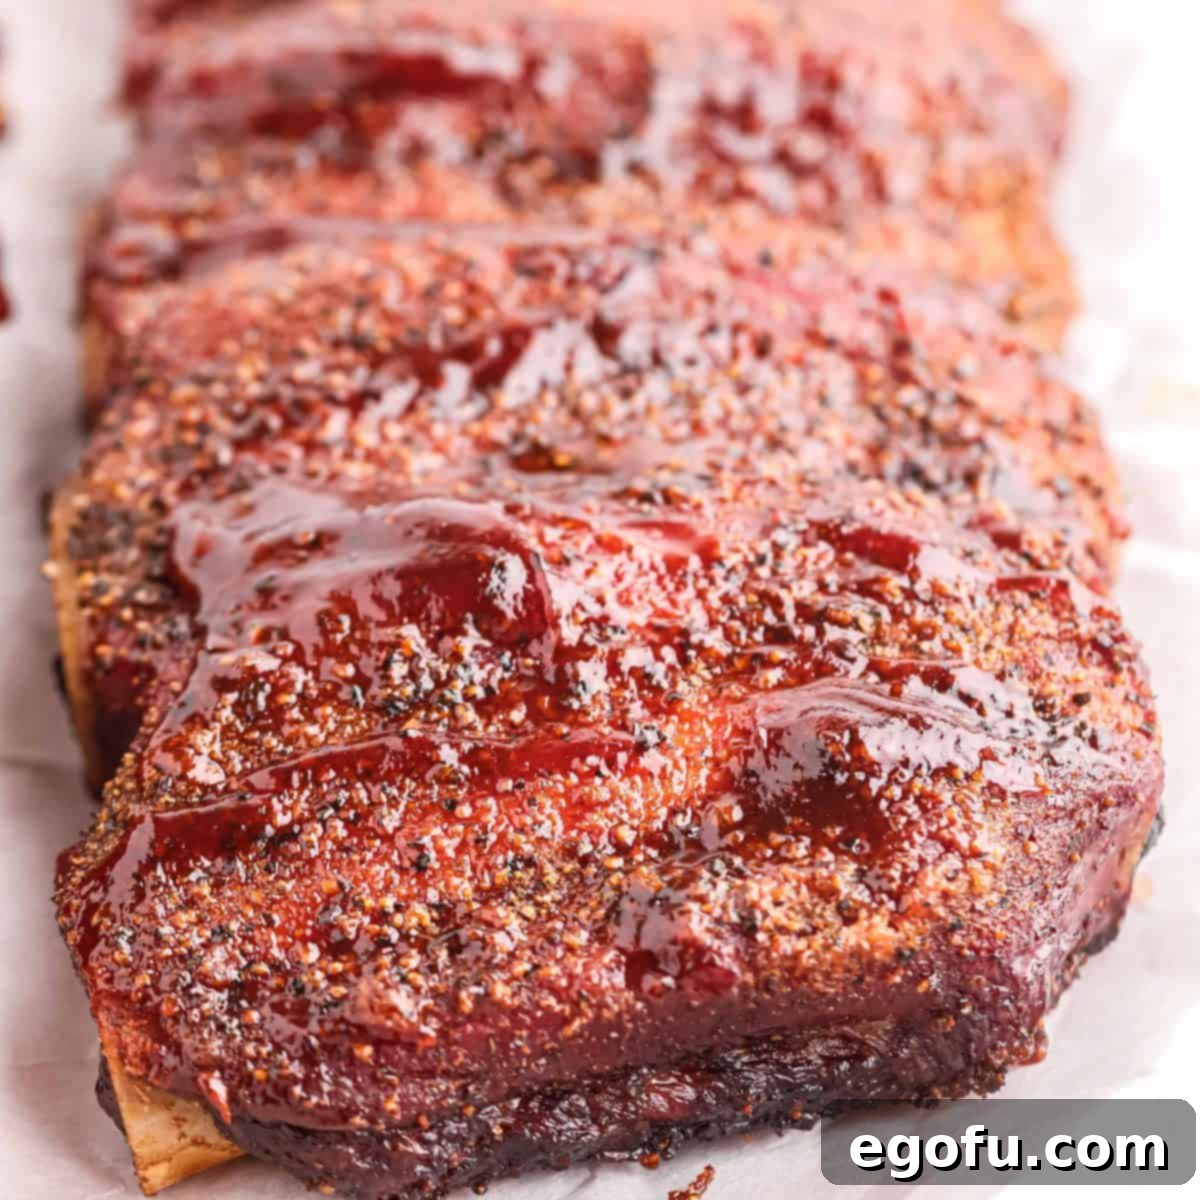
There’s nothing quite like the irresistible aroma and melt-in-your-mouth tenderness of perfectly smoked beef ribs. Cooked “low and slow,” these ribs are not just a meal; they’re an experience – easy, incredibly tasty, and absolutely delicious. If you’ve ever felt intimidated by the art of smoking, let me assure you, it’s much simpler than you think. This comprehensive guide will walk you through every step, helping you master the techniques to create the most tender and flavorful beef ribs that will have everyone asking for your secret.
MASTERING FLAVORFUL SMOKED BEEF RIBS FOR ULTIMATE BBQ PERFECTION
My passion for outdoor cooking runs deep, and while I enjoy grilling, smoking meats holds a special place in my heart. There’s a common misconception that smoking is exclusively a “guy’s hobby,” but my goal is to inspire everyone, regardless of gender, to embrace these fantastic outdoor cooking appliances. You don’t need years of experience to become a pitmaster; with just a few basic techniques, you can easily master a smoker and impress your family and friends.
Many people are nervous about trying their hand at smoking, and I completely understand why. I used to feel the same way! However, with modern advancements, especially the rise of user-friendly electric and pellet smokers, smoking has become an accessible and enjoyable culinary adventure for any day of the week. Once you experience the unparalleled tenderness and deep smoky flavor of homemade smoked beef ribs, you’ll be eager to fire up your smoker again and again. These ribs are more than just food; they’re a testament to patience and a celebration of flavor, promising a juicy, fall-off-the-bone result every single time.
FREQUENTLY ASKED QUESTIONS ABOUT SMOKED BEEF RIBS
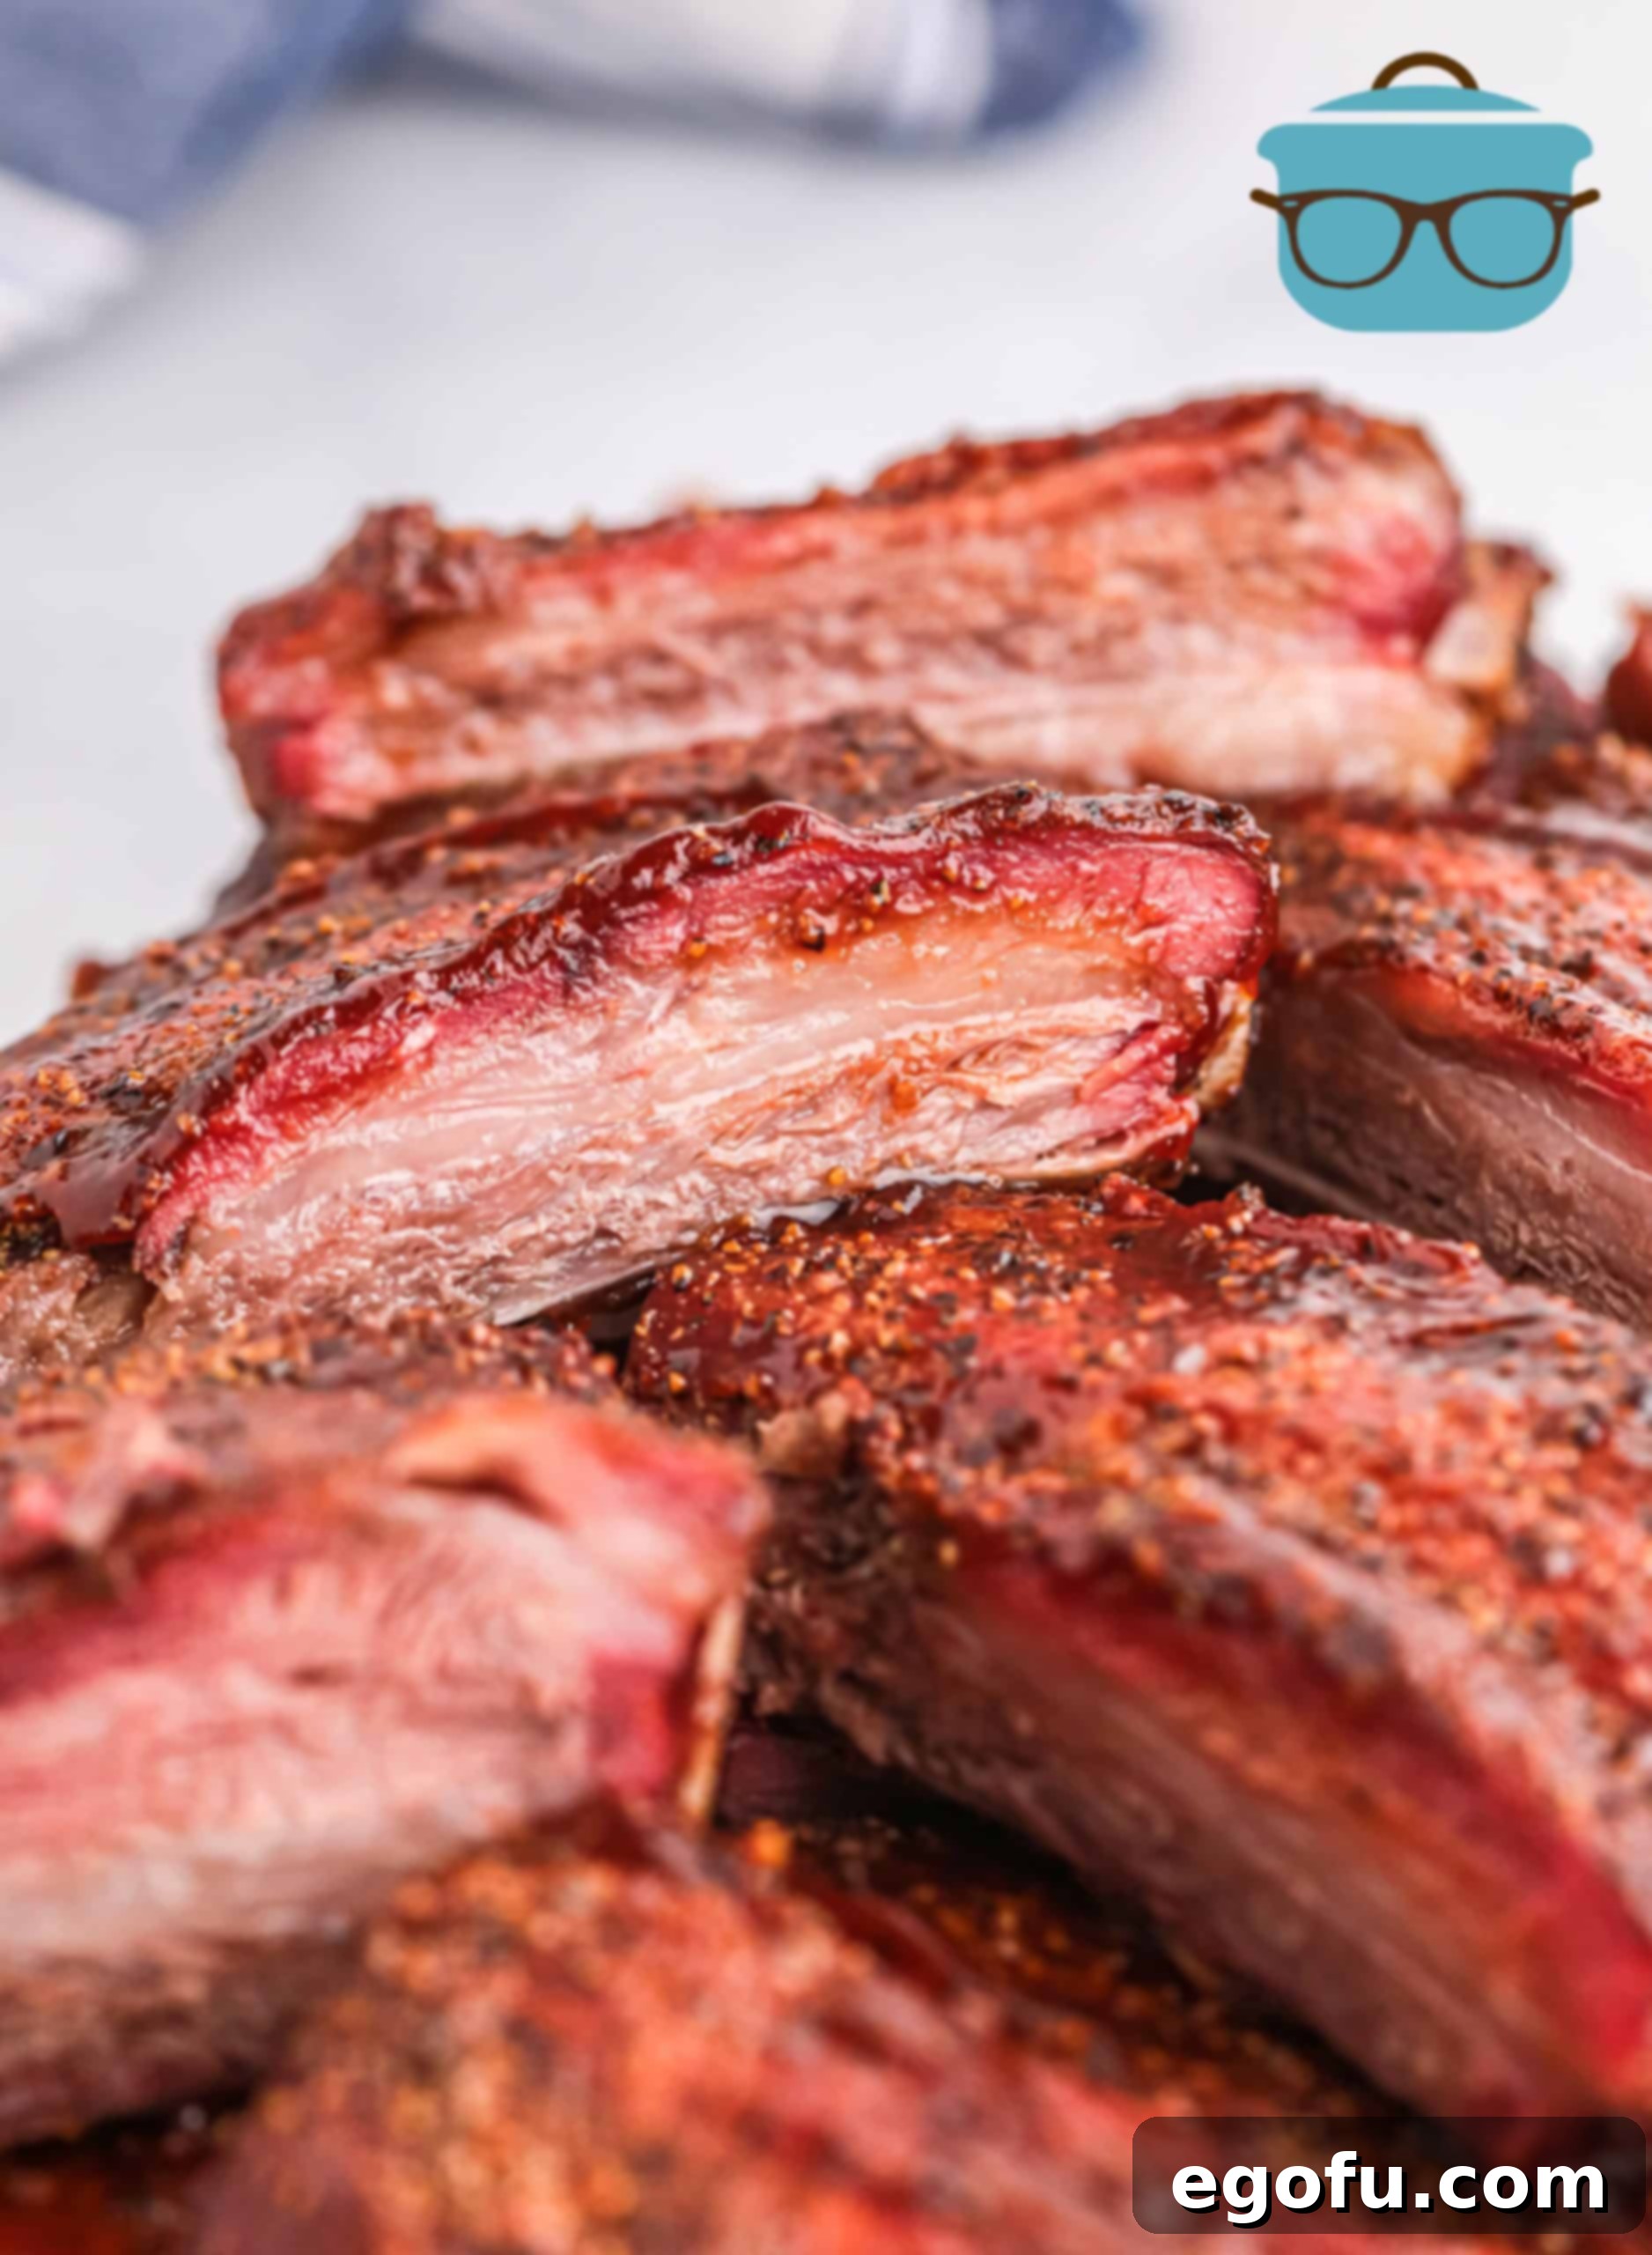
Achieving truly tender, flavorful smoked beef ribs hinges on the “low and slow” method. This allows ample time for the wood smoke and seasonings to deeply penetrate the meat, transforming tough connective tissues into succulent gelatin. There’s no shortcut to perfection here! Typically, smoking beef ribs can take anywhere from 3 to 8 hours, depending on the size and type of ribs (e.g., larger beef plate ribs will take longer than smaller back ribs), the consistency of your smoker’s temperature, and external weather conditions. The key is to cook them until they reach an internal temperature of 200°F-205°F, ensuring they are fall-off-the-bone tender. Patience is your most important ingredient!
Silverskin is a tough, silvery membrane found on the underside (bone side) of beef and pork ribs. Unlike fat, which renders and melts during cooking, silverskin is a connective tissue that remains chewy and rubbery if not removed. Leaving it on creates an unpleasant texture that can detract from an otherwise perfectly cooked rib. More importantly, this membrane also acts as a barrier, preventing your delicious seasonings and smoky flavors from fully penetrating the meat. Removing it ensures a more tender bite and allows the rub to impart its full flavor profile directly onto the beef. While it can be a bit stubborn, a dry hand or a paper towel to grip makes the process much easier.
Both traditional wood smokers (offset, vertical charcoal) and modern pellet smokers can produce incredible smoked beef ribs, but they require slightly different approaches.
**For Traditional Wood Smokers:** Consistent temperature management and maintaining moisture are crucial. Always ensure your steam pot (or water pan) is filled with water, refilling as needed, usually every 45-60 minutes. The water helps regulate temperature and adds humidity, preventing the ribs from drying out. You have the flexibility to use various wood chunks or chips.
**For Pellet Smokers (like a Traeger):** These are generally easier to operate as they maintain a consistent temperature automatically. You simply load wood pellets, set the temperature, and the smoker does most of the work. You typically don’t need a separate water pan, as the moisture from the pellets and cooking process is often sufficient.
**Wood Choices for Beef Ribs:** You can use any kind of wood you prefer for beef ribs. While I often use mesquite for its strong, distinctive flavor, feel free to experiment with your favorites. Applewood and cherrywood offer a milder, sweeter smoke, while hickory provides a classic, robust BBQ flavor. Oak is also a fantastic choice, providing a medium smoke flavor that pairs beautifully with beef. There are many “wood purists” who advocate for specific wood pairings, but honestly, I’ve found that most wood and beef combinations yield delicious results, so don’t be afraid to try what you like best!
The best barbecue sauce for beef ribs is truly a matter of personal taste preference. When it comes to beef, I typically gravitate towards a smoky and sweet profile, which beautifully complements the rich, savory notes of the meat. A Hickory Brown Sugar sauce, like the one I used, offers a fantastic balance. However, you might prefer something with a bit more tang, a spicy kick, or even a mustard-based sauce. Don’t hesitate to experiment with different bottled sauces to find your perfect match. For an extra layer of flavor and a truly unique experience, consider making your own homemade barbecue sauce. Customizing your sauce allows you to fine-tune the flavors to your exact liking, taking your smoked beef ribs to an even higher level of deliciousness.
If you happen to have any glorious leftovers (a rare occurrence with these ribs!), proper storage is key to maintaining their quality. Place the cooled ribs in an airtight container and refrigerate them promptly. They will keep fresh for up to 3-5 days.
To reheat, avoid the microwave if possible, as it can dry out the meat. The best method is to reheat them slowly in an oven. Preheat your oven to 250°F (120°C). Place the ribs in an oven-safe dish, add a splash of beef broth or apple juice to the bottom, and cover tightly with foil. This creates a steamy environment that helps re-moisturize the meat. Reheat until the internal temperature of the ribs reaches 165°F (74°C). This typically takes 20-30 minutes, depending on the thickness of the ribs.
I generally do not recommend freezing cooked ribs. While technically possible, the texture and flavor often suffer significantly upon thawing and reheating, making them far less enjoyable than their fresh-smoked counterparts.
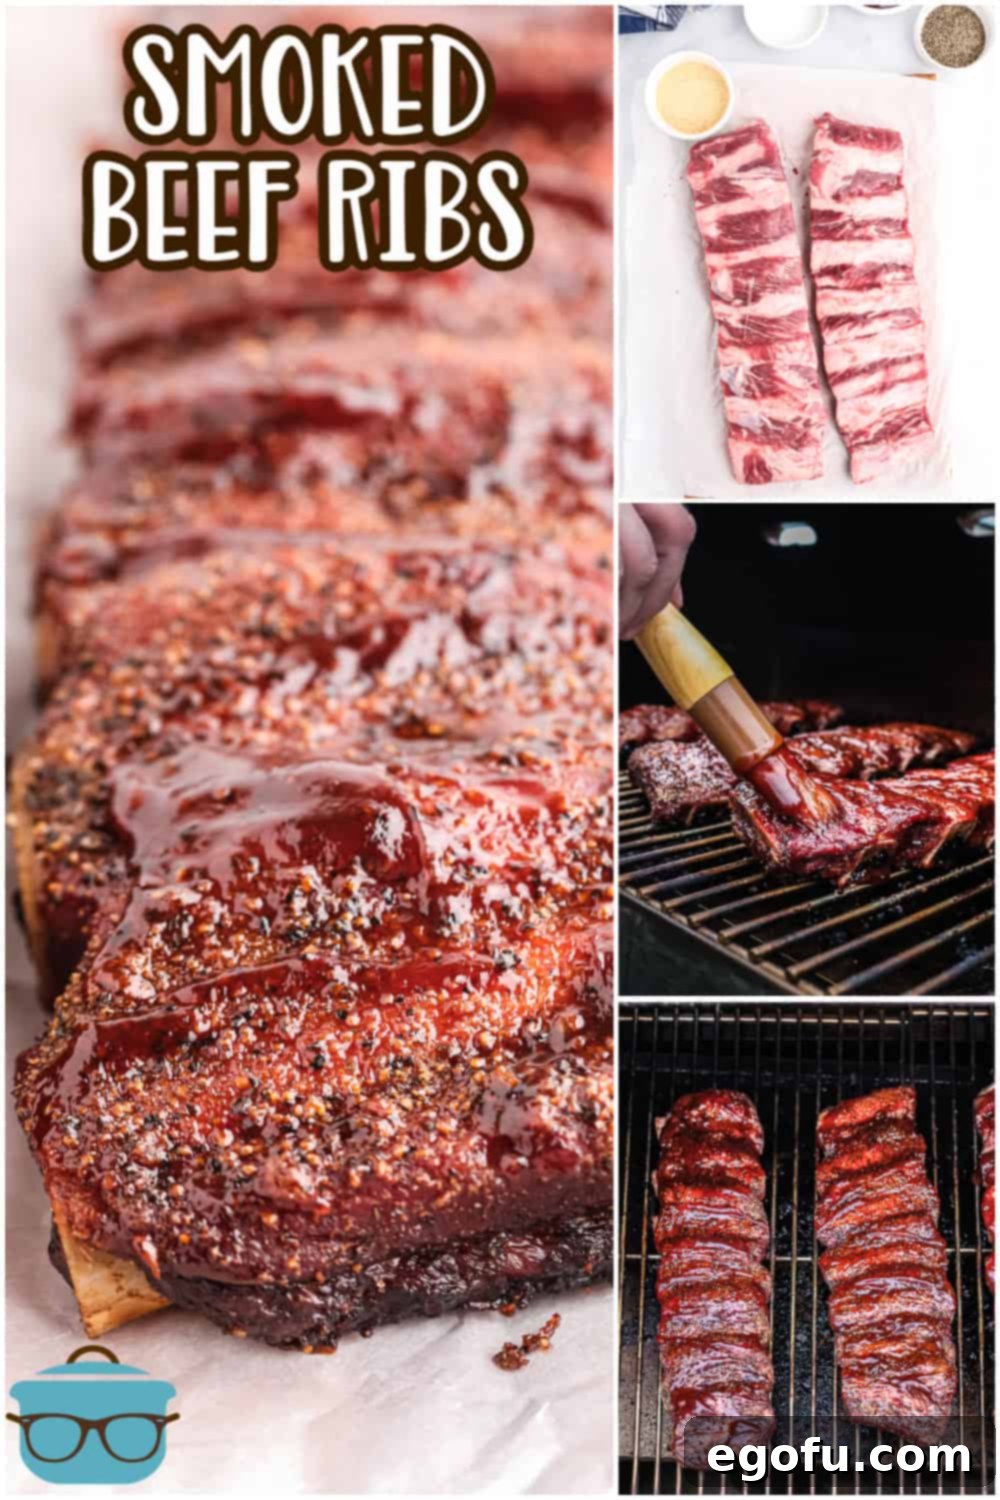
CHOOSING THE RIGHT BEEF RIBS FOR SMOKING
Before we dive into the smoking process, let’s talk about selecting the perfect rack of beef ribs. Not all beef ribs are created equal, and choosing the right cut can significantly impact your final result. For smoking, you’ll primarily encounter two types:
- **Beef Plate Ribs (Dino Ribs):** These are often considered the “king” of beef ribs for smoking. They come from the short plate section of the cow, beneath the ribeye, and typically feature thick, meaty layers on top of long bones. Plate ribs offer a generous amount of rich, marbled meat that becomes incredibly tender and flavorful when smoked low and slow, often resembling a beef steak on a stick. They are often sold as a “rack” of three bones, sometimes referred to as “brontosaurus ribs” due to their impressive size.
- **Beef Back Ribs:** These are what you typically see attached to prime rib or ribeye roasts. After the valuable ribeye meat is removed, the remaining bones with a thinner layer of meat and intercostal muscle are sold as back ribs. While not as meaty as plate ribs, they still offer fantastic flavor and can be very tender if smoked correctly. They are usually more affordable and readily available than plate ribs.
When purchasing, look for ribs with good marbling (flecks of fat within the muscle) and a consistent layer of meat across the rack. Avoid ribs that appear dry, shriveled, or have very little meat. A fresh, high-quality rack will set the stage for an unforgettable smoking experience.
ESSENTIAL INGREDIENTS FOR YOUR SMOKED BEEF RIBS (FULL RECIPE BELOW)
Crafting exceptional smoked beef ribs requires a simple yet impactful combination of ingredients. The beauty lies in enhancing the natural richness of the beef with a well-balanced rub and a flavorful BBQ sauce.
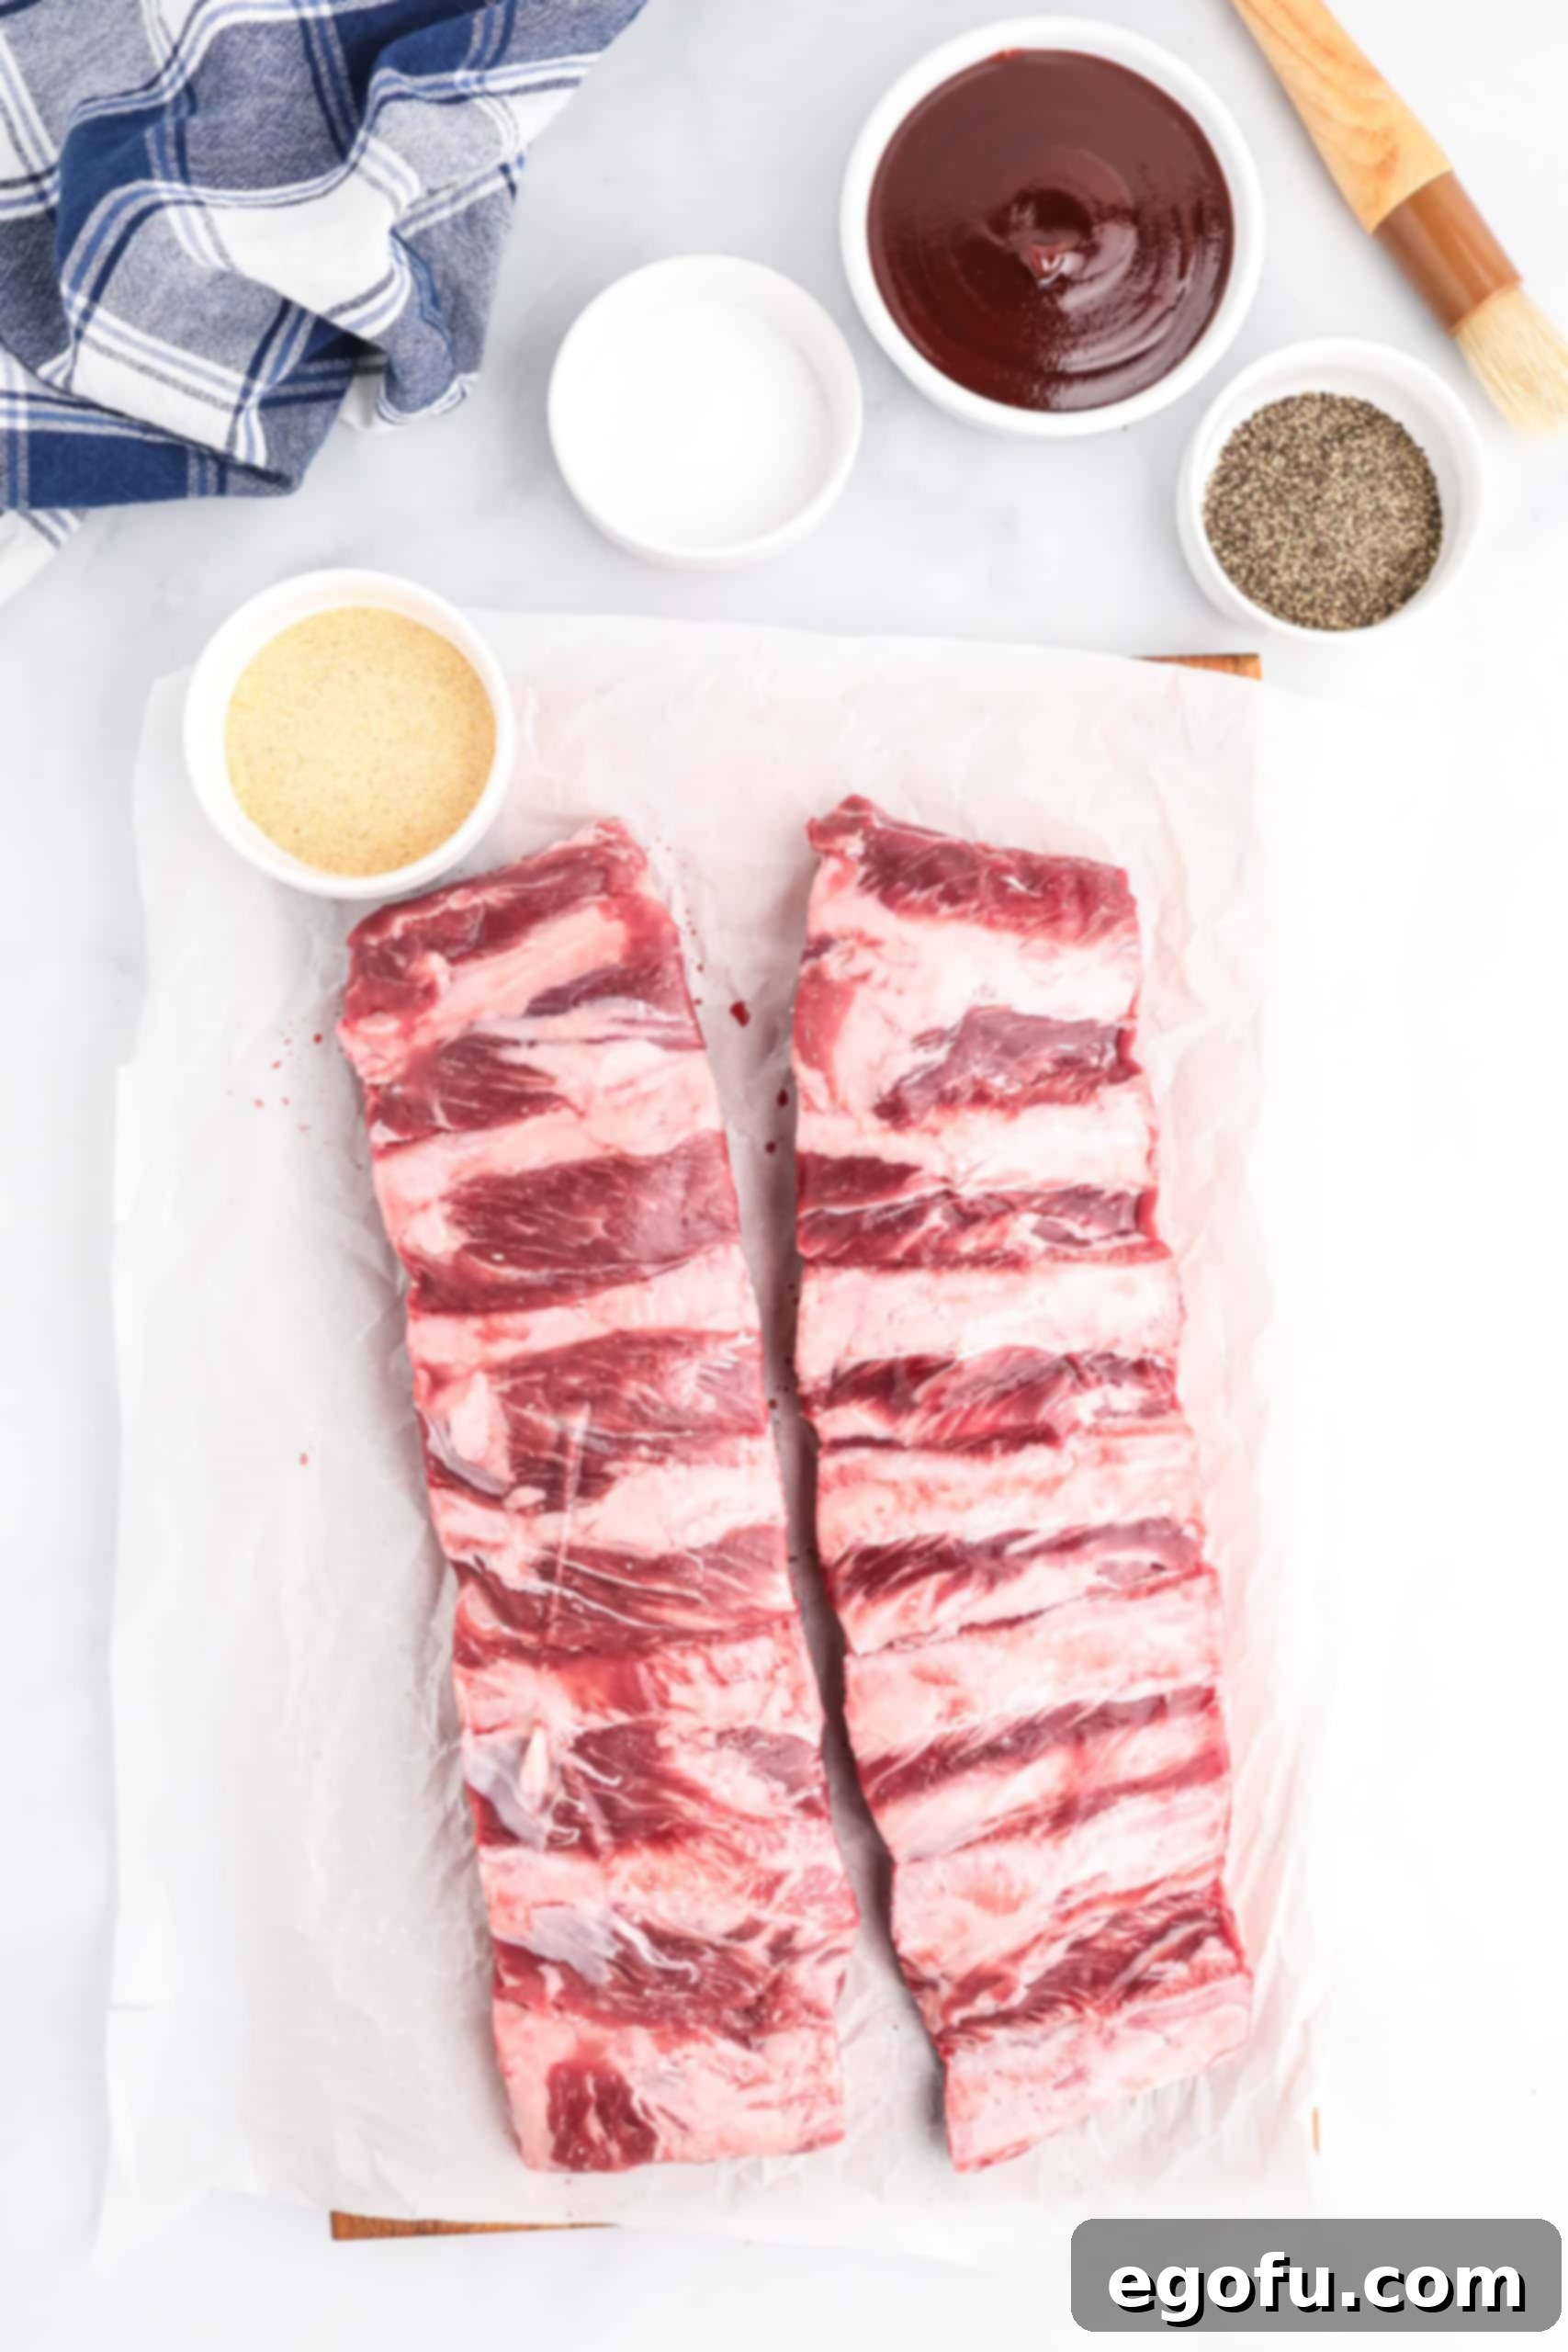
- Beef ribs (plate ribs or back ribs work wonderfully)
- Kosher salt
- Freshly ground black pepper
- Garlic powder
- Your favorite BBQ sauce (a smoky sweet flavor like Hickory Brown Sugar is recommended for beef)
- Optional Homemade Rib Rub (for an elevated flavor profile, see recipe card)
HOW TO CRAFT THE PERFECT SMOKED BEEF RIBS: STEP-BY-STEP
Follow these detailed instructions to create smoked beef ribs that are tender, juicy, and bursting with flavor.
**Step 1: Prepare the Ribs**
Begin by preparing your beef ribs. The most crucial first step is to remove the tough membrane, often called “silverskin,” from the bone side of the ribs. To do this, locate a loose edge of the membrane on one end of the rack. Use a small, sharp knife or the handle of a spoon to gently lift and separate the membrane from the bone. Once you have enough to grip, use a paper towel for better traction and pull the membrane off completely. It might come off in one long strip or several pieces. This step ensures maximum tenderness and allows your seasonings to truly penetrate the meat. For more detailed visual guidance on this process, refer to my recipe for GRILLED PORK RIBS, as the technique is similar.
**Step 2: Season Generously**
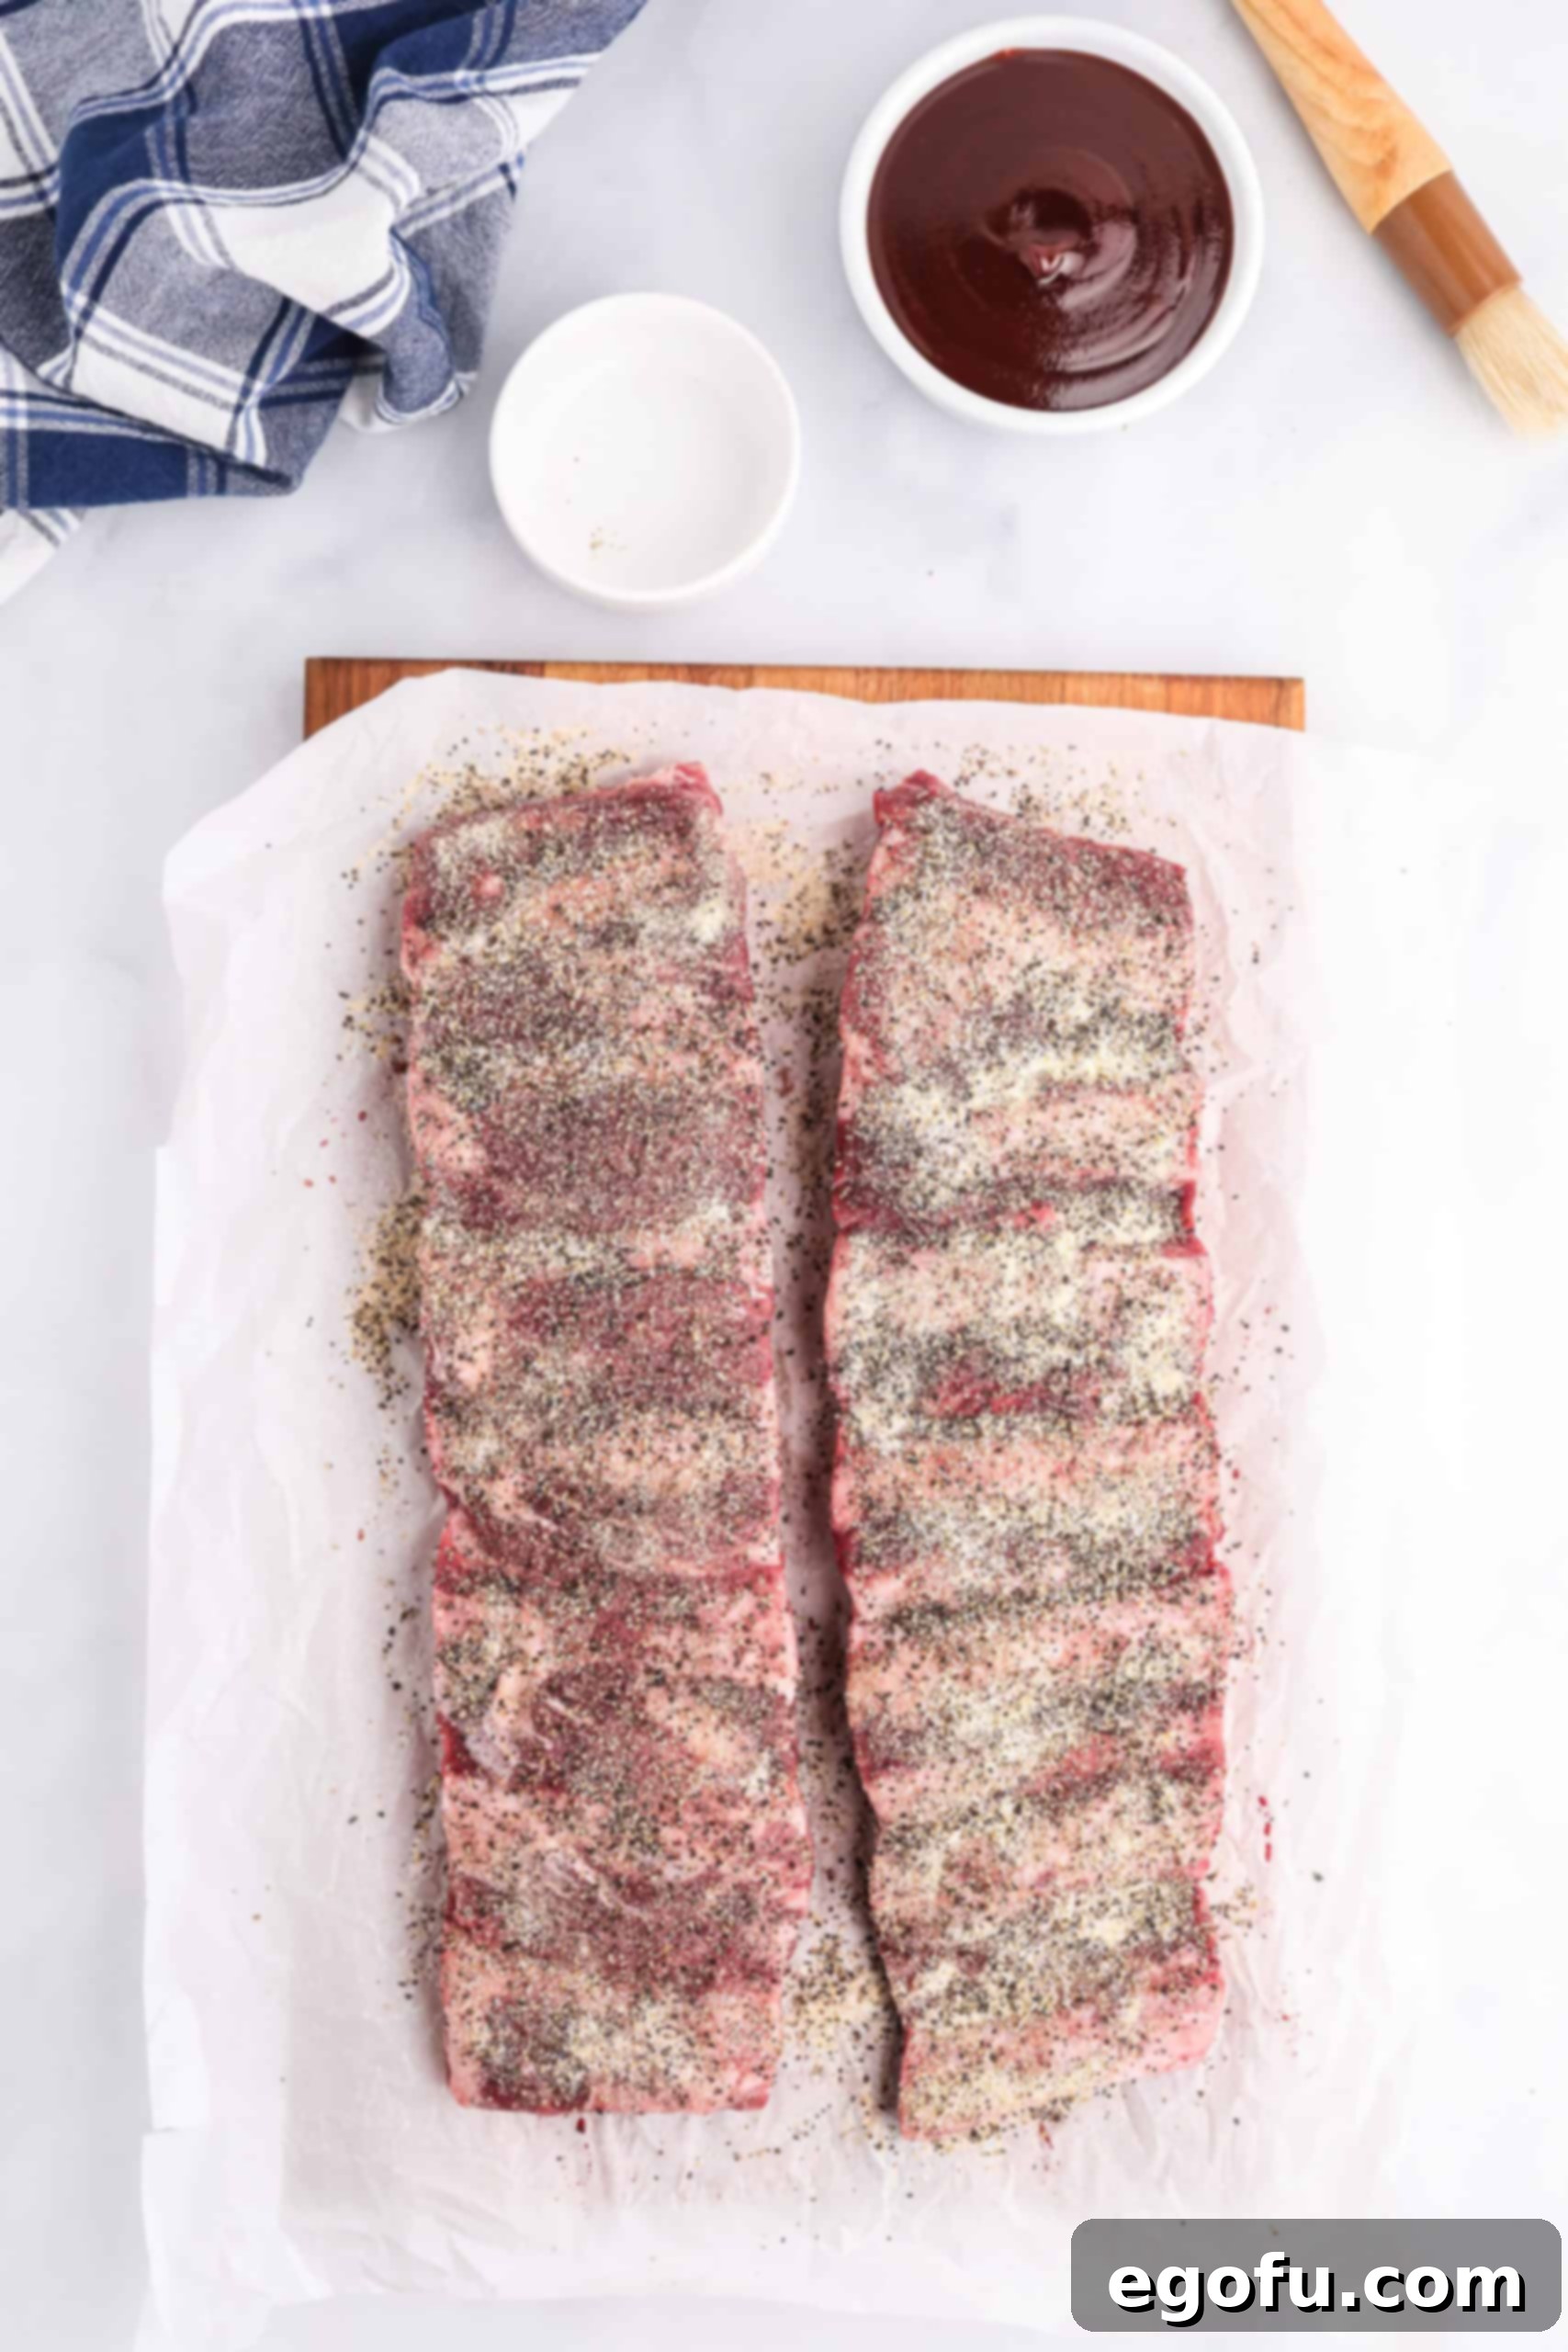
Once the membrane is removed, it’s time to apply your seasoning. Generously coat both sides of the beef ribs with kosher salt, freshly ground black pepper, and garlic powder. Don’t be shy – the ribs can handle a good amount of seasoning! For an even deeper and more complex flavor, consider using a binder like a thin layer of yellow mustard or olive oil before applying your rub. This helps the seasoning adhere better to the meat. If you’re looking to elevate your ribs even further, my homemade rib seasoning rub (detailed in the recipe card below) offers a fantastic blend of spices that perfectly complements beef.
**Step 3: Preheat Your Smoker**
Set up your smoker according to its specific type.
If using a traditional wood or charcoal smoker, fill the water pan with water to help maintain humidity and stable temperatures. Stock your smoker with your preferred wood chunks, chips, or logs (e.g., mesquite, hickory, oak).
If you have a pellet smoker, like a Traeger, simply ensure your pellet hopper is full of your chosen wood pellets.
Preheat your smoker to a consistent 250°F (120°C). Maintaining a stable temperature is critical for tender ribs, so allow your smoker ample time to reach and hold this temperature before adding the meat.
**Step 4: The Smoking Process (Low and Slow)**
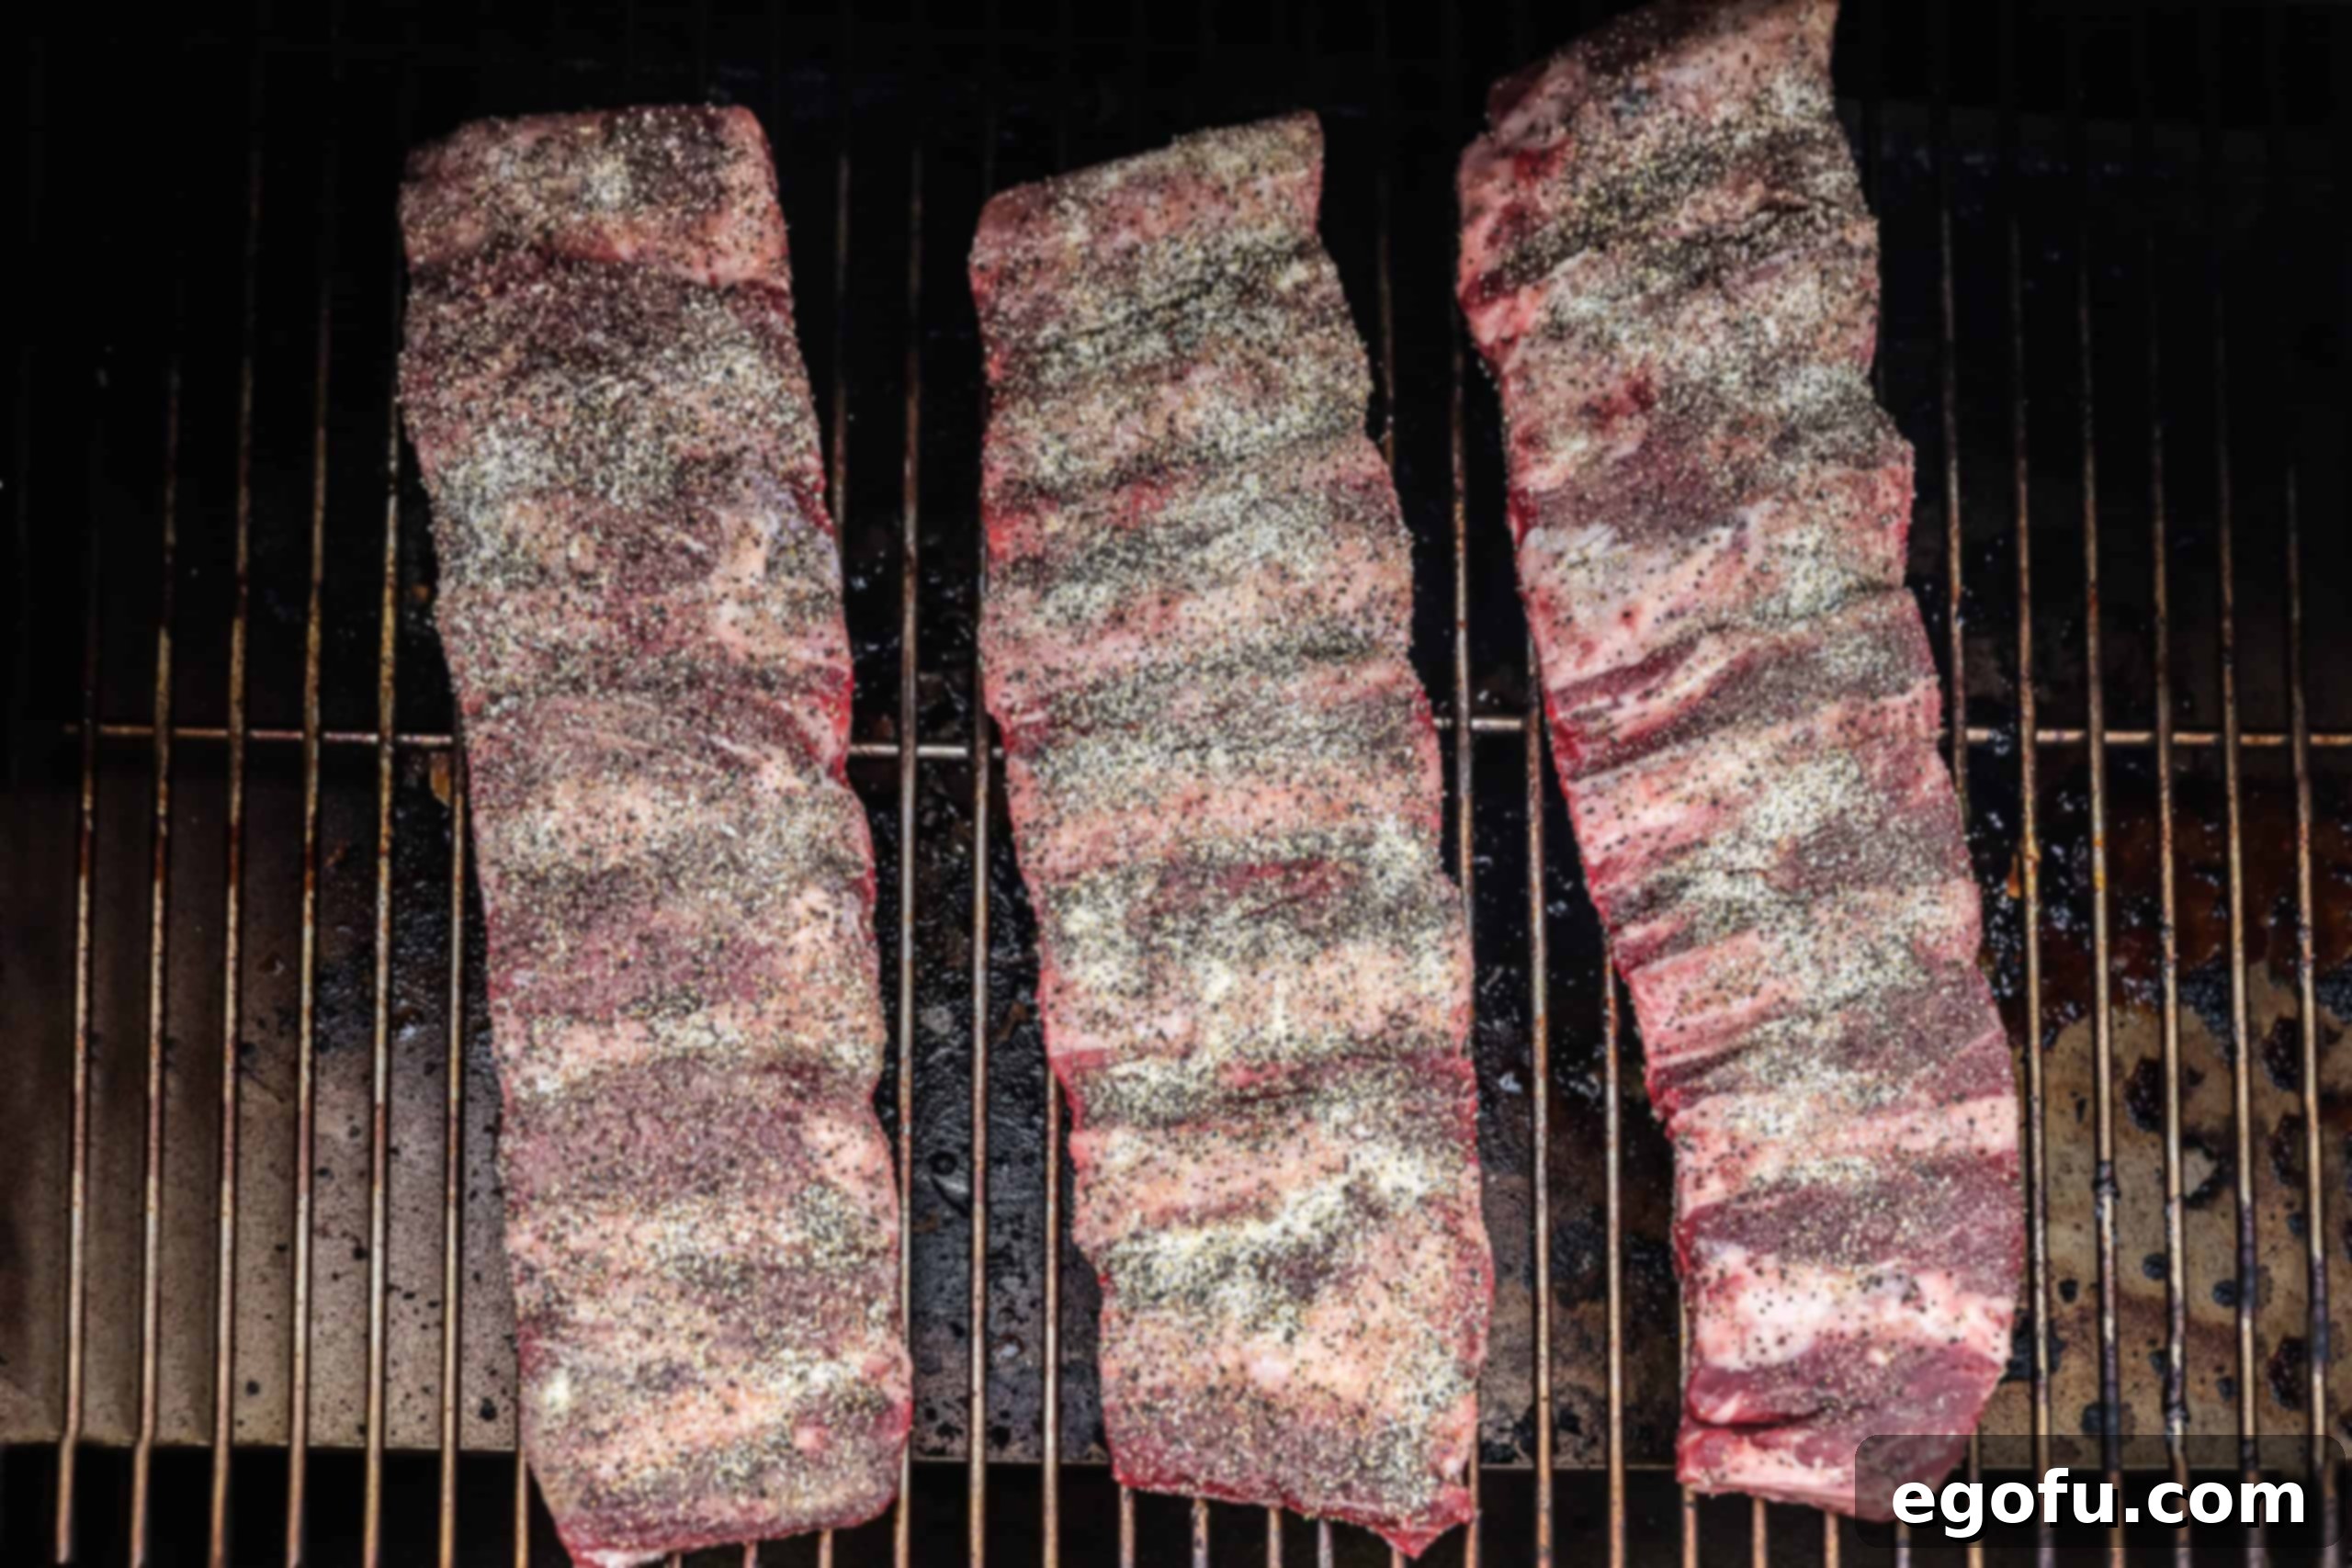
Once your smoker is preheated and stable, carefully place the seasoned beef ribs directly on the grates. Close the lid and let the magic begin! Smoke the ribs for approximately 3-4 hours initially. However, the total cooking time can vary significantly. Beef ribs come in a range of sizes, from smaller back ribs to impressive “brontosaurus” plate ribs, which are much thicker and meatier. Therefore, your ribs might require a longer smoking period.
The ultimate goal is to cook the ribs until they reach an internal temperature of 200°F-205°F (93°C-96°C). This higher temperature is crucial for allowing the tough connective tissues within the beef to properly break down, resulting in that desirable fall-off-the-bone tenderness. Use a reliable meat thermometer inserted into the thickest part of the meat, avoiding the bone, to monitor the internal temperature.
During this initial phase, some pitmasters choose to employ the “Texas Crutch” – wrapping the ribs tightly in foil or butcher paper after about 2-3 hours of smoking (once a good smoke ring and bark have formed). This technique helps push the ribs through the “stall” (when the meat’s temperature plateaus) and retains moisture, resulting in even more tender ribs. If you choose to wrap, return them to the smoker and continue cooking until they reach the target internal temperature.
**Step 5: Basting with BBQ Sauce**
If you are using a traditional smoker, remember to check your water pan every 45-60 minutes and refill it as needed to maintain humidity.
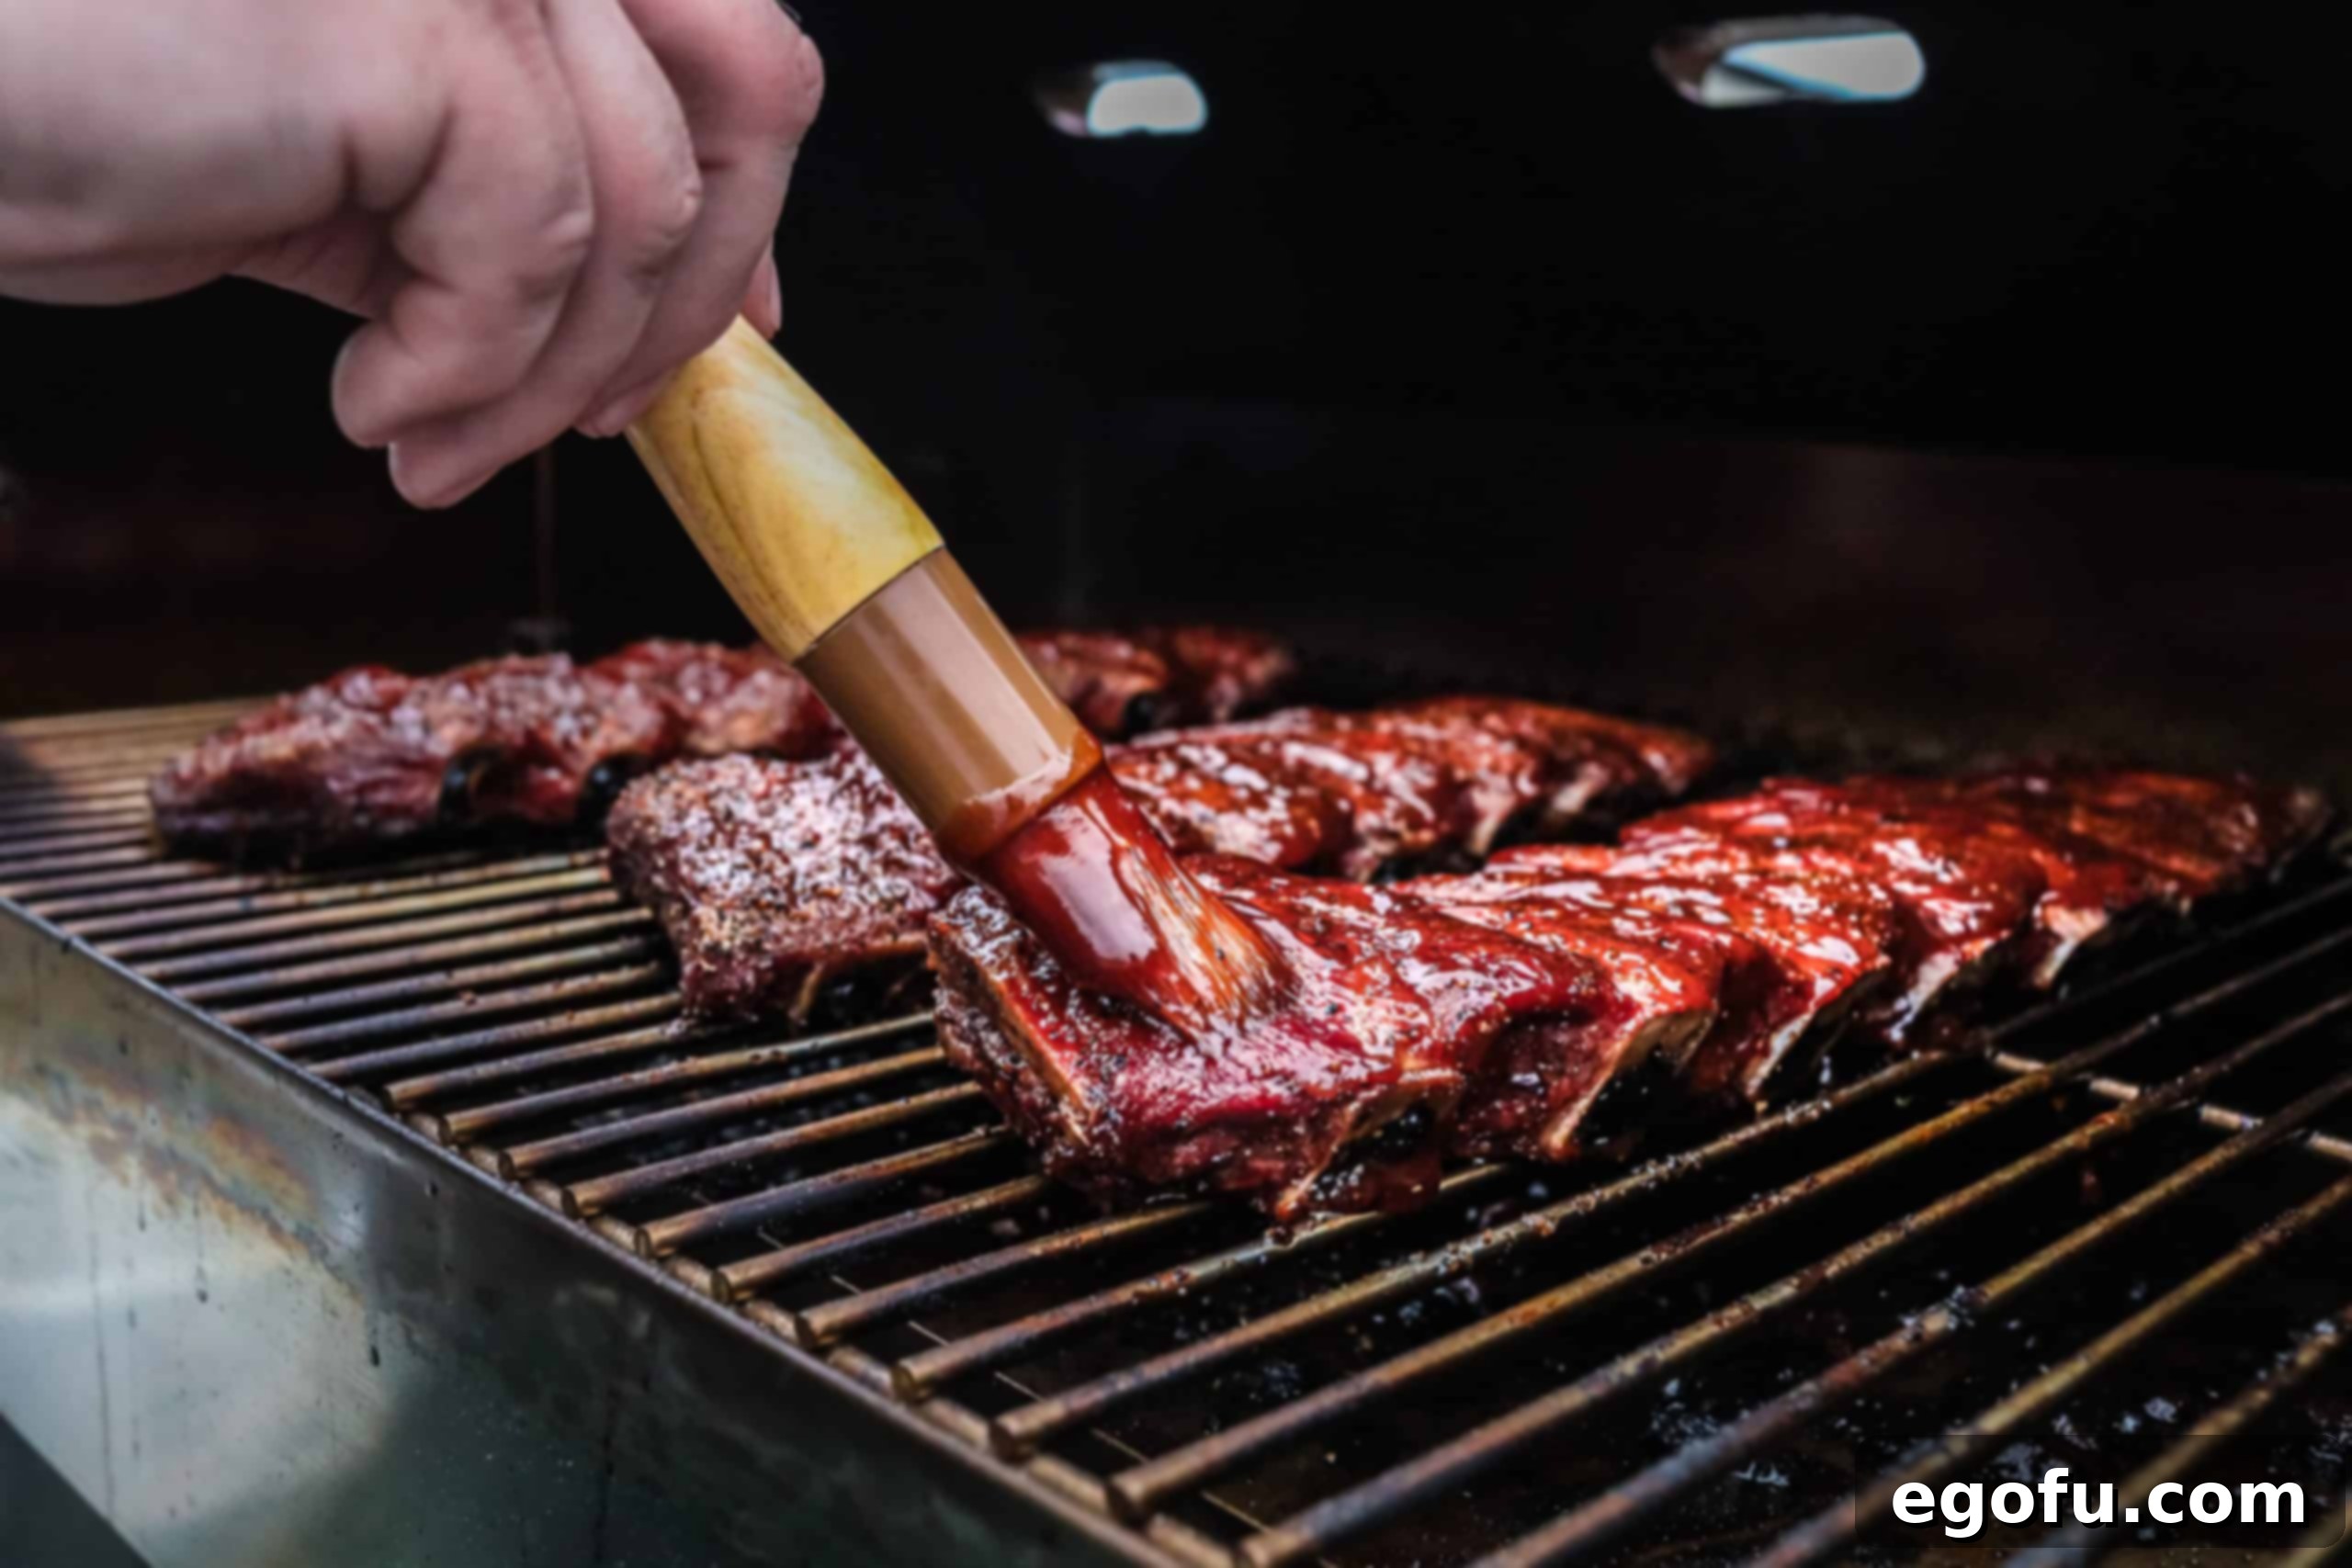
During the final hour of smoking (or after unwrapping, if you used the Texas Crutch), it’s time to apply your barbecue sauce. Generously baste both sides of the ribs with your chosen BBQ sauce every 20 minutes until they finish cooking. This allows the sauce to caramelize and create a beautiful glaze, adding another layer of flavor and a visually appealing finish to your ribs.
**Step 6: The Grand Finale – Resting the Ribs**
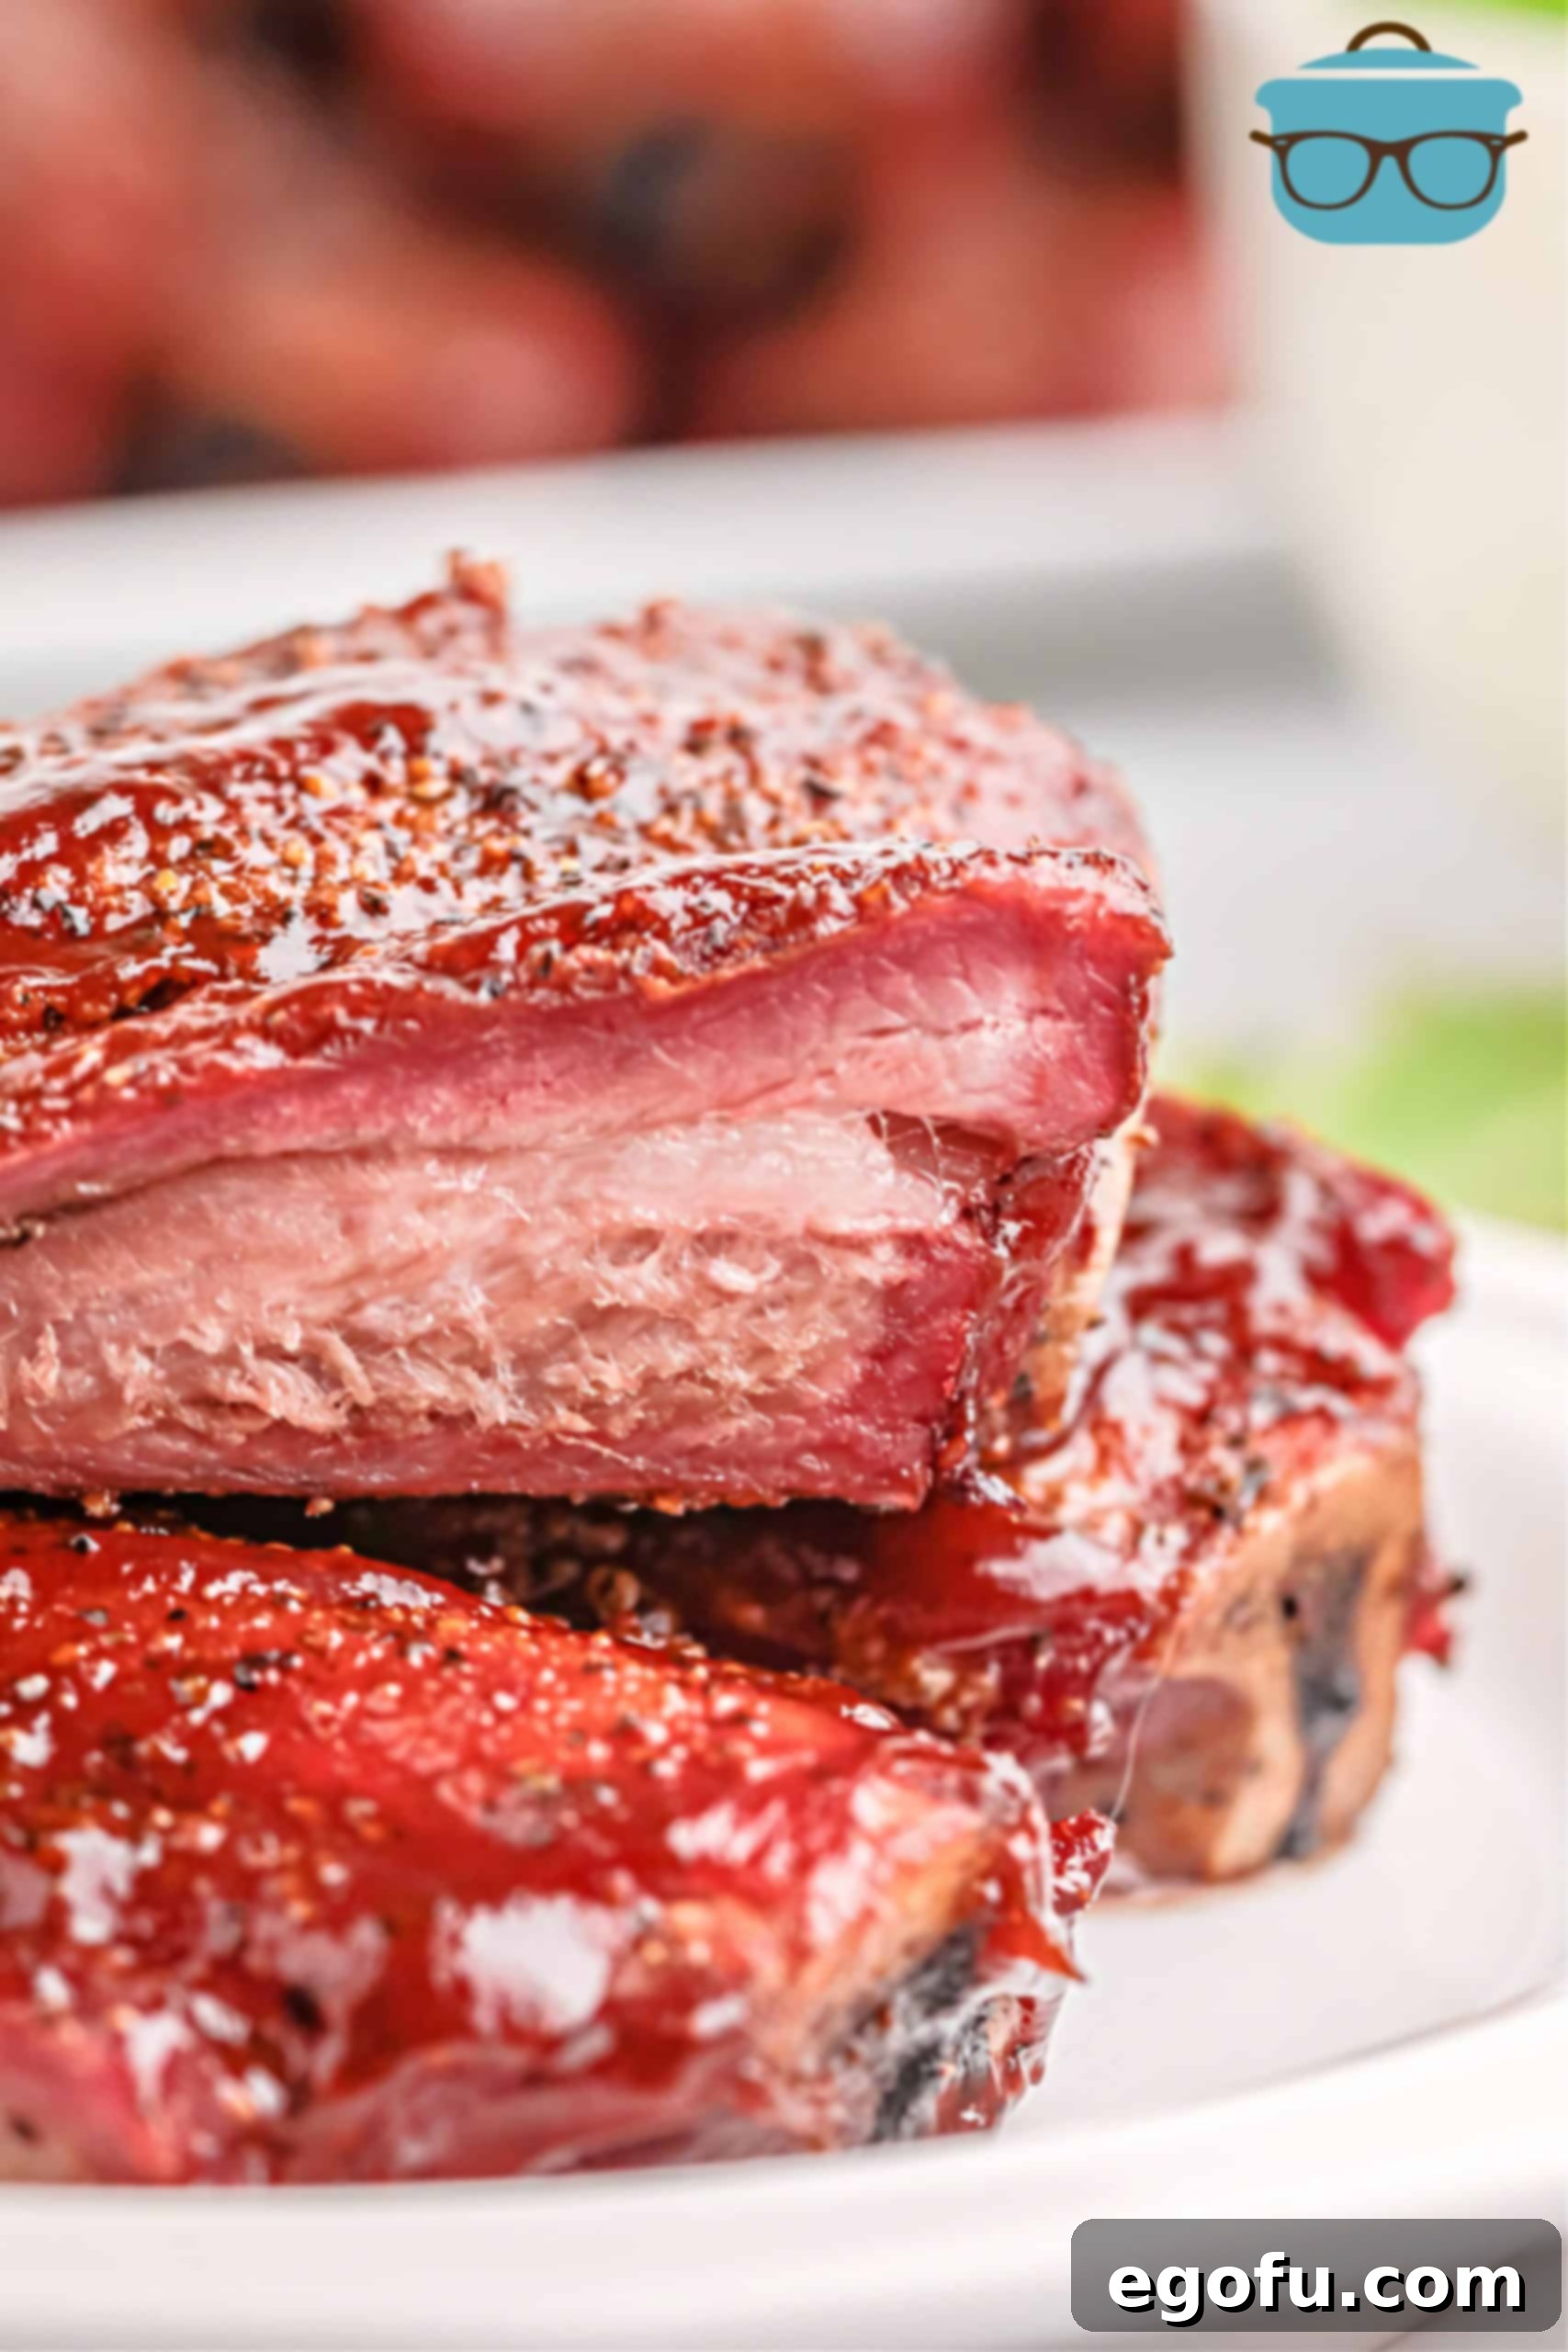
Once the ribs reach the desired internal temperature and boast a beautiful bark and glaze, carefully remove them from the smoker. They should be incredibly tender at this point, so handle them with care to avoid them falling apart prematurely.
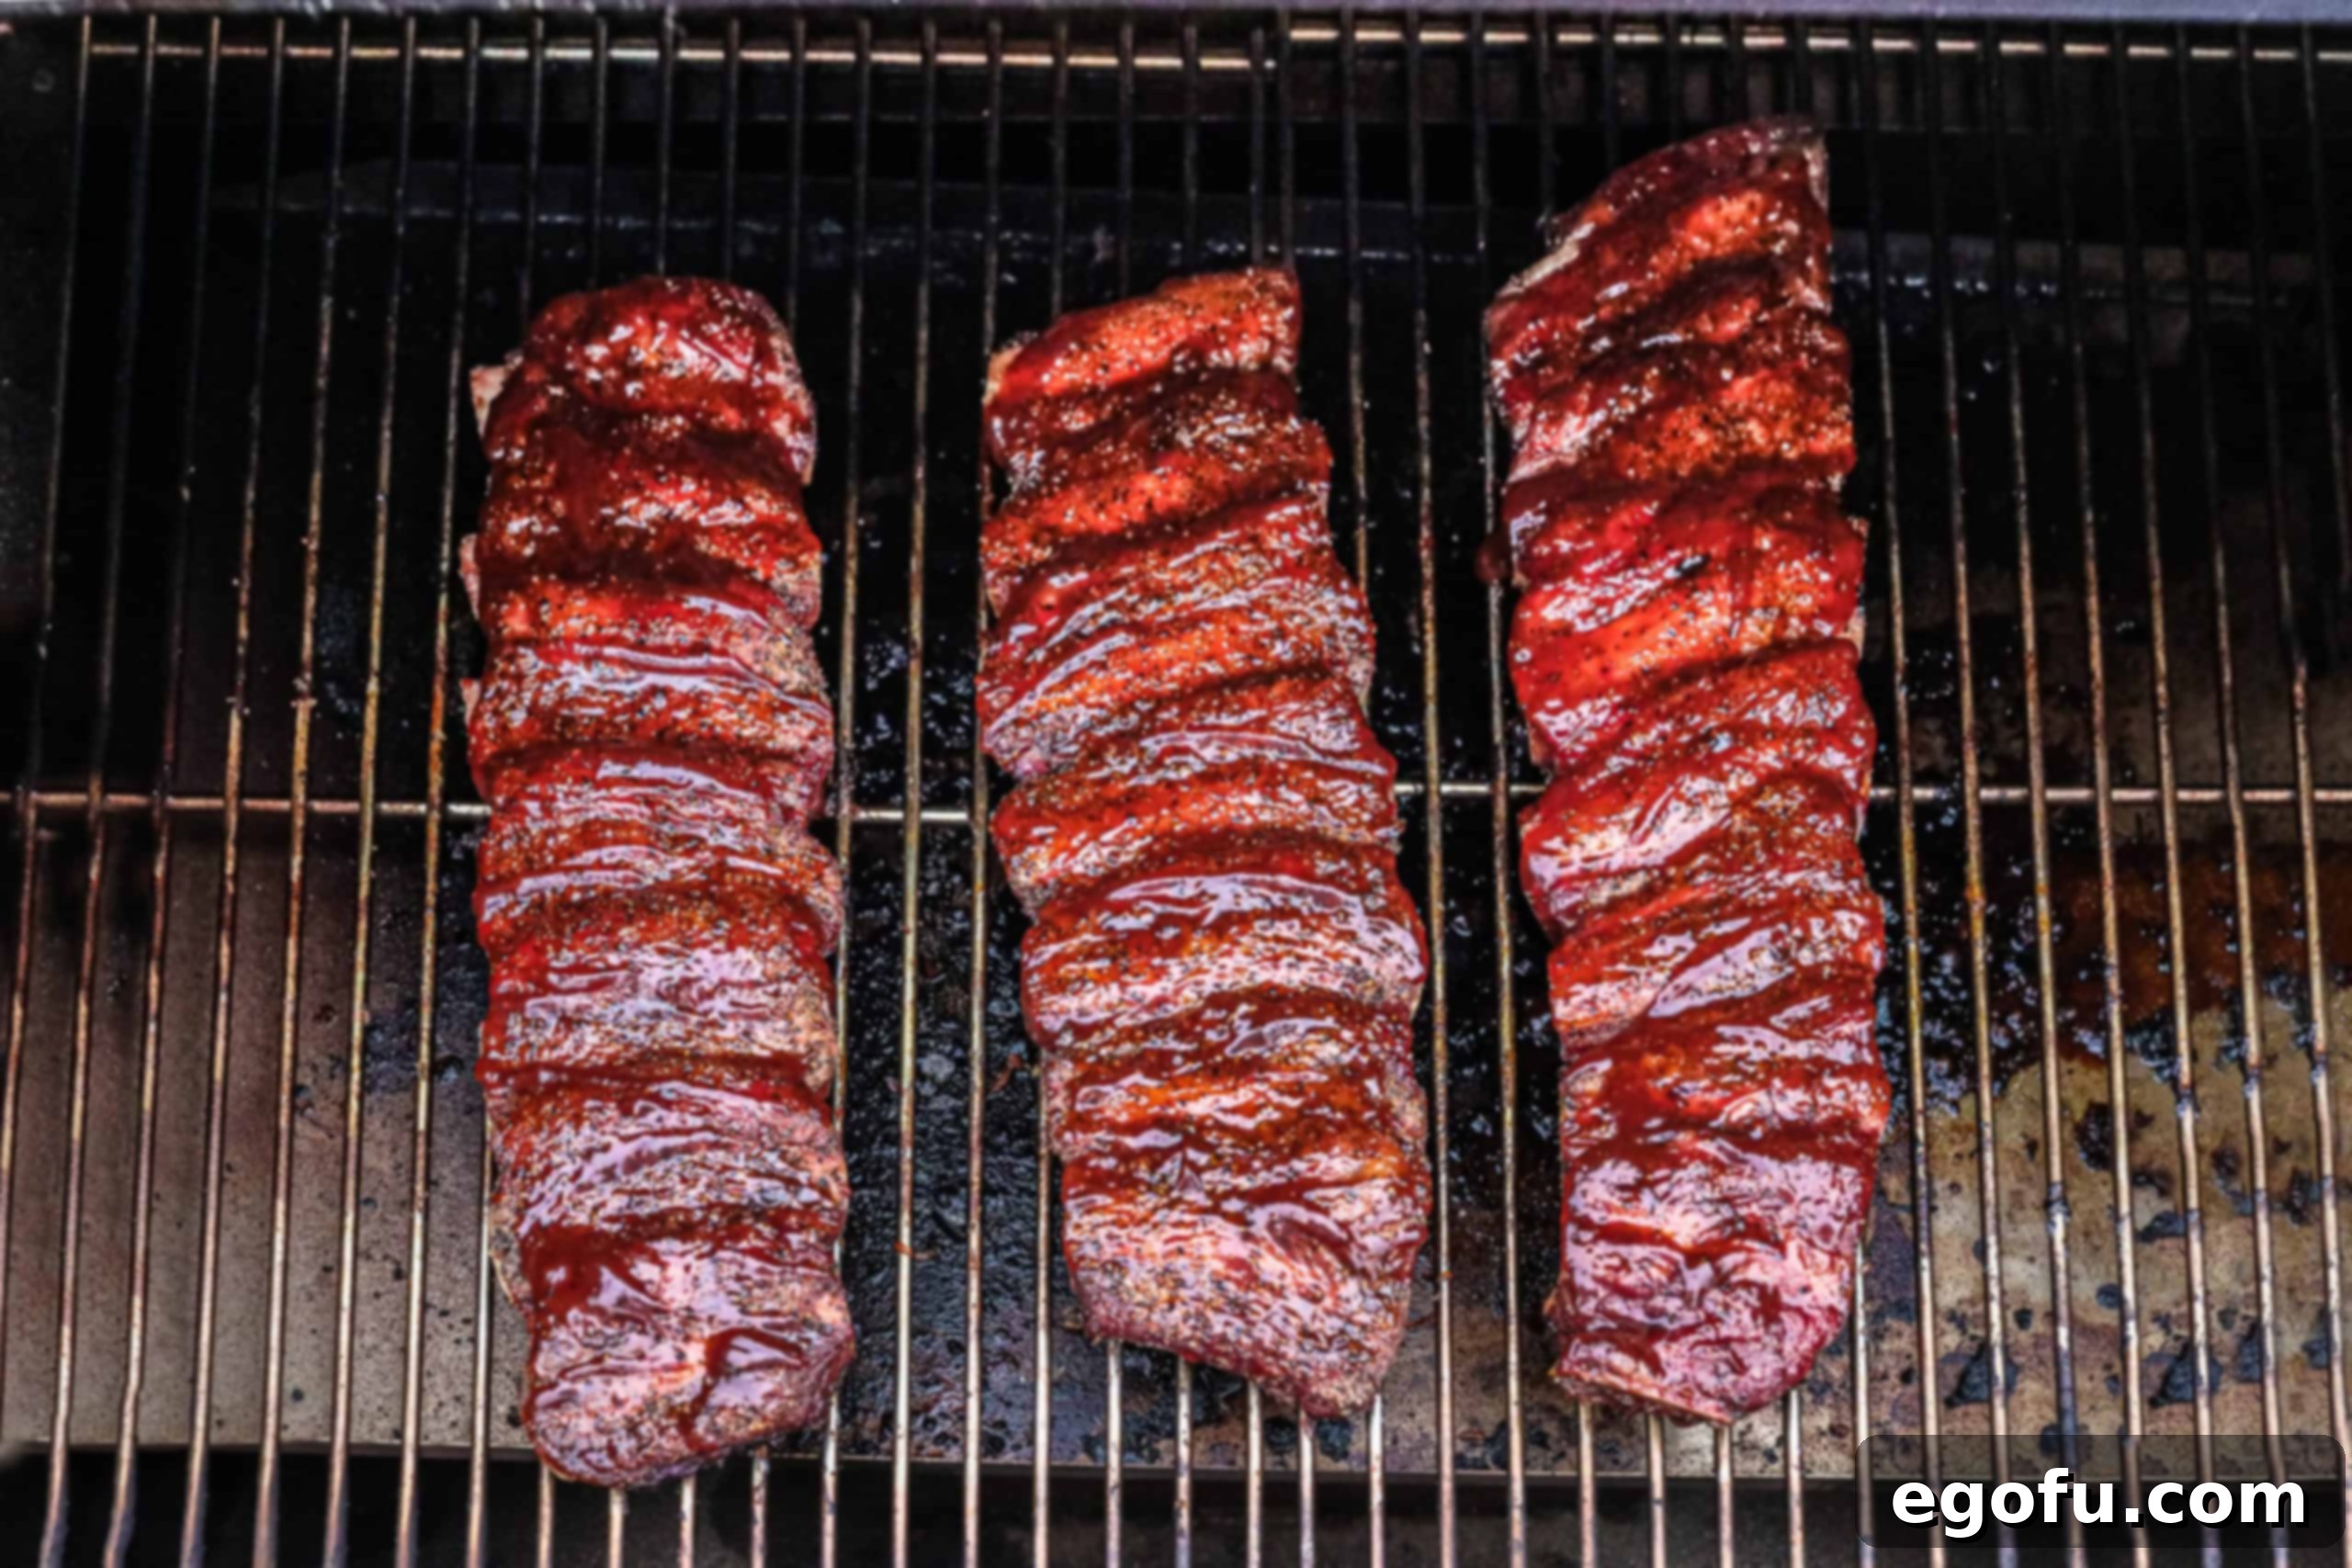
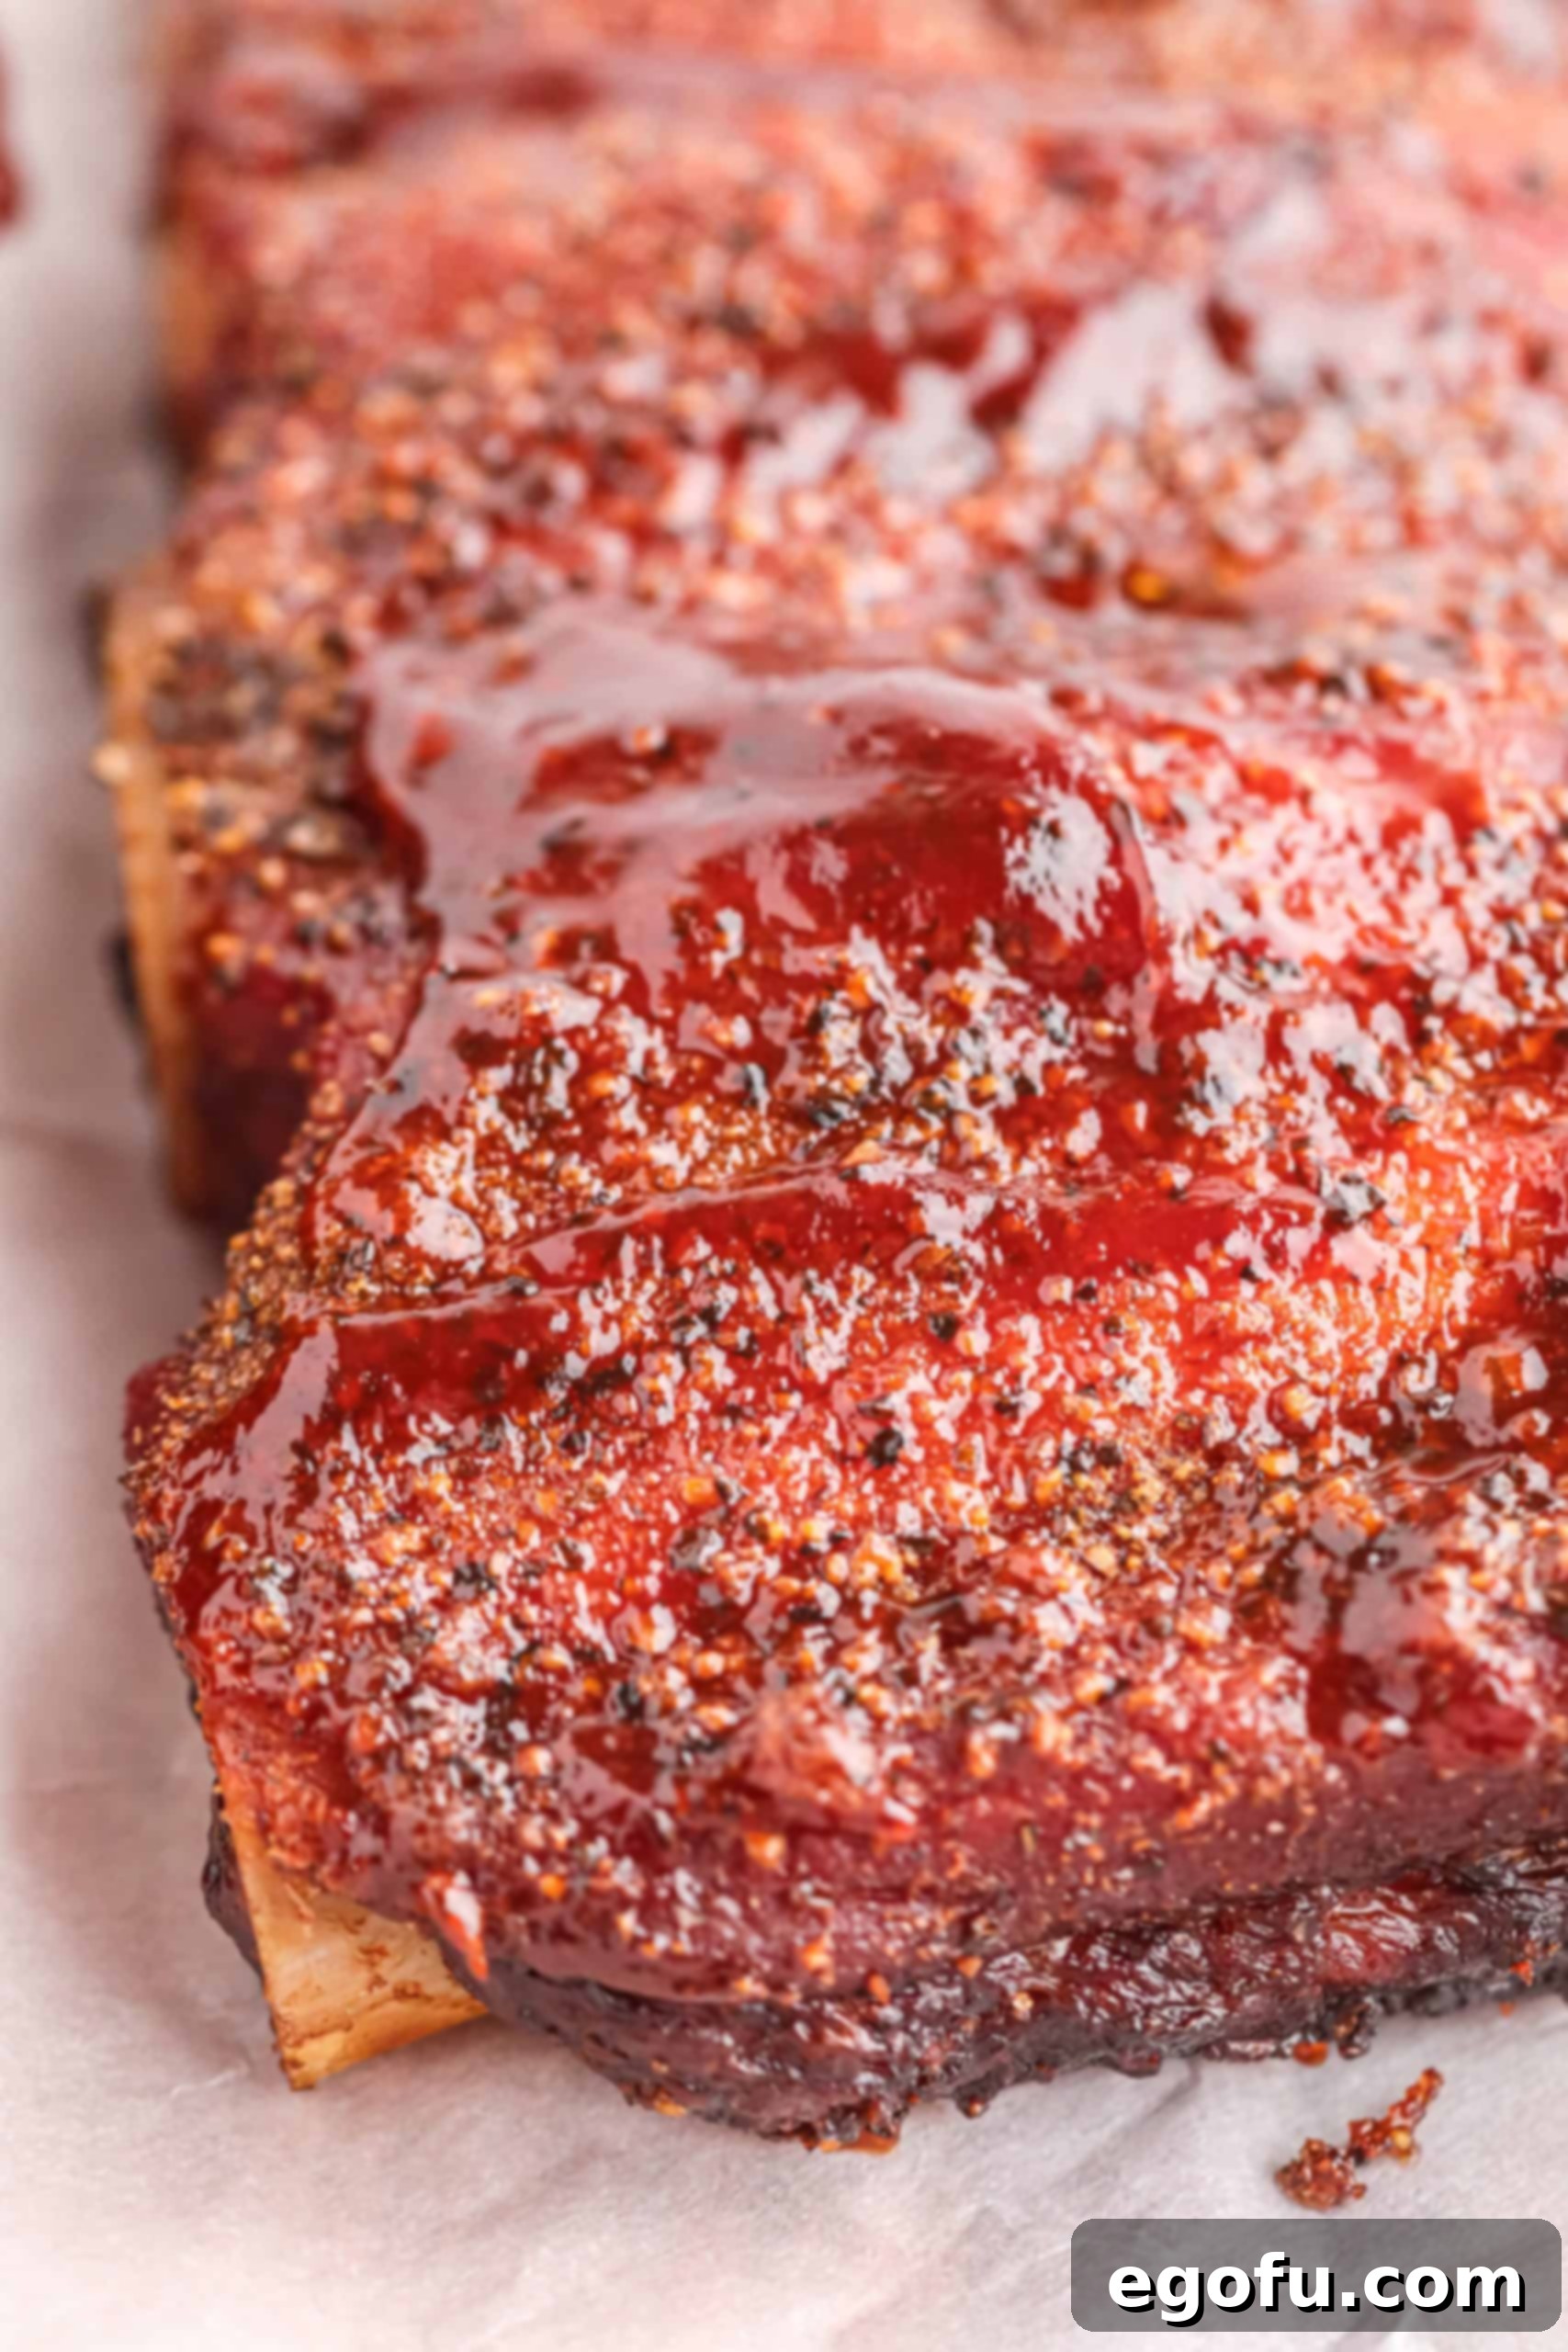
Perhaps the most important, and often overlooked, step is allowing the ribs to rest. Tent them loosely with foil and let them rest for at least 15-20 minutes before slicing and serving. This resting period allows the juices within the meat to redistribute, ensuring every bite is moist and flavorful. Skipping this step can lead to dry ribs, even if perfectly cooked. After resting, you can apply another light coat of BBQ sauce if desired for an extra burst of flavor and shine.
SERVING SUGGESTIONS & PAIRINGS
Smoked beef ribs are a showstopper on their own, but pairing them with the right sides can elevate the entire meal. Classic barbecue sides like creamy coleslaw, tangy potato salad, baked beans, cornbread, or grilled corn on the cob are always excellent choices. For a refreshing contrast, a crisp green salad or some pickled vegetables can cut through the richness of the beef. Don’t forget to offer extra BBQ sauce on the side for those who love to dunk! For beverages, a cold beer (IPA or a stout), a robust red wine (Zinfandel or Cabernet Sauvignon), or sweet iced tea complement the smoky flavors beautifully.
CRAVING MORE SMOKED DELIGHTS?
If these smoked beef ribs ignite your passion for low and slow cooking, you’re in luck! Explore these other fantastic smoked recipes that are sure to satisfy your cravings for tender, smoky goodness.
- Smoked Pulled Pork
- Smoked BBQ Pizza
- Smoked Rump Roast
- Smoked Bacon Wrapped Chicken Lollipops
- Smoked Pork Tenderloin
- Smoked Pork Belly
- Perfect Smoked Salmon
- Grilled Baby Back Ribs
- Crock Pot Short Ribs
Smoked Beef Ribs
Print
Pin
Rate
5 minutes
6 hours
6 hours
5 minutes
6
Brandie Skibinski
Ingredients
- 1 rack beef ribs
- 1 ½ Tablespoons kosher salt
- 1 Tablespoon ground black pepper
- ½ Tablespoon garlic powder
- 28 ounce bottle of Hickory and Brown Sugar BBQ Sauce or your favorite BBQ sauce
Optional Homemade Beef Rib Seasoning Rub: (can use instead of salt, pepper & garlic powder)
- ½ cup brown sugar
- ¼ cup smoked paprika
- 1 Tablespoon coarse ground black pepper
- 1 Tablespoon kosher salt
- 1 Tablespoon chili powder
- 1 Tablespoon garlic powder
- 1 Tablespoon onion powder
- 1 Tablespoon cayenne
Instructions
- Remove the membrane (sometimes called silver skin) from the back of the ribs. You can usually take a knife and gently slice into it then pull it off. For a better grip, use a paper towel.
- Season both sides of the ribs generously with the salt, ground black pepper, and garlic powder (or use my homemade rib seasoning rub from the ingredients list.)
- If using a traditional smoker, fill the steam pot in the smoker with water and stock the smoker with wood (chunks, chips, pellets…whatever your smoker is designed for). Note: I have a Traeger smoker, so it only requires wood pellets.
- Preheat the smoker to 250°F (120°C). Place the seasoned ribs in the smoker and smoke for approximately 3-4 hours to start.
- The total cooking time will depend on the size of your ribs (some racks are much larger than others). They will be fully cooked and tender when the thickest part of the meat (avoiding the bone) reaches an internal temperature between 200°F and 205°F (93°C-96°C).
- If you are using a traditional smoker, be sure to check the water level and wood every 45-60 minutes, refilling as necessary.
- During the last hour of smoking, baste both sides of the ribs generously with your chosen BBQ sauce every 20 minutes until they finish cooking.
- Carefully remove the ribs from the smoker (they should be super tender and almost falling off the bone by this point).
- Allow the ribs to rest, tented loosely with foil, for at least 15-20 minutes before slicing and serving. Apply another coat of BBQ sauce, if desired, just before serving.
Notes
- The “low and slow” method is paramount for smoking meats. This extended cooking time at a lower temperature allows the seasonings and wood smoke to deeply infuse the meat, breaking down connective tissues and resulting in incredible tenderness. Rushing the process will lead to tough, dry ribs.
- Make every effort to remove the membrane (or silverskin) from the back of the ribs. This crucial step prevents a chewy texture and allows your flavorful rub to directly season the meat.
- For traditional wood smokers, consistently checking and refilling the steam pot with water is essential for maintaining humidity and a stable cooking environment, preventing your ribs from drying out.
- Don’t be afraid to experiment with your wood choice! While mesquite offers a strong smoke profile, applewood, cherrywood, or hickory are also fantastic for beef ribs, each offering a unique depth of flavor.
- The choice of BBQ sauce is highly personal. I find a Hickory Brown Sugar sauce complements beef ribs wonderfully, adding a balance of smoky sweetness. However, feel free to use your favorite bottled sauce, or for an artisanal touch, try making your own homemade BBQ sauce!
- This recipe is easily scalable. Simply double or triple the ingredients to prepare more racks of these delicious smoked beef ribs for larger gatherings.
Main Course
American
Nutrition
|
Carbohydrates: 55g
|
Protein: 10g
|
Fat: 9g
|
Sodium: 3147mg
|
Fiber: 2g
|
Sugar: 44g
Nutritional Disclaimer
“The Country Cook” is not a dietician or nutritionist, and any nutritional information shared is an estimate. If calorie count and other nutritional values are important to you, we recommend running the ingredients through whichever online nutritional calculator you prefer. Calories and other nutritional values can vary quite a bit depending on which brands were used.
