This Christmas Cut-Out Sugar Cookies recipe is truly foolproof! These delightful cookies hold their shape perfectly after baking, boast an incredible flavor, and are just waiting to be topped with festive icing! Get ready to create cherished holiday memories with a recipe designed for success.
The Ultimate Foolproof Cut-Out Sugar Cookie Recipe for Christmas
There’s something undeniably magical about baking during the Christmas season, and for our family, that magic revolves around these cut-out sugar cookies. It’s an annual tradition we eagerly anticipate, setting aside an entire day to create batches of beautifully shaped cookies. The culmination of our efforts arrives when we gather around the table, transforming plain cookies into edible works of art with vibrant icing and sparkling sprinkles. These aren’t just cookies; they’re a centerpiece of our holiday celebration, bringing warmth, joy, and deliciousness to our home.
What makes this particular recipe so special? It’s the perfect balance of flavor and functionality. Many cut-out cookie recipes promise ease but deliver spread-out, shapeless blobs. Not this one! Our recipe ensures your reindeer stay like reindeer, your stars remain perfectly pointed, and your gingerbread men keep their charming outlines. Each bite offers a tender, buttery sweetness that’s simply irresistible, making them a favorite for both bakers and tasters alike. This guide will walk you through every step, ensuring your Christmas cookie baking is both enjoyable and successful.

Why This Recipe is Your Go-To for Holiday Baking
Finding a reliable cut-out sugar cookie recipe can feel like searching for a hidden gem. Many home bakers struggle with cookies that lose their shape in the oven, becoming puffy and indistinct. This recipe eliminates that frustration. We’ve perfected the proportions to ensure your cookies maintain their crisp edges and intricate designs, making them ideal for elaborate decorating. Beyond their structural integrity, these homemade sugar cookies offer a delightful texture – soft in the middle with a slight chewiness, and a rich, vanilla-infused flavor that is pure comfort. This is truly the best sugar cookie recipe for the holidays.
Whether you’re a seasoned baker or new to the world of holiday treats, this easy sugar cookie recipe is designed to be straightforward and rewarding. It’s not just about the end product, but the joyful process of mixing, rolling, cutting, and decorating that creates lasting family memories. Imagine the delight on children’s faces as they press out their favorite shapes and then adorn them with colorful icing and sprinkles. This foolproof sugar cookie recipe is your secret weapon for a festive and delicious Christmas cookie baking season, promising no-spread sugar cookies every time.
Essential Tips for Perfect Cut-Out Sugar Cookies
Achieving bakery-quality cut-out sugar cookies requires attention to a few key details. These simple tips will elevate your baking experience and ensure your cookies are consistently delicious and picture-perfect every time:
- **Use Real Butter, Not Margarine:** This is a non-negotiable step for superior flavor and texture. Margarine contains a higher oil content and more water, which can cause cookies to spread excessively and not set properly. Real unsalted butter provides that rich, creamy flavor and helps the cookies hold their shape beautifully. If the recipe calls for butter shortening (like Crisco), that’s often chosen for its stability and shape retention.
- **Room Temperature Butter is Crucial:** For optimal creaming with sugar, your butter needs to be at true room temperature – soft enough to leave a slight indentation when pressed, but not melted or greasy. I often set my butter out on the kitchen counter the night before I plan to bake to ensure it’s perfectly softened. This allows for an even incorporation of ingredients, leading to a smoother dough and a more consistent cookie texture.
- **Check Your Baking Powder’s Freshness:** Baking powder is your leavening agent, responsible for the slight lift and tender crumb of your cookies. If it’s old or expired, it won’t be effective, resulting in dense, flat cookies. Always check the expiration date, or test its freshness by adding a teaspoon to a cup of hot water; if it fizzes vigorously, it’s good to go!
- **Measure Flour Correctly (Don’t Pack!):** Over-measuring flour is a common pitfall that leads to dry, dense, and crumbly cookies. To measure flour accurately, gently spoon it into your measuring cup until it overflows, then use the flat side of a butter knife or a straight edge to level off the excess. Avoid scooping directly from the bag or packing it down, as this can add significantly more flour than intended, altering the dough’s consistency and cookie texture.
- **Chill Your Dough Thoroughly:** This step is vital for preventing your cookies from spreading in the oven. Chilling solidifies the butter in the dough, which helps the cookies maintain their shape during baking. Don’t rush this step; at least an hour in the fridge makes a big difference in ensuring beautifully defined cut-out shapes.
- **Bake One Sheet at a Time:** For even baking and consistent results, bake only one cookie sheet at a time in the center rack of your oven. While it might seem tedious, baking multiple sheets at once, especially in a conventional oven, can lead to uneven heat distribution and some cookies being over-baked while others are under-baked. This ensures each batch of your Christmas sugar cookies bakes perfectly.

Can Sugar Cookies Be Frozen? Absolutely!
One of the best things about making a large batch of these delicious cut-out sugar cookies is the ability to freeze them for later enjoyment. This is incredibly helpful during the busy holiday season, allowing you to get a head start on your holiday cookie baking or simply savor the festive treats long after the holidays have passed (though, let’s be honest, they rarely last that long!). Freezing sugar cookies effectively preserves their taste and texture.
If you plan to decorate your cookies with icing before freezing, a crucial step is to “flash freeze” them first. This prevents the decorated cookies from sticking together in a solid block. To flash freeze:
- Arrange the fully decorated and dried cookies in a single layer on a nonstick baking sheet or a sheet lined with parchment paper.
- Place the baking sheet in the freezer for about 15-30 minutes, or until the icing is firm to the touch.
- Once partially frozen, you can carefully stack the cookies in an airtight, freezer-safe container or freezer bag. Separate layers with parchment paper for extra protection.
Undecorated cookies can also be frozen in airtight containers without flash freezing, as they won’t stick. Thaw frozen cookies at room temperature before decorating or serving. Freezing dough is also an excellent option! Simply wrap the dough tightly in plastic wrap and then foil, and it can last for up to 3 months in the freezer. Thaw in the refrigerator overnight before rolling and baking. This flexibility makes these homemade sugar cookies even more convenient for busy holiday schedules.
Ingredients You’ll Need for These Festive Treats
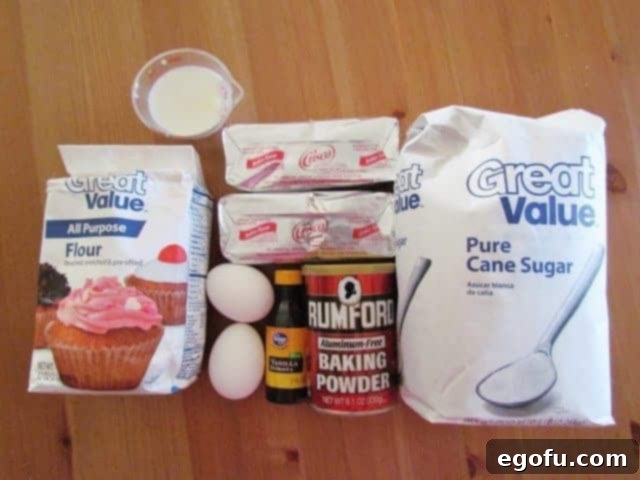
Gathering your ingredients before you begin ensures a smooth and enjoyable baking process. Here’s a comprehensive list of what you’ll need for both the perfect cut-out sugar cookies and the smooth, delectable icing:
For the Cookies:
- 1 ⅓ cups butter shortening (Crisco) or real unsalted butter: While butter shortening (like Crisco) is often recommended for its consistent results in holding shape, real unsalted butter can also be used for a richer flavor. Ensure it’s at room temperature for proper creaming.
- 1 ½ cups granulated sugar: Provides the foundational sweetness and contributes to the tender crumb of the cookie.
- 4 Tablespoons milk: Adds essential moisture to the dough, helping to create its smooth and pliable consistency.
- 1 teaspoon vanilla extract: The quintessential flavor enhancer, giving these classic sugar cookies their signature aroma and taste.
- 2 large eggs: Act as a crucial binder, bringing the dough together, and add richness to the final cookie.
- 4 cups all-purpose flour: The primary structural component of your cookies. Measured correctly, it ensures perfect texture without being too dry or dense.
- 3 teaspoons baking powder: The leavening agent that provides a slight, desirable lift and tenderizes the cookie’s texture.
- ½ teaspoon salt: Balances the sweetness of the sugar and enhances all the other flavors in the cookie dough.
For the Icing:
- 1 Tablespoon softened butter: Adds richness and a creamy texture to your royal icing, making it spreadable and delicious.
- 1 cup powdered sugar (confectioners’ sugar): The base for a smooth, sweet, and quickly setting icing, essential for decorating sugar cookies.
- 2 Tablespoons milk: Used to adjust the consistency of the icing. You may need more or less depending on desired thickness.
- 1 teaspoon clear vanilla extract: Chosen specifically to maintain a bright white color if desired, unlike regular vanilla which can tint icing slightly off-white.
- Food coloring (optional): For vibrant, festive decorations that truly make your Christmas sugar cookies pop. Gel food colorings are recommended for intense colors without thinning the icing too much.
Step-by-Step Guide: How to Make Perfect Cut-Out Sugar Cookies
Follow these detailed instructions to create beautiful and delicious cut-out sugar cookies from scratch. Precision in baking leads to the best results for your holiday cookies!
Part 1: Preparing the Cookie Dough
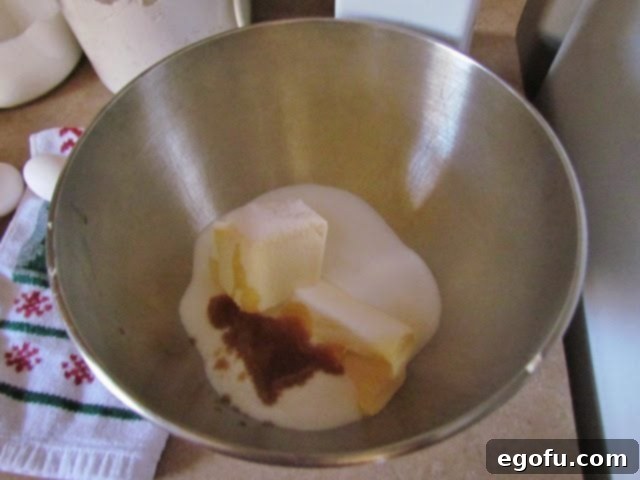
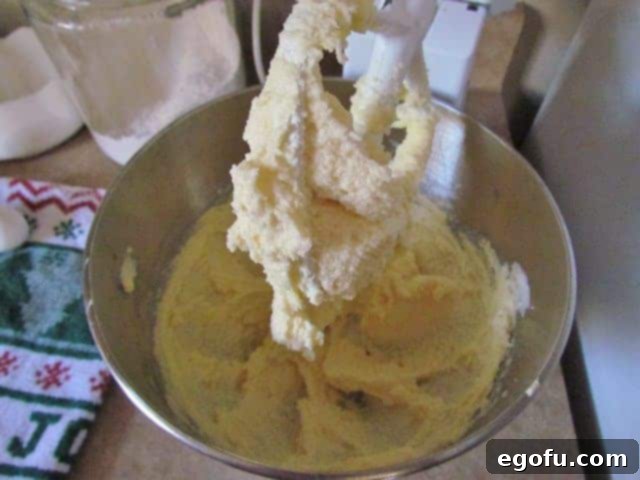
- **Cream Wet Ingredients:** In a large mixing bowl, combine the butter shortening (or softened real butter), granulated sugar, milk, and vanilla extract. Using an electric mixer (either a stand mixer with a paddle attachment or a handheld electric mixer), beat these ingredients together until the mixture is light, fluffy, and smooth. Remember to scrape down the sides of the bowl occasionally to ensure everything is thoroughly incorporated.
- **Add Eggs:** Once the wet mixture is smooth, add the two large eggs. Continue mixing until the eggs are fully incorporated and the mixture is uniform. Ensure there are no streaks of egg visible.
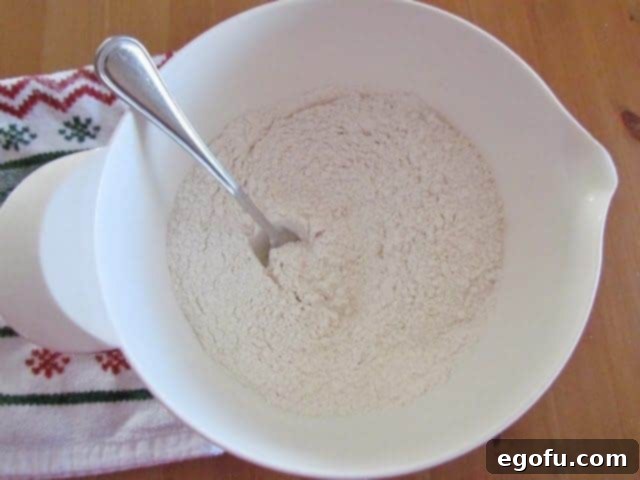
- **Combine Dry Ingredients:** In a separate medium-sized bowl, whisk together the all-purpose flour, baking powder, and salt. While some professional bakers recommend sifting, a good vigorous stir with a large fork will effectively break up any lumps and aerate the mixture, ensuring even distribution of the leavening agent throughout the dough.
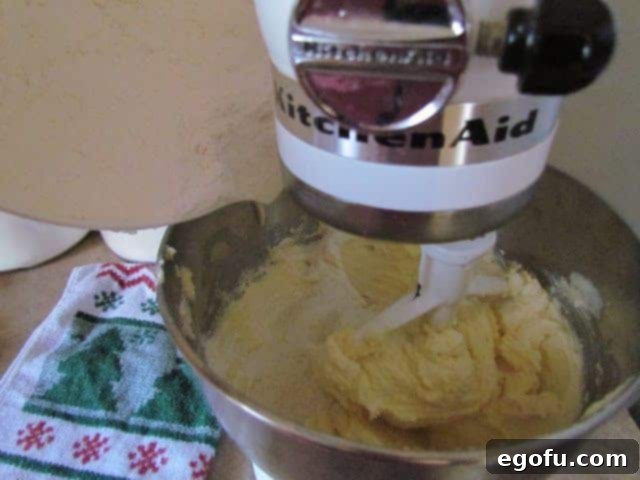
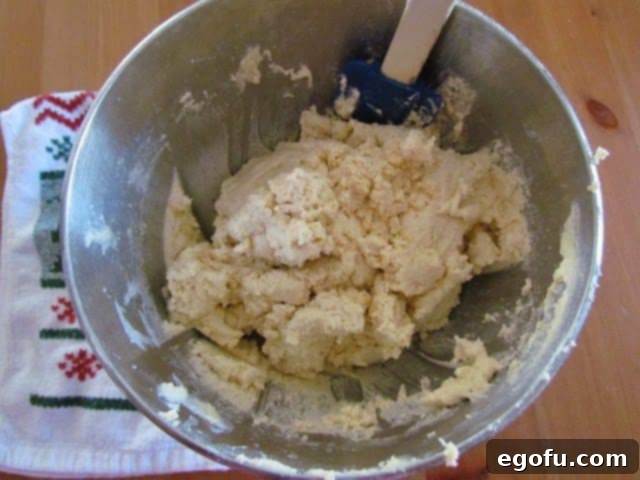
- **Gradually Add Dry to Wet:** With the electric mixer on low speed, gently add the flour mixture to the wet ingredients, a little at a time. Adding it gradually prevents a cloud of flour from forming in your kitchen. Mix just until both mixtures are combined and a cohesive dough starts to form. Be careful not to overmix, as this can lead to tough cookies. Scrape down the sides of the bowl to ensure all flour is incorporated.
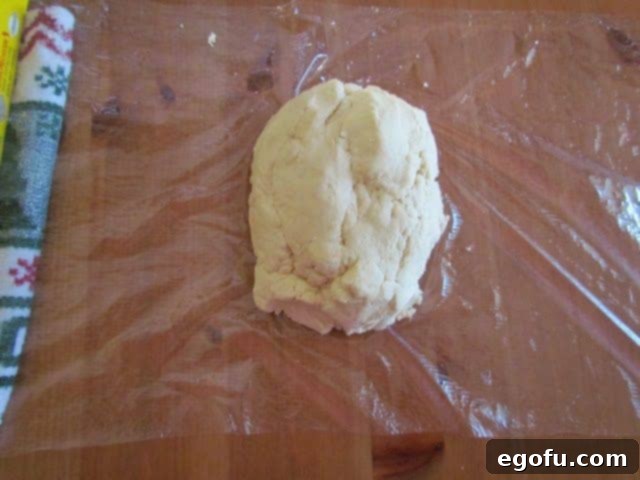
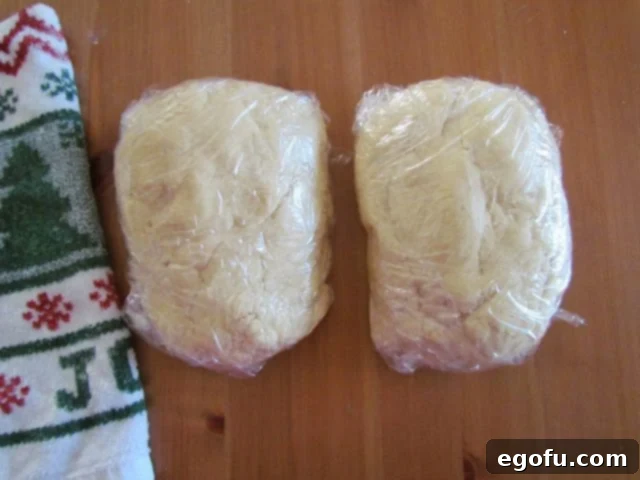
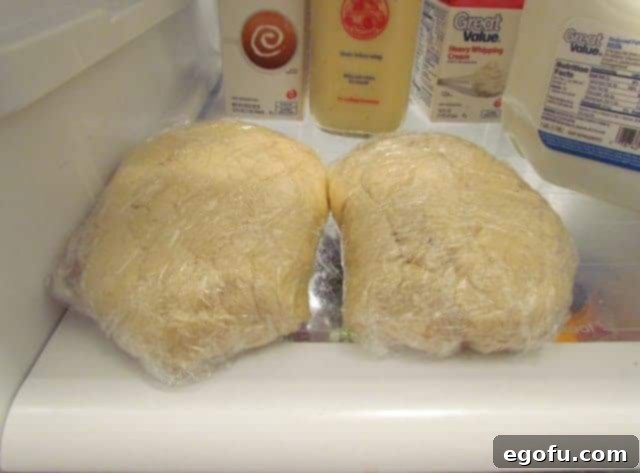
- **Chill the Dough:** Divide the dough evenly in half. Shape each half into a flat disk, wrap tightly in plastic wrap, and refrigerate for at least one hour. Chilling is crucial as it firms up the butter, which prevents the cookies from spreading too much during baking, thus preserving their delicate cut-out shapes. This step is key for no-spread sugar cookies.
Part 2: Rolling, Cutting, and Baking the Cookies
- **Preheat Oven and Prepare Baking Sheets:** When your dough is nearly finished chilling, preheat your oven to 375°F (190°C). Prepare a couple of baking sheets by spraying them with nonstick cooking spray or lining them with parchment paper. This prevents sticking and makes cleanup easier for your holiday cookies.
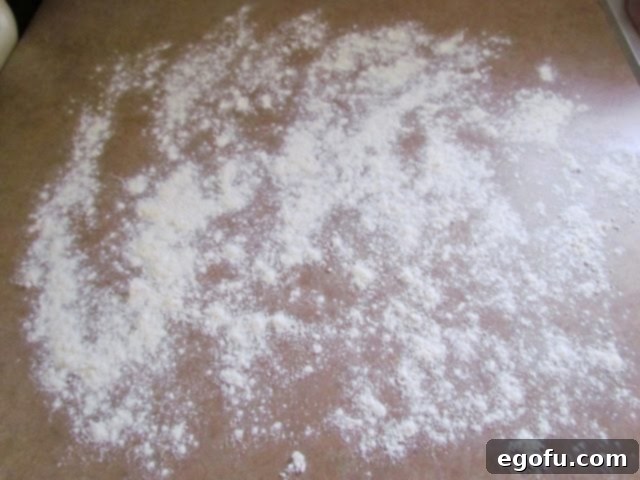
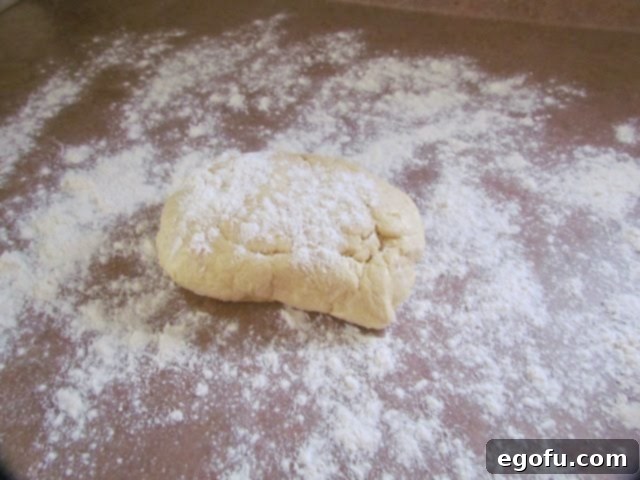
- **Flour Your Work Surface:** Lightly dust a clean counter or large cutting board with all-purpose flour. This prevents the dough from sticking as you roll it out, ensuring easy handling and clean cuts.
- **Roll Out the Dough:** Take one chilled dough ball from the refrigerator (keep the other one chilled to maintain its firm consistency). Lightly flour the top of the dough ball and your rolling pin. Roll out the dough evenly to a thickness of about ¼ inch. If the dough is too thin, the cookies may break when lifted; if too thick, they might be doughy.
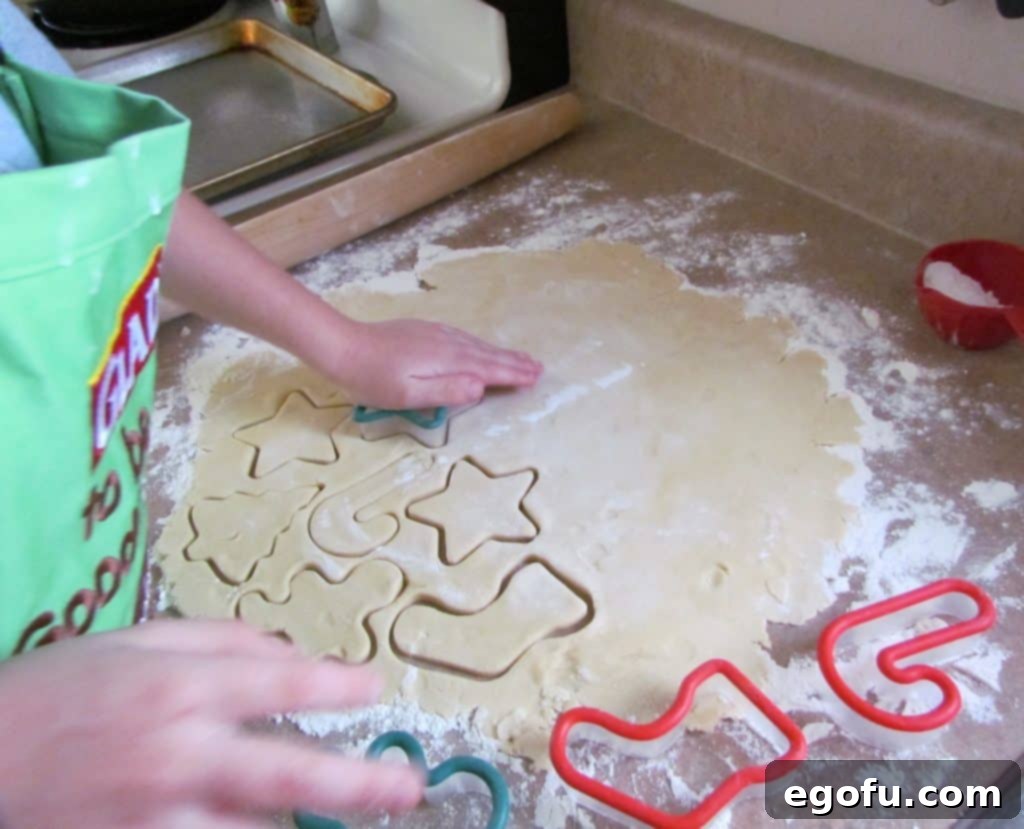
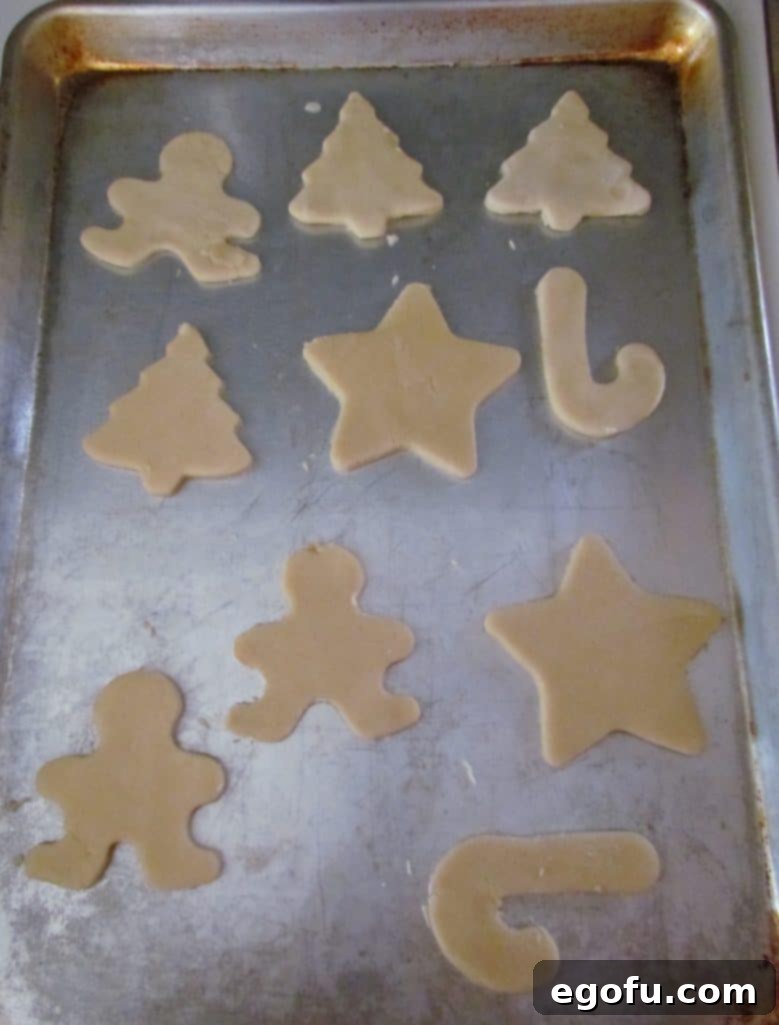
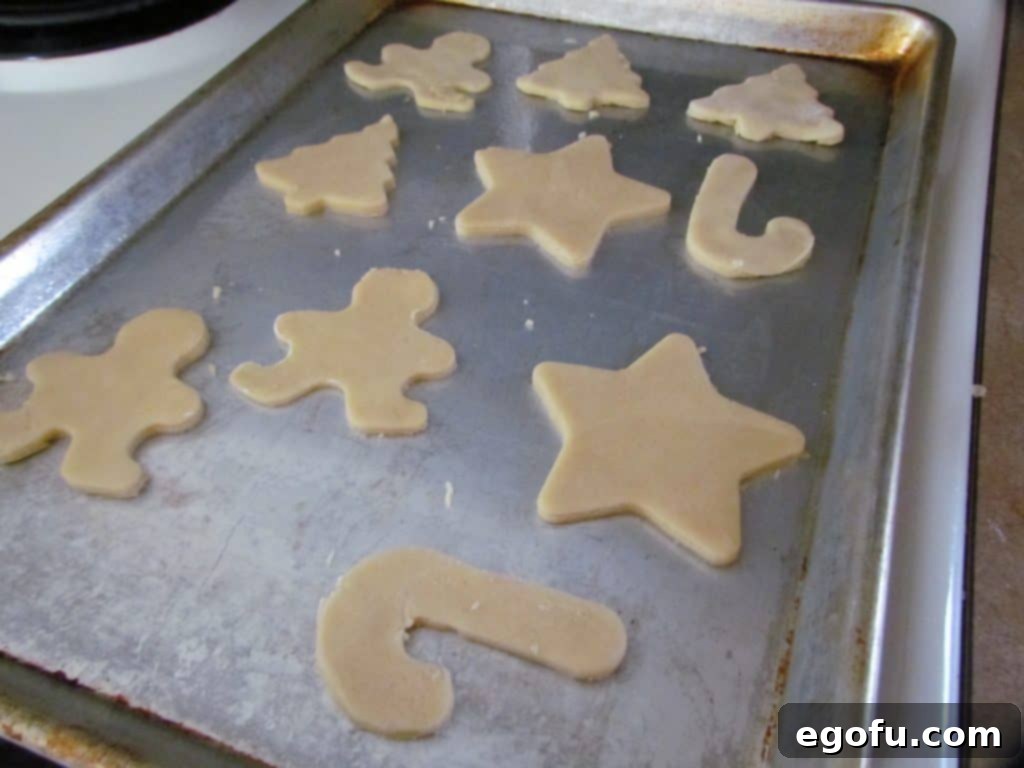
- **Cut Out Shapes:** Using your favorite Christmas cookie cutters, press firmly into the rolled-out dough to cut out festive shapes. To maximize your yield and minimize waste, place the cookie cutters as close together as possible without touching.
- **Handle Leftover Dough:** Gently gather the leftover dough scraps, combine them, re-roll once, and cut out more shapes. Generally, the dough is best for two rollings. After the second rolling, the dough may become overworked and incorporate too much flour, leading to crumbly or tough cookies that don’t hold their shape as well.
- **Arrange on Baking Sheet:** Carefully transfer the cut-out cookies to your prepared baking sheet. A thin, flat spatula can be very helpful for lifting delicate shapes without distorting them. Arrange them about an inch or two apart; these cookies don’t spread much, so they won’t fuse together.
- **Bake:** Place the baking sheet on the middle rack of your preheated oven. Bake for approximately 6-8 minutes. Baking times can vary by oven, so keep a close eye on them. You want the cookies to be a very light golden tan color around the edges, but still soft in the center. Avoid over-baking to keep them tender and prevent browning.
- **Cool Completely:** Once baked, remove the cookies from the oven and let them cool on the baking sheet for a few minutes before carefully transferring them to a wire rack to cool completely. Ensure they are entirely cool before attempting to ice them, otherwise, your icing will melt and smudge.
Crafting the Perfect Royal Icing for Decoration
A beautifully decorated sugar cookie is half the fun! This simple yet effective icing recipe provides a smooth, customizable base for all your festive designs. Using clear vanilla extract is a fantastic trick if you desire pure white icing for your snowy scenes or vibrant colors without any yellowish tint. This icing is perfect for decorating sugar cookies.
Part 3: Making the Icing and Decorating
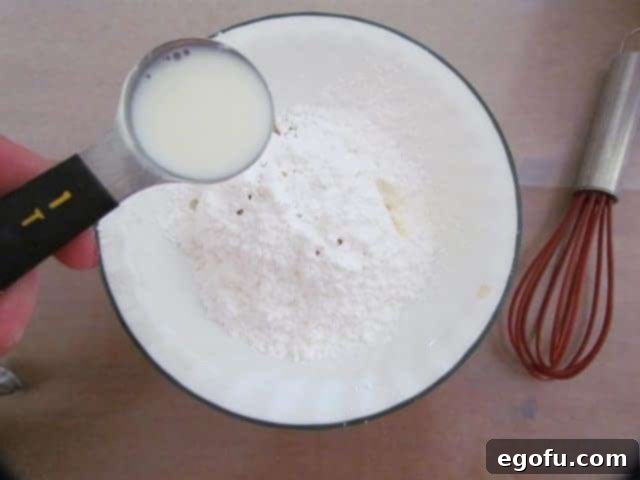
- **Prepare the Icing Base:** In a medium bowl, combine the softened butter, powdered sugar, 2 Tablespoons milk, and 1 teaspoon clear vanilla extract.
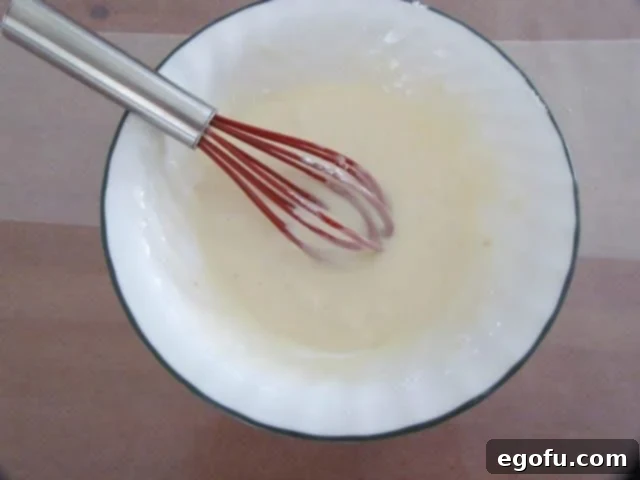
- **Whisk Until Smooth:** Whisk the ingredients together until the icing is completely smooth and free of lumps. If the mixture is too thick, add milk a teaspoon at a time until you reach your desired consistency. If it’s too thin, gradually add more powdered sugar. For decorating cut-out cookies, a slightly thicker consistency works best for outlining, while a thinner consistency is ideal for flooding.
- **Add Food Coloring (Optional):** Divide the icing into separate bowls if you plan to use multiple colors. Add a few drops of gel food coloring to each bowl and mix until you achieve your desired shades. I often quadruple this recipe to have four distinct colors for a vibrant spread of Christmas cookies.
- **Decorate Your Cookies:** Now for the best part! Gather all your colored icings, sprinkles, edible glitter, and any other decorations you wish to use. To make cleanup easier, spread wax paper or parchment paper over your decorating surface. Let your creativity shine as you transform each cookie into a festive masterpiece for decorating sugar cookies!
- **Allow Icing to Set:** After decorating, allow the icing to set completely for at least a couple of hours. This ensures the icing hardens, preventing smudges and allowing you to stack the cookies without them sticking together. Once fully set, store your beautiful cookies in an airtight container at room temperature for up to a week, or freeze them as described above for longer storage.

Merry Christmas and Happy Baking! May your holiday season be filled with sweet treats and joyous moments.
Craving More Holiday Delights?
If you’ve enjoyed making these Christmas Cut-Out Sugar Cookies, you’ll love exploring these other festive recipes perfect for the holiday season:
- Christmas Sugar Cookie Bars
- Reindeer Pretzel Snacks
- Tiger Butter Cookie Bars
- Christmas Tree & Wreath Veggie Trays
- Elf Bait Snack Mix
- Reindeer Cookies
- Reindeer Chow
- Southern Pecan Butter Balls
- Butterscotch Haystacks
- Rice Krispies Christmas Wreaths
- Crock Pot Candy
- Sweet Holiday Chex Mix
- Homemade Peanut Brittle
- Potato Candy
- Christmas Jell-O Poke Cake
- Christmas Candy Bark
- Oreo Cookie Balls
- Christmas Tree Shaped Cheeseball
- Cut Out Sugar Cookies
- Ultimate Christmas Recipe Roundup
- Mini Christmas Shortbread Cookies
- Christmas Tree Linzer Cookies

Christmas Cut-Out Sugar Cookies Recipe
This foolproof recipe ensures perfectly shaped, delicious cut-out sugar cookies that are ideal for holiday decorating. Top them with a sweet, customizable icing for a festive treat!
Prep Time: 30 minutes
Cook Time: 8 minutes
Total Time: 38 minutes
Servings: 24 cookies
Author: Brandie Skibinski
Course: Dessert
Cuisine: American
Ingredients
For the cookies:
- 1 ⅓ cups butter shortening (Crisco) or real butter, at room temperature
- 1 ½ cups granulated sugar
- 4 Tablespoons milk
- 1 teaspoon vanilla extract
- 2 large eggs
- 4 cups all-purpose flour
- 3 teaspoons baking powder
- ½ teaspoon salt
For the icing:
- 1 Tablespoon softened butter
- 1 cup powdered sugar
- 2 Tablespoons milk
- 1 teaspoon clear vanilla extract
- Food coloring (optional)
Instructions
To make the cookies:
- In a large mixing bowl, combine butter shortening (or real butter), sugar, 4 Tablespoons milk, and 1 teaspoon vanilla extract. Mix with an electric mixer until smooth, scraping down the bowl as needed.
- Stir in the 2 large eggs until well combined.
- In a separate bowl, whisk together the 4 cups all-purpose flour, 3 teaspoons baking powder, and ½ teaspoon salt using a fork to aerate and combine.
- Gradually add the flour mixture to the wet ingredients in small batches, mixing on low speed until just combined. Do not overmix.
- Divide the dough in half, wrap each half tightly in plastic wrap, and chill in the refrigerator for at least one hour.
- When ready to bake, preheat your oven to 375°F (190°C). Line a couple of baking sheets with parchment paper or spray with nonstick cooking spray.
- Lightly flour your clean counter or work surface. Take one dough ball from the fridge, keeping the other chilled. Lightly flour the dough and your rolling pin.
- Roll out the dough to an even thickness of about ¼ inch.
- Use your favorite cookie cutters to cut out shapes, placing them as close together as possible.
- Gather dough scraps, re-roll once, and cut out more shapes. Discard any dough after the second re-roll as it can become tough.
- Carefully transfer the cut-out cookies to the prepared baking sheets, spacing them about 1-2 inches apart.
- Bake one sheet at a time on the middle oven rack for 6-8 minutes, or until the edges are very lightly golden.
- Remove from oven and let cool on the baking sheet for a few minutes before transferring to a wire rack to cool completely.
To make the icing:
- In a medium bowl, combine 1 Tablespoon softened butter, 1 cup powdered sugar, 2 Tablespoons milk, and 1 teaspoon clear vanilla extract.
- Whisk until smooth. Adjust consistency by adding more powdered sugar (for thicker) or milk (for thinner) as needed.
- If using multiple colors, divide the icing into separate bowls and mix in food coloring.
- Decorate cooled cookies with icing and sprinkles as desired.
- Allow icing to set for several hours before stacking or storing cookies in an airtight container.
Video Tutorial
Notes
- For best results in holding shape, using Crisco butter shortening is highly recommended. If using real butter, ensure it’s unsalted and at room temperature.
- Always check the expiration date of your baking powder. Fresh leavening is key to light, tender cookies.
- Measure flour accurately by spooning it into the measuring cup and leveling off with a straight edge to prevent dense cookies.
- Chilling the dough is a crucial step to prevent spreading during baking.
- Bake one cookie sheet at a time for even cooking and golden results.
Nutrition Information (Estimated Per Serving)
- Calories:
- 257 kcal
- Carbohydrates:
- 33g
- Protein:
- 2g
- Fat:
- 12g
- Sodium:
- 61mg
- Sugar:
- 17g
Nutritional Disclaimer: The nutritional information provided is an estimate. As “The Country Cook” is not a dietician or nutritionist, these values can vary based on specific brands and quantities of ingredients used. If precise calorie count and other nutritional details are important to you, we recommend calculating them using your preferred online nutritional calculator.
Show Us Your Creations!
Did you make this delightful recipe? We’d love to see your festive Christmas Cut-Out Sugar Cookies!
Share your photos on Instagram: @thecountrycook and tag us with #thecountrycook!
Originally published: December 2012
Updated & republished: November 2020
