Indulge in the irresistible flavors of autumn with these delectable Pumpkin Truffles. These creamy, chocolate-coated bites are the epitome of fall perfection, combining the warmth of pumpkin spice with rich, smooth chocolate. Perfectly easy to make, they’re ideal for sharing as a thoughtful gift, adding a touch of elegance to any gathering, or simply savoring as a delightful personal treat. Prepare to be enchanted by their enchanting taste and effortless charm!
The Ultimate No-Bake Pumpkin Delight
For those who love the rich, comforting flavors of pumpkin but prefer to skip the oven, these No-Bake Pumpkin Truffles are an absolute dream come true. Unlike many complicated desserts, these truffles are incredibly simple to prepare, requiring no baking whatsoever. This makes them a fantastic option for busy holidays, impromptu gatherings, or when you just want a quick, satisfying dessert without heating up your kitchen.
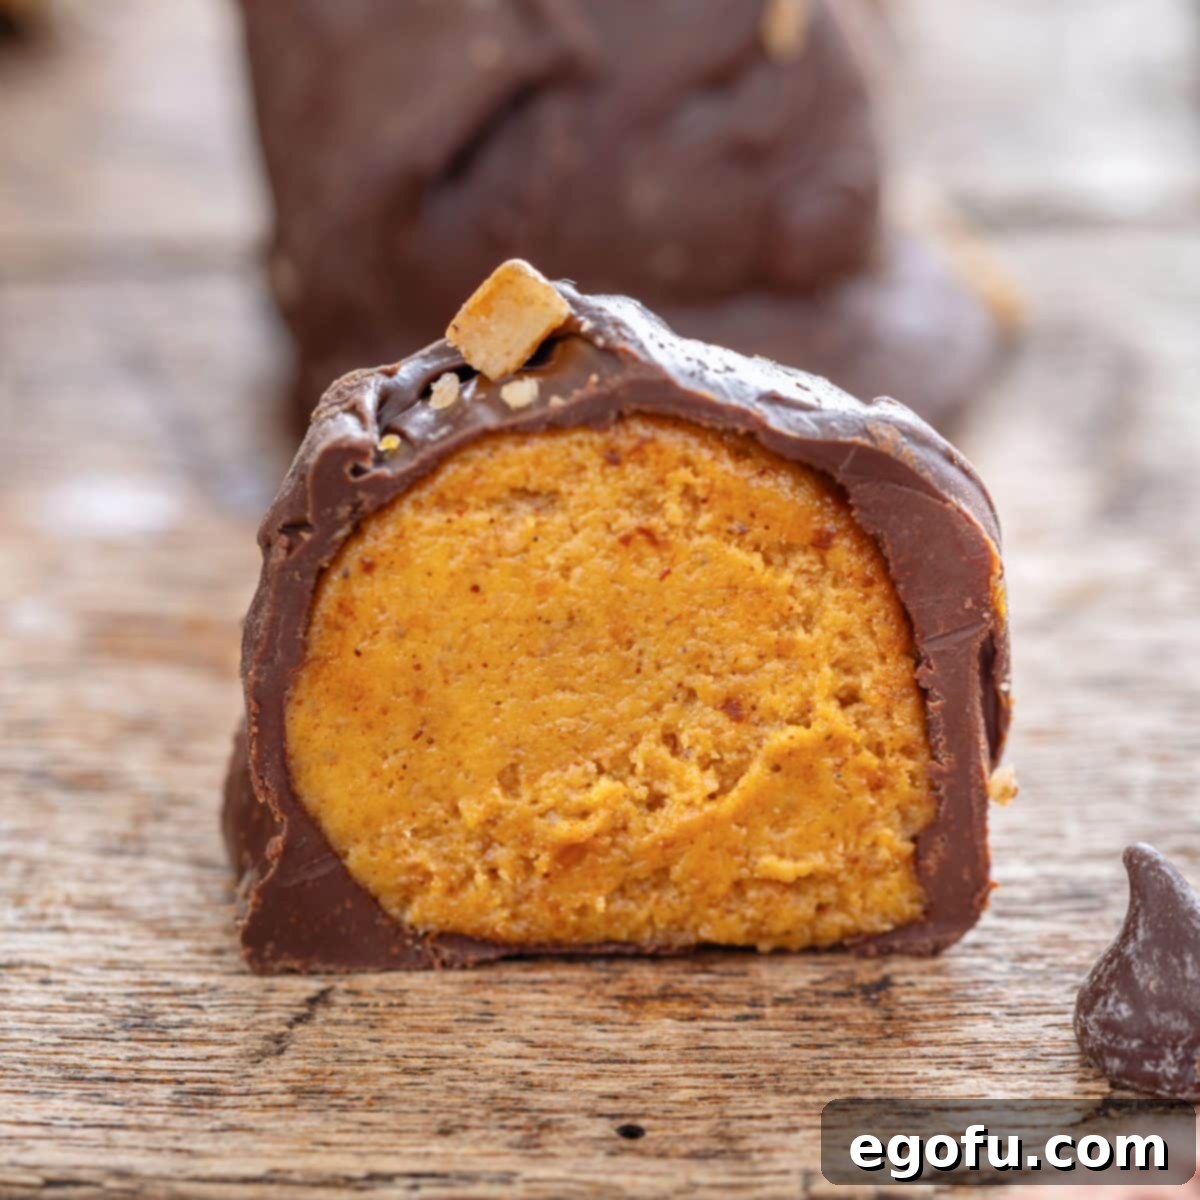
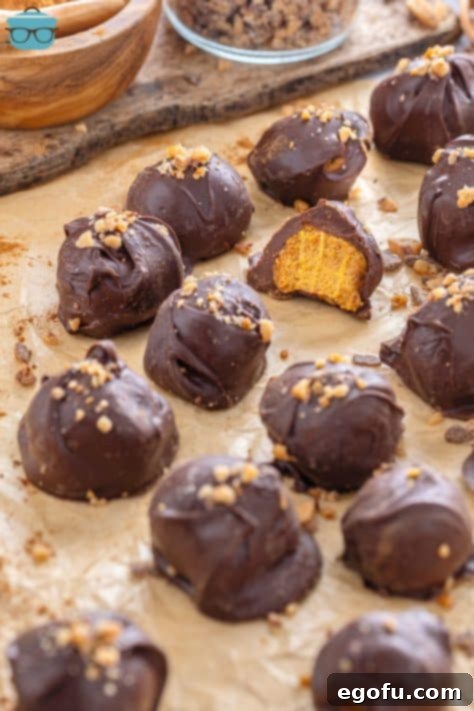
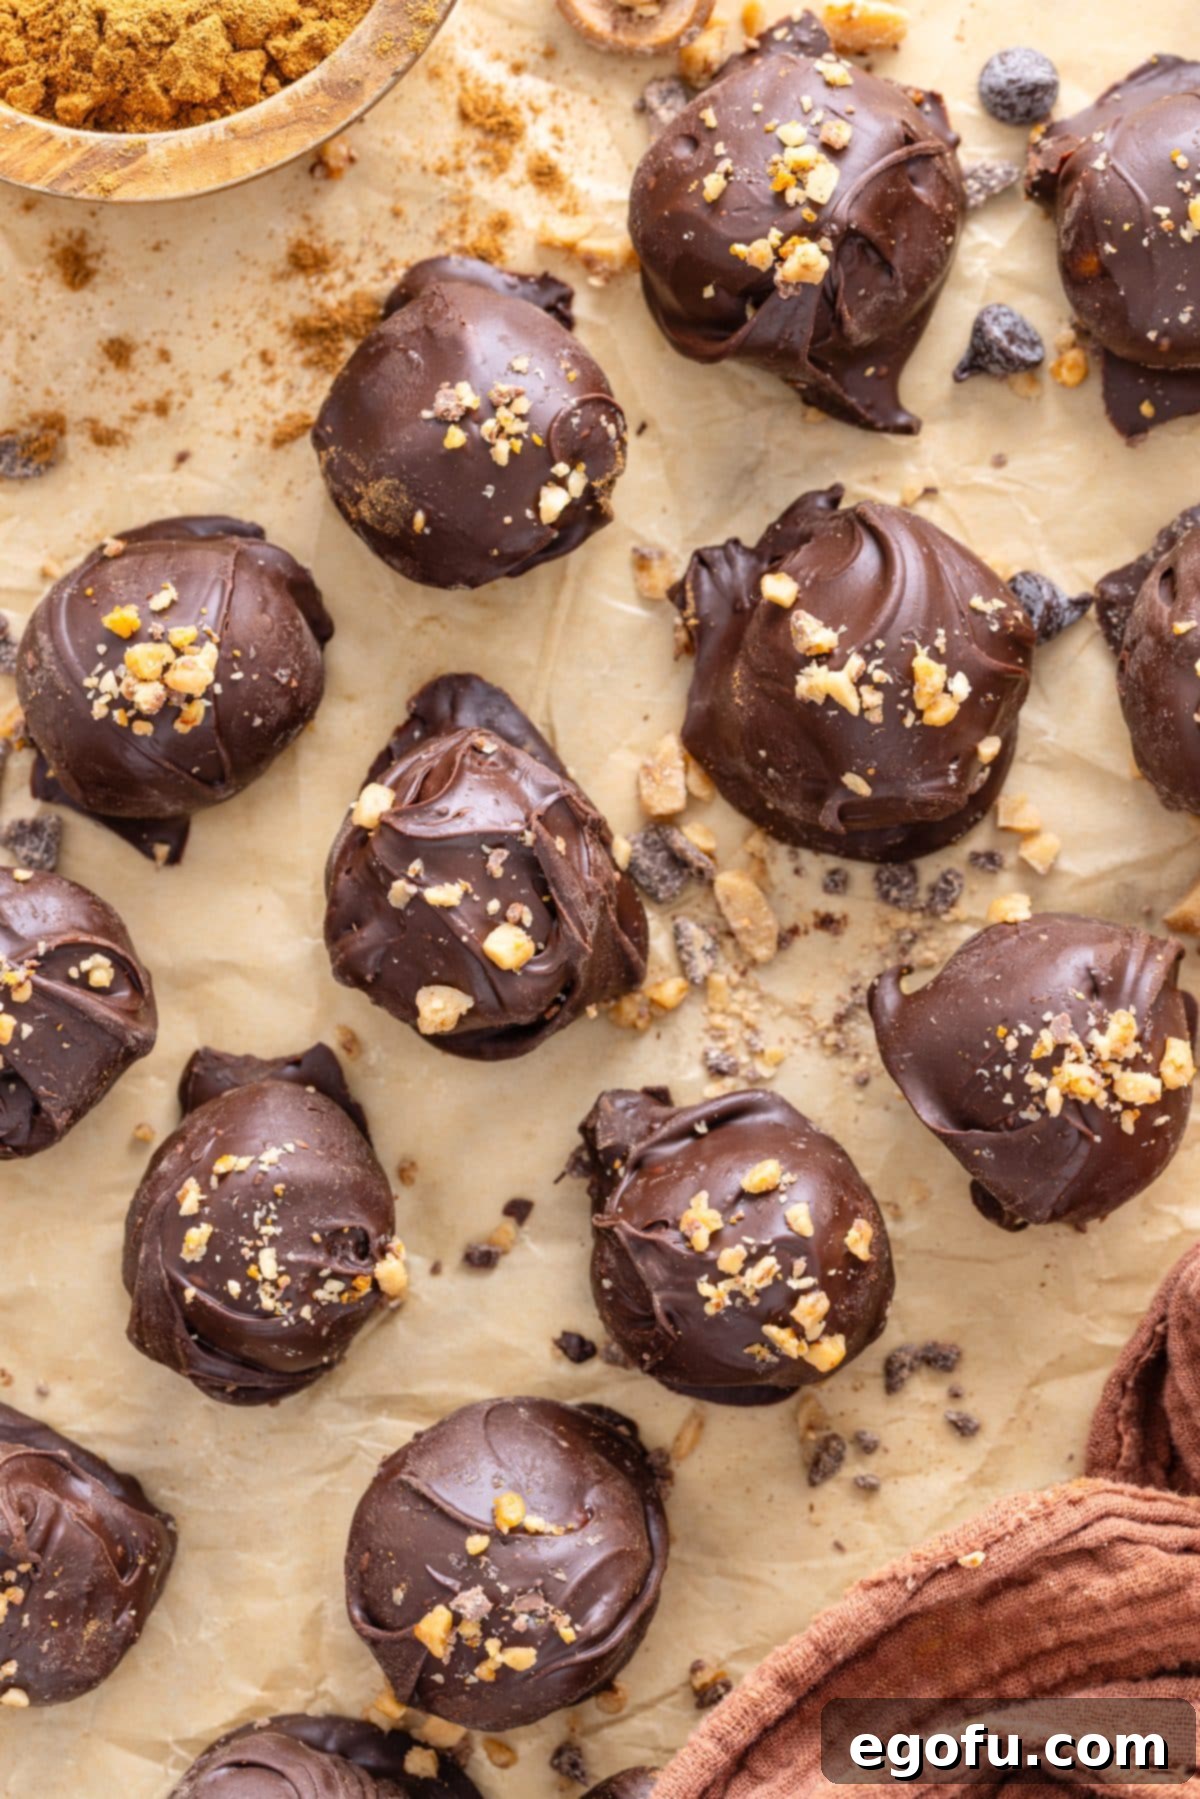
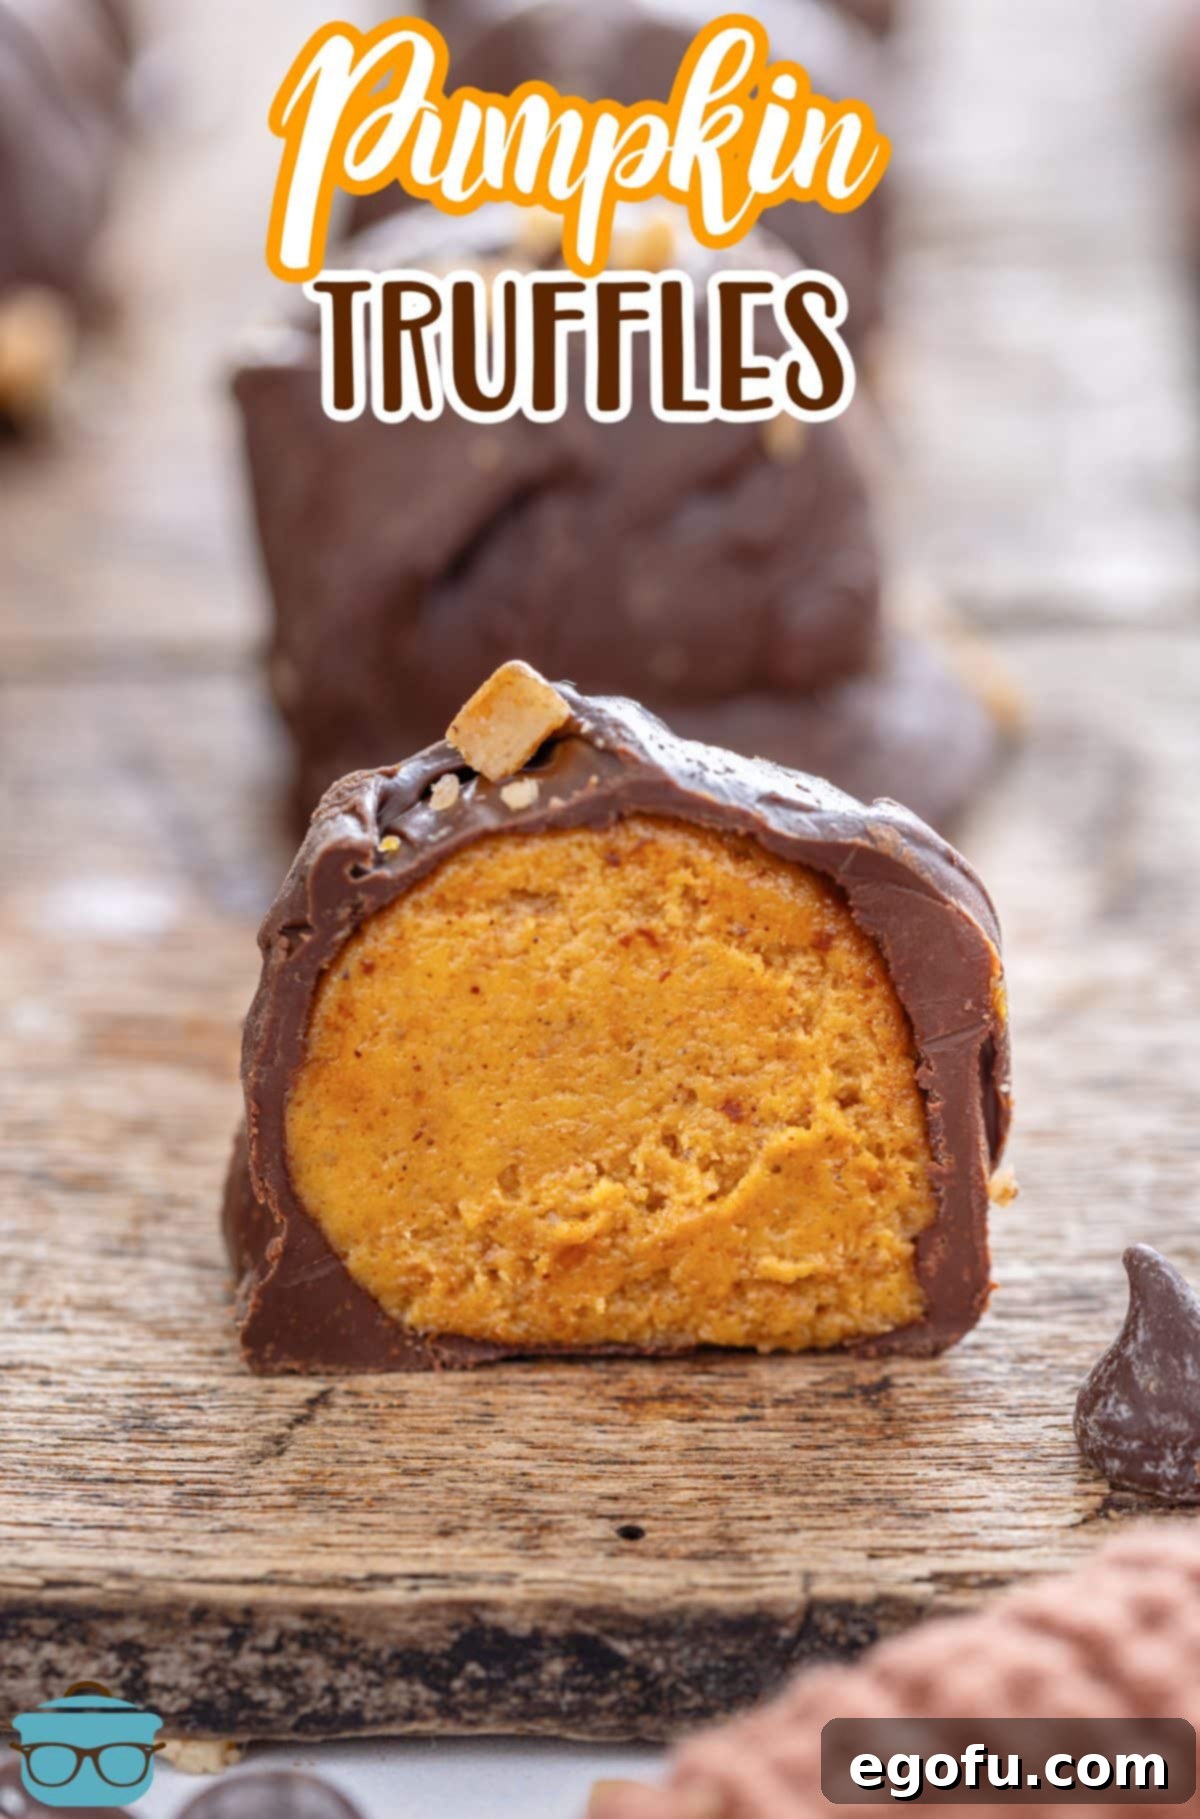
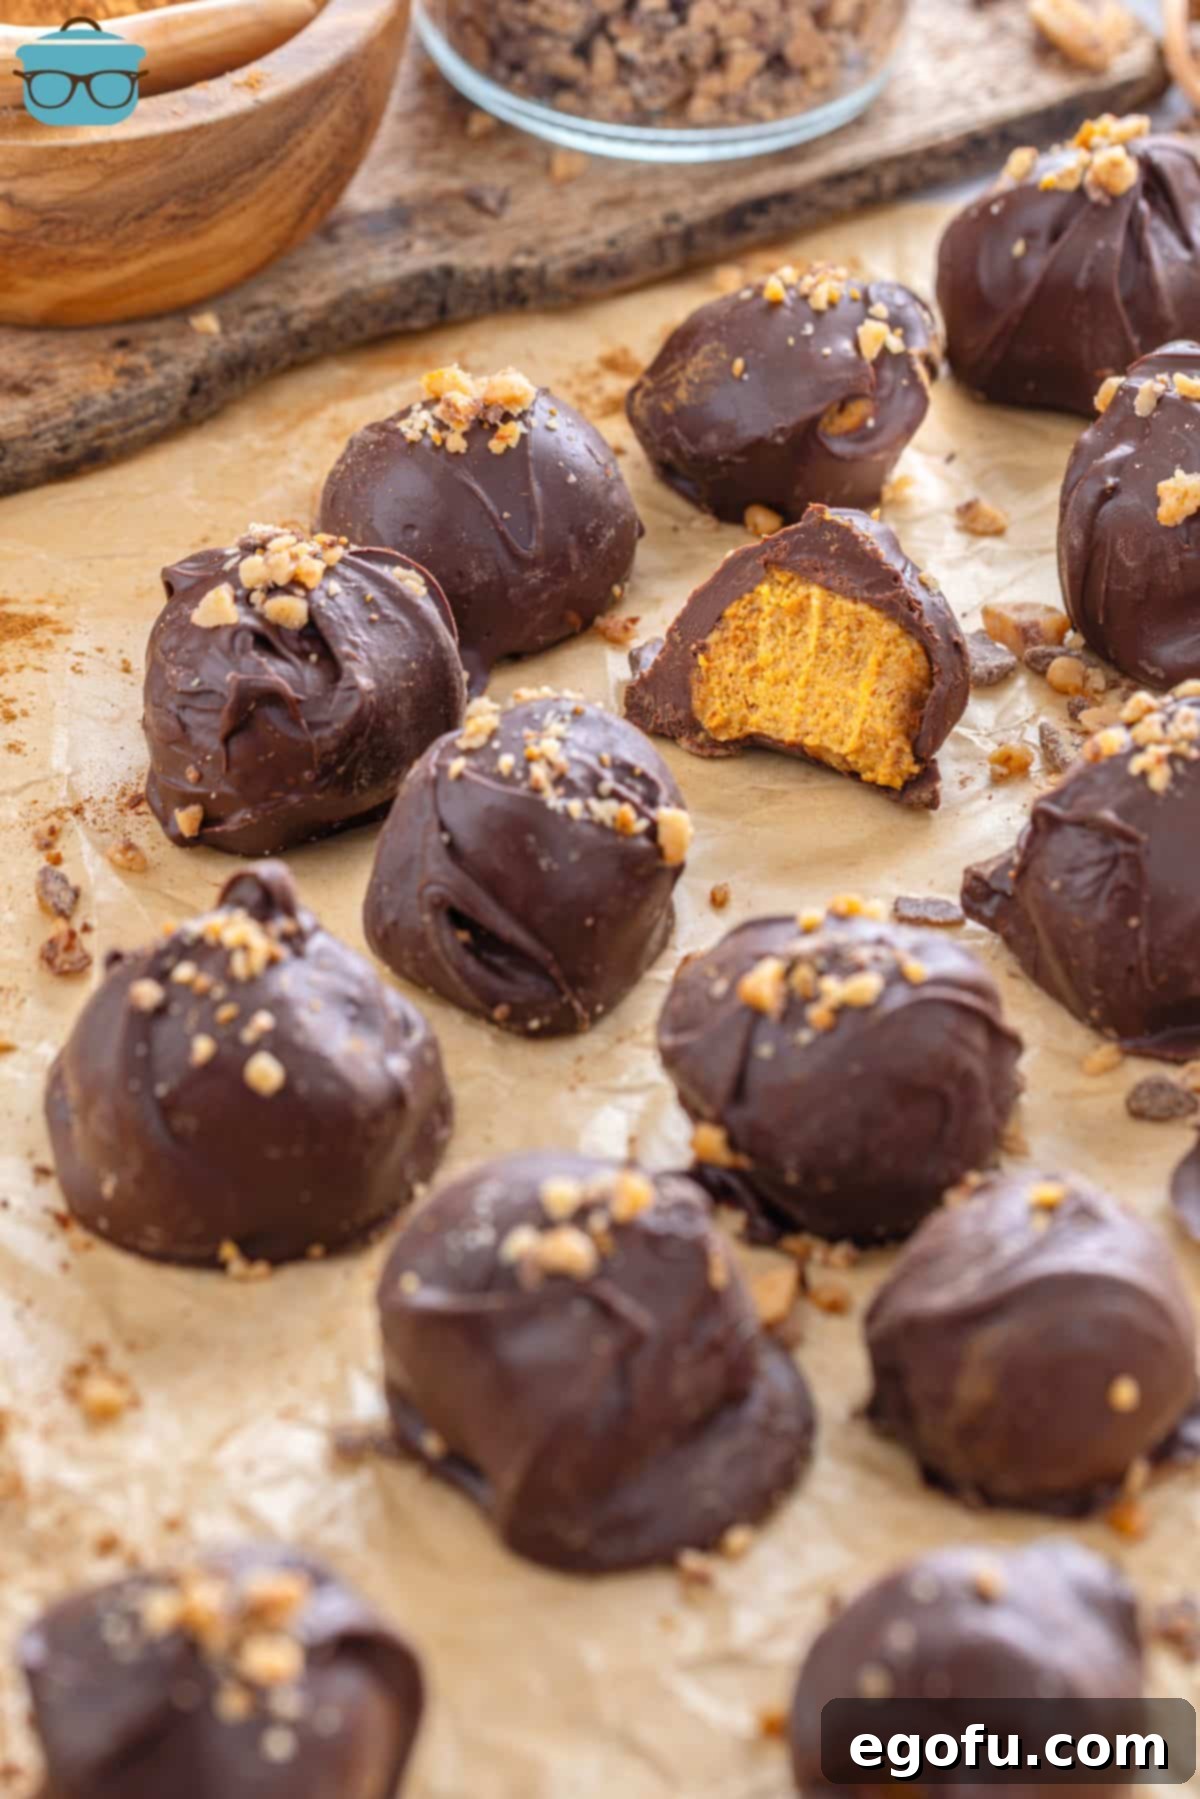
Each bite offers a symphony of autumnal tastes: a smooth, sweet pumpkin-spiced filling enveloped in a luxurious chocolate coating, often crowned with a delicate sprinkle of crunchy graham cracker crumbs or buttery English toffee bits. The texture is pure bliss – melt-in-your-mouth creamy with just the right amount of snap from the chocolate shell. What truly sets these truffles apart is their versatility. They’re not just a dessert; they’re an experience. Package them beautifully for homemade gifts, arrange them on a platter for an impressive party offering, or keep them all to yourself for a secret stash of pure joy (we won’t tell!). Their charming, bite-sized form makes them universally appealing and incredibly fun to eat.
Why You Need These Pumpkin Truffles This Fall
If you’re looking for a dessert that delivers on flavor, convenience, and charm, look no further. These pumpkin truffles are more than just a sweet treat; they’re a celebration of the season. Here’s why they’ll become your new fall favorite:
- **Effortlessly Easy:** With no oven required, these truffles are perfect for bakers of all skill levels. The steps are straightforward, making them a joyful kitchen project.
- **Rich Fall Flavor:** The combination of real pumpkin puree and warming spices like cinnamon and pumpkin pie spice creates an authentic taste of autumn in every bite.
- **Perfectly Portable:** Their bite-sized nature makes them ideal for potlucks, holiday parties, or as a thoughtful homemade gift for friends and family.
- **Customizable Delight:** Easily adapt the chocolate coating or toppings to suit your taste or occasion, from milk chocolate to white chocolate, or crushed nuts instead of graham crackers.
- **Crowd-Pleaser:** These truffles disappear quickly at any gathering. Their delicious taste and appealing presentation make them a guaranteed hit.
- **Make-Ahead Friendly:** Prepare them in advance, store them in the refrigerator or freezer, and simply pull them out when you’re ready to serve, making entertaining a breeze.
Frequently Asked Questions: Mastering Your Truffles
Keeping your chocolate consistently warm and melty is key to a smooth dipping process. A classic method is setting up a double boiler: place a heat-safe bowl over a pot of simmering (not vigorously boiling) water, ensuring the bottom of the bowl doesn’t touch the water. The gentle steam will keep your chocolate at a perfect dipping temperature. Alternatively, consider investing in a specialized electric candy melt warmer. These handy gadgets are designed specifically for maintaining chocolate at an ideal consistency and can be found online or at most craft stores.
No food processor? No problem! Achieving fine graham cracker crumbs is still quite simple. Place your graham crackers into a sturdy, sealed Ziploc bag, making sure to press out any excess air. Then, use a rolling pin or even the bottom of a heavy glass to gently pound and roll over the crackers until they are reduced to fine, uniform crumbs. This method works perfectly and gives you a bit of a workout!
Absolutely! While milk chocolate melting wafers provide a classic, smooth finish, you have several delicious alternatives. Regular chocolate chips (milk, semi-sweet, or dark) can be melted down for a rich coating. White chocolate chips offer a beautiful contrast and a different flavor profile, while melted Almond Bark is another excellent choice known for its smooth texture and ease of use. Feel free to experiment with your favorite type of chocolate to customize your truffles.
These pumpkin truffles are incredibly popular and tend to disappear quickly, especially at parties! To ensure you have enough for all your guests to enjoy, I highly recommend doubling the recipe. Plan your presentation too; arrange them on a festive platter, perhaps with some autumn leaves or small decorative pumpkins, to enhance their visual appeal. They’re best served chilled but can sit at room temperature for a few hours without issue.
Proper storage is essential for maintaining the freshness and quality of your truffles. Store any leftovers in an airtight container in the refrigerator for up to a week. To prevent them from sticking together or their delicate chocolate coating from getting damaged, separate the layers of truffles with sheets of parchment paper. This will keep them looking perfect and tasting fresh.
Yes, these truffles freeze beautifully, making them an excellent make-ahead dessert for future enjoyment. Once the chocolate coating has fully set, place the truffles in a single layer on a baking sheet and freeze until solid. Then, transfer them to a freezer-safe airtight container, again using parchment paper between layers to prevent sticking. They can be stored in the freezer for up to three months. When you’re ready to serve, simply transfer them to the refrigerator to thaw for a few hours before bringing them to room temperature, if desired.
Essential Ingredients for Perfect Pumpkin Truffles
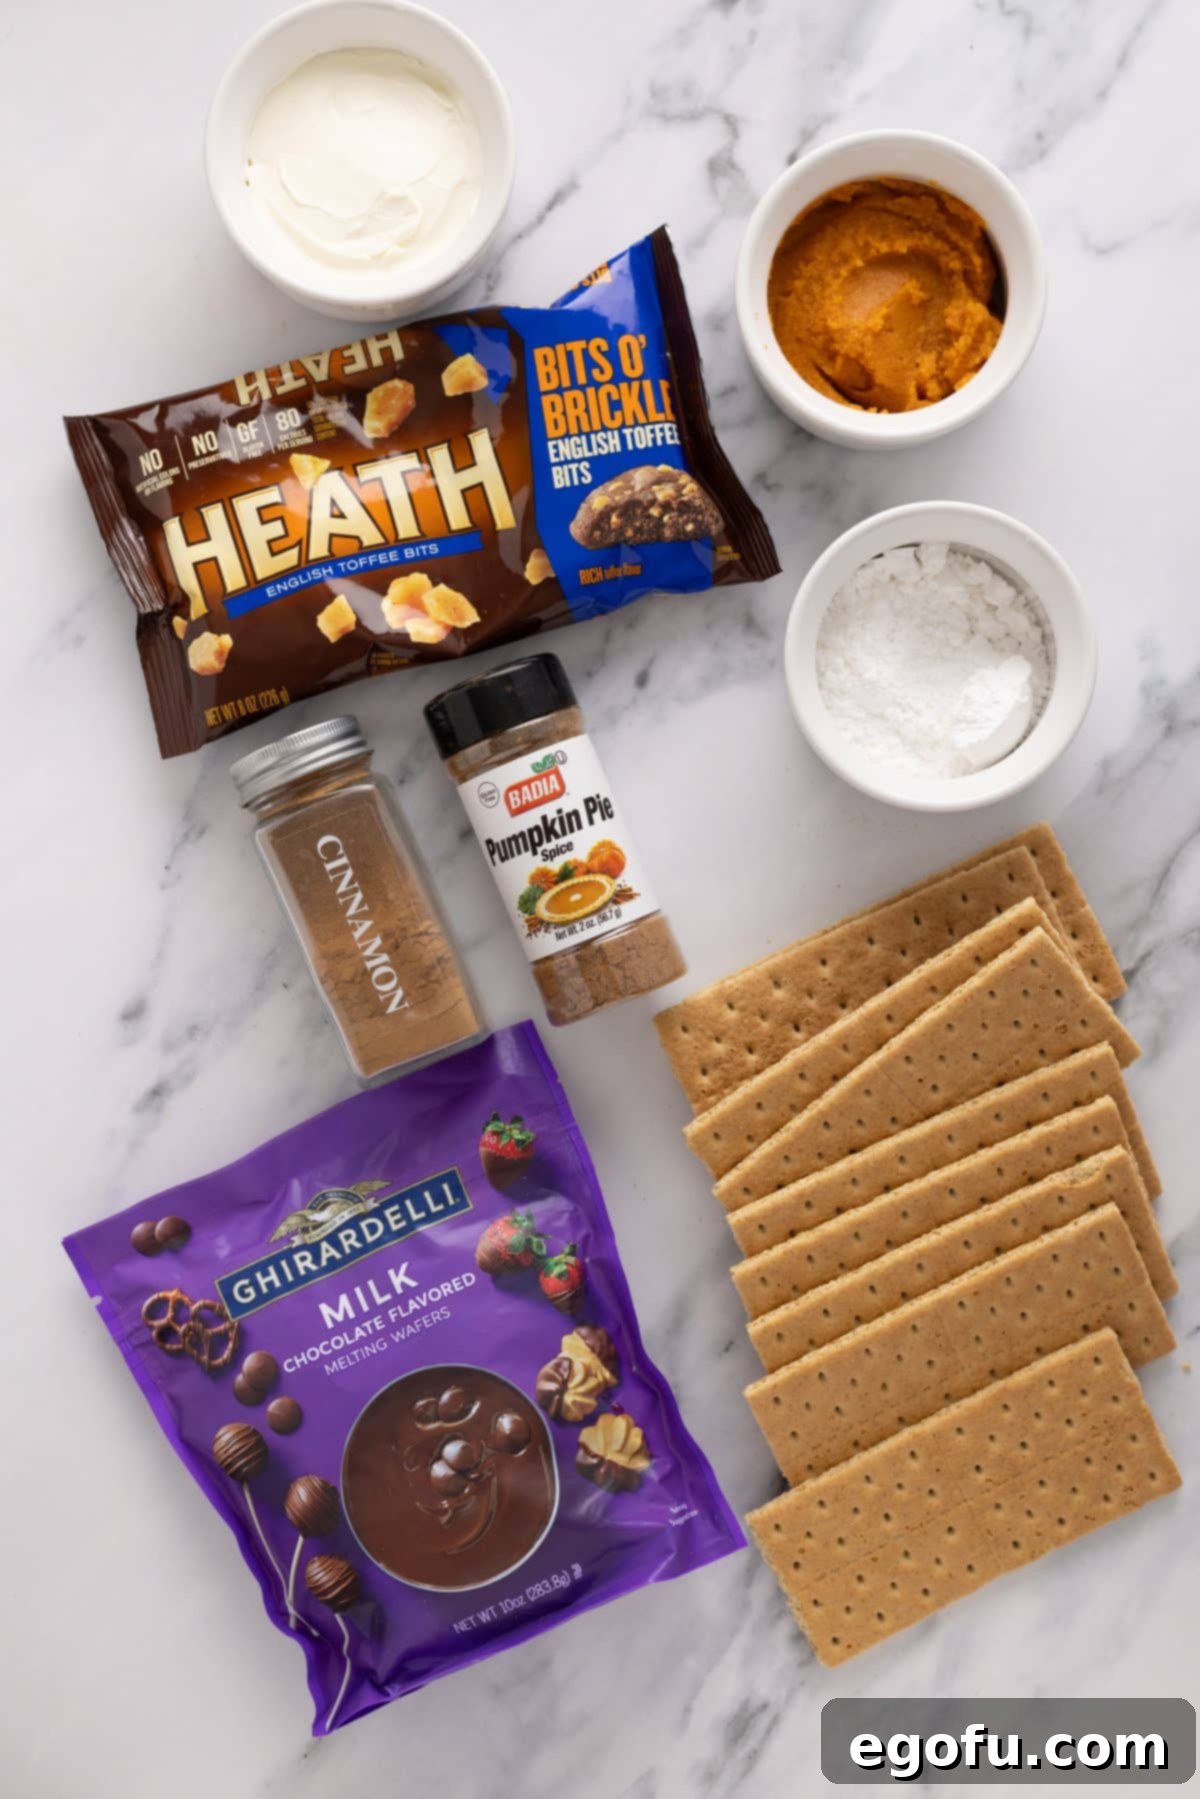
Crafting these exquisite pumpkin truffles requires a thoughtful selection of ingredients. Each component plays a vital role in achieving that perfect creamy texture and rich, spiced flavor. Here’s what you’ll need, along with some helpful tips:
- Cream Cheese: Use softened, full-fat cream cheese for the best creamy texture and rich flavor. Softening it to room temperature is crucial for a smooth mixture, preventing lumps. If you’re short on time, you can find various tips to soften cream cheese quickly. While I’ve only used full-fat, I can’t confirm if lower-fat alternatives would yield the same desired consistency.
- Powdered Sugar: Also known as confectioners’ sugar, this fine sugar ensures a silky-smooth filling without any grainy texture. It provides the perfect level of sweetness to balance the pumpkin.
- Pumpkin Puree: This is the heart of our truffles. Ensure you’re using pure pumpkin puree and absolutely NOT pumpkin pie filling, which is pre-spiced and sweetened and will alter the flavor profile significantly. Check the label carefully!
- Graham Crackers: Finely ground graham cracker crumbs provide structure to the truffle dough and add a subtle, sweet, and slightly crunchy element. For convenience, you can purchase premade graham cracker crumbs, or easily make your own by crushing whole graham cracker sheets.
- Pumpkin Pie Spice: This fragrant blend of cinnamon, nutmeg, ginger, and cloves is essential for that signature fall flavor. Use a good quality store-bought blend, or elevate your truffles by making your own Homemade Pumpkin Pie Spice for a fresher aroma.
- Cinnamon: A touch of extra ground cinnamon boosts the warm, comforting spice notes, complementing the pumpkin beautifully.
- Milk Chocolate Melting Wafers: These are specifically designed for melting and coating, providing a smooth, glossy finish that sets quickly. They are commonly found in the baking aisle of most grocery stores. If you can’t find them, alternatives like almond bark or Wilton candy melts (available at Walmart or craft stores like Michaels) work wonderfully. See the Frequently Asked Questions section above for more tips on chocolate alternatives.
- English Toffee Bits (Optional): These add a delightful crunch and buttery sweetness to the topping, creating an extra layer of texture and flavor. If you prefer, extra graham cracker crumbs can also be used for garnish.
How to Make Irresistible Pumpkin Truffles: A Step-by-Step Guide
Making these pumpkin truffles is a rewarding process, resulting in a treat that looks and tastes gourmet, yet is surprisingly simple to achieve. Follow these detailed steps to create your own batch of autumnal delights:
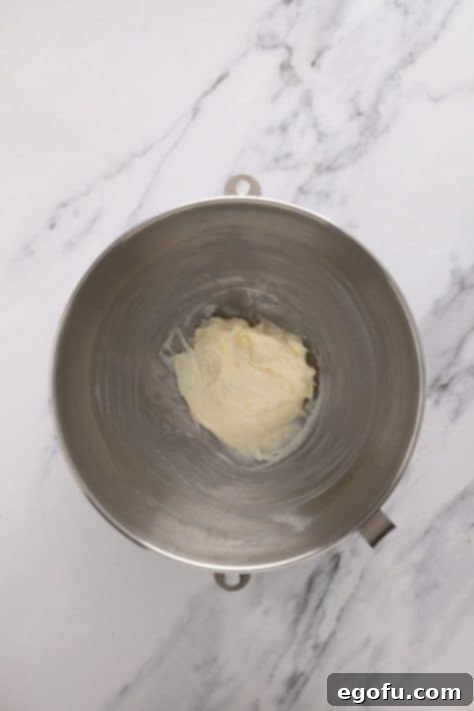
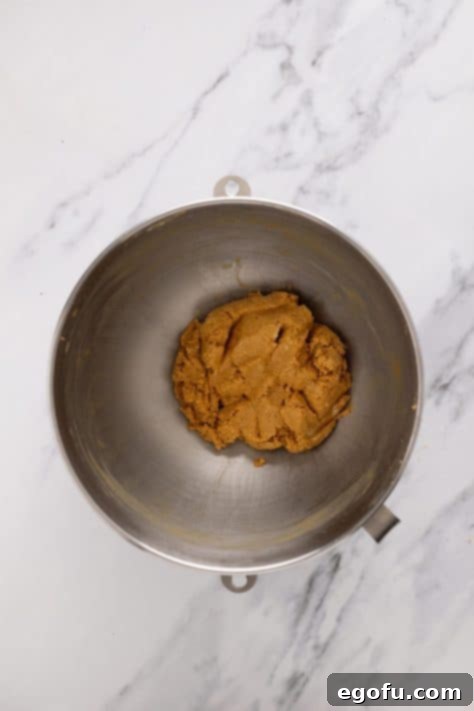
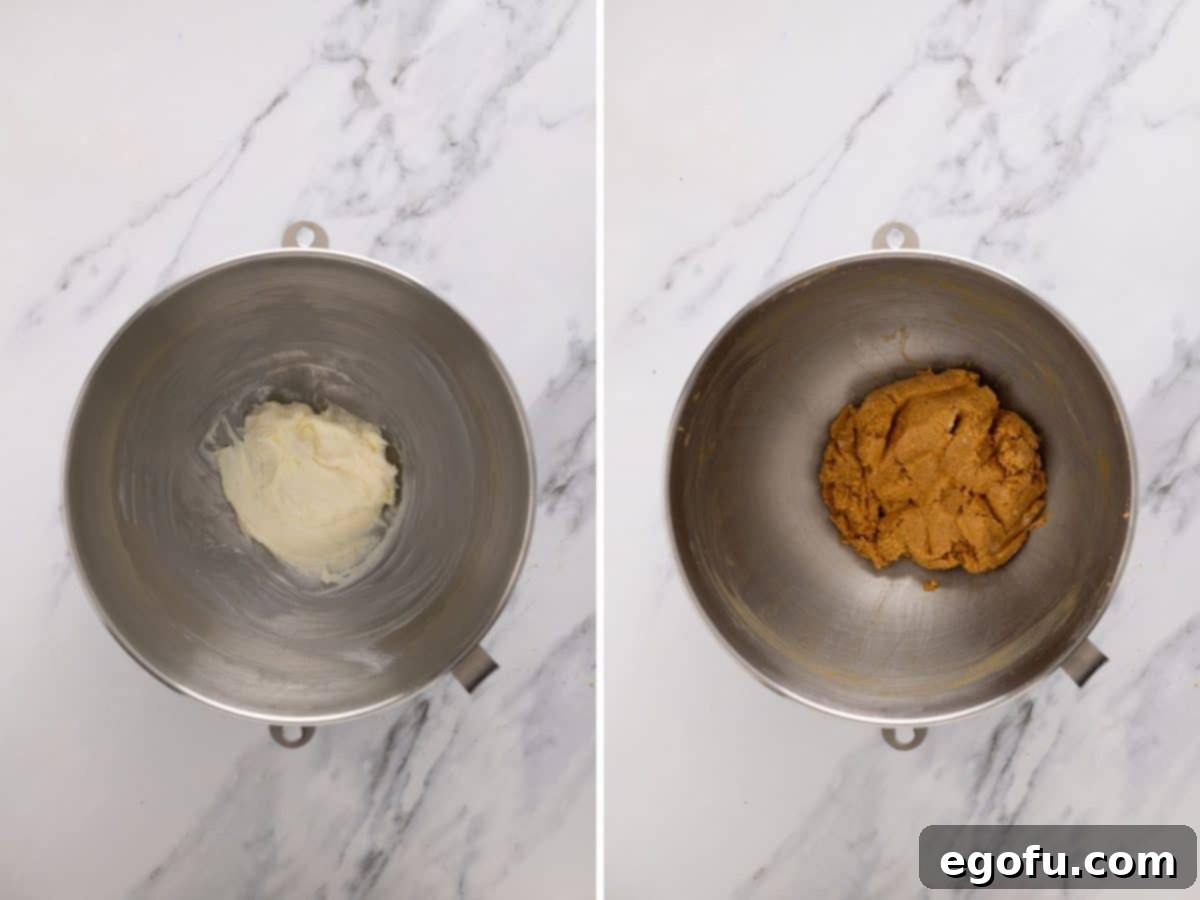
Begin by preparing your truffle base. In a spacious mixing bowl, combine the softened cream cheese and powdered sugar. Using either a stand mixer fitted with the paddle attachment or a hand mixer, beat these two ingredients together until the mixture is beautifully creamy and smooth. This foundational step ensures a luscious truffle texture. Next, incorporate the pumpkin puree. Mix it in at a medium speed until it’s thoroughly combined and the mixture is uniform and smooth. This is where the signature pumpkin flavor truly begins to shine. Now, add the dry components: the finely ground graham cracker crumbs, the aromatic pumpkin pie spice, and the warm cinnamon. Continue mixing on medium speed until all these ingredients are fully incorporated and the dough is smooth. You’ll notice the dough will become quite thick – this is exactly what you want for perfectly formable truffles. This mixing process typically takes about 1-2 minutes. Once the dough is ready, transfer it to a smaller bowl, cover it tightly, and refrigerate for at least 2 hours, or even longer if your schedule allows. Chilling is essential as it firms up the dough, making it much easier to roll into balls.
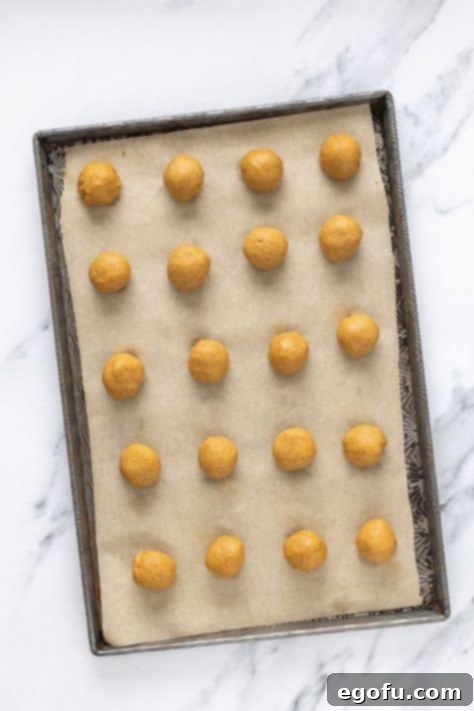
While the truffle dough chills, prepare your workspace. Line a baking sheet with parchment paper. This will prevent the truffles from sticking and make cleanup a breeze. Ensure your baking sheet can comfortably fit into your refrigerator; if not, use two smaller ones. Once the dough is sufficiently chilled, it’s time to form the truffles. Using a regular spoon or a small cookie scoop (which helps ensure uniform size), scoop out about a tablespoon of dough. Roll this portion between your palms to create a smooth, approximately 1-inch diameter ball. Place each truffle onto the prepared baking sheet, leaving about 2 inches of space between them. This recipe typically yields around 20 truffles. After all the truffles are rolled, cover the baking sheet and chill them again for another 20-25 minutes. This second chill helps them firm up even more before their chocolate bath.
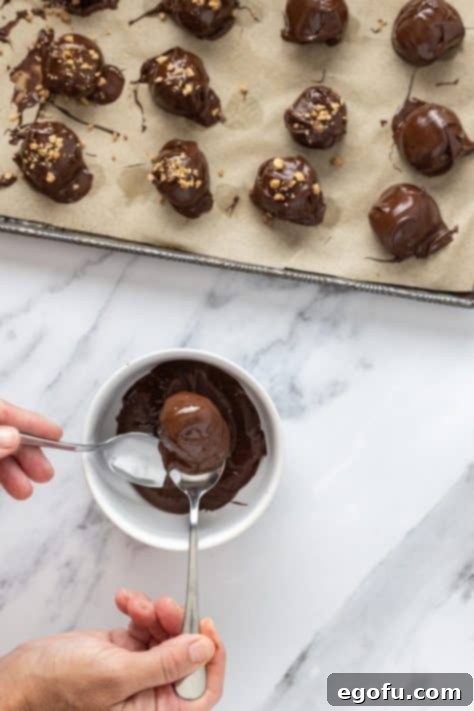
Now, prepare your chocolate coating. Add the milk chocolate melting wafers (or your chosen chocolate alternative) to a microwave-safe bowl. Microwave the chocolate at 100% power in short 10-15 second intervals, stirring thoroughly after each interval. Continue this process until the chocolate is completely melted and beautifully smooth. Be careful not to overheat the chocolate, as this can cause it to seize and become unusable. Once your chocolate is ready, remove the chilled truffle balls from the refrigerator. Using a fork, gently drop one truffle into the melted chocolate at a time. Use the fork to carefully maneuver the truffle, ensuring it’s fully coated. Lift the truffle out, and gently tap the bottom of the fork against the side of the bowl to allow any excess chocolate to drip off. This helps create a thinner, more even coating.
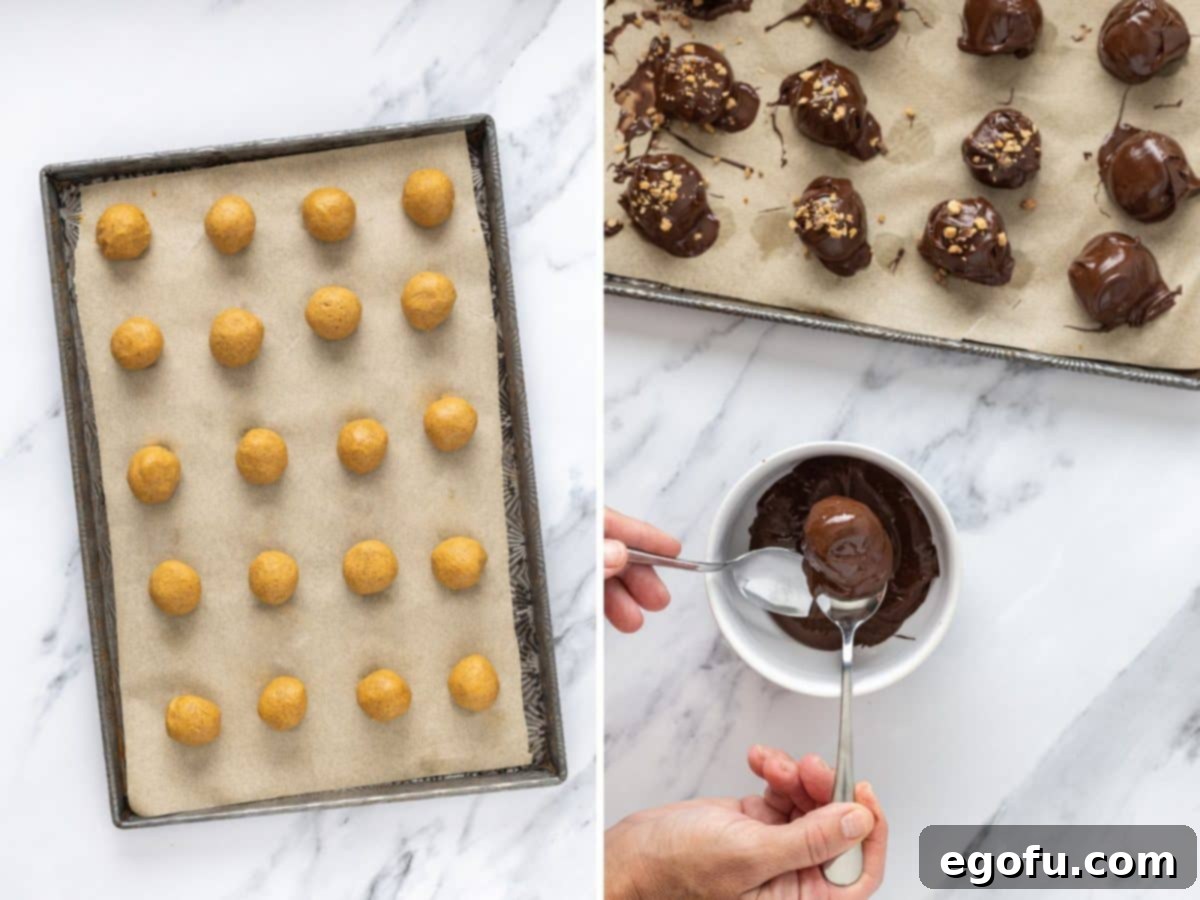
To transfer the coated truffle back to the parchment-lined baking sheet without blemish, use a second clean fork to gently slide it off the dipping fork. Immediately after placing each truffle, sprinkle your chosen topping – English toffee bits or extra graham cracker crumbs – over the wet chocolate. This ensures the topping adheres beautifully. Repeat this dipping and topping process with all remaining truffles. If you notice any missed spots on the bottoms of the truffles after they’ve slightly hardened, you can carefully re-dip just the bottoms to cover them. Allow the truffles to set at room temperature until the chocolate shell is firm. For the best texture and flavor, place the finished truffles back into the refrigerator to fully set before serving. While they are delightful chilled, they can also be enjoyed at room temperature for a few hours without compromising their quality.
Serving and Gifting Your Pumpkin Truffles
These Pumpkin Truffles are not just a treat for the taste buds; they are also a feast for the eyes and make for incredibly thoughtful gifts. When serving, arrange them artfully on a festive platter. Consider garnishing the platter with a few scattered autumn leaves, small decorative gourds, or a sprinkle of extra pumpkin pie spice for an inviting fall display. Pair them with a warm cup of coffee, a spiced chai latte, or a glass of apple cider for a complete autumnal experience. They are perfect for dessert tables at Thanksgiving, Halloween parties, or any fall gathering where you want to impress with homemade charm.
For gifting, place a selection of truffles in a small decorative box lined with parchment paper or colorful tissue paper. Tie it with a festive ribbon, and perhaps include a small handwritten tag. Homemade truffles are a personal and delightful present, showing friends, family, or hosts that you put thought and effort into their gift. Their sturdy, no-bake nature makes them resilient for transport, ensuring they arrive looking as perfect as when they left your kitchen.
Craving More Decadent No-Bake Treats?
If you loved the ease and deliciousness of these Pumpkin Truffles, you’ll surely enjoy exploring other similar no-bake delights. These recipes are perfect for satisfying sweet cravings with minimal effort and maximum flavor:
- Peppermint Oreo Balls: A refreshing holiday classic, perfect for mint lovers.
- Christmas Ornament Cookie Balls: Festive and fun, these add cheer to any holiday spread.
- Red Velvet Cake Balls: Rich, vibrant, and incredibly indulgent.
- Turkey Shaped Cake Balls: A creative and delicious treat for Thanksgiving.
- Pumpkin Shaped Oreo Balls: Another pumpkin-themed delight, shaped adorably for fall.
- Oreo Cookie Balls: The original crowd-pleaser, simple and universally loved.
- Circus Animal Cookie Balls: Playful, colorful, and a nostalgic favorite.
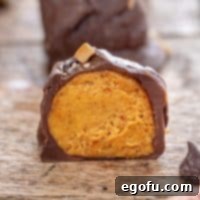
Pumpkin Truffles
Print
Pin
Rate
Ingredients
- 4 ounces (1/2 a block) cream cheese, softened
- 2 Tablespoons powdered sugar
- ⅓ cup pumpkin puree (NOT pumpkin pie filling.)
- 1 ¾ cups finely ground graham cracker crumbs (approximately 10-11 graham sheets)
- 1 teaspoon pumpkin pie spice
- ½ teaspoon cinnamon
- 10 ounce bag milk chocolate melting wafers (can use dark or white chocolate)
- extra graham cracker crumbs or English toffee bits (optional, to top the truffles)
Instructions
- Add 4 ounces (1/2 a block) cream cheese, softened and 2 Tablespoons powdered sugar to a mixing bowl. Using a stand or hand mixer, beat until creamy and smooth.

- Add 1/3 cup pumpkin puree and mix at a medium speed until fully combined and smooth.
- Add 1 ¾ cups finely ground graham cracker crumbs, 1 teaspoon pumpkin pie spice and ½ teaspoon cinnamon to the bowl and mix on medium until fully incorporated and smooth. The dough will be thick. Approximately 1-2 minutes.

- Transfer the dough to a small bowl, cover and refrigerate for approximately 2 hours, or longer if needed.
- Prepare a baking sheet with parchment paper.
NOTE: Make sure you can fit this baking sheet in your refrigerator. If necessary, use two smaller baking sheets.
- Scoop a small Tablespoon of dough into your hands, using a regular spoon or cookie scoop, and roll into a uniform ball that is approximately 1” in diameter. Place it on the baking sheet. Repeat with the remainder of the dough placing each truffle 2” apart. This gave me approximately 20 truffles.

- Cover and chill for 20-25 minutes before dipping in chocolate.
- Prepare the chocolate by adding 10 ounce bag milk chocolate melting wafers to a microwave safe bowl.
- Microwave at 100% power in 10-15 second intervals, stirring in between, until the chips are fully melted and smooth. Do not overheat!
- Remove the truffle dough balls from the refrigerator and use a fork to drop one truffle at a time into the melted chocolate. Use the fork to maneuver the truffle to ensure it’s fully covered.
- Remove the truffle from the chocolate and scrape the bottom of the fork against the side of the bowl to remove extra chocolate.
- Gently place the truffle back on the prepared baking sheet by using an additional fork to slide against the underside of the truffle keeping the sides blemish free.
- Repeat the process with the remaining truffles. If needed, re-dip the bottoms of the truffles to cover any missing areas once they have hardened enough to handle.

- Immediately sprinkle the tops with extra graham cracker crumbs or English toffee bits. Allow the truffles to set to a hard shell.
- Place the truffles back in the refrigerator to fully set before serving. They can remain at room temperature for a few hours before serving.

Notes
- For more detailed insights on substitutions or answers to common queries, please refer to the “Frequently Asked Questions” and “Essential Ingredients” sections above.
- For optimal flavor and texture, ensure your cream cheese is at room temperature before mixing.
- When melting chocolate, low and slow is key to prevent seizing. Avoid any contact with water, as even a tiny drop can ruin the consistency.
Nutrition
Nutritional Disclaimer
“The Country Cook” is not a dietician or nutritionist, and any nutritional information shared is an estimate. If calorie count and other nutritional values are important to you, we recommend running the ingredients through whichever online nutritional calculator you prefer. Calories and other nutritional values can vary quite a bit depending on which brands were used.
