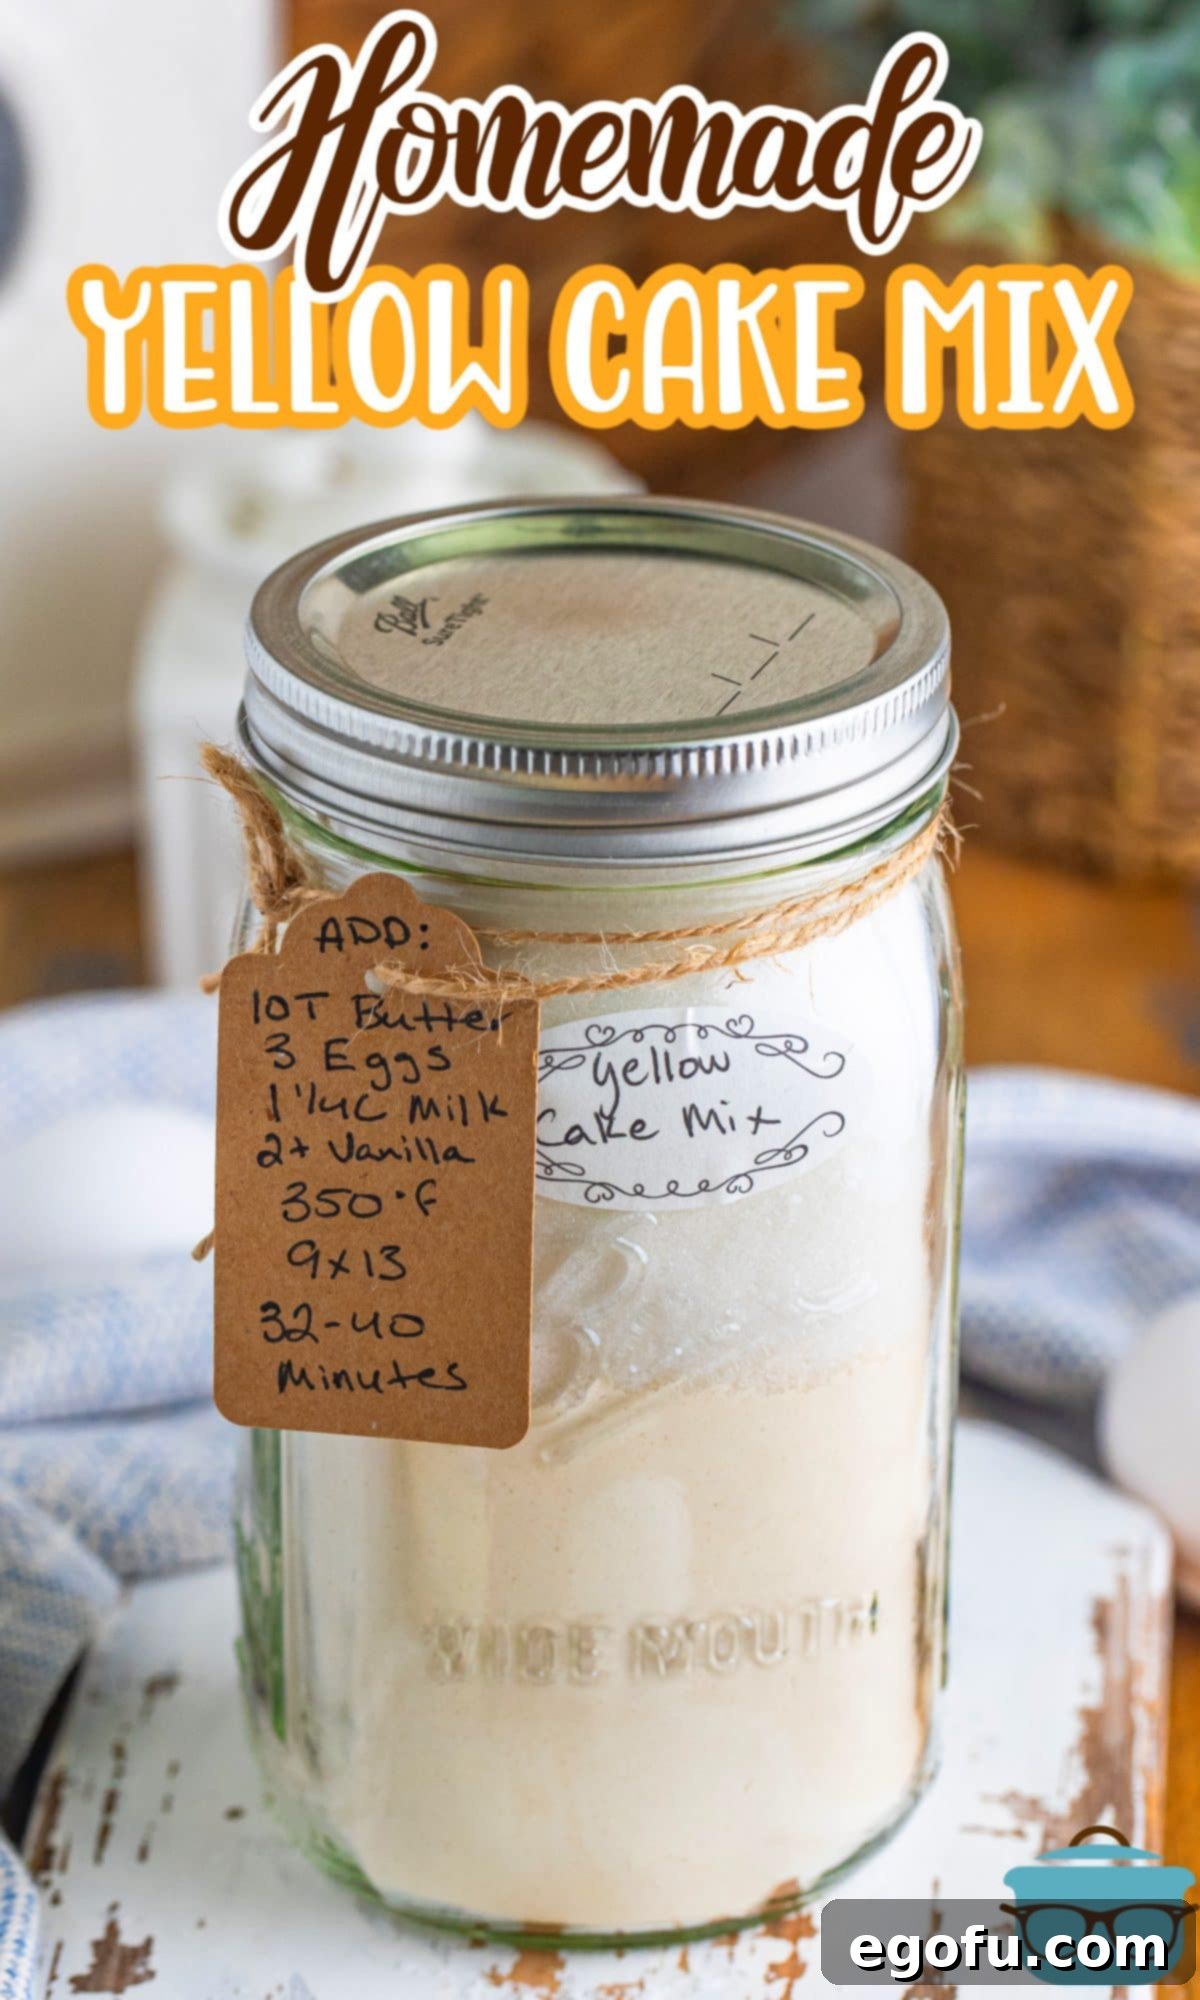
You’ll never run out of cake mix again when you can make this simple Homemade Yellow Cake Mix. Crafted with just 4 essential pantry staples, it’s the secret to effortlessly delicious baking!
HOMEMADE BAKING, ELEVATED AND EASY
For those who appreciate the convenience of a boxed cake mix but crave the undeniable flavor and freshness of a truly homemade dessert, this recipe is a game-changer. I’ll confess, I’m not always the most adventurous baker, and store-bought mixes have often been my go-to for whipping up various sweet treats. However, there’s a unique satisfaction that comes from knowing every ingredient in your dessert, and with this homemade yellow cake mix, you get the best of both worlds: incredible taste with impressive ease.
This specially crafted mix promises to deliver a yellow cake that is exceptionally buttery, wonderfully moist, and delightfully fluffy – a true classic reimagined for the modern home baker. Beyond its culinary appeal, this homemade cake mix makes for an outstanding gift. Prepare a few extra jars, tie a ribbon around them, and share the joy of simple, delicious baking with friends and family. They’ll undoubtedly appreciate the thoughtful, handcrafted gesture and the promise of a delightful dessert to come.
FREQUENTLY ASKED QUESTIONS ABOUT HOMEMADE YELLOW CAKE MIX
While incredibly delicious, this homemade yellow cake mix will not yield a cake that is an exact replica of one made from a commercial boxed mix. Homemade cakes generally tend to be slightly more dense, offering a richer, more substantial crumb. This difference stems from the industrial ingredients found in many boxed mixes, such as various starches, emulsifiers, and preservatives, which are designed to create an ultra-light, uniformly moist texture and extend shelf life. These ingredients are typically not available in a standard grocery store and are often what home bakers aim to avoid by choosing a homemade option. Embrace the subtle differences – this is the authentic taste and texture of a cake made from scratch, with wholesome ingredients you recognize.
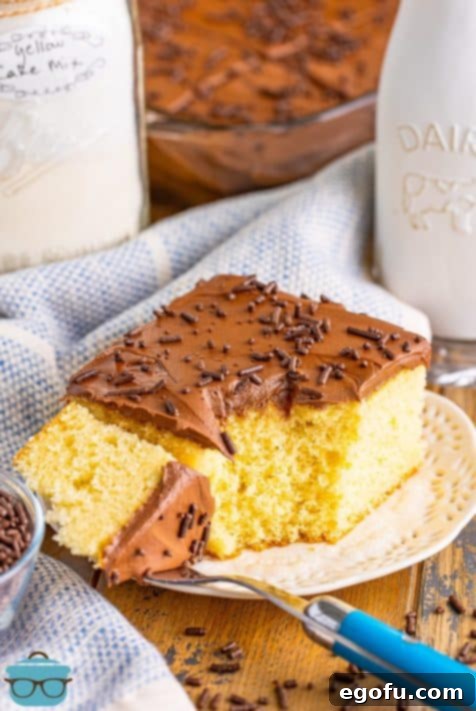
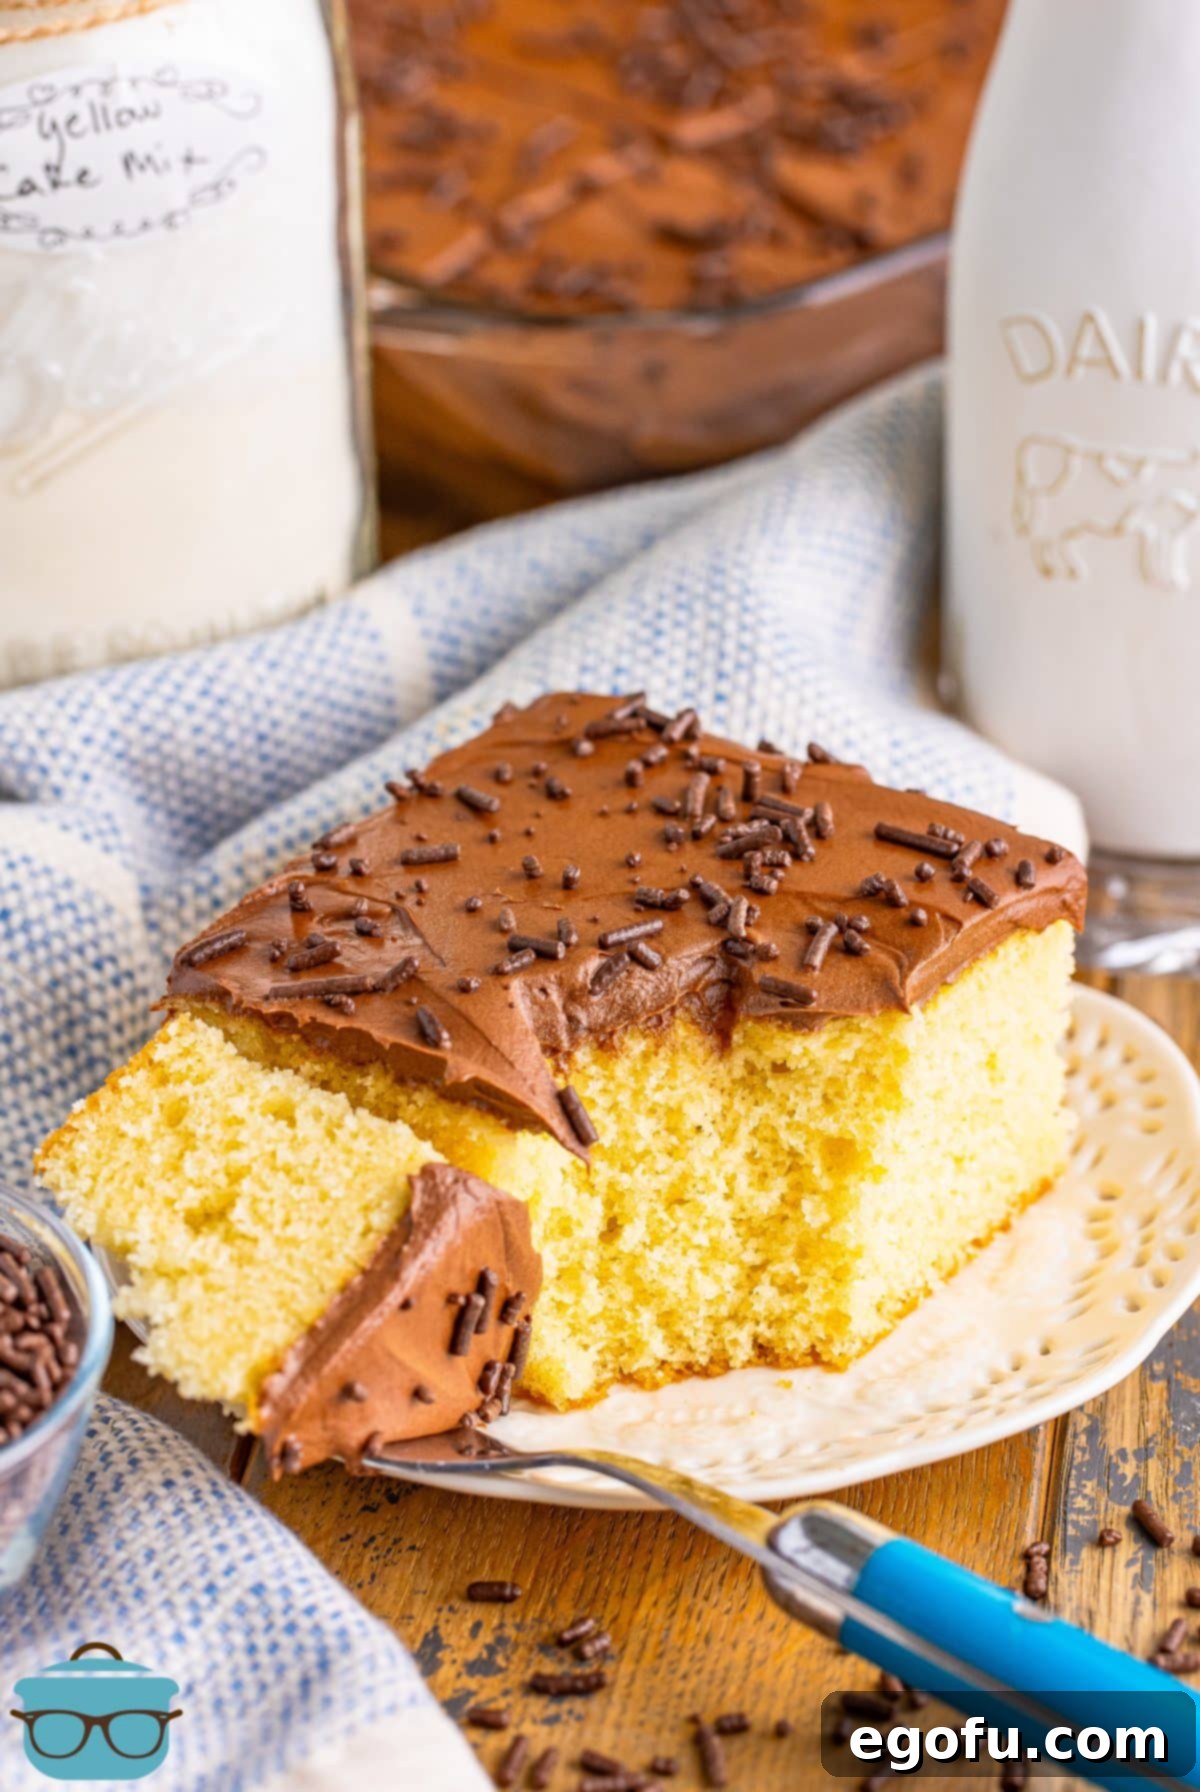
The delightful cake featured in the images, made with this homemade yellow cake mix, was frosted with my rich Chocolate Frosting from my Chocolate Sheet Cake Recipe. The combination proved to be an absolutely perfect pairing, offering a harmonious balance of flavors that will surely impress!
Yes, you certainly can use oil instead of butter if you prefer, or if dietary needs require it. However, it’s not a direct, one-to-one volumetric swap due to differences in fat content and density. For this cake, which calls for 10 Tablespoons of butter, you would substitute approximately 7 ½ Tablespoons of oil. This amount is just under half a cup of oil. While both fats produce a moist cake, butter contributes a distinct, rich flavor and a slightly different crumb structure that many associate with classic yellow cake.
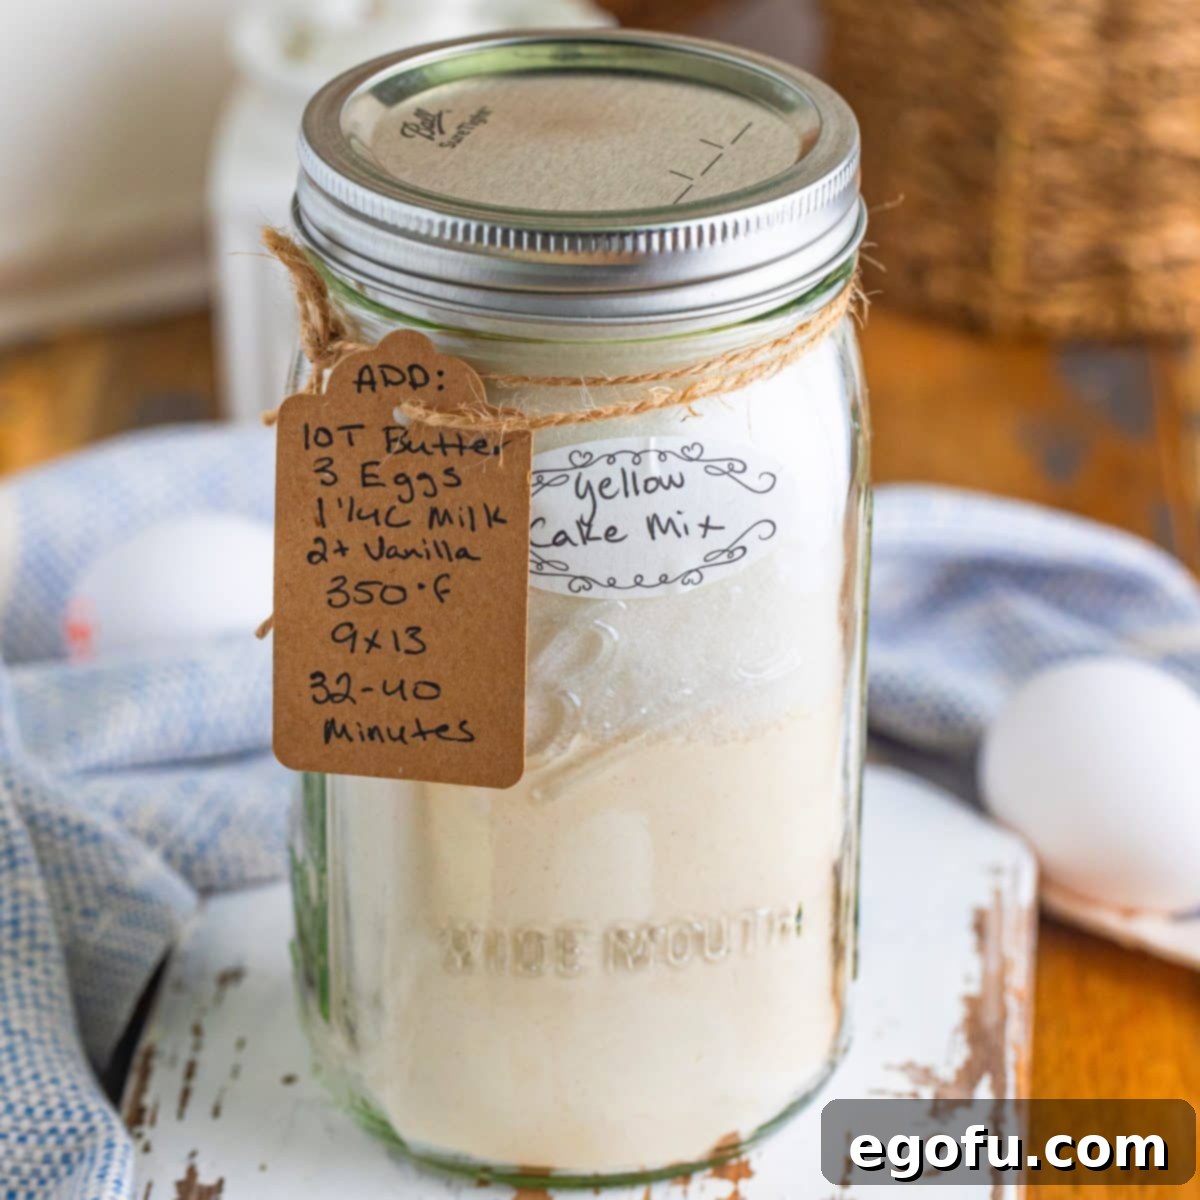
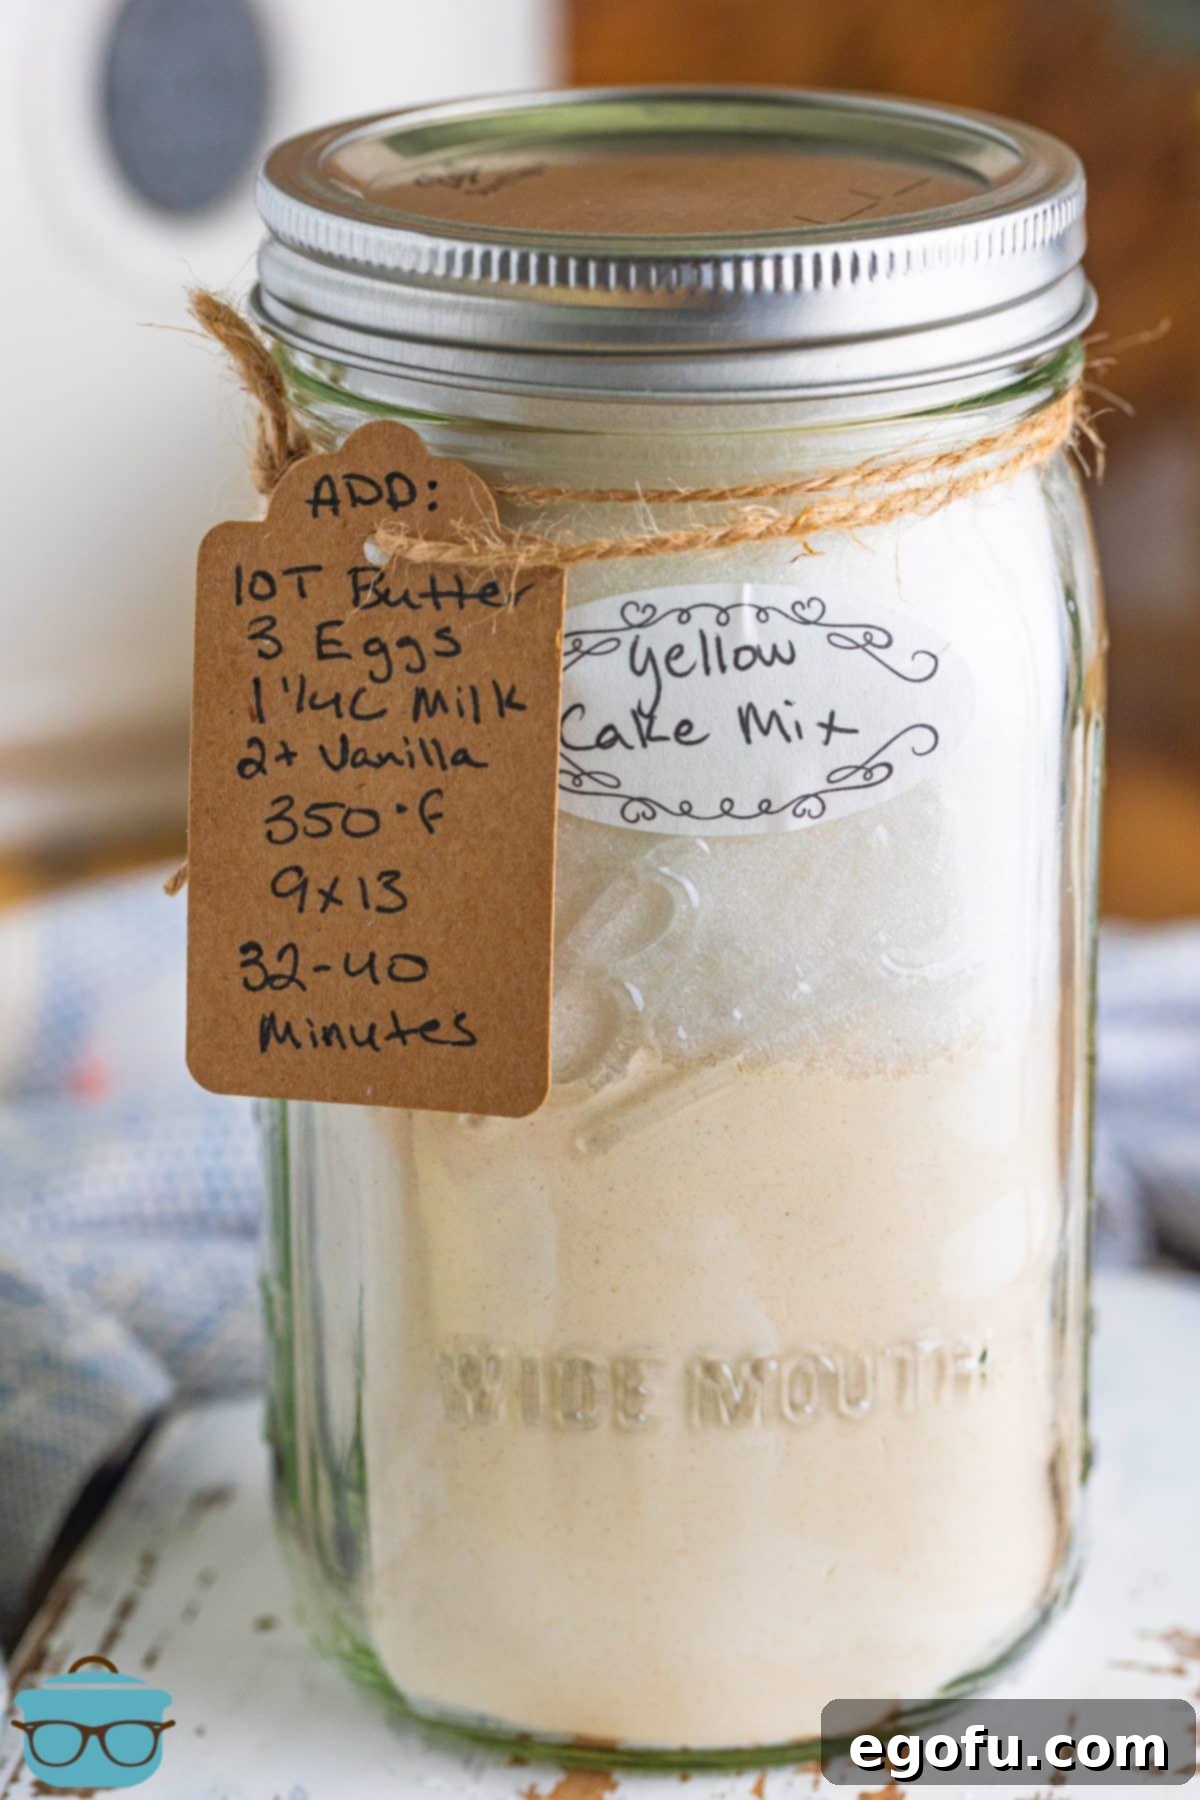
If you’re planning to share this wonderful homemade yellow cake mix as a gift, it’s essential to include clear instructions so the recipient can easily bake their own delicious cake. Create a small tag that lists the additional wet ingredients they will need to add (butter/oil, eggs, milk, vanilla extract). Also, specify the recommended baking dish size (e.g., 9×13 inch), the oven temperature (350°F), and the approximate baking time (32-40 minutes). This ensures a smooth and successful baking experience for them!
To maintain the freshness and quality of your homemade cake mix, store it in an airtight container. A glass mason jar is an excellent choice as it provides a tight seal and is aesthetically pleasing. Keep the container in a cool, dry place, away from direct sunlight or excessive humidity. When stored properly, your mix will remain fresh and ready to use for up to 3 months, ensuring you always have a quick dessert solution on hand.
Once baked, a yellow cake made from this homemade mix will remain fresh and delicious at room temperature for up to 5 days. To keep it moist and prevent it from drying out, make sure the cake is well-covered with plastic wrap, foil, or stored in an airtight cake container. For longer storage, refrigeration can extend its freshness, though it’s often best enjoyed within the first few days.
Absolutely! You can certainly freeze a cake baked from this homemade mix, which is a fantastic way to enjoy a slice of homemade goodness whenever a craving strikes. To freeze it effectively, allow the cake to cool completely after baking. Then, wrap it tightly in several layers of plastic wrap, followed by a layer of aluminum foil, to prevent freezer burn. Stored this way, the cake can be kept in the freezer for up to 3 months. Thaw it at room temperature before serving or frosting.
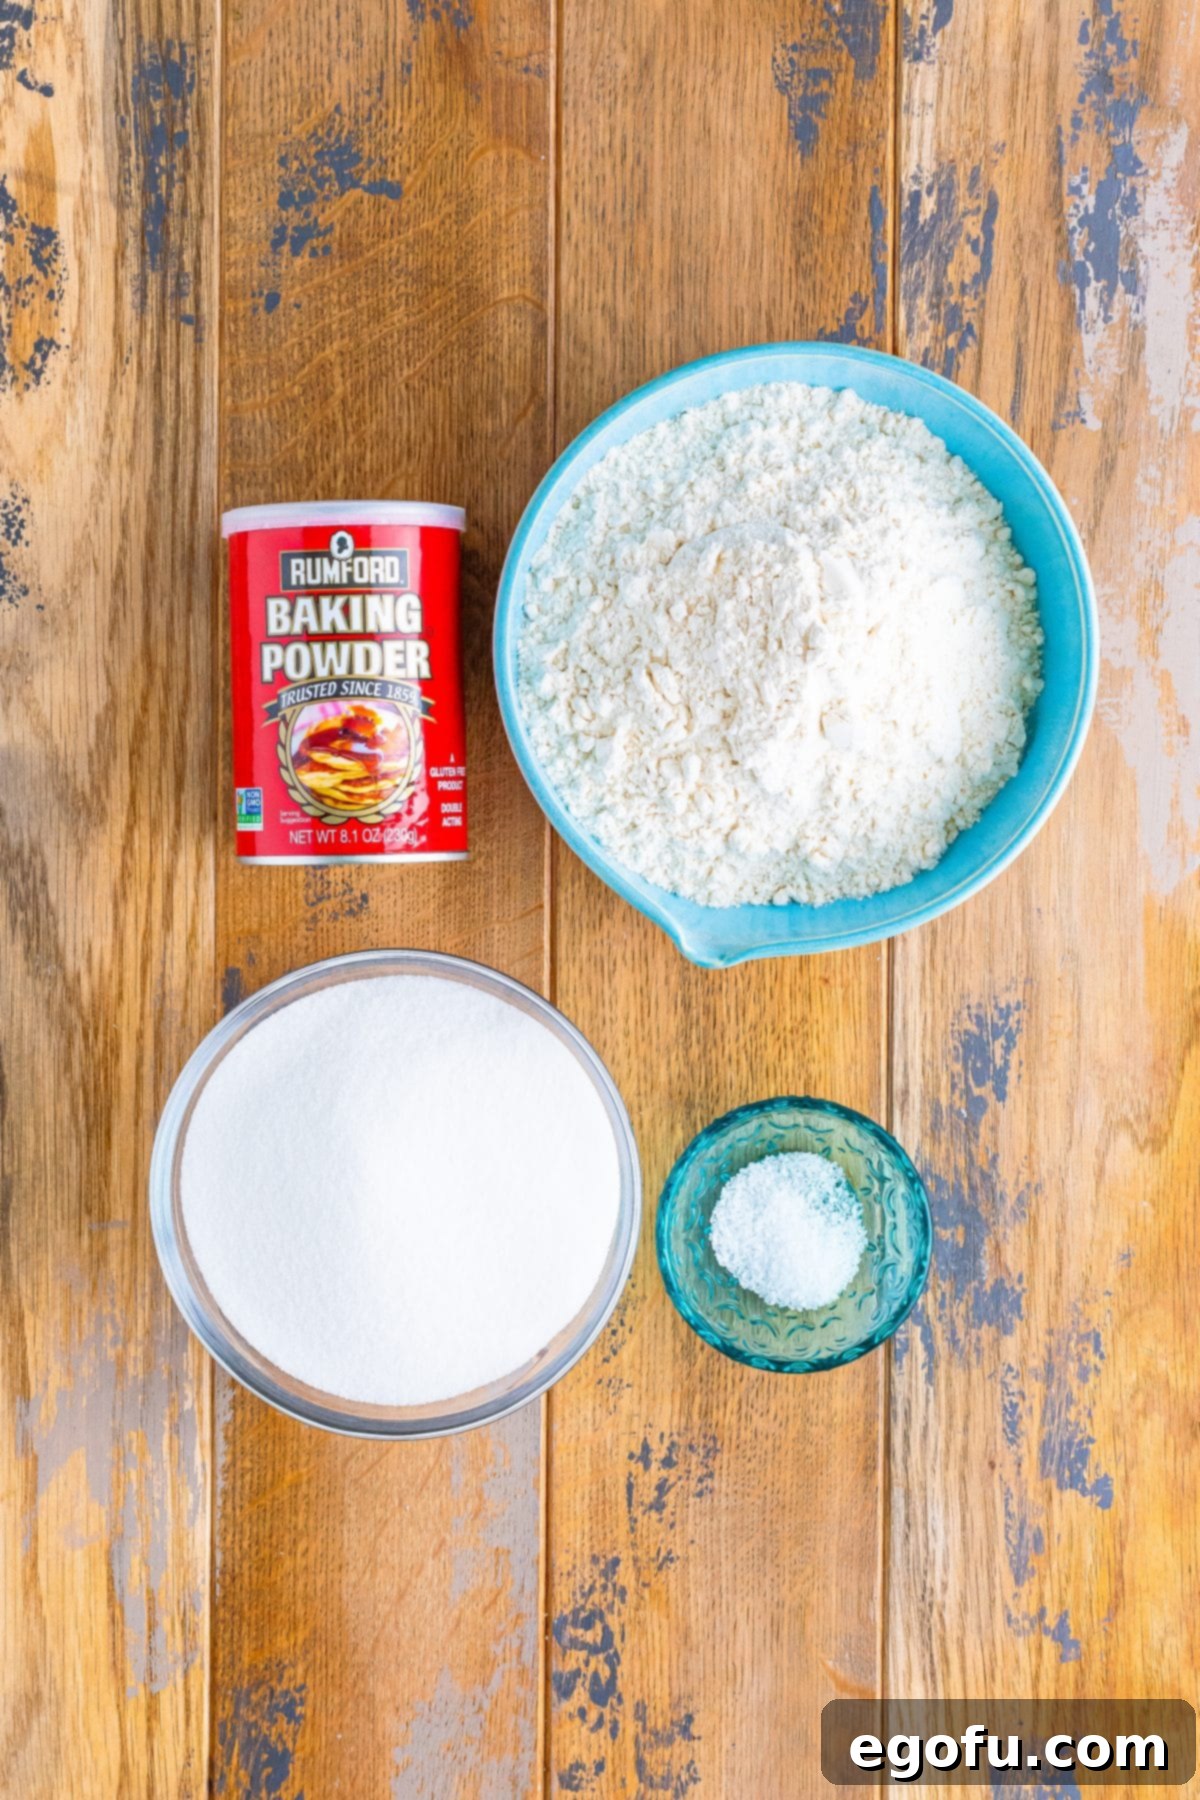
ESSENTIAL INGREDIENTS FOR YOUR HOMEMADE YELLOW CAKE MIX (FULL RECIPE DETAILS BELOW)
- All-Purpose Flour: This forms the structural backbone of your cake. While all-purpose flour works beautifully, you could opt for cake flour for an even lighter, more delicate crumb. If using cake flour, remember to add an extra 2 Tablespoons for every cup of all-purpose flour, as cake flour is lighter by weight and has a lower protein content, which contributes to its tenderizing effect.
- Granulated Sugar: Beyond sweetness, sugar contributes to the cake’s moistness and helps with browning during baking. For those seeking a sugar-free alternative, a 1:1 sugar substitute designed for baking (like Splenda for baking) can be used effectively without significantly altering the volume or texture.
- Baking Powder: This is a crucial leavening agent that helps the cake rise, creating that light and airy texture we all love. Ensure your baking powder is fresh for optimal results; expired baking powder will lead to a dense, flat cake.
- Salt: A small amount of salt plays a vital role in enhancing all the other flavors in the cake. It balances the sweetness of the sugar and makes the overall taste more complex and appealing.
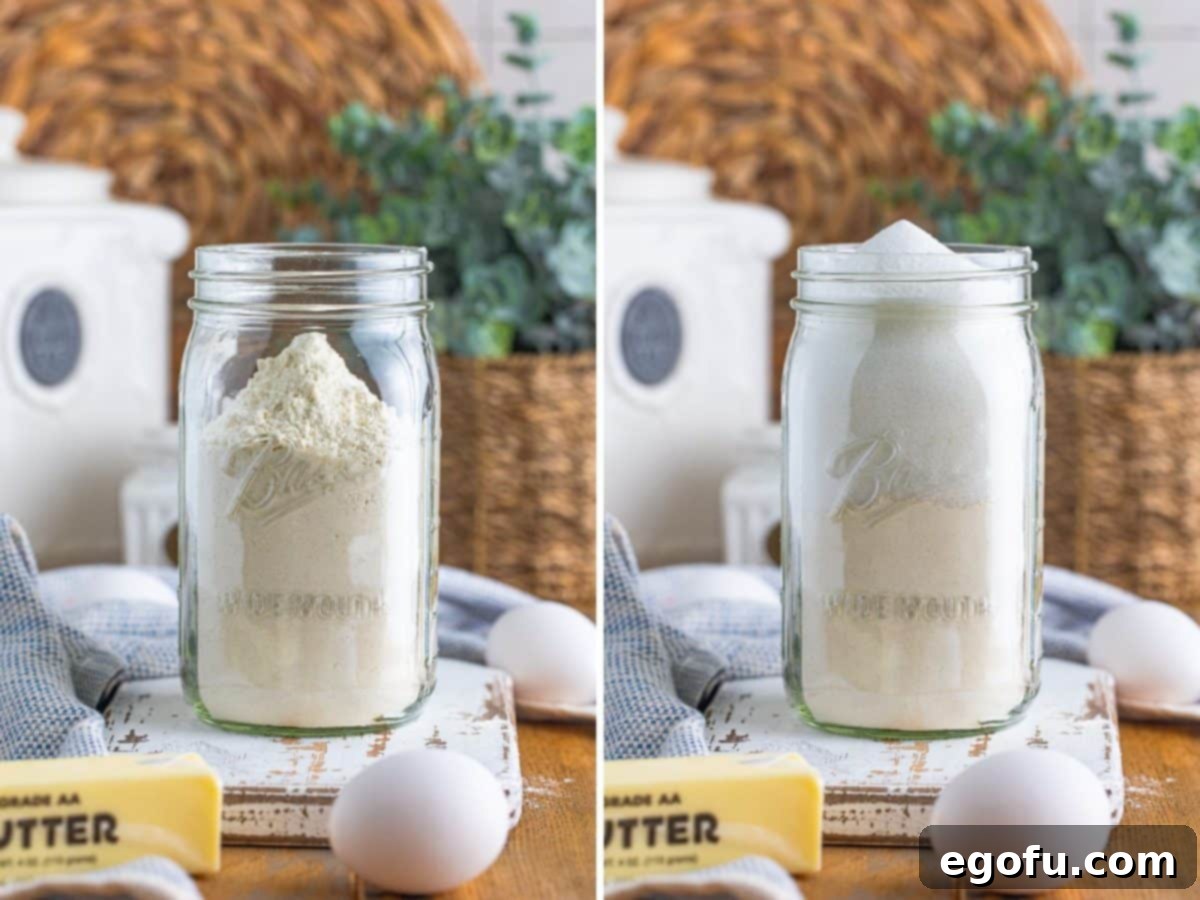
CRAFTING YOUR HOMEMADE YELLOW CAKE MIX: A SIMPLE GUIDE
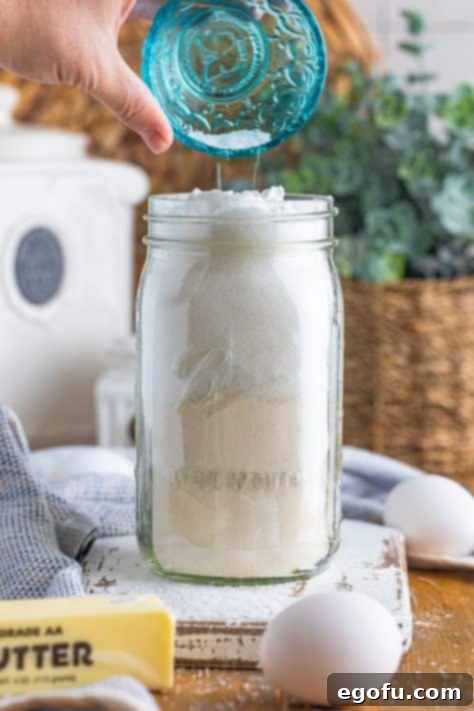
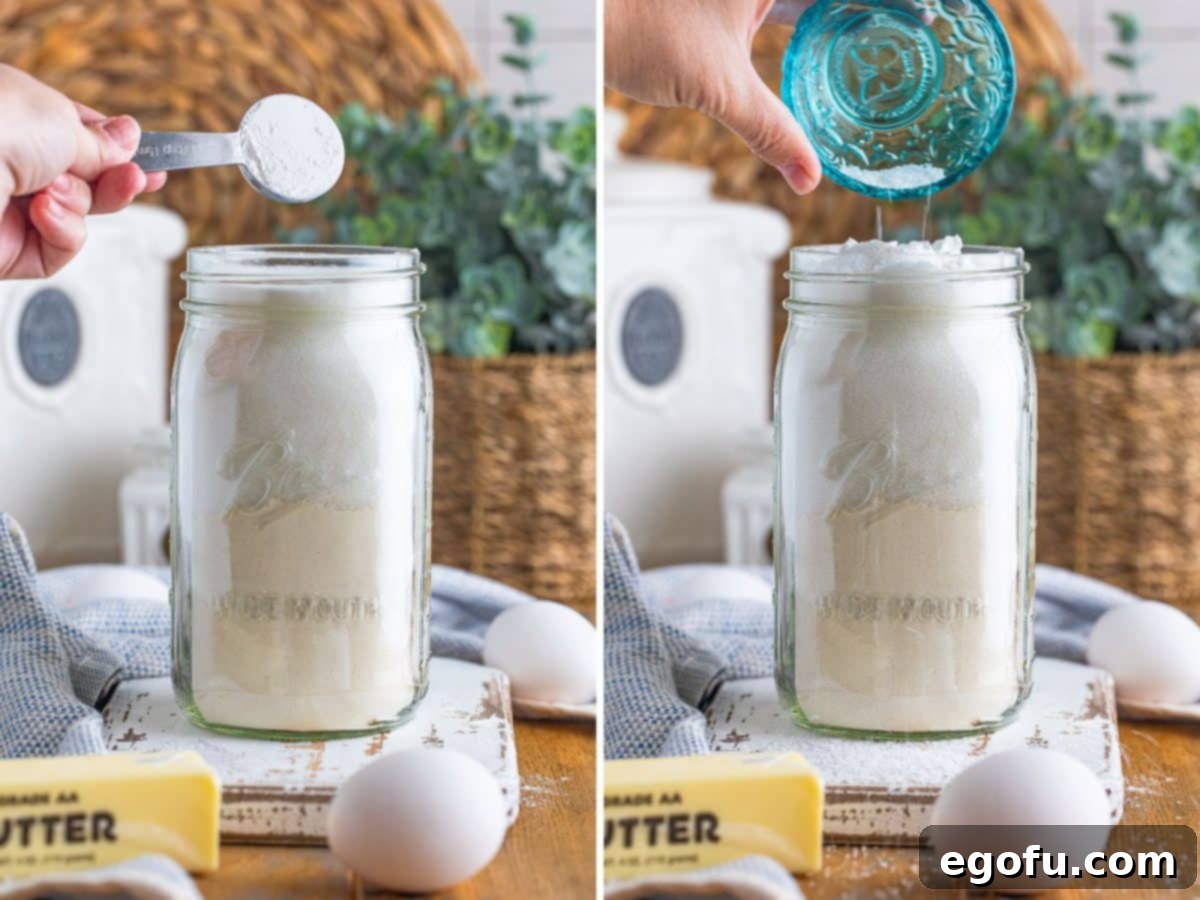
Creating your own yellow cake mix is incredibly straightforward, requiring minimal effort for maximum future convenience. To begin, gather your pre-measured all-purpose flour, granulated sugar, fresh baking powder, and a pinch of salt. Carefully pour all these dry ingredients into a clean, dry 2-quart jar. You might find it helpful to gently tap the jar on the counter a few times or use a spoon to pack the ingredients down slightly, ensuring everything fits snugly and compactly into the container.
Once all the ingredients are in the jar, secure the lid tightly. This homemade yellow cake mix is now ready for storage. It will happily keep at room temperature in a cool, dry pantry for up to 3 months, offering you a convenient shortcut to delicious, homemade yellow cake whenever the craving strikes.
BAKING A MOIST AND FLUFFY CAKE FROM YOUR HOMEMADE YELLOW CAKE MIX
Now for the truly rewarding part: transforming your homemade mix into a golden, delicious yellow cake! Begin by preheating your oven to 350°F (175°C). While the oven heats, prepare a 9×13 inch baking dish by generously coating it with baking spray. This crucial step ensures your cake won’t stick and will release easily once baked, preserving its beautiful presentation.
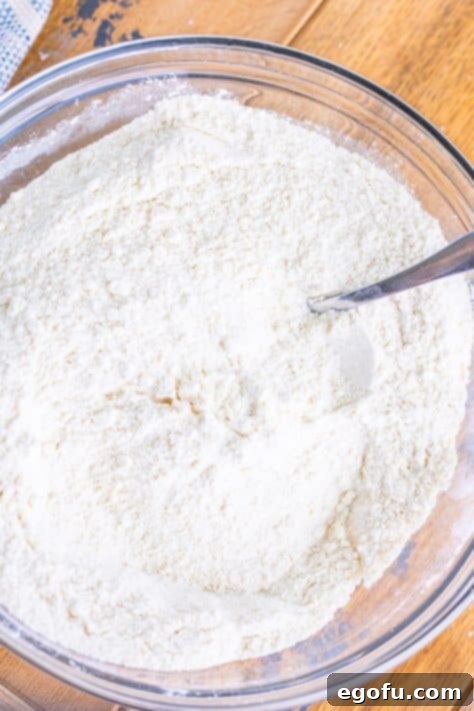
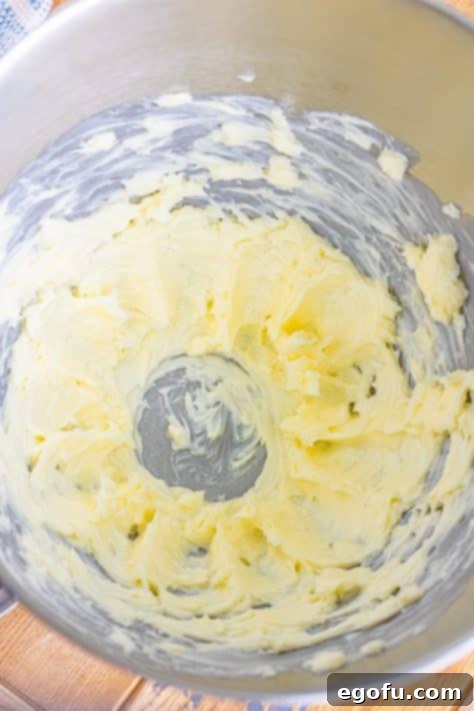
Next, pour the entire contents of your homemade cake mix jar into a large mixing bowl. Give it a good stir with a whisk to ensure all the dry ingredients are uniformly combined, breaking up any clumps that may have formed during storage. Set this aside. In the bowl of a stand mixer fitted with the paddle attachment, or using a large bowl and an electric hand mixer, whip the softened, room-temperature butter until it becomes light, creamy, and smooth. This creaming process incorporates air, which is vital for a tender cake texture.
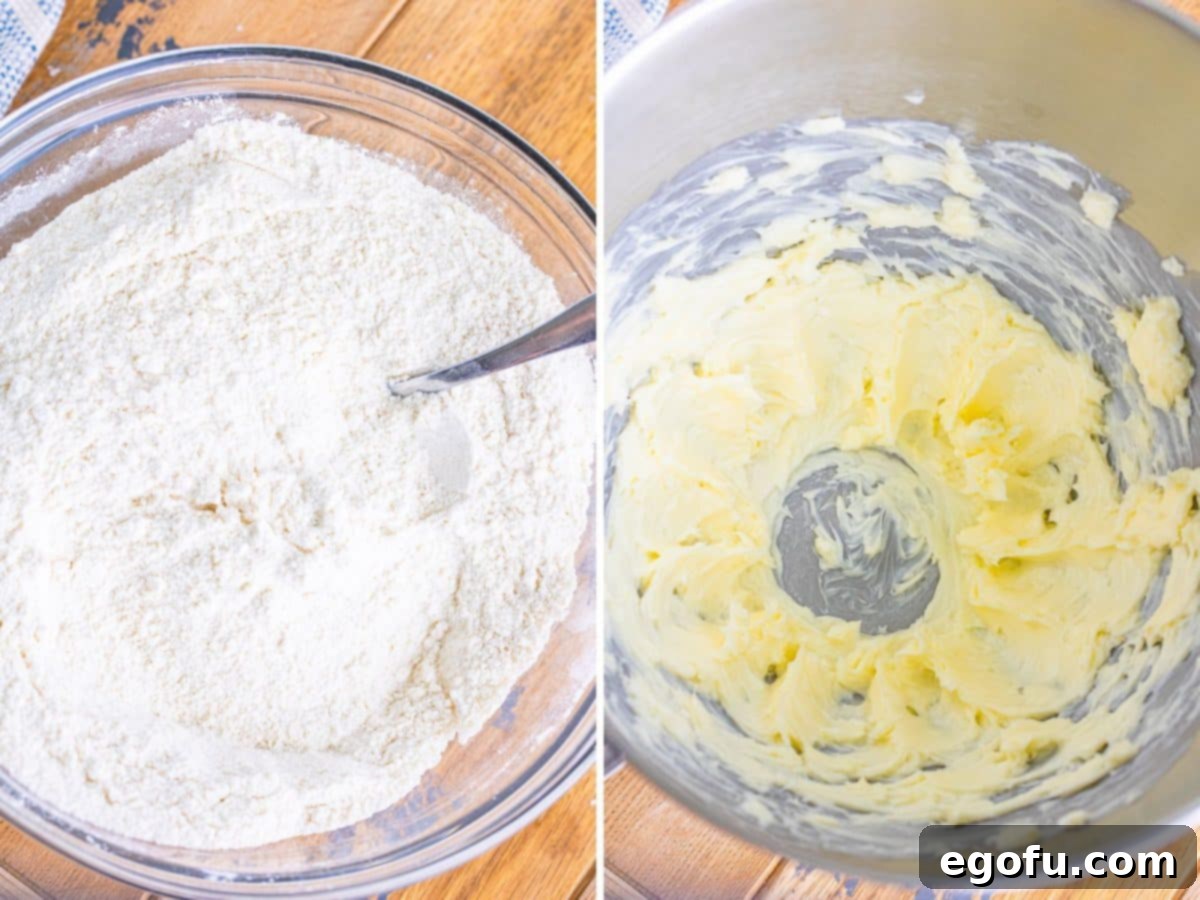
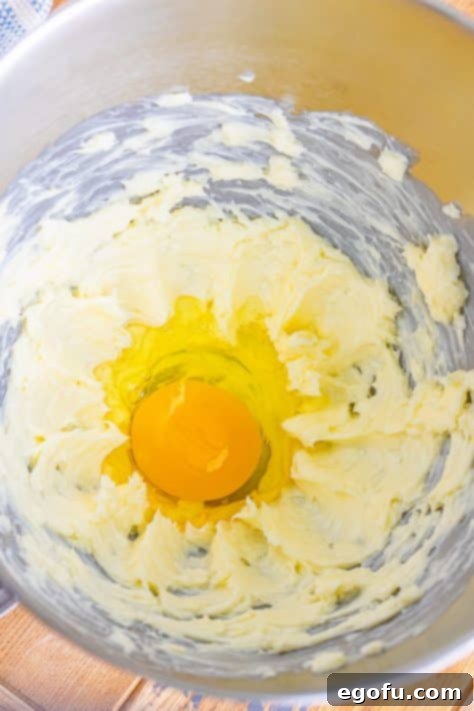
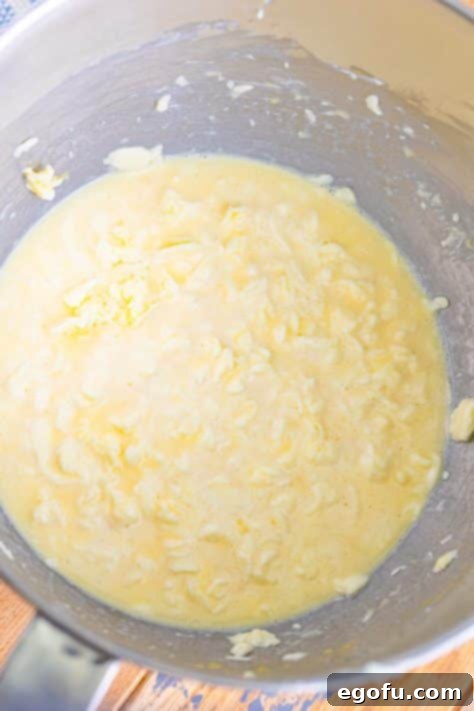
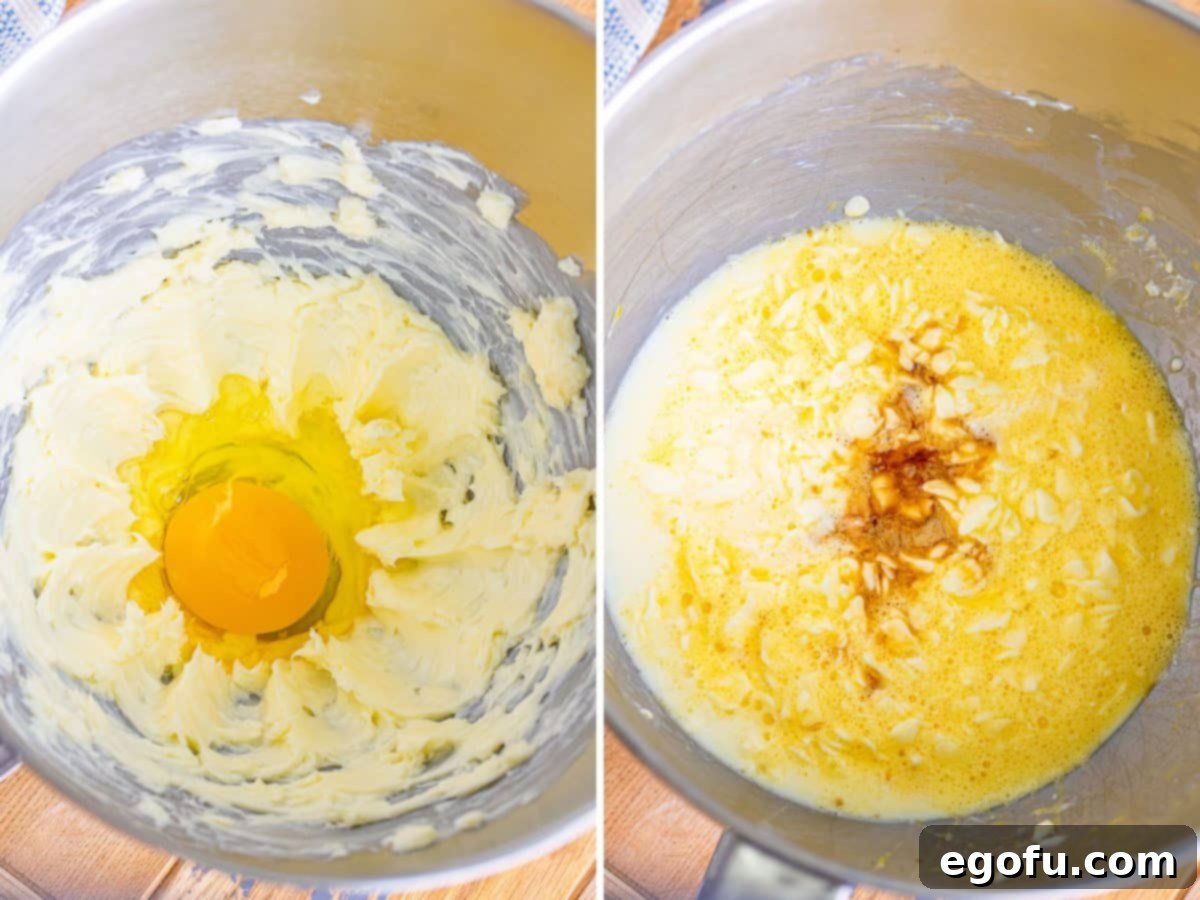
With the mixer running on medium speed, add the large eggs one at a time. It’s important to allow each egg to fully incorporate into the butter mixture before adding the next. This creates a stable emulsion, contributing to the cake’s structure and preventing a curdled appearance. Once the eggs are fully mixed in, pour in the milk and vanilla extract. Stir these liquid ingredients until just combined. Don’t be alarmed if the mixture appears slightly lumpy at this stage; this is a common occurrence, especially if the milk is a bit cold, and it will smooth out as the dry ingredients are added.
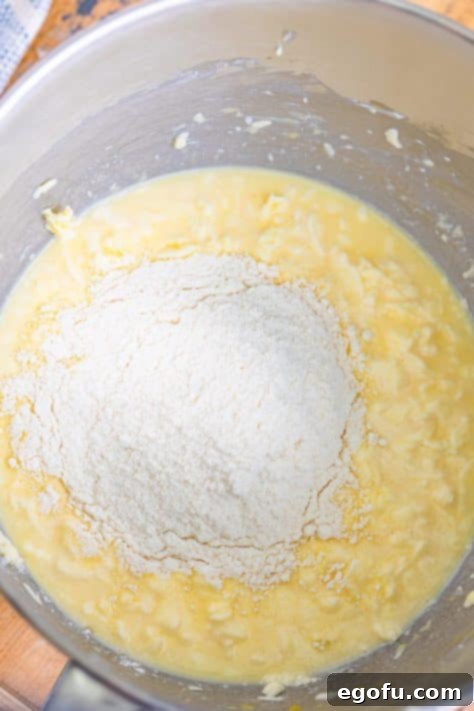
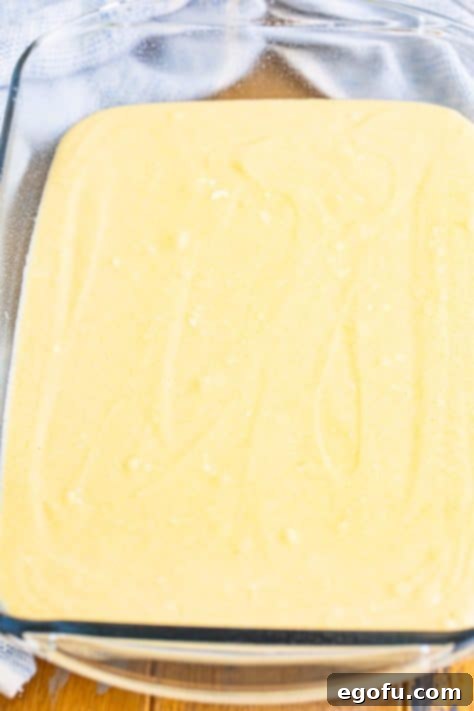
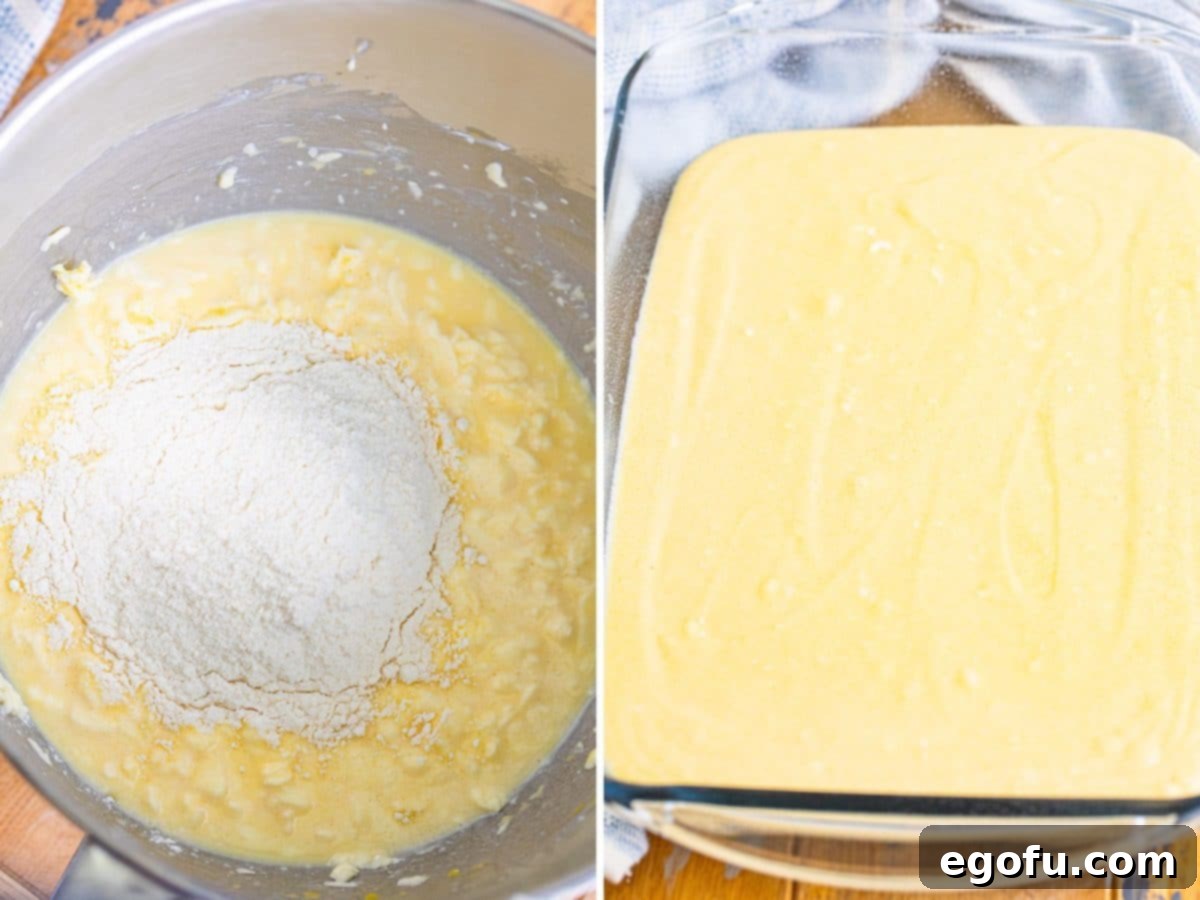
Finally, gradually add the reserved dry cake mix into the wet ingredients. Do this in three separate batches, mixing until just combined after each addition. The key here is to mix until no streaks of flour remain but to avoid overmixing, which can develop the gluten in the flour and result in a tough, less tender cake. Once your smooth, vibrant yellow batter is ready, pour it evenly into the prepared 9×13 inch baking dish. Use a spatula to gently smooth out the top, ensuring an even layer for consistent baking.
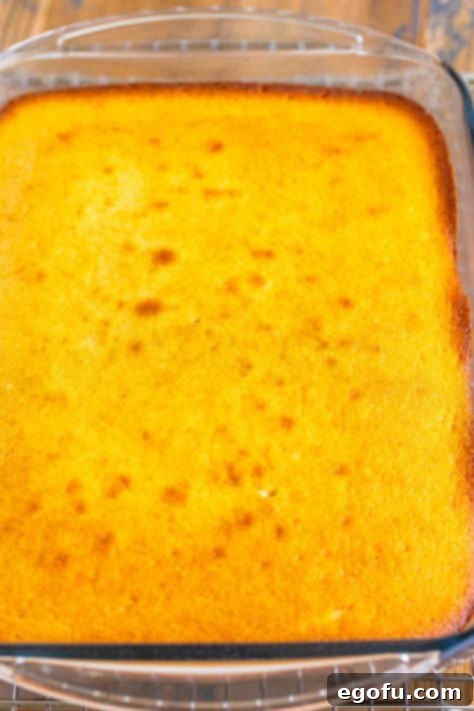
Transfer the baking dish to your preheated oven and bake for 32-40 minutes. The exact baking time can vary depending on your oven, so keep an eye on it. The cake is done when a wooden toothpick inserted into the very center comes out clean. Other indicators include a golden-brown top, edges that begin to pull away from the sides of the pan, and a lightly springy feel when gently pressed. Once baked, remove the cake from the oven and allow it to cool completely on a wire rack before adding your favorite frosting, glazes, or other delightful toppings. Patience during cooling is rewarded with a perfect, intact cake ready for decoration and enjoyment!
DELICIOUS RECIPES TO MAKE WITH YOUR HOMEMADE YELLOW CAKE MIX
The versatility of this homemade yellow cake mix extends far beyond just a classic sheet cake! Use it as a convenient base for a variety of other delightful desserts. Here are some inspiring recipes where this mix can shine:
- Honey Bun Cake
- Gooey Butter Cake
- Peach Dump Cake
- Cherry Dump Cake
- Twinkie Poke Cake
- Banana Pudding Poke Cake
- Upside Down Apple Cake
EXPLORE MORE HOMEMADE PANTRY STAPLES AND MIXES
If you’ve enjoyed the ease and freshness of making your own yellow cake mix, you’ll love these other homemade ingredient recipes. Stock your pantry with these simple, from-scratch versions of common cooking and baking essentials!
- Homemade Brownie Mix
- Homemade Bisquick
- Homemade Apple Pie Spice
- Homemade Dry Onion Soup Mix
- Homemade Ranch Seasoning
- Homemade Pumpkin Pie Spice
- Homemade Everything But The Bagel Seasoning
- Homemade Cream of Mushroom Soup
- Homemade Cream of Chicken Soup
- Beau Monde Seasoning
- Taco Seasoning
- Homemade Ranch Dressing
- Homemade Velveeta
- Homemade Yellow Cake
- Homemade White Cake
- Homemade Funfetti Cake
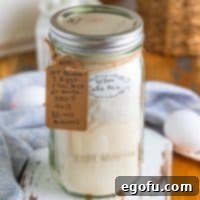
Homemade Yellow Cake Mix
Print
Pin
Rate
5 minutes
40 minutes
45 minutes
12
Brandie Skibinski
Ingredients for the Yellow Cake Mix:
- ▢ 2 ¼ cups all-purpose flour (for structure and body)
- ▢ 1 ½ cups granulated sugar (for sweetness and moisture)
- ▢ 1 Tablespoon baking powder (essential for lift and fluffiness)
- ▢ ¾ teaspoon salt (to balance flavors and enhance sweetness)
Additional Ingredients for Baking the Cake:
- ▢ 10 Tablespoons salted butter, softened to room temperature (for classic buttery flavor and tender crumb)
- ▢ 3 large eggs (to bind ingredients, add richness, and aid in structure)
- ▢ 1 ¼ cups milk (provides essential moisture and tenderness)
- ▢ 2 teaspoons vanilla extract (for an irresistible classic yellow cake aroma and flavor)
Instructions for Making the Mix:
- To create the cake mix, simply combine the all-purpose flour, granulated sugar, baking powder, and salt. Pour these four dry ingredients into a clean 2-quart jar. You might need to gently tap the jar or use a spoon to settle the ingredients, ensuring they fit comfortably.

- Once all ingredients are in the jar, securely place the lid on top. This homemade yellow cake mix can be stored at cool room temperature for up to 3 months, ready for your next baking adventure.

Instructions for Baking the Cake:
- To begin baking your cake, preheat your oven to 350°F (175°C). Liberally spray a 9×13 inch baking dish with baking spray to prevent sticking, and set it aside.
- Empty the entire homemade cake mix into a large mixing bowl. Whisk it thoroughly to ensure all dry ingredients are evenly distributed, then set aside.

- In the bowl of a stand mixer (with a paddle attachment) or a large bowl with an electric hand mixer, whip the softened butter until it is smooth, light, and creamy. This step is crucial for incorporating air, which yields a tender cake.

- Add the large eggs one at a time, ensuring each egg is fully mixed into the butter mixture before incorporating the next. This helps create a stable emulsion for a consistent batter.

- Pour in the milk and vanilla extract, stirring until just combined. The mixture may look slightly lumpy, but this is perfectly normal and will smooth out.

- Gradually add the dry flour mixture into the wet ingredients in three batches, mixing on low speed until each addition is just incorporated. Avoid overmixing to keep the cake tender.

- Pour the prepared batter evenly into the greased baking dish, spreading it gently with a spatula to ensure a smooth, level top.

- Bake for 32-40 minutes, or until a wooden toothpick inserted into the center of the cake comes out clean. The cake should be golden brown and springy to the touch.

- Allow the cake to cool completely in the pan on a wire rack before adding your preferred frosting, glaze, or other delicious toppings. Complete cooling ensures the frosting sets properly and the cake maintains its structure.

Notes:
- For further details on ingredient substitutions or answers to frequently asked questions, please refer to the comprehensive FAQ section and ingredient list provided above in the article.
- The generous amount of butter used in this recipe is what truly gives this cake its signature rich yellow color and delicious, moist texture, differentiating it from a white cake.
Dessert
American
Nutrition Information:
Calories:
296
kcal
|
Carbohydrates:
45
g
|
Protein:
5
g
|
Fat:
11
g
|
Sodium:
249
mg
|
Fiber:
1
g
|
Sugar:
26
g
Nutritional Disclaimer
“The Country Cook” is not a dietician or nutritionist, and any nutritional information shared is an estimate. If calorie count and other nutritional values are important to you, we recommend running the ingredients through whichever online nutritional calculator you prefer. Calories and other nutritional values can vary quite a bit depending on which brands were used.
Did you make this recipe?
Share it on Instagram @thecountrycook and mention us #thecountrycook!
