No-Bake Cherry Yum Yum: Your Ultimate Easy Layered Dessert
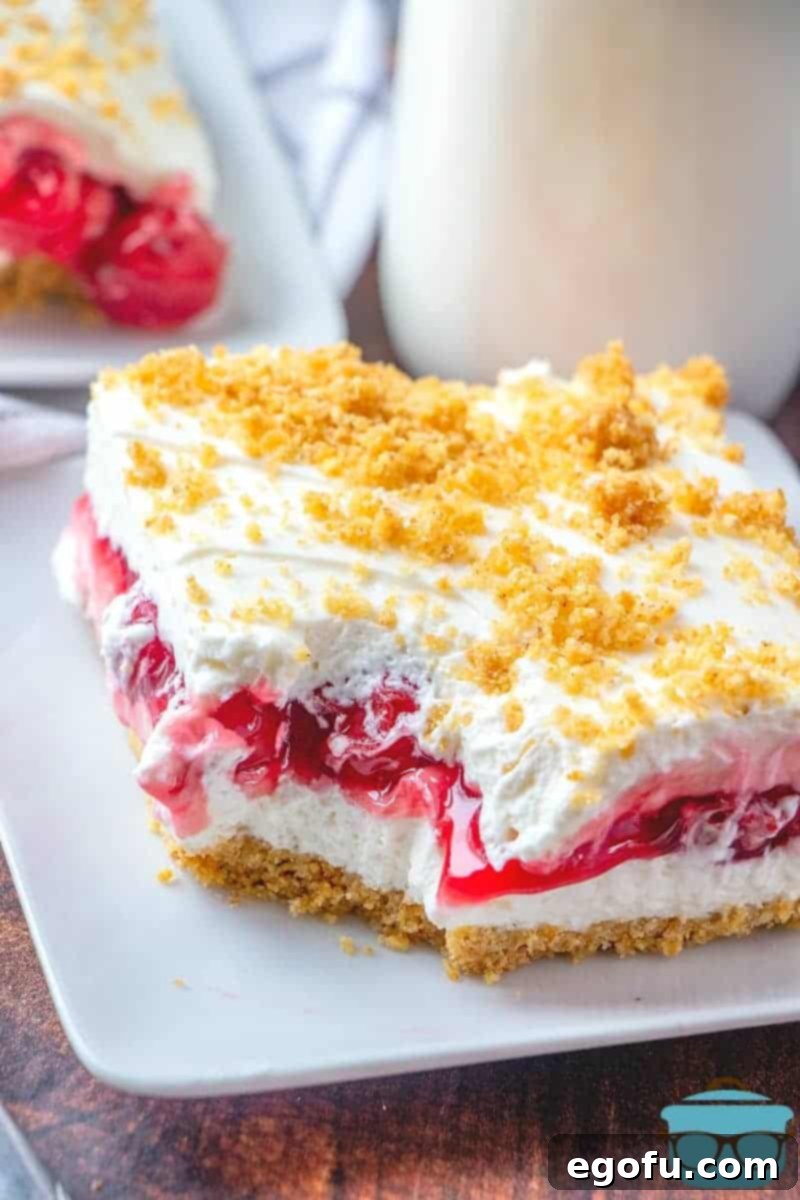
Indulge in the irresistible charm of No-Bake Cherry Yum Yum, a delightful layered dessert that masterfully combines the crunchy sweetness of a graham cracker crust, the smooth richness of a cream cheese filling, the vibrant tang of cherry pie filling, and a dreamy crown of fresh whipped cream. This is more than just a dessert; it’s a symphony of textures and flavors, promising pure bliss in every bite. Perfect for any occasion, especially when you need a show-stopping treat without turning on the oven!
Why You’ll Love This No-Bake Cherry Yum Yum Dessert
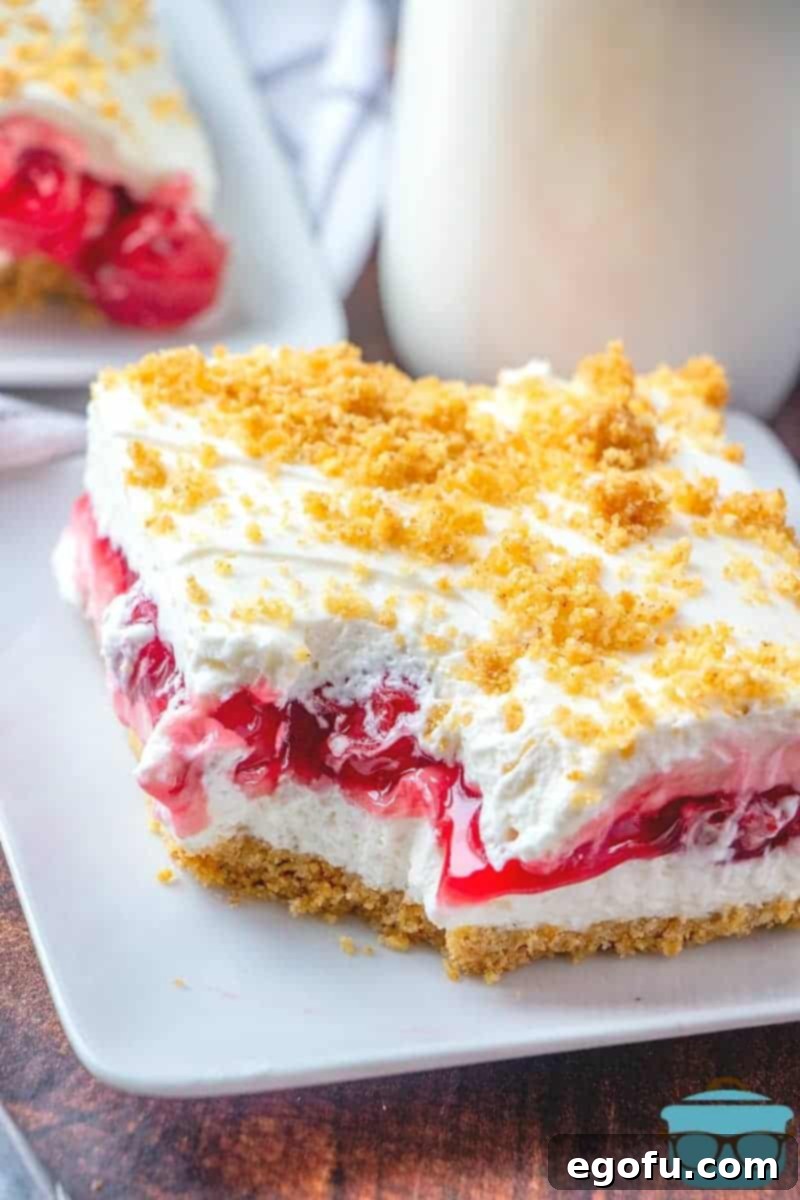
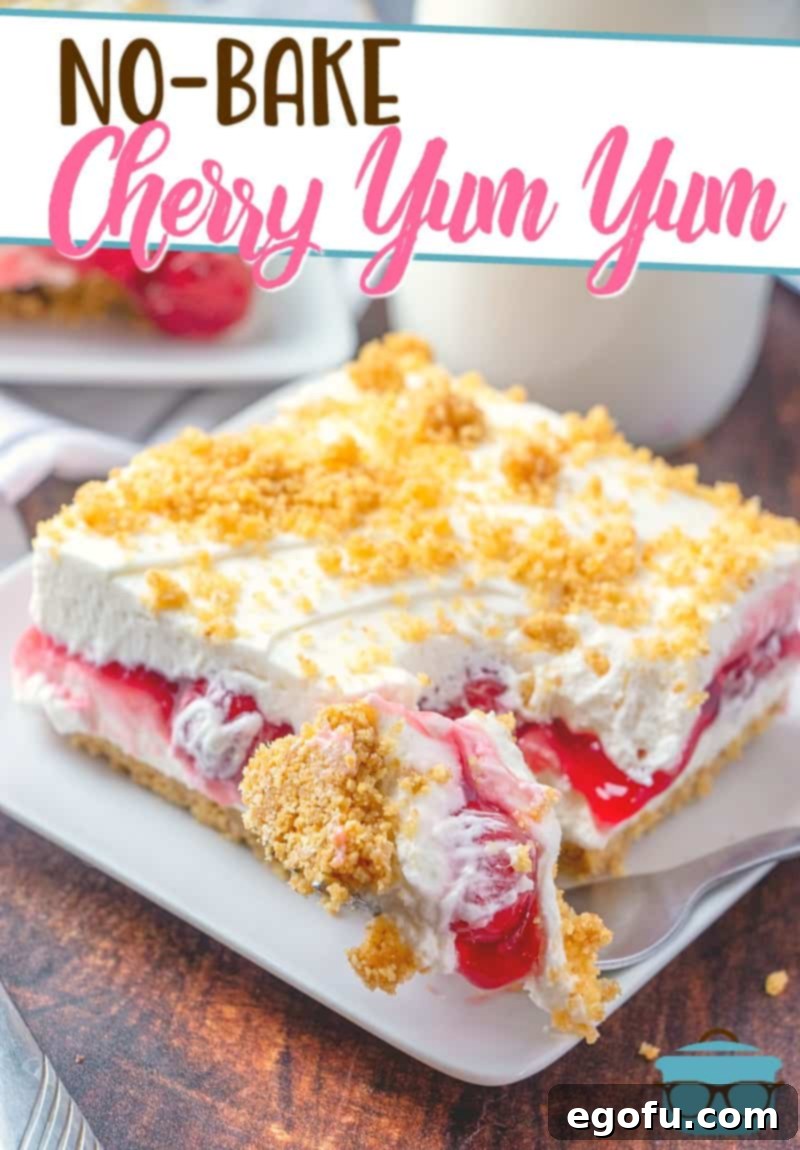
There’s something uniquely satisfying about a dessert that requires no baking, especially during warm weather or when your oven is preoccupied. Our No-Bake Cherry Yum Yum recipe is a true crowd-pleaser, delivering maximum flavor with minimal effort. Imagine sinking your fork into distinct, luscious layers: a buttery graham cracker base, a tangy-sweet cream cheese mixture, glistening cherry pie filling, and a cloud of homemade whipped cream. It’s a dessert that not only tastes incredible but also looks stunning, making it ideal for family gatherings, potlucks, or simply a sweet treat after a busy day. While we’ve previously shared our popular Apple Yum Yum, the cherry version holds a special place, offering a classic fruit flavor that resonates with nearly everyone.
This easy cherry dessert is incredibly versatile. You can whip it up in advance, allowing the flavors to meld beautifully overnight, making entertaining a breeze. The simplicity of assembly means even novice home cooks can achieve perfect results, earning rave reviews from delighted guests. Forget complicated techniques and lengthy bake times; with No-Bake Cherry Yum Yum, deliciousness is just a few simple steps away.
Expert Tips for Crafting Your Perfect Cherry Yum Yum
Achieving a flawless No-Bake Cherry Yum Yum is simpler than you might think. Here are some essential tips to ensure your dessert turns out spectacular every time:
- Chill Time is Crucial: While tempting to dive in immediately, refrigerating the dessert for at least 2-4 hours (or ideally overnight) allows all the layers to set properly and the flavors to fully meld. This results in cleaner slices and a richer taste experience.
- Cream Cheese Consistency: Always ensure your cream cheese is completely softened to room temperature. This is perhaps the most important tip! Cold cream cheese will lead to a lumpy filling, no matter how much you try to beat it. Plan ahead by taking it out of the fridge at least an hour before you start.
- Whipped Cream Alternatives: For a quick shortcut, you can absolutely substitute homemade whipped cream with an 8-ounce tub of thawed store-bought whipped topping (like Cool Whip). If you opt for Cool Whip, remember to omit the heavy whipping cream, extra sugar, and vanilla extract from the whipped cream step.
- Flavor Variations: Don’t limit yourself to cherry! This recipe is incredibly adaptable. Try experimenting with other pie filling flavors like apple, strawberry, peach, or blueberry for an entirely different but equally delicious “Yum Yum” experience.
- Crust Customization: While graham cracker crumbs are traditional and delicious, crushed vanilla wafers or even chocolate wafers can be used for a unique crust. Ensure they are finely crushed for a consistent texture.
- Enhance the Vanilla: For an extra layer of flavor that beautifully complements cherry, consider adding a touch of almond extract to the whipped cream mixture alongside or instead of vanilla. Almond and cherry are a classic pairing!
Essential Ingredients for No-Bake Cherry Yum Yum
Gathering the right ingredients is the first step to creating this heavenly cherry dessert. Here’s a detailed look at what you’ll need and why each component is key:
- Graham Cracker Crumbs: These form the buttery, subtly sweet base of our dessert. For best results, use fine crumbs. If you’re crushing whole crackers, ensure there are no large pieces. As mentioned in our tips, crushed vanilla wafers make a fantastic alternative if you want to switch things up.
- Salted Butter: Melted butter binds the graham cracker crumbs together, creating a firm and flavorful crust. We recommend using salted butter as the slight saltiness provides a wonderful contrast to the sweetness of the other layers, enhancing the overall flavor profile without making it taste overtly salty. If unsalted is all you have, a tiny pinch of salt can be added to the crumbs.
- Cream Cheese: The heart of the creamy layer. Using a full-fat, 8-ounce block of cream cheese is essential for the rich texture and tangy flavor. Remember, it MUST be fully softened to room temperature. This cannot be stressed enough – a firm, cold block will result in a lumpy, unpleasant filling. Do not try to rush this step by microwaving it, as this can melt it and change the texture.
- Granulated Sugar (for cream cheese layer): This sugar sweetens the cream cheese, balancing its tanginess. We haven’t tested this recipe with artificial sweeteners, but they should work if you’re looking for a sugar-free alternative, though the texture might vary slightly.
- Heavy Whipping Cream: This is key for making your own fresh whipped cream, which provides a light, airy, and utterly delicious top layer. It needs to be heavy whipping cream to achieve those stiff peaks. Ensure it’s very cold for optimal whipping.
- Granulated Sugar (for whipped cream): A small amount of sugar sweetens the homemade whipped cream, making it a perfect complement to the other sweet layers. Adjust to your taste, but start with the recommended amount.
- Vanilla Extract: A splash of vanilla extract rounds out the flavors in the whipped cream, adding a warm, aromatic note. For an exciting twist, consider using almond extract, which pairs exceptionally well with cherry flavors, creating a more gourmet profile.
- Cherry Pie Filling: The star of the show! A 21-ounce can of store-bought cherry pie filling offers convenience and that classic, sweet-tart cherry flavor. You can opt for a sugar-free version if preferred, or even choose a premium brand for larger, more flavorful cherry pieces.

Step-by-Step Guide: How to Make No-Bake Cherry Yum Yum
Creating this delightful layered dessert is an enjoyable and straightforward process. Follow these detailed instructions for a perfect No-Bake Cherry Yum Yum:
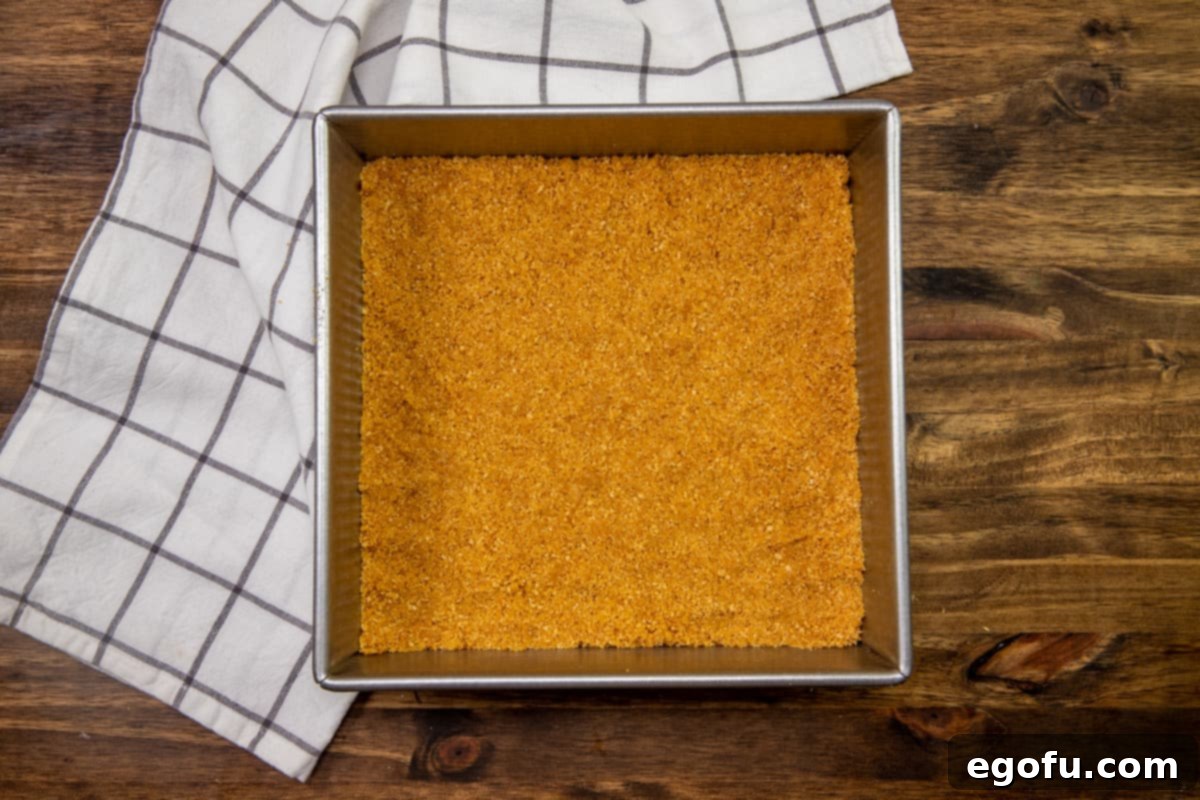
Prepare the Graham Cracker Crust: Begin by crushing about 10 sheets of graham crackers into fine crumbs. The easiest way to do this is to place them in a resealable plastic bag and use a rolling pin or a flat meat tenderizer to pound them until finely crushed. You’ll need precisely 1 ½ cups of graham cracker crumbs for the base. Once crushed, set aside 2 tablespoons of these crumbs in a separate small bowl; these will be used for the final decorative topping. In a medium-sized mixing bowl, combine the remaining graham cracker crumbs with the 6 tablespoons of melted salted butter. Mix thoroughly until all the crumbs are moistened and resemble wet sand.

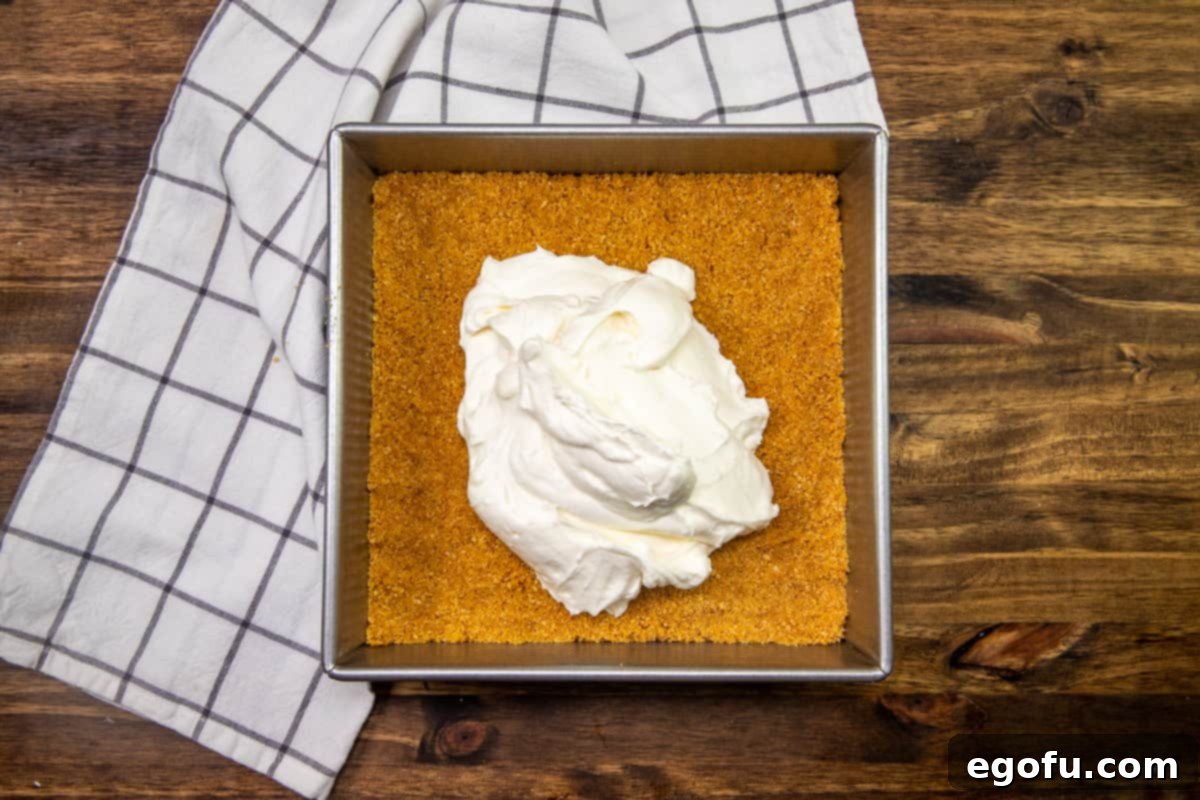
Form the Crust: Press the graham cracker and butter mixture evenly into the bottom of a 9×9-inch baking dish. Use the back of a spoon or your hands to press down firmly, creating a compact and flat layer. This solid base is crucial for holding the dessert together. Set the dish aside.

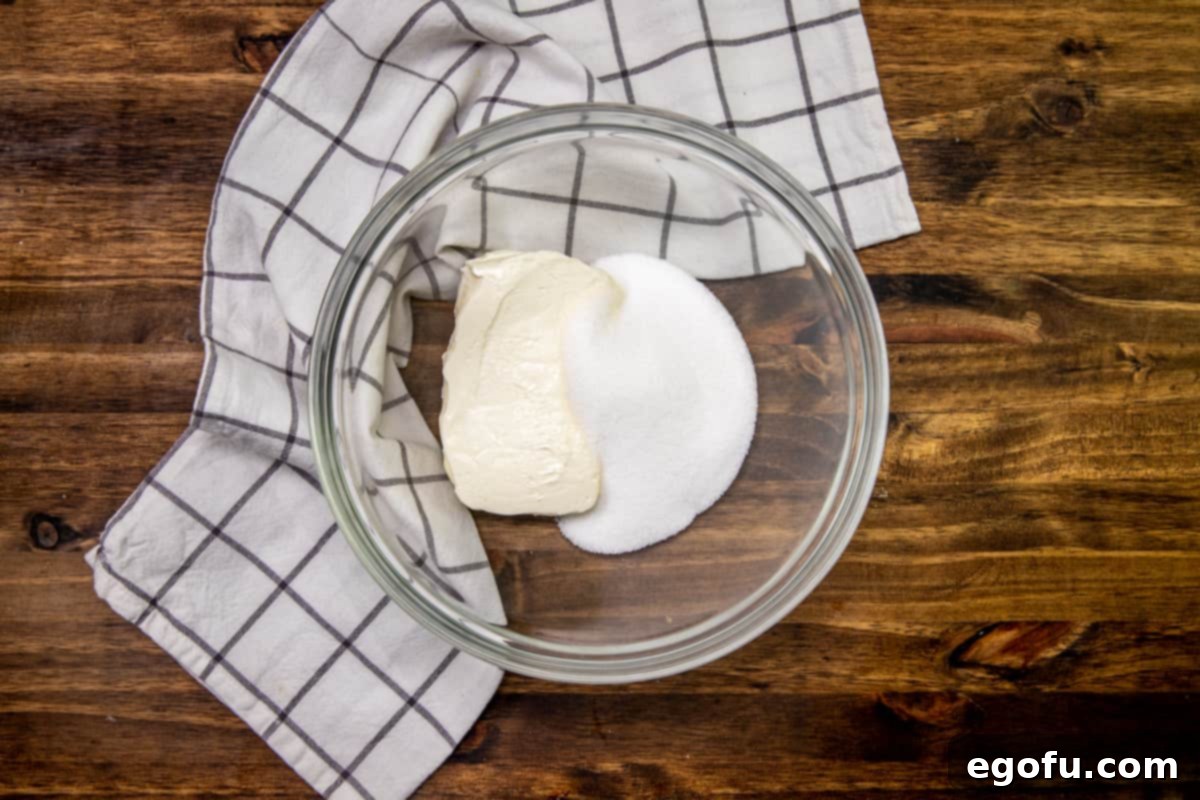
Prepare the Cream Cheese Layer: In a separate large mixing bowl, combine the fully softened 8-ounce block of cream cheese with ½ cup of granulated sugar. Using either a stand mixer with the paddle attachment or a handheld electric mixer, beat the mixture on medium speed until it is light, fluffy, and completely smooth. Scrape down the sides of the bowl as needed to ensure everything is incorporated without any lumps. Set this bowl aside.

Whip the Fresh Cream: In another clean, separate bowl (preferably a chilled one), pour the 2 cups (1 pint) of cold heavy whipping cream. Add the 3 tablespoons of sugar and ½ teaspoon of vanilla extract. Using a stand mixer with the whisk attachment or a handheld electric mixer, whip the cream on high speed until stiff peaks form. This typically takes 1 to 2 minutes. The cream should hold its shape when you lift the whisk. (If you’re using thawed Cool Whip, you can skip this step entirely).
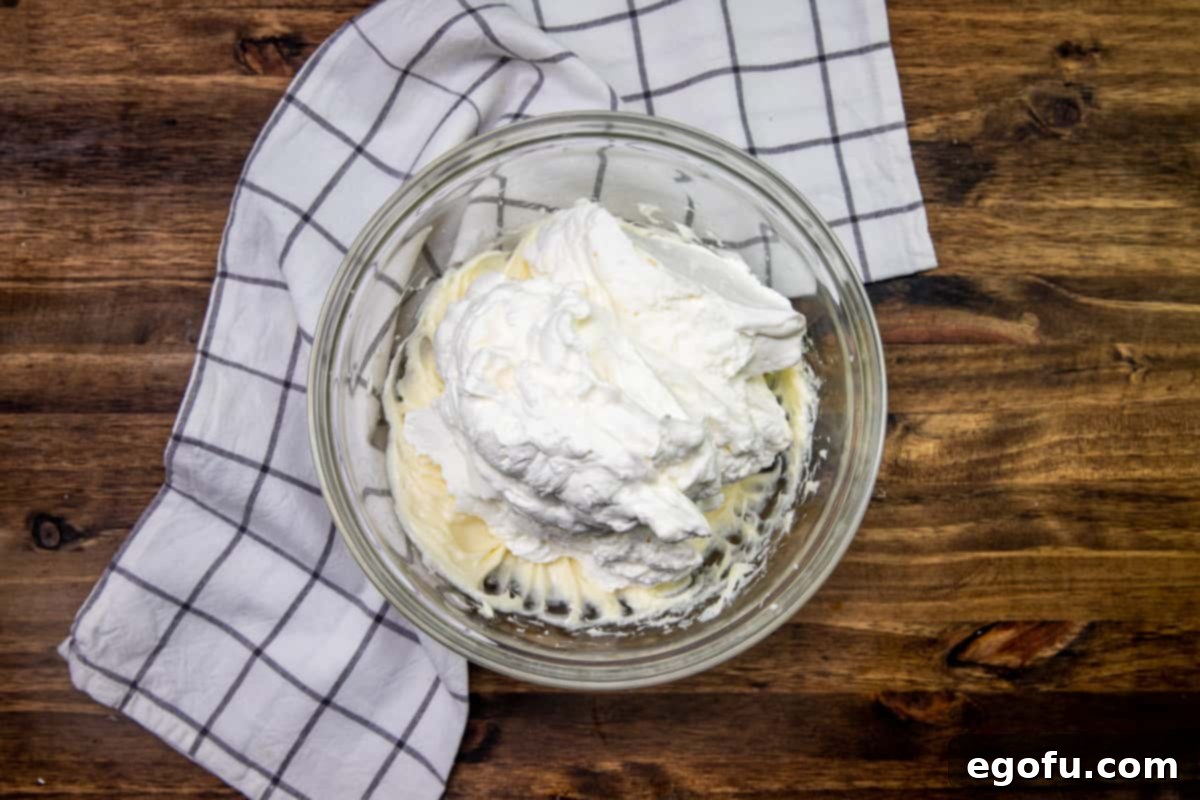
Combine Cream Cheese and Whipped Cream: Gently fold the freshly whipped cream into the cream cheese mixture using a spatula or by hand. Mix carefully until just combined, being careful not to deflate the air from the whipped cream. This creates a light, airy, and creamy filling for your dessert.

First Creamy Layer: Spread exactly half of the combined cream cheese and whipped cream mixture evenly over the graham cracker crust in your baking dish. Use an offset spatula or the back of a spoon to create a smooth, consistent layer.

Add Cherry Pie Filling: Carefully spoon the entire 21-ounce can of cherry pie filling over the first creamy layer. Gently spread it out to cover the creamy layer evenly, being mindful not to disturb the layer beneath. The vibrant red of the cherries will create a stunning visual contrast.

Final Creamy Layer & Topping: Now, carefully spread the remaining half of the cream cheese and whipped cream mixture over the cherry pie filling. Again, use an offset spatula to spread it gently and evenly across the entire surface. Finally, sprinkle the reserved 2 tablespoons of graham cracker crumbs over the top of this final creamy layer for a beautiful garnish and an added crunch.


Chill and Serve: Cover the baking dish tightly with plastic wrap and refrigerate for at least 2-4 hours to allow the layers to firm up and the flavors to deepen. For the best possible results and easiest slicing, chilling overnight is highly recommended. Once thoroughly chilled, slice into squares and serve this delightful No-Bake Cherry Yum Yum dessert. Enjoy!

No-Bake Cherry Yum Yum: FAQs
- Can I make Cherry Yum Yum ahead of time?
- Absolutely! This dessert is an excellent make-ahead option. In fact, it often tastes even better the next day as the flavors have more time to meld and the layers set beautifully. You can prepare it up to 24 hours in advance.
- How long does No-Bake Cherry Yum Yum last?
- When stored properly in an airtight container in the refrigerator, leftovers will stay fresh for up to 3 days. For longer storage, this dessert can also be frozen in a freezer-safe container for up to 3 months. Just thaw it in the refrigerator before serving.
- What are some good garnishes for Cherry Yum Yum?
- Beyond the reserved graham cracker crumbs, consider fresh cherries (pitted), a drizzle of chocolate sauce, a dusting of powdered sugar, or even some finely chopped nuts like pecans or walnuts for an added textural element. A sprig of fresh mint can also add a pop of color.
Craving More Delicious No-Bake & Cherry Recipes?
If you’ve fallen in love with the simplicity and deliciousness of our No-Bake Cherry Yum Yum, you’ll be thrilled to explore more recipes that deliver similar satisfaction. Whether you’re looking for other fruit-filled delights or more quick and easy no-bake treats, we have plenty to inspire your next kitchen adventure. Expand your dessert repertoire with these fantastic options:
- Apple Yum Yum
- Blueberry Yum Yum
- Peach Yum Yum
- Cherry Cheesecake Dip
- Grandma B’s Blueberry Chill Bars
- Cherry Pie Bites
- Cherry Pie Bars
- Easy Cherry Cobbler
- Cherry Turnovers
Originally published: November 2017
Updated photos & republished: March 2020
Cherry Yum Yum Recipe
No-Bake Cherry Yum Yum is a layered dessert featuring sweetened graham cracker crumbs, a rich cream cheese filling, luscious cherry pie filling, and fluffy fresh whipped cream!
Prep Time: 20 minutes
Total Time: 20 minutes (plus chilling)
Servings: 12
Author: Brandie Skibinski
Ingredients
- 1 ½ cups graham cracker crumbs
- 6 Tablespoons salted butter, melted
- 8 ounce block cream cheese, softened to room temperature
- ½ cup granulated sugar (for cream cheese)
- 2 cups (1 pint) heavy whipping cream, very cold
- 3 Tablespoons granulated sugar (for whipped cream)
- ½ teaspoon vanilla extract
- 21 ounce can cherry pie filling
Instructions
- Crush graham crackers into fine crumbs (about 10 sheets). Reserve 2 tablespoons for topping. In a medium bowl, combine the remaining 1 ½ cups graham cracker crumbs with 6 tablespoons melted salted butter. Mix until well combined.
- Press the crumb mixture evenly into the bottom of a 9×9-inch baking dish to form a firm crust.
- In a large bowl, beat the softened 8-ounce block cream cheese with ½ cup sugar until smooth and fluffy using a stand or electric mixer.
- In a separate, chilled bowl, whip 2 cups cold heavy whipping cream with 3 tablespoons sugar and ½ teaspoon vanilla extract until stiff peaks form. (Alternatively, use one 8-ounce tub of thawed Cool Whip).
- Gently fold the whipped cream into the cream cheese mixture until just combined.
- Spread half of the cream cheese/whipped cream mixture evenly over the graham cracker crust.
- Carefully spread the entire 21-ounce can of cherry pie filling over the creamy layer.
- Top with the remaining cream cheese/whipped cream mixture, spreading evenly.
- Sprinkle the reserved 2 tablespoons of graham cracker crumbs over the top for garnish.
- Cover and refrigerate for at least 2-4 hours, or preferably overnight, before slicing and serving.
Video
Notes
- For detailed ingredient substitutions or common questions, please refer to the tips and ingredient list provided earlier in the article.
- You can substitute the heavy whipping cream, 3 tablespoons sugar, and 1/2 teaspoon vanilla extract with one (8 ounce) tub of thawed COOL WHIP for convenience.
- Leftovers should be stored covered in the refrigerator for up to 3 days. This dessert also freezes well in a freezer-safe container for up to 3 months. Thaw in the refrigerator before serving.
Recipe Details
Course: Dessert
Cuisine: American
Nutrition Information (Estimated Per Serving)
Calories: 339kcal | Carbohydrates: 35g | Protein: 1g | Fat: 21g | Sodium: 144mg | Sugar: 15g
Nutritional Disclaimer
“The Country Cook” is not a registered dietitian or nutritionist, and any nutritional information shared is an estimate. If calorie count and other nutritional values are important to you, we recommend running the ingredients through your preferred online nutritional calculator. Calories and other nutritional values can vary quite a bit depending on specific brands used and portion sizes.
Did you make this recipe?
Share it on Instagram @thecountrycook and mention us #thecountrycook!
