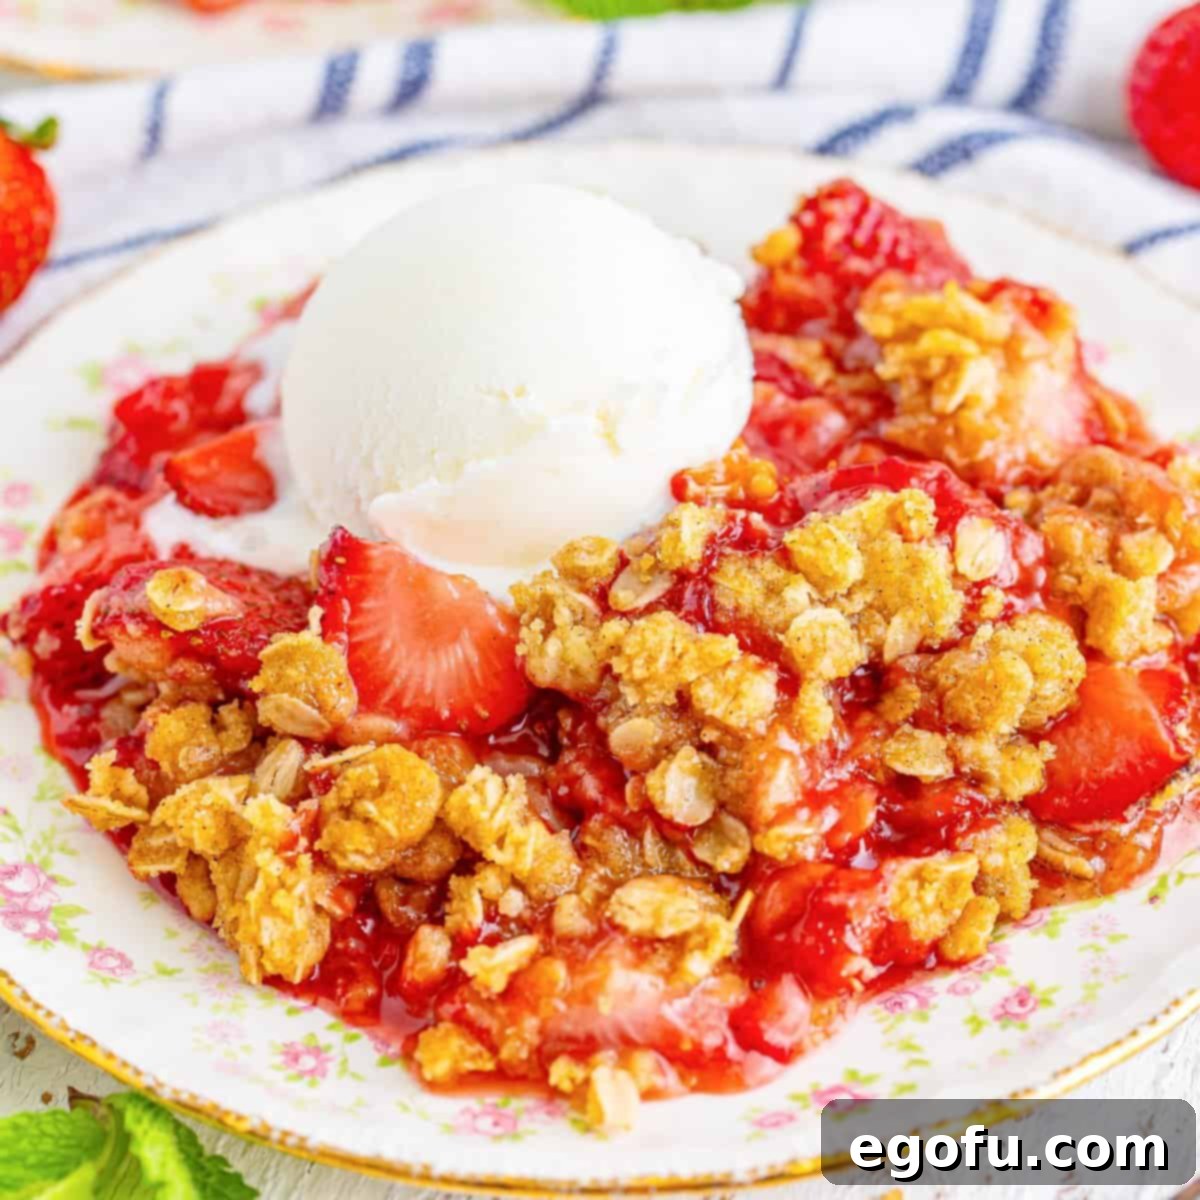
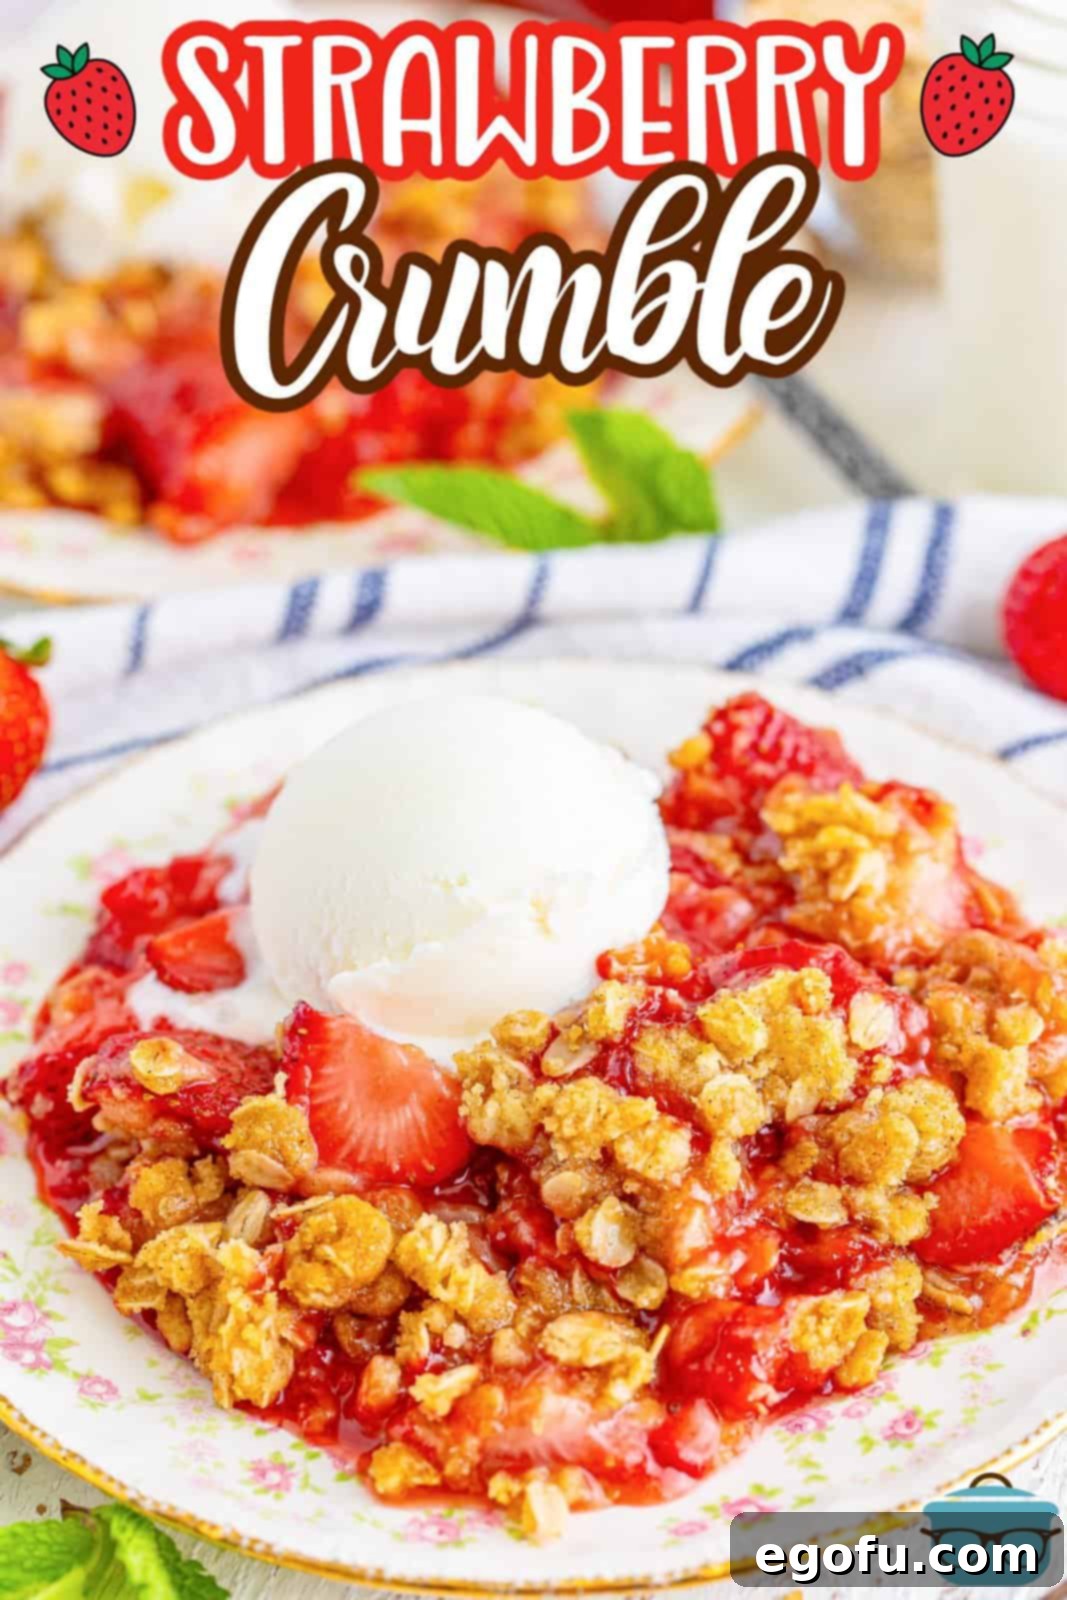
This Strawberry Crumble is not just a dessert; it’s a celebration of summer, offering a delightful blend of juicy, sweet-tart strawberries crowned with a golden, crunchy oat topping. Perfect for any occasion, from casual family dinners to backyard barbecues, this easy-to-make crumble promises a taste of pure bliss in every bite.
The Ultimate Summertime Strawberry Crumble
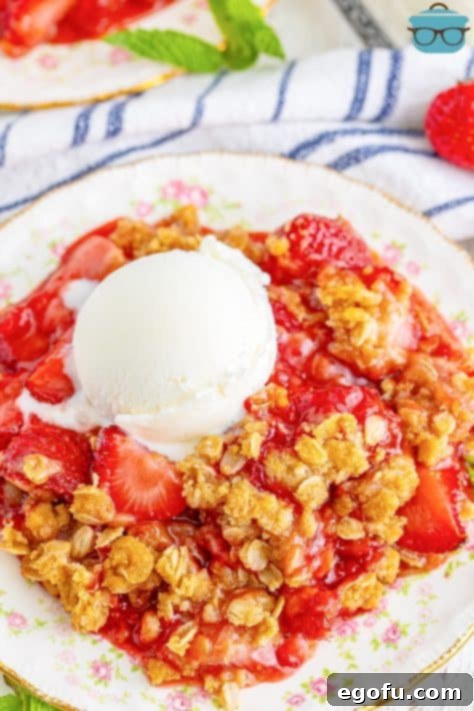
There’s something inherently comforting and utterly irresistible about a classic fruit crumble, and this Strawberry Crumble recipe takes that comfort to a new level. It perfectly encapsulates the essence of summer with its vibrant fresh strawberries, gently sweetened and thickened into a luscious filling, all tucked beneath a buttery, crumbly topping made with wholesome oats. This dessert strikes a beautiful balance between sweet and a hint of tartness, making it incredibly refreshing. What’s even better? It requires only a few simple ingredients and about an hour from start to finish, making it an ideal choice for a stress-free dessert that tastes like it took all day to prepare. Serve it warm on its own, or elevate the experience with a scoop of vanilla bean ice cream or a dollop of whipped cream – because, let’s be honest, everything is better with a little extra indulgence!
Expert Tips & Frequently Asked Questions
What are the main components of a Strawberry Crumble?
At its heart, a strawberry crumble consists of two main layers: a succulent fruit filling and a crisp, streusel-like topping. The filling is primarily made from fresh strawberries, enhanced with sugar, a thickener like cornstarch, and sometimes a touch of lemon juice and vanilla. The topping is typically a delightful mixture of butter, flour, sugar (often brown sugar for depth), oats for texture, and a hint of spice like cinnamon. These core ingredients come together to create that irresistible contrast of tender fruit and crunchy crumble.
Can I use frozen strawberries for this recipe?
While it might be tempting to use frozen strawberries for convenience, I strongly recommend using fresh berries for the best results. Frozen fruit, due to its higher water content, tends to release a lot of liquid as it cooks, which can make your crumble filling watery and cause the berries to become mushy more quickly. If fresh strawberries are absolutely unavailable, you could try thawing frozen berries partially and draining off any excess liquid before using them. However, be aware that the texture and overall consistency of the filling may not be as firm or vibrant as with fresh produce.
How can I prevent my strawberries from turning mushy during baking?
The key to perfectly textured strawberries in your crumble is how you prepare them. Avoid cutting your strawberries into very small pieces. Larger cuts, such as halving medium strawberries or quartering large ones, help them retain their shape and some bite even after baking. If your strawberries are naturally tiny, it’s often best to leave them whole. This ensures they don’t overcook and become overly soft, maintaining a lovely texture within the bubbly filling.
Are there alternatives to old-fashioned rolled oats for the topping?
This recipe is developed and tested with old-fashioned rolled oats because they provide the best chewy-crisp texture. Quick-cooking oats are thinner and will likely result in a softer, less substantial crumble. Steel-cut oats are too hard and would require pre-cooking. If you absolutely need an alternative, you could experiment with a mix of quick oats and some chopped nuts for added crunch, but be prepared for a slightly different outcome than the intended classic crumble texture.
What if I don’t like oats in my crumble topping?
If oats aren’t to your liking, you can certainly adapt the topping. One option is to increase the amount of flour slightly to maintain the volume and texture. Alternatively, for an extra nutty flavor and crunch, replace the oats with an equal amount of finely chopped walnuts, pecans, or almonds. This will create a delicious and unique crumble that’s still wonderfully satisfying.
Can I use other types of berries or fruit?
Absolutely! This crumble recipe is incredibly versatile. You can swap out strawberries for other fresh berries like raspberries, blueberries, blackberries, or even a delightful mix of seasonal fruits. Adjusting the sugar might be necessary depending on the sweetness of your chosen fruit. A combination of berries can create a complex and exciting flavor profile that’s truly delicious.
What size baking pan should I use, and can I adjust it?
This recipe is designed for an 11×7-inch baking dish, which yields a good depth of fruit filling and topping. If you need to use a different size, a 9×9-inch baking dish can work, but be careful not to overfill it. It’s a good practice to place a larger baking sheet underneath to catch any potential spills, as the fruit will bubble up during baking. A 9×13-inch dish would likely be too large, resulting in a very thin crumble that might dry out faster.
Why isn’t my crumble topping crisping up properly?
A perfectly crisp crumble topping is key! Several factors can prevent it from achieving that golden crunch. Firstly, ensure you’re using real butter, not margarine, as margarine is oil-based and won’t crisp up the same way. Secondly, avoid covering the dish while it bakes, as this traps moisture and steams the topping instead of baking it to a crisp. Lastly, don’t make your crumble topping too thick. A thinner, more spread-out layer allows for better air circulation and even browning, leading to that coveted crispy texture.
How should I store and reheat leftover Strawberry Crumble?
Leftover strawberry crumble is a treat in itself! Store it covered in the refrigerator for up to 3 days. For longer storage, it can be frozen for up to 3 months. When you’re ready to enjoy it again, reheat individual portions in the microwave until warm, or for a crispier topping, warm it in a preheated oven at 300°F (150°C) for about 10-15 minutes, or until heated through and the topping has regained some of its crunch.
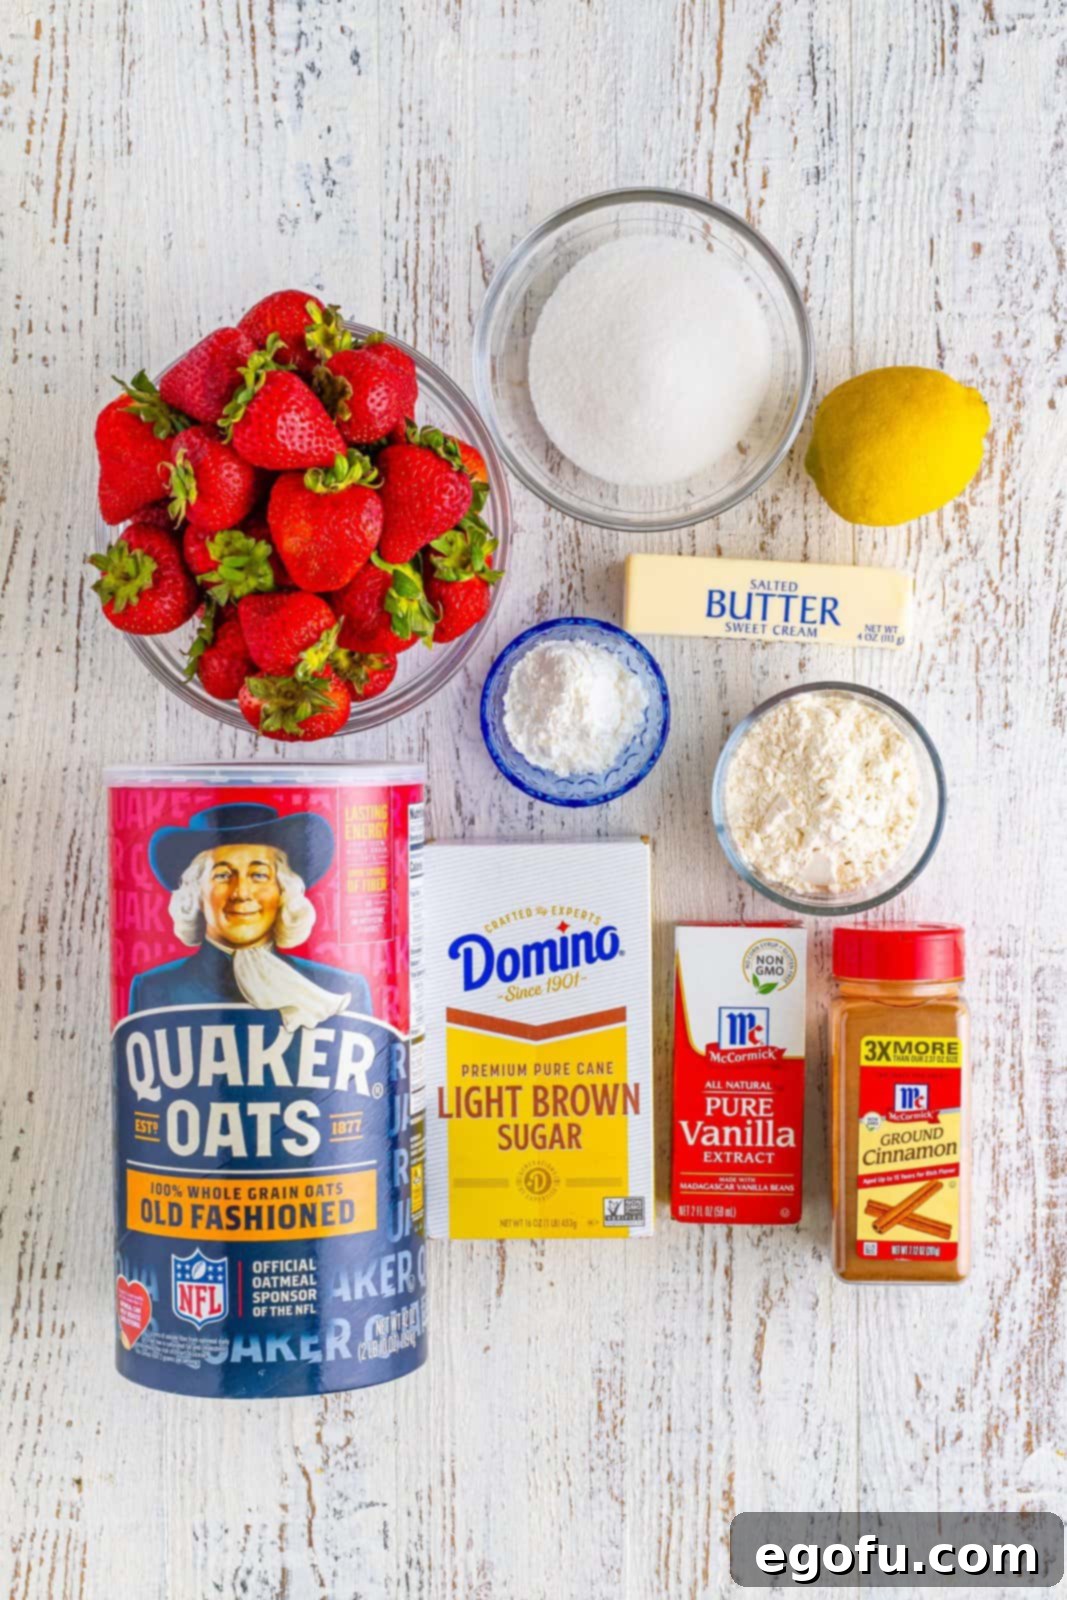
Key Ingredients for the Perfect Strawberry Crumble
Crafting an unforgettable Strawberry Crumble starts with high-quality ingredients. Here’s a closer look at what you’ll need and why each component is essential:
- Fresh Strawberries: Aim for ripe, firm strawberries. Avoid overly soft or under-ripe ones. As discussed in the FAQs, how you cut them matters – keep small berries whole, halve medium ones, and quarter large ones to prevent mushiness during baking. Fresh berries offer the best flavor and texture, so avoid frozen if possible.
- Cornstarch: This acts as our thickening agent for the strawberry filling, ensuring it’s beautifully saucy rather than watery. While flour can be used in a pinch, cornstarch generally provides a clearer, glossier finish and superior thickening power, allowing the vibrant color of the strawberries to shine through.
- Granulated Sugar: Sweetness is crucial, and granulated sugar perfectly balances the tartness of the strawberries. If you’re experimenting with sugar substitutes, choose one that bakes well and can withstand oven temperatures, though the exact outcome may vary.
- Freshly Squeezed Lemon Juice: Don’t skip this! A touch of fresh lemon juice brightens the flavor of the strawberries, prevents the dessert from being overly sweet, and adds a delightful subtle tang that elevates the entire dish. Bottled lemon juice lacks the vibrant zest and fresh aroma, so reach for a real lemon. If no fresh lemon is available, it’s better to omit it than use bottled.
- Vanilla Extract: Pure vanilla extract adds a warm, aromatic depth to the strawberry filling. For a creative twist, consider other extracts: strawberry extract can boost the berry flavor, while almond extract offers a complementary, slightly nutty note that pairs wonderfully with fruit.
- Old-Fashioned Rolled Oats: These are non-negotiable for the ideal crumble topping. Their robust texture holds up beautifully during baking, providing that signature chewy-crispness. Quick-cooking oats are too finely processed and will yield a softer, less satisfying topping.
- Light Brown Sugar: This provides moisture, a lovely caramel-like sweetness, and a hint of molasses flavor to the crumble topping. For a richer, deeper molasses profile, you can substitute dark brown sugar.
- Unsalted Butter (Melted): Real butter is absolutely essential for a truly delicious and crisp topping. Margarine, being primarily oil-based, will not provide the same rich flavor or achieve the desired golden, crunchy texture in the crumble. Ensure your butter is melted for easy incorporation into the topping mixture.
- All-Purpose Flour: The binder for our crumble topping, giving it structure and helping achieve that crumbly consistency.
- Ground Cinnamon: A pinch of cinnamon adds warmth and a classic cozy aroma to the topping. If you’re not a fan of cinnamon, feel free to leave it out, but it truly complements the strawberries beautifully.
How to Make the Best Strawberry Crumble
Making this delightful strawberry crumble is surprisingly simple. Follow these step-by-step instructions for a perfect dessert every time:
- Prepare Your Oven and Baking Dish: Begin by preheating your oven to 350°F (175°C). Lightly spray an 11×7-inch baking dish with cooking spray to prevent sticking. Set it aside while you prepare the fruit and topping.
- Prepare the Strawberries: Gently wash your fresh strawberries and remove their green stems. The way you cut them is important for texture: leave very small strawberries whole, cut medium-sized berries in half, and quarter any large ones. This ensures a varied texture in the filling and prevents them from becoming too mushy.
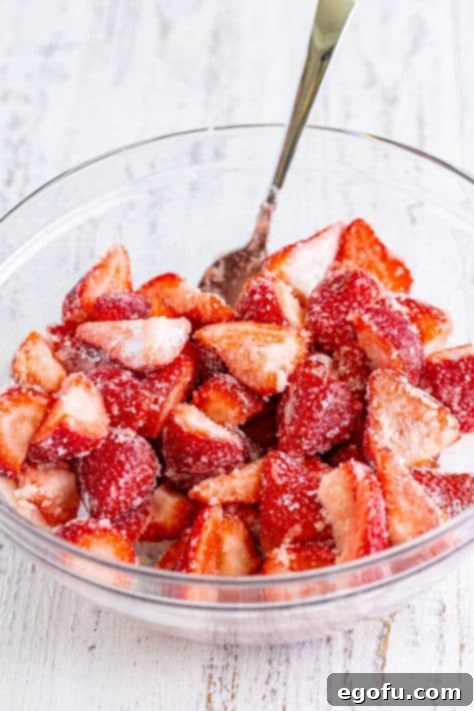
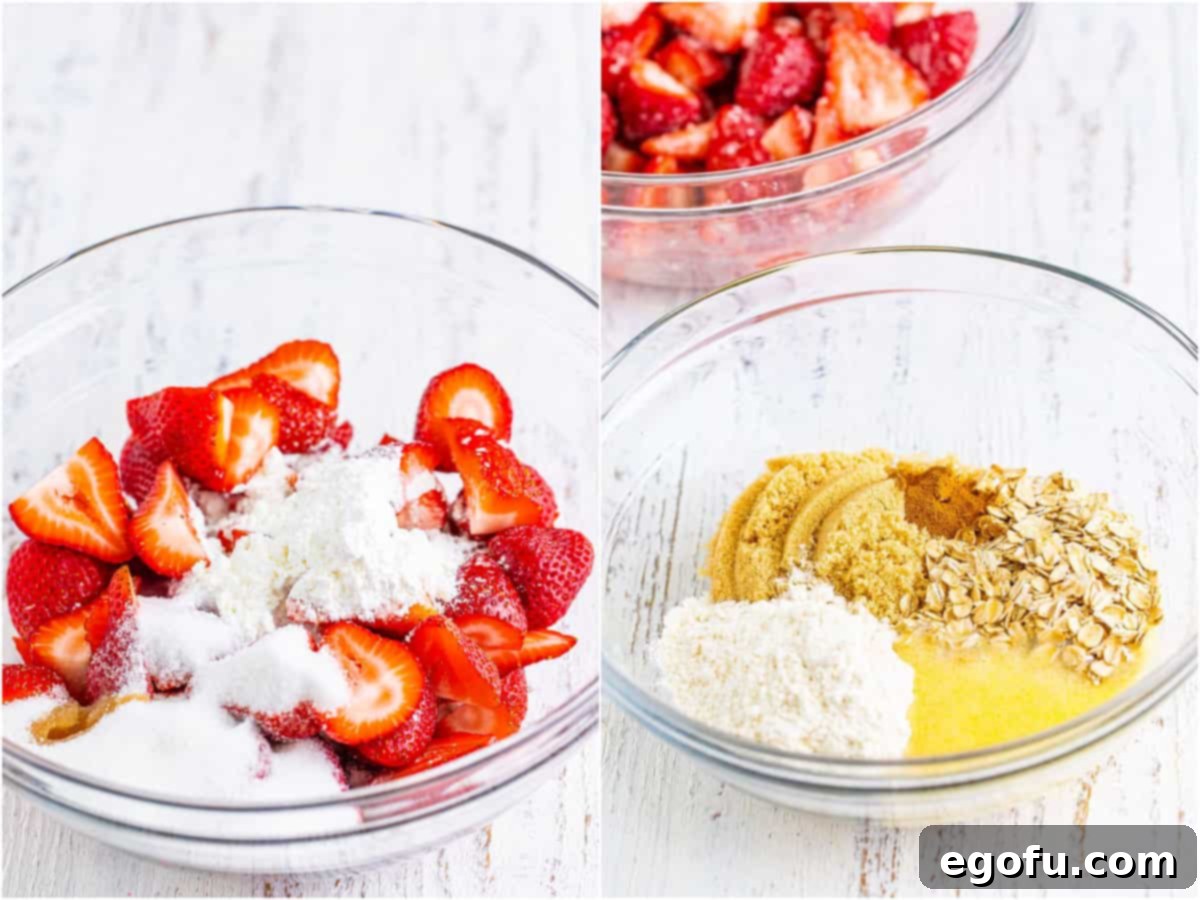
- Create the Strawberry Filling: Place the prepared strawberries in a large mixing bowl. Add the cornstarch, granulated sugar, fresh lemon juice, and vanilla extract. Toss everything together gently until the strawberries are evenly coated. Set this bowl aside to allow the flavors to meld slightly.
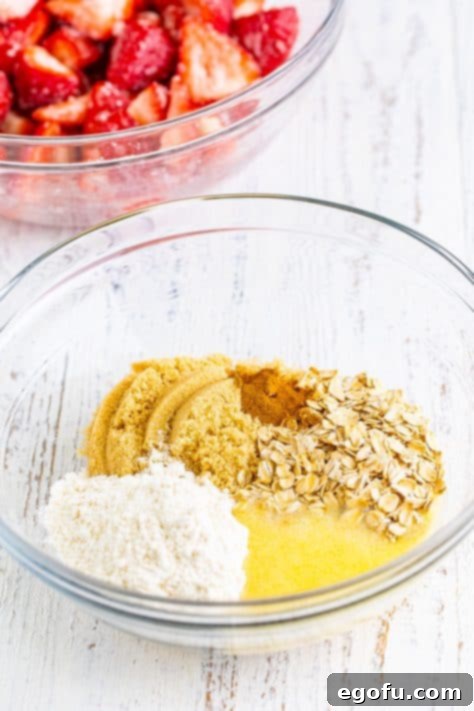
- Mix the Crumble Topping: In a separate medium-sized bowl, combine the old-fashioned rolled oats, all-purpose flour, light brown sugar, melted butter, and ground cinnamon. Stir these ingredients together with a fork or your fingertips until the mixture is well combined and has a crumbly, sandy texture. You want distinct crumbs, not a paste.
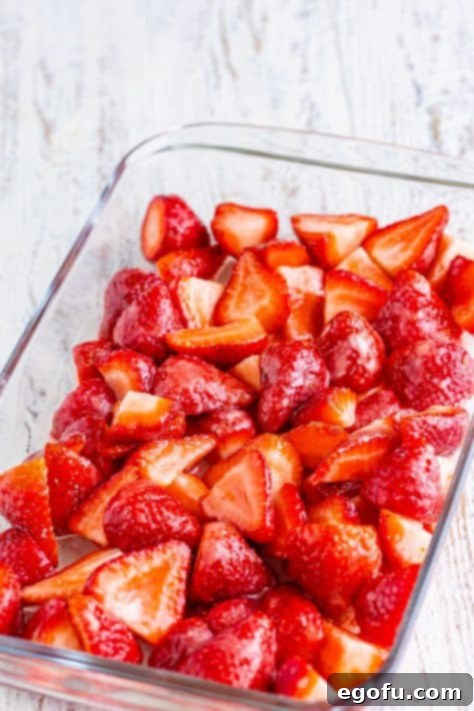
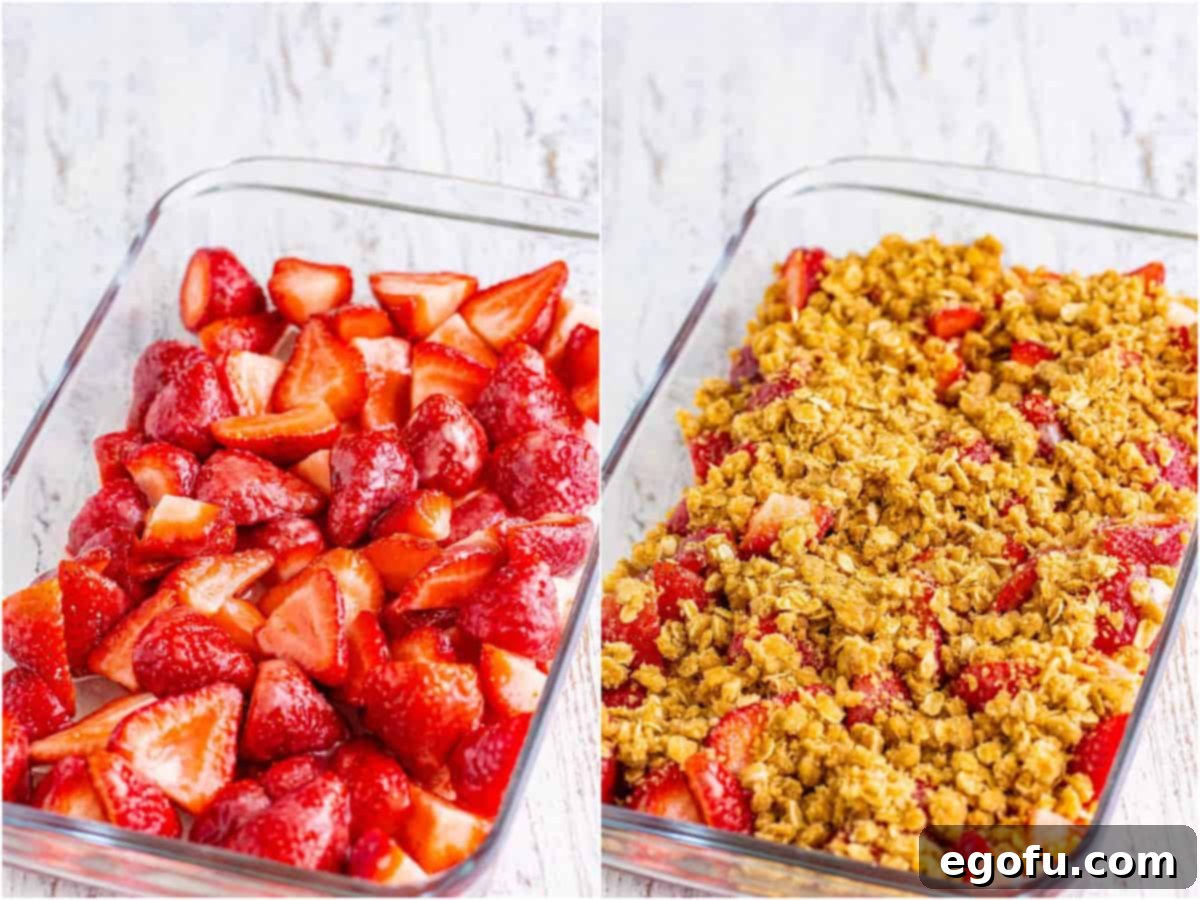
- Assemble the Crumble: Give the strawberry mixture another quick stir to ensure the cornstarch is evenly distributed. Pour the strawberries into your prepared baking dish, spreading them into an even layer.
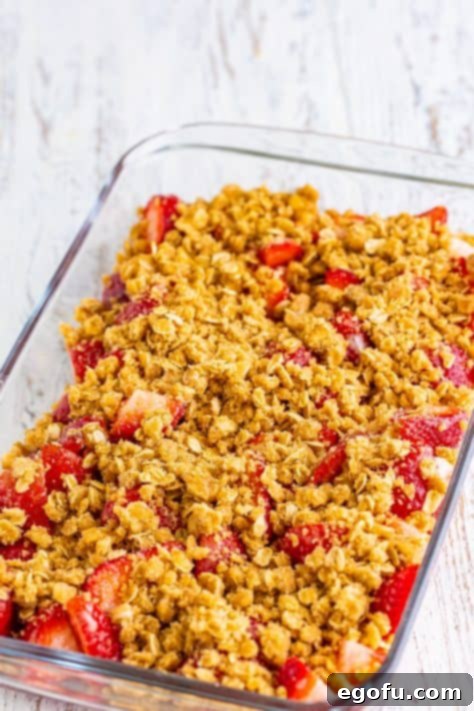
- Add the Topping: Evenly scatter the crumble topping over the strawberries. Use your hands to break up any larger clumps and ensure the topping covers the fruit from edge to edge. A good, even distribution will result in a perfectly crisp crust.
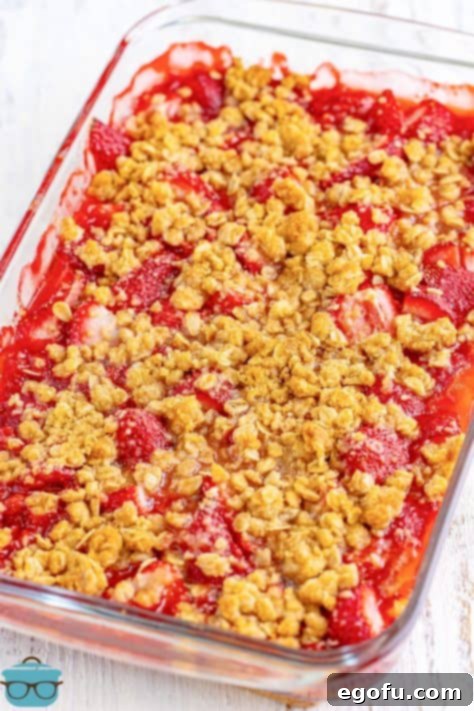
- Bake to Perfection: Place the baking dish in the preheated oven and bake for 30-40 minutes. You’ll know it’s ready when the strawberry filling is visibly bubbling along the sides of the dish, and the oat crumble topping has turned a beautiful golden brown and appears deliciously crisp.
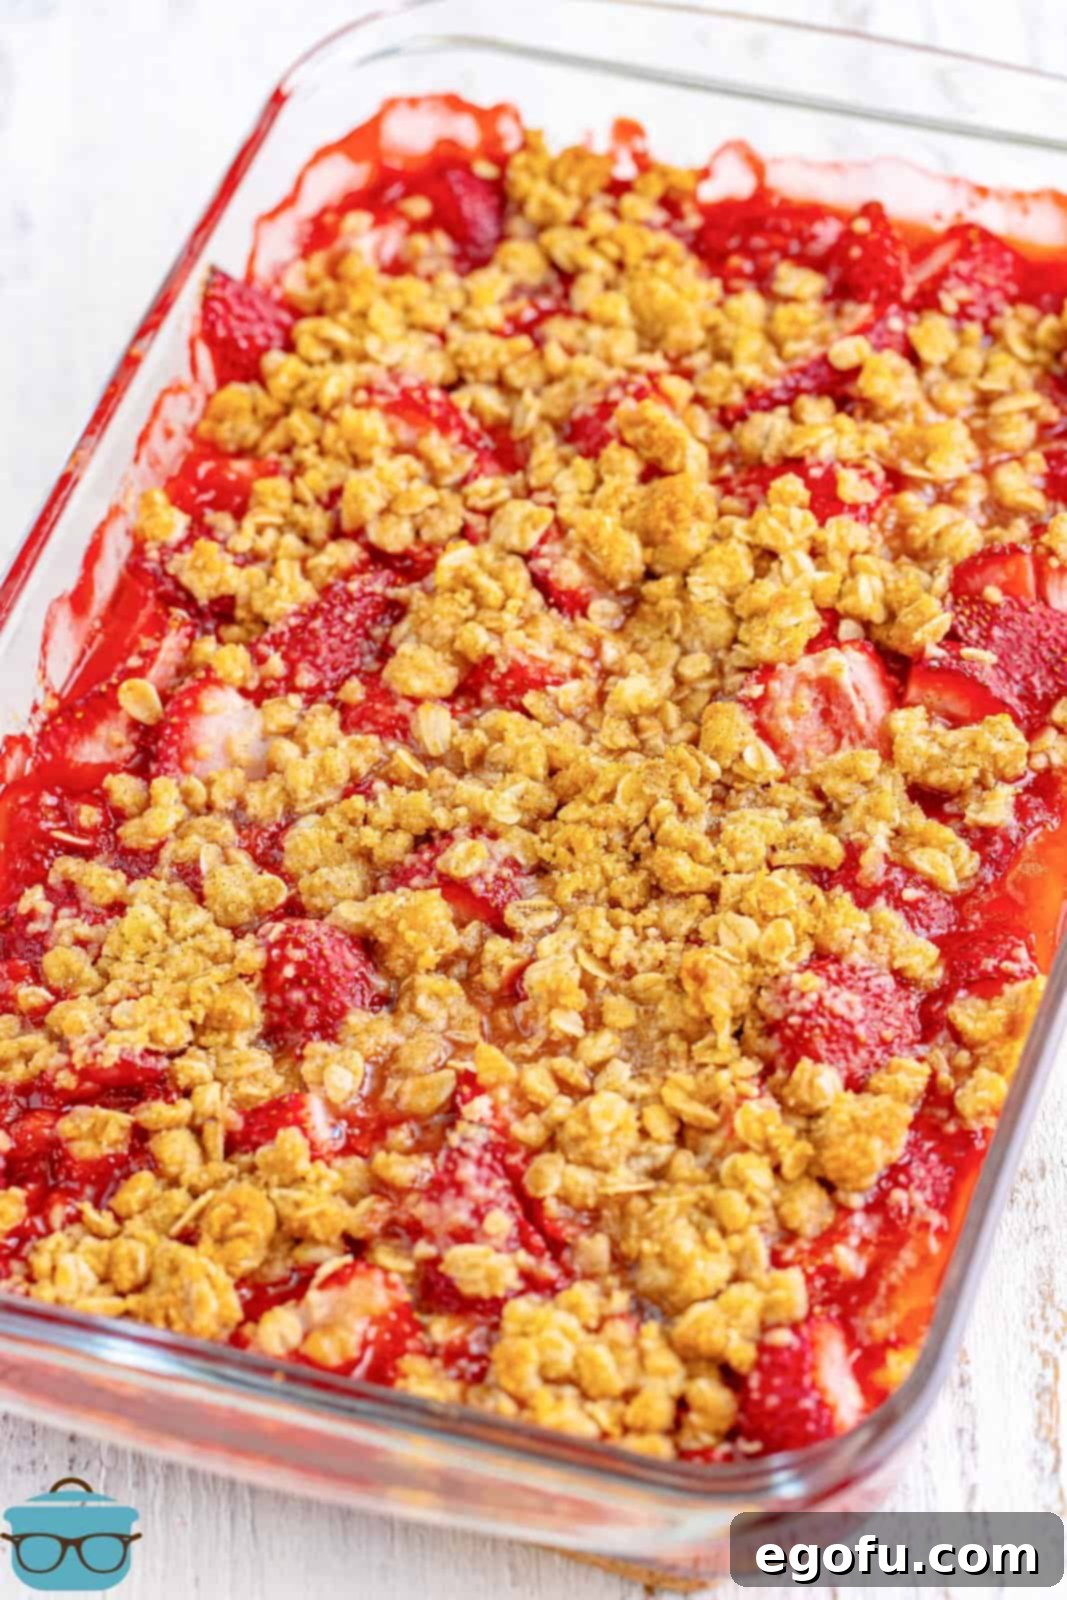
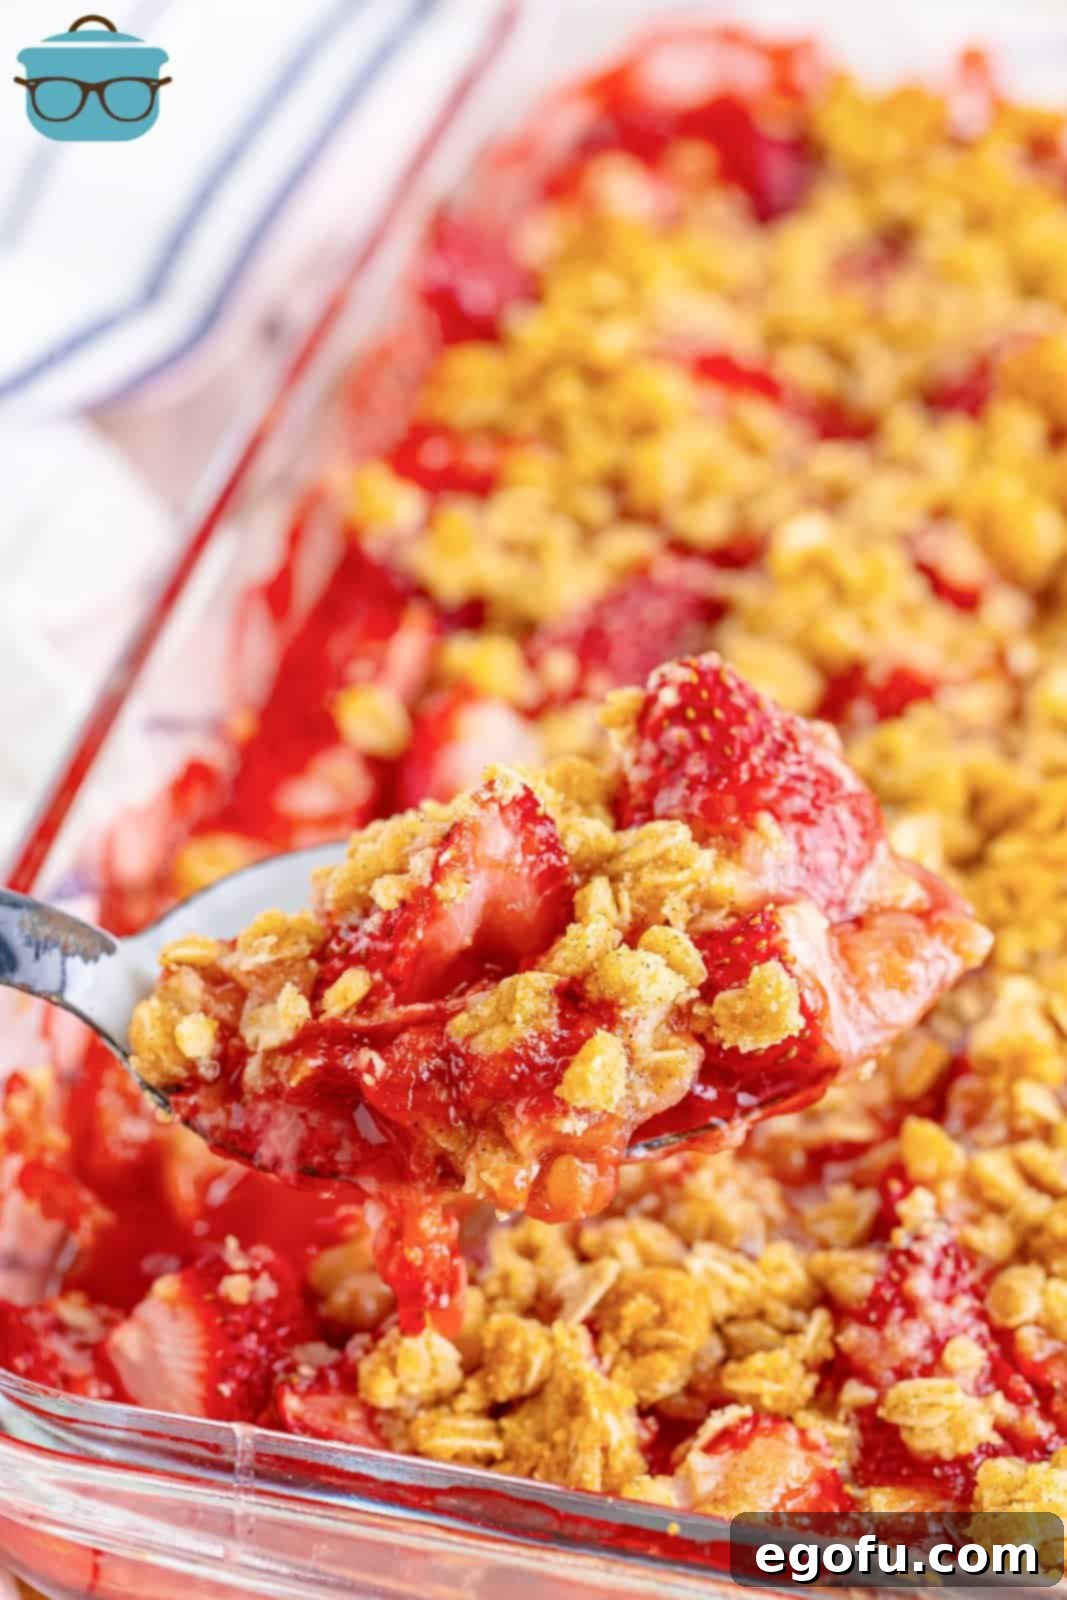
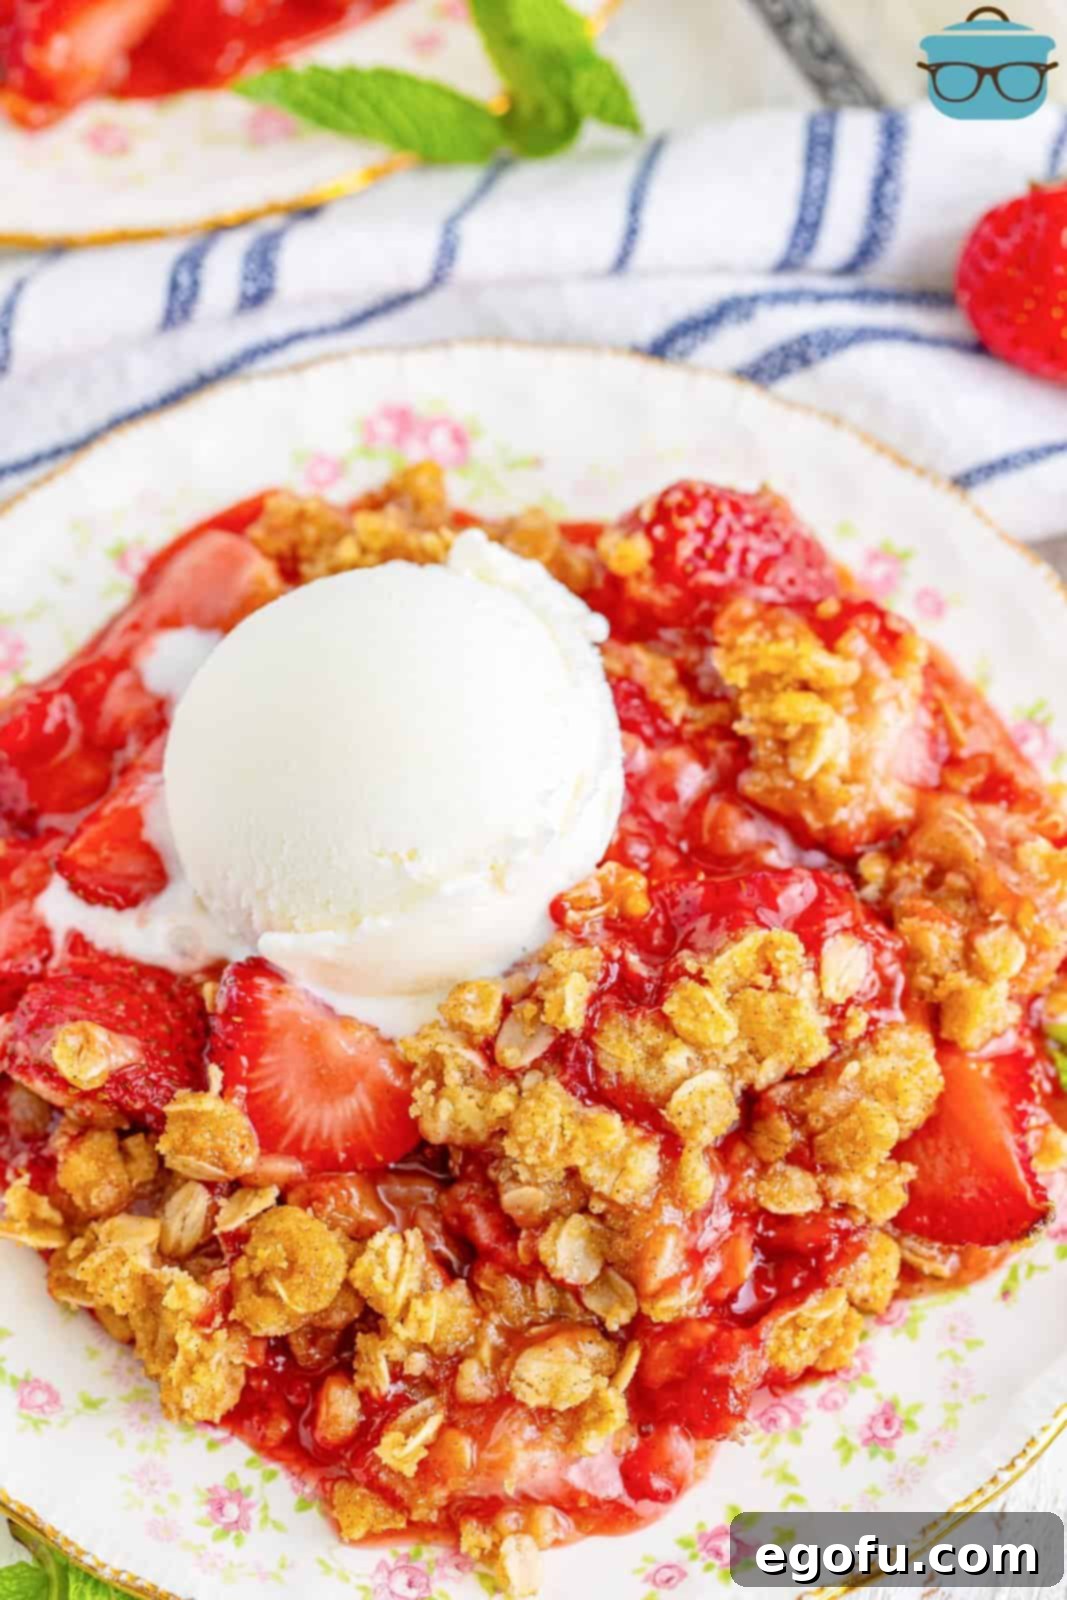
- Cool and Serve: Once baked, remove the crumble from the oven and allow it to cool for at least 10 minutes before serving. This crucial resting period allows the fruit filling to thicken and set, making it easier to scoop and preventing it from being too runny. Then, scoop out generous portions and enjoy the warm, fruity, crunchy goodness!
Craving More Delicious Recipes?
If you’ve fallen in love with this Strawberry Crumble, you’ll be thrilled to explore more of our delightful dessert creations. From other fruit crumbles to classic strawberry treats, there’s a recipe for every craving:
- Raspberry Crumble
- Strawberry Tiramisu
- Strawberries and Cream Bars
- Cherry Crumble Bars
- Apple Crumble Bars
- Strawberry Butter Swim Biscuits
- Fresh Strawberry Cake
- Strawberry Cream Cheese Pie
- Strawberry Crumble Cheesecake Bars
- Cherry Pie Bars
- Easy Skillet Cherry Cobbler
- Strawberry Jell-O Parfaits
- Strawberry Dump Cake
- Homemade Strawberry Sauce
- The Best Strawberry Pie
- Classic Strawberry Crumble
- Strawberry Poke Cake
- Strawberry Shortcake Cake
- Southern Strawberry Shortcakes
Strawberry Crumble
This Strawberry Crumble is the perfect, easy summertime dessert! Sweetened fresh strawberries with a crunchy oat topping!
Print Recipe
Pin Recipe
Prep Time: 20 minutes
Cook Time: 40 minutes
Total Time: 1 hour
Servings: 6 servings
Author: Brandie Skibinski
Ingredients
For the filling:
- 2 pounds fresh strawberries
- 2 Tablespoons cornstarch
- ½ cup granulated sugar
- 2 teaspoons fresh squeezed lemon juice
- 1 teaspoon vanilla extract
For the topping:
- ½ cup old-fashioned rolled oats
- ½ cup all-purpose flour
- ½ cup light brown sugar, packed
- 5 Tablespoons salted butter, melted
- ½ teaspoon ground cinnamon
Instructions
- Preheat the oven to 350°F (175°C). Spray an 11×7-inch baking dish with cooking spray and set aside.
- Remove the stems from the strawberries. Prepare them by leaving small ones whole, cutting medium ones in half, and quartering large ones.
- Place the strawberries in a large bowl. Toss them until coated in the cornstarch, sugar, lemon juice, and vanilla. Set aside.

- In a medium-sized bowl, stir together the oats, flour, brown sugar, melted butter, and cinnamon until combined and crumbly.

- Give the strawberries another good stir and place them in the baking dish in an even layer.

- Take your hands and add the crumble on top, breaking it up and crumbling it evenly all over the strawberries.

- Bake for 30-40 minutes until the strawberry mixture is bubbling up along the sides of the baking dish, and the crumble is golden brown.

- Allow the crumble to sit for 10 minutes before serving. Don’t skip this step, as it allows the filling time to thicken up. Then scoop and serve!

Notes
- For more detailed answers to common questions and ingredient substitutions, please refer to the “Expert Tips & Frequently Asked Questions” section above.
- I strongly recommend against using frozen strawberries; they often result in a mushy filling and a runny consistency. Prioritize fresh for the best outcome.
- This recipe method works beautifully with other fresh berries as well, offering a versatile base for different fruit crumbles.
- To reheat, simply place leftovers back into the oven at 300°F (150°C) until warm and the topping crisps up, or microwave for a quicker warm-up.
- Leftovers can be stored in an airtight container in the refrigerator for up to 3 days, or frozen for up to 3 months.
- If using a 9×9-inch baking dish, be careful not to overfill. Placing a larger baking sheet underneath can help catch any potential spills that might occur as the fruit bubbles.
Course: Dessert
Cuisine: American
Nutrition
Calories: 342kcal | Carbohydrates: 61g | Protein: 3g | Fat: 11g | Sodium: 83mg | Fiber: 4g | Sugar: 42g
Nutritional Disclaimer
“The Country Cook” is not a dietician or nutritionist, and any nutritional information shared is an estimate. If calorie count and other nutritional values are important to you, we recommend running the ingredients through whichever online nutritional calculator you prefer. Calories and other nutritional values can vary quite a bit depending on which brands were used.
Did you make this recipe?
Share it on Instagram @thecountrycook and mention us #thecountrycook!
