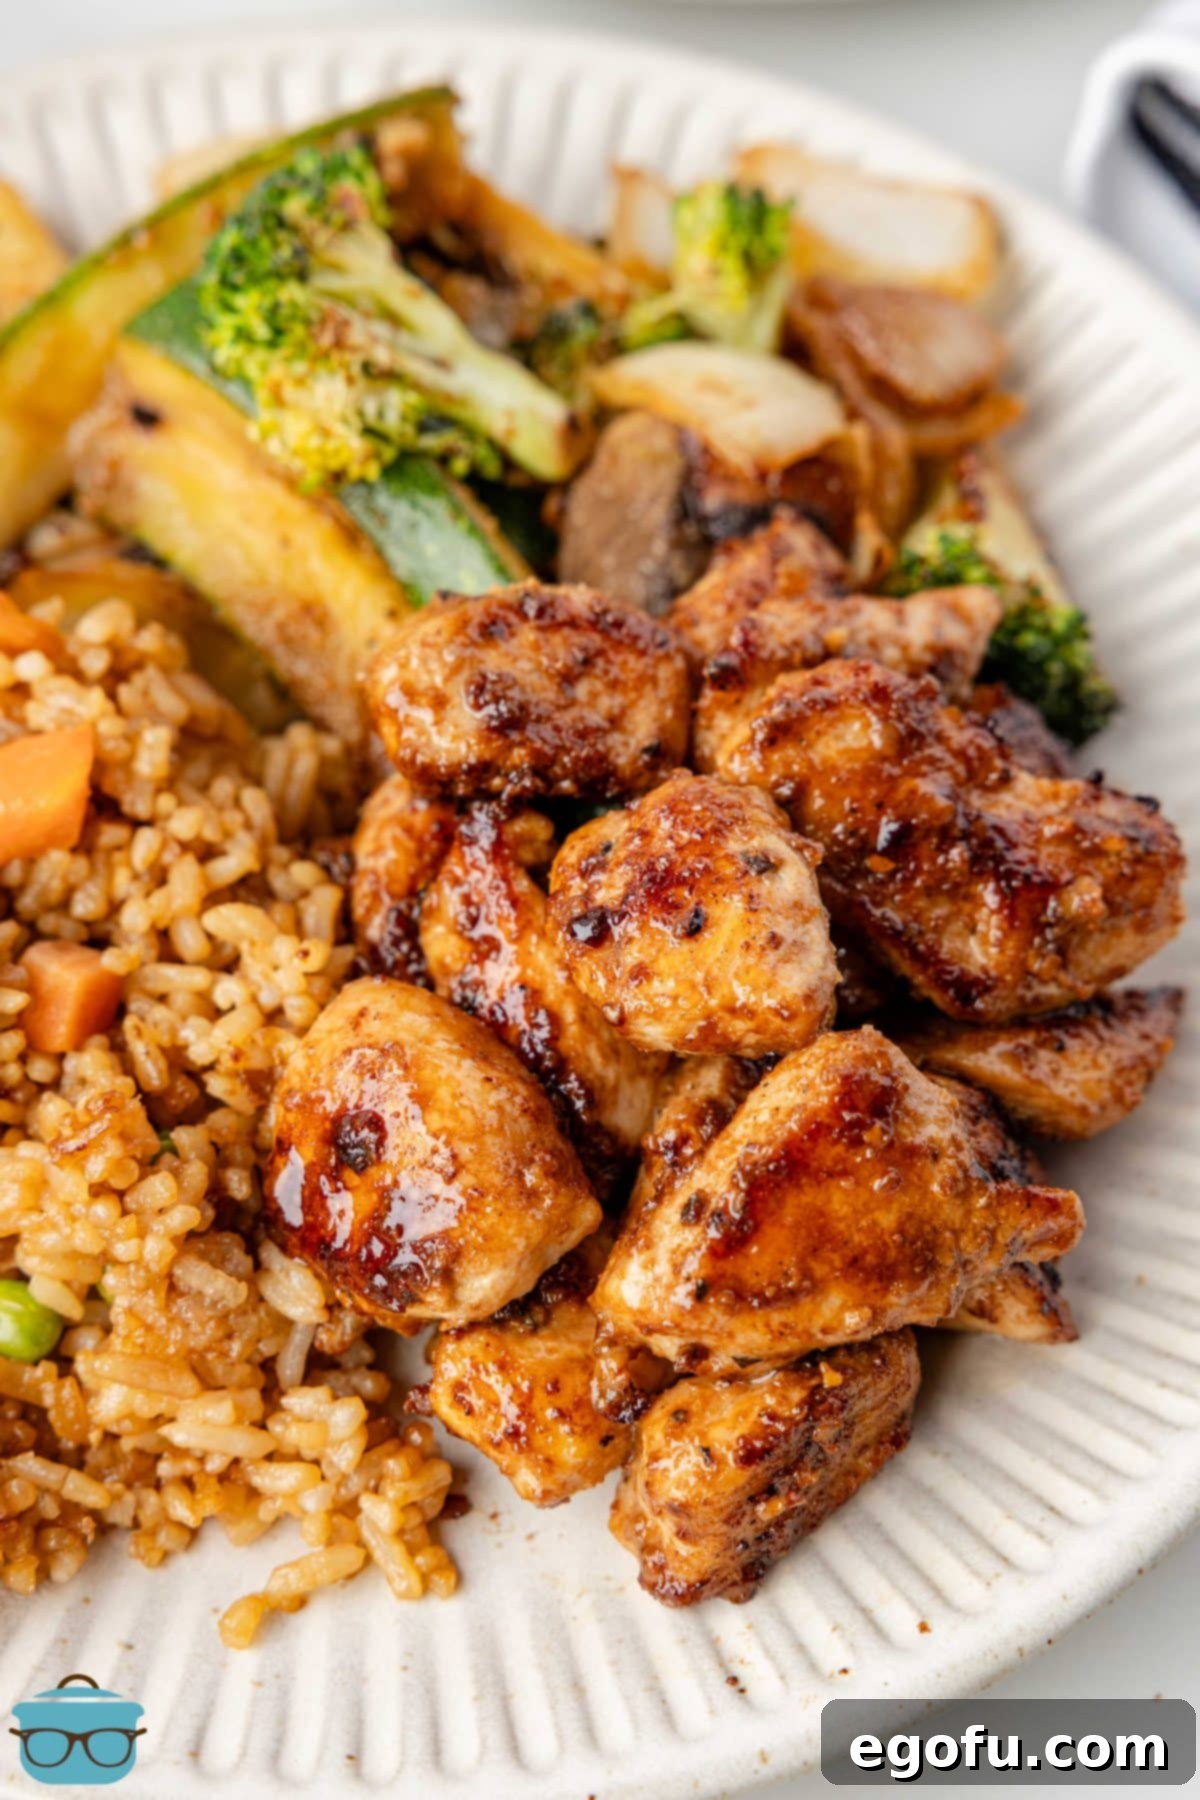
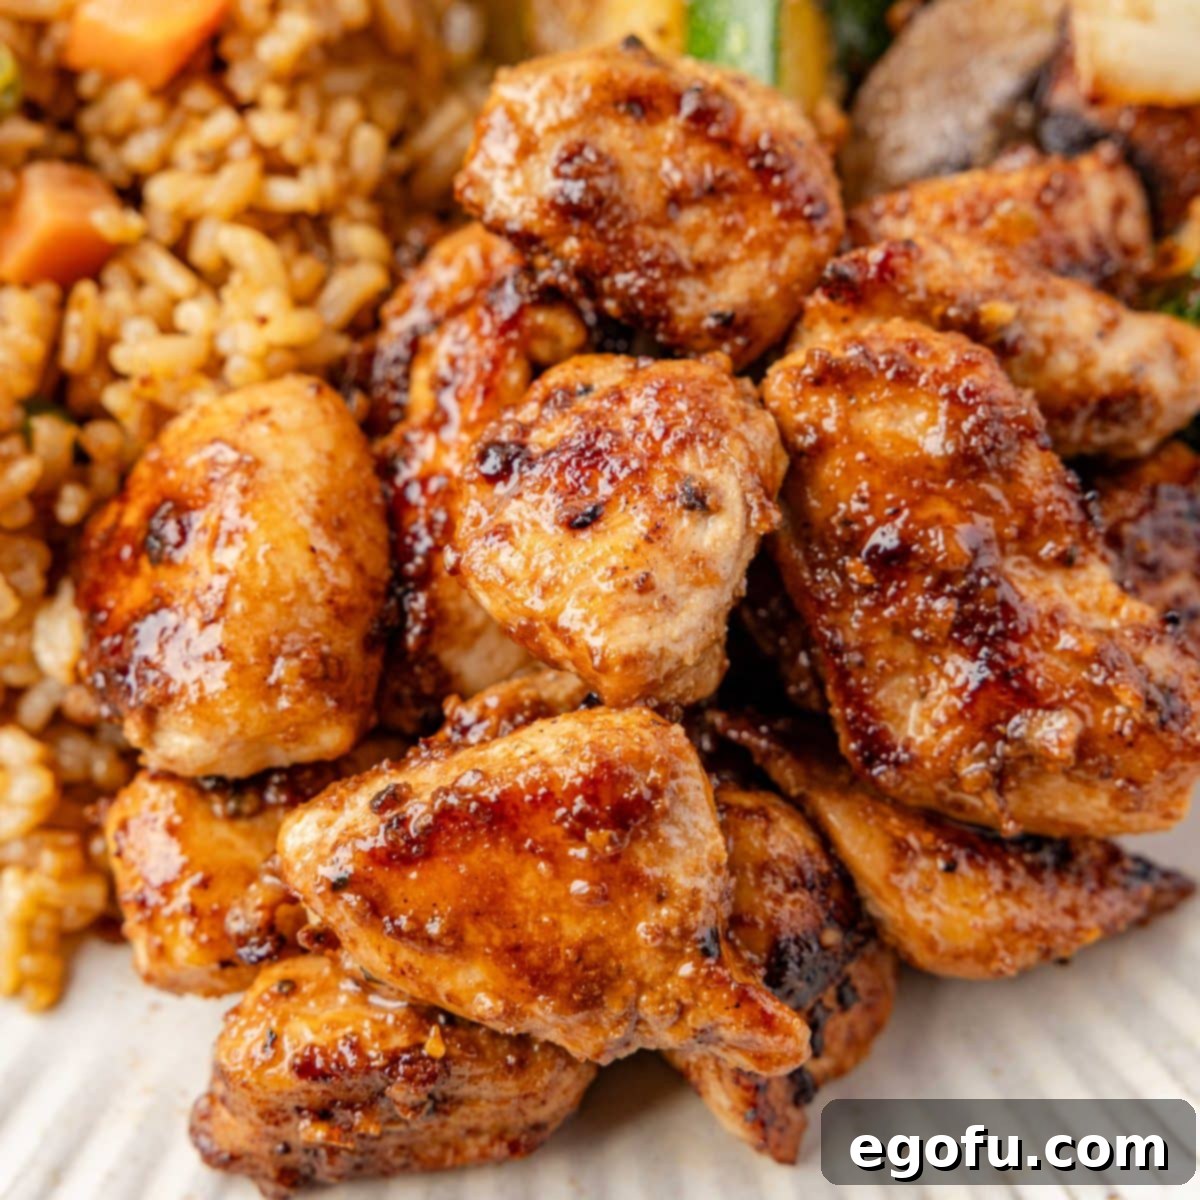
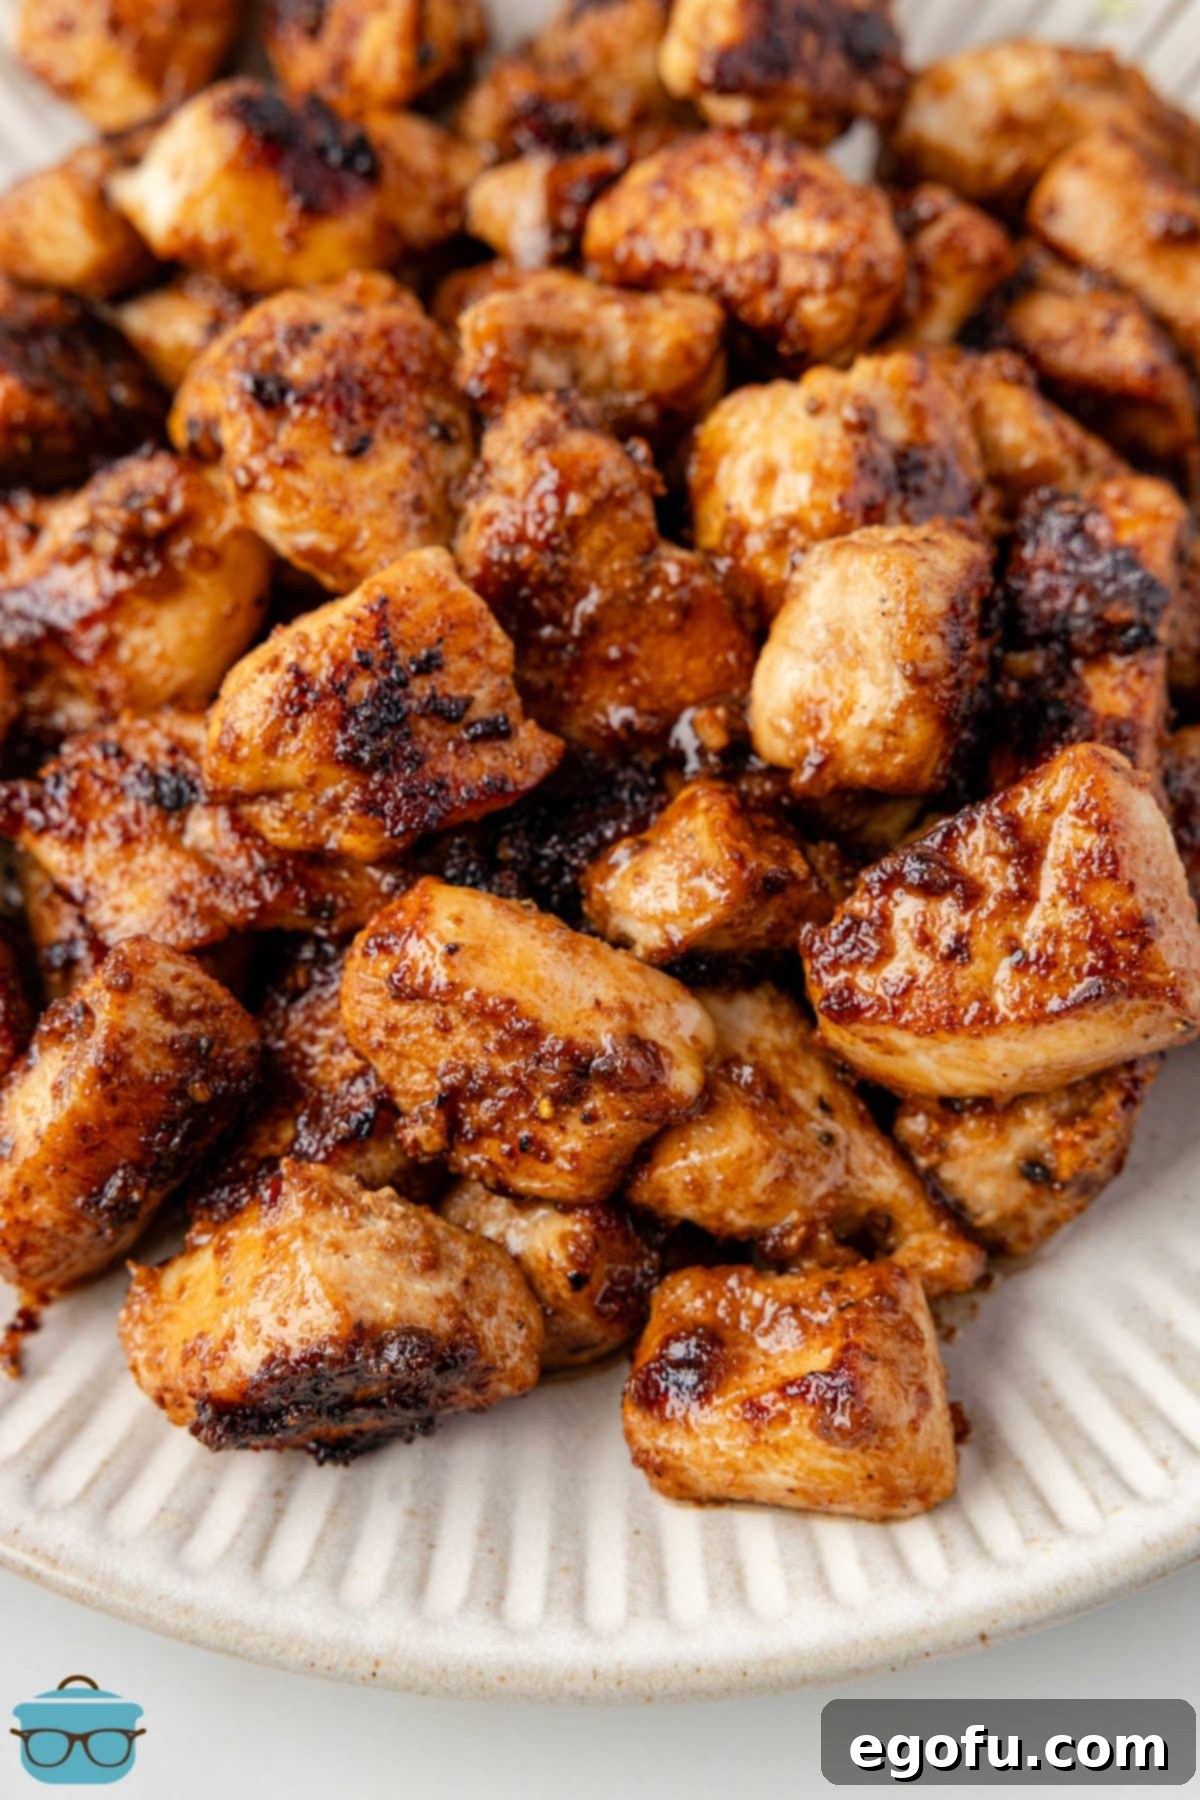
Experience the authentic taste of your favorite Japanese grill right in your kitchen with this incredibly flavorful and perfectly cooked Hibachi Chicken recipe! Drenched in a rich, savory sauce, this dish promises to bring joy to your dinner table and satisfy your cravings for that distinct hibachi experience.
Master Hibachi Chicken in Under 30 Minutes
There’s something undeniably captivating about Hibachi cuisine. Perhaps it’s the sizzling grill, the theatrical cooking, or simply the irresistible combination of perfectly seared meats and vegetables bathed in delectable sauces. For many, including myself, it’s a go-to for special occasions and a deeply satisfying comfort food. While Hibachi Steak, Hibachi Fried Rice, and Hibachi Vegetables all hold a special place, there’s a unique allure to Hibachi Chicken – especially when paired with a generous dollop of Yum Yum Sauce!
The good news? You don’t need a professional hibachi chef or an expensive restaurant reservation to enjoy this culinary delight. This recipe empowers you to recreate those beloved flavors at home with just a handful of ingredients, and for a fraction of the cost. After sharing our highly popular Hibachi Steak recipe, the demand for a chicken version was overwhelming, and I’m thrilled to finally deliver a dish I know you’ll cherish!

Why You’ll Love This Homemade Hibachi Chicken
This recipe isn’t just about recreating a restaurant favorite; it’s about simplifying deliciousness for your everyday life. Here’s why this homemade Hibachi Chicken will quickly become a staple:
- Speed and Simplicity: Forget complicated steps or lengthy cooking times. This entire meal, from start to finish, comes together in under 30 minutes, making it perfect for busy weeknights.
- Budget-Friendly: Enjoy gourmet flavors without the gourmet price tag. Cooking at home significantly cuts down on dining out costs.
- Customizable: Easily adjust the seasonings and sauce to match your family’s preferences. Add your favorite vegetables or swap chicken breast for thighs.
- Flavor Explosion: The chicken is marinated to perfection and then seared to create a delightful texture, while the rich, savory teriyaki-butter sauce coats every piece, delivering an authentic hibachi taste.
- Family Favorite: A proven crowd-pleaser! As one happy cook, Mae, shared:

“Made this for my family and everyone loved it and said I should have made more! Excellent recipe and I wouldn’t change a thing! – Mae”
Frequently Asked Questions About Hibachi Chicken
No griddle? No problem! While a large flat-top griddle is ideal for maximizing surface area and achieving that signature hibachi sear, you can easily use other kitchen equipment. A cast iron skillet works wonderfully due to its excellent heat retention, delivering a fantastic sear. A wok can also be used, especially for its high sides that help keep ingredients contained during high-heat cooking. Even a regular large skillet will work in a pinch – just ensure it’s preheated well and avoid overcrowding the pan to maintain a high cooking temperature.
While you could theoretically cook larger pieces of chicken and then cut them, it’s highly recommended to cut the chicken into 1-inch pieces before cooking. This method offers several advantages: first, it allows for a beautiful sear on all sides of each bite-sized piece, maximizing that coveted texture. Second, and crucially, pre-cutting enables the marinade to penetrate and coat all surfaces of the chicken, infusing every bite with more flavor. Cooking smaller pieces also ensures faster and more even cooking.
You absolutely can add vegetables to your hibachi meal! However, it’s generally best to cook them separately from the chicken initially. Vegetables and meat cook at different rates; if cooked together, you risk overcooking the vegetables while waiting for the chicken to finish, or vice-versa. For optimal results, cook your chosen vegetables (like zucchini, onions, mushrooms, or broccoli) on a different section of a large griddle or in a separate pan. Once both the chicken and vegetables are perfectly cooked to your desired doneness and texture, you can combine them for serving or toss them together briefly at the very end with a little extra sauce.
Yes, of course! Chicken thighs are an excellent alternative to chicken breast for this recipe. They tend to be more forgiving, staying juicy and flavorful even if slightly overcooked. Thighs also have a richer flavor profile that pairs wonderfully with the hibachi seasoning and sauce. Simply cut them into 1-inch pieces, just like you would with chicken breast, and follow the rest of the recipe instructions.
Absolutely! A Blackstone griddle is essentially a giant outdoor hibachi grill, making it perfect for this recipe. While I don’t personally own one, I know many who swear by them for hibachi-style cooking. The large surface area allows you to cook all your components—chicken, vegetables, and even fried rice—simultaneously, reducing batch cooking and making for a more efficient and authentic experience.
Cooked Hibachi Chicken should be stored in an airtight container in the refrigerator for 3-4 days. To freeze, place the cooled chicken in a freezer-safe container or a high-quality freezer bag (like a Ziplock), ensuring as much air as possible is removed to prevent freezer burn. It can freeze for up to 3 months. If you have a vacuum sealer, you can extend the freezer life to up to 6 months. Thaw frozen chicken overnight in the refrigerator before reheating.
To reheat, place the chicken in a skillet or back on the griddle over medium-low heat, stirring occasionally. You might want to add another tablespoon of oil or butter to the pan to help prevent sticking and keep the chicken moist. Ensure your pan is hot before adding the meat and heat until thoroughly warmed through, reaching an internal temperature of 165°F.
Yes, the air fryer is a great option for a crispy texture! Season your chicken pieces in the spice mixture as usual. Preheat your air fryer to 380°F (195°C) for a few minutes. Lightly spray the air fryer basket with cooking spray. Cook the chicken for 7-11 minutes at 380°F, shaking the basket halfway through to ensure even cooking. Once the chicken is cooked through and reaches an internal temperature of 165°F, transfer it to a bowl and toss with the teriyaki sauce and melted butter. Coat well, then serve and enjoy.

Essential Ingredients for Authentic Hibachi Chicken
The beauty of Hibachi Chicken lies in its simple yet powerful ingredient list. Each component plays a crucial role in building the layered flavors and achieving that perfect restaurant-style result. Here’s what you’ll need:
- Chicken Breast: For this recipe, we use boneless, skinless chicken breast cut into 1-inch pieces. This allows for quick cooking and a consistent sear on all sides. You can also use boneless, skinless chicken thighs for a slightly richer, juicier result.
- Soy Sauce: A cornerstone of Asian cooking, soy sauce provides a deep umami base for the marinade. I recommend using low-sodium soy sauce, especially since the teriyaki sauce also contributes to the sodium content. This gives you more control over the overall saltiness.
- Garlic Powder, Onion Powder, and Pepper: This trio of spices forms the foundational dry rub for the chicken, infusing it with aromatic notes. For an extra pop of color and subtle warmth, consider adding a pinch of paprika to the mix.
- High Smoke Point Oil: When making Hibachi Chicken (or any hibachi-style dish like steak or vegetables), using an oil with a high smoke point is absolutely critical. This allows you to cook at high temperatures without the oil burning and imparting a bitter taste. Excellent choices include vegetable oil, avocado oil, grapeseed oil, or peanut oil. Olive oil can be used for general cooking, but its lower smoke point makes it less ideal for the intense heat required here.
- Minced Garlic: While garlic powder contributes to the marinade, freshly minced garlic added during cooking provides an unparalleled burst of pungent, aromatic flavor. If you have the time, opt for fresh over jarred minced garlic – the difference is noticeable!
- Butter: Butter is a secret weapon in hibachi cooking, adding richness, gloss, and incredible flavor to the finished dish. You can use either salted or unsalted butter, depending on your preference and the sodium level of your soy and teriyaki sauces. For an even higher smoke point and a nutty flavor, you could also substitute ghee (clarified butter).
- Teriyaki Sauce: This sweet and savory sauce is essential for the iconic hibachi glaze. Choose your favorite brand of quality teriyaki sauce. If you need a substitute or want to make your own, mirin (Japanese sweet rice wine) can be a great base, often combined with soy sauce and sugar.

Step-by-Step Guide: How to Make Hibachi Chicken
Creating delicious Hibachi Chicken at home is surprisingly simple. Follow these easy steps to bring the flavors of your favorite Japanese steakhouse to your table:
Marinate the Chicken:
In a medium mixing bowl, combine the 1 pound of chicken breast (cut into 1-inch pieces) with 1 tablespoon of soy sauce, 1 teaspoon of garlic powder, 1 teaspoon of onion powder, and ½ teaspoon of pepper. Toss everything together until the chicken is well coated. Let the chicken marinate for 10-15 minutes. This short marination time is enough to infuse the chicken with flavor.

Prepare Your Cooking Surface:
Preheat a large griddle or a large skillet over medium-high heat. Achieving the right temperature is key for a good sear. Once hot, add 1 tablespoon of your chosen high smoke point oil (vegetable, avocado, or grapeseed oil) to the cooking surface, ensuring it’s evenly distributed.
Sear the Chicken with Garlic:
Once the oil is shimmering and hot, add the marinated chicken and 2 teaspoons of minced garlic to the griddle or skillet. Spread the chicken in a single layer if possible, cooking in batches if necessary to avoid overcrowding. Cook the chicken for about 2 minutes, allowing it to develop a golden-brown sear on one side.

Add Butter and Teriyaki Sauce:
After the initial sear, add 2 tablespoons of butter and 1 tablespoon of teriyaki sauce to the chicken. Stir and toss the chicken to coat it evenly with the melting butter and savory sauce. Continue to cook the chicken for another 2 to 3 minutes, or until it reaches an internal temperature of 165°F (74°C). Use a meat thermometer to ensure proper doneness for safety.

Serve and Enjoy:
Once the chicken is perfectly cooked, transfer it immediately to a plate. Serve hot and enjoy your homemade hibachi masterpiece! This dish is fantastic on its own or paired with your favorite sides.

Tips for Hibachi Chicken Success
- Don’t Overcrowd the Pan: This is crucial for achieving a good sear. If you add too much chicken at once, the temperature of your cooking surface will drop significantly, causing the chicken to steam rather than sear. Cook in batches if necessary, ensuring each piece has enough space.
- High Heat is Key: Hibachi cooking thrives on high heat. Make sure your griddle or skillet is thoroughly preheated before adding the oil and chicken. This rapid cooking locks in juices and creates a delicious browned exterior.
- Fresh Garlic Makes a Difference: While garlic powder in the marinade is good, fresh minced garlic added during cooking provides a more vibrant and authentic flavor.
- Use a Meat Thermometer: For food safety and optimal texture, always cook chicken until it reaches an internal temperature of 165°F (74°C). A quick-read thermometer ensures your chicken is perfectly done without being overcooked and dry.
- Experiment with Vegetables: Feel free to add your favorite hibachi vegetables like sliced zucchini, onions, mushrooms, or broccoli. Remember to cook them separately or on a different section of the griddle and combine at the end.
Serving Suggestions for Your Hibachi Feast
This Hibachi Chicken is a star on its own, but it truly shines when served as part of a complete hibachi-style meal. Here are some fantastic pairing ideas:
- Hibachi Fried Rice: The classic pairing! Our Hibachi Fried Rice recipe complements the chicken perfectly, soaking up all the savory flavors.
- Hibachi Vegetables: Sautéed zucchini, onions, and mushrooms are a must-have. You can also include broccoli, carrots, or snap peas. Find our dedicated Hibachi Vegetables recipe for guidance.
- Yum Yum Sauce: No hibachi meal is complete without this creamy, tangy, and slightly sweet sauce. Make a batch of our homemade Yum Yum Sauce for dipping!
- Steamed Rice or Noodles: A simple bowl of fluffy white rice or quick stir-fried noodles makes for a satisfying base.
- Asian Slaw: A refreshing Asian Slaw can offer a cool, crisp counterpoint to the hot, savory chicken.
Craving More Easy Asian-Inspired Recipes?
If you loved this Hibachi Chicken, be sure to explore more of our quick and delicious recipes that bring global flavors to your kitchen:
- Hibachi Fried Rice
- Hibachi Steak
- Hibachi Vegetables
- Yum Yum Sauce
- Air Fryer Chicken Bites
- Lemon Garlic Chicken Bites
- Garlic Butter Chicken Bites
- Hamburger Ramen Noodle Skillet
- Asian Slaw
- Spam Fried Rice
Hibachi Chicken Recipe
Savory and flavorful chicken made on the griddle to taste like the hibachi chicken you’d get from the fancy restaurants.
Prep Time: 10 minutes
Cook Time: 5 minutes
Marinate Time: 10 minutes
Total Time: 25 minutes
Servings: 4
Author: Brandie Skibinski
Ingredients
- 1 pound chicken breast, cut into 1-inch pieces (or chicken thighs)
- 1 Tablespoon soy sauce (low sodium recommended)
- 1 teaspoon garlic powder
- 1 teaspoon onion powder
- ½ teaspoon pepper
- 1 Tablespoon oil (vegetable, avocado, grapeseed, or peanut oil – high smoke point)
- 2 teaspoons minced garlic (freshly minced preferred)
- 2 Tablespoons butter (salted or unsalted, or ghee)
- 1 Tablespoon teriyaki sauce (mirin can be a substitute)
Instructions
- In a medium mixing bowl, combine the chicken breast, soy sauce, garlic powder, onion powder, and pepper. Let the chicken marinate for 10-15 minutes.
- Preheat a large griddle or a large skillet over medium-high heat.
- Add the oil to the griddle. Once the oil is heated and shimmering, add the marinated chicken and minced garlic. Cook the chicken for about 2 minutes, allowing it to sear nicely.
- Then add the butter and teriyaki sauce. Continue to cook the chicken until it reaches an internal temperature of 165°F (about another 2 to 3 minutes), tossing to coat evenly.
- Transfer your chicken to a plate and enjoy immediately.
Video
Notes
- For ingredient substitutions, cooking tips, and storage questions, please refer to the Frequently Asked Questions and ingredient list sections above for more detailed information.
Course: Dinner, Main Course
Cuisine: American, Japanese
Nutrition
Calories: 223kcal | Carbohydrates: 3g | Protein: 25g | Fat: 12g | Sodium: 601mg | Fiber: 0.3g | Sugar: 1g
Nutritional Disclaimer
“The Country Cook” is not a dietician or nutritionist, and any nutritional information shared is an estimate. If calorie count and other nutritional values are important to you, we recommend running the ingredients through whichever online nutritional calculator you prefer. Calories and other nutritional values can vary quite a bit depending on which brands were used.
Did you make this recipe?
Share it on Instagram @thecountrycook and mention us #thecountrycook!


