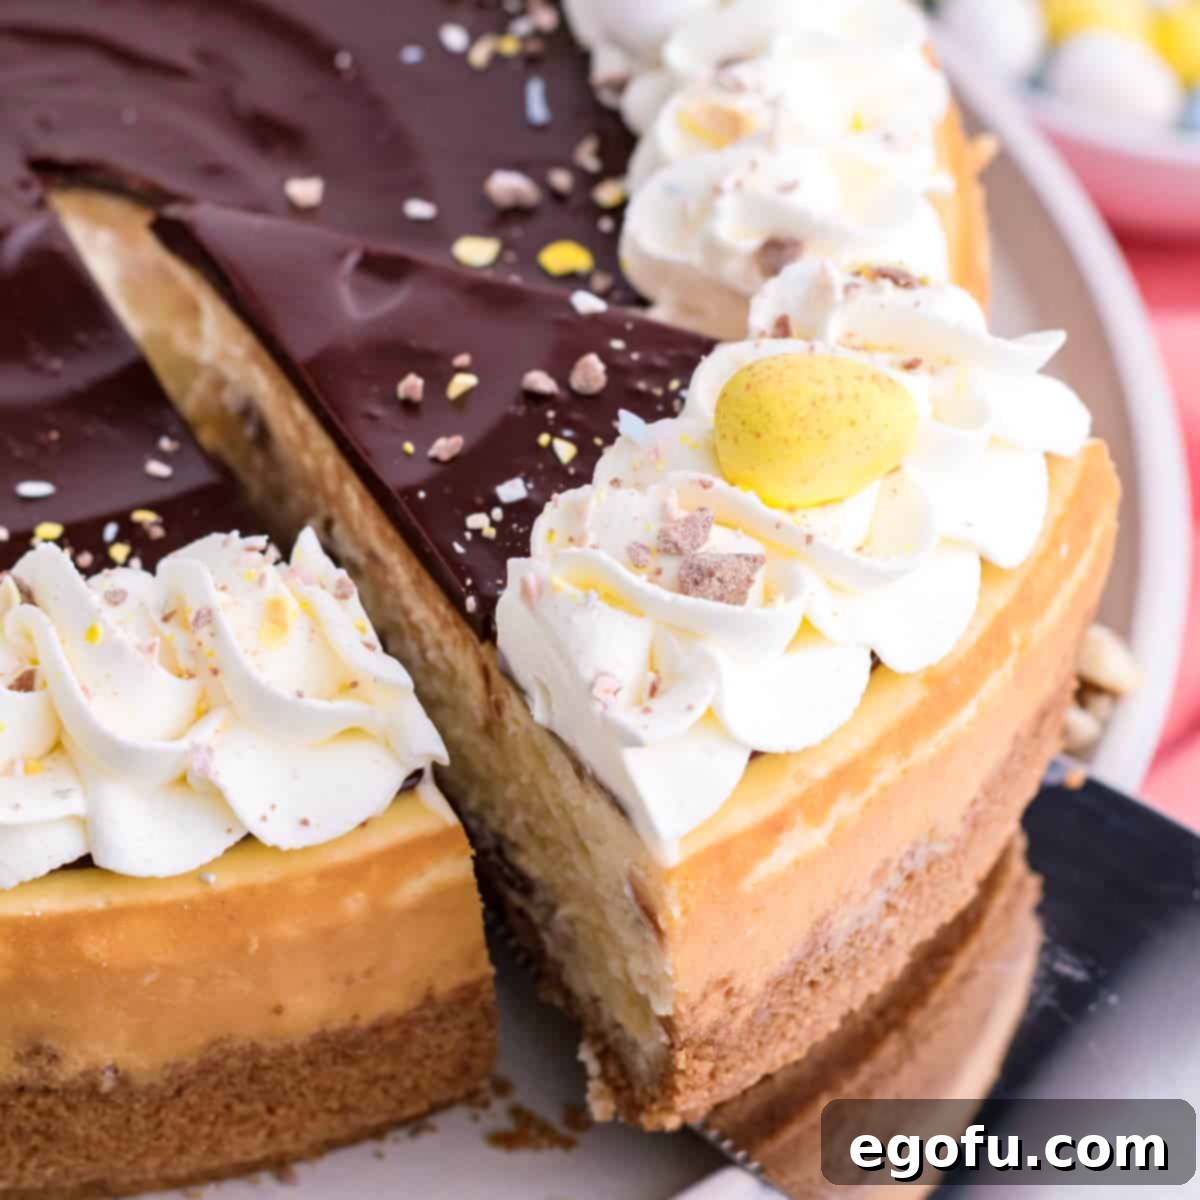
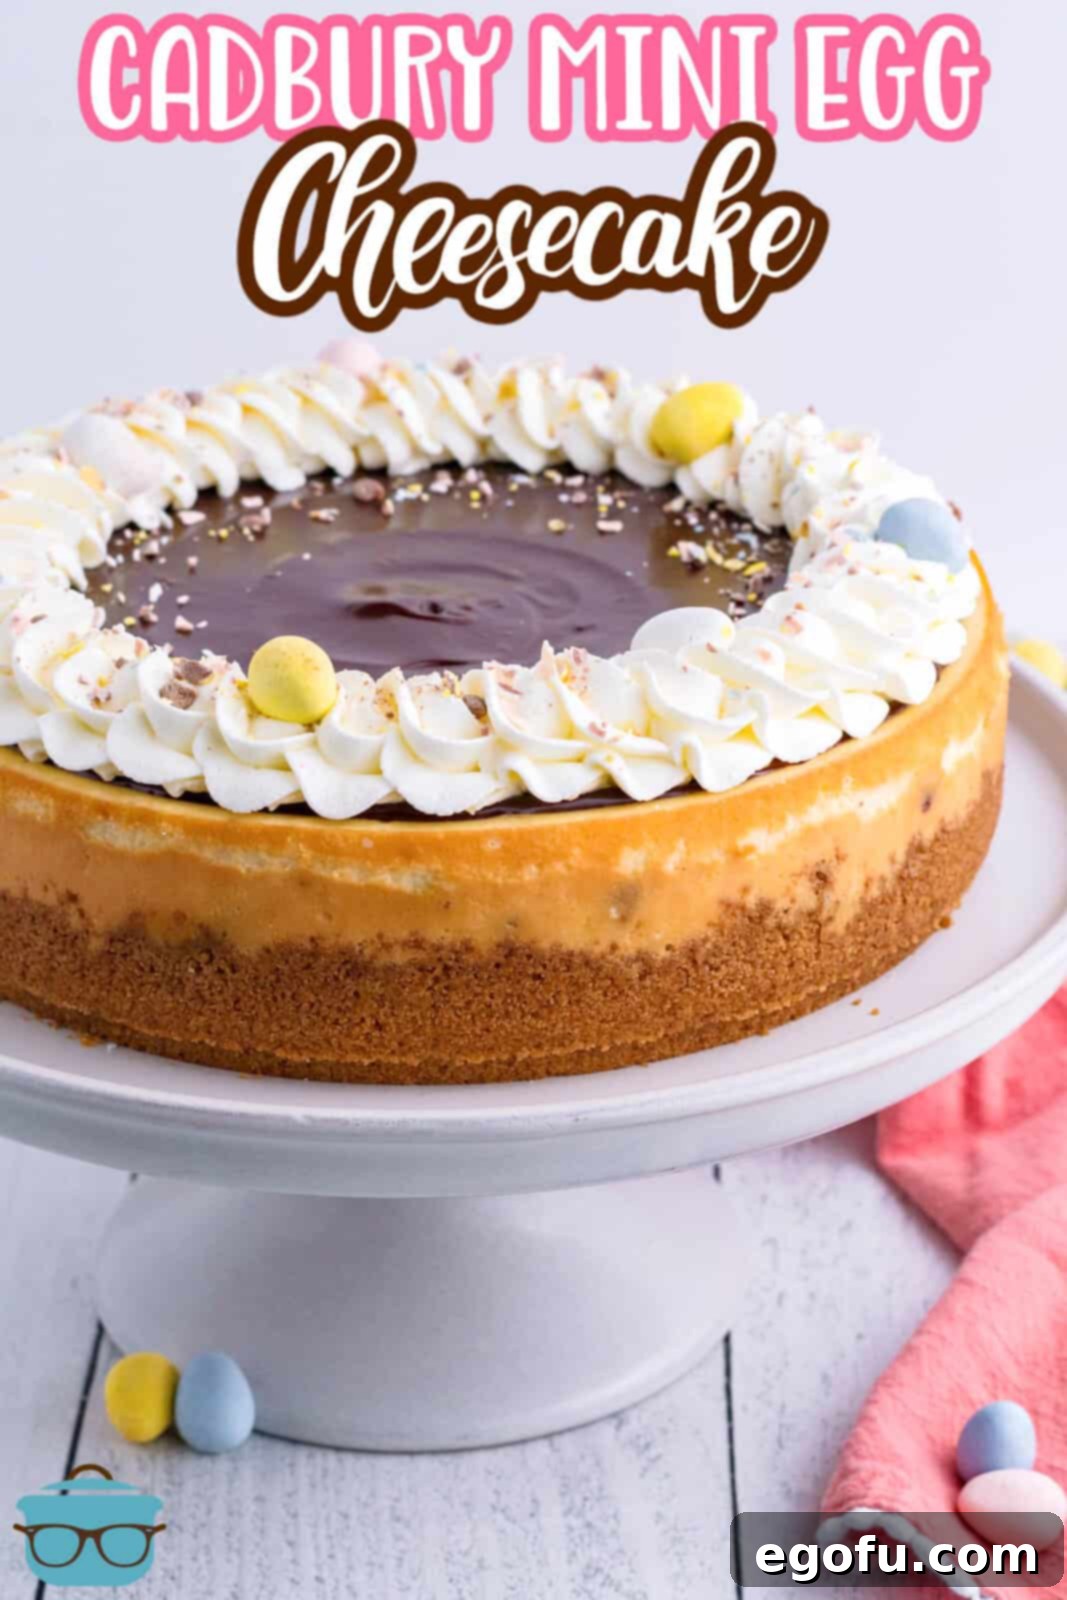
Welcome to the ultimate guide for creating an extraordinary **Cadbury Mini Egg Cheesecake**! This recipe goes beyond just a dessert; it’s a celebration of spring, a delightful centerpiece for your Easter gatherings, and a treat that promises to bring smiles to every face. Imagine a buttery, perfectly baked homemade graham cracker crust, embracing a rich, velvety cheesecake filling generously studded with crunchy, colorful Cadbury Mini Eggs. Crowned with a luxurious chocolate ganache and a sprinkle of extra mini eggs, this cheesecake isn’t just a dessert; it’s an experience. Whether you’re a seasoned baker or just starting your culinary journey, our detailed, step-by-step instructions ensure a show-stopping result that’s surprisingly simple to achieve. Get ready to impress your family and friends with this irresistible Easter masterpiece!
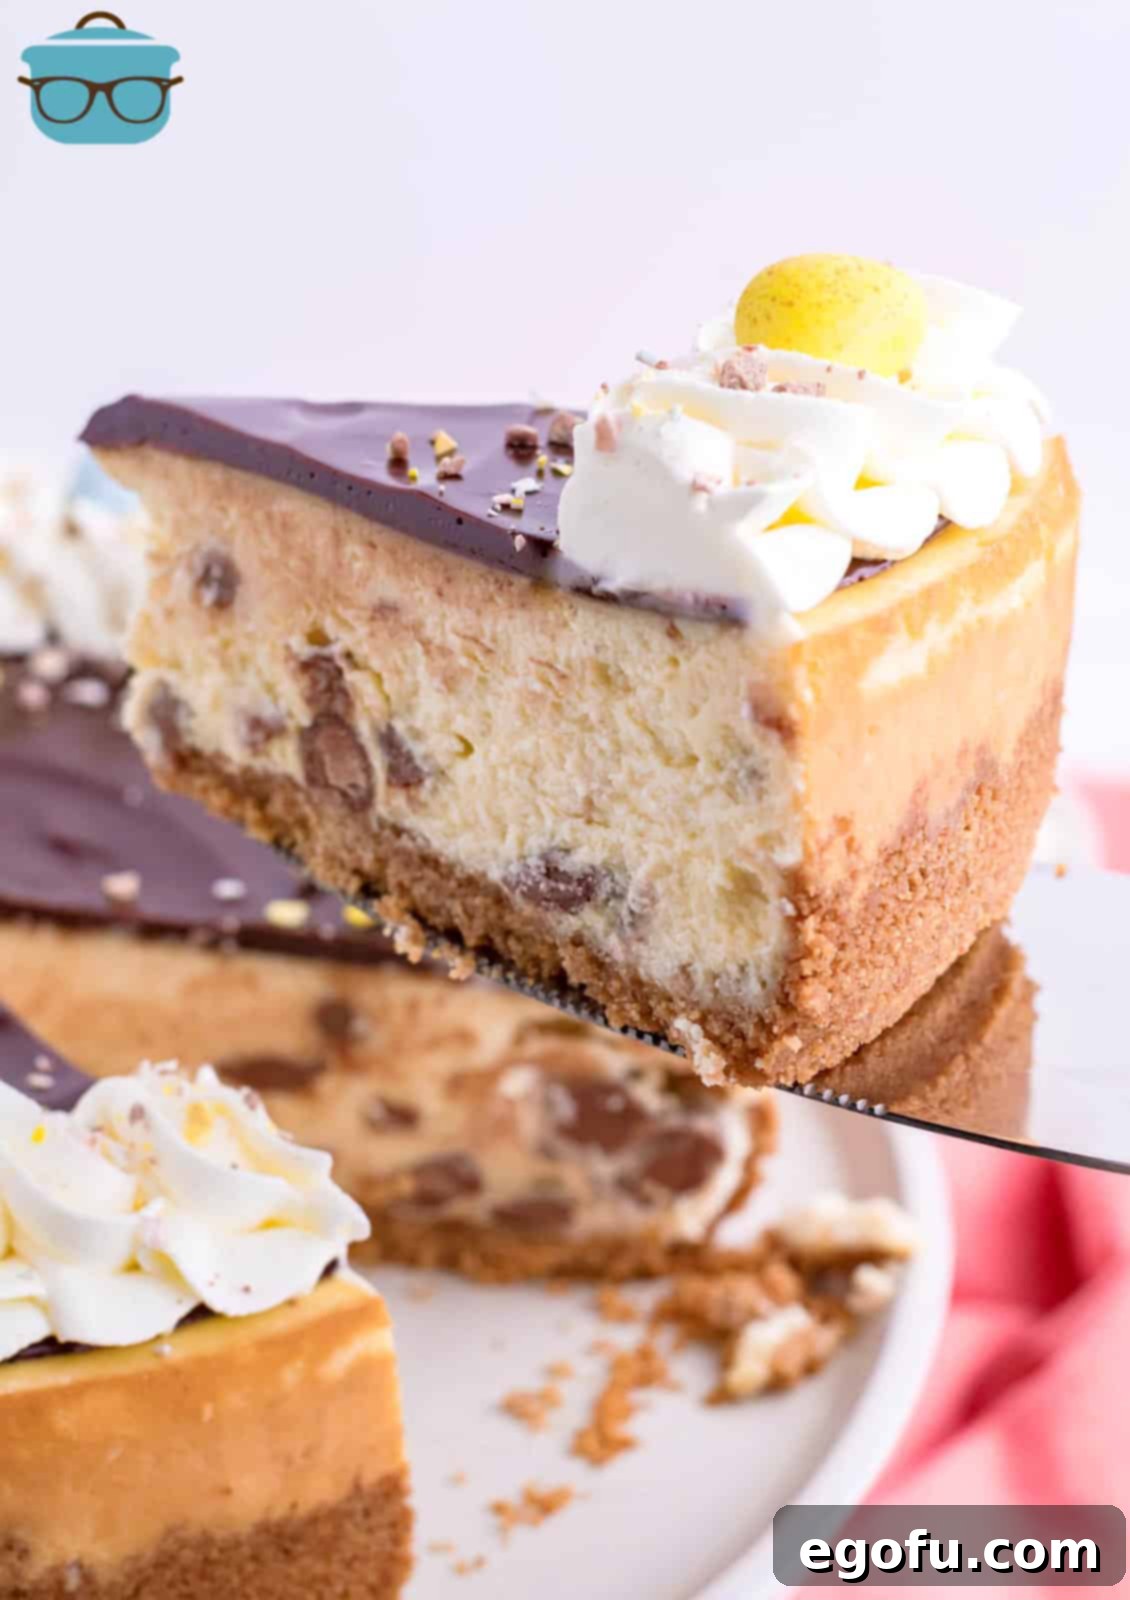
Why This Cadbury Mini Egg Cheesecake Is Your Must-Bake Easter Dessert
Easter is a time for joy, renewal, and, of course, delicious food. While traditional cakes and pies have their place, a cheesecake offers a unique blend of elegance and indulgence that elevates any holiday spread. Our Cadbury Mini Egg Cheesecake is specifically designed to capture the festive spirit of Easter. The vibrant colors of the mini eggs bring a playful touch, contrasting beautifully with the creamy white cheesecake and dark chocolate ganache. Beyond its stunning appearance, the combination of textures and flavors is what truly sets this dessert apart: the crispness of the graham cracker crust, the smooth, tangy-sweet cheesecake, the satisfying crunch of the mini eggs, and the bittersweet richness of the chocolate topping. It’s a dessert that feels both classic and innovative, perfect for creating lasting memories with loved ones.
Creating a homemade cheesecake might seem daunting, but this recipe simplifies the process without compromising on flavor or quality. We’ve broken down each step to make it accessible for bakers of all skill levels. From preparing the perfect crust to mastering the bake and cooling process, we provide all the tips and tricks you need to avoid common cheesecake pitfalls and achieve a flawless, crack-free dessert every time. This recipe focuses on clean flavors and a straightforward approach, ensuring that your focus remains on enjoying the baking process and the incredible results.
Frequently Asked Questions (FAQs)
No food processor? No problem at all! You can still easily make a fantastic graham cracker crumb crust. Simply place your graham crackers in a sturdy zip-top bag, seal it, and use a rolling pin to crush them into fine crumbs. This method is just as effective and sometimes even therapeutic!
Absolutely! Using pre-crushed graham cracker crumbs from the store is a convenient shortcut that saves time and effort. You can typically find these in the baking aisle, often near pre-made pie crusts. Just make sure to measure out the correct amount as specified in the recipe.
While the chocolate ganache adds a rich, decadent layer and stunning visual appeal, it is entirely optional. Your cheesecake will still be incredibly delicious without it. However, for that extra touch of gourmet elegance and chocolatey goodness, we highly recommend including it!
The beauty of this cheesecake is its versatility when it comes to toppings! Instead of ganache, consider a dusting of cocoa powder, elegant chocolate shavings, a festive sprinkle of colorful sprinkles, more crushed mini eggs for an extra crunch, or even a handful of mini chocolate chips. Toasted coconut shavings can also add a delightful texture and tropical hint. Or, simply enjoy it plain – sometimes less is more!
Using a springform pan is crucial for easy removal, as its removable sides allow you to effortlessly release the cheesecake without damaging its pristine edges. For an added layer of protection and to ensure absolutely no sticking, we recommend lining the bottom of the springform pan with a round of parchment paper. If you only have a regular round cake pan, ensure it is thoroughly greased, perhaps with a non-stick cooking spray that contains flour (like Baker’s Joy), to help the cheesecake slide out cleanly.
To maintain its freshness and delightful texture, any leftover Cadbury Mini Egg Cheesecake should be stored in an airtight container in the refrigerator. It will stay delicious for up to 3 days. For longer storage, slices can be frozen individually wrapped in plastic wrap and then placed in a freezer-safe bag or container for up to 3 months. Thaw in the refrigerator before serving.
Cheesecakes often crack due to rapid temperature changes or overbaking. To prevent this, ensure all your cream cheese and eggs are at room temperature. Avoid overmixing the batter, especially after adding eggs, as this incorporates too much air. The baking process described in this recipe (starting at a higher temperature, then reducing it, and finally cooling in a cracked oven) is designed to minimize cracks by allowing the cheesecake to cool slowly and evenly. Resist the urge to open the oven door during baking!
Ingredients Needed:
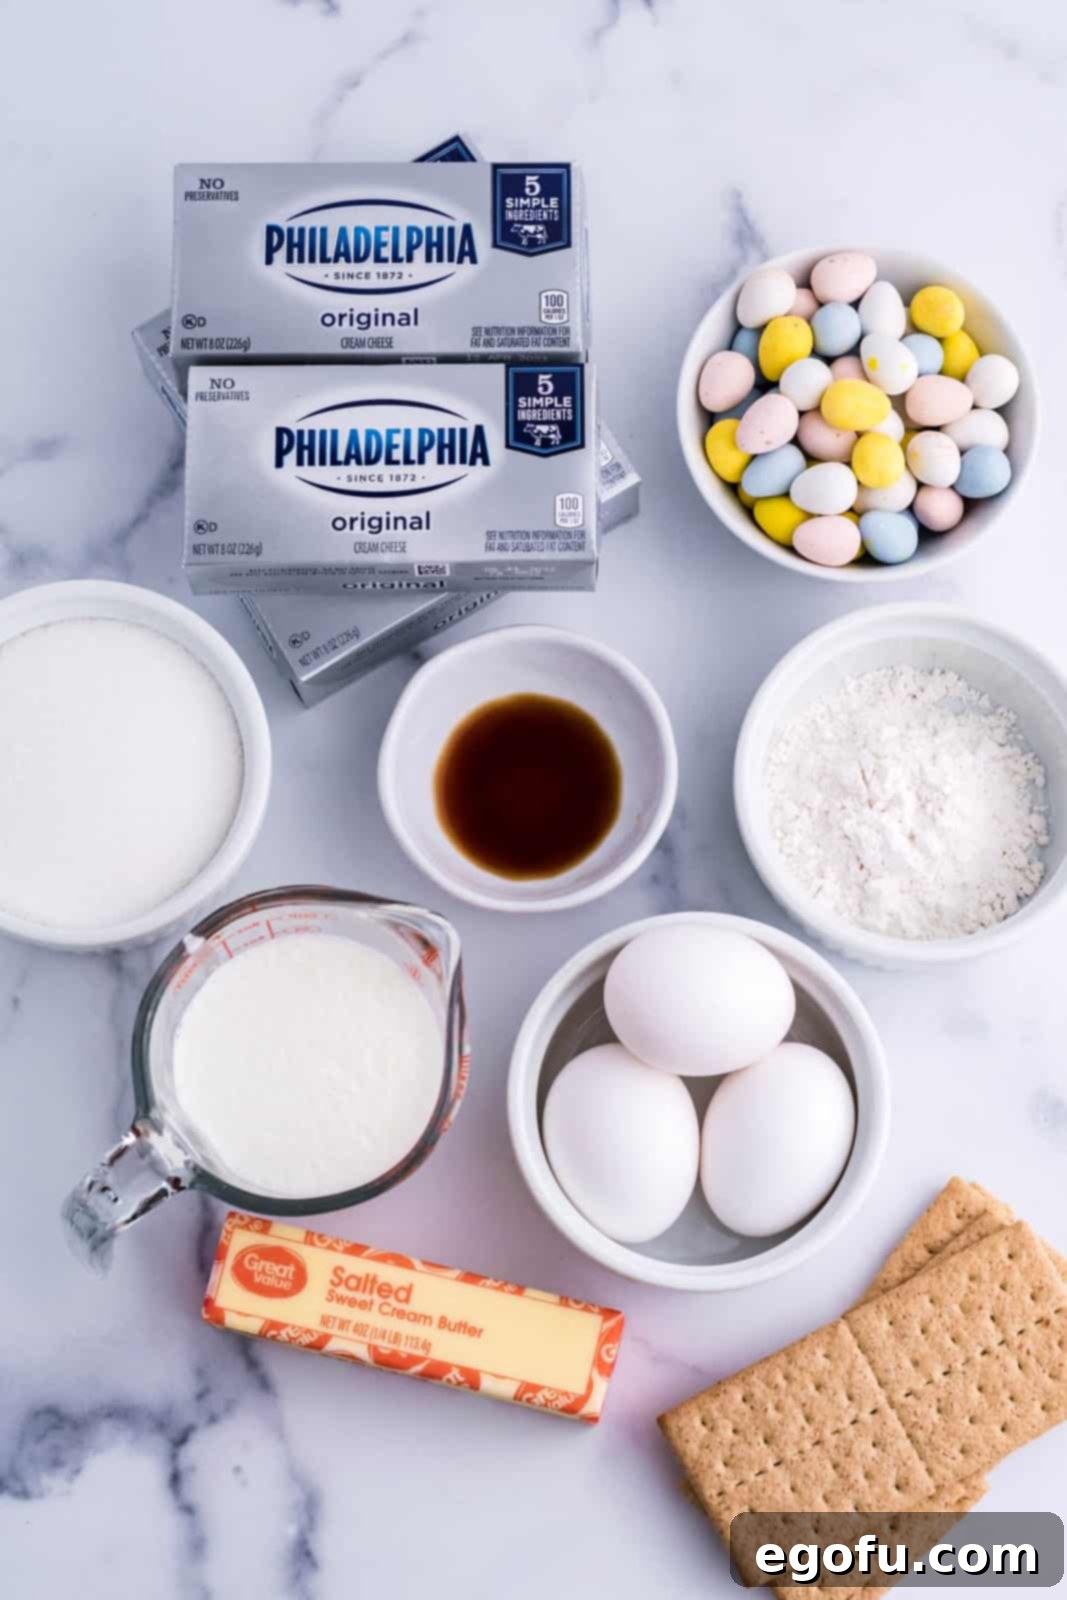
To embark on this delightful baking adventure, gather the following high-quality ingredients. For best results, ensure your cream cheese and eggs are at room temperature before you begin.
- For the Crust:
- Graham cracker crumbs (about 1 ½ sleeves of graham crackers, yielding 1 ½ cups of crumbs)
- Unsalted butter, melted
- For the Cheesecake Filling:
- Full-fat cream cheese, softened to room temperature (four 8-ounce packages)
- Granulated sugar
- All-purpose flour
- Pure vanilla extract
- Heavy whipping cream
- Large eggs
- Cadbury Mini Eggs, crushed (approximately 2 cups)
- For the Chocolate Ganache Topping (Optional, but highly recommended):
- Semi-sweet chocolate chips
- Heavy whipping cream
- For Garnish (Optional):
- Whipped cream
- Additional Cadbury Mini Eggs, whole or crushed
How to Make a Cadbury Mini Egg Cheesecake: A Step-by-Step Guide
Preparing the Perfect Graham Cracker Crust
The foundation of any great cheesecake is a solid, flavorful crust. Follow these steps for a wonderfully crunchy base:
- Preheat and Prepare: Begin by preheating your oven to 350°F (175°C). Take a 9-inch springform pan and generously spray the bottom and sides with non-stick cooking spray. For an extra layer of protection against sticking and for easier removal, you can cut a round of parchment paper to fit the bottom of the pan before securing the springform sides. Set the prepared pan aside.
- Crumb Creation: If using whole graham crackers, add about 1 ½ sleeves (which should yield approximately 1 ½ cups of crumbs) to a food processor. Pulse until finely ground into uniform crumbs. If you don’t have a food processor, use the zip-top bag and rolling pin method as described in our FAQ.
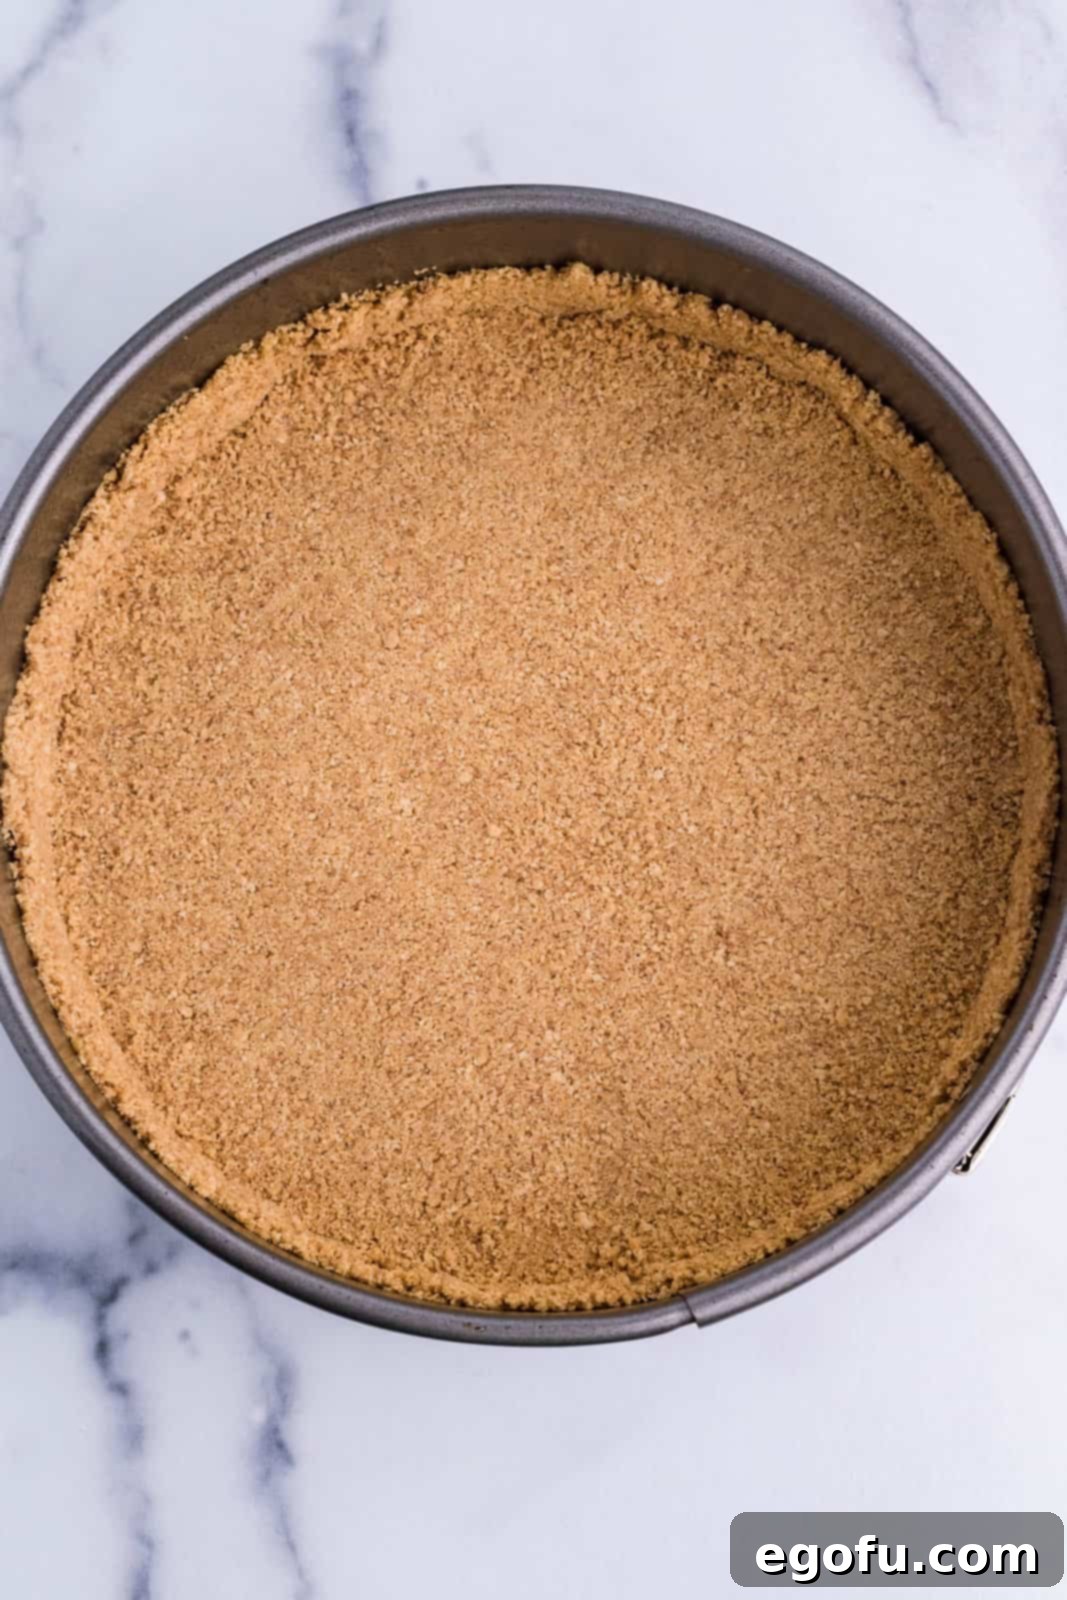
- Bind and Press: Pour the melted butter into the graham cracker crumbs and pulse again (or mix thoroughly in a bowl) until the crumbs are evenly moistened and resemble wet sand. Transfer these buttery crumbs into your prepared springform pan. Using the back of a spoon or your fingertips, gently but firmly press the mixture across the bottom of the pan and about 1 inch up the sides. This creates a sturdy base and a slight barrier for the filling.
- Bake the Crust: Bake the crust in the preheated oven for 10 minutes, or until it turns a light golden brown and smells fragrant. This brief bake helps to set the crust, preventing it from becoming soggy. Once baked, remove the pan from the oven and place it on a wire rack to cool completely while you prepare the filling.
Crafting the Luscious Cheesecake Filling
The heart of this dessert is its rich, creamy filling. Achieving the perfect texture is key:
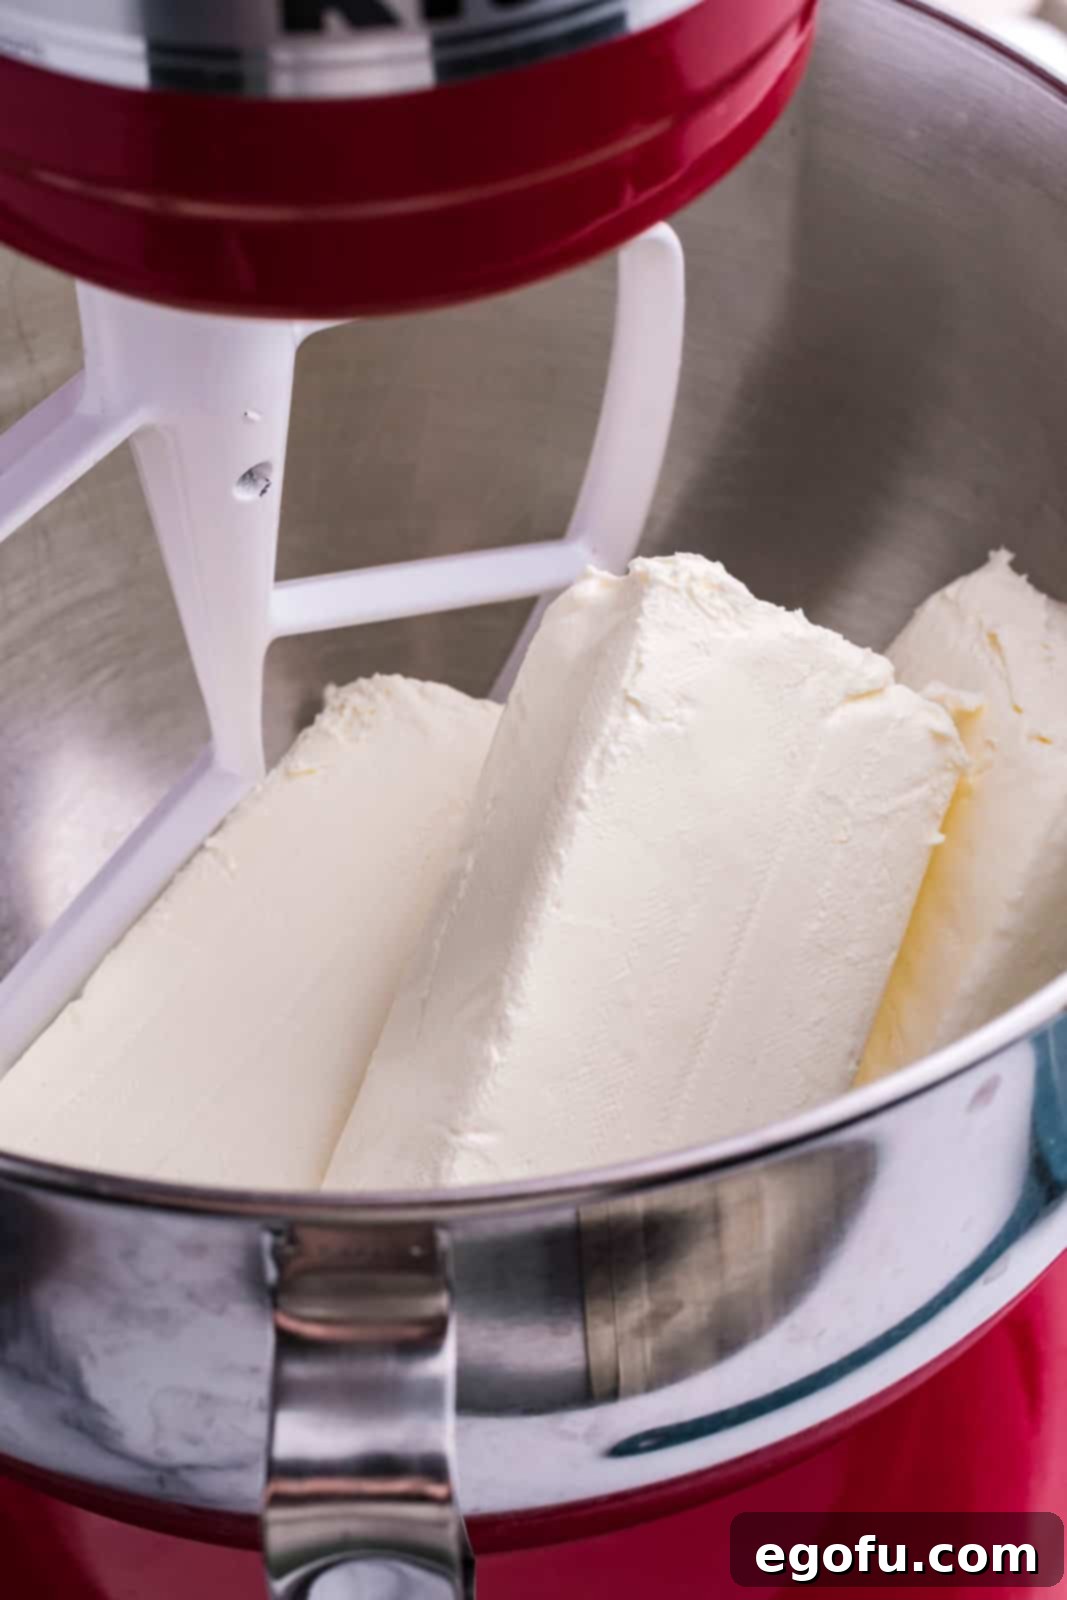
- Cream the Cream Cheese: In the bowl of a stand mixer fitted with a paddle attachment (or using a large bowl with an electric hand mixer), add the softened cream cheese. Cream on medium speed for 5-6 minutes until the cream cheese is incredibly light, airy, and fluffy. This step is vital for a smooth, lump-free cheesecake. Stop occasionally to scrape down the sides and bottom of the bowl to ensure even mixing.
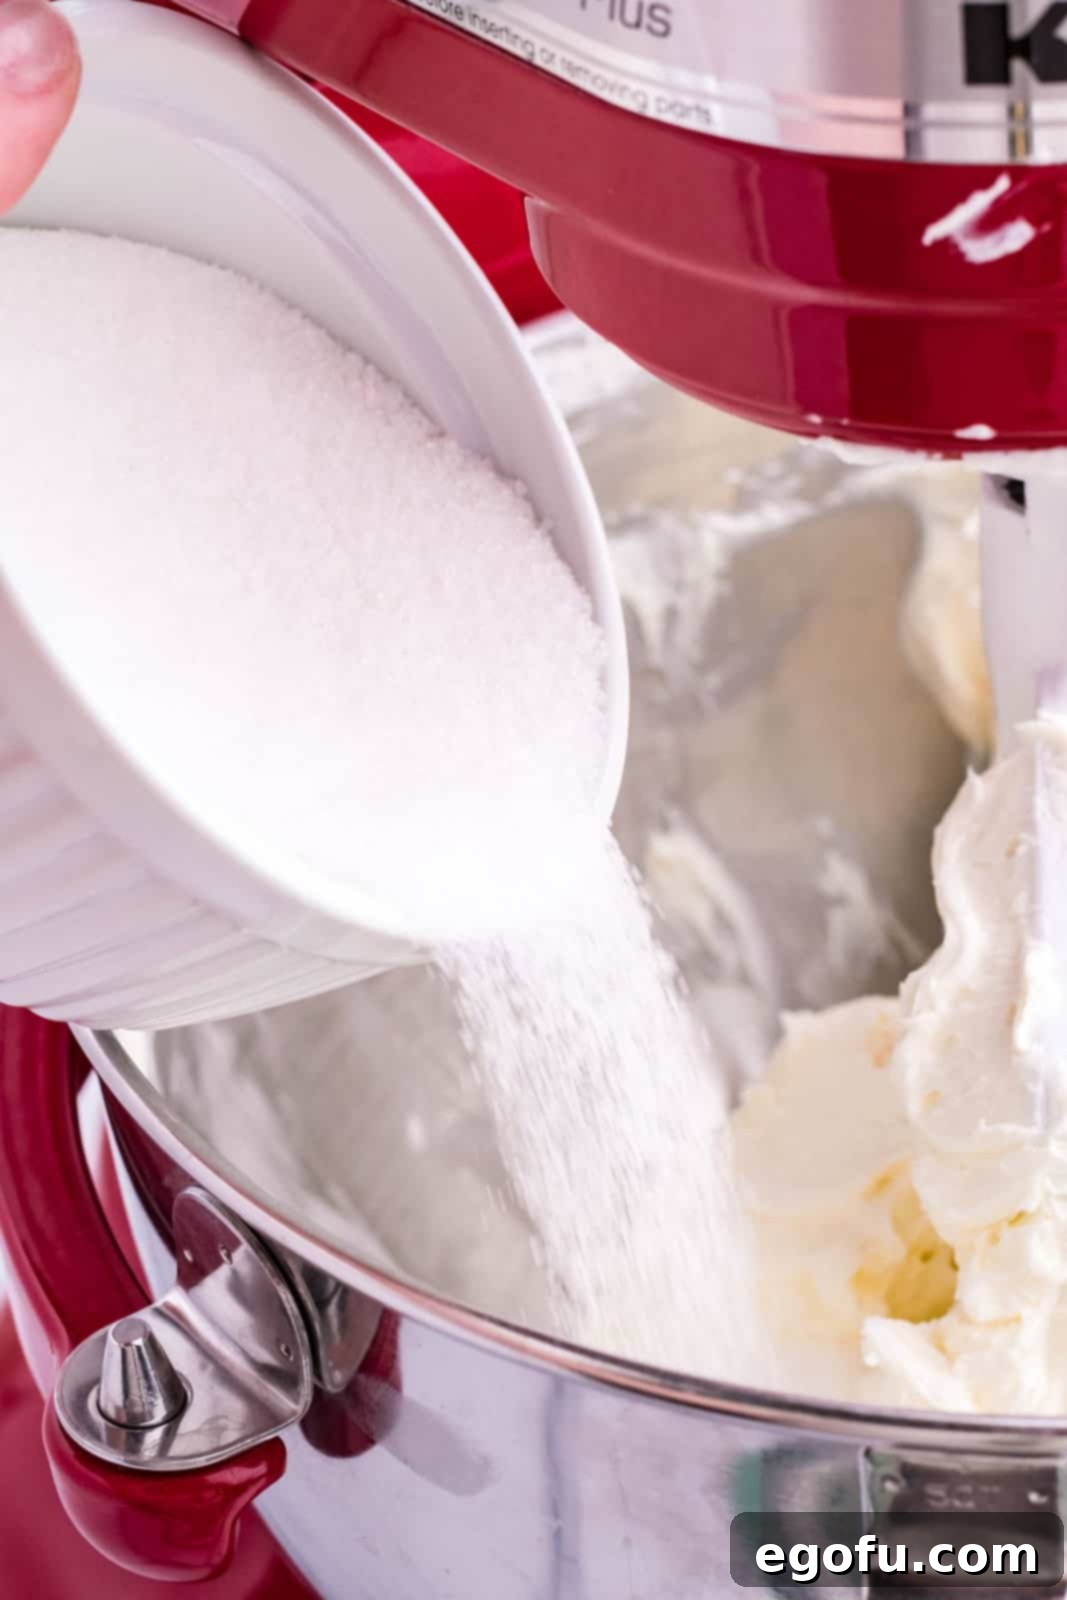
- Incorporate Sugar and Flour: With the mixer on low speed, slowly add the granulated sugar and all-purpose flour to the creamed cheese. The flour helps stabilize the cheesecake and prevent cracking. Once the sugar and flour are just combined, increase the speed to medium and mix for another 1-2 minutes until the mixture is smooth and fully incorporated. Scrape the bowl again.
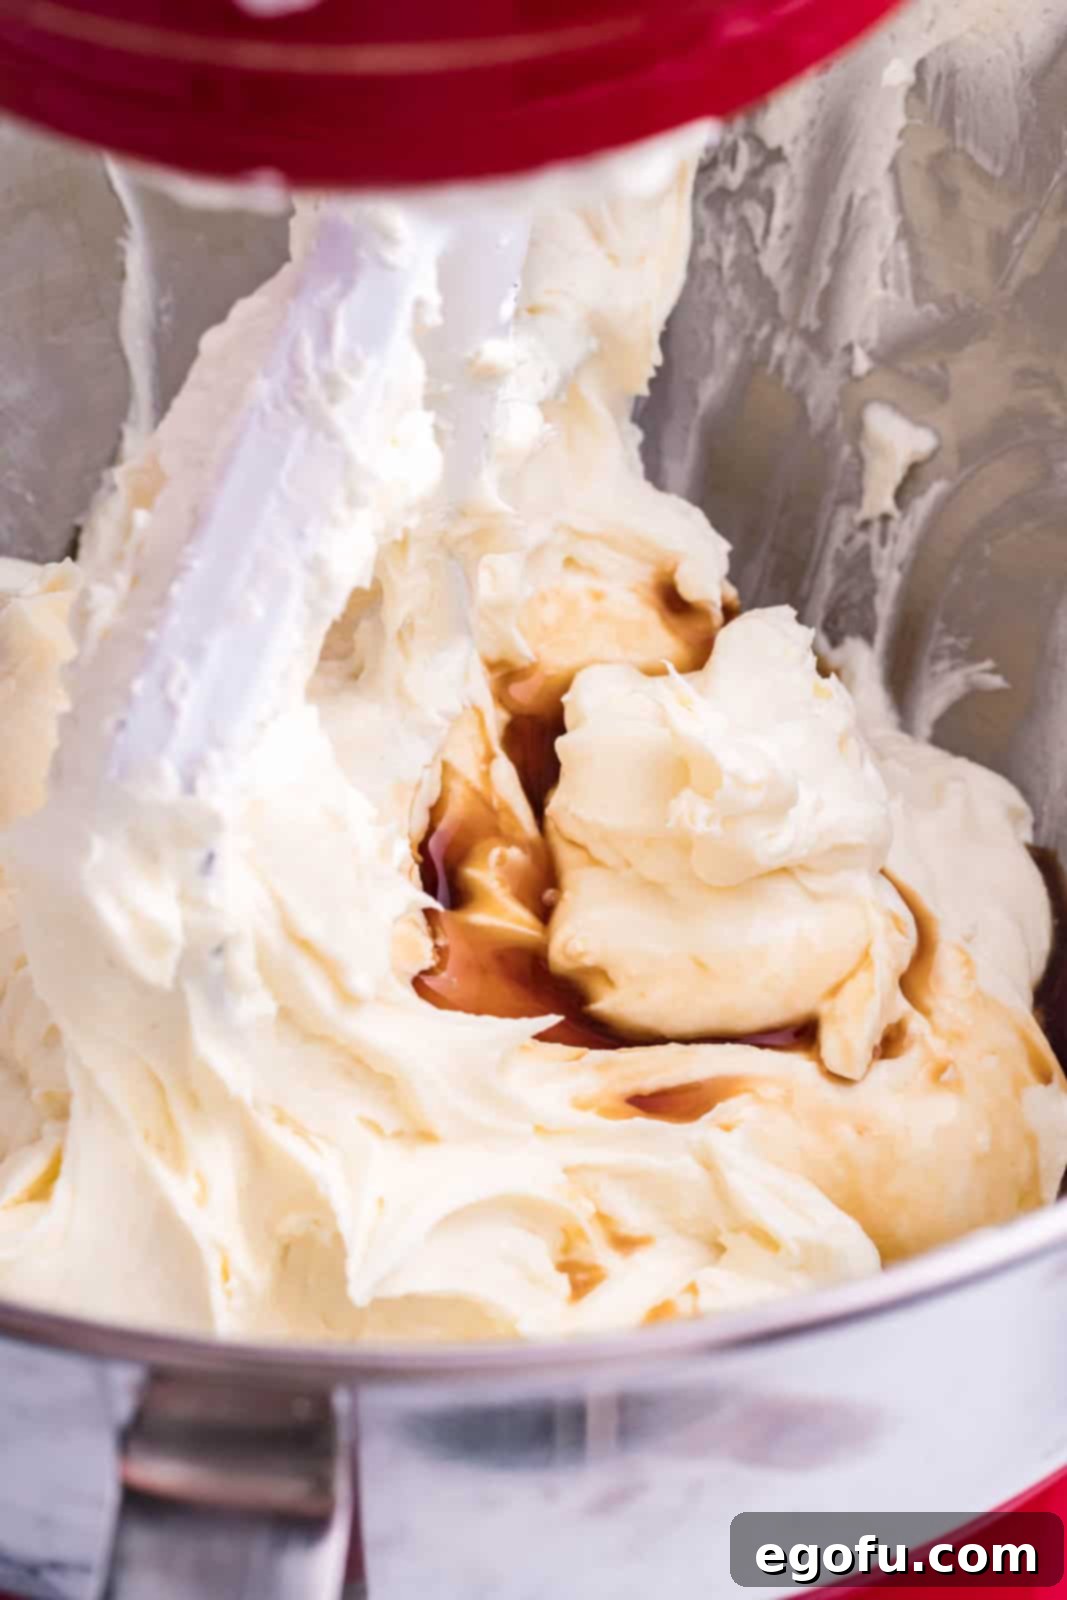
- Add Liquids: Pour in the vanilla extract and heavy whipping cream. Mix on low speed until just combined. Be careful not to overmix at this stage.
- Fold in Eggs Gently: Reduce the mixer speed to its lowest setting. Add the large eggs one at a time, mixing only until each egg is fully incorporated before adding the next. This step is critical: overmixing after adding the eggs can incorporate too much air, leading to a cracked cheesecake. Gentle mixing ensures a dense, creamy texture.
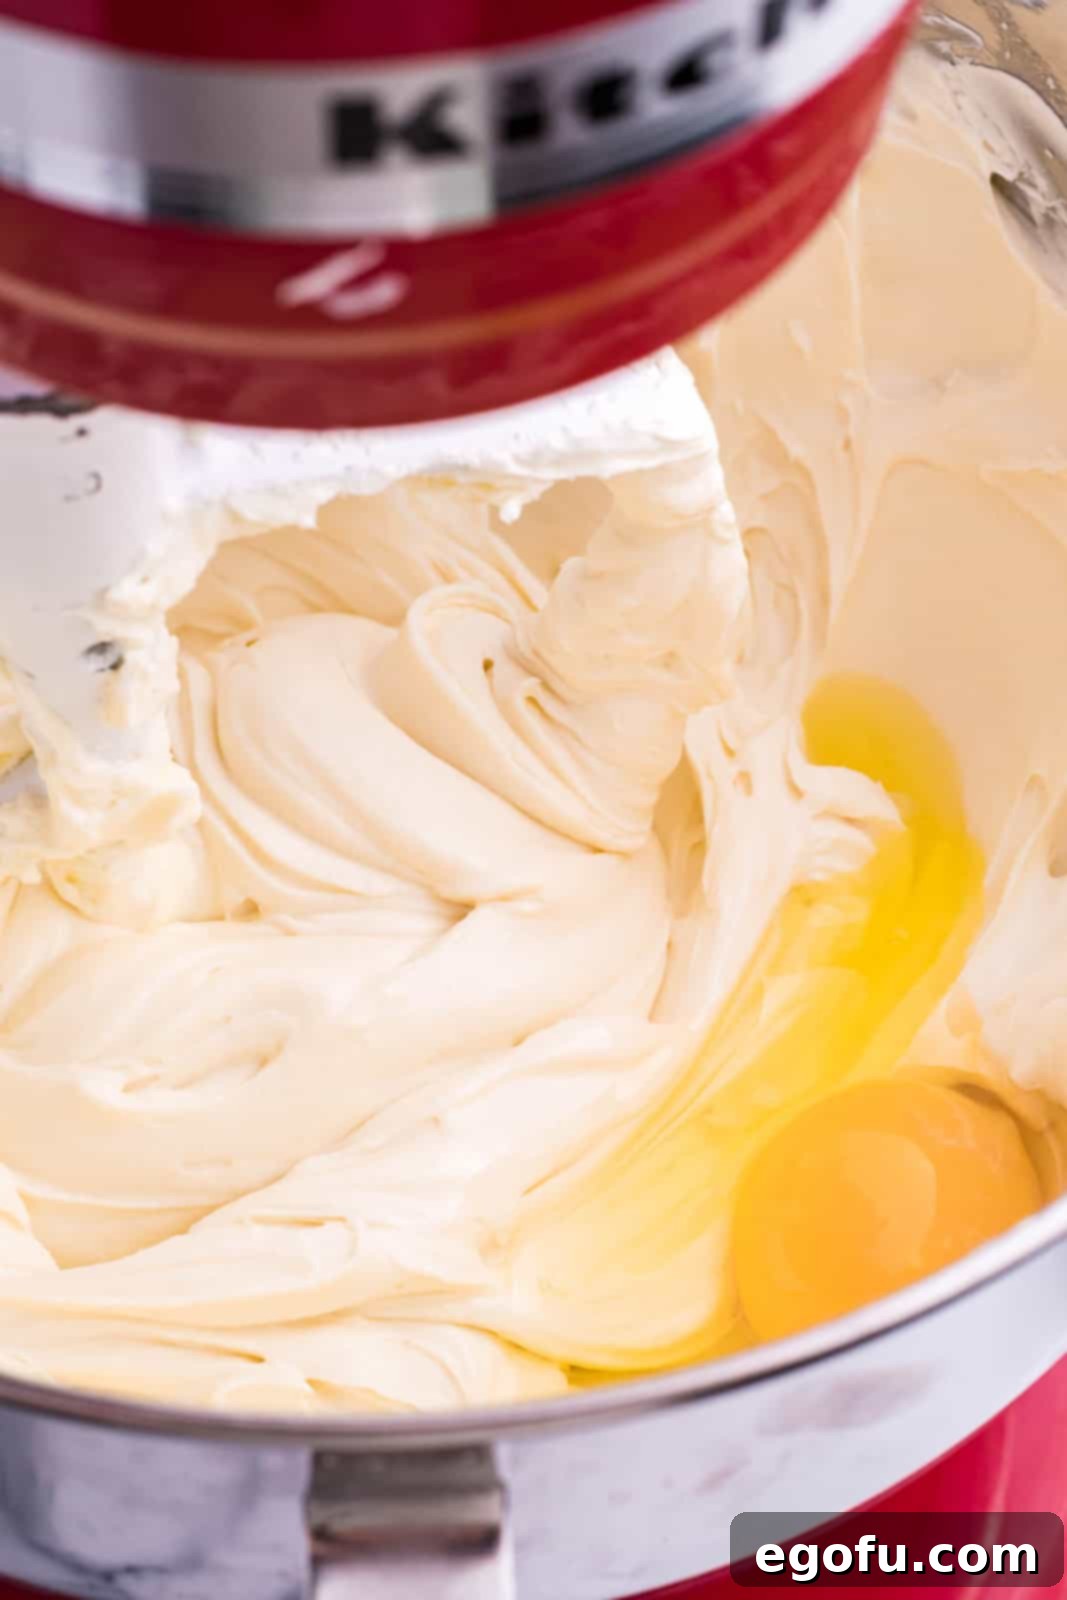
- Cadbury Mini Egg Magic: Finally, add the crushed Cadbury Mini Eggs to the batter. Using a spatula, gently hand stir them in until they are just evenly distributed throughout the mixture. This prevents them from sinking to the bottom and maintains their texture.
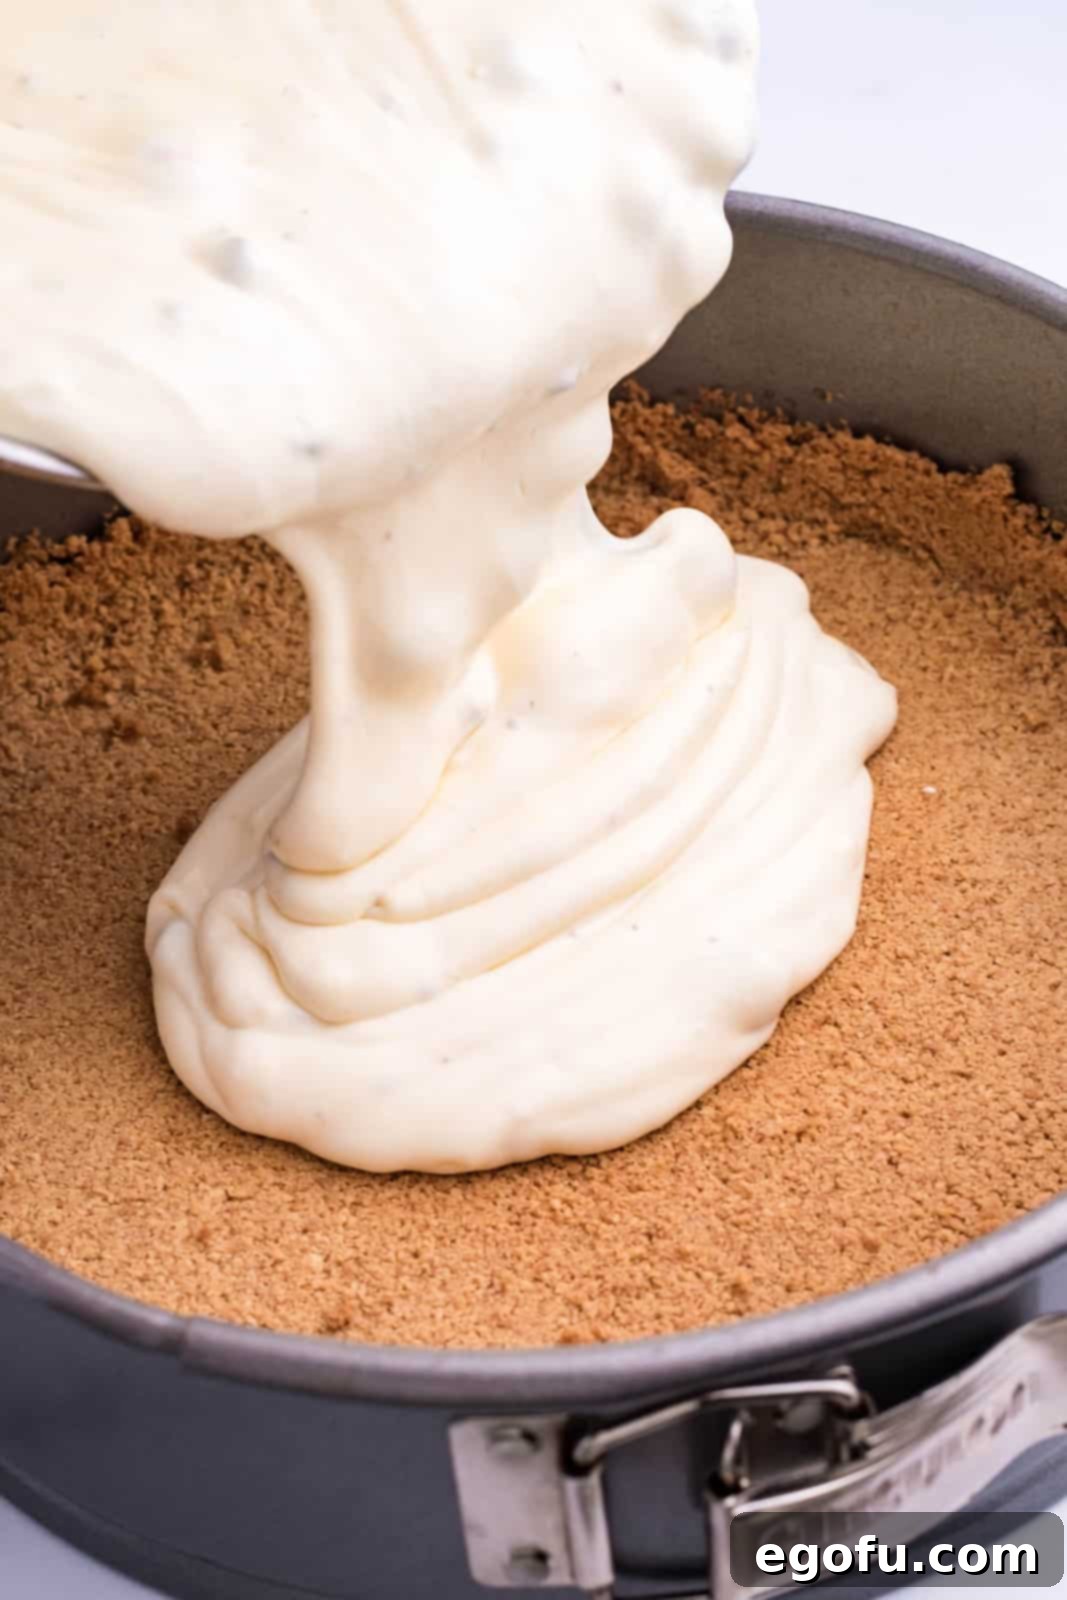
- Fill the Pan: Pour the luscious cheesecake batter into the cooled, prepared graham cracker crust. Gently tap the pan a few times on your countertop to release any trapped air bubbles, which helps ensure a smooth top.
Baking and Cooling for Perfection
Proper baking and cooling are essential for a crack-free and perfectly set cheesecake:
- Initial Bake: Place the springform pan with the cheesecake batter into the preheated oven. Bake at 350°F (175°C) for 15 minutes. This initial higher temperature helps the cheesecake rise slightly and begin to set its edges.
- Slow Bake: Without opening the oven door, reduce the oven temperature to 200°F (95°C). Continue to bake for an additional 50-55 minutes. The cheesecake is done when the edges are set, but the center still has a slight, gentle jiggle – think of the consistency of Jell-O, not a watery liquid. If the center appears too runny, bake for another 5-10 minutes, checking frequently. Remember, the cheesecake will continue to set as it cools.
- Gradual Cooling (Crucial for No Cracks!): Once the baking time is complete, turn off the oven. Crucially, do not remove the cheesecake immediately. Instead, slightly crack open the oven door and allow the cheesecake to cool inside the oven for 15-20 minutes. This slow, gradual cooling prevents drastic temperature changes that can lead to cracks.
- Final Chill: After the initial oven cooling, carefully remove the cheesecake from the oven and place it on a wire rack to cool completely to room temperature. This can take several hours. Once cooled, transfer the cheesecake to the refrigerator and chill for a minimum of 6 hours, though overnight chilling is highly recommended for the best texture and firmness. This extended chilling period allows the flavors to meld and the cheesecake to fully set.
Decadent Chocolate Ganache Topping (Optional)
Add a layer of rich, glossy chocolate to your masterpiece:
- Prepare Ganache: Once your cheesecake is thoroughly chilled and set, prepare the chocolate ganache. Place the semi-sweet chocolate chips and heavy whipping cream into a microwave-safe bowl. Heat in the microwave for approximately 45 seconds to 1 minute, or until the cream is hot and the chocolate chips are soft. Let it sit for a minute, then whisk vigorously until the mixture is smooth, glossy, and uniform.
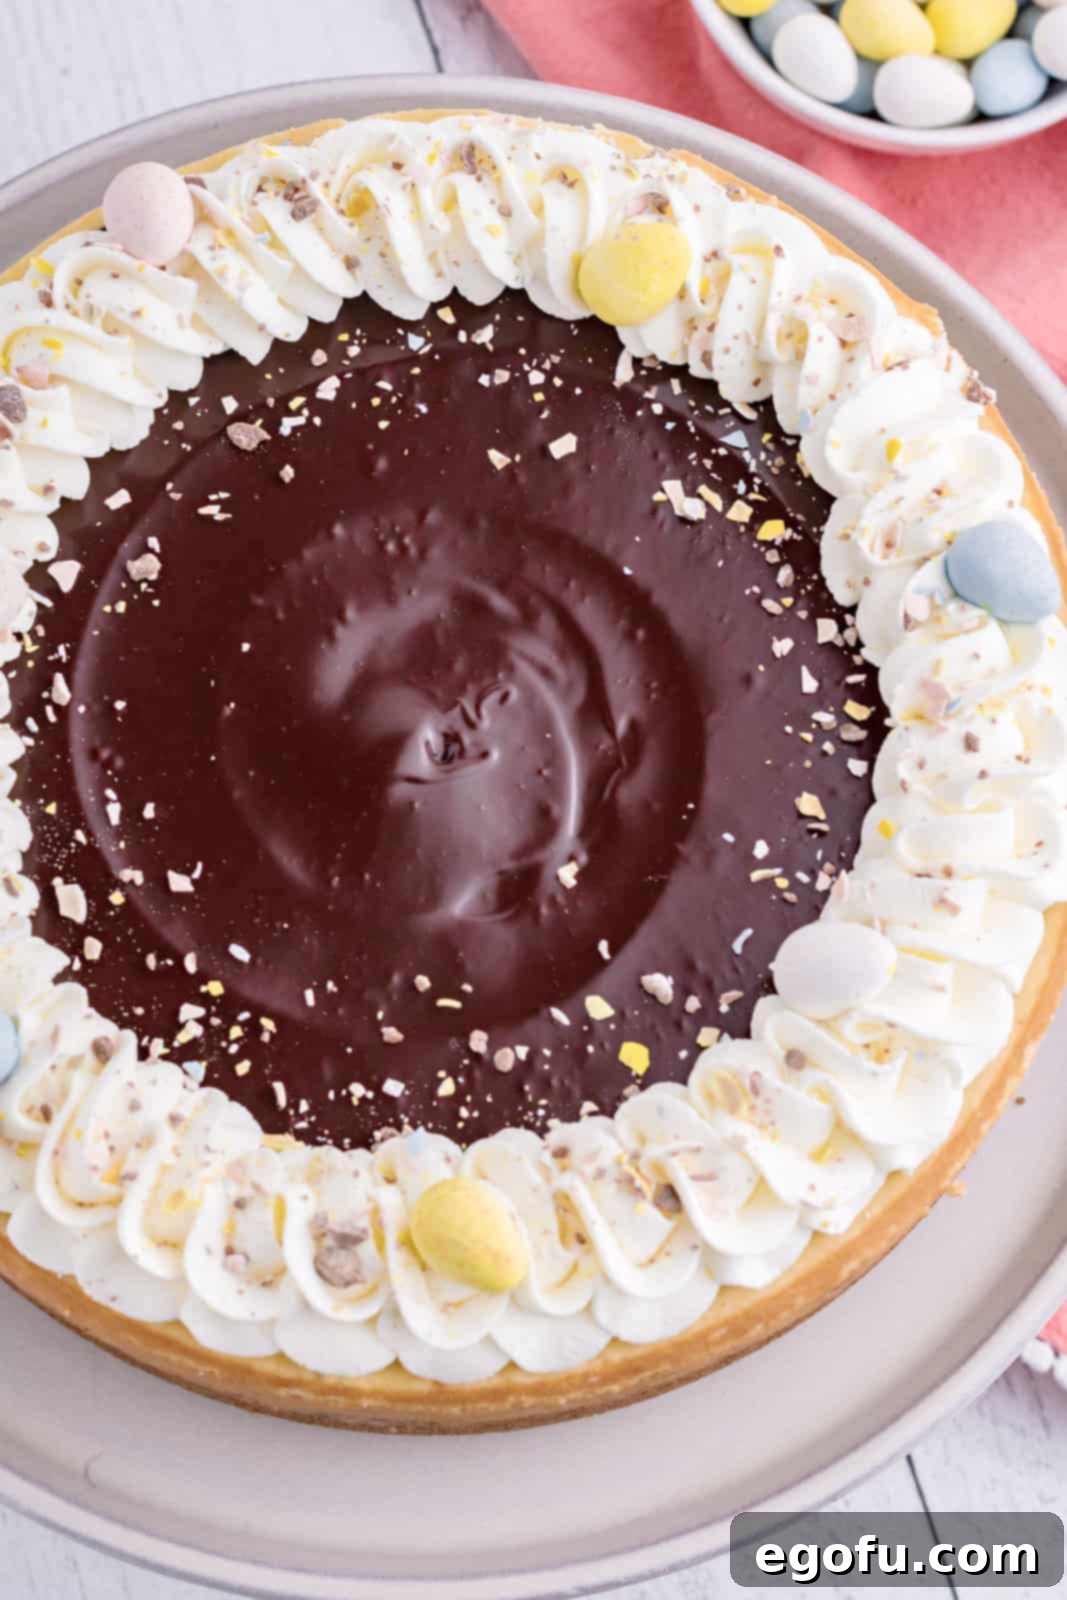
- Apply Topping: Carefully pour the warm ganache over the top of the chilled cheesecake. Using an offset spatula or the back of a spoon, gently spread the ganache evenly to the edges.
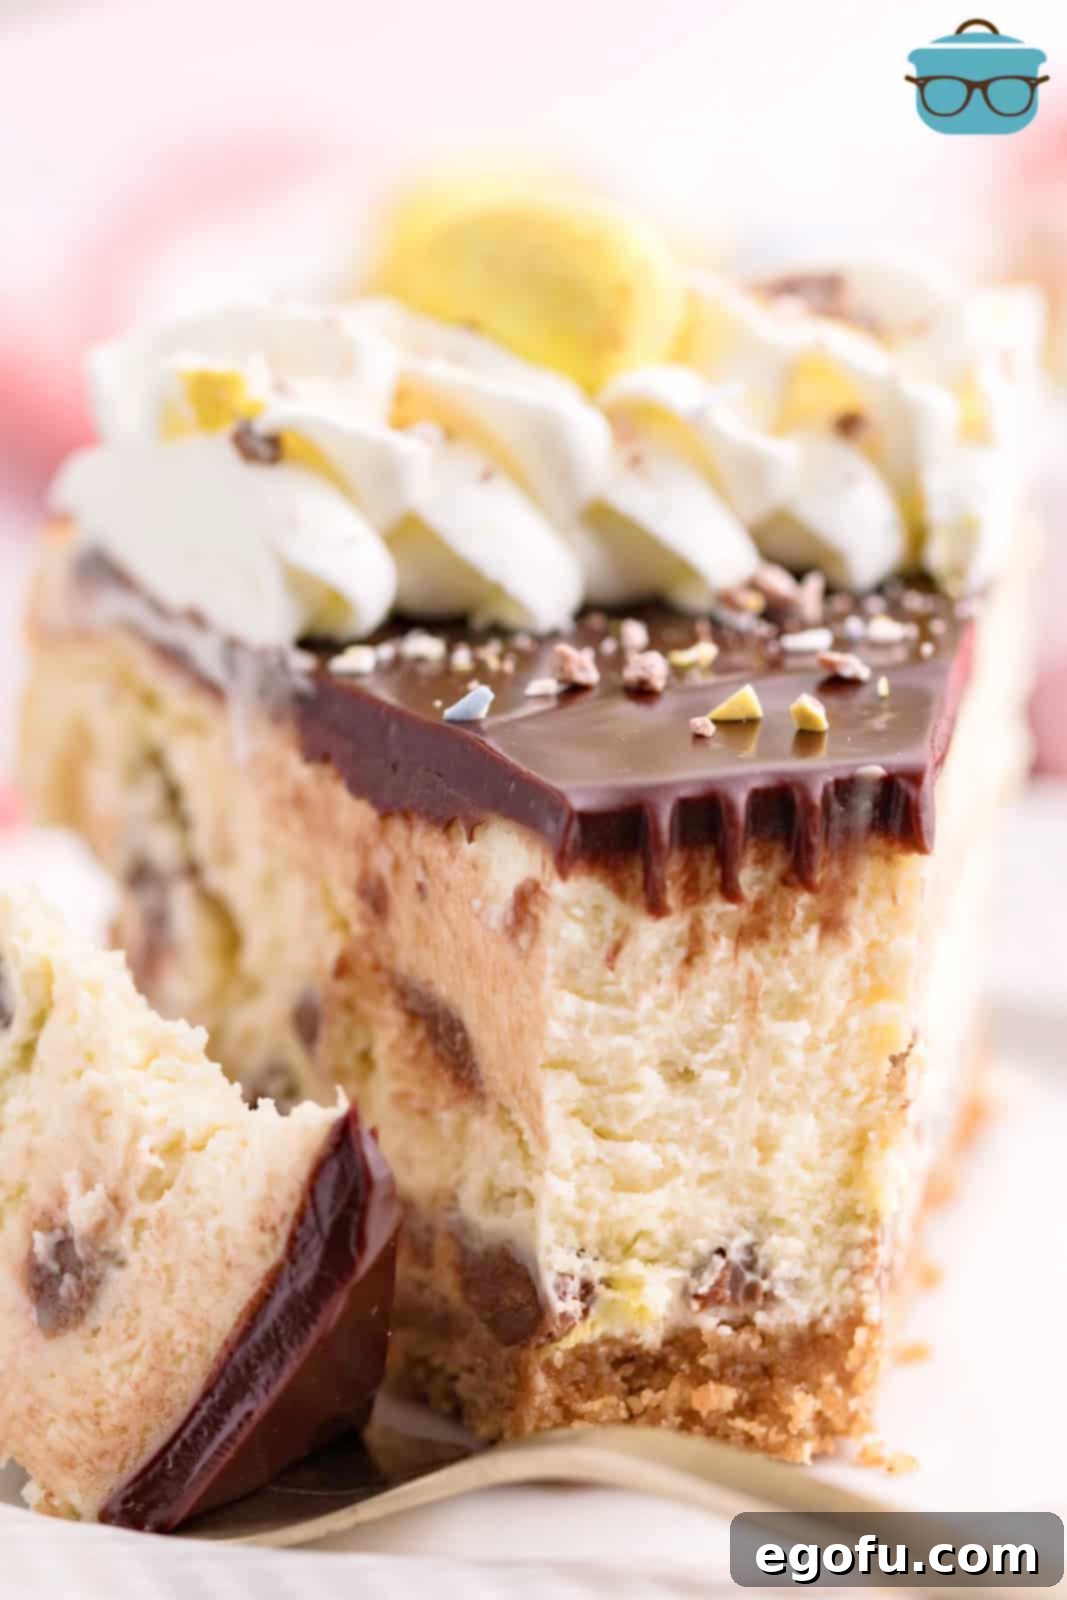
- Garnish and Serve: If desired, decorate the top of the ganache with dollops of whipped cream and additional whole or crushed Cadbury Mini Eggs for a beautiful presentation. Slice, serve, and enjoy the appreciative oohs and aahs from your delighted guests!
Craving More Festive Recipes?
If you loved this Cadbury Mini Egg Cheesecake, you’ll adore these other delightful treats perfect for any holiday or special occasion:
- Homemade Easter Egg Brownies
- Easter Bunny Poke Cake
- Easter Egg Cupcakes
- Easter Surprise Cookies
- Easter Banana Pudding Cups
- Cadbury Mini Egg Cookies
- Empty Tomb Rolls
- Hot Cross Buns
- Cherry Chocolate Cheesecake
- 50 Easter Recipes

Cadbury Mini Egg Cheesecake
This Cadbury Mini Egg Cheesecake has the perfect homemade crust with a luscious cheesecake filling and a chocolate topping with mini Cadbury eggs!
Print Recipe
Pin Recipe
10 minutes
1 hour
5 minutes
1 hour
15 minutes
12 servings
Brandie Skibinski
Ingredients
Crust:
- 1 ½ sleeves graham crackers (should be 1 1/2 cups crumbs)
- 6 Tablespoons butter, melted
Cheesecake filling:
- 4 (8 ounce) packages cream cheese, softened to room temperature
- 1 cup granulated sugar
- 4 Tablespoons all-purpose flour
- 2 teaspoon vanilla extract
- ¾ cup heavy whipping cream
- 3 large eggs
- 2 cups Cadbury mini eggs, crushed
Chocolate Ganache:
- ½ cup semi-sweet chocolate chips
- ¼ cup heavy whipping cream
- Whipped cream and additional Cadbury mini eggs (for topping, optional)
Instructions
Crust:
- Preheat the oven to 350°F and prepare a 9” springform pan by spraying with non-stick spray and setting aside. (For added protection, you can add a round of parchment paper along the bottom of the springform as well.)
- Prepare the crust by adding 1 1/2 sleeves graham crackers to a food processor and pulse until you get about 1 1/2 cups of crumbs. Add in 6 Tablespoons butter, melted, and pulse until well combined.
- Pour the crumbs into the prepared pan and gently press using the back of a spoon to form the crust. Be sure to bring the crumbs up about 1” up the sides. Bake for 10 minutes or until golden brown. Remove and allow to cool on a wire rack.
Filling:
- To prepare the cheesecake filling, add 4 (8 ounce) packages cream cheese, softened to room temperature, to the bowl of a stand mixer equipped with a paddle attachment. Or use a bowl with an electric hand mixer. Cream for 5-6 minutes or until light and fluffy. Scrape the sides and bottom of the bowl.
- With the mixer on low speed, slowly add 1 cup granulated sugar and 4 Tablespoons all-purpose flour. Once the sugar is combined, increase to medium speed, and mix for an additional 1-2 minutes.
- Add 2 teaspoon vanilla extract and 3/4 cup heavy whipping cream and mix until just combined.
- Reduce the mixer to low speed and add the 3 large eggs one at a time until fully incorporated. Be careful not to overmix after adding the eggs!
- Add 2 cups Cadbury mini eggs, crushed, last and hand stir them in until just combined.
- Pour the prepared batter into the prepared pan and gently tap to release any air bubbles.
- Bake at 350°F for 15 minutes then, without opening the oven door, reduce the heat to 200°F and bake for an additional 50-55 minutes until the center slightly jiggles and the edges are set.
- You are looking for a Jell-O consistency, not a runny/watery consistency. If the center still looks too watery, bake for an additional 5-10 minutes checking often. However, the cheesecake will set up more while cooling, so keep that in mind.
- Turn off the oven and slightly crack the oven door to allow the cheesecake to cool for 15-20 minutes before removing.
- Allow to cool on a wire rack until completely cooled and place in the refrigerator for at least 6 hours but overnight is recommended.
Chocolate Ganache Topping: (Optional)
- After the cheesecake has set, prepare the ganache by adding ½ cup semi-sweet chocolate chips and ¼ cup heavy whipping cream into a microwave safe bowl and heat for about 45 seconds – 1 minute. Whisk until smooth.
- Pour the ganache over top of the cheesecake and smooth evenly.
- Top with whipped cream and additional Cadbury mini eggs, if desired, and serve!
Notes
- Feel free to use a store-bought graham cracker crumb crust for convenience.
- You can make your own crust using a food processor. If you don’t have one, see the FAQ section for alternative methods.
- The chocolate ganache is optional but adds a rich, decadent layer.
- Experiment with other toppings such as chocolate shavings, sprinkles, or toasted coconut.
- Store any leftovers covered in an airtight container in the refrigerator for up to 3 days, or freeze for up to 3 months.
Dessert
American
Nutrition
Calories:
473kcal
|
Carbohydrates:
55g
|
Protein:
5g
|
Fat:
26g
|
Sodium:
160mg
|
Fiber:
2g
|
Sugar:
44g
Nutritional Disclaimer
“The Country Cook” is not a dietician or nutritionist, and any nutritional information shared is an estimate. If calorie count and other nutritional values are important to you, we recommend running the ingredients through whichever online nutritional calculator you prefer. Calories and other nutritional values can vary quite a bit depending on which brands were used.
Did you make this recipe?
Share it on Instagram @thecountrycook and mention us #thecountrycook!
