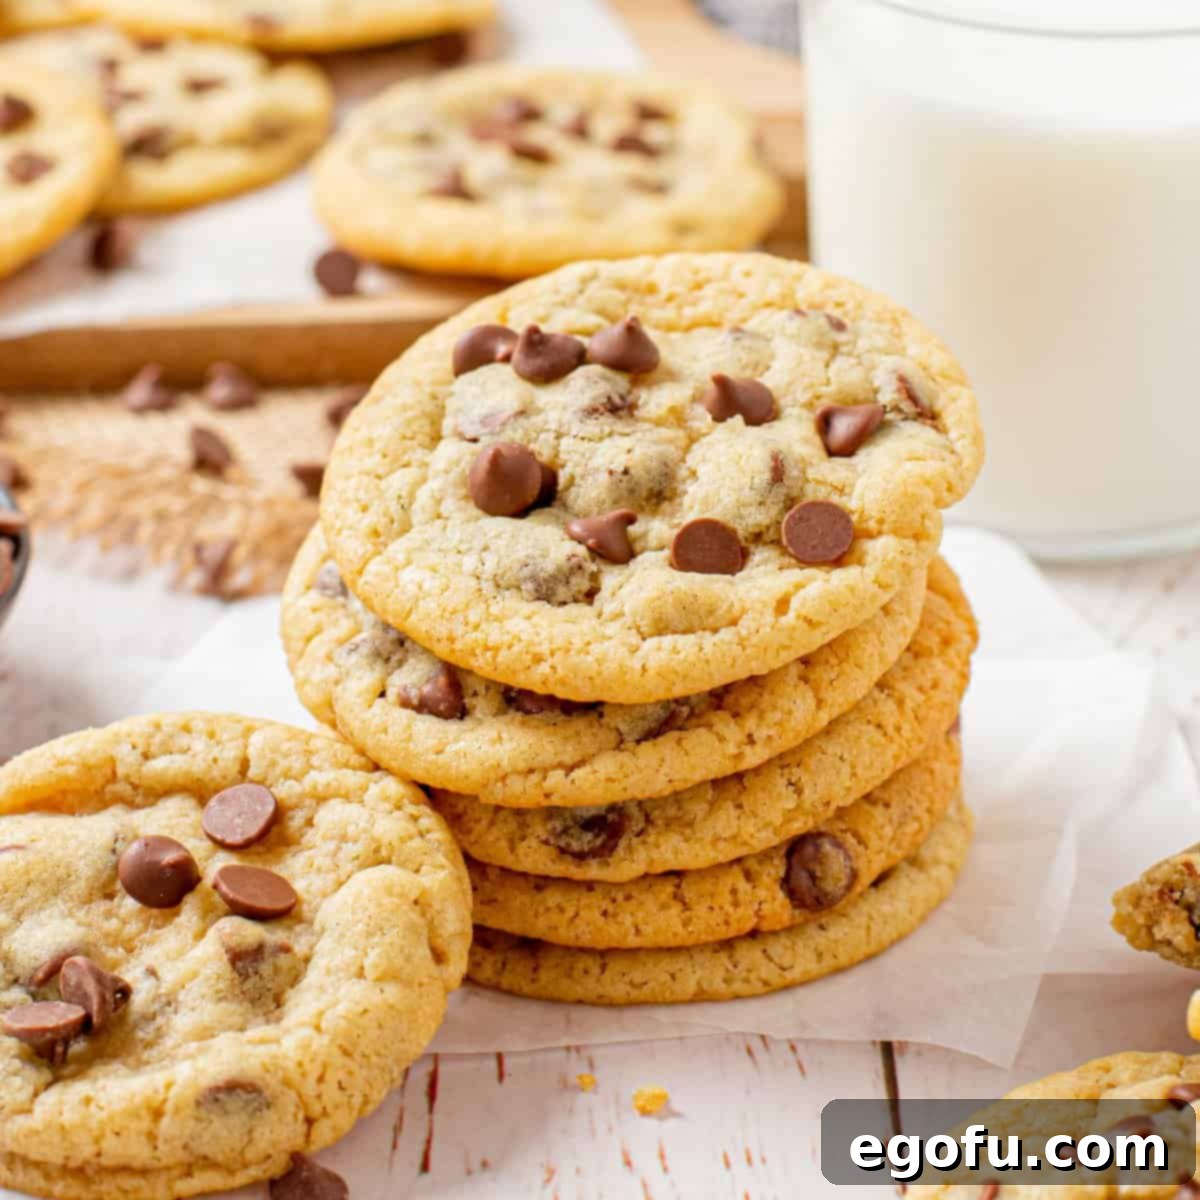
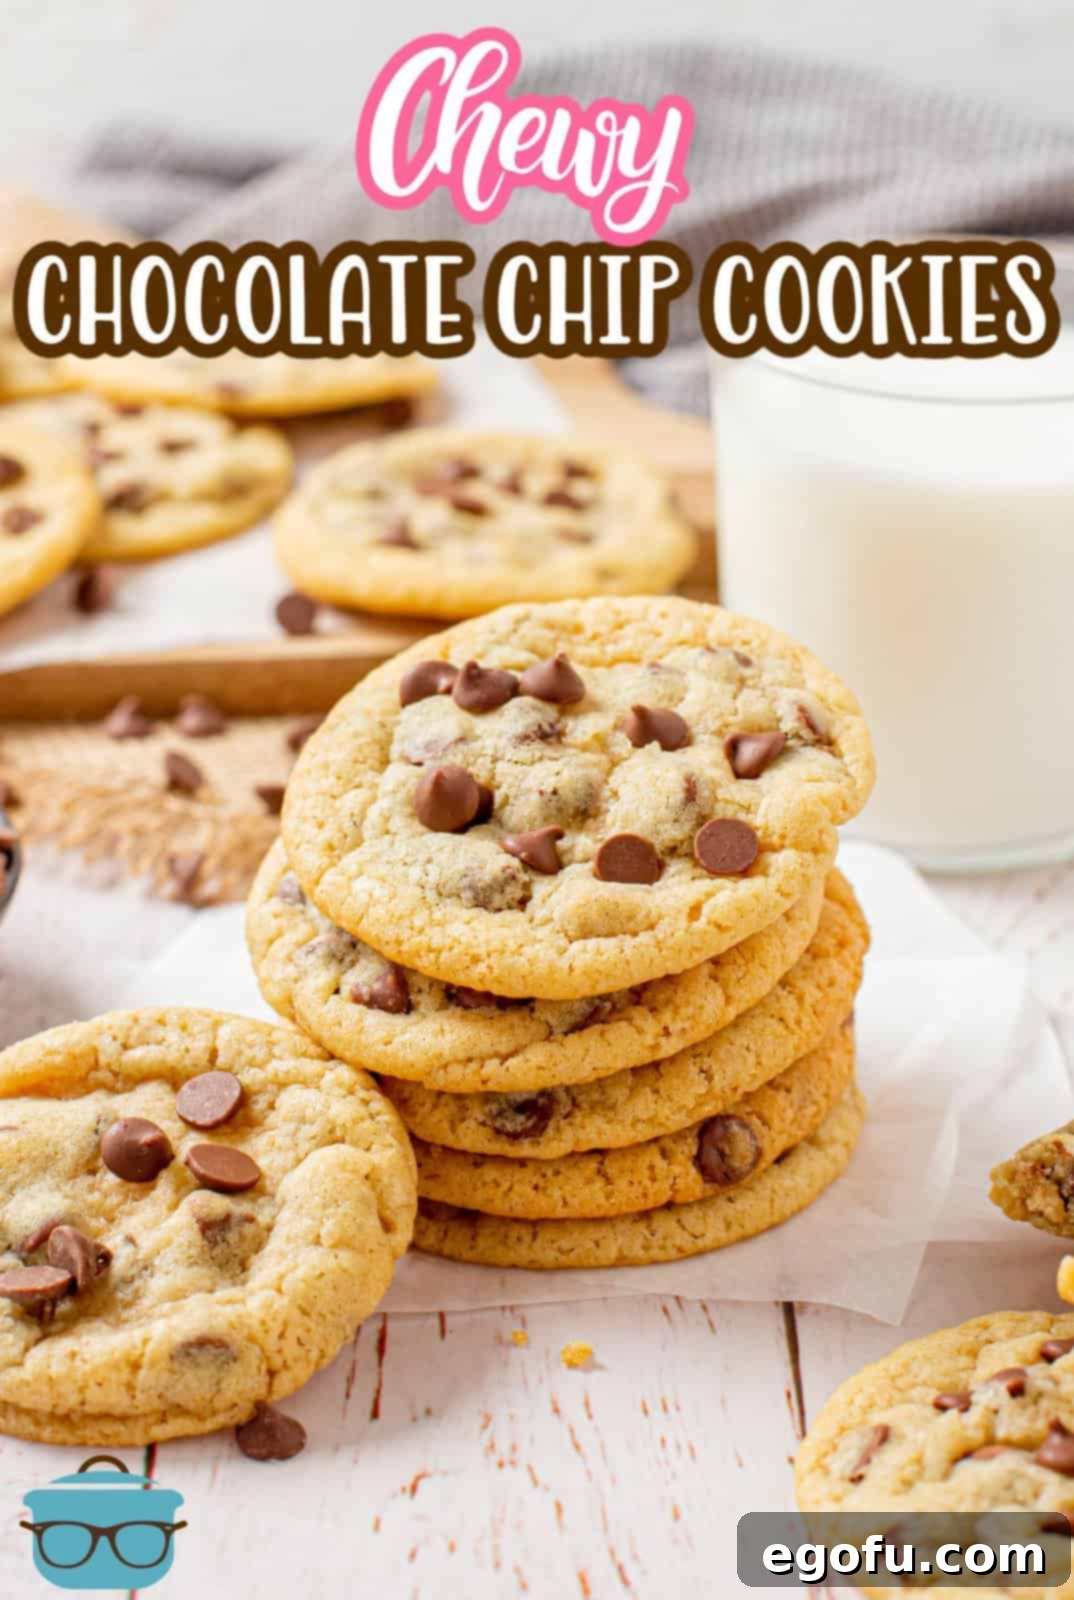
The Best Chewy Chocolate Chip Cookies: A Recipe You’ll Cherish
Is there any scent more comforting, or a treat more universally loved, than a warm, freshly baked chocolate chip cookie? We think not! If your heart beats for cookies with a beautifully soft, moist center and an irresistible chew, then this recipe is about to become your new kitchen cornerstone. These Chewy Chocolate Chip Cookies are a timeless classic, perfected to deliver that melt-in-your-mouth texture that will have friends and family requesting them again and again.
A Classic Cookie Redefined: The Ultimate Chewy Experience
For many, the chocolate chip cookie isn’t just a dessert; it’s a nostalgic trip back to childhood, often enjoyed with a cold glass of milk. While crispy cookies have their charm, there’s a unique satisfaction in biting into a cookie that offers a tender pull and a rich, buttery softness. This recipe is meticulously crafted for those who prefer their cookies deeply flavorful and wonderfully chewy.
We’ve opted for milk chocolate chips in this particular rendition. Unlike the more common semi-sweet variety, milk chocolate offers a creamier, milder sweetness that allows the complex notes of brown sugar and pure vanilla extract to truly shine. This thoughtful choice ensures the chocolate complements, rather than overpowers, the other delightful flavors, resulting in a balanced and deeply satisfying cookie experience. Every ingredient plays a crucial role in achieving this perfect harmony of taste and texture.
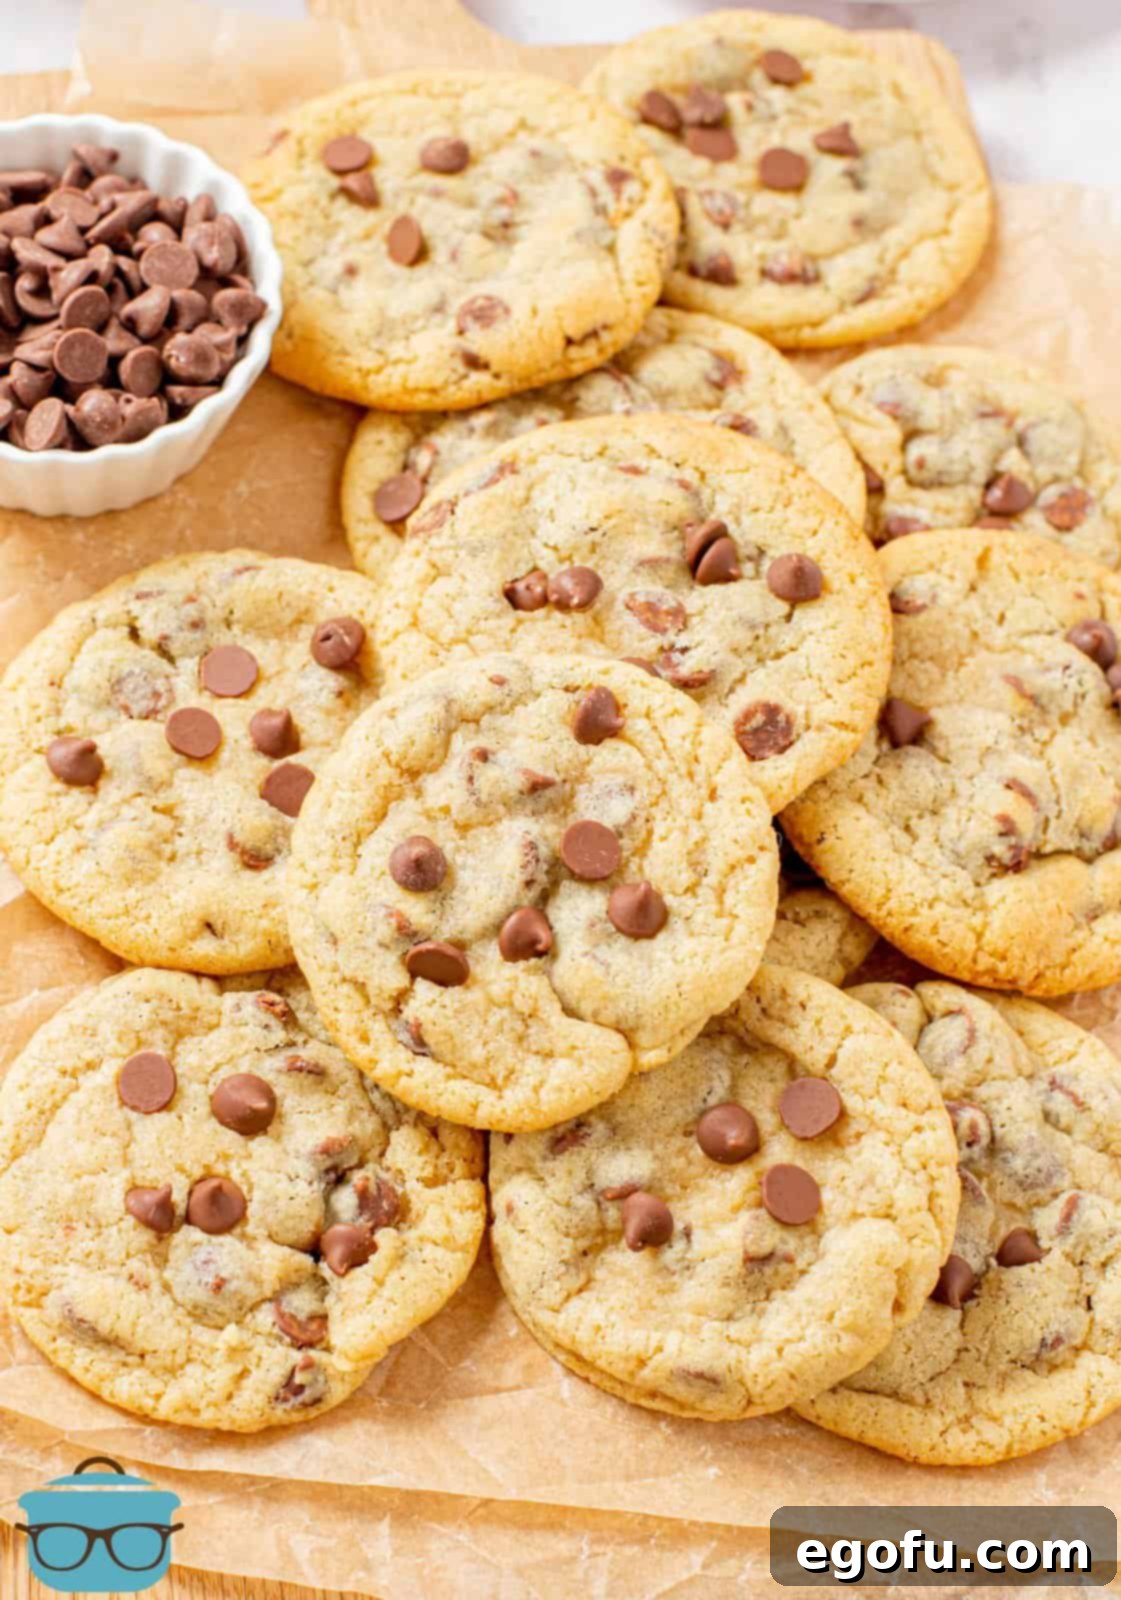
The Science Behind the Chew: Why Chilling Dough Matters
The secret to achieving truly exceptional chewy cookies lies in a simple yet often overlooked step: chilling the cookie dough. This isn’t merely a recommendation; it’s a vital technique that transforms good cookies into great ones. Understanding the science behind it will make you a more confident and successful baker:
- Fat Solidification: The butter in your dough firms up considerably in the cold. When chilled dough hits the hot oven, the butter melts at a much slower rate compared to soft, room-temperature butter. This slower melting prevents the cookies from spreading out too quickly and thinly, leading to thicker, chewier results.
- Flavor Development: Chilling gives the flour more time to fully absorb the liquid ingredients (like egg and vanilla) and the sugars. This process, known as hydration, concentrates the flavors, leading to a richer, more nuanced taste profile. Think of it like marinating; the longer it sits, the more intense the flavors become.
- Consistent Texture: Dough that has been properly chilled bakes more uniformly. You’ll achieve those desirable slightly crisp edges with a soft, gooey, and consistently chewy interior. It prevents the dreaded “flat cookie” syndrome.
While an hour of chilling is beneficial, we strongly advocate for a longer period of 2-3 hours, or even overnight (up to 48 hours). The extended chilling time amplifies these effects, rewarding your patience with cookies that are not only thicker and chewier but also boast a depth of flavor that’s simply unmatched.
Frequently Asked Questions: Mastering Chewy Chocolate Chip Cookies
The most significant factor for achieving a chewy cookie is the chilling of the dough. While a balanced ingredient ratio (specifically a higher proportion of brown sugar to granulated sugar) contributes, chilling allows the butter to solidify and the flour to absorb moisture fully. This prevents the cookies from spreading too rapidly, resulting in a thicker, softer, and chewier texture. It also helps concentrate the flavors for a more delightful bite.
For this specific recipe, we suggest milk chocolate chips as they provide a smooth, creamy sweetness that perfectly balances the brown sugar notes without being overly intense. However, the “best” choice is ultimately personal! Feel free to use classic semi-sweet chips, robust dark chocolate chips for a bolder contrast, or even white chocolate for a different sweet profile. Chocolate chunks can also be excellent for larger pockets of molten chocolate. Don’t hesitate to experiment with different brands and percentages of cocoa to find your favorite!
To ensure proper texture and to minimize spreading, you should chill the dough for at least 1 hour. For superior chewiness and flavor development, we highly recommend chilling for 2-3 hours. If time allows, refrigerating the dough overnight (8-12 hours) or even up to 24-48 hours can produce an even more intensely flavorful and perfectly chewy cookie. The longer the chill, the more profound the transformation.
Chilling the dough is paramount for several reasons. Firstly, it solidifies the butter, which then melts slower in the hot oven. This controlled melting prevents excessive spreading, yielding a thicker, more uniform cookie. Secondly, it allows the flour to fully hydrate, enhancing the dough’s structure and preventing a dry or crumbly texture. Lastly, the flavors in the dough have time to meld and deepen, resulting in a more complex and delicious final product. Skipping this step often leads to flat, greasy cookies.
Once your cookies have completely cooled, store them in an airtight container at room temperature. They will retain their freshness and chewiness for up to 3 days. To keep them extra soft, you can place a slice of bread in the container; the cookies will absorb moisture from the bread. For longer preservation, these cookies freeze beautifully. Place them in a single layer in a freezer-safe bag or container and freeze for up to 3 months. To enjoy them again, simply let them thaw at room temperature overnight, or for a quick warm treat, pop them in the microwave for a few seconds.
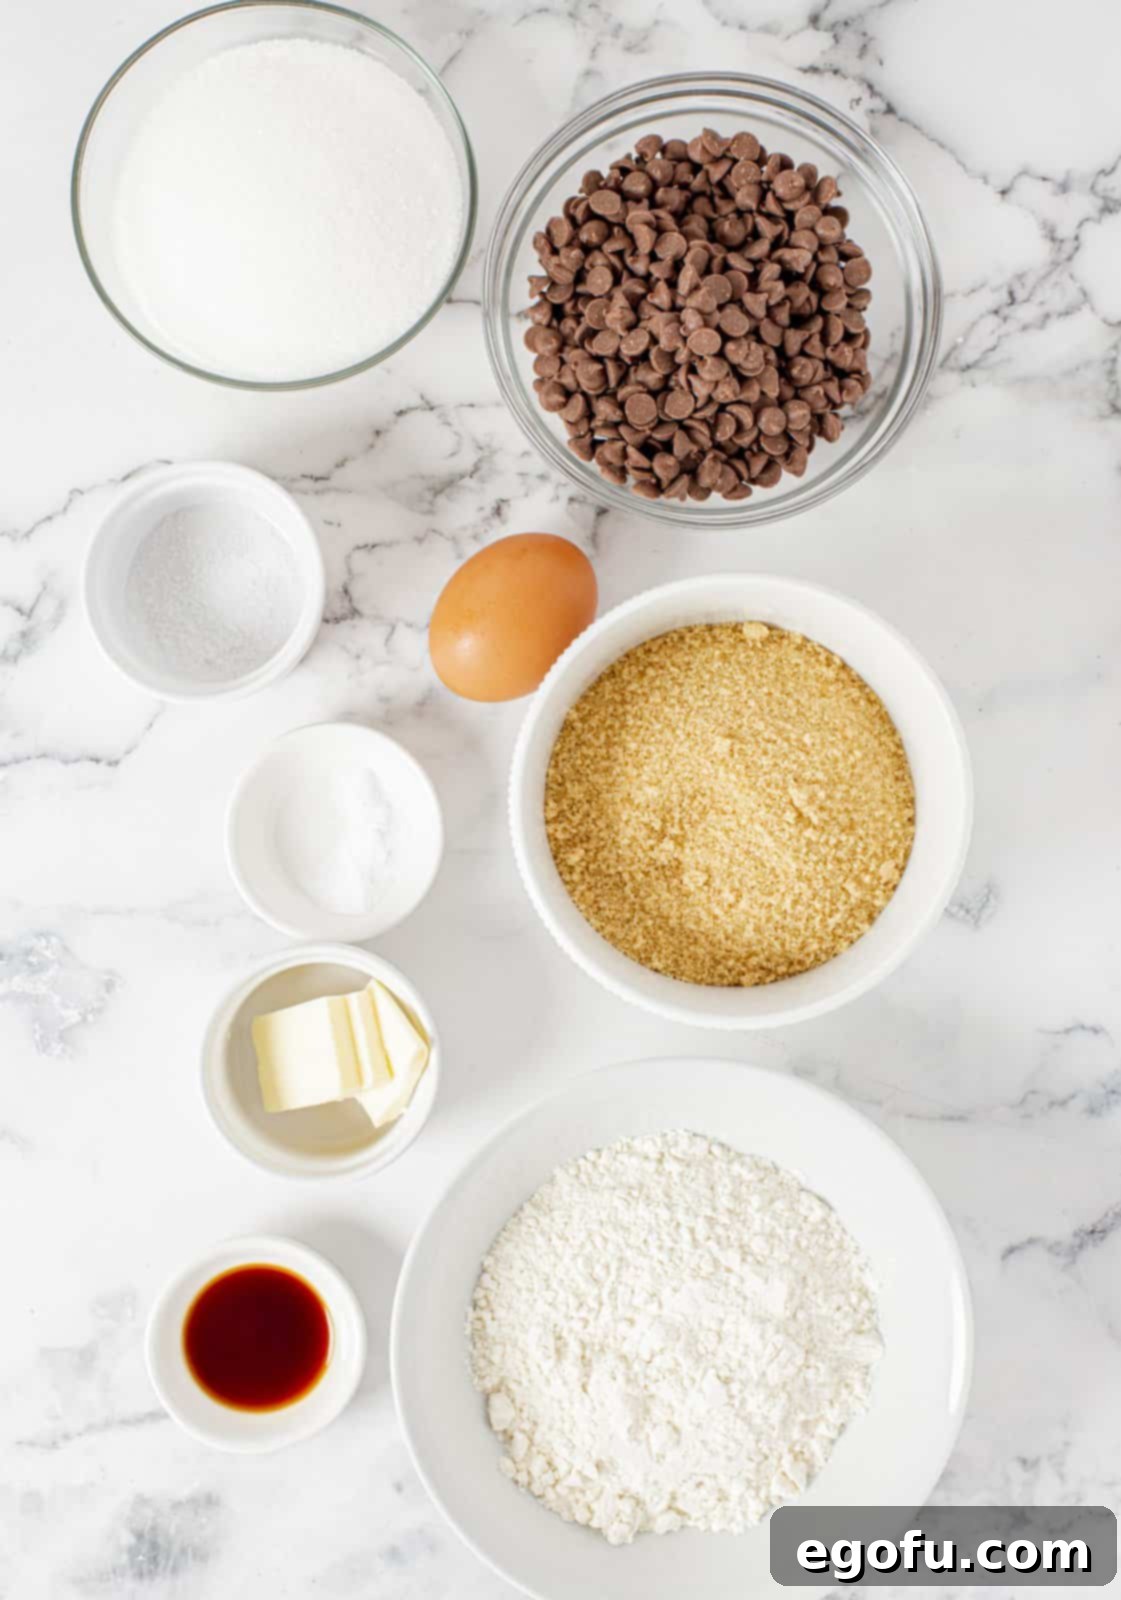
Essential Ingredients for Your Perfect Batch
Crafting these delectable chewy chocolate chip cookies starts with a selection of common pantry ingredients. The quality and proper preparation of each component contribute significantly to the final taste and texture, so pay attention to these details:
- Unsalted Butter: Ensure it’s softened to room temperature. Unsalted butter gives you precise control over the overall saltiness of your cookies, while softened butter creams smoothly with sugars, creating a light, airy base.
- Granulated Sugar: This provides foundational sweetness and contributes to the delicate crispness around the cookie’s edges.
- Brown Sugar (packed): A hero ingredient for chewiness! The molasses in brown sugar adds moisture, depth of flavor, and that characteristic pliable texture. Using an equal ratio of brown to granulated sugar is key for our desired chewiness.
- Vanilla Extract: Pure vanilla extract is non-negotiable for that warm, inviting, classic cookie aroma and taste. Avoid artificial vanilla for the best results.
- Large Egg: Acts as a binding agent, adds richness, and provides structure to the cookies, helping them hold their shape without being dry.
- All-Purpose Flour: The primary structural component. Accurate measurement is crucial; spooning flour into your measuring cup and leveling it off, or using a kitchen scale, prevents over-flouring and dry, dense cookies.
- Baking Soda: This leavening agent reacts with the brown sugar’s acidity to create a gentle rise, contributing to the cookies’ soft texture and desirable golden-brown color.
- Salt: A small but mighty ingredient! Salt balances the sweetness, enhances the other flavors, and prevents the cookies from tasting one-dimensional.
- Milk Chocolate Chips: Our recommended choice for a creamy, sweet chocolate profile that won’t overshadow the cookie’s other elements. Feel free to substitute with semi-sweet, dark, or a mix of your favorite chocolate varieties based on your preference.
Step-by-Step Guide: Crafting Your Chewy Chocolate Chip Cookies
Follow these detailed instructions to ensure every batch of your chewy chocolate chip cookies turns out perfectly. Each step is designed to maximize flavor and achieve that coveted texture, with special attention to the crucial chilling phase.
Preparing the Wet Ingredients
In a spacious mixing bowl, combine your softened unsalted butter with both the granulated sugar and the packed brown sugar. Utilizing an electric hand mixer or a stand mixer fitted with the paddle attachment, beat these ingredients together on low to medium speed. Continue mixing until the mixture becomes light, fluffy, and creamy, which typically takes about 2 to 3 minutes. Scrape down the sides of the bowl as needed to ensure even mixing. Next, crack in the large egg and add the vanilla extract. Beat again on low speed until all the wet ingredients are thoroughly combined and smooth. Be mindful not to overmix at this stage; incorporate just until no streaks remain, then set this mixture aside.
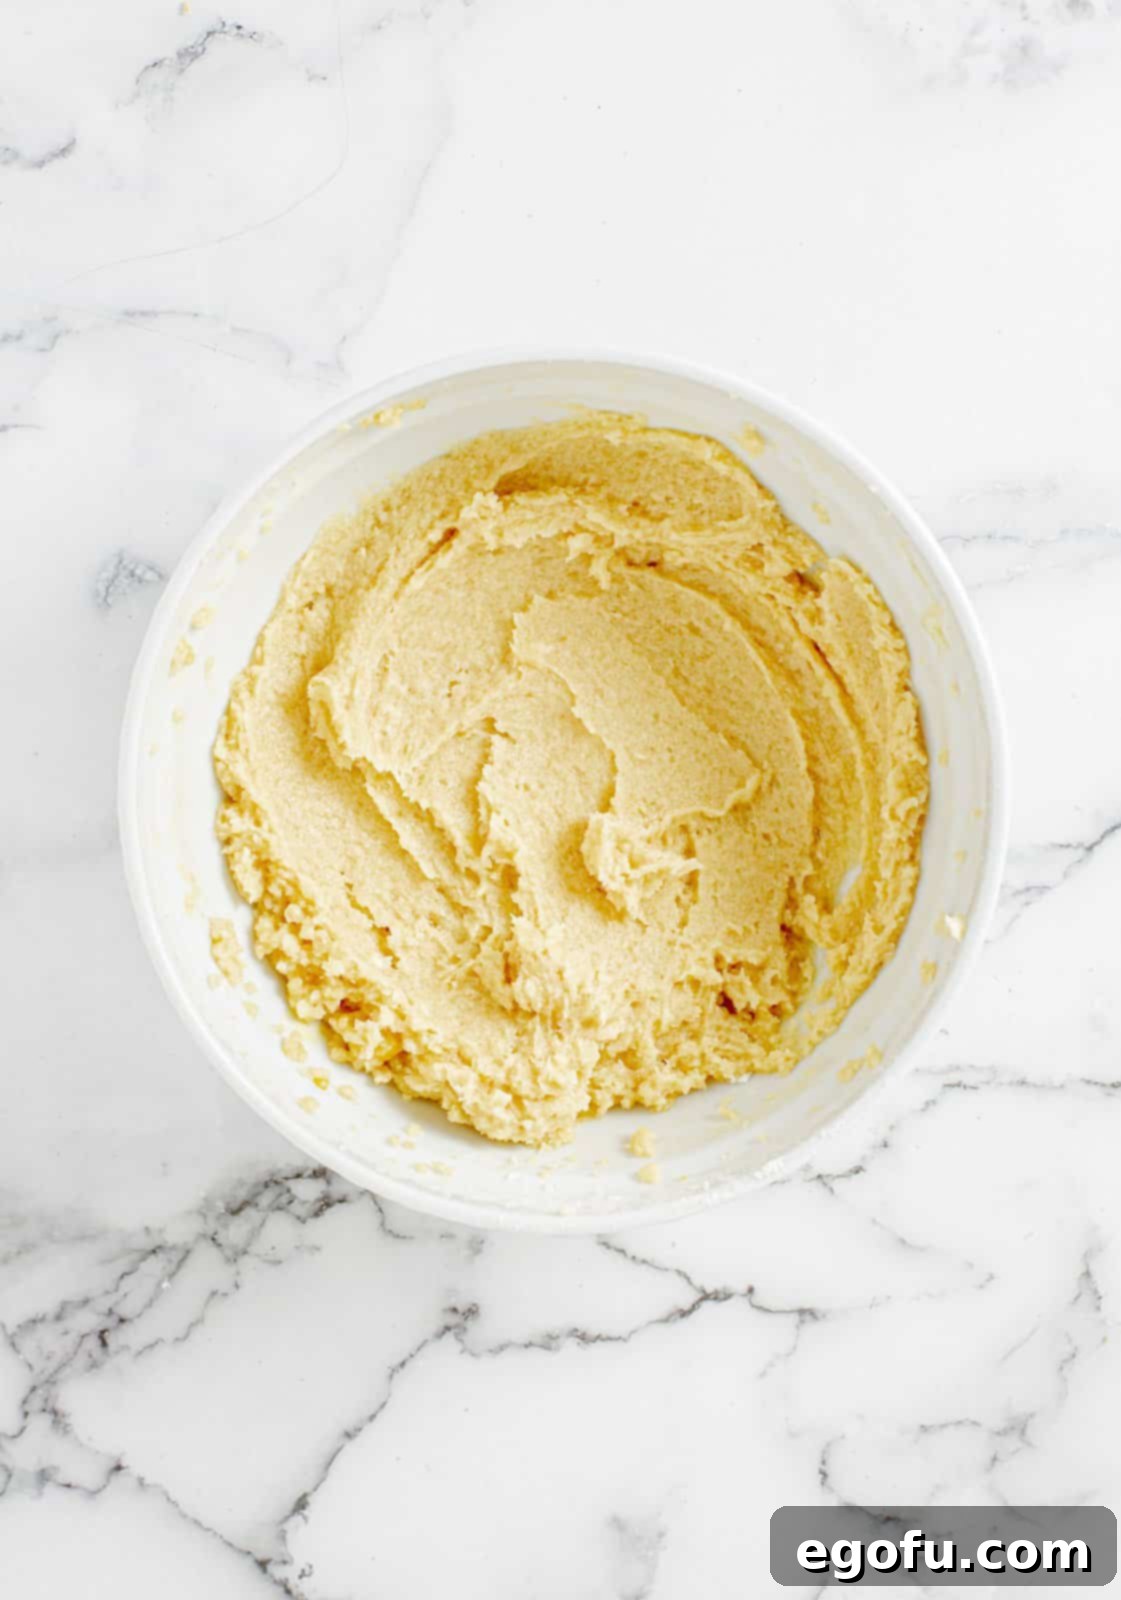
Combining Dry and Wet Mixtures
In a separate, medium-sized bowl, prepare your dry ingredients. Whisk together the all-purpose flour, baking soda, and salt. Whisking ensures that the leavening agent and salt are evenly distributed throughout the flour, preventing pockets of uneven flavor or texture. Once thoroughly mixed, gradually add this dry mixture to your prepared wet ingredients. It’s best to add about ½ cup to 1 cup at a time, beating on low speed until each addition is just combined before adding the next. Continue this process until all the dry ingredients are mostly incorporated into the dough. It’s perfectly acceptable for a few small lumps to remain; overmixing the flour can develop gluten, leading to tougher cookies.
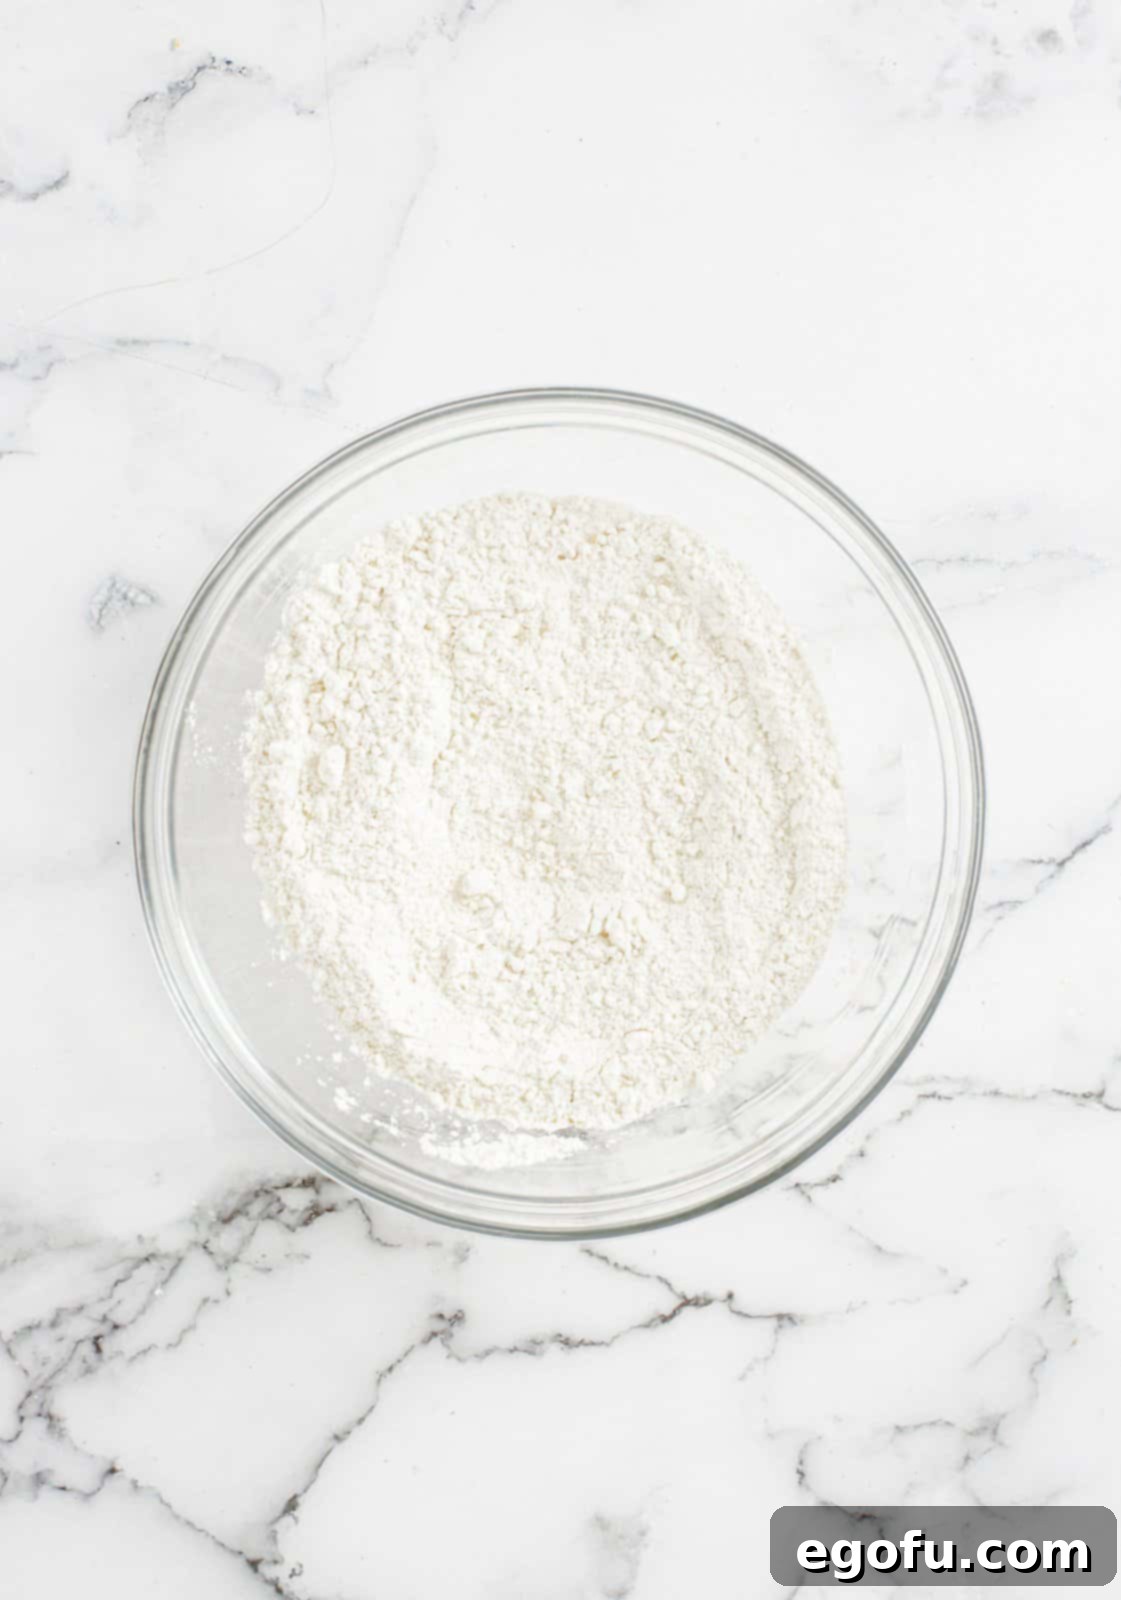
Adding Chocolate Chips and Chilling
Once your base dough is formed, it’s time for the star of the show: the chocolate chips! Gently fold in the milk chocolate chips using a sturdy spatula. Mix just until the chocolate chips are evenly distributed throughout the dough; avoid overmixing. Now, for the critical step to achieve ultimate chewiness: chilling the dough. Cover the bowl tightly with plastic wrap and transfer it to the refrigerator. Chill the dough for a minimum of 1 hour. For an even richer flavor and superior texture, we highly recommend chilling for 2-3 hours, or ideally, overnight. If you plan to bake in multiple batches, ensure you return the unused dough to the refrigerator promptly to maintain its chilled state.
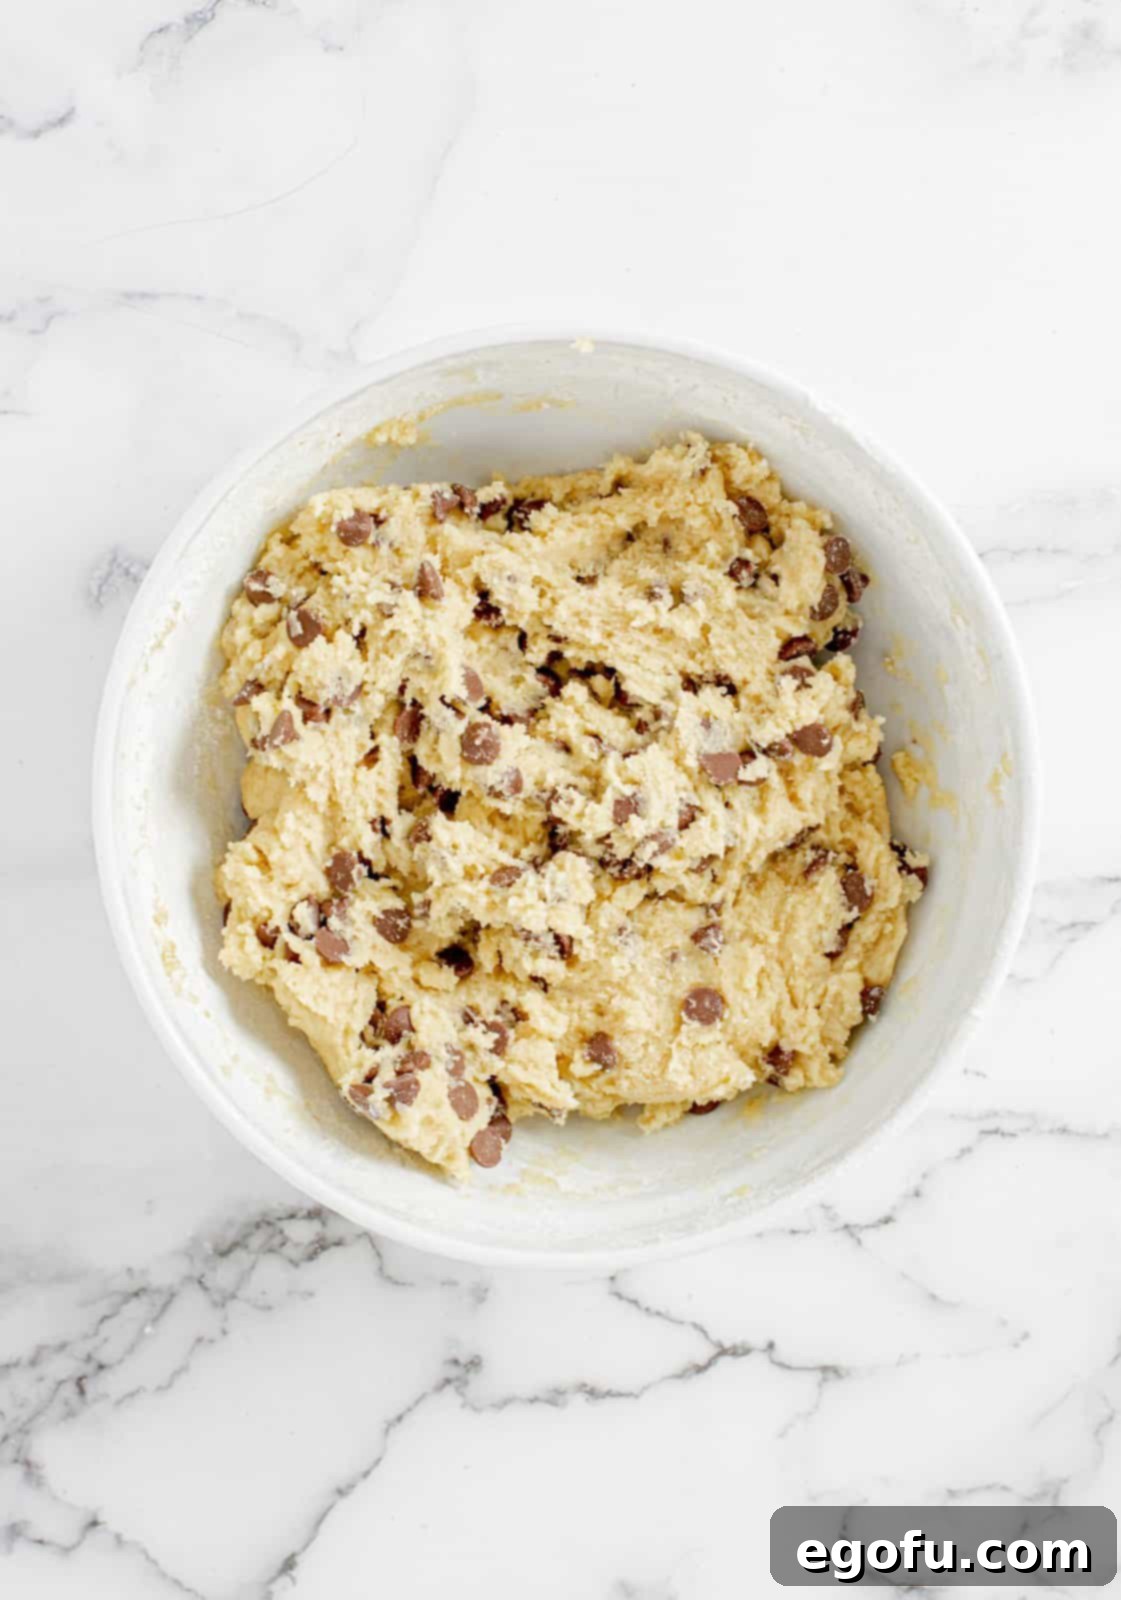
Scooping and Preparing for the Oven
When your dough has adequately chilled and you’re ready to bake, preheat your oven to 350°F (175°C). Line a baking sheet with parchment paper; this prevents sticking, aids in even heat distribution, and makes cleanup a breeze. Using a cookie scoop (approximately 2 tablespoonfuls per scoop), portion out the chilled dough. Gently roll each portion between your palms to form smooth, uniform balls, about 2 inches in diameter. Arrange these cookie dough balls on the prepared baking sheet, ensuring they are spaced at least 2 inches apart to allow for proper spreading during baking. Crucially, resist the urge to flatten the dough balls; their spherical shape contributes to that desirable chewy thickness.
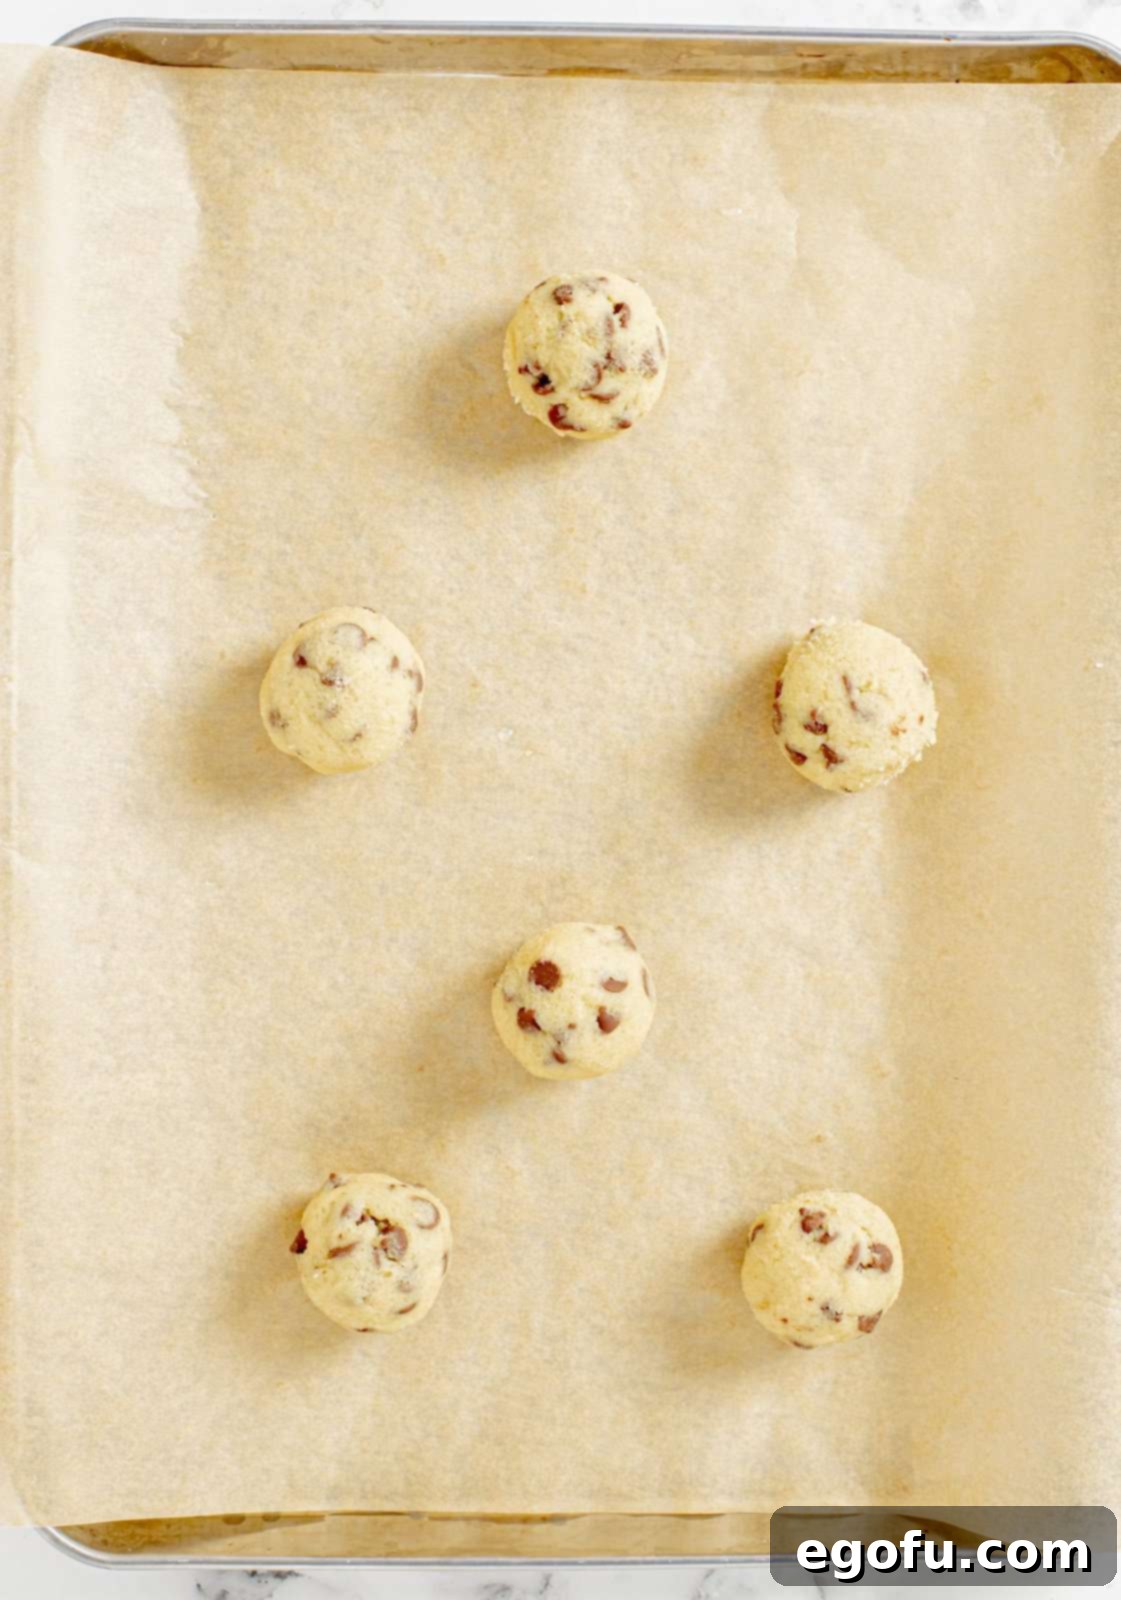
Bake to Golden Perfection and Cool
Place the baking sheet into your preheated oven and bake for approximately 10-12 minutes. Remember that oven temperatures can vary, so keep a close watch on your cookies, especially during the first batch. The cookies are ready when their edges are delicately golden brown, but their centers still appear slightly soft, puffy, and perhaps even a little underbaked. This slightly underbaked center is the key to achieving that coveted ultimate chewy texture. Overbaking will result in a drier, crispier cookie, so err on the side of caution!
Once removed from the oven, let the cookies cool on the baking sheet for a crucial 5-10 minutes. During this period, the residual heat from the pan will continue to set the cookies, allowing them to firm up while maintaining their wonderfully soft, chewy, and buttery interior. After this initial cooling, carefully transfer the cookies to a wire rack to cool completely. This prevents condensation from forming and keeps the bottoms from becoming soggy.
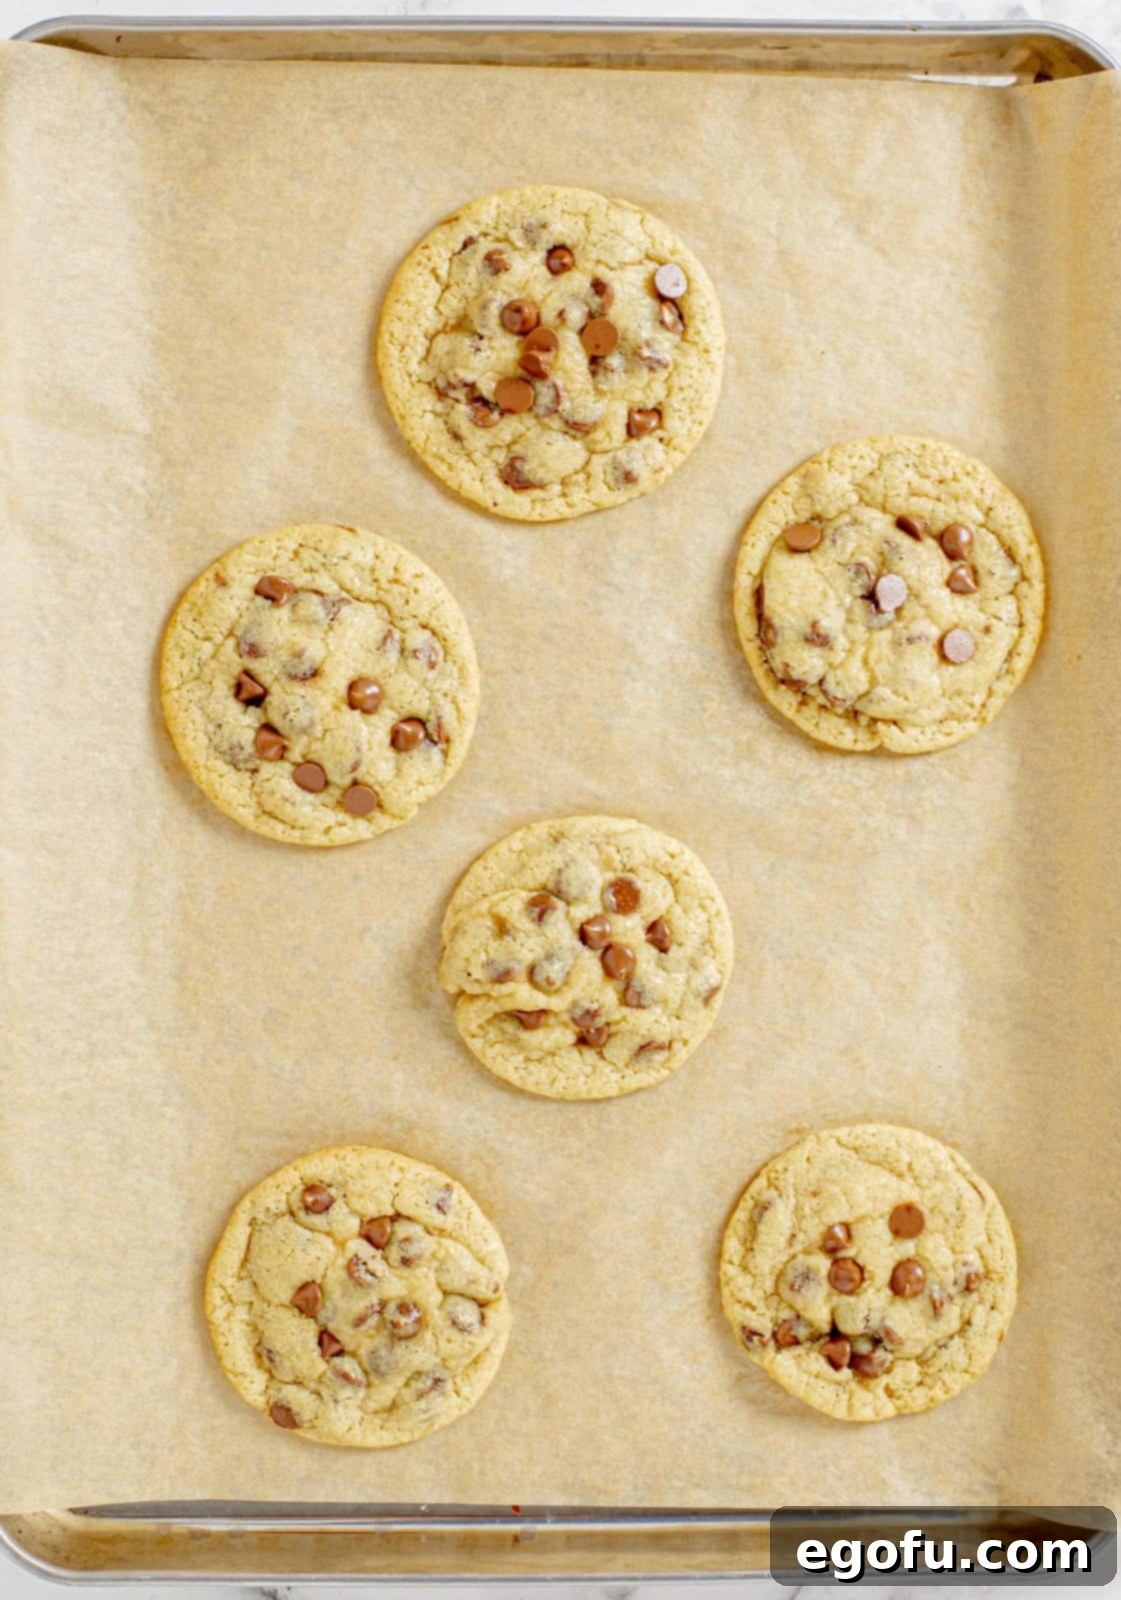
Enjoy Your Homemade Masterpiece!
And there you have it! A perfect batch of irresistible, chewy chocolate chip cookies, ready to be enjoyed. Serve them warm from the oven for the ultimate experience, perhaps with a scoop of creamy vanilla ice cream, or simply as they are. Each bite is a testament to the joy of homemade baking and the simple pleasure of a perfectly crafted cookie. Prepare for compliments!
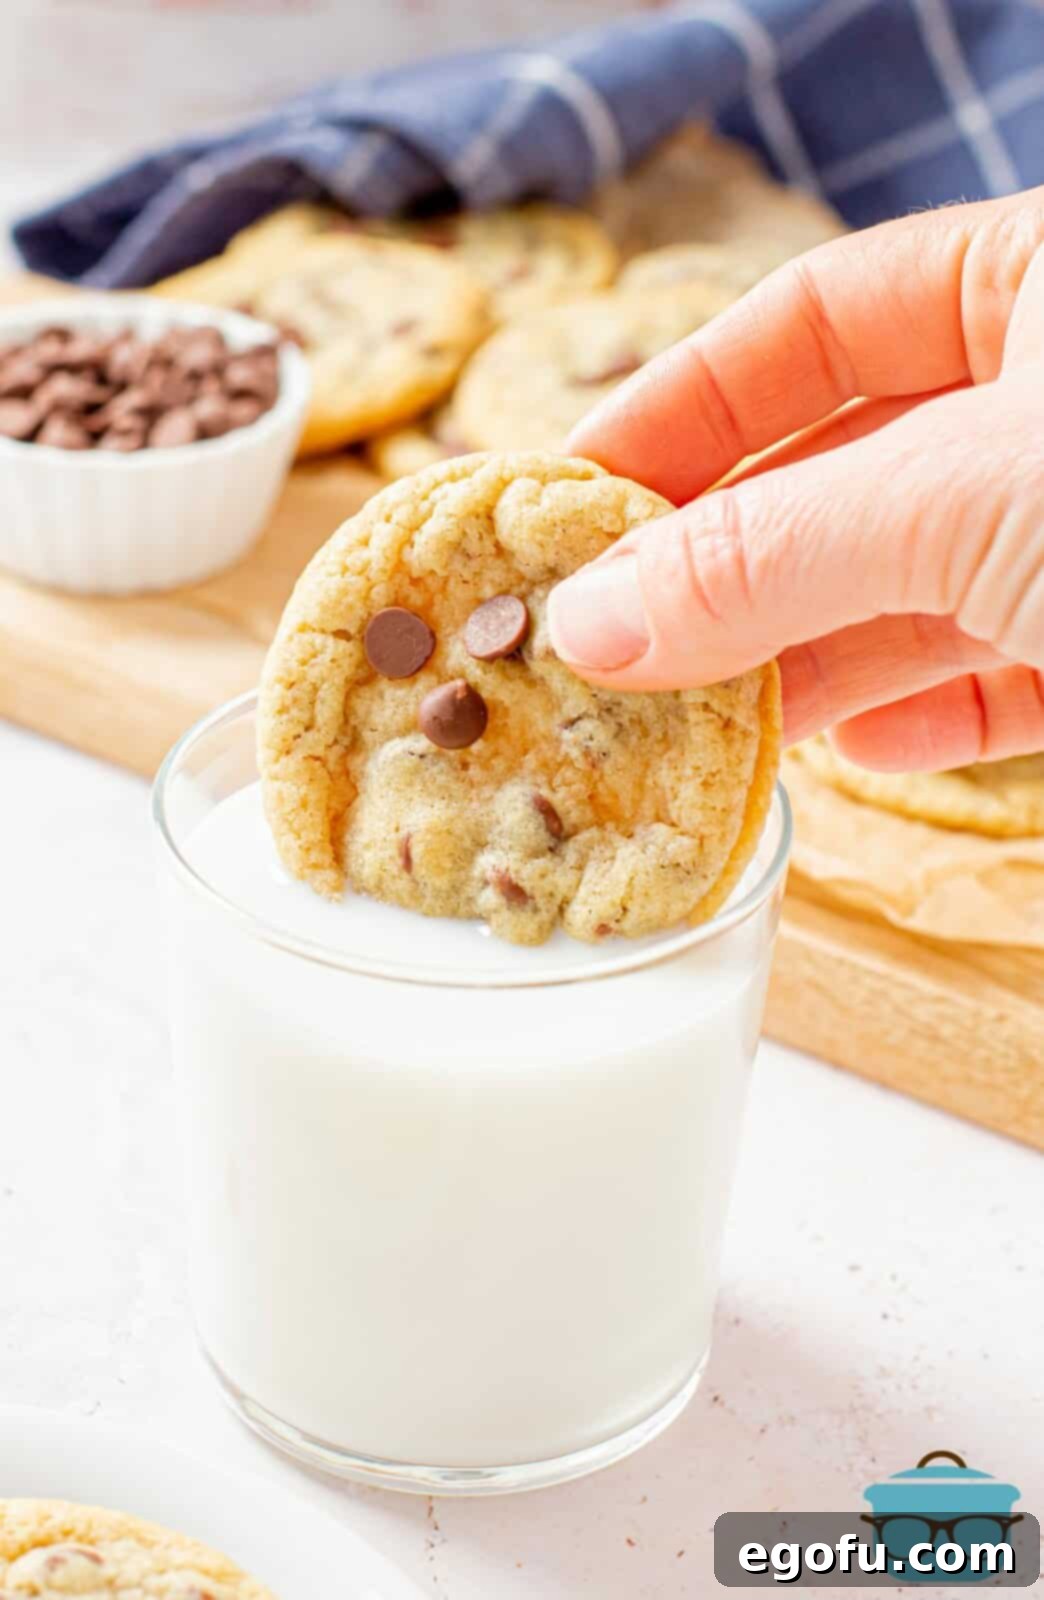
Expert Tips for Chocolate Chip Cookie Perfection
Elevate your cookie game with these additional tips and tricks to ensure every batch is nothing short of perfection:
- Avoid Overmixing the Flour: Once you add the dry ingredients, mix just until no streaks of flour remain. Overmixing develops the gluten in the flour, which can lead to tough, rather than chewy, cookies.
- Ensure Room Temperature Ingredients: Your butter and egg should be at room temperature. This allows them to emulsify properly, creating a smooth, cohesive dough that traps air, resulting in a lighter and more tender cookie.
- Measure Flour Accurately: Flour is often the culprit for dry or dense cookies if not measured correctly. Use a kitchen scale for the most accurate measurement, or if using measuring cups, spoon the flour into the cup and then level it off with a straight edge (the “spoon and level” method).
- Experiment with Chocolate Blends: While milk chocolate is recommended here, don’t hesitate to use a mix of different chocolates (e.g., half milk, half semi-sweet) or even different forms (chips, chunks, chopped bars) to find your ideal chocolatey blend.
- A Pinch of Flaky Sea Salt: For an extra layer of gourmet flavor, sprinkle a tiny amount of flaky sea salt (like Maldon) on top of your cookies immediately after they come out of the oven. The salt enhances the chocolate and creates a delightful sweet and salty contrast.
- Patience with Cooling: Resist the temptation to move your warm cookies immediately to a wire rack. The initial cooling period on the hot baking sheet allows them to finish setting and firm up without breaking, ensuring they retain their perfect chewy texture.
- Uniform Cookie Size: Use a cookie scoop to ensure all your cookies are roughly the same size. This guarantees even baking across the entire batch.
Delicious Variations to Ignite Your Creativity
Once you’ve mastered this classic chewy chocolate chip cookie recipe, you might find yourself inspired to explore new flavors and textures. Here are some delightful variations to customize your next batch:
- Nutty Additions: Introduce ½ cup of finely chopped walnuts, pecans, or almonds into the dough along with the chocolate chips for a pleasant crunch and earthy flavor. Toasting the nuts lightly beforehand can enhance their aroma.
- Warm Spices: Add a quarter teaspoon of ground cinnamon or a tiny pinch of nutmeg to the dry ingredients for a subtle, comforting warmth that pairs beautifully with chocolate.
- Oatmeal Swirl: For a heartier, chewier cookie, replace ½ cup of the all-purpose flour with quick or rolled oats. This adds a wonderful texture and a wholesome touch.
- Caramel Bliss: Fold in ¼ to ½ cup of toffee bits or chopped caramel candies along with the chocolate chips for pockets of buttery, chewy caramel goodness.
- Extract Explorations: Experiment with different flavor extracts! A dash of almond extract can offer a sophisticated marzipan note, while a hint of orange zest (added with the wet ingredients) provides a bright, citrusy counterpoint to the rich chocolate.
- Double Chocolate Dream: For serious chocolate lovers, consider replacing ¼ cup of flour with unsweetened cocoa powder and using a mix of milk and dark chocolate chips for an intensely chocolatey experience.
Discover More Irresistible Cookie Recipes!
If these chewy chocolate chip cookies have sparked your passion for baking, you’re in for a treat! Explore a world of other fantastic cookie creations to expand your repertoire and delight your taste buds:
- Mrs. Fields Chocolate Chip Cookies
- Big Fat Chewy Chocolate Chip Cookies
- Butter Pecan Cookies
- 3-Ingredient Peanut Butter Cookies
- Oatmeal Chocolate Chip Cookies
- Trail Mix Cookies
- Chocolate Chunk Cookies
- Cherry Blossom Cookies
- Snickers Cookies
- Tollhouse Cookie Pie
- Chocolate Chip Cookie in a Mug
- Lazy Chocolate Chip Cookie Bars

Chewy Chocolate Chip Cookies
These Chewy Chocolate Chip Cookies are a tried and true recipe, delivering a delightfully chewy and moist texture every time. You’ll find yourself baking them over and over again!
Rating: 5 out of 5 stars (Based on 2 Reviews)
Print Recipe |
Pin Recipe
Prep Time: 15 minutes
Cook Time: 11 minutes
Chill Time: 1 hour (minimum)
Total Time: 1 hour 26 minutes
Servings: 16 cookies
Author: Brandie Skibinski
Ingredients
- 8 tablespoons unsalted butter, softened to room temperature
- ½ cup granulated sugar
- ½ cup brown sugar, packed
- 1 teaspoon vanilla extract
- 1 large egg
- 1 ½ cups all-purpose flour
- 1 teaspoon baking soda
- ¼ teaspoon salt
- ¾ cup milk chocolate chips (or semi-sweet, your preference)
Instructions
- In a large mixing bowl, combine the softened butter and both sugars. Beat on low speed with an electric hand mixer or in a stand mixer until the mixture is light, fluffy, and creamy.
- Add the large egg and vanilla extract to the creamed mixture. Mix on low speed until thoroughly combined. Set this wet mixture aside.
- In a separate large bowl, whisk together the dry ingredients: all-purpose flour, baking soda, and salt, ensuring they are well-distributed.
- Gradually add the dry ingredients to the wet ingredients. Add approximately ½ to 1 cup at a time, beating on low speed until just combined before adding the next portion. Continue until the ingredients are almost fully incorporated. A few small lumps are acceptable; avoid overmixing.
- Gently stir in the chocolate chips until they are evenly distributed throughout the dough.
- Cover the bowl with plastic wrap and chill the dough in the refrigerator for at least 1 hour. For the best chewy results and flavor development, chill for 2-3 hours or even overnight (up to 48 hours). Remember to keep any unused dough chilled between baking batches.
- When ready to bake, preheat your oven to 350°F (175°C). Line a baking sheet with parchment paper.
- Scoop 2 tablespoonfuls of dough per cookie, rolling each into an approximate 2-inch ball between your palms.
- Arrange the cookie balls on the prepared baking sheet, ensuring they are spaced at least 2 inches apart. Do not flatten the dough balls; their spherical shape contributes to the chewiness.
- Bake for about 10-12 minutes. The cookies are done when their edges are lightly golden brown, but their centers still look soft and slightly puffed. Baking time may vary depending on your oven; do not overbake.
- Remove from the oven and let the cookies stand on the baking sheet for 5-10 minutes. This allows them to set and retain their chewy texture.
- Carefully transfer the cooled cookies to a wire rack to cool completely. Serve warm and enjoy your delicious homemade treat!
Notes
- While milk chocolate chips are recommended, semi-sweet chocolate chips can absolutely be used if that is your preference.
- Do not skip chilling the dough! This step is paramount for achieving the perfect chewy texture and preventing the cookies from spreading too thin.
- For an extra touch of gourmet flair, sprinkle a tiny bit of flaky sea salt on top of the warm cookies immediately after they come out of the oven to enhance the chocolate flavor.
Course: Dessert
Cuisine: American
Nutrition Facts (Estimated per serving)
- Calories: 195 kcal
- Carbohydrates: 26g
- Protein: 2g
- Fat: 9g
- Sodium: 112mg
- Fiber: 1g
- Sugar: 16g
Nutritional Disclaimer
Please be aware that this website is not managed by a certified dietician or nutritionist. All nutritional information provided is an estimate based on common ingredient values. If precise calorie counts and other nutritional data are critical for your dietary needs, we strongly advise you to run the ingredients through your preferred online nutritional calculator. Actual nutritional values can vary significantly depending on the specific brands and types of ingredients used.
Did You Bake These Chewy Chocolate Chip Cookies?
We’d absolutely love to see your delightful creations! Share your Chewy Chocolate Chip Cookies on Instagram by tagging @thecountrycook and using the hashtag #thecountrycook! Join our community of home bakers!
