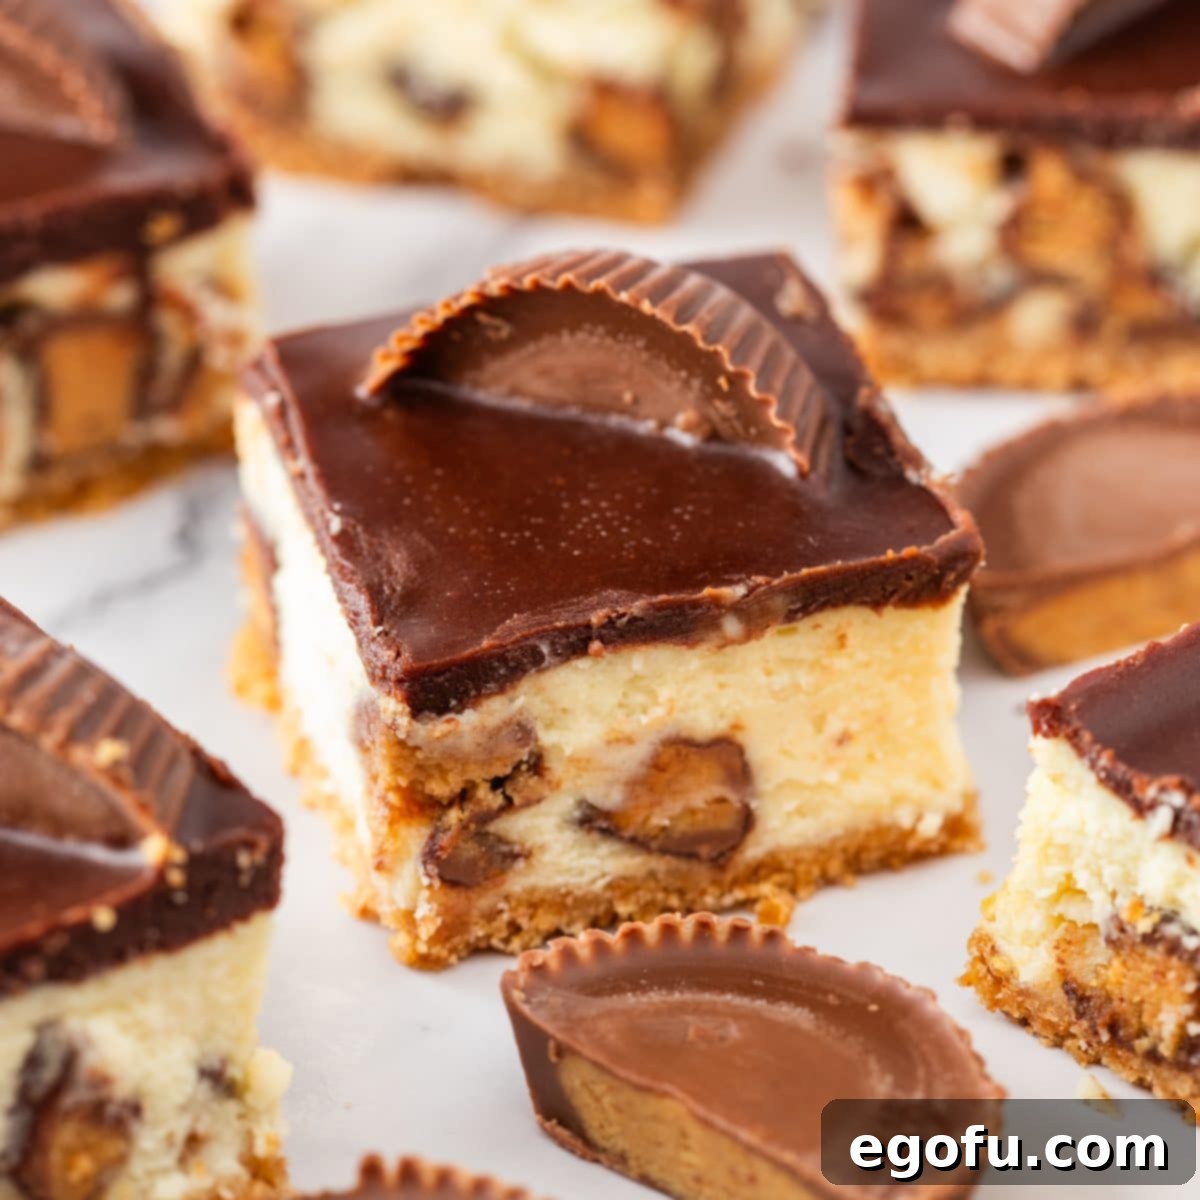
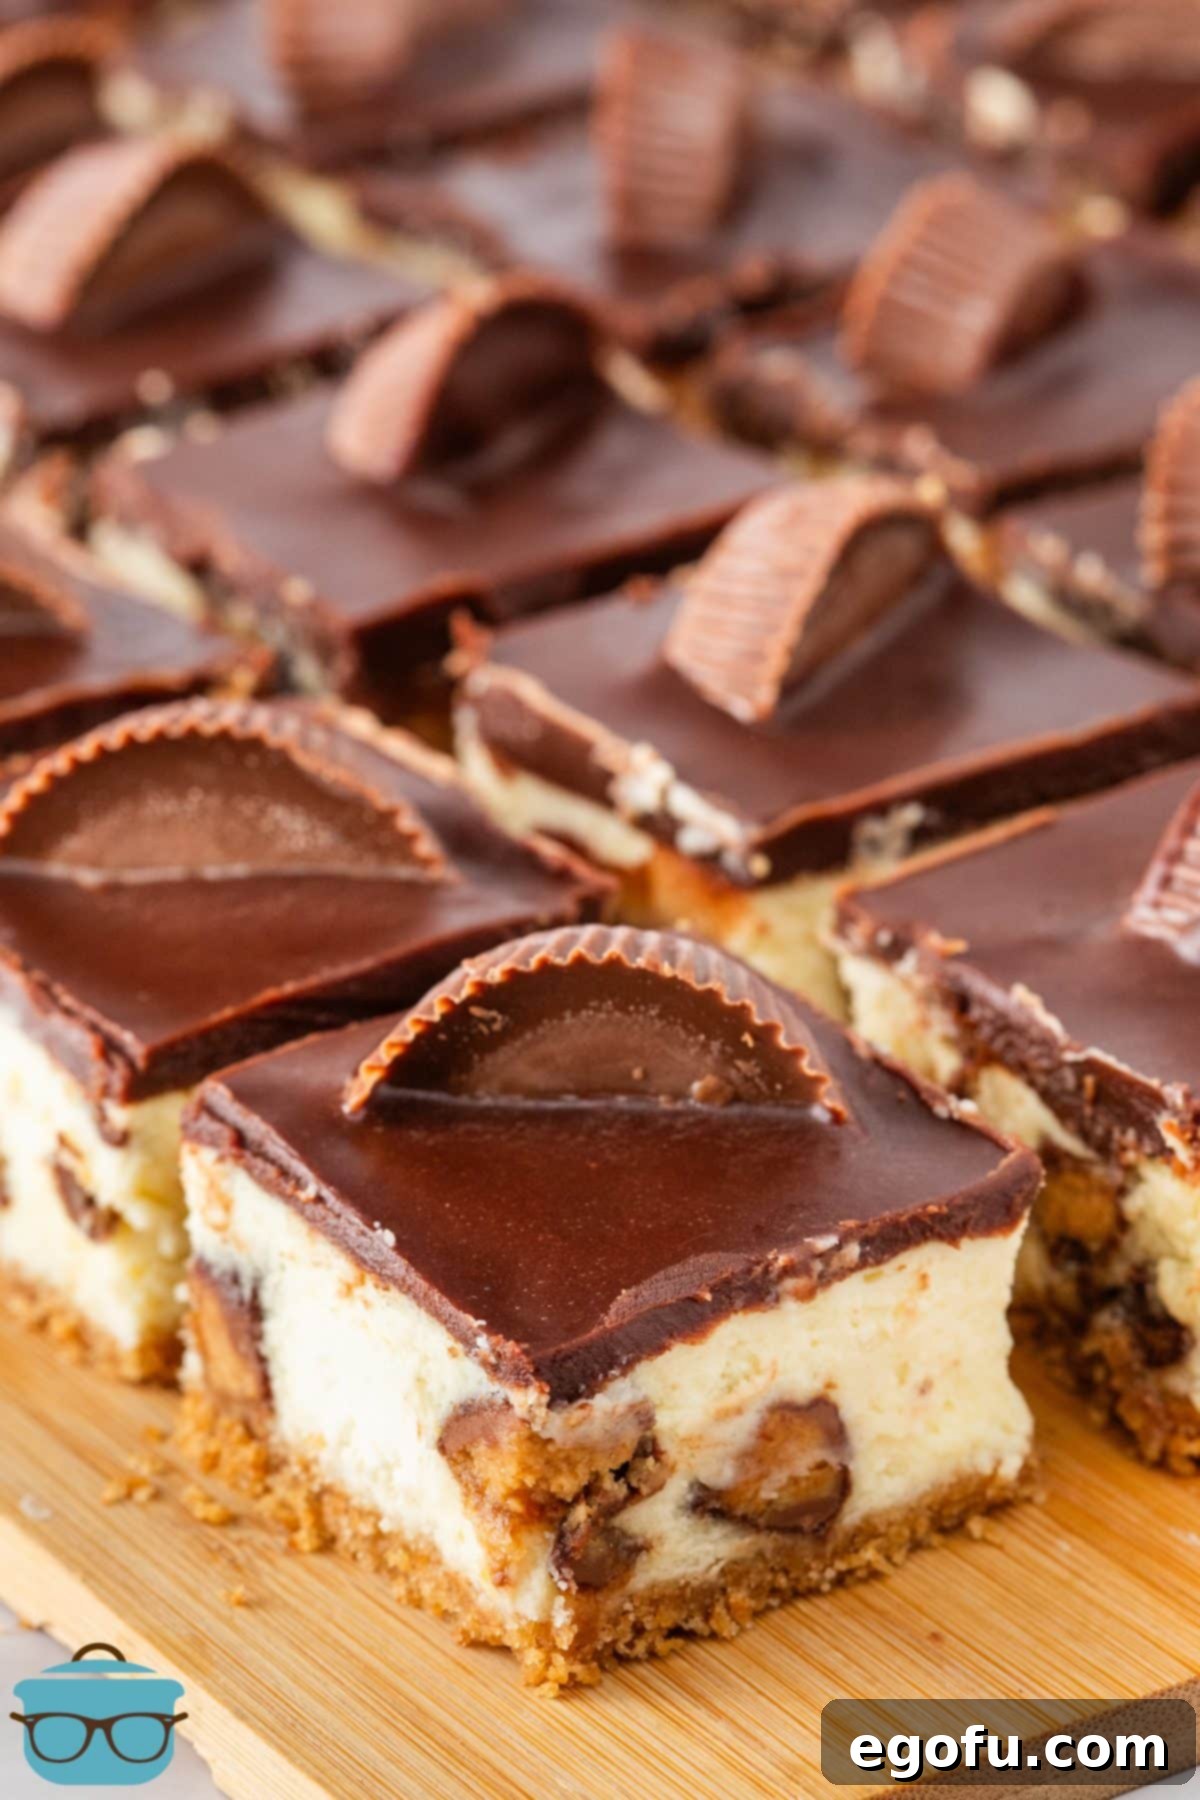
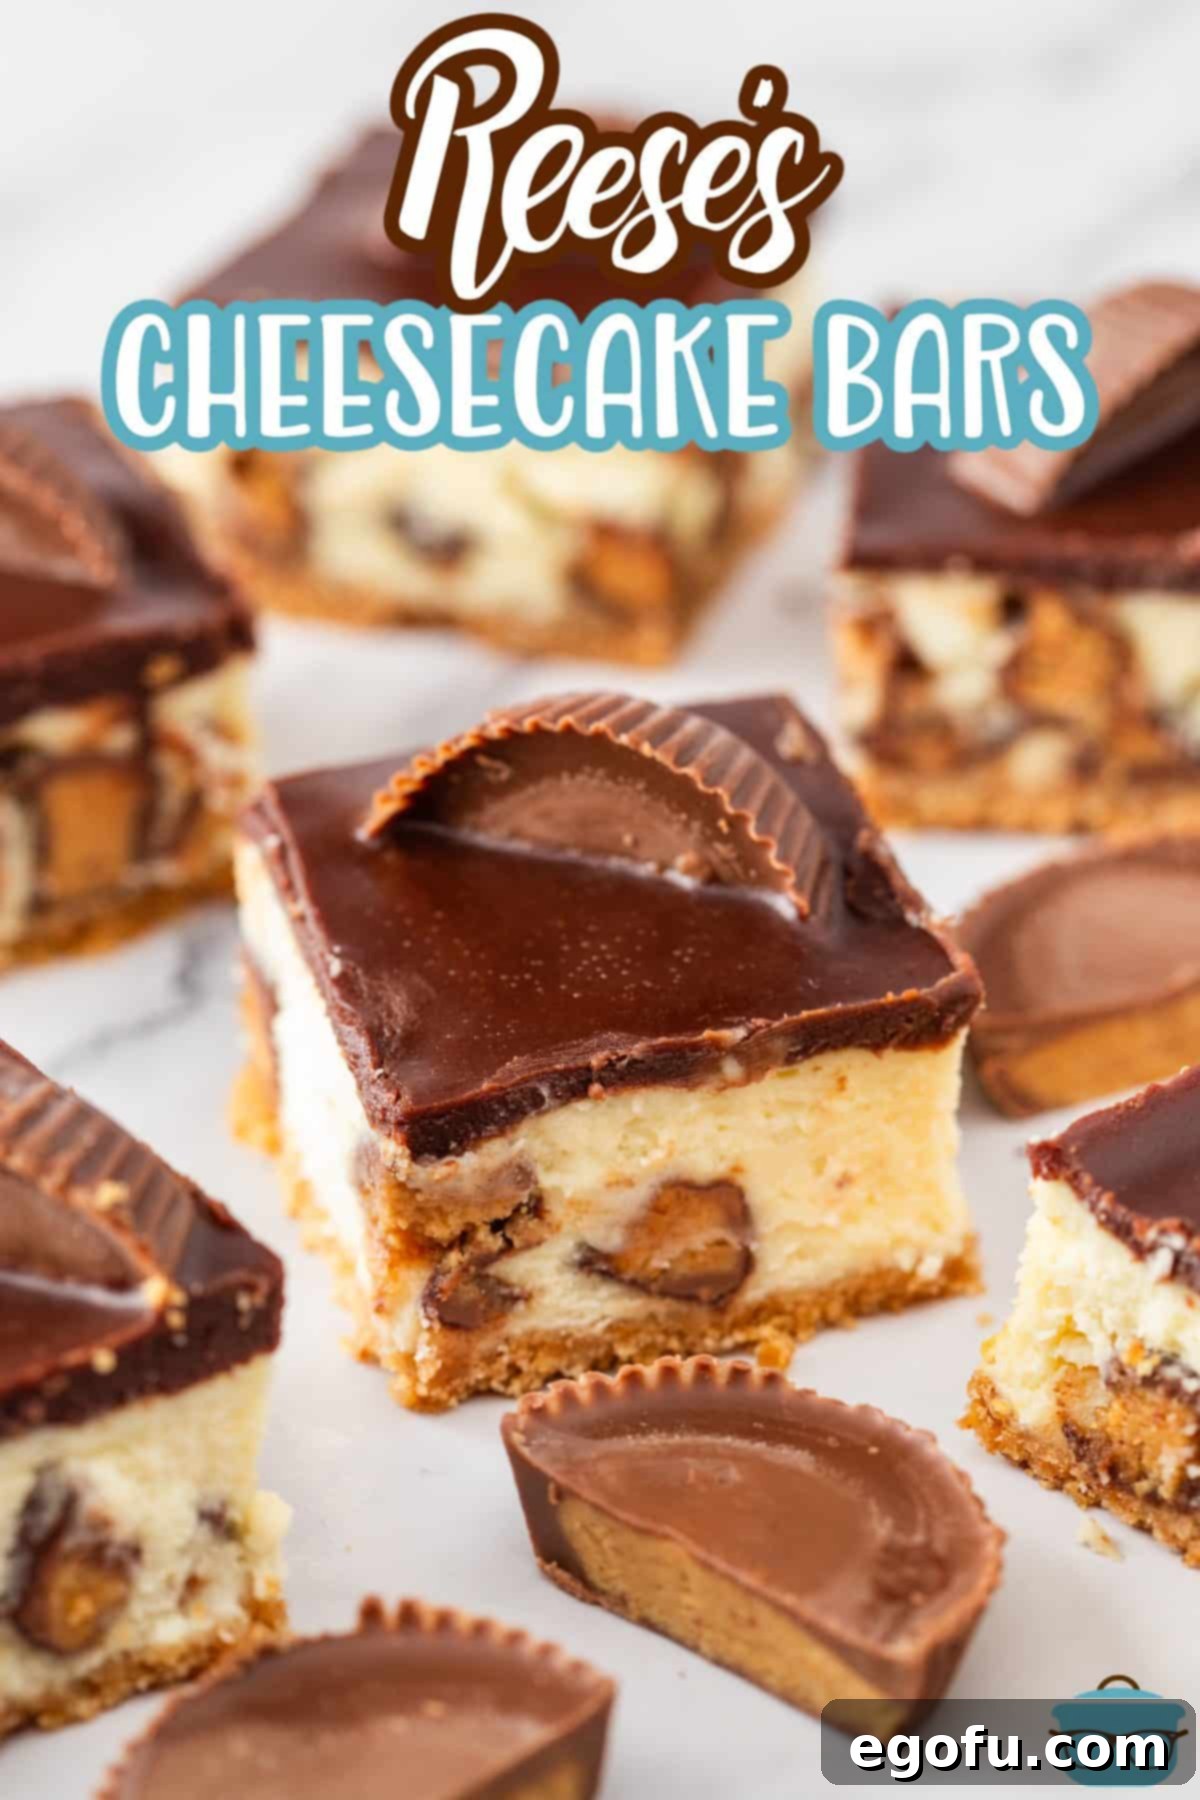
Indulge in the ultimate dessert experience with these irresistible Reese’s Cheesecake Bars! Featuring a rich graham cracker crust, a velvety peanut butter and chocolate cheesecake filling loaded with chopped Reese’s Peanut Butter Cups, and crowned with a decadent chocolate ganache. This easy-to-make dessert is guaranteed to be a showstopper at any gathering, disappearing faster than you can say “Reese’s!”
A Peanut Butter Chocolate Lover’s Dream Come True
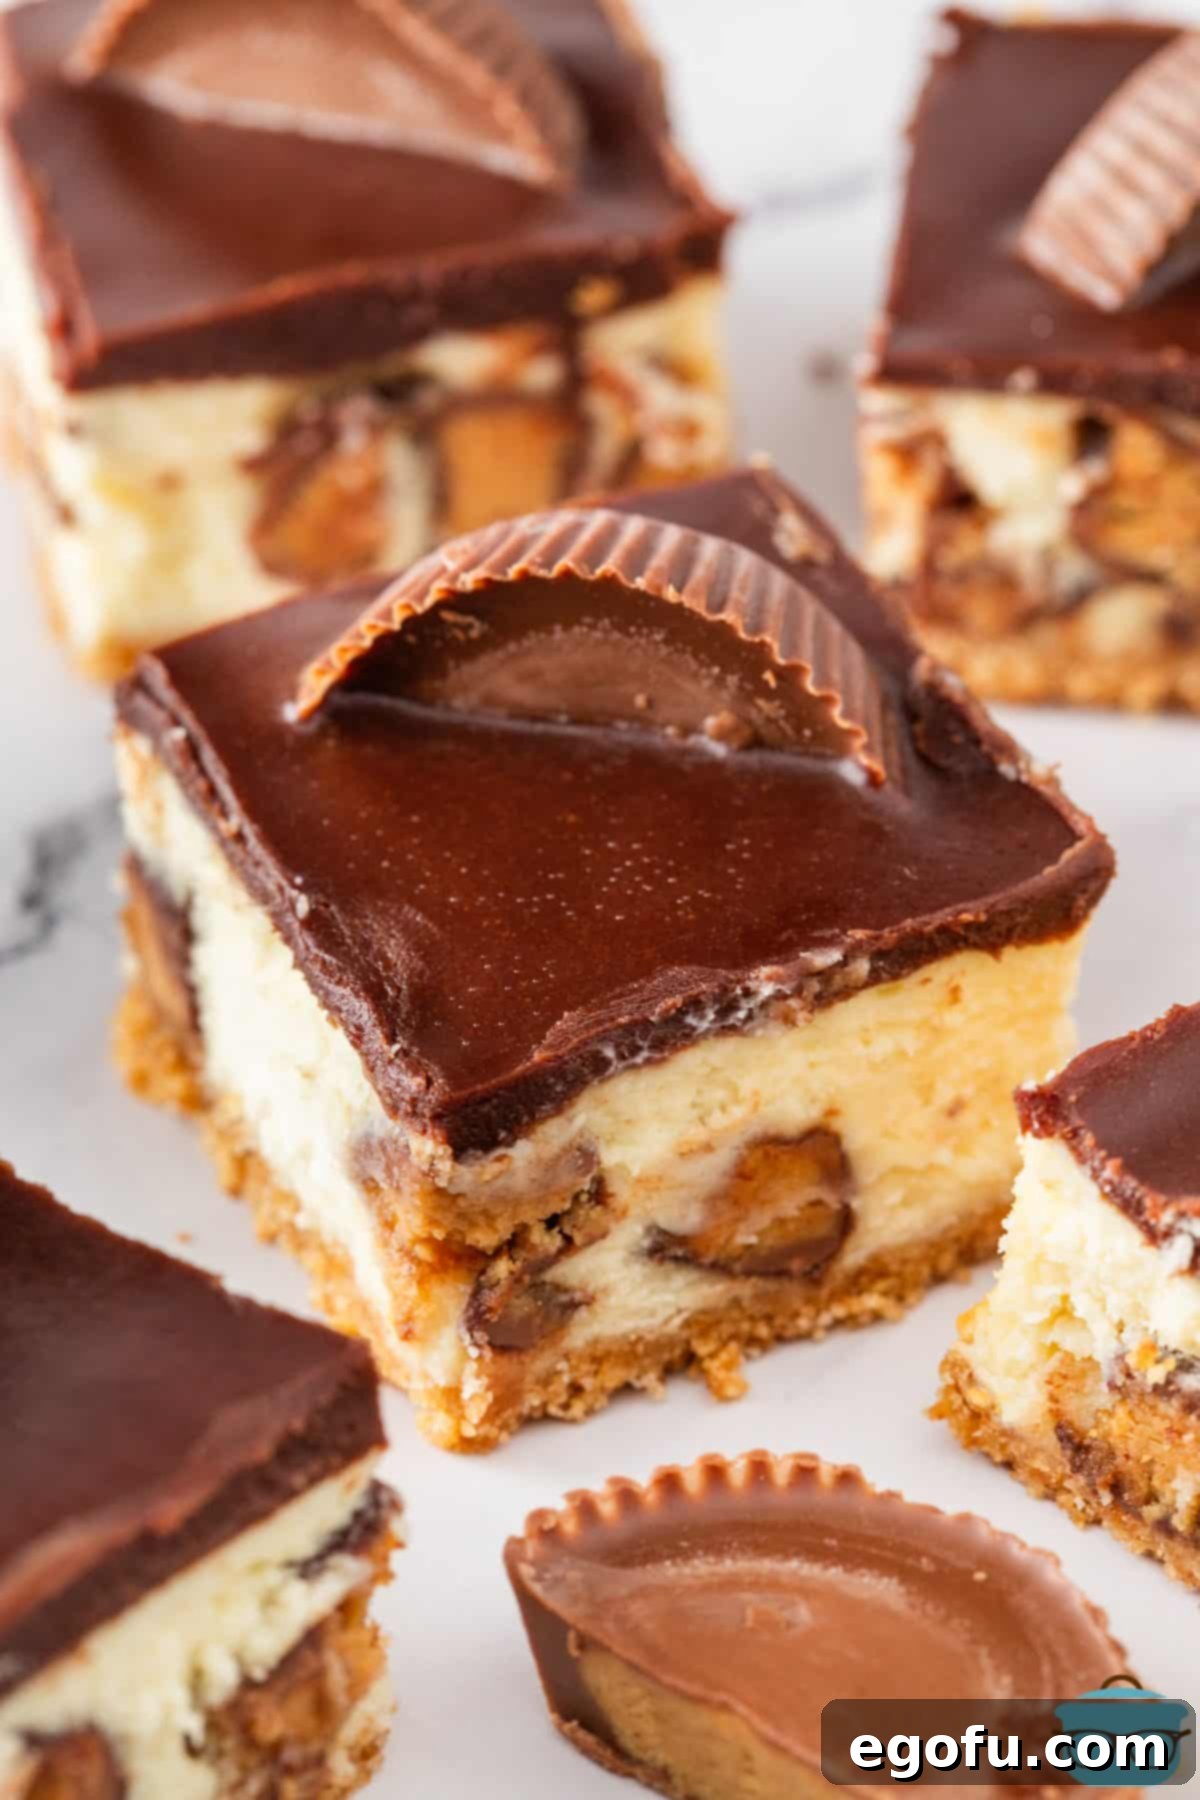
For those who adore the classic combination of peanut butter and chocolate, these Reese’s Cheesecake Bars are nothing short of a culinary revelation. This recipe masterfully brings together the beloved flavors of Reese’s Peanut Butter Cups into a sophisticated, yet incredibly approachable, dessert. Imagine sinking your teeth into a perfectly balanced bar: first, the satisfying crunch of a buttery graham cracker crust, followed by a luxuriously smooth and creamy cheesecake layer bursting with generous chunks of your favorite peanut butter candy. Finally, a silky, rich chocolate ganache topping ties all these sensational textures and flavors together in an unforgettable symphony of sweetness.
My passion for Reese’s Peanut Butter Cup-inspired treats runs deep. If you’ve been following my culinary journey, you’ll know my kitchen often churns out delightful variations like my Reese’s Peanut Butter Poke Cake, Reese’s Peanut Butter Cup Cake, and Reese’s Mini Cheesecakes. These dessert bars stand proudly among them, offering a slightly different, equally captivating experience. They are the epitome of comfort and indulgence, making them the perfect centerpiece for any celebration, a welcomed addition to a potluck, or simply an extraordinary treat to enjoy at home. Get ready to impress and satisfy every chocolate and peanut butter craving with this new favorite!
Frequently Asked Questions About Reese’s Cheesecake Bars
What kind of mixer is best for this recipe?
I often receive questions about the stand mixer shown in my recipe photos. I use a Bosch mixer, which is quite a robust machine. However, don’t feel obligated to invest in a high-end appliance. Any traditional stand mixer or even an electric hand mixer will work perfectly for preparing this cheesecake batter. The key is to achieve a smooth and creamy consistency, and standard kitchen mixers are more than capable of handling this task. While my Bosch mixer is great for visually demonstrating steps, it doesn’t necessarily produce a better result than more common alternatives.
What other toppings can I add to these cheesecake bars?
While the chocolate ganache and chopped Reese’s Peanut Butter Cups are a classic choice, there’s plenty of room for creativity with additional toppings! Instead of regular-sized Reese’s cups, you could opt for mini Reese’s or even White Chocolate Reese’s Cups for a different visual and flavor twist. Sprinkling some colorful Reese’s Pieces on top adds a fun pop of color and extra peanut butter crunch. For an even more intense peanut butter flavor, consider a luscious peanut butter drizzle over the ganache. M&M’s or peanut M&M’s are also fantastic additions, providing extra chocolate and a satisfying crunch. A scattering of crushed roasted peanuts would also significantly enhance the nutty profile, truly making these bars a peanut butter aficionado’s dream.
Why are room temperature ingredients so crucial for cheesecake?
Achieving a perfectly smooth and clump-free cheesecake batter is largely dependent on using room temperature ingredients. When ingredients like cream cheese, eggs, and Greek yogurt are at room temperature, they combine much more easily and evenly, creating a homogenous mixture. Cold cream cheese, in particular, tends to lump up when mixed with other ingredients, leading to a grainy texture in your final cheesecake. Room temperature ingredients also emulsify better, resulting in a silkier, more uniform cheesecake filling that bakes beautifully without cracks.
Can I use store-bought graham cracker crumbs for the crust?
Absolutely! Using pre-made graham cracker crumbs is a fantastic shortcut that saves time and effort, without compromising on flavor or texture. If you choose to use store-bought crumbs that come in a box, you’ll typically need about 1 ½ cups of crumbs to achieve the perfect crust consistency for this recipe. This simplifies the first step considerably, allowing you to get to the delicious cheesecake filling even faster!
Do you have any tips for getting perfectly clean-cut cheesecake bars?
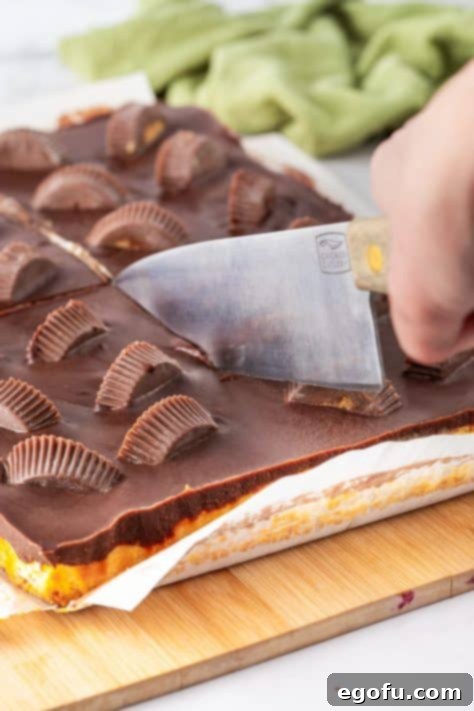
Ah, the age-old dilemma of cutting neat cheesecake bars! It’s true, they can get a little messy if not handled correctly. My top tip for achieving beautifully clean slices is to warm your knife blade before each cut. Run a sharp, thin-bladed knife under very warm water for a few seconds to heat it up. Then, immediately wipe it completely dry with a paper towel or a clean kitchen towel. Make your first cut through the chilled dessert. After each cut, wipe the blade clean again to remove any clinging cheesecake or ganache. If you encounter a particularly stubborn section, or if the knife cools too much, feel free to spray the blade with a little non-stick cooking spray for extra help, or simply re-warm it under hot water. This meticulous approach ensures smooth, clean edges for every single bar.
How should I store leftover Reese’s Cheesecake Bars?
Proper storage is key to keeping your Reese’s Cheesecake Bars fresh and delicious. Any leftover bars should be transferred to an airtight container immediately after cutting. Store them in the refrigerator, where they will remain fresh and tasty for up to 5 days. For longer storage, these cheesecake bars freeze exceptionally well. Wrap individual bars tightly in plastic wrap, then place them in a freezer-safe airtight container or heavy-duty freezer bag. They can be frozen for up to 3 months. When you’re ready to enjoy, simply thaw them in the refrigerator for a few hours before serving.
Can I make these cheesecake bars ahead of time?
Yes, these Reese’s Cheesecake Bars are an excellent make-ahead dessert! In fact, making them a day in advance can even enhance their flavor and texture, as it allows all the delicious components to meld together perfectly during the extended chilling time. You can prepare the entire recipe up to the point of topping with Reese’s and ganache, then cover and refrigerate overnight. This makes them ideal for entertaining, as you can do most of the work beforehand and simply slice and serve on the day of your event. If you need to prepare them further in advance, refer to the freezing instructions in the previous FAQ.
Essential Ingredients for Decadent Reese’s Cheesecake Bars
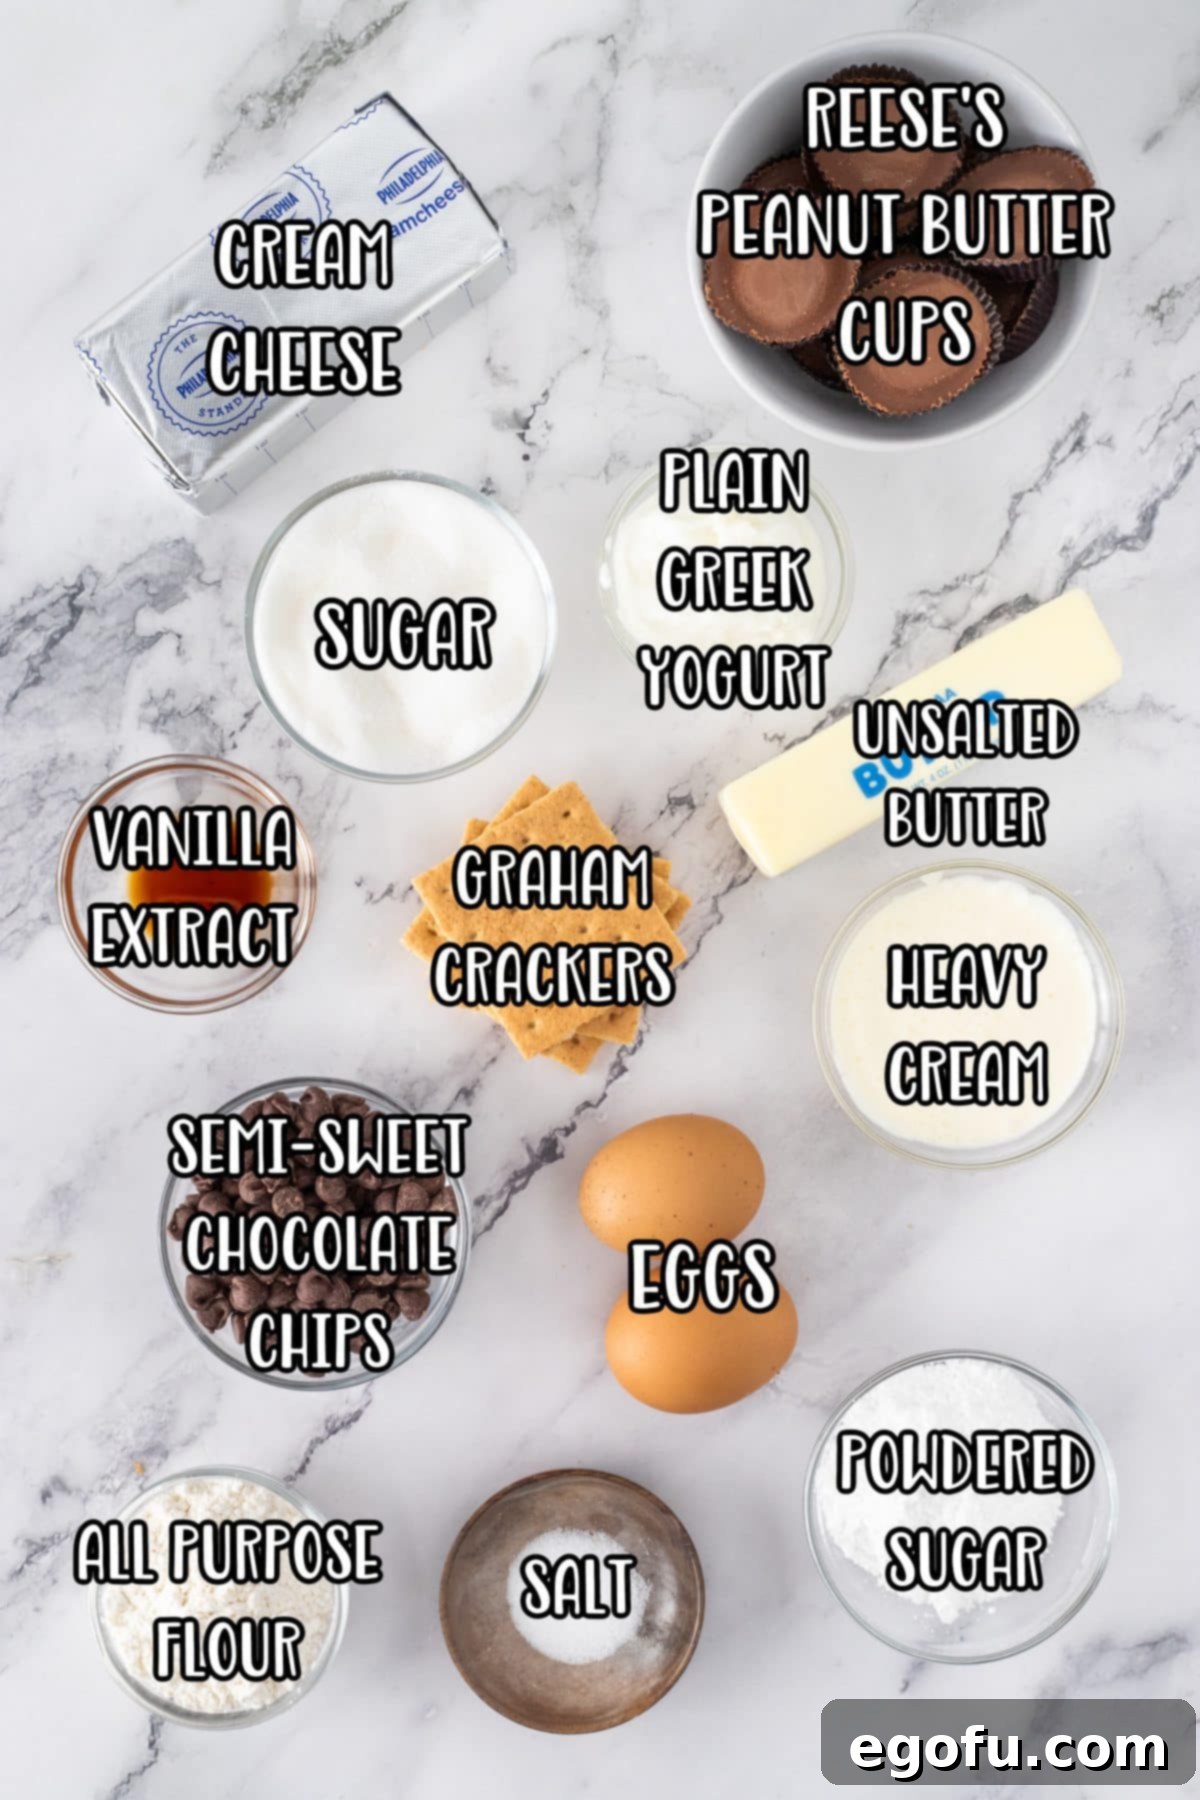
Crafting these indulgent Reese’s Cheesecake Bars requires a selection of fresh, high-quality ingredients. Here’s what you’ll need, along with a few helpful notes:
- Graham Crackers: You’ll need about 9 full sheets to create a robust crust. While I prefer to crush them myself for freshness, feel free to use store-bought graham cracker crumbs for convenience (refer to the FAQ section above for quantity).
- Granulated Sugar: Essential for both the crust and the creamy cheesecake filling, providing that perfect touch of sweetness.
- Unsalted Butter: Used melted for the crust and in the ganache. Unsalted butter allows you to control the salt content. However, if you only have salted butter, it can be used without adjustment; the minimal salt content will not negatively impact the flavor.
- Reese’s Peanut Butter Cups: The star of the show! You’ll need a good amount for chopping into the filling and for decorating the top. Make sure to buy enough!
- Cream Cheese: Crucial for the cheesecake’s characteristic tang and creamy texture. Always use full-fat cream cheese, softened to room temperature, for the best results and to prevent lumps. If you’re short on time, check out these Tips for Softening Cream Cheese Quickly.
- All-Purpose Flour: A small amount of flour helps stabilize the cheesecake filling, preventing cracks and ensuring a smooth, even bake.
- Plain Greek Yogurt: Contributes to the cheesecake’s rich, tangy flavor and ultra-creamy consistency. It’s vital that it’s at room temperature for smooth incorporation. If Greek yogurt isn’t your preference, sour cream is an excellent substitute, offering a similar tang and richness.
- Vanilla Extract: A splash of pure vanilla extract enhances all the sweet and creamy flavors in the cheesecake.
- Salt: A tiny pinch of salt balances the sweetness and highlights the complex flavors in both the crust and the filling.
- Large Eggs: Act as a binder and contribute to the cheesecake’s structure and richness. Like the cream cheese, it’s best if eggs are at room temperature to ensure they blend seamlessly into the batter, preventing curdling and promoting a silky-smooth texture.
- Semi-Sweet Chocolate Chips: The base for our luscious chocolate ganache. For a slightly different flavor profile, you could experiment with milk chocolate chips for a milder ganache or dark chocolate chips for a more intense, less sweet topping.
- Heavy Cream: Absolutely non-negotiable for making a perfect ganache. Do not substitute with lighter creams or milk, as heavy cream’s fat content is essential for the ganache’s luxurious, stable consistency.
- Powdered Sugar: Used in the ganache to give it a smooth, glossy finish and a touch of extra sweetness without being grainy.
How to Make Irresistible Reese’s Cheesecake Bars: A Step-by-Step Guide
Preparing the Golden Graham Cracker Crust
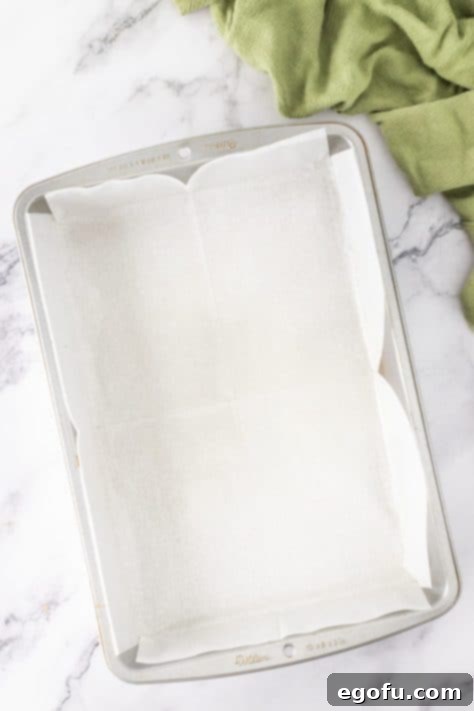
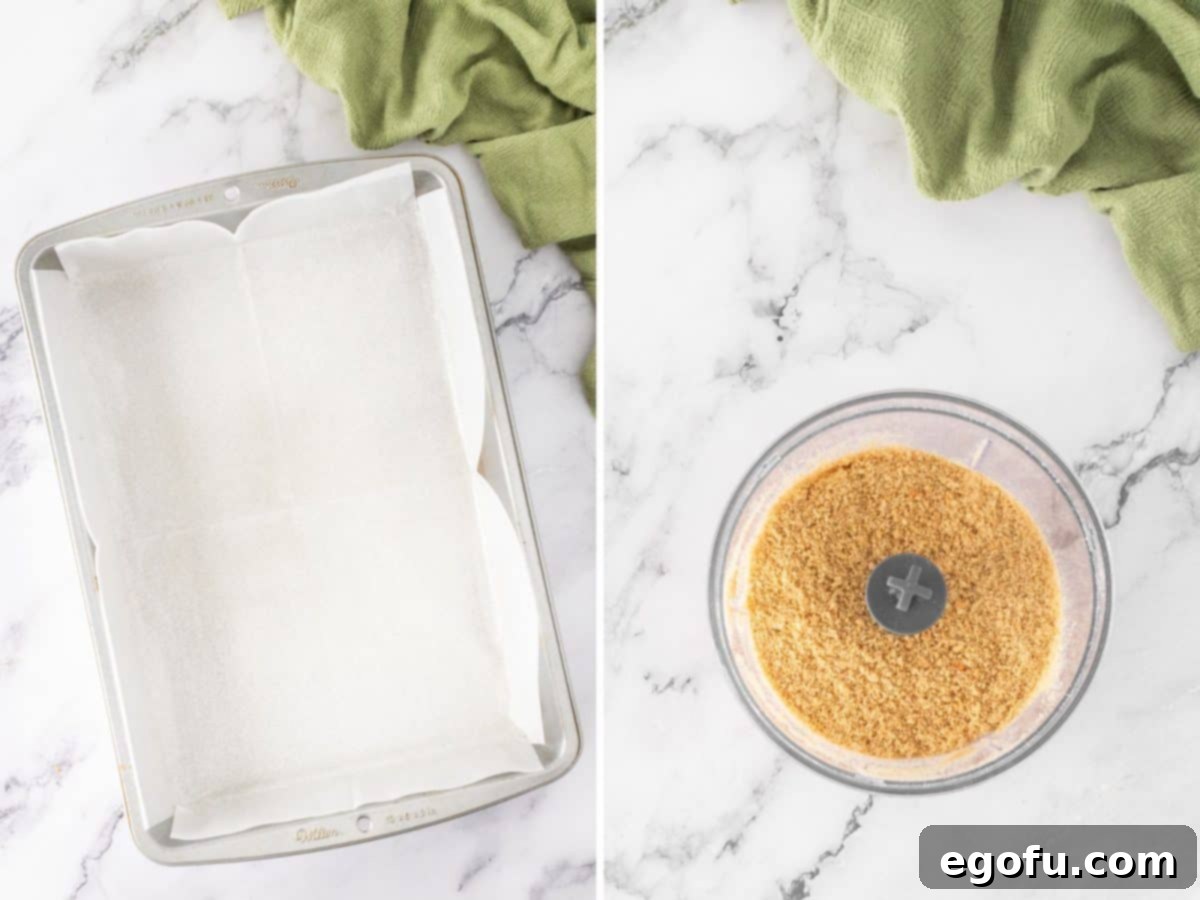
The foundation of these amazing cheesecake bars begins with a perfectly crisp and buttery graham cracker crust. Preheat your oven to 325ºF (160ºC) to ensure it’s ready for baking. Take a 9×13-inch baking pan and line it meticulously with parchment paper, leaving an overhang on the sides – this will create “handles” to easily lift the finished cheesecake out later. Lightly spray the parchment paper with non-stick cooking spray and set the pan aside.
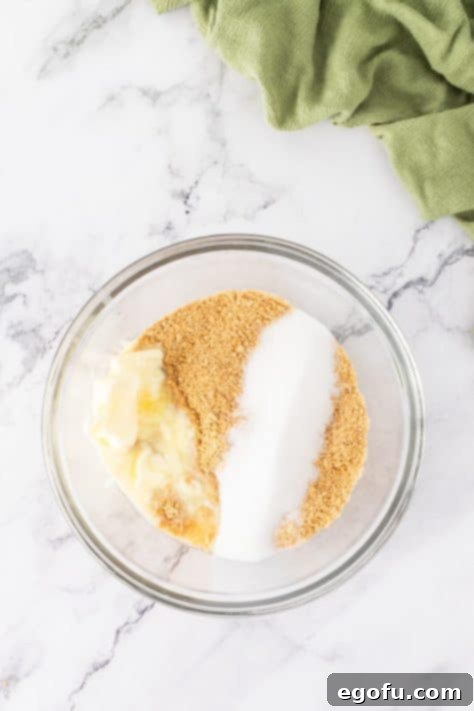
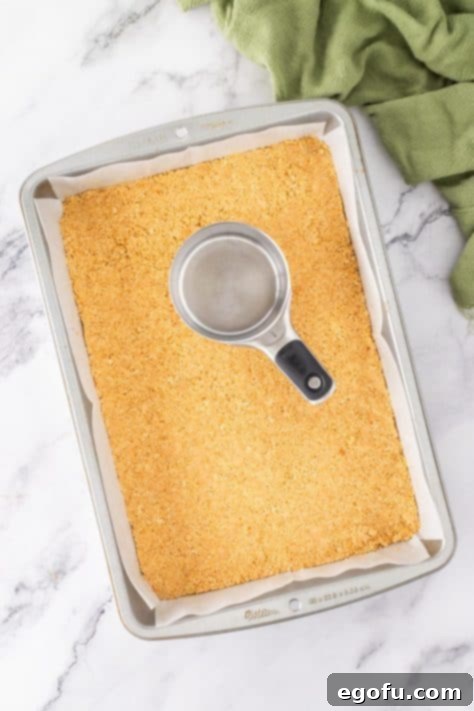
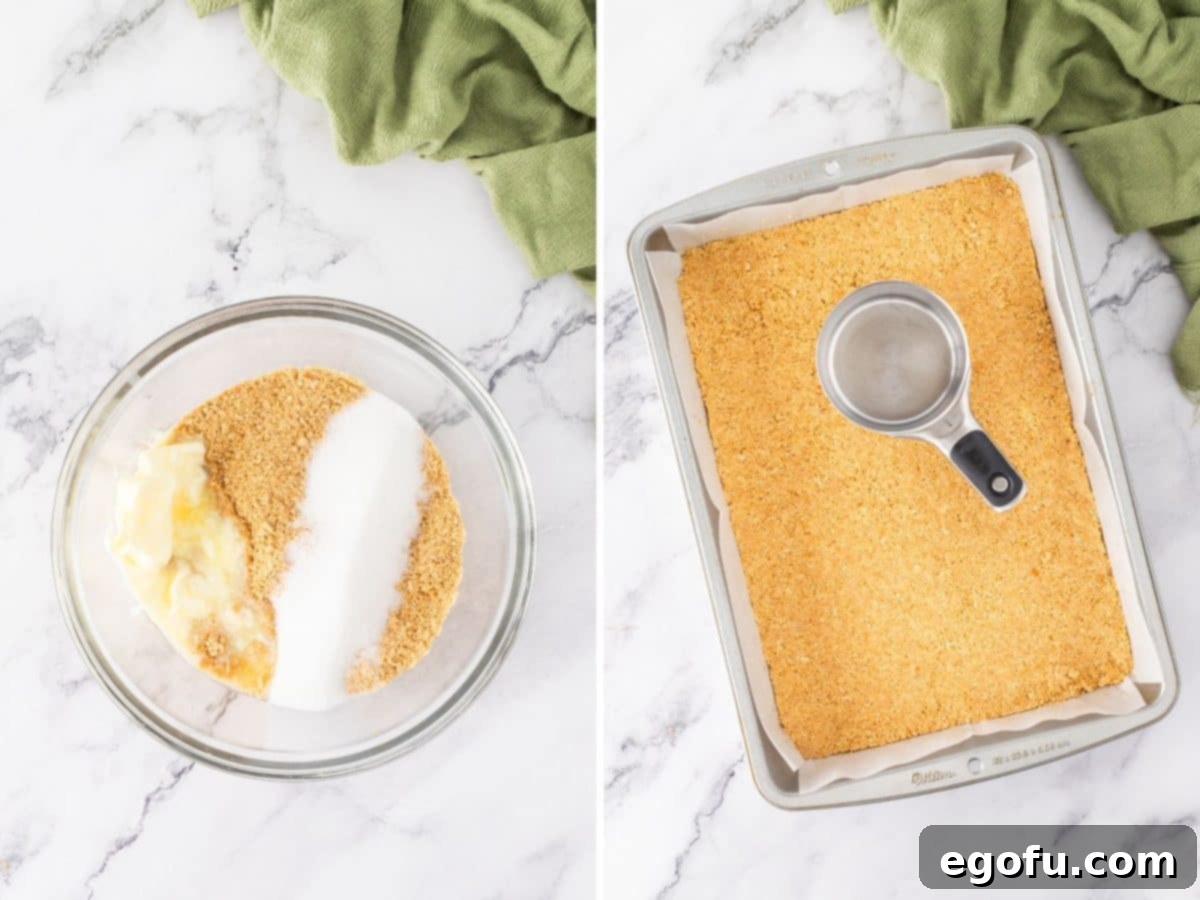
Next, it’s time to prepare your graham cracker crumbs. If you’re starting with whole graham crackers, place them into a food processor in batches and pulse until they are finely ground into even crumbs. No food processor? No problem! Simply place the graham cracker sheets into a large Ziploc bag, seal it, and crush them with a heavy object like a rolling pin until you achieve fine crumbs. Transfer these crumbs to a medium-sized mixing bowl. Add the granulated sugar and melted unsalted butter, stirring everything together until the crumbs are evenly moistened and resemble wet sand. Press this mixture firmly and evenly into the bottom of your prepared baking pan. For a perfectly uniform and compact crust, I find it helpful to use the bottom of a measuring cup or a flat-bottomed glass to really pack it into the pan and get into those corners. Bake the crust for 10 minutes, then remove it from the oven and place it on a wire cooling rack to cool completely while you prepare the filling.
Crafting the Creamy Reese’s Cheesecake Filling
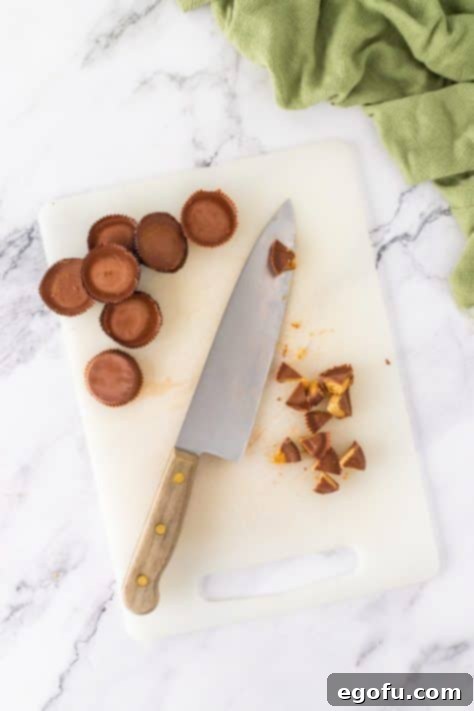
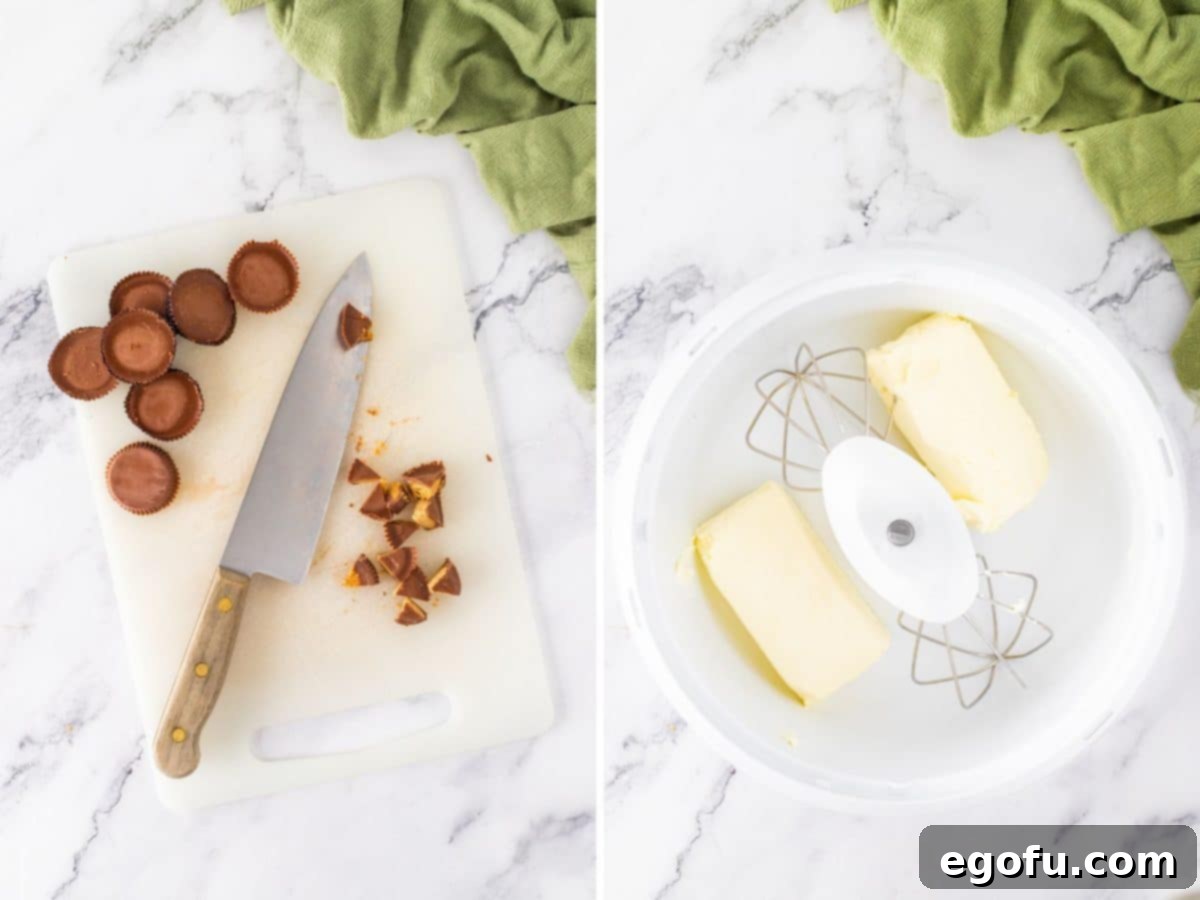
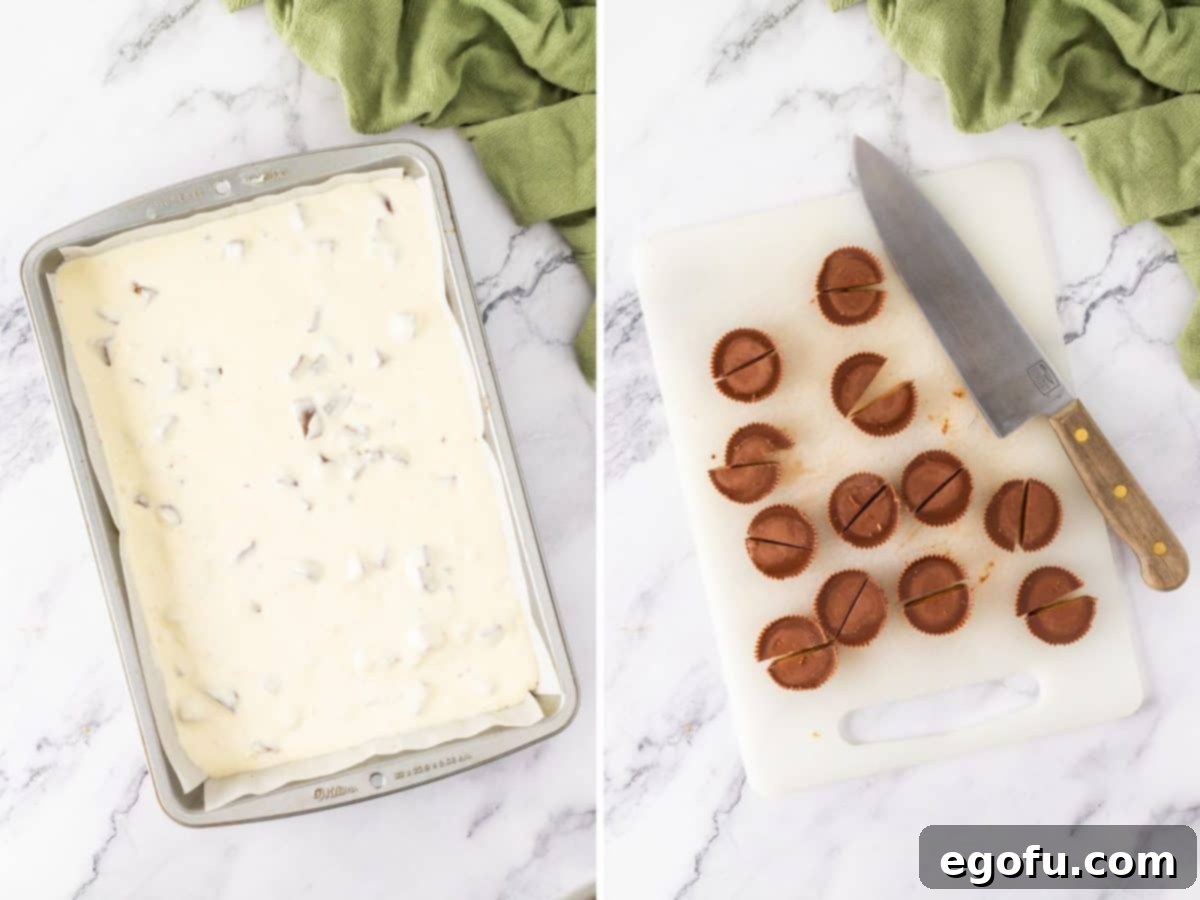
The heart of these bars is the rich and luscious cheesecake filling. Begin by roughly chopping 24 Reese’s peanut butter cups by hand with a sharp knife. Aim for varying sizes of chunks – some smaller pieces will blend into the cheesecake, while larger pieces will provide delightful bursts of peanut butter and chocolate. Set these aside.
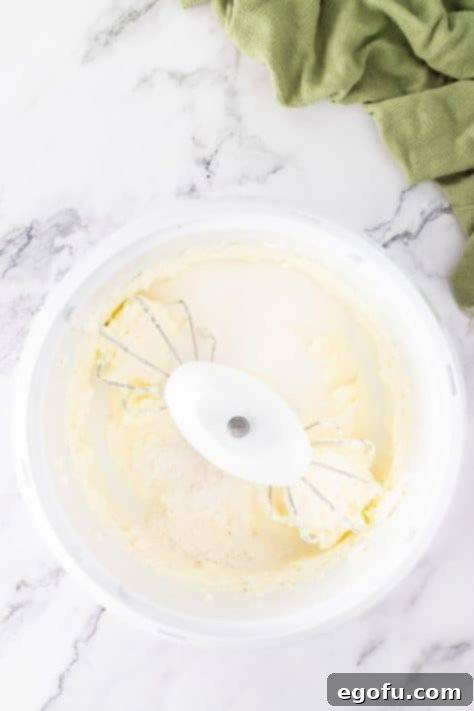
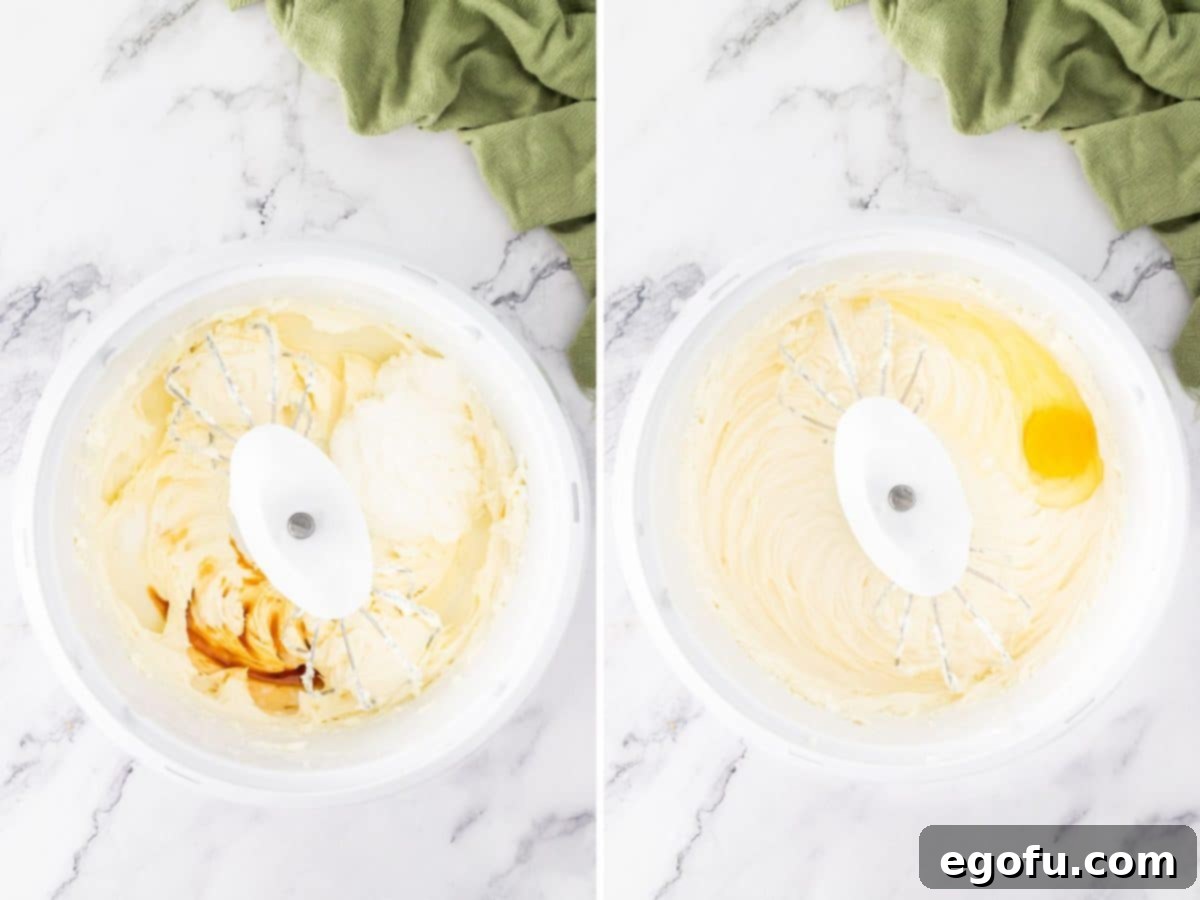
In a large mixing bowl, using an electric mixer (either a stand mixer with the paddle attachment or a powerful hand mixer), beat the softened, room-temperature cream cheese on medium speed until it is perfectly smooth and creamy, with no lumps visible. This usually takes about 2-3 minutes. Next, add the granulated sugar and all-purpose flour to the cream cheese mixture. Blend these ingredients well, scraping down the sides of the bowl with a rubber spatula frequently to ensure everything is fully incorporated. Continue mixing until the mixture is light and fluffy.
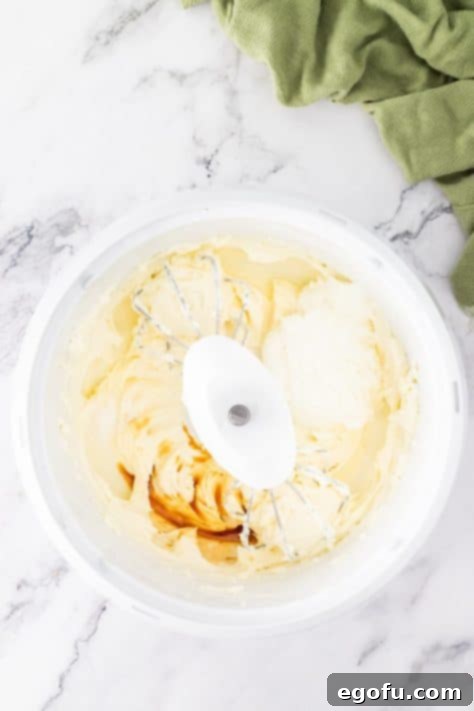
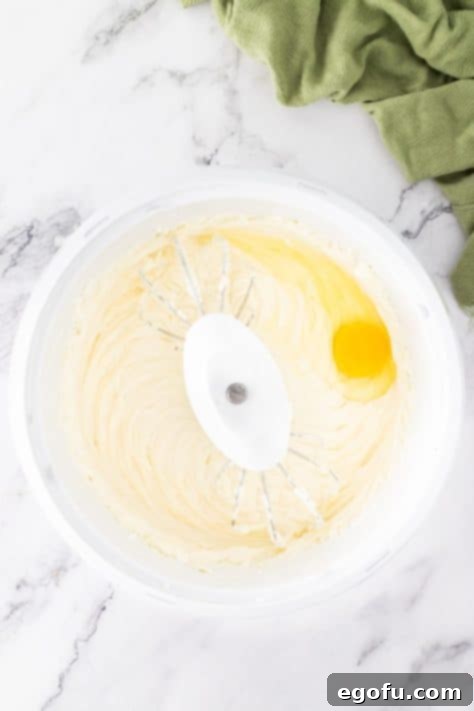
Now, blend in the room-temperature plain Greek yogurt (or sour cream), vanilla extract, and salt. Mix until just combined, again scraping down the bowl to ensure no pockets of unmixed ingredients remain. Be careful not to overmix at this stage. Finally, add the large eggs, one at a time. Beat well after each addition, just until the egg is fully incorporated into the batter, then scrape the bowl once more. Overmixing after adding the eggs can introduce too much air, which can lead to cracks in your baked cheesecake.
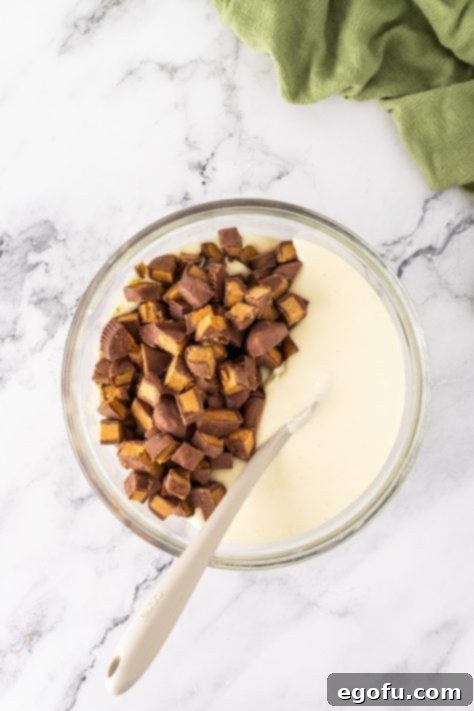
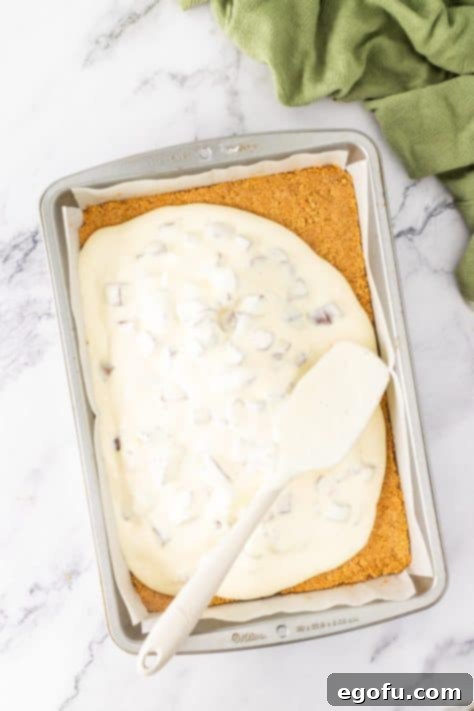
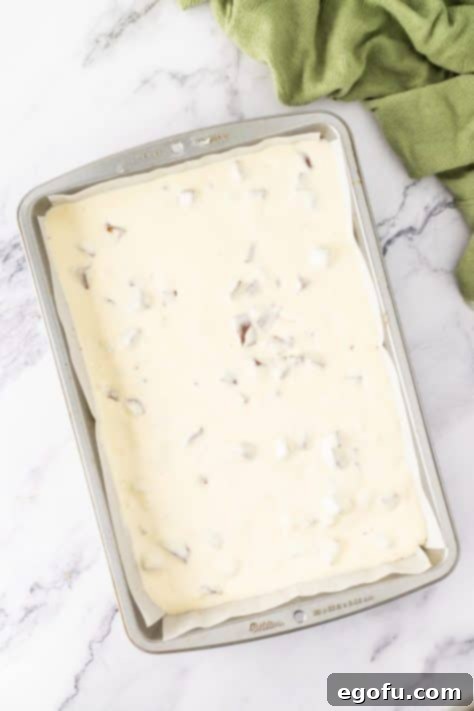
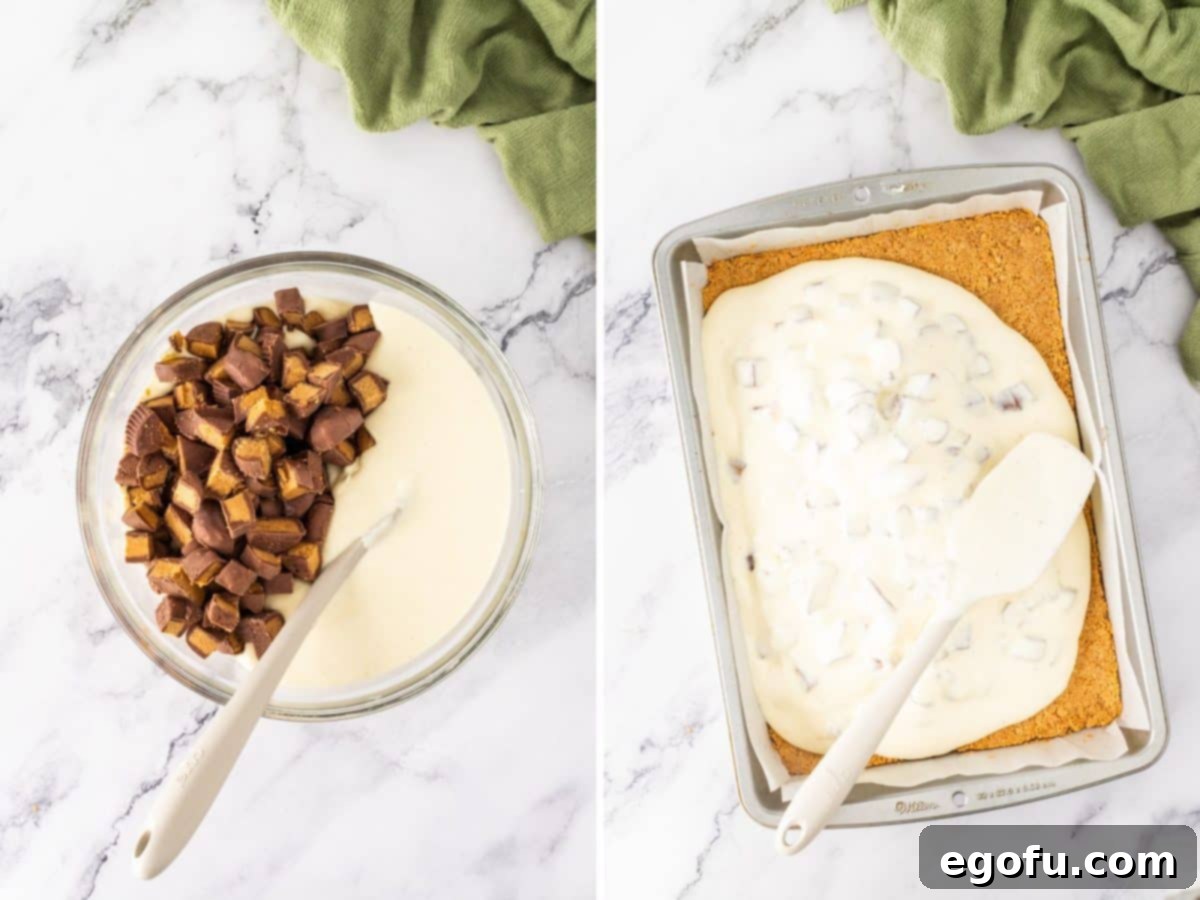
Gently fold in the chopped peanut butter cup chunks using a rubber spatula. Mix just enough to distribute them evenly throughout the creamy cheesecake batter without crushing them too much. Pour this glorious cream cheese mixture evenly over your cooled graham cracker crust in the prepared baking pan. Use the spatula to smooth out the top for an even surface. Bake for approximately 40 minutes, or until the cream cheese filling appears mostly set around the edges but still has a slight jiggle in the very center when gently shaken. This slight jiggle indicates it’s perfectly cooked and will continue to set as it cools. Remove the baked cheesecake from the oven and place it on a wire rack to cool completely at room temperature for about 1 hour.
The Perfect Chocolate Ganache Topping and Finishing Touches
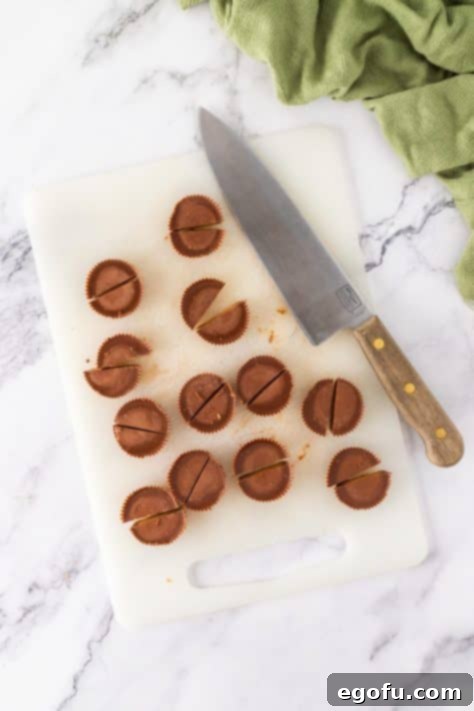
While your cheesecake cools, prepare the final layer of deliciousness: the chocolate ganache and decorative Reese’s. Begin by taking 12 additional Reese’s peanut butter cups and cutting each one in half. These halves will be used for the beautiful topping. Set them aside.
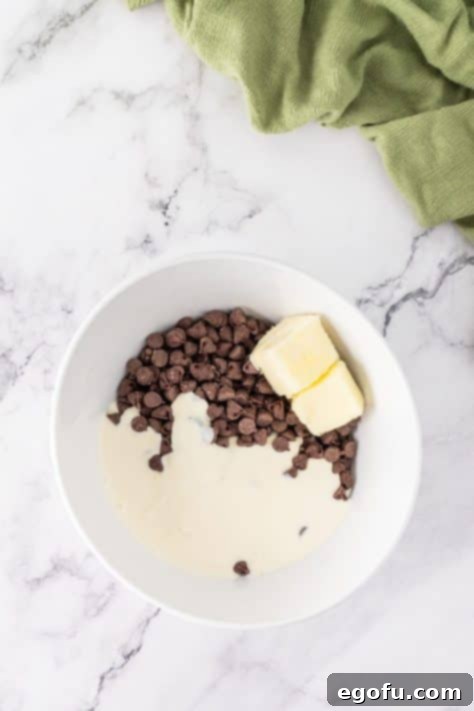
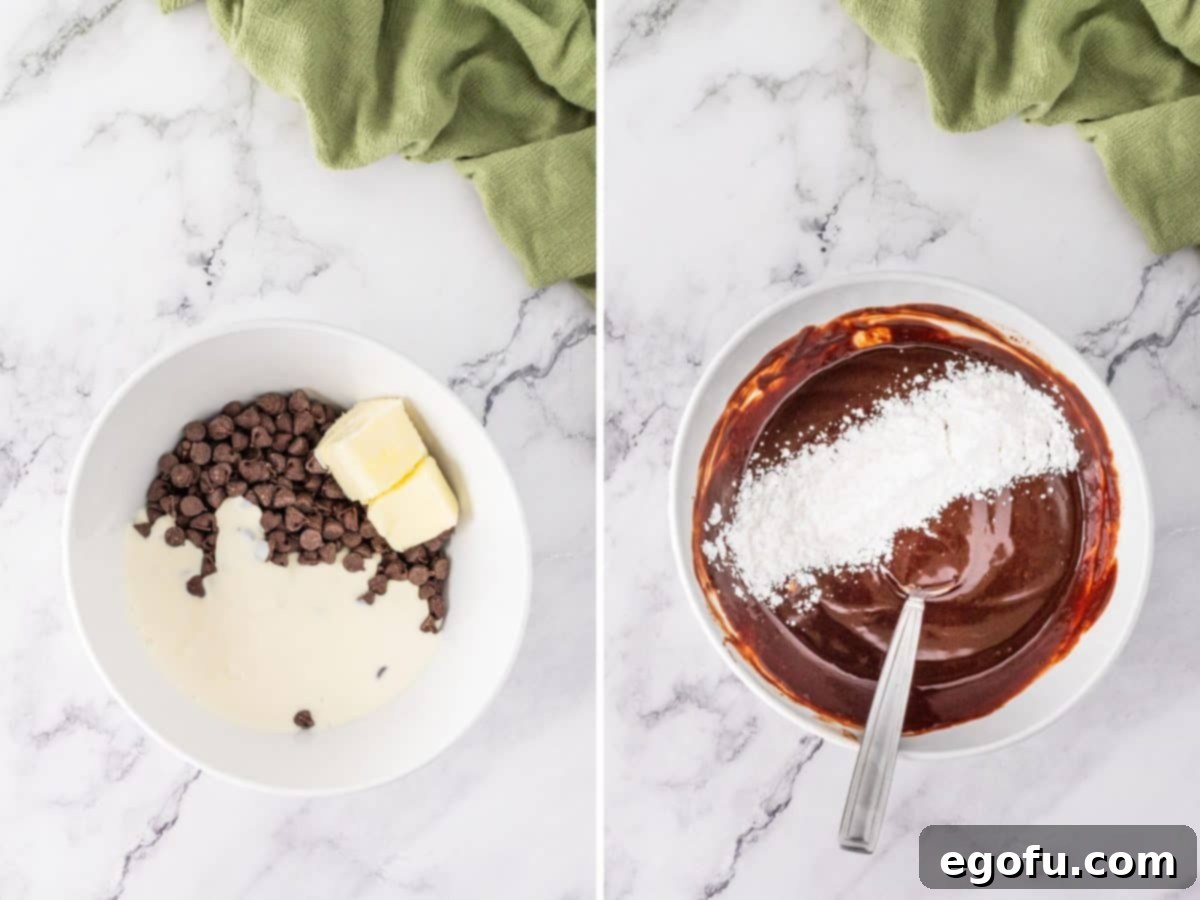
For the ganache, combine the semi-sweet chocolate chips, heavy cream, and unsalted butter in a small, microwave-safe bowl. Microwave on high power in 30-second intervals, stirring thoroughly after each burst. This process should take less than 2 minutes in total. The residual heat from the cream and butter will continue to melt the chocolate even after it’s out of the microwave. Once the chocolate mixture is fully melted, stir until it is perfectly smooth and glossy. Then, add the powdered sugar and whisk with a wire whisk until the ganache is silky and free of lumps.
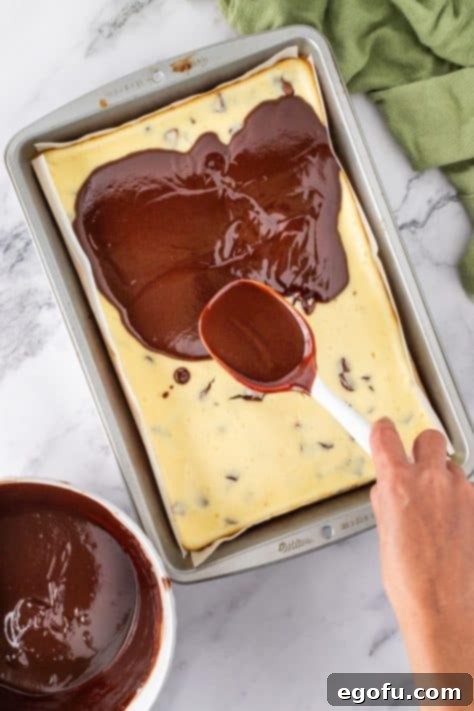
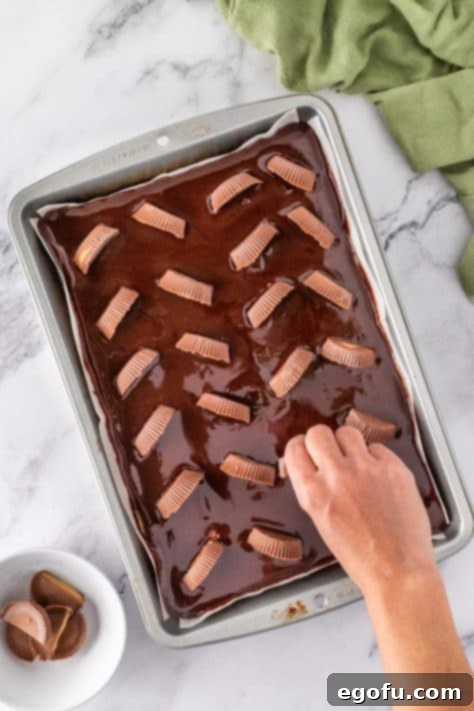
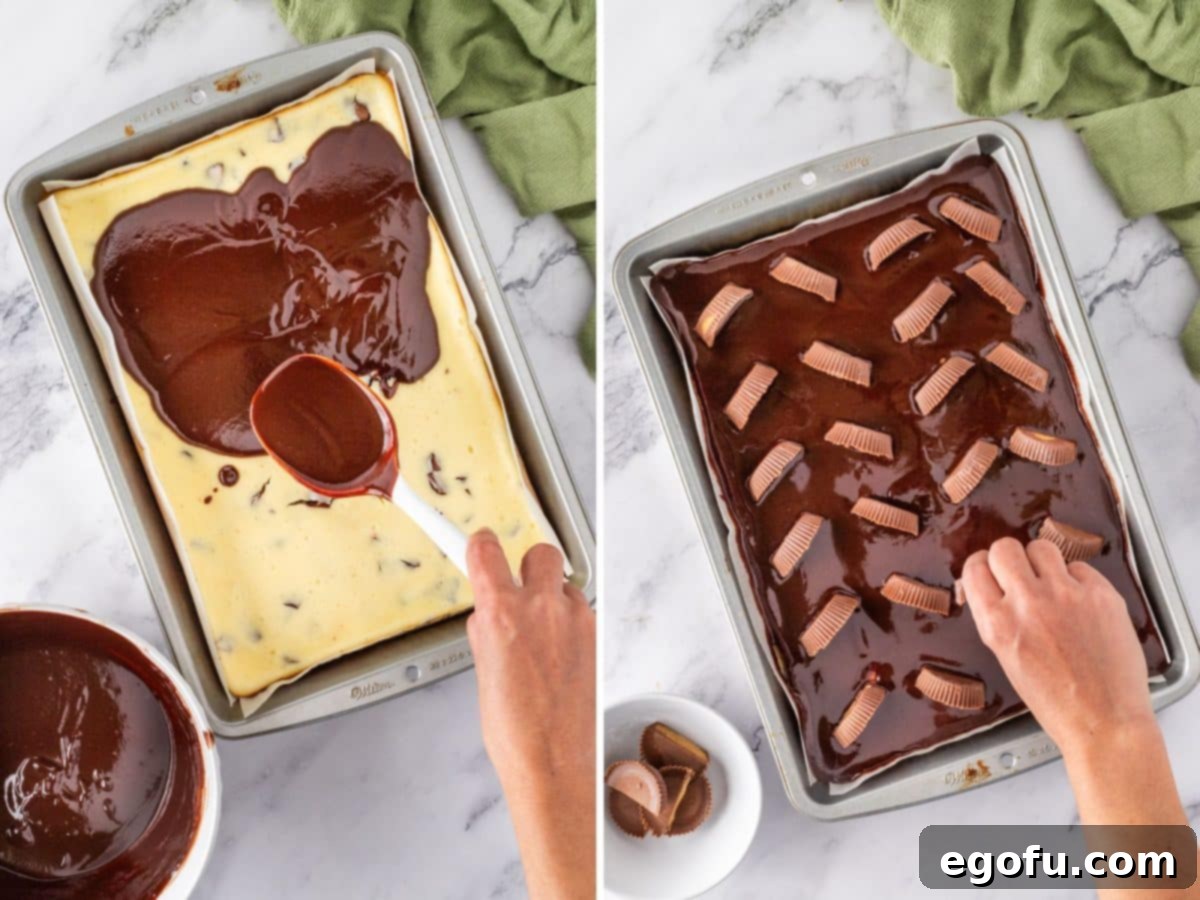
Pour this warm, smooth chocolate ganache over the completely cooled cheesecake, spreading it evenly with a spatula to create a beautiful, rich layer. While the ganache is still wet, carefully arrange the cut peanut butter cup halves on top. Place them cut-side down, in a pattern that will allow you to easily slice the cheesecake into even bars without cutting directly through the centers of the Reese’s cups. This ensures both an attractive presentation and easier serving. Once decorated, cover the pan loosely with plastic wrap and chill the Reese’s Cheesecake Bars in the refrigerator for at least 3 hours, or ideally, overnight. Adequate chilling time is crucial for the cheesecake to firm up properly and for the ganache to set. If you’re in a hurry, you can speed up the chilling process by placing the pan in the freezer for the first hour, then transferring it to the refrigerator.
Once the cheesecake is completely chilled and firm, use the parchment paper overhang to gently lift the entire dessert out of the baking pan. Place it on a clean cutting board. Using your warm, clean knife (remember those clean-cut tips!), slice the cheesecake into 24 even squares. Serve immediately and watch them disappear! Enjoy this incredibly rich and satisfying peanut butter and chocolate dessert!
Expert Tips for Flawless Reese’s Cheesecake Bars
To ensure your Reese’s Cheesecake Bars turn out absolutely perfect every time, keep these expert tips in mind:
- Don’t Overmix: After adding the eggs to the cream cheese mixture, mix just until combined. Overmixing incorporates too much air, which can cause the cheesecake to puff up in the oven and then crack as it cools.
- Proper Chilling is Key: The chilling phase is not just a suggestion; it’s essential for the cheesecake to fully set and for the flavors to meld beautifully. Rushing this step will result in a soft, potentially messy dessert. Patience will be rewarded!
- Crust Thickness: While packing the graham cracker crust, ensure an even thickness across the entire pan. This prevents some areas from being too crumbly and others too dense.
- Lining the Pan: Always use parchment paper with an overhang. This simple trick makes removing the entire chilled cheesecake from the pan incredibly easy, preventing any sticking and ensuring your bars retain their perfect shape.
- Adjusting Sweetness: If you prefer a less sweet dessert, you can slightly reduce the sugar in the cream cheese filling. However, the existing recipe is designed for a balanced indulgence. The use of slightly salted butter (as mentioned in the ingredients) can also subtly cut through the sweetness.
Serving and Storage Suggestions
These Reese’s Cheesecake Bars are a versatile dessert perfect for a myriad of occasions, or simply to satisfy a sweet craving. Serve them chilled, allowing their creamy texture and rich flavors to shine. They are ideal for:
- Party Dessert: Cut into smaller squares for easy grab-and-go treats at parties.
- Potlucks & Gatherings: Their bar format makes them easy to transport and share.
- Holiday Treat: A delightful addition to any holiday dessert spread, especially for peanut butter and chocolate enthusiasts.
- Everyday Indulgence: Keep a batch in the fridge for a decadent treat after dinner or with your afternoon coffee.
For storage, as noted in the FAQs, keep any leftovers in an airtight container in the refrigerator for up to 5 days. For longer enjoyment, freeze the bars for up to 3 months. To serve from frozen, simply transfer them to the refrigerator a few hours before you plan to eat them to allow for gentle thawing.
Craving More Peanut Butter & Chocolate Delights?
If these Reese’s Cheesecake Bars have left you yearning for more of that incredible peanut butter and chocolate pairing, you’re in luck! Here are some other beloved recipes that celebrate this iconic flavor combination:
- Reese’s Peanut Butter Poke Cake
- Reese’s Peanut Butter Cup Cake
- Reese’s Mini Cheesecakes
- Peanut Butter Cookie Bars
- Peanut Butter Fudge Bars
- Peanut Butter Pie Brownies
- Peanut Butter Rice Krispies Treats
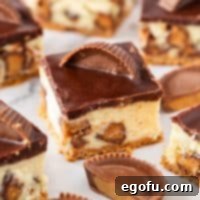
Reese’s Cheesecake Bars
Decadent chocolate and peanut butter cheesecake bars featuring a rich chocolate ganache layer, generously loaded with pieces of Reese’s Peanut Butter Cups.
Print Recipe |
Pin Recipe |
Rate This Recipe
Prep Time: 19 minutes |
Cook Time: 55 minutes |
Chill Time: 3 hours |
Total Time: 4 hours 14 minutes
Servings: 24 bars |
Author: Brandie Skibinski
Ingredients
Crust
- 9 graham cracker sheets
- 3 Tablespoons granulated sugar
- 6 Tablespoons unsalted butter, melted (can use salted)
Cream Cheese Filling
- 24 Reese’s peanut butter cups
- 16 ounces (2 blocks) cream cheese, softened to room temperature
- ¾ cup granulated sugar
- 2 Tablespoons all-purpose flour
- ¾ cup plain Greek yogurt, room temperature (or sour cream)
- 1 teaspoon vanilla extract
- ½ teaspoon salt
- 2 large eggs, room temperature
Chocolate Ganache Layer
- 12 Reese’s peanut butter cups (for topping)
- 1 cup semi-sweet chocolate chips
- ¾ cup heavy cream
- 3 Tablespoons unsalted butter (can use salted)
- 3 Tablespoons powdered sugar
Instructions
Crust
Preheat oven to 325ºF. Line a 9×13-inch baking pan with parchment paper (or foil). Spray with non-stick cooking spray and set aside.

Place 9 graham cracker sheets in a food processor (in batches) and pulse until ground. If you don’t have a food processor, just put them into a large Ziploc bag and crush them with a heavy object like a rolling pin. Place crumbs into a medium size bowl and add 3 Tablespoons granulated sugar and 6 Tablespoons unsalted butter, melted and stir until combined.

Evenly press the mixture firmly into the bottom of the prepared pan. Use the bottom of a measuring cup to pack it in and get it into the corners. Bake for 10 minutes, and remove from the oven. Transfer to a wire cooling rack.

Cream Cheese Filling
Roughly chop 24 Reese’s peanut butter cups by hand with a knife. Set aside.

In a large mixing bowl, use an electric mixer (or stand mixer) to beat 16 ounces (2 blocks) cream cheese, softened to room temperature until smooth and creamy. Add ¾ cup granulated sugar and 2 Tablespoons all-purpose flour and blend well, scraping sides of the bowl as needed.

Blend in ¾ cup plain Greek yogurt, room temperature (or sour cream), 1 teaspoon vanilla extract and ½ teaspoon salt, scraping the sides of the bowl as needed.

Add 2 large eggs, room temperature, one at a time, beating well after each addition, scraping the bowl.

Gently fold in the peanut butter cup chunks with a rubber spatula and mix together.

Pour the cream cheese mixture over the crust and smooth out on top.

Bake for 40 minutes, until cream cheese filling is slightly jiggly in the middle, and set around the edges.
Remove from the oven, and set on a wire rack to cool completely, about 1 hour.

Chocolate Ganache Layer
Cut 12 Reese’s peanut butter cups in half. Set aside.

In a small microwave-safe bowl, combine 1 cup semi-sweet chocolate chips, ¾ cup heavy cream and 3 Tablespoons unsalted butter.

Microwave on high for 30-second intervals, stirring after each burst. When the chocolate mixture is melted, stir until smooth. This should take less than 2 minutes altogether.
Add 3 Tablespoons powdered sugar and mix with a wire whisk until smooth. Pour over cooled cheesecake and smooth out.

Top with cut peanut butter cups, placing them cut side down on top of ganache in desired directions. Arrange them so it’s easy to cut into even bars without cutting through the cups.

Cover and chill in the refrigerator for at least 3 hours, or overnight. You may speed this process by putting it in the freezer for the first hour.
When completely chilled, lift from the pan by lifting the edges of the parchment paper. Cut into 24 squares and serve. Enjoy!

Notes
- Please refer to my FAQ’s (Frequently Asked Questions) and ingredient list above for other substitutions or for the answers to the most common questions.
- If all you have is salted butter, you can use that without any adjustments. There is such a minimal amount of salt in salted butter that it won’t affect the end result. In fact, if you are wanting to cut a bit of the overall sweetness, that is a good way to do it.
Course: Dessert |
Cuisine: American
Nutrition
Carbohydrates: 33g |
Protein: 6g |
Fat: 24g |
Sodium: 244mg |
Fiber: 2g |
Sugar: 26g
Nutritional Disclaimer
“The Country Cook” is not a dietician or nutritionist, and any nutritional information shared is an estimate. If calorie count and other nutritional values are important to you, we recommend running the ingredients through whichever online nutritional calculator you prefer. Calories and other nutritional values can vary quite a bit depending on which brands were used.
Did you make this recipe?
Share it on Instagram @thecountrycook and mention us #thecountrycook!
