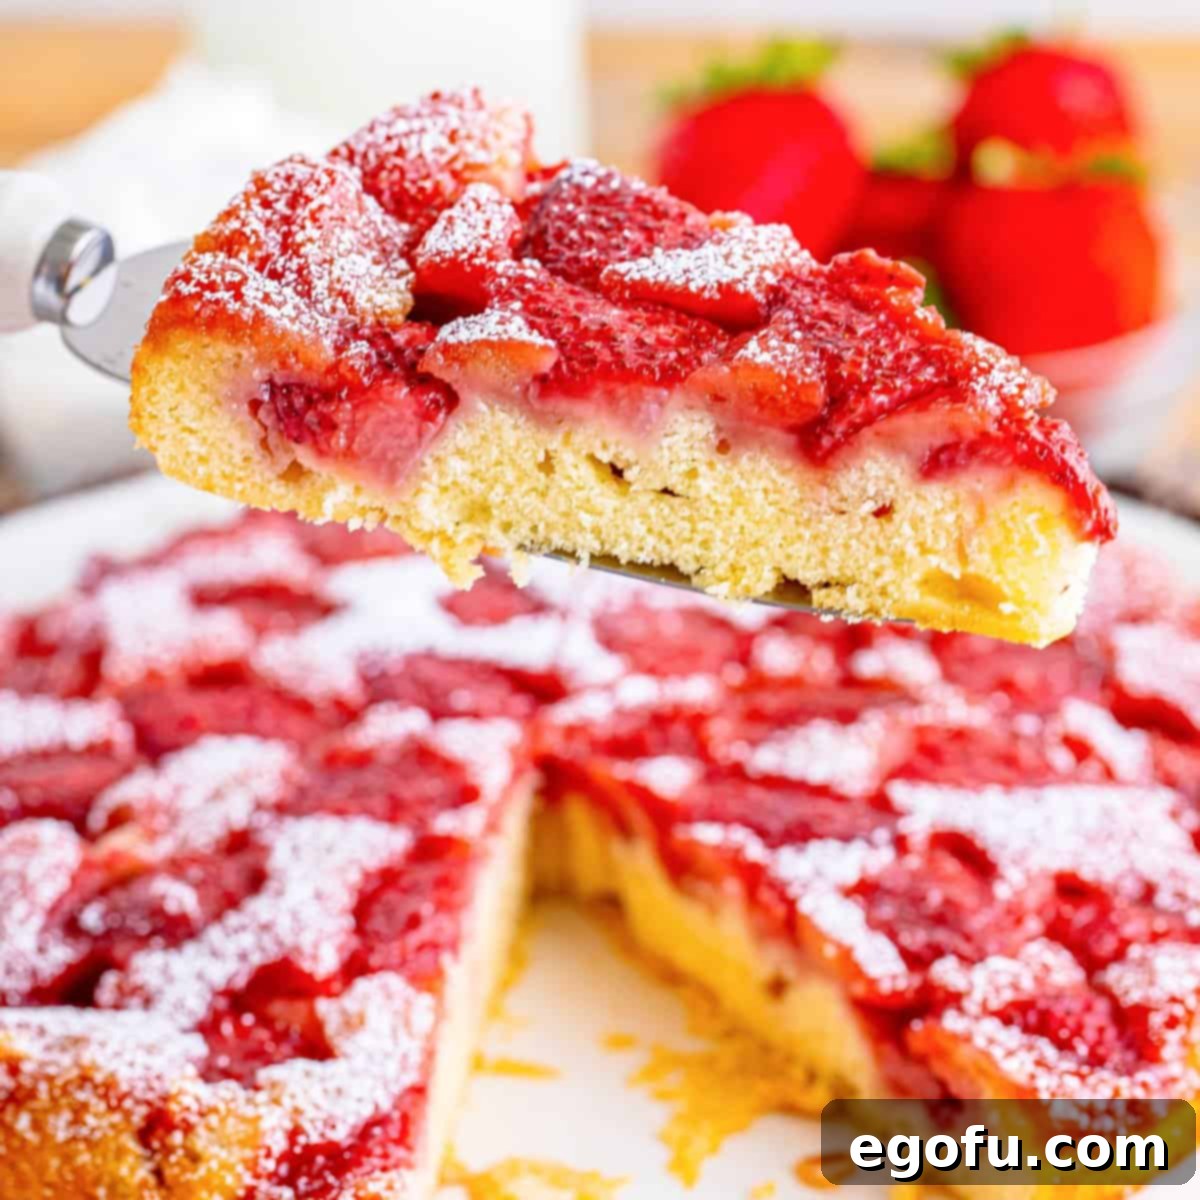
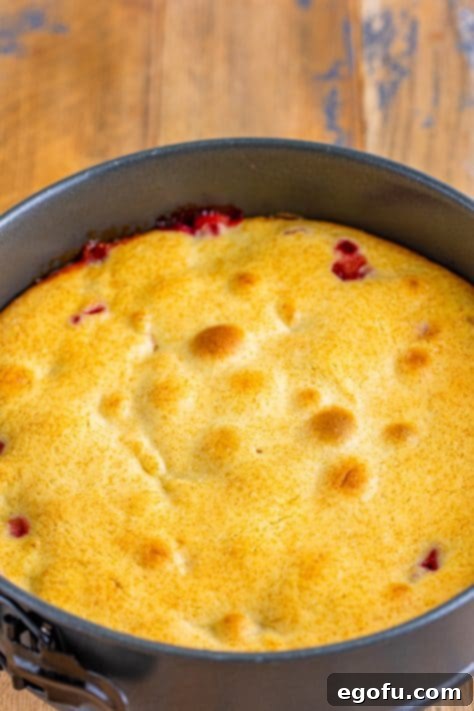
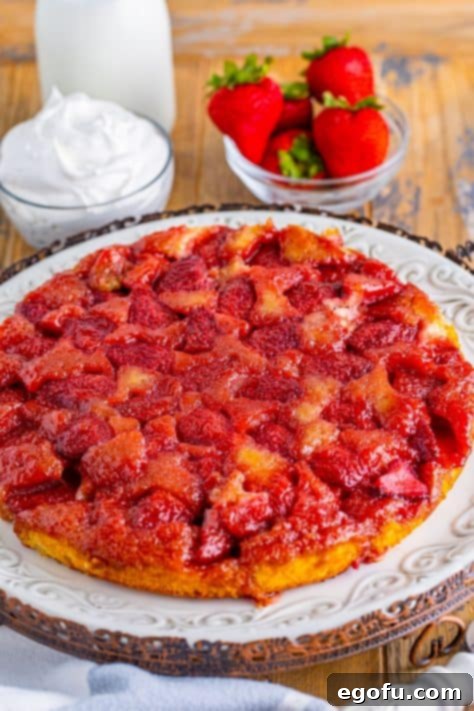
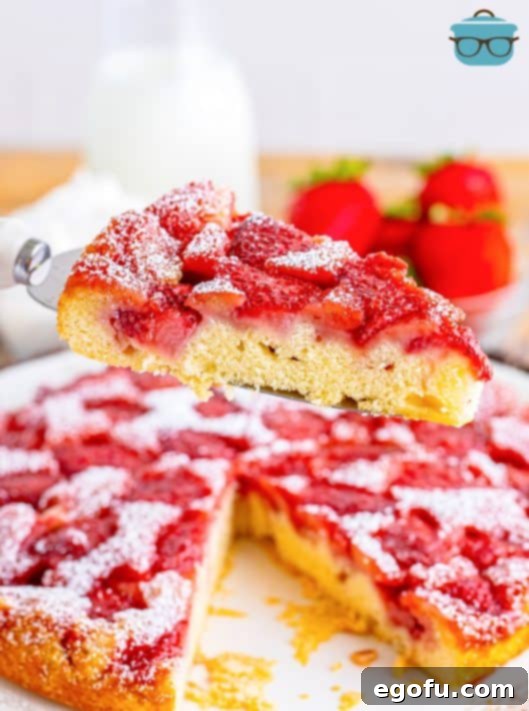
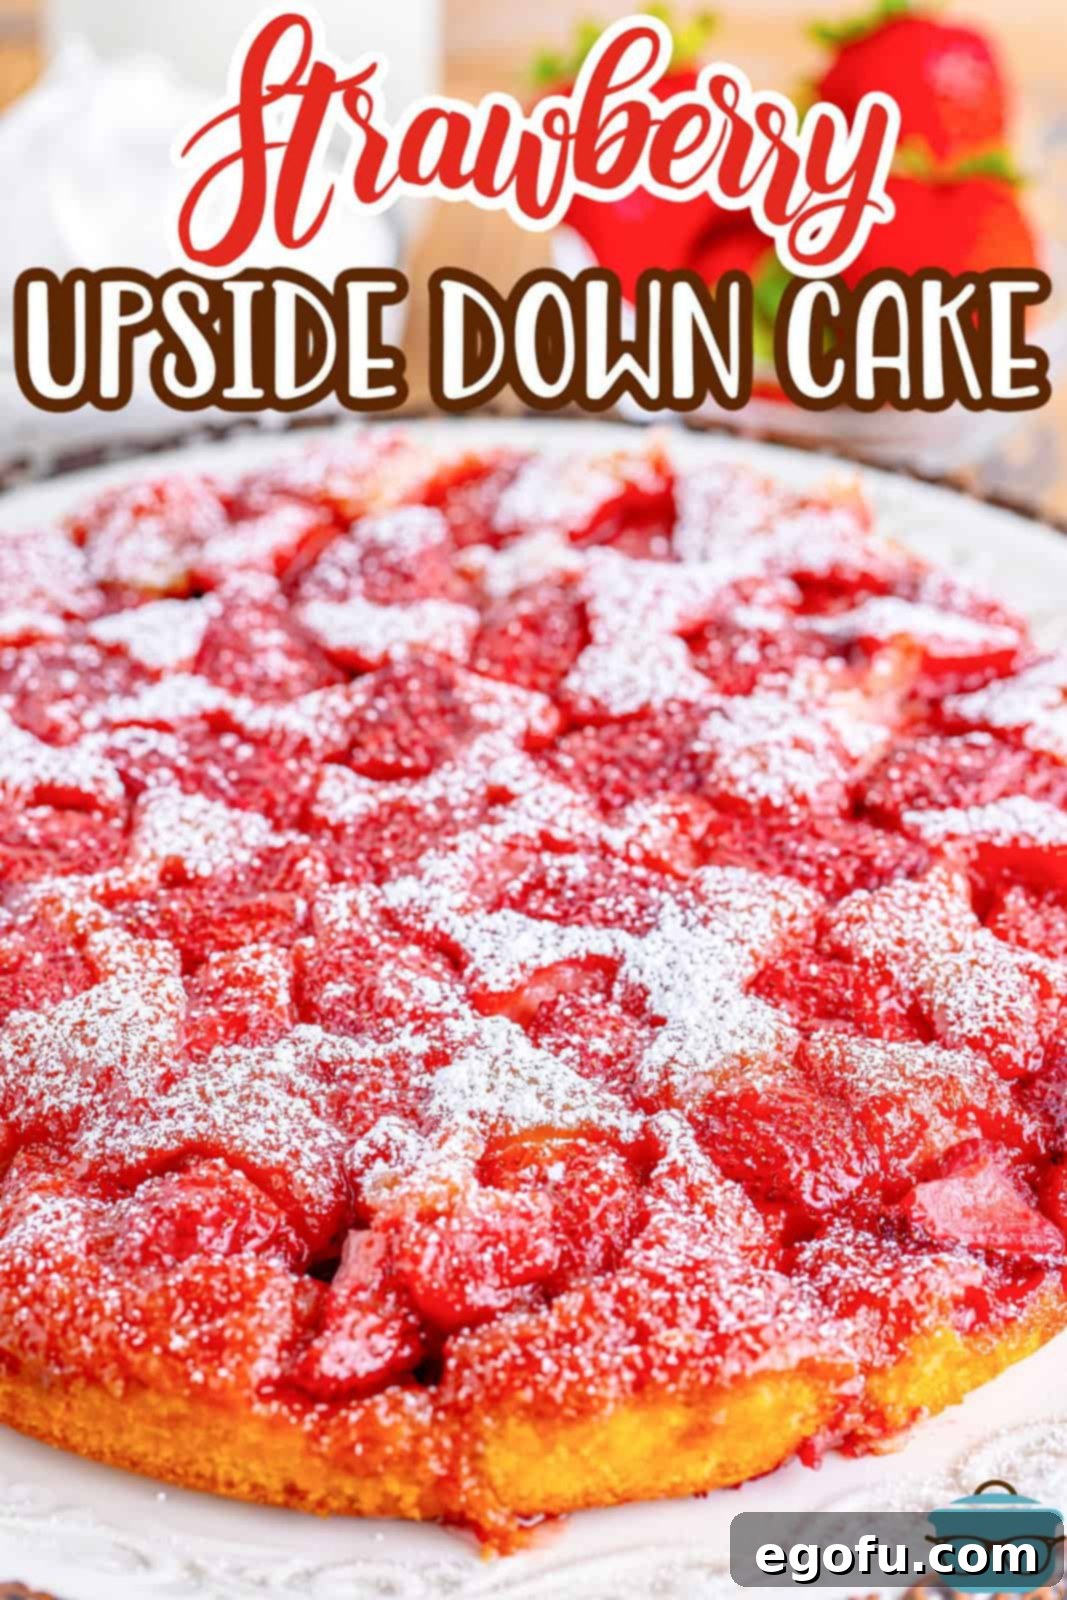
This Strawberry Upside Down Cake is an absolute delight, offering a fresh and unique twist on a beloved classic dessert. It’s the quintessential treat for showcasing the vibrant flavors of juicy, ripe summer strawberries. Best of all, you can have this stunning cake ready to impress your family and friends in under an hour!
Discover the Irresistible Charm of a Sweet Cake with Fresh Strawberries
If your heart sings for moist, tender cake and the bright, sweet-tart essence of fresh strawberries, prepare to be enchanted. This homemade Strawberry Upside Down Cake delivers an absolutely delightful experience, making it the ultimate dessert for any summertime gathering or a simple evening treat. Imagine a dessert reminiscent of a classic strawberry shortcake, but with an elegant caramel topping: light, incredibly tender, and bursting with that unmistakable sweet tang of fresh strawberries. What makes this recipe even more appealing is that it relies on readily available pantry staples, with fresh strawberries being the star ingredient. We promise, this Strawberry Upside Down Cake is a guaranteed crowd-pleaser that never disappoints!
For those who have previously enjoyed our Raspberry Upside Down Cake or our beloved Banana Upside Down Cake, this strawberry rendition will undoubtedly become your new favorite. It takes the comforting elements of a traditional upside-down cake – the buttery, caramelized fruit topping – and elevates it with the irresistible taste and beautiful ruby hue of ripe strawberries. This cake isn’t just a dessert; it’s a celebration of summer’s bounty, promising a slice of sunshine with every bite.

Frequently Asked Questions for a Flawless Strawberry Upside Down Cake
To ensure your baking journey is as smooth and successful as possible, here are answers to some common questions about making this delectable strawberry upside down cake:
Determining the exact baking time can often feel like a guessing game, as oven performance varies significantly. Factors such as whether you’re using a metal or ceramic baking dish, a gas or electric oven, and even the specific rack placement can influence how quickly your cake bakes. The most reliable method to check for doneness is the classic toothpick test. Simply insert a clean toothpick into the very center of the cake. If it comes out clean, without any wet batter attached, your cake is ready. If you see traces of moist batter, it needs a bit more time in the oven. Remember, this recipe yields a wonderfully light and delicate cake, not an overly thick one, so adjust your expectations accordingly for its height.
The key to a beautifully set, caramelized brown sugar topping lies in patience during the cooling phase. It’s absolutely crucial to allow your cake to cool in the pan for a minimum of 5-10 minutes (we recommend closer to 10 minutes) before attempting to invert it onto your serving dish. This cooling period allows the molten brown sugar mixture to firm up and create that delicious, sticky, and glossy caramel layer that adheres perfectly to the strawberries. Rushing this step can result in a runny or messy topping that doesn’t hold its shape, so resist the urge to flip it too soon!
While we highly recommend the superior flavor and texture of a homemade cake, if time is a constraint, a yellow cake mix could serve as a convenient alternative. However, there are a few important considerations if you choose this route. A standard boxed cake mix typically yields twice the amount of batter needed for this recipe. You’ll need to either prepare two strawberry upside down cakes or, more practically, use only half of the prepared cake batter for a single cake. Be mindful that using a mix may alter the final texture and density of the cake compared to our scratch recipe, but it will still provide a delicious base for the strawberry topping.
Achieving a clean release is essential for a picture-perfect upside down cake. Before baking, ensure your pan is thoroughly greased and floured, or use nonstick cooking spray as directed. Once the cake has cooled sufficiently (the critical 5-10 minute window), carefully run a thin, sharp knife around the entire inner rim of the pan. This helps loosen any edges that might be sticking. Personally, I find that using a springform pan significantly simplifies the removal process, as its removable sides make inverting the cake a breeze. If you don’t have a springform, a regular round cake pan will work, but extra care with the knife is paramount.
To maintain the freshness and delightful texture of your Strawberry Upside Down Cake, you have a couple of excellent storage options. For short-term enjoyment, you can store any remaining cake at room temperature. Simply place it in an airtight container or cover it tightly with plastic wrap to prevent it from drying out; it will stay delicious for up to 2 days. If you need to keep it fresh for a longer period, refrigerating the cake is the best choice. Stored properly in an airtight container in the refrigerator, it will remain fresh for up to 5-6 days. We generally do not recommend freezing this cake, as the freezing and thawing process can significantly alter its delicate texture and might make the strawberries a bit mushy.
Essential Ingredients for Your Strawberry Masterpiece
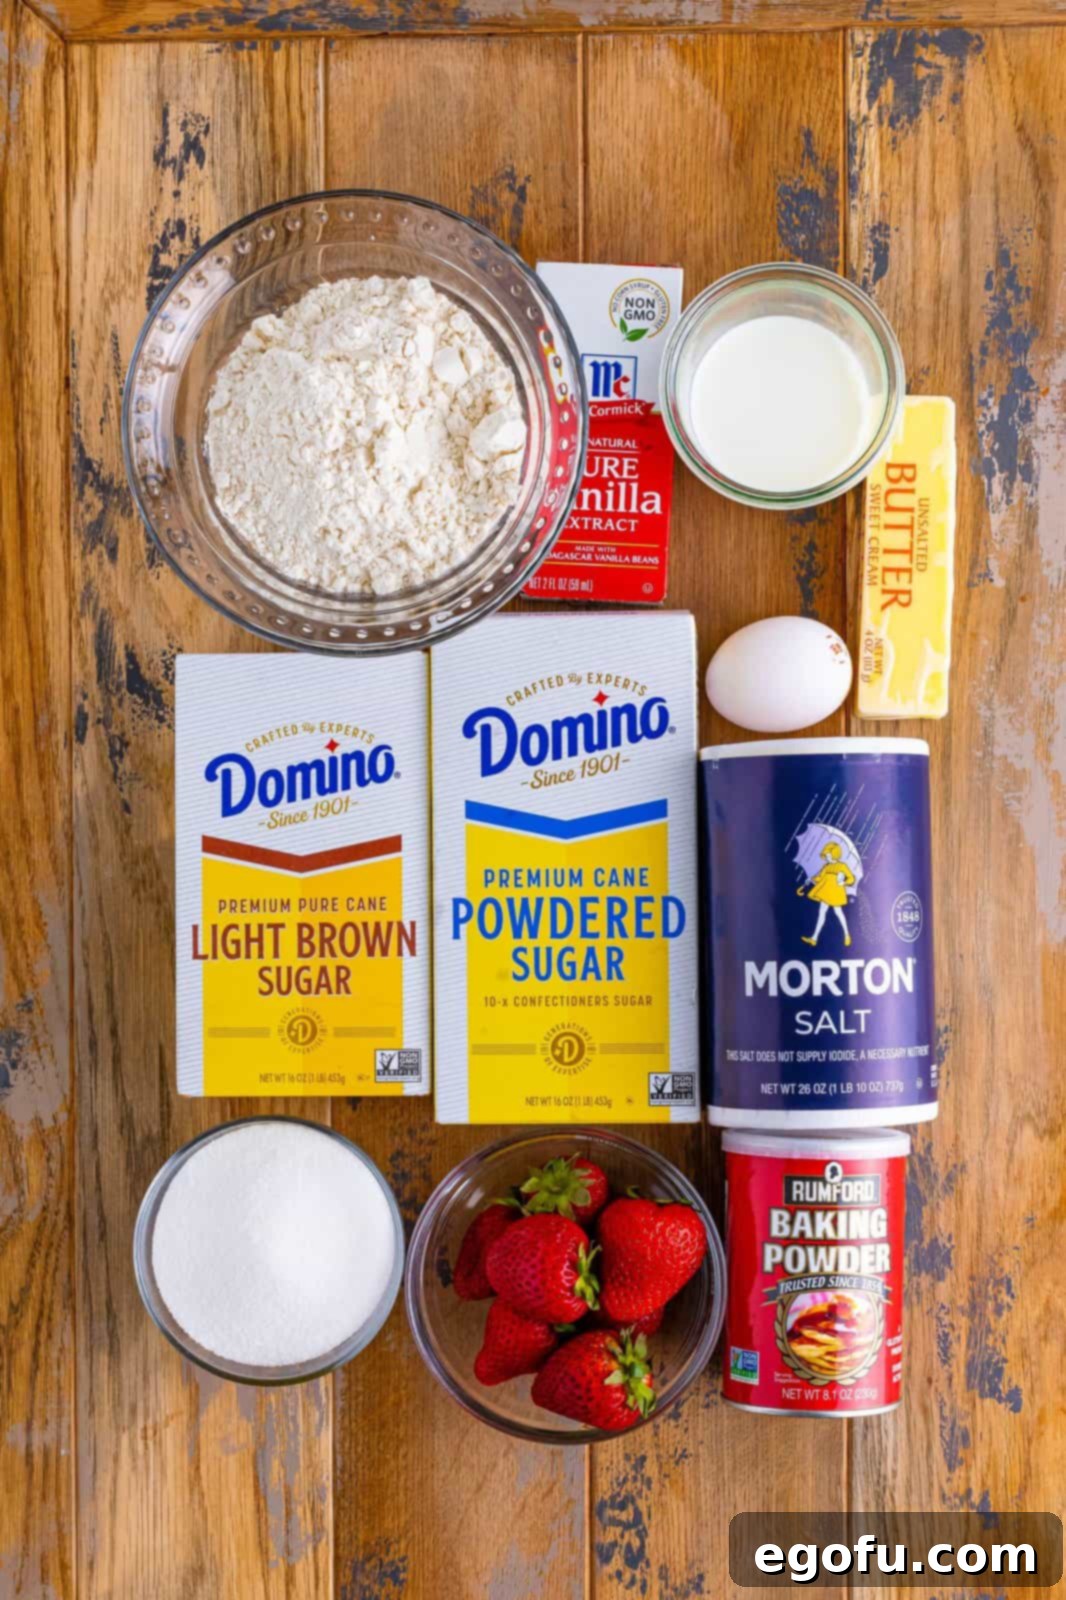
Crafting this delightful Strawberry Upside Down Cake requires a thoughtful selection of ingredients, each playing a crucial role in its overall flavor and texture. Here’s a detailed look at what you’ll need to gather:
- Unsalted Butter: This recipe calls for real, unsalted butter for both the luscious topping and the tender cake batter. The rich fat content of butter is essential for achieving the perfect flavor and crumb. While some plant-based butters perform well in baking these days, this recipe was developed with dairy butter in mind. If you choose a plant-based alternative, opt for a high-quality baking-specific variety.
- Brown Sugar: Brown sugar forms the sticky, sweet, and wonderfully caramelized base of our upside-down topping. For a deeper, more pronounced molasses flavor and a richer color, consider using dark brown sugar. Light brown sugar works beautifully for a slightly milder caramel note.
- Strawberries: Fresh, ripe strawberries are non-negotiable for this recipe. Ensure the stems are removed, and then cut them in half. It’s absolutely critical to NOT use frozen berries, as they release too much moisture during baking, which can lead to a soggy cake and interfere with proper setting. For the prettiest presentation, smaller strawberries tend to work best, allowing for a more intricate pattern. If you have larger strawberries, we recommend dicing them into bite-sized pieces or thinly slicing them to ensure they cook evenly and integrate well with the topping.
- All-Purpose Flour: This is the structural backbone of our cake. All-purpose flour provides the ideal balance for a tender yet sturdy crumb. While we haven’t tested this recipe with self-rising flour, if you opt for it, remember to omit the additional baking powder and salt called for in the recipe to avoid an unbalanced rise or salty flavor.
- Baking Powder: A fresh leavening agent is paramount for a light and fluffy cake. Always double-check the freshness of your baking powder; a common reason cakes fail to rise properly is due to expired or inactive baking powder. A simple test: mix a teaspoon with a bit of hot water; if it bubbles vigorously, it’s good to go!
- Granulated Sugar: Beyond sweetness, granulated sugar contributes to the cake’s tenderness and helps achieve that desirable golden crust. It plays a key role in the overall moisture and structure.
- Egg: We recommend using a large egg, preferably at room temperature. Bringing eggs to room temperature before baking helps them emulsify more effectively with other ingredients, resulting in a smoother batter and a slightly lighter, fluffier cake texture.
- Vanilla Extract: Pure vanilla extract enhances all the other flavors in the cake, adding a layer of warmth and complexity. For an adventurous twist and a slightly more unique aroma, you could experiment with almond extract instead of vanilla.
- Milk: Standard cow’s milk (any fat percentage) works perfectly here, contributing to the cake’s moisture and richness. If dietary restrictions require it, a plant-based milk alternative (such as almond or soy milk) can be substituted. Just remember that if you’re going fully plant-based, you’ll also need to have swapped the butter.
- Powdered Sugar: For a simple yet elegant finish, a dusting of powdered sugar over the inverted cake is delightful. Alternatively, a dollop of Cool Whip or freshly whipped cream makes an excellent, creamy complement to the sweet-tart strawberries.
Crafting Your Delicious Strawberry Upside Down Cake: A Step-by-Step Guide
Follow these detailed instructions to create a visually stunning and incredibly delicious Strawberry Upside Down Cake:
Step 1: Prepare Your Baking Environment
Begin by preheating your oven to 350°F (175°C). Next, prepare a 9-inch high-sided round baking pan or a springform pan. Generously spray the inside of the pan with nonstick cooking spray, ensuring every surface is coated to prevent sticking. If you are using a springform pan, it’s crucial to wrap the bottom exterior of the pan tightly with a piece of heavy-duty aluminum foil, or place the springform pan on a sheet tray. This precaution will catch any of the buttery brown sugar mixture that might leak out during baking, preventing a mess in your oven.
Step 2: Create the Luscious Caramel Topping
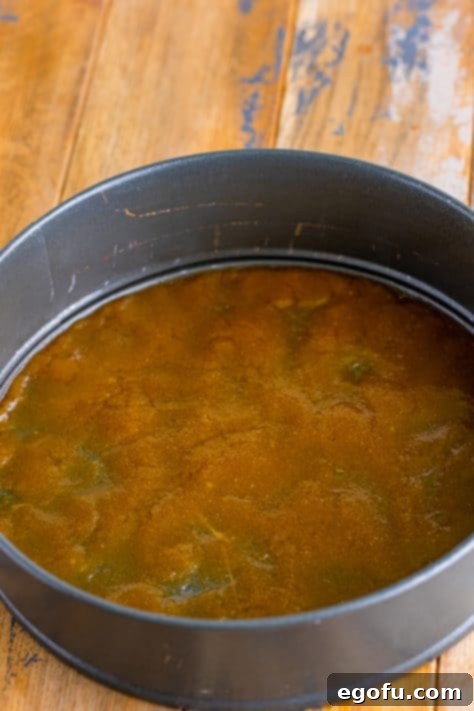
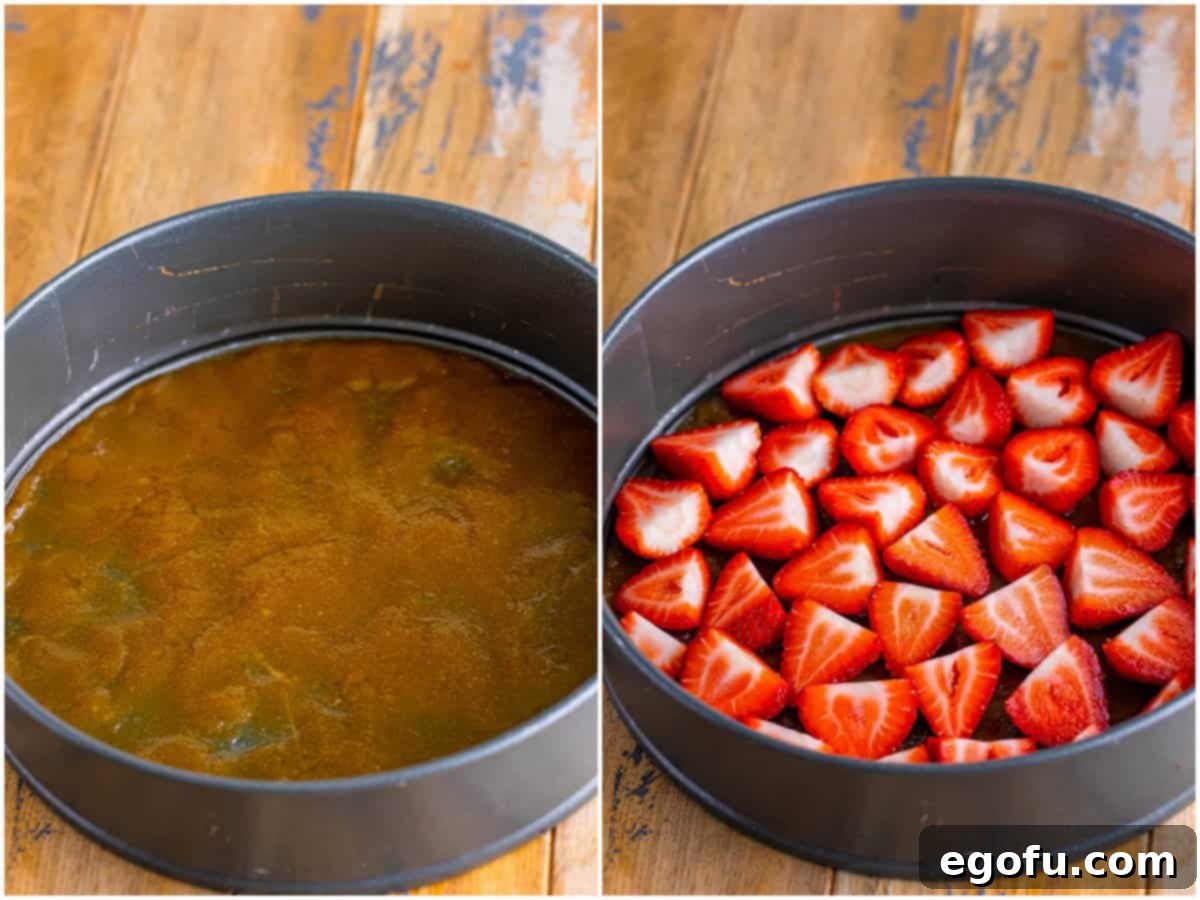
In a medium-sized heatproof bowl, combine the melted unsalted butter and brown sugar. Whisk them together until they are thoroughly combined and form a thick, cohesive mixture. Carefully spread this brown sugar mixture evenly across the bottom of your prepared pan. Use the back of a spoon or a small offset spatula to ensure a smooth, consistent layer from edge to edge.
Step 3: Arrange the Fresh Strawberries
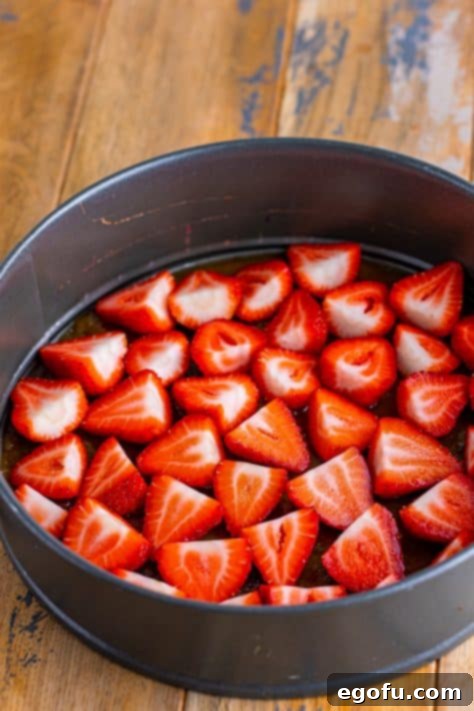
Once the brown sugar mixture is spread, artfully arrange your sliced strawberries over the topping. For a truly beautiful presentation, place them cut-side up in an even, single layer. Try to fit them snugly together without overlapping too much, creating a lovely mosaic that will become the top of your cake. Set this prepared pan aside while you prepare the cake batter.
Step 4: Combine the Dry Ingredients
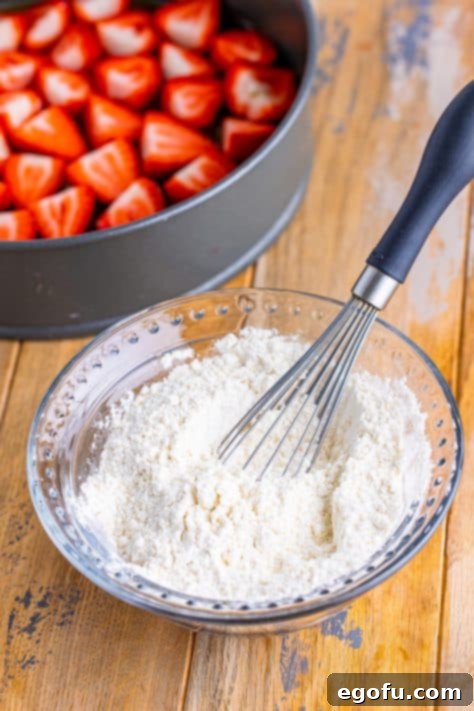
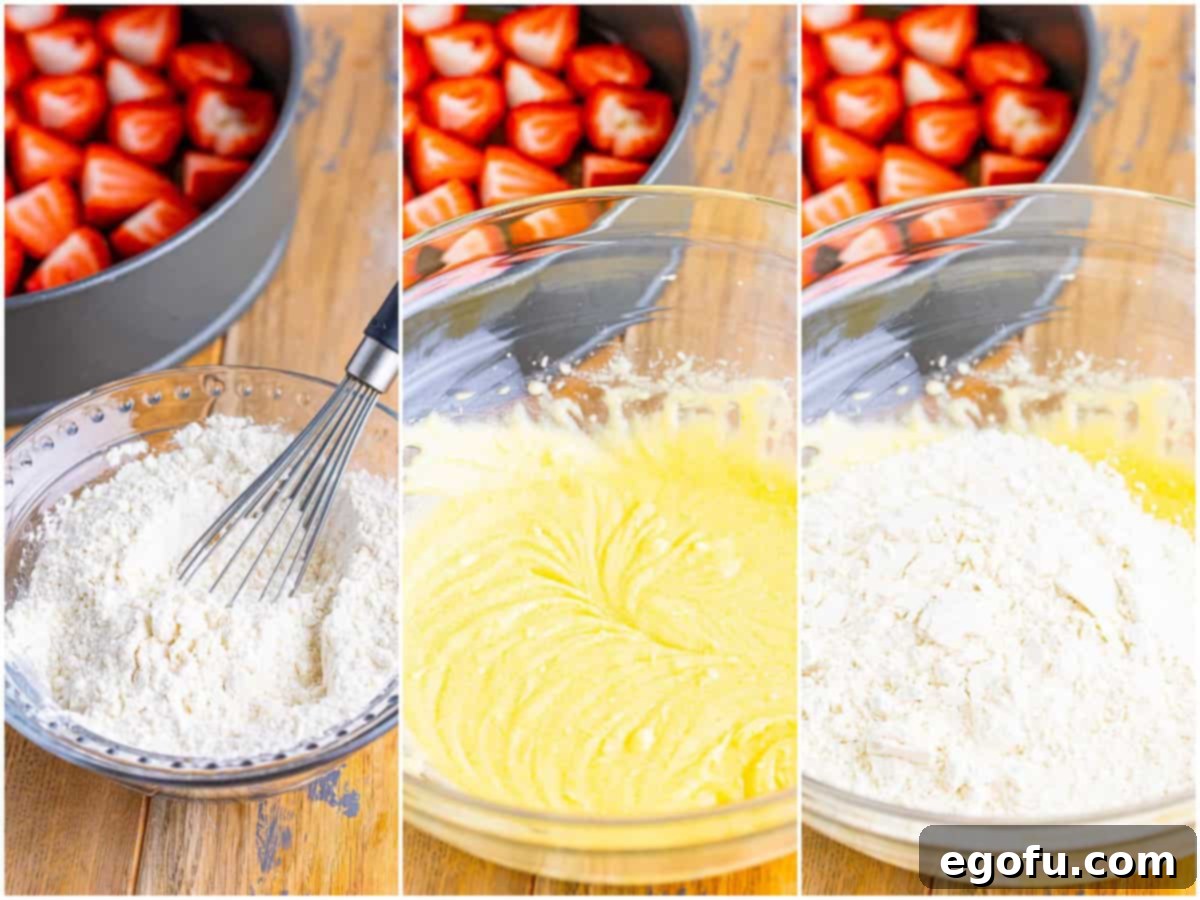
In a large mixing bowl, whisk together the all-purpose flour, baking powder, and salt. Whisk vigorously for about 30 seconds to ensure these dry ingredients are well combined and evenly distributed. This step is important for an even rise and consistent texture in your cake. Set this bowl aside for a moment.
Step 5: Prepare the Wet Ingredients
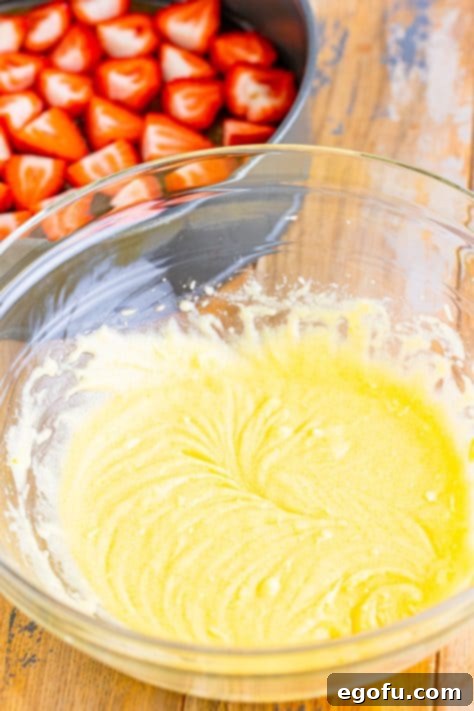
In a separate, medium-sized bowl, use an electric mixer to beat together the softened unsalted butter, granulated sugar, room temperature egg, and vanilla extract. Beat these ingredients until they are light, fluffy, and well combined, scraping down the sides of the bowl as needed. This creaming process incorporates air, which is vital for a tender cake.
Step 6: Gradually Combine Mixtures
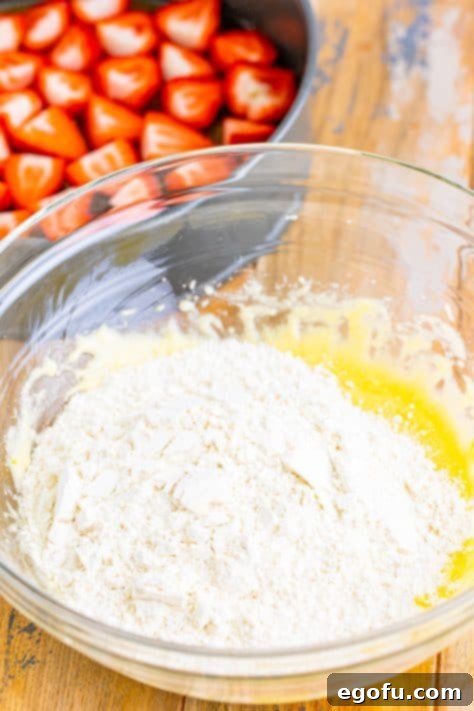
Add the dry flour mixture (from Step 4) to the wet butter mixture (from Step 5). Beat on low speed until they are just combined. At this stage, the batter will likely appear crumbly, which is completely normal. Do not overmix; simply mix until no dry streaks of flour remain.
Step 7: Incorporate the Milk
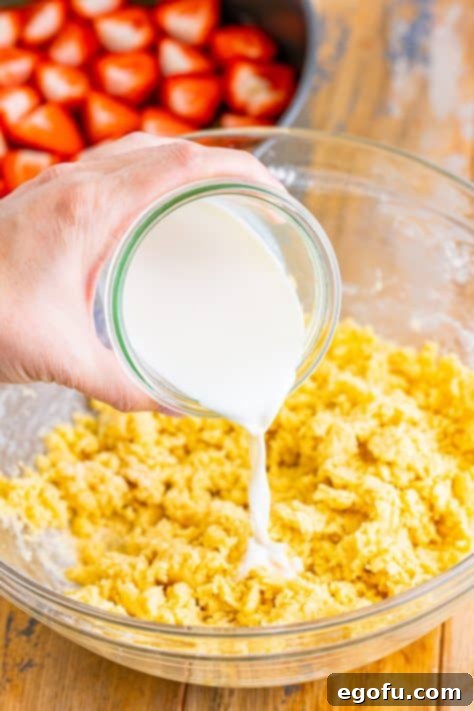
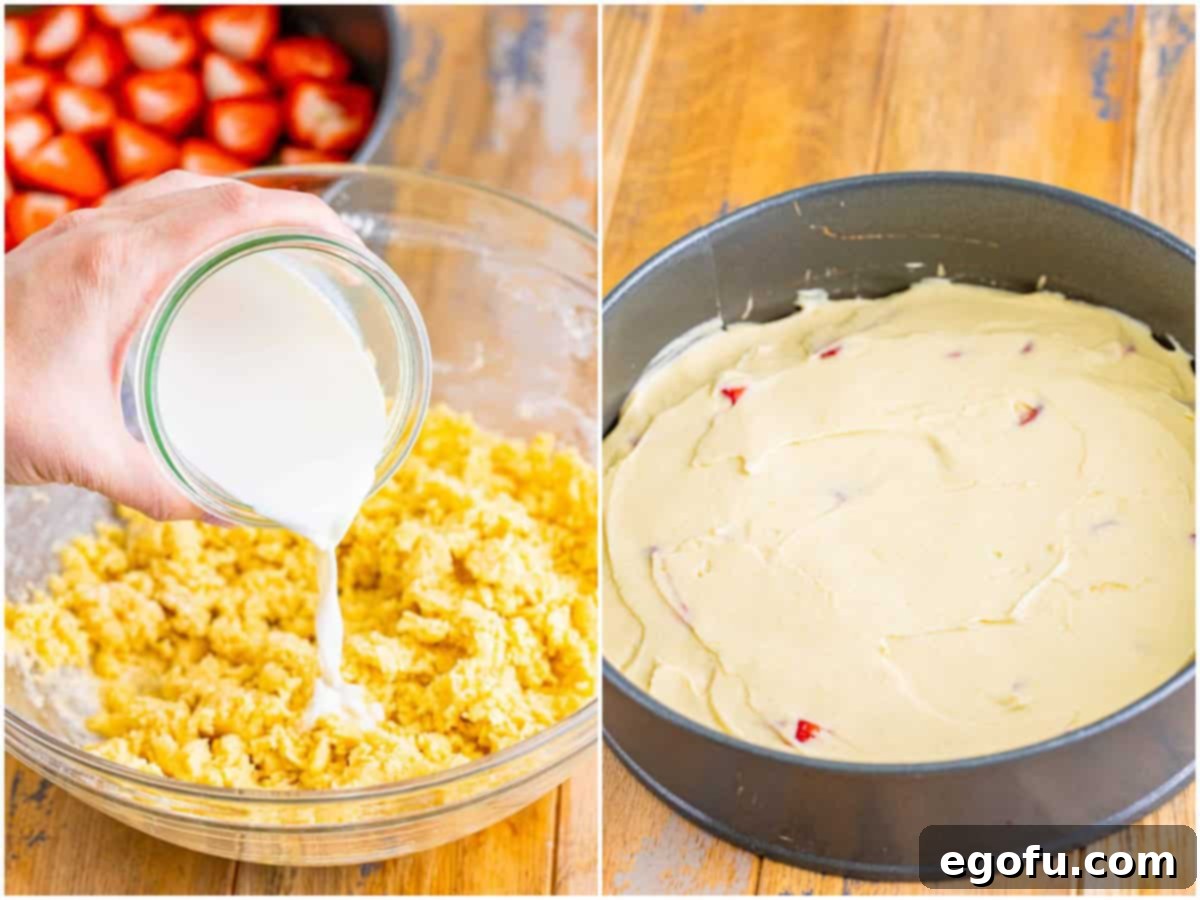
Finally, pour the milk into the cake batter. Continue beating on low speed until the milk is fully incorporated and the batter is smooth and homogeneous. Again, be careful not to overmix; stop as soon as the batter comes together.
Step 8: Layer Batter Over Strawberries
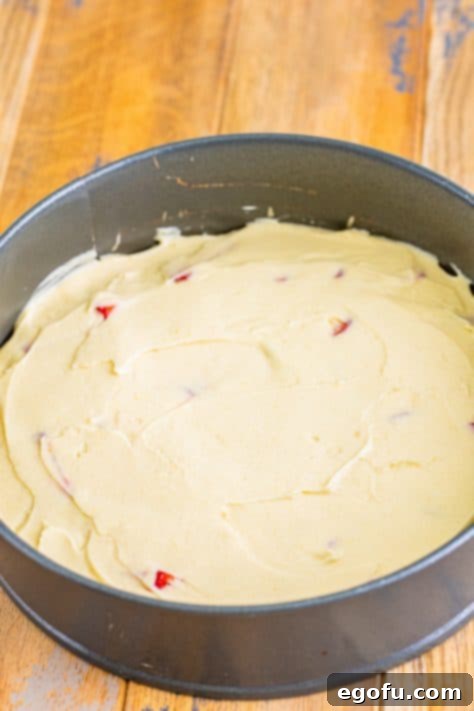
Carefully spoon the thick cake batter over the evenly arranged strawberries in your prepared pan. Use an offset spatula or the back of a spoon to gently spread the batter all the way to the edges, ensuring the strawberries are completely covered. Take care not to disturb the strawberry layer beneath.
Step 9: Bake to Golden Perfection
Transfer the pan to your preheated oven and bake for approximately 35-40 minutes. The cake is ready when the top is golden brown and a toothpick inserted into the center comes out clean. As oven temperatures can vary significantly, your cake may require slightly more or less time. Always rely on the toothpick test for accuracy.
Step 10: The Crucial Cooling and Inverting Step
Once baked, remove the cake from the oven. It’s absolutely essential to let the cake cool in the pan for about 8-10 minutes. Do not skip this critical cooling period, as it allows the brown sugar mixture to set properly and caramelize without being too runny. After cooling, run a thin, sharp knife around the edge of the pan to ensure the cake is completely loosened. Place your serving platter upside down over the cake pan, then, holding both firmly together, swiftly invert the cake onto the platter. Carefully lift the pan away to reveal your beautiful strawberry topping. Don’t be concerned that this cake is not meant to be overly thick; its charm lies in its light, summery dessert quality.
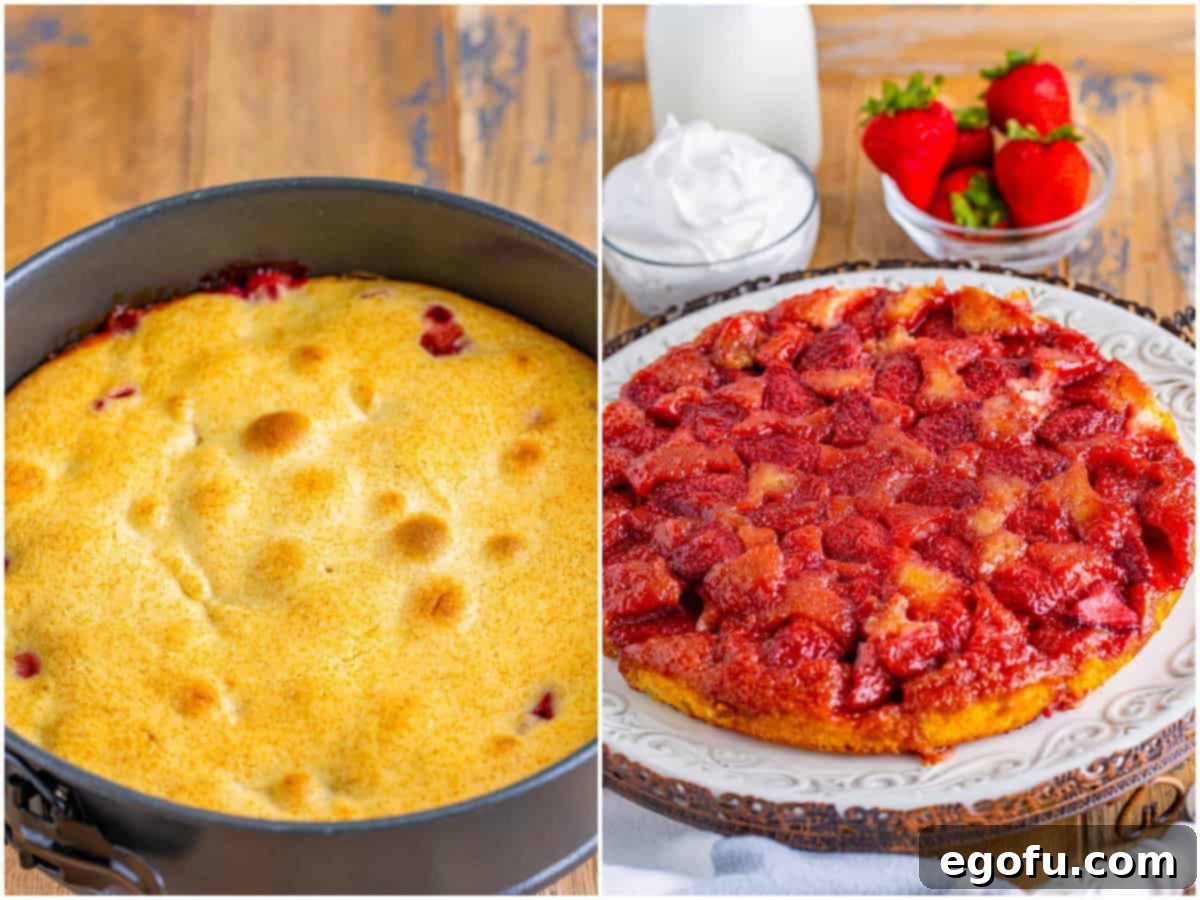
Step 11: Garnish and Serve
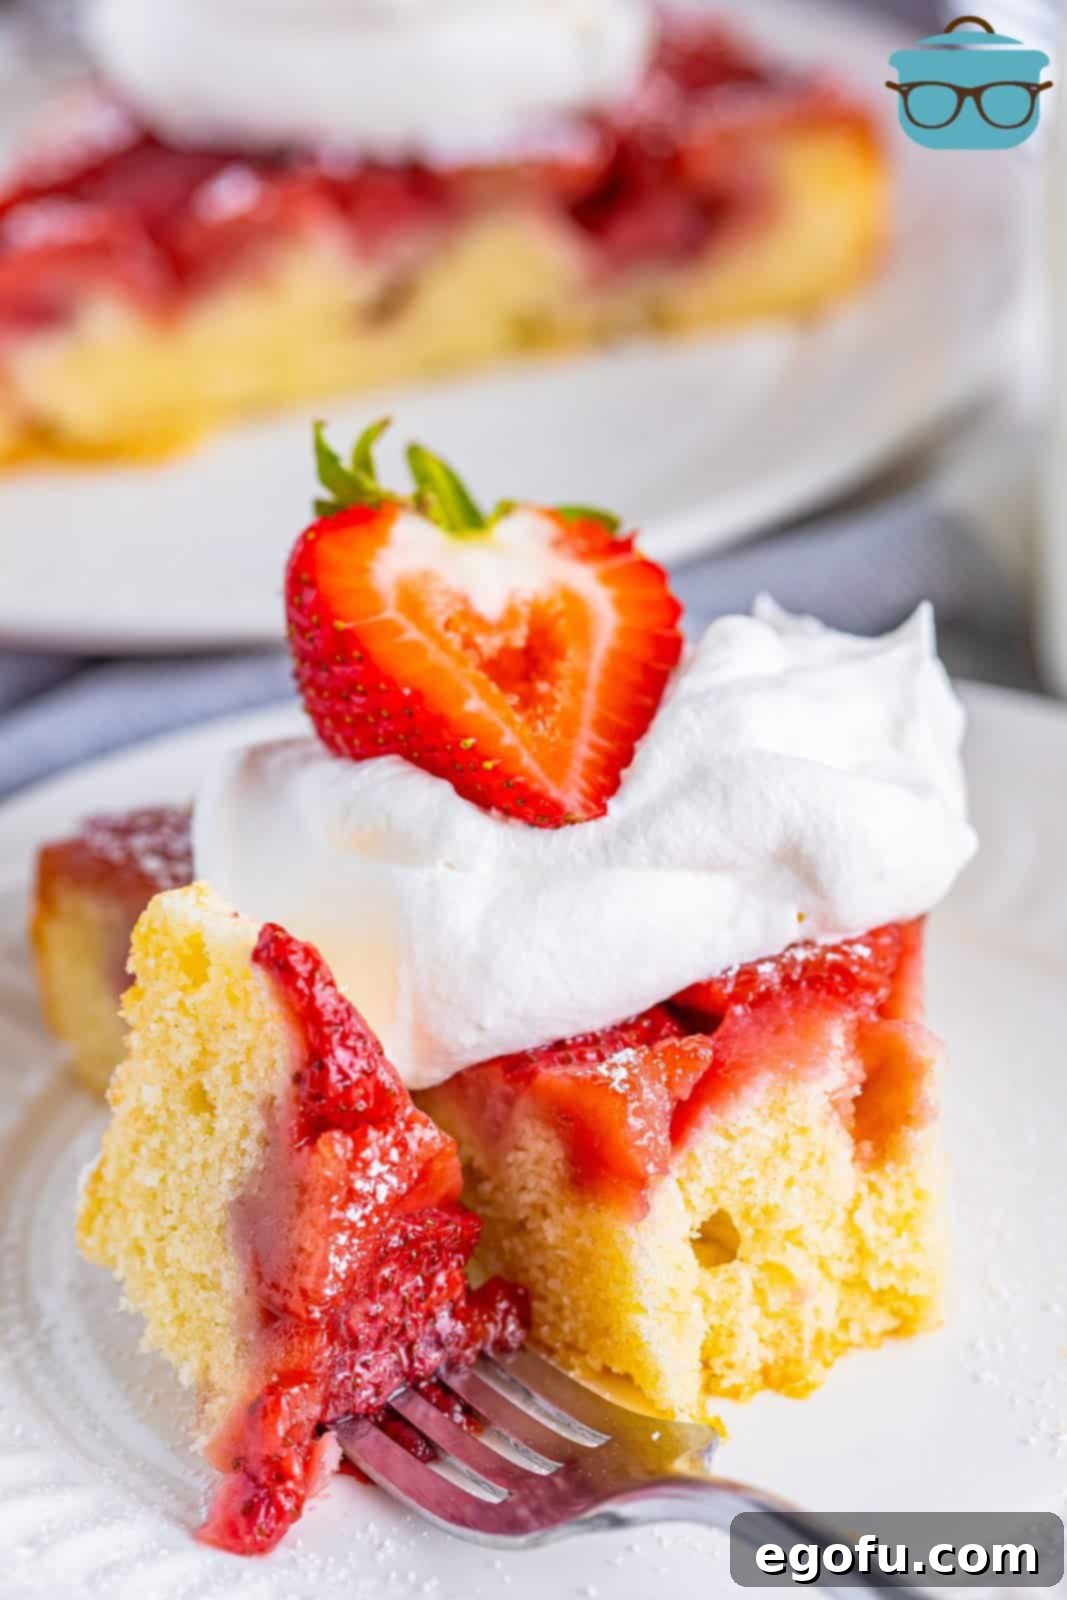
Allow the inverted cake to cool completely on the serving platter before garnishing. Once cool, dust the top generously with powdered sugar for a elegant finish. Serve each delightful slice with an optional dollop of Cool Whip or fresh whipped cream for an extra touch of creamy indulgence.
Craving More Delicious Recipes?
If you’ve fallen in love with this Strawberry Upside Down Cake, be sure to explore more of our irresistible dessert creations:
- Easy Strawberry Cake
- Pineapple Upside Down Bundt Cake
- Strawberries and Cream Bars
- Strawberry Delight
- Strawberry Cookie Cups
- Strawberry Lasagna

Strawberry Upside Down Cake
Print
Pin
Rate
Ingredients
Topping:
- ¼ cup (1/2 stick) unsalted butter melted
- ½ cup brown sugar
- 1 pound strawberries, stems removed and cut in half
Cake:
- 1 ⅓ cups all-purpose flour
- 1 teaspoon baking powder
- ¼ teaspoon salt
- ¼ cup (1/2 stick) unsalted butter, softened to room temperature
- ¾ cup granulated sugar
- 1 large egg
- 1 ½ teaspoons vanilla extract
- ½ cup milk
- powdered sugar or Cool Whip for topping (optional)
Instructions
- Preheat the oven to 350F degrees. Spray a 9″ high sided round pan or springform pan with nonstick cooking spray. Note: If using a springform pan, you will need to place a piece of foil or bake on a sheet tray to catch any of the butter/sugar mixture that may leak out the bottom.
- In a medium bowl, whisk together butter and brown sugar. Spread into the bottom of the prepared pan.

- Top the brown sugar mixture with sliced strawberries (I put them cut side up for a prettier presentation) in an even layer. Set aside.

- In a large bowl, whisk together all-purpose flour, baking powder salt, set aside.

- In another bowl, beat together unsalted butter, granulated sugar, egg and vanilla extract until combined.

- Add in the flour mixture to the butter mixture and beat until combined. It will look crumby at this point which is normal.

- Lastly, add in milk and beat until incorporated.

- Spoon the batter over the strawberries and gently spread using an offset spatula as the batter is thick.

- Bake in the oven for about 35-40 minutes until golden or until a toothpick inserted into the center comes out clean. Please note, oven times vary so please check with a toothpick first to ensure doneness as it may take longer in your oven.

- Remove from the oven and let cool in the pan for about 10 minutes (don’t skip this essential cooling down time). Run a knife along the pan’s edge to ensure it is released before inverting it over a serving platter.

- Let cool and dust the top with powdered sugar and serve each slice with a dollop of Cool Whip (optional).

Notes
- For more detailed insights on ingredients and troubleshooting, please refer to the FAQ and ingredient sections above.
- Baking times are always approximate and can vary due to many factors, including the type of baking dish (metal vs. ceramic), oven type (gas vs. electric), and rack placement. Always perform the toothpick test in the center of the cake to confirm it’s fully baked. If the toothpick shows wet batter, it needs more time.
- Smaller strawberries tend to offer a more appealing visual presentation for this cake. If your strawberries are large, consider dicing or thinly slicing them to ensure they lie flat and cook evenly.
- Allowing the cake to cool in the pan for at least 8-10 minutes before inverting is crucial. This cooling period ensures the brown sugar caramel layer sets properly, preventing it from running or sticking.
- Do not use frozen strawberries; their excess moisture will negatively affect the cake’s texture and baking process.
Nutrition
Carbohydrates: 54g |
Protein: 4g |
Fat: 13g |
Sodium: 95mg |
Fiber: 2g |
Sugar: 36g
Nutritional Disclaimer
“The Country Cook” is not a dietician or nutritionist, and any nutritional information shared is an estimate. If calorie count and other nutritional values are important to you, we recommend running the ingredients through whichever online nutritional calculator you prefer. Calories and other nutritional values can vary quite a bit depending on which brands were used.
