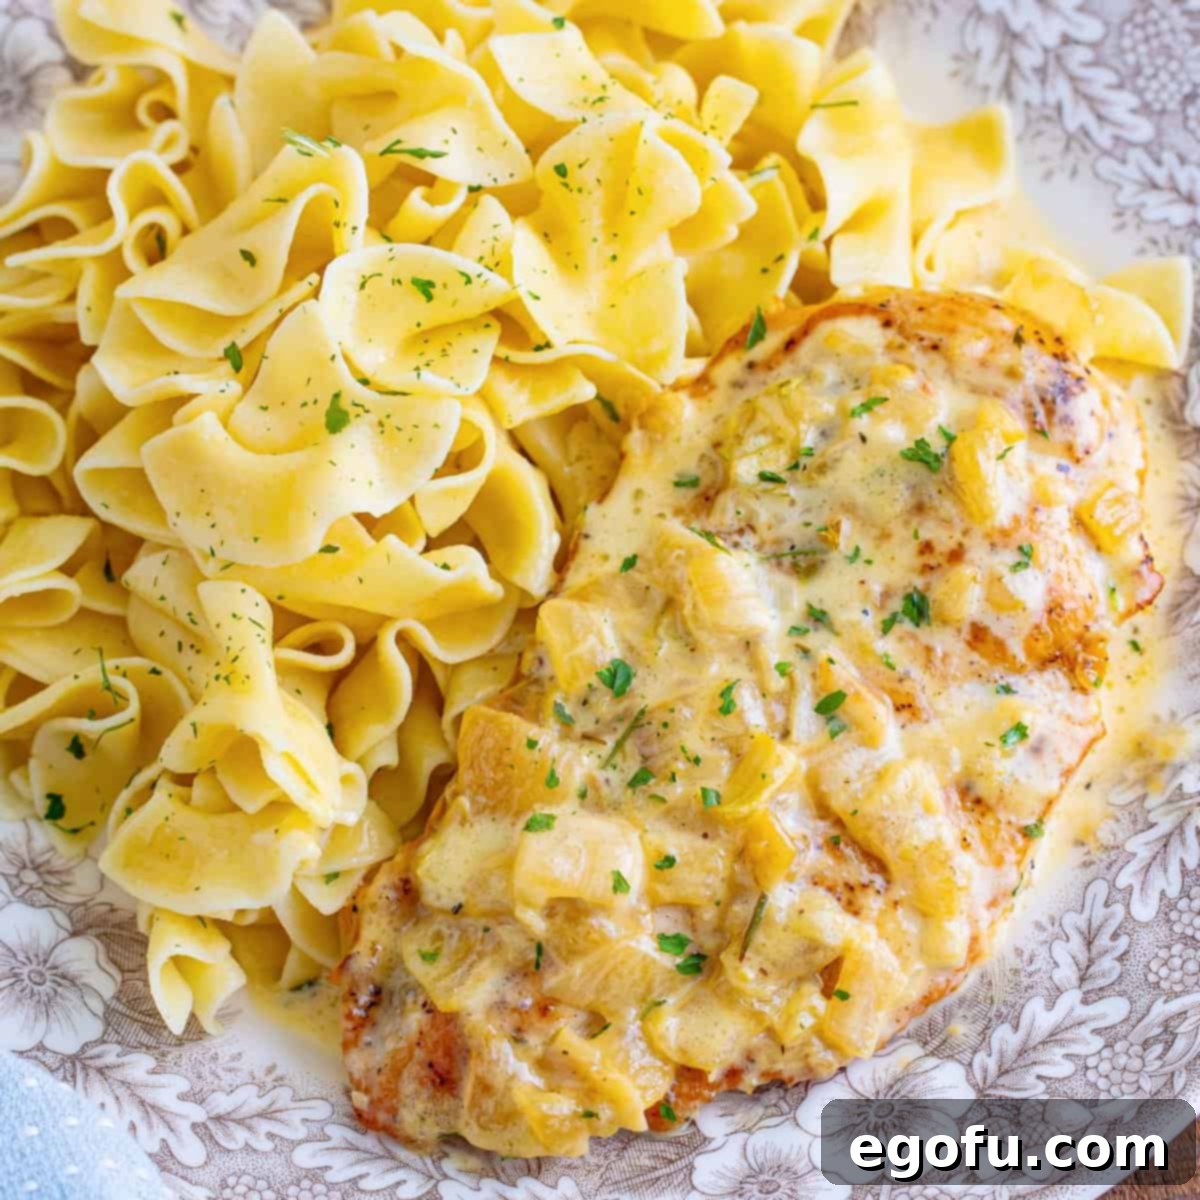
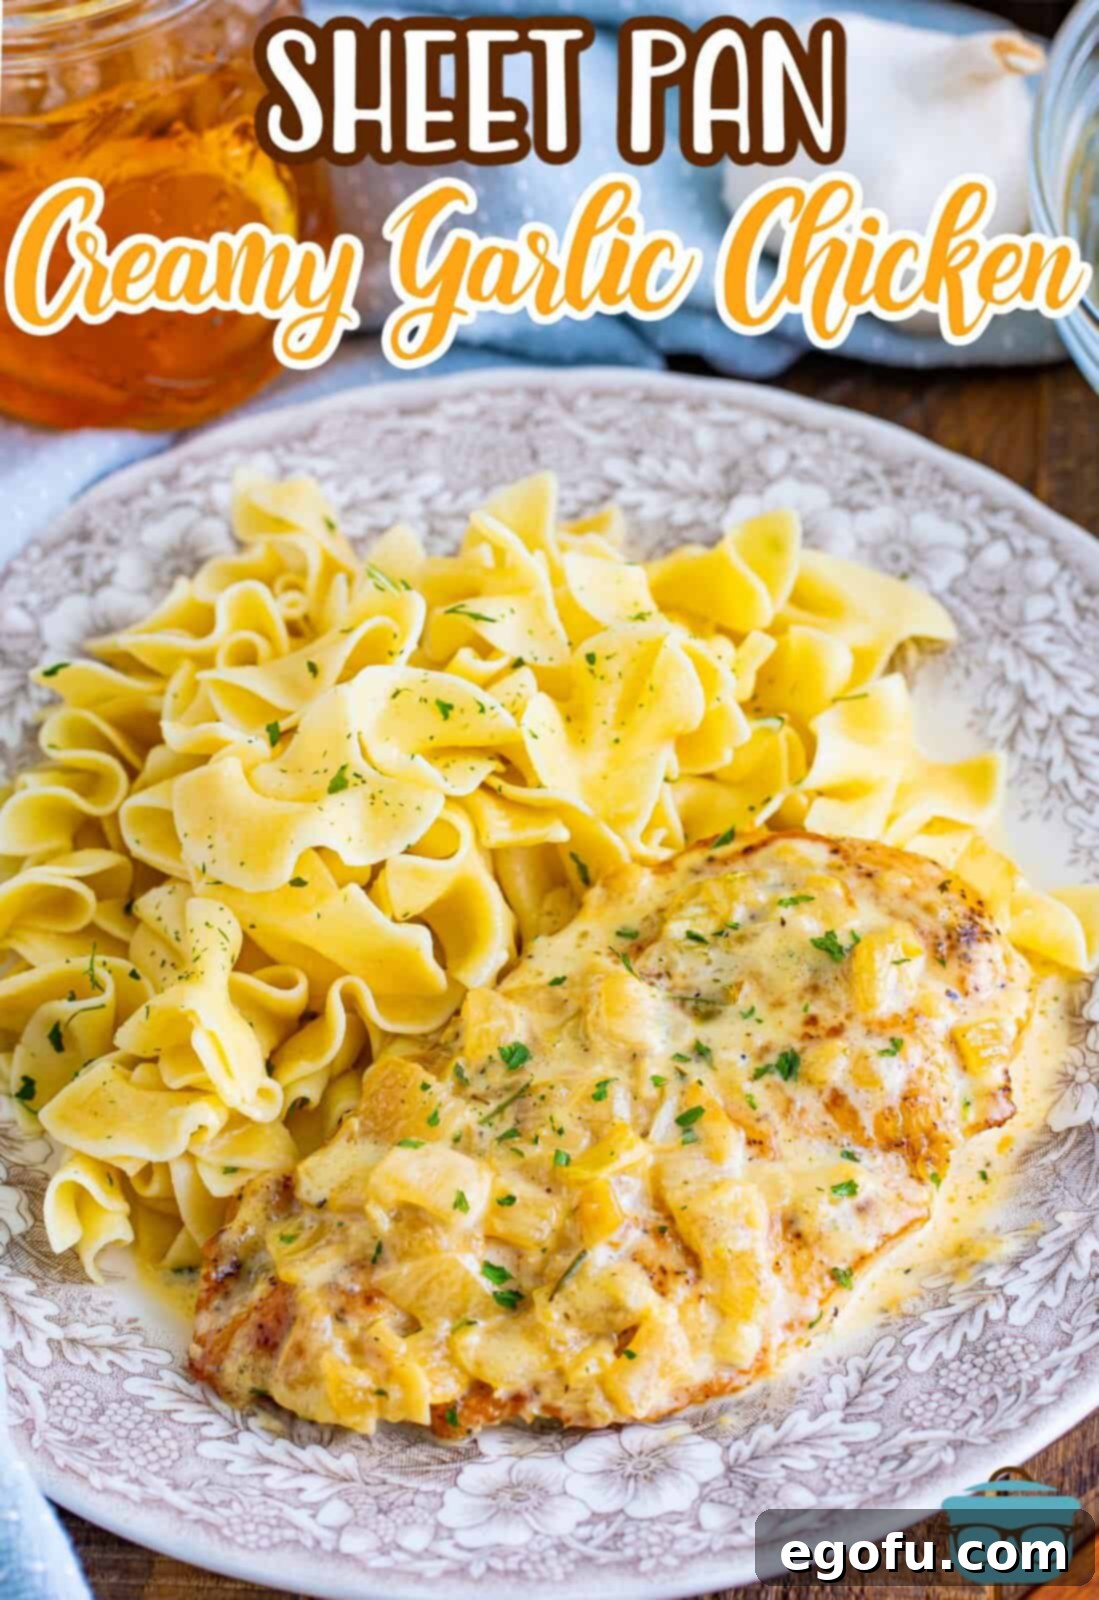
If you’re searching for a dinner recipe that effortlessly blends rich flavors with simple preparation, then this irresistibly juicy Sheet Pan Creamy Garlic Chicken is an absolute must-try! Get ready for a weeknight meal that will impress everyone at your table.
Sheet Pan Creamy Garlic Chicken: Your New Weeknight Dinner Champion
Are you yearning for a comforting, incredibly flavorful meal that doesn’t demand hours in the kitchen? Look no further! Our Sheet Pan Creamy Garlic Chicken is the ultimate solution for busy evenings. Imagine tender, succulent chicken bathed in a luxurious, savory garlic parmesan cream sauce, all cooked on a single sheet pan. With a mere 15 minutes of hands-on prep, this delectable dinner can be on your table in under an hour, making it perfect for those hectic weeknights. What’s more, it relies on common pantry staples, ensuring it’s not only convenient but also incredibly budget-friendly.
The star of this dish is undoubtedly the luscious, creamy garlic parmesan sauce. It transforms ordinary chicken breasts into an extraordinary culinary experience, so rich and satisfying that your family will be clamoring for second helpings. This recipe isn’t just about ease; it’s about delivering an explosion of flavor with minimal effort, proving that gourmet taste can absolutely be achieved on a busy schedule.
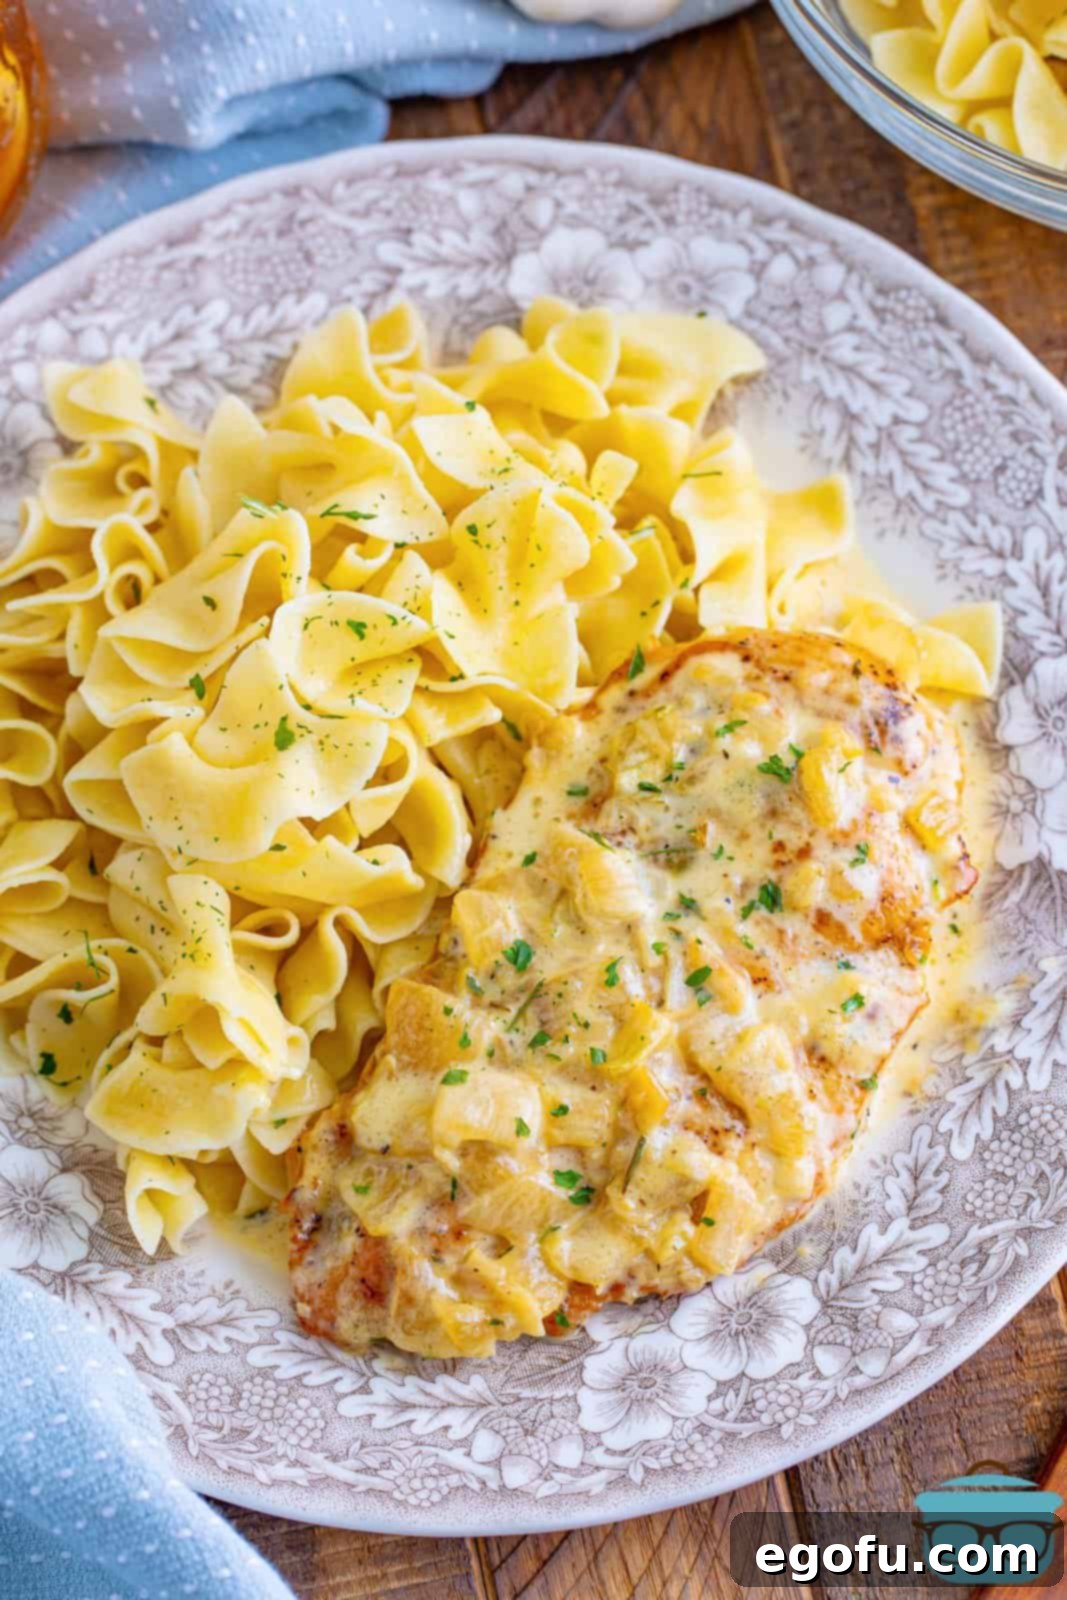
Why This Sheet Pan Creamy Garlic Chicken Will Become Your Favorite
Beyond its incredible taste, this recipe boasts a multitude of advantages that make it a staple in any home cook’s repertoire:
- Effortless Preparation: The beauty of a sheet pan meal lies in its simplicity. Most of the cooking happens in the oven, freeing you up to attend to other tasks or simply relax. Forget about juggling multiple pots and pans; this recipe streamlines your cooking process.
- Explosion of Flavor: The combination of browned chicken, caramelized onions, abundant garlic, rich chicken stock, and decadent heavy cream creates a sauce that is truly unforgettable. Every bite is packed with savory, aromatic goodness.
- Pantry-Friendly Ingredients: You likely already have most of the ingredients needed for this dish on hand. No need for special grocery runs, making it an ideal spontaneous weeknight meal.
- Quick to Table: From start to finish, you’re looking at less than an hour. This speed doesn’t compromise on quality or flavor, perfect for when hunger strikes without much planning.
- Versatile Serving Options: While it pairs wonderfully with pasta, this creamy chicken is equally delicious with rice, mashed potatoes, or your favorite roasted vegetables. It adapts seamlessly to whatever you have on hand.
- Family-Approved: The rich, creamy sauce and tender chicken are universally appealing, even to picky eaters. It’s a guaranteed crowd-pleaser that will earn rave reviews.
- Minimal Cleanup: Cooking on a single sheet pan significantly reduces the amount of dishes you’ll have to wash, a major win on any busy night.
Frequently Asked Questions for a Seamless Cooking Experience
We understand you might have some questions when trying a new recipe. Here are answers to common queries to ensure your Sheet Pan Creamy Garlic Chicken turns out perfectly every time.
Can I prepare this dish ahead of time and reheat it later?
Absolutely! This dish is surprisingly accommodating for meal prep. You can assemble it up to the baking step a day in advance, cover it, and refrigerate. When ready to serve, simply uncover and bake as directed, adding a few extra minutes to the baking time if cooking straight from the fridge to ensure the chicken reaches its proper internal temperature.
Should I cover the chicken with foil while it’s baking?
It is generally not necessary, and in fact, we recommend against covering the chicken with foil during baking. The goal is for the sauce to gradually thicken and slightly reduce in the oven, concentrating its incredible flavors. Covering it would trap steam, slowing down the thickening process and potentially resulting in a thinner sauce than desired. Allowing it to bake uncovered helps achieve that perfectly rich and clingy consistency.
What side dishes would complement Sheet Pan Creamy Garlic Chicken well?
This creamy garlic chicken is incredibly versatile when it comes to pairings. We particularly love serving it over a bed of pasta, such as fettuccine, linguine, or classic egg noodles. The pasta acts as a perfect vehicle to soak up every last drop of the delectable sauce. Beyond pasta, it pairs beautifully with fluffy white rice, creamy mashed potatoes, or even quinoa for a lighter option. For vegetables, consider a simple green salad, steamed broccoli, roasted asparagus, or green beans. The rich sauce contrasts wonderfully with the freshness of greens or the slight bitterness of certain vegetables, creating a balanced and satisfying meal.
Could I cook this in a skillet instead of a sheet pan?
While technically possible to finish the dish in a large skillet on the stovetop, it’s not ideal for this specific recipe. A sheet pan allows the chicken pieces to spread out in a single layer, ensuring even cooking and allowing the sauce to reduce and thicken properly. In a skillet, especially with a larger amount of chicken, overcrowding can lead to steaming rather than browning, and the sauce may not achieve the desired concentrated flavor and texture. The sheet pan is key to developing that rich, thick sauce and achieving perfectly cooked chicken.
Can I use different cuts of chicken for this recipe?
Absolutely! While chicken breasts are specified, this recipe is adaptable. Chicken thighs would work wonderfully, lending an even juicier and more forgiving result due to their higher fat content. If using thighs, you might need to adjust the baking time slightly, as dark meat generally takes a bit longer to cook and reaches a higher internal temperature. Always use a meat thermometer to ensure your chicken reaches the safe internal temperature: 165°F (74°C) for white meat and 175°F (80°C) for dark meat.
How should I store any leftovers?
Leftovers of this delicious creamy garlic chicken should be stored promptly in an airtight container and refrigerated. When properly stored, they will remain fresh and delicious for up to 3-4 days. To reheat, gently warm in a saucepan over low heat on the stovetop, adding a splash of chicken stock or cream if the sauce seems too thick. Alternatively, you can reheat in the microwave, though the stovetop often yields a better texture for the sauce.
Can I freeze Sheet Pan Creamy Garlic Chicken?
Yes, this dish freezes quite well! To freeze, allow the cooked chicken and sauce to cool completely. Transfer them to a freezer-safe airtight container or heavy-duty freezer bags, ensuring as much air is removed as possible to prevent freezer burn. It can be frozen for up to 3 months. When ready to enjoy, thaw overnight in the refrigerator. Reheat gently in a saucepan, adding a bit more chicken stock or heavy cream to revive the sauce’s consistency, as freezing can sometimes alter its texture.
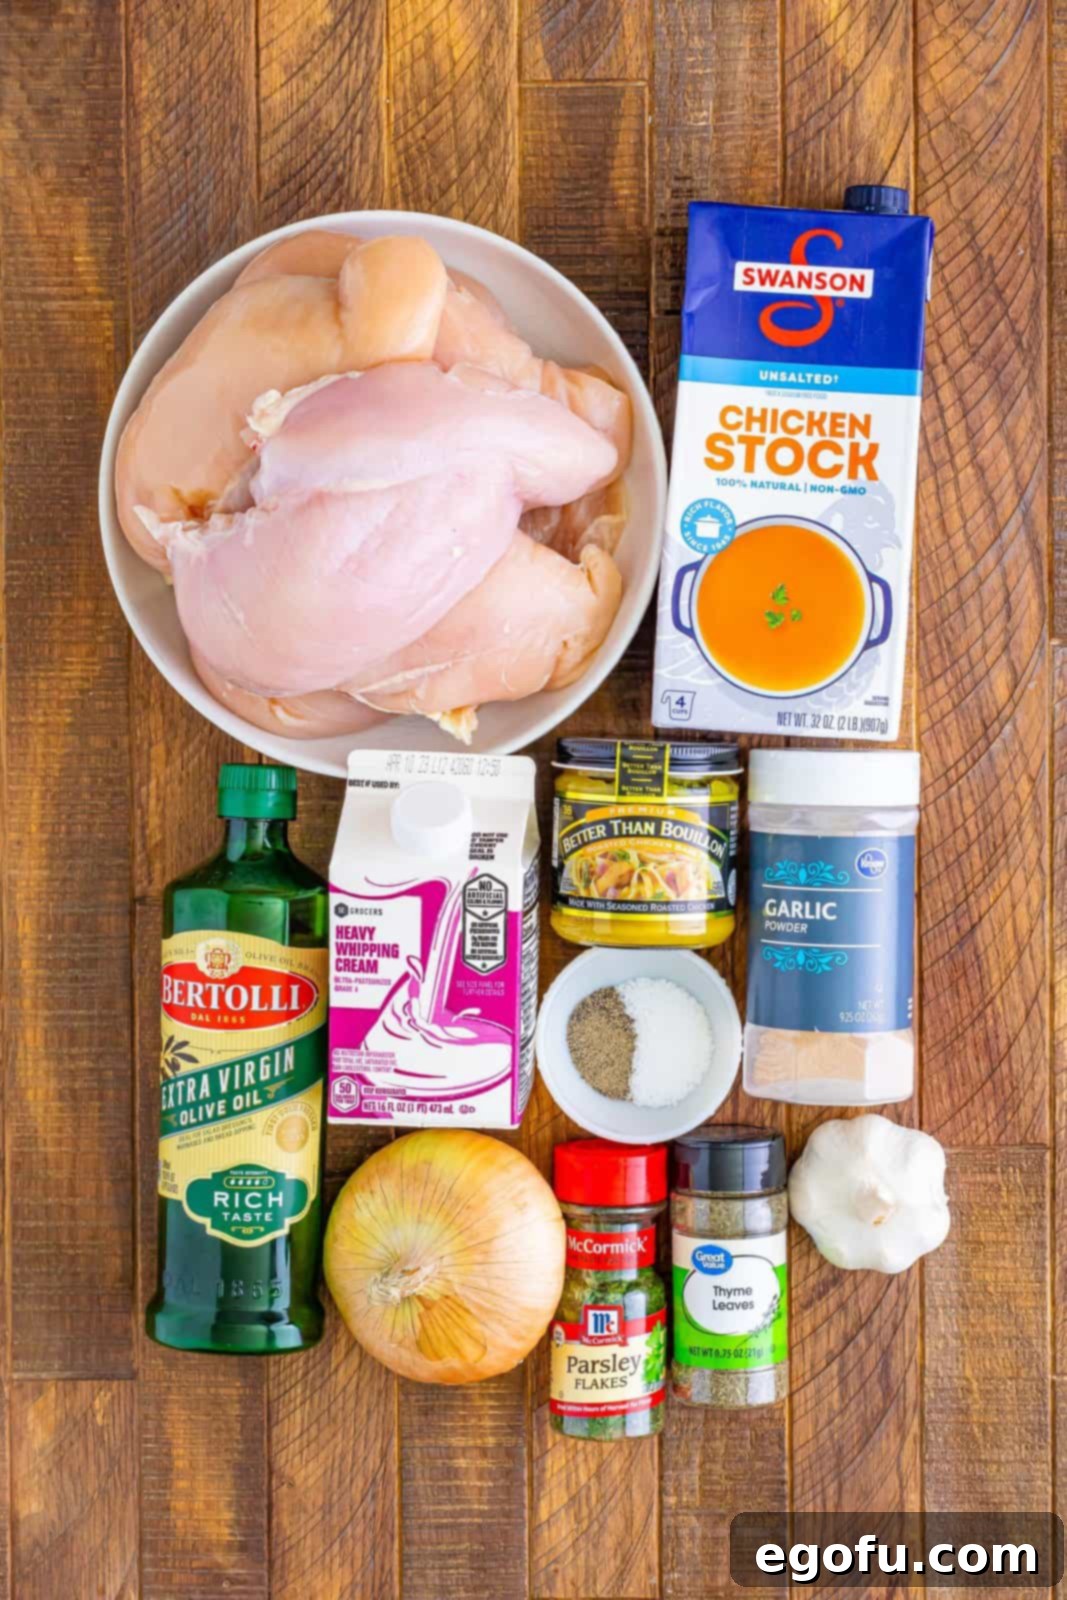
Gathering Your Ingredients: What You’ll Need
One of the beauties of this Sheet Pan Creamy Garlic Chicken recipe is its reliance on readily available, simple ingredients that come together to create a profoundly complex flavor. Here’s a breakdown of the key components:
Essential Ingredients for this Creamy Chicken Recipe:
- Chicken Breasts: We recommend boneless, skinless chicken breasts, sliced lengthwise to ensure even cooking and faster preparation.
- Salt and Pepper: Fundamental seasonings to enhance the natural flavor of the chicken. Adjust to your personal preference.
- Garlic Powder: Adds an initial layer of garlic flavor to the chicken before it even meets the sauce.
- Olive Oil: Used for browning the chicken and sautéing the aromatics, providing a rich base.
- Large Onion: Finely diced, the onion will caramelize, adding a sweet and savory depth to the sauce.
- Garlic Cloves: Freshly minced garlic is crucial for that potent, aromatic garlic flavor that defines this dish. Don’t skimp here!
- Low Sodium Chicken Stock: Forms the liquid base of the sauce, adding savory chicken flavor without excessive salt.
- Better than Bouillon Chicken Base: This secret ingredient is a game-changer! It significantly intensifies the chicken flavor, making the sauce incredibly rich and robust.
- Heavy Cream: The cornerstone of the creamy sauce, providing a luxurious, velvety texture and decadent richness.
- Dried Thyme: Adds an earthy, subtly floral aromatic note that complements the garlic and cream beautifully.
- Dried Parsley: Used as an optional garnish to add a pop of color and fresh herb flavor to the finished dish.
Step-by-Step Guide: How to Master Sheet Pan Creamy Garlic Chicken
Follow these detailed steps to create a show-stopping dinner that’s surprisingly simple to execute. Each stage is designed to build layers of flavor, resulting in a perfectly balanced and utterly delicious dish.
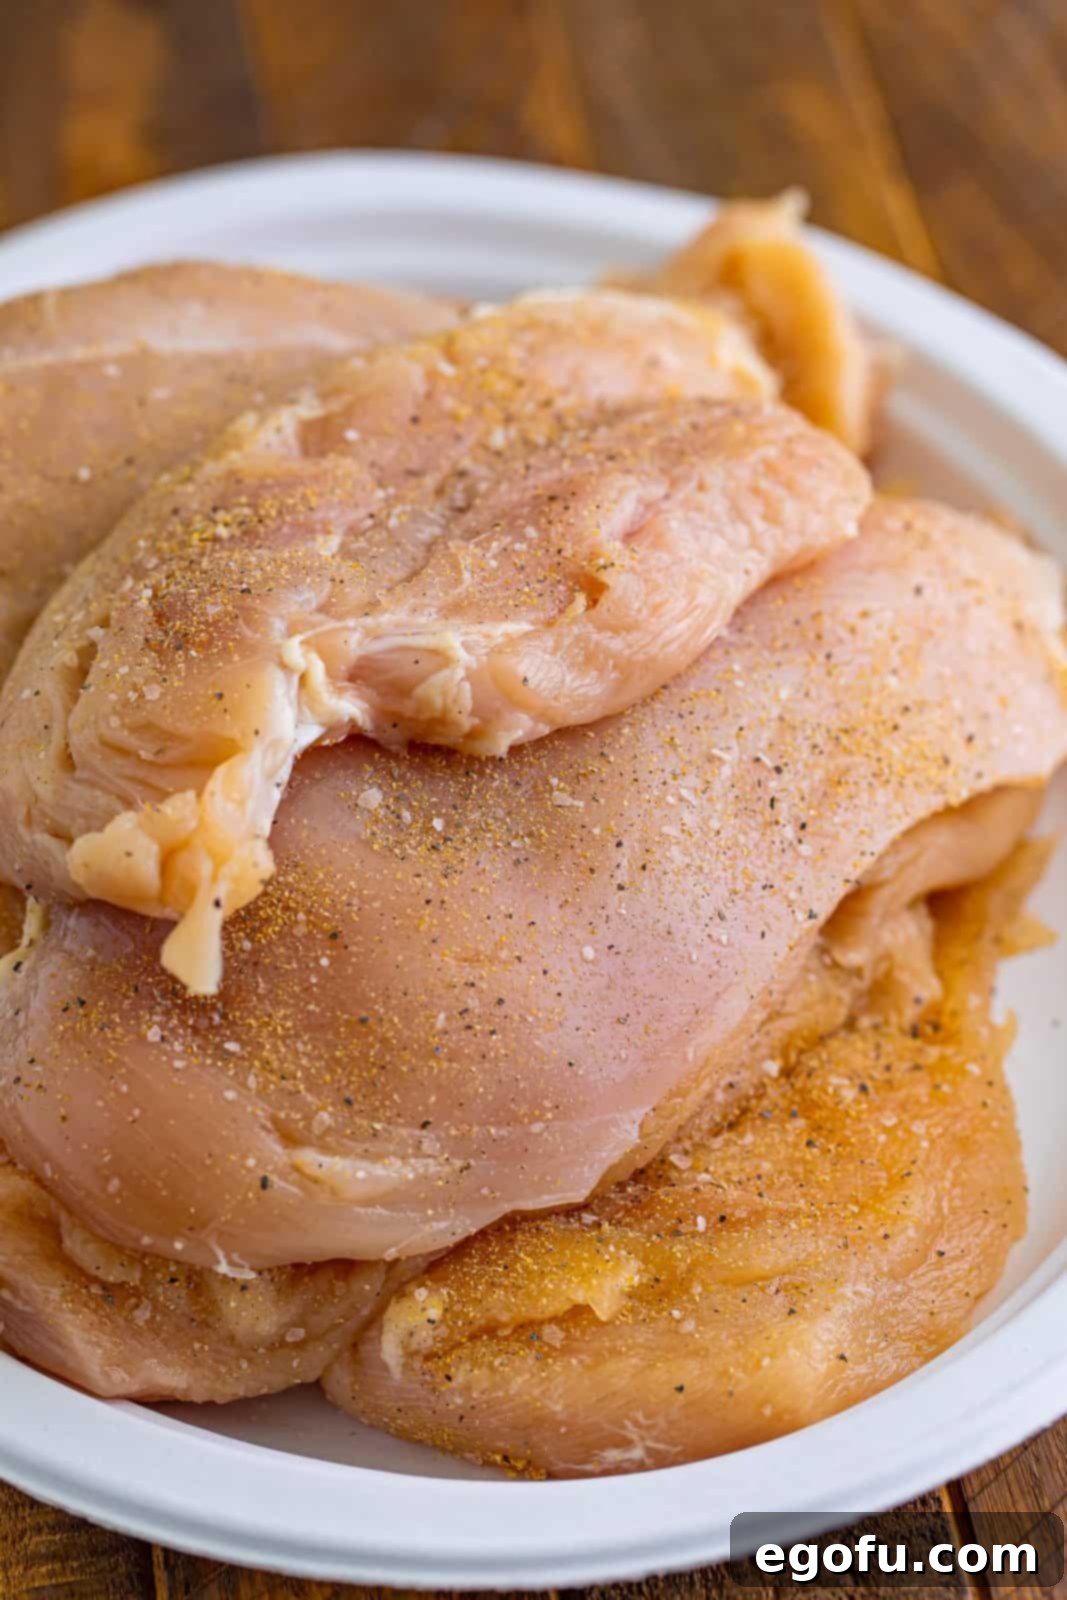
Step 1: Season the Chicken to Perfection
Begin by patting your chicken breasts dry with paper towels. This helps ensure a better sear. Generously season both sides of the chicken breasts with salt, pepper, and garlic powder. Remember, these measurements are estimates; feel free to adjust to your personal taste preferences. Don’t be shy with the seasoning; it’s the first layer of flavor!
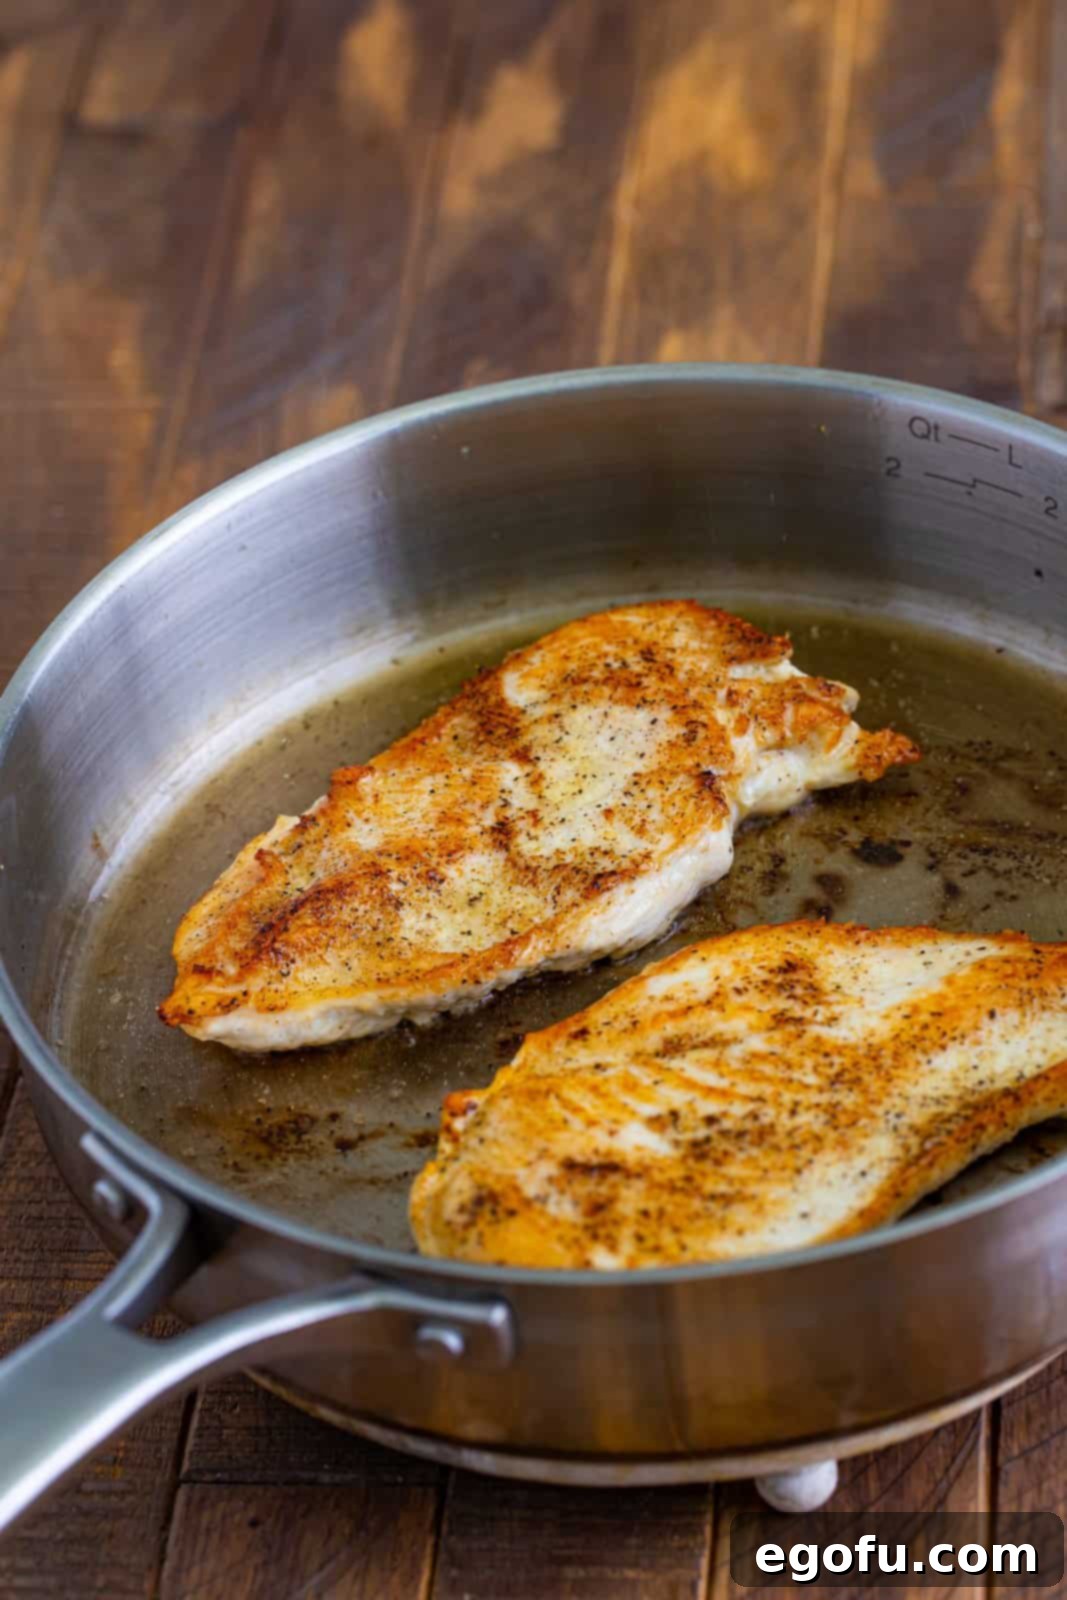
Step 2: Achieve a Golden Sear on Your Chicken
In a large, heavy-bottomed skillet (cast iron works beautifully here), heat about 2 tablespoons of olive oil over medium-high heat. Once the oil shimmers, carefully add the seasoned chicken breasts in batches. Avoid overcrowding the pan, as this can lower the temperature and prevent proper browning. Sear the chicken for approximately 2-3 minutes per side, just until a beautiful golden-brown crust forms. The goal here isn’t to cook the chicken all the way through, but rather to develop rich flavor and texture through caramelization. Add more olive oil as needed between batches to maintain browning.
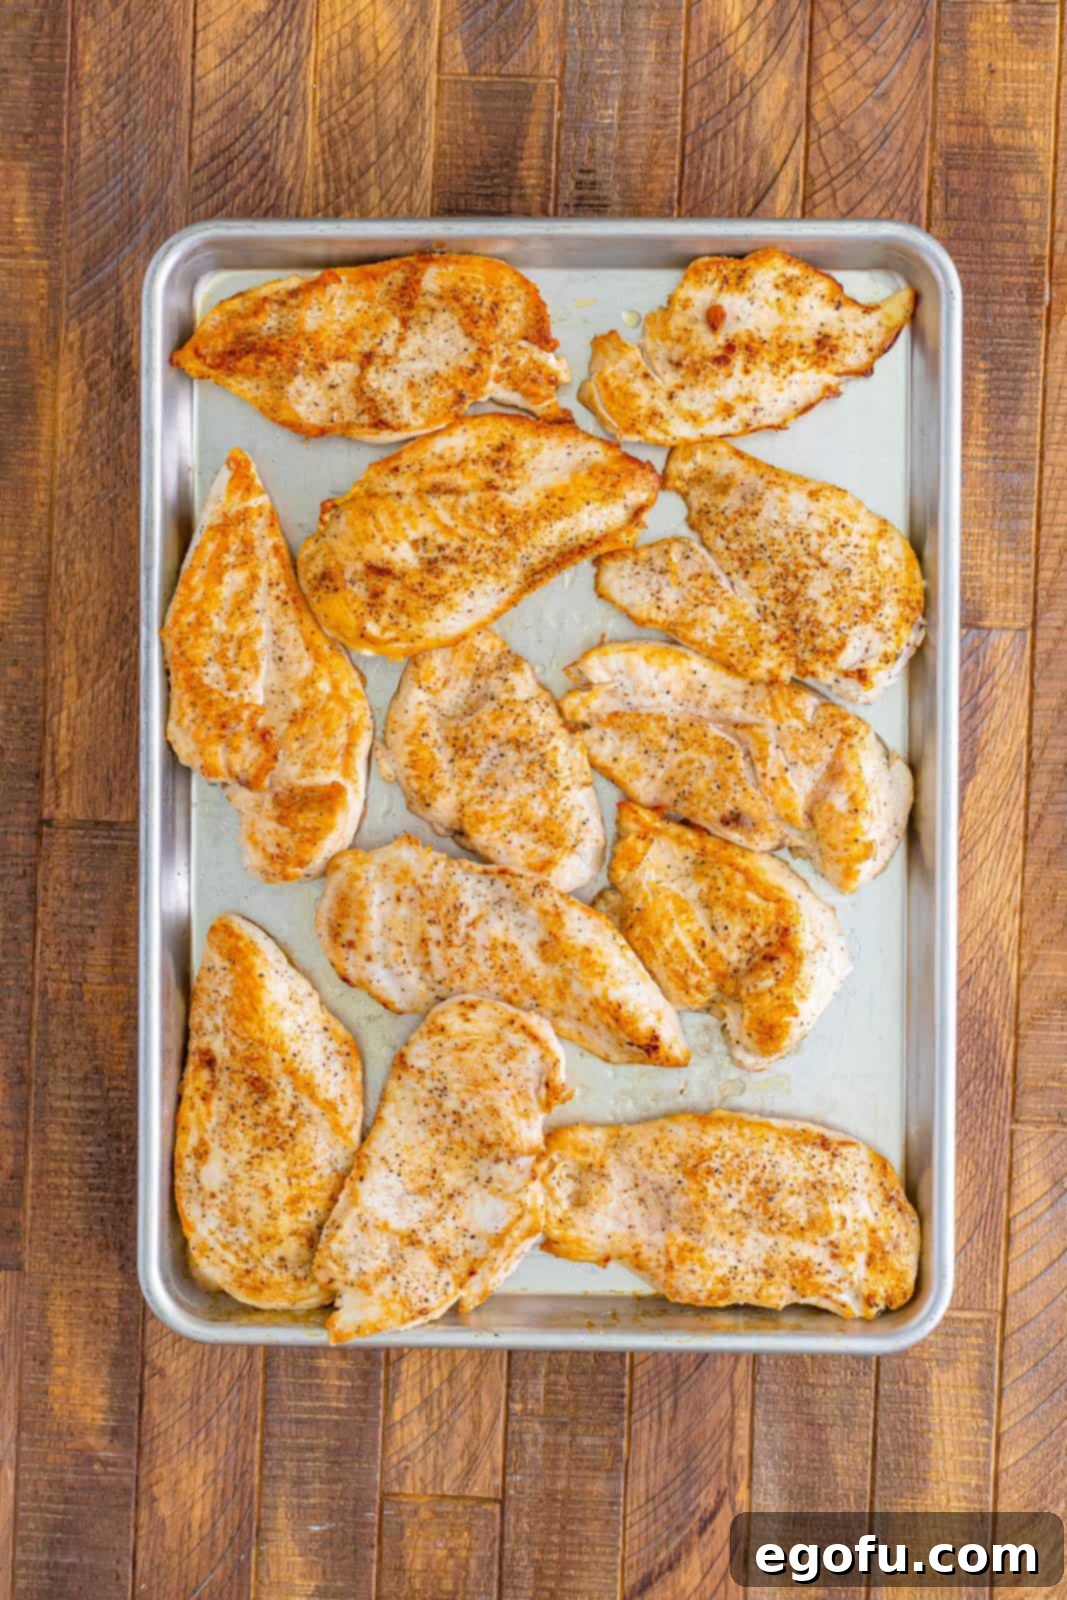
Step 3: Prepare Your Sheet Pan
Once all the chicken breasts are beautifully browned, carefully transfer them from the skillet to a large, rimmed baking sheet. Arrange them in a single layer, ensuring they have enough space to cook evenly in the oven. Set the sheet pan aside for a moment while you prepare the glorious sauce.
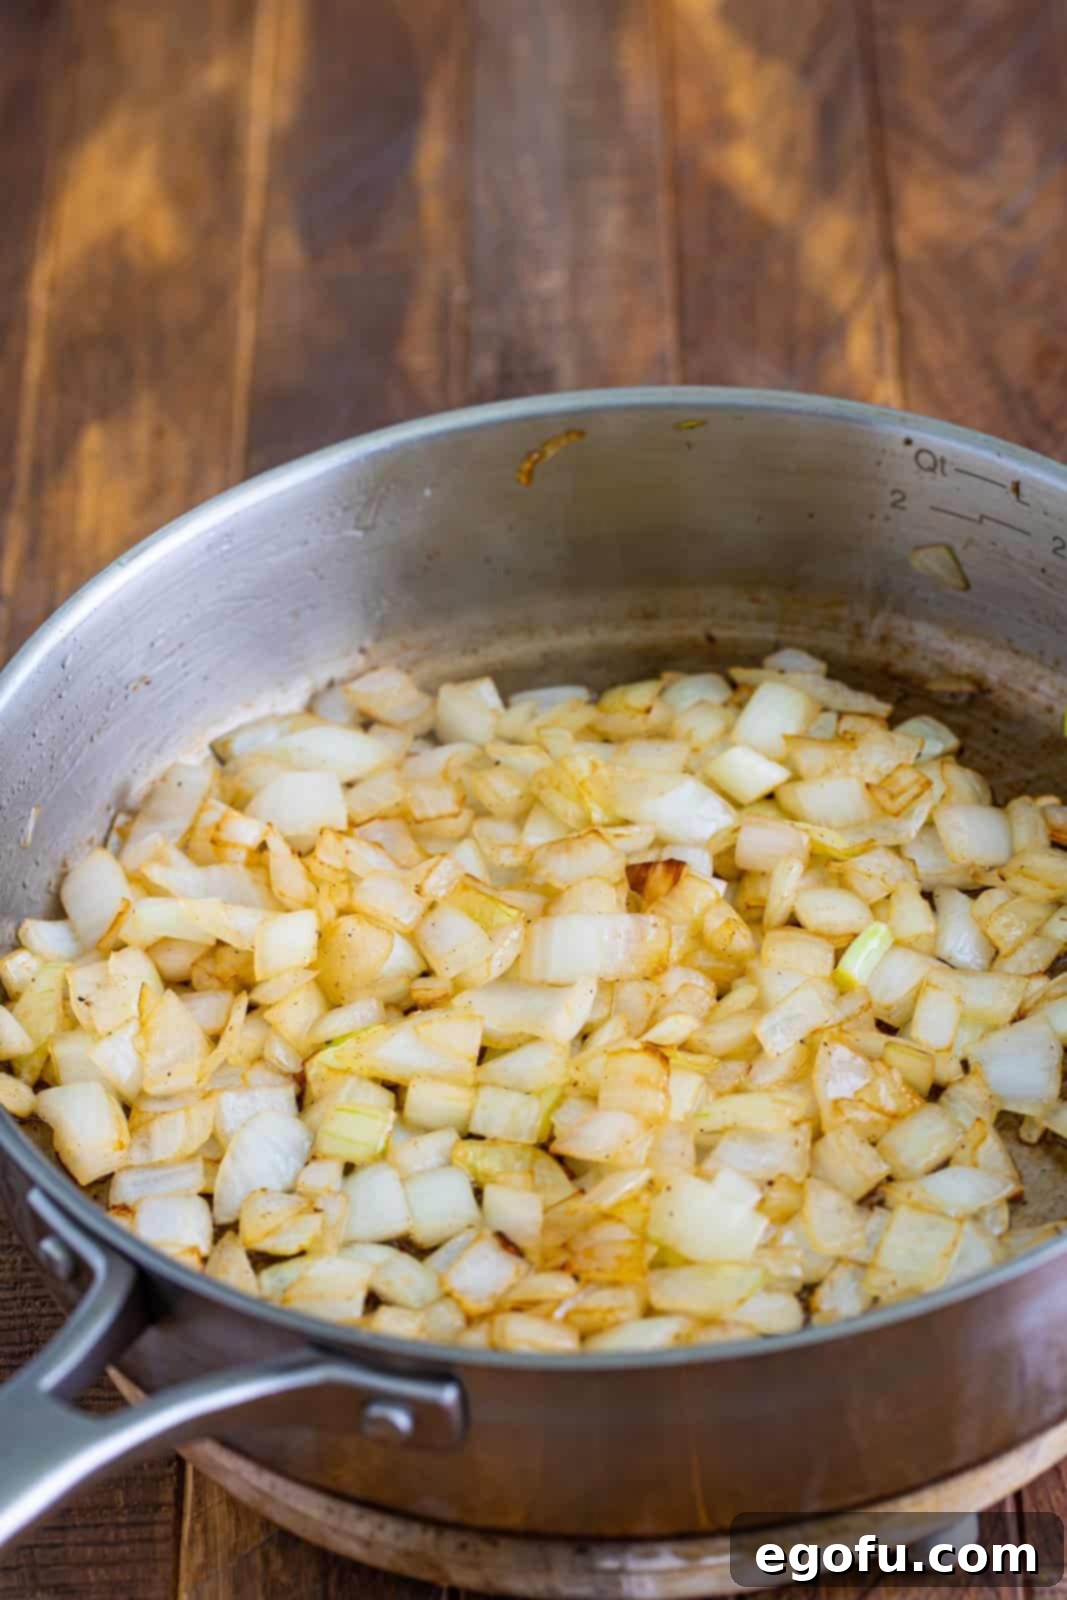
Step 4: Build the Aromatic Foundation: Onions and Garlic
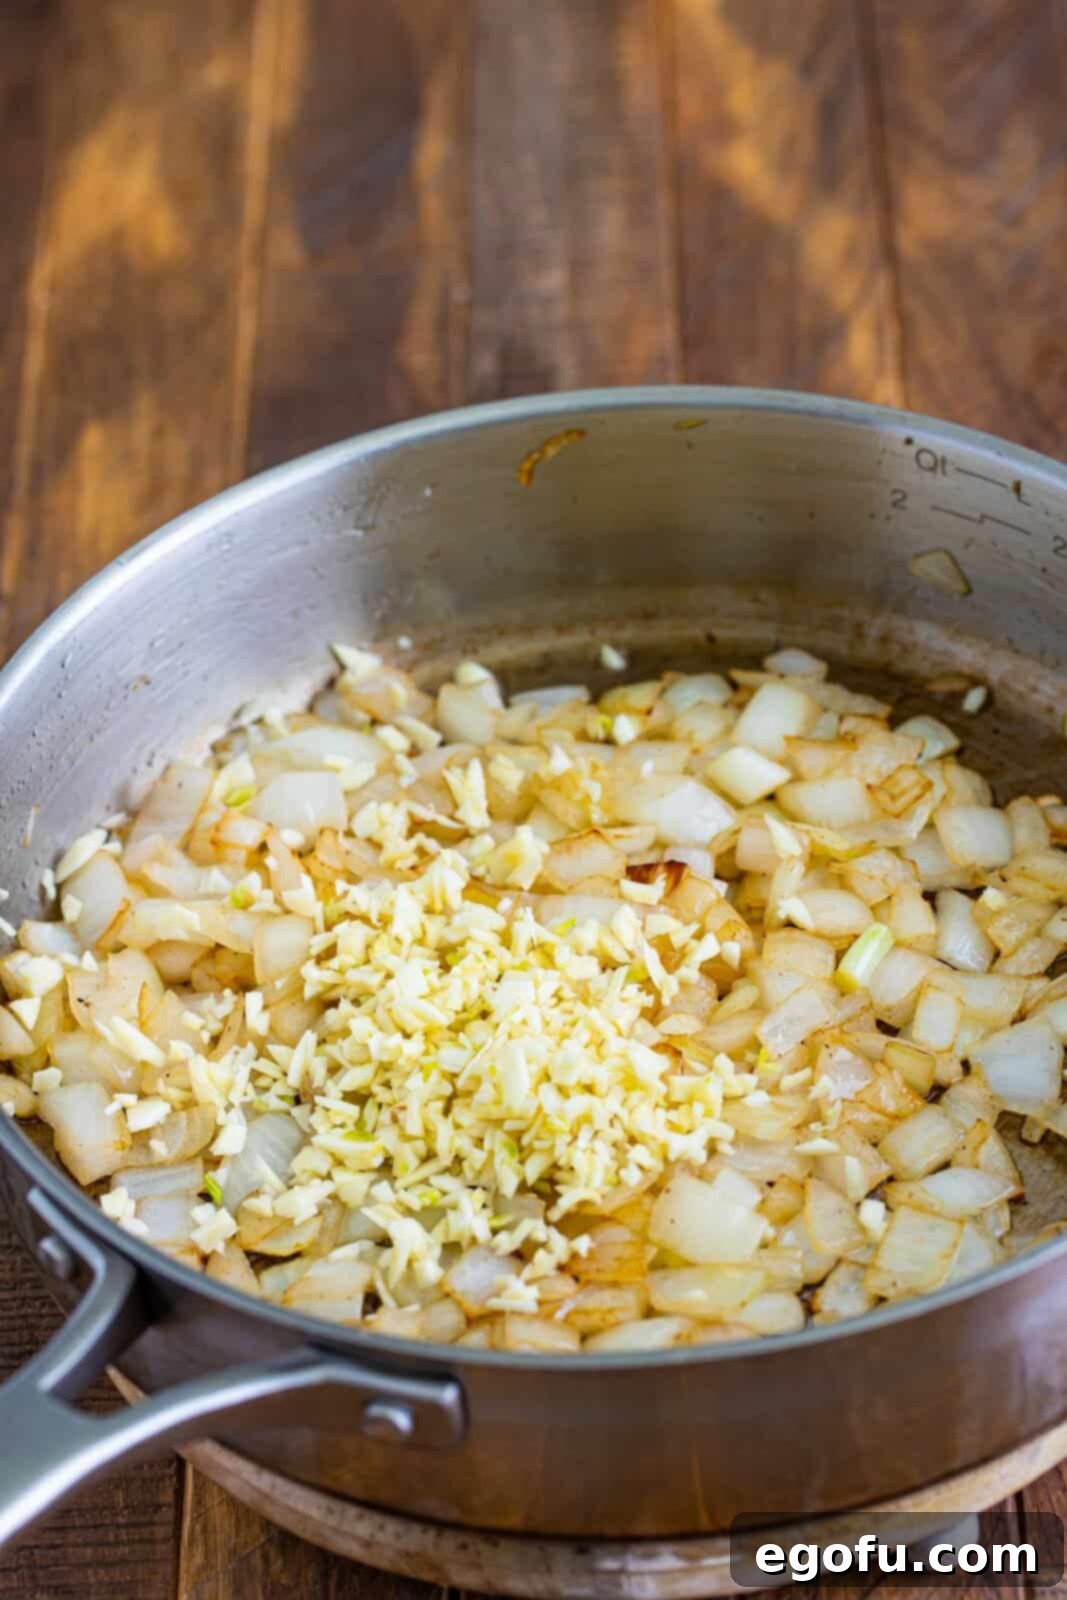
Using the same skillet (don’t clean it yet – those browned bits are flavor!), add another 2 tablespoons of olive oil if necessary. Reduce the heat to medium. Add the finely diced large onion and caramelize for about 5-6 minutes, stirring occasionally, until they turn clear and begin to lightly brown. This step is crucial for developing sweetness and depth. Then, stir in the minced garlic cloves and cook for just one more minute until fragrant. Be careful not to burn the garlic, as burnt garlic can taste bitter.
Step 5: Deepen the Flavor with Chicken Stock and Bouillon
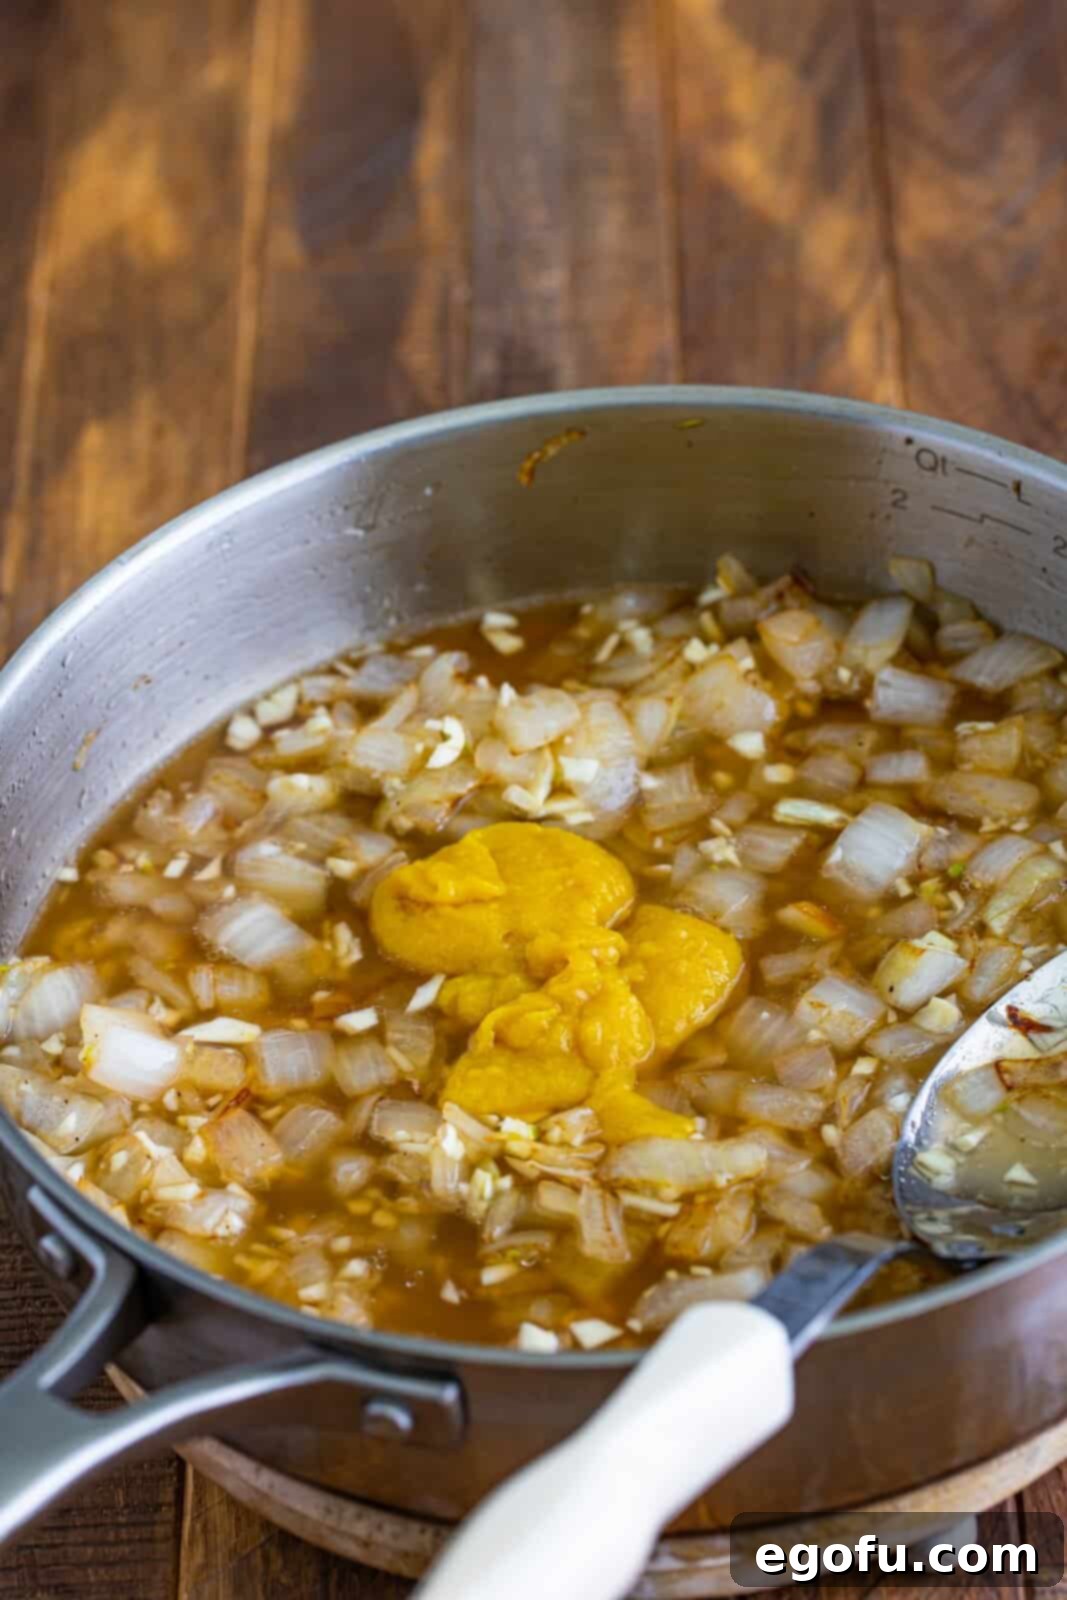
Pour in the low sodium chicken stock and add the Better than Bouillon chicken base to the skillet. Stir everything together thoroughly, scraping up any browned bits from the bottom of the pan – this is called “deglazing” and adds immense flavor to your sauce. Bring the mixture to a simmer and cook it down for approximately 10 minutes, or until the liquid has slightly thickened and reduced. This concentrated reduction will significantly deepen the overall flavor profile of your sauce.
Step 6: Introduce the Cream and Thyme
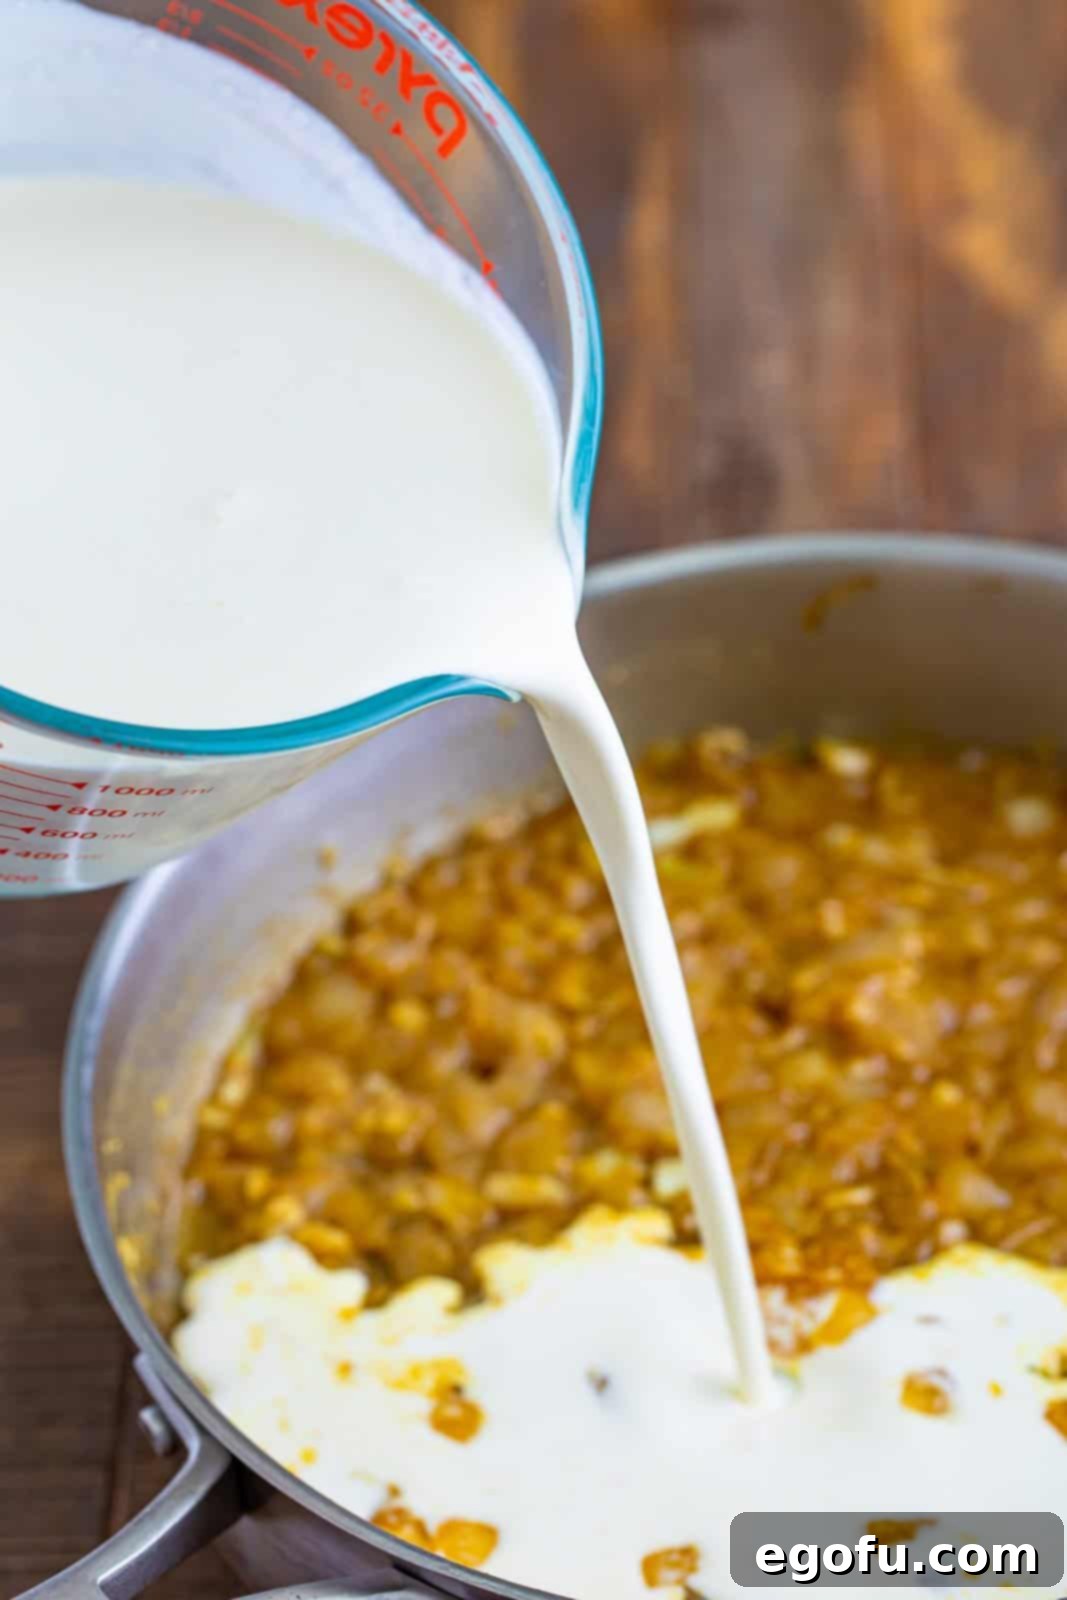
Reduce the heat to low and pour in the heavy cream. Add the dried thyme, stirring well to combine all the ingredients. Allow the sauce to gently simmer and thicken for another 8-10 minutes, stirring occasionally to prevent sticking. The sauce should become lusciously thick and coat the back of a spoon. Taste the sauce and adjust the seasoning as needed, adding additional salt or pepper if you desire. This is your chance to perfect the flavor!
Step 7: Combine and Bake to Perfection
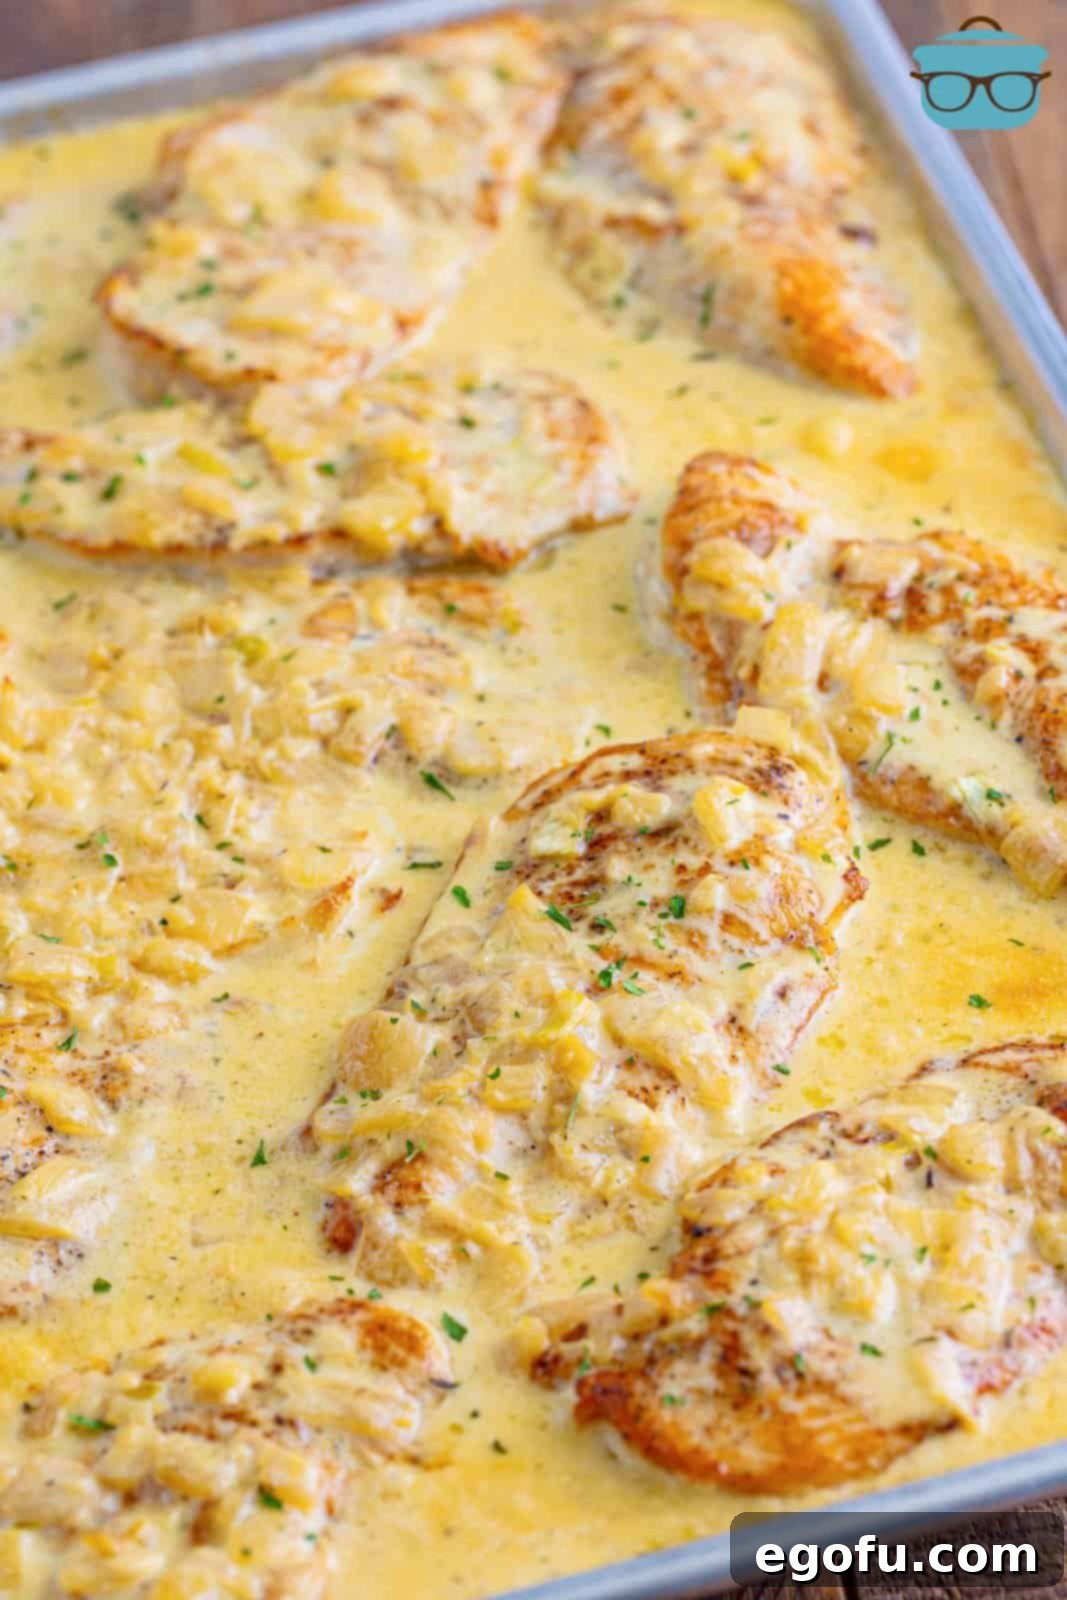
Once the creamy sauce has reached your desired consistency, turn off the heat. Carefully pour the rich cream mixture evenly over the browned chicken breasts on the rimmed baking sheet. Ensure each piece of chicken is generously coated in the decadent sauce.
Step 8: Final Bake and Temperature Check
Preheat your oven to 375°F (190°C). Bake the chicken for 15 minutes, or until the chicken reaches an internal temperature of 165°F (74°C) for white meat, ensuring it is thoroughly cooked and tender. The sauce will also continue to thicken slightly during this final bake. Always use a reliable meat thermometer for accuracy.
Step 9: Garnish and Serve
Once baked, remove the sheet pan from the oven. If desired, sprinkle with fresh or dried parsley for an added touch of color and freshness. Serve immediately, perhaps with your favorite pasta, rice, or steamed vegetables, allowing everyone to savor the incredible flavors of this homemade Sheet Pan Creamy Garlic Chicken. Get ready for compliments!
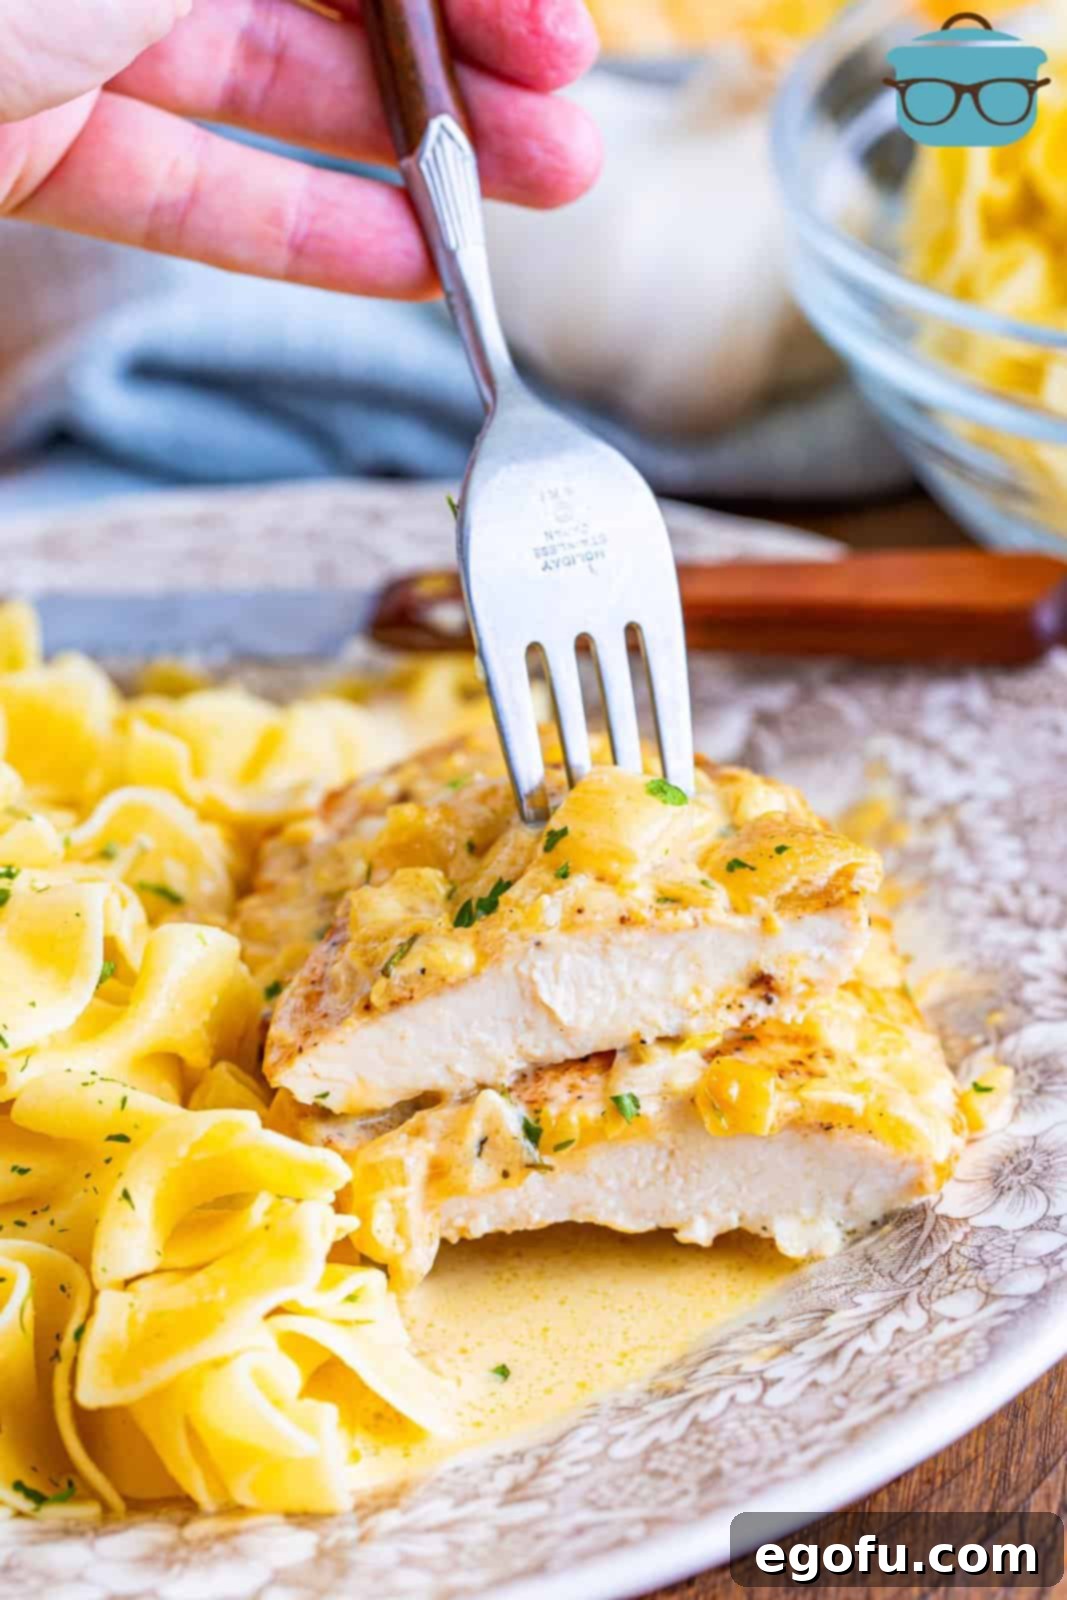
Chef’s Notes and Expert Tips for Your Creamy Garlic Chicken
Here are some additional insights and recommendations to help you make this Sheet Pan Creamy Garlic Chicken truly outstanding, alongside tips for storage and variations.
- Endless Variations: Don’t be afraid to get creative! You can easily customize this dish. Consider stirring in some grated Parmesan cheese into the sauce at the end for an extra cheesy kick, or sprinkle cooked crumbled bacon over the top before serving for a smoky, salty crunch. A pinch of red pepper flakes can add a subtle warmth if you enjoy a little spice. Sautéed mushrooms or spinach could also be incorporated into the sauce for added vegetables and texture.
- Perfect for Meal Prep: This dish is a fantastic candidate for making ahead. You can prepare it completely up to the point of baking. Simply cover the sheet pan tightly with foil or plastic wrap and refrigerate for up to one day. When you’re ready to eat, remove it from the fridge, uncover, and bake as usual. You might need to add an extra 5-10 minutes to the baking time since it’s starting from a colder temperature.
- Serving Suggestions: While fettuccine or egg noodles are our top recommendation for soaking up every drop of that incredible sauce, this chicken is also phenomenal served with creamy mashed potatoes, fluffy rice, or even a simple side of crusty bread for dipping. For a lighter meal, pair it with steamed green beans, roasted broccoli, or a fresh garden salad.
- Storing Leftovers: Any leftover Sheet Pan Creamy Garlic Chicken should be stored in an airtight container in the refrigerator within two hours of cooking. It will stay fresh and delicious for 3-4 days.
- Reheating Leftovers: To reheat, transfer the chicken and sauce to a saucepan and warm gently over low heat, stirring occasionally. If the sauce has thickened too much in the fridge, you can add a tablespoon or two of chicken stock or heavy cream to thin it back to your preferred consistency. You can also microwave individual portions, but the stovetop method often yields a creamier sauce.
- Don’t Forget the Thermometer: For perfectly cooked chicken every time, an internal meat thermometer is your best friend. Chicken breasts are done when they reach 165°F (74°C). This ensures juicy, safe chicken without overcooking.
Craving More Easy & Flavorful Recipes?
If you loved the convenience and taste of this Sheet Pan Creamy Garlic Chicken, you’ll be thrilled to discover more of our stress-free and delicious sheet pan creations and chicken recipes. Expand your weeknight dinner rotation with these fantastic ideas:
- Kielbasa Sheet Pan Meal
- Ham Steak Sheet Pan Meal
- Sheet Pan Greek Chicken Dinner
- BBQ Chicken Sheet Pan Dinner
- Sheet Pan Pork Chop Meal
- Sheet Pan Garlic Butter Chicken
- Sheet Pan Sausage and Gnocchi
- Sheet Pan Garlic Parmesan Chicken (For Two)
- Sheet Pan Chicken Parmesan
- Sheet Pan Lasagna
- Sheet Pan Beef Fajitas
- Sheet Pan Chicken Quesadillas
- Sheet Pan Beef Quesadillas
- Sheet Pan Nachos
- Chicken Fried Chicken
- 30 Chicken Breast Recipes
Printable Recipe Card: Sheet Pan Creamy Garlic Chicken

Sheet Pan Creamy Garlic Chicken
You will absolutely love how simple and incredibly flavorful this Sheet Pan Creamy Garlic Chicken dinner is. It’s the perfect easy meal for any night of the week!
- Prep Time: 15 minutes
- Cook Time: 40 minutes
- Total Time: 55 minutes
- Servings: 6 servings
- Author: Brandie Skibinski
Print Recipe
Pin Recipe
Ingredients
- 6 chicken breasts, cut in half lengthwise
- 1 ½ teaspoons salt (or to taste)
- 1 ½ teaspoons pepper (or to taste)
- 1 ½ teaspoons garlic powder
- ¼ cup olive oil, divided use
- 1 large onion, finely diced
- 5 garlic cloves, minced
- 1 cup low sodium chicken stock
- 2 Tablespoons Better than Bouillon chicken base
- 3 cups heavy cream
- ¼ teaspoon dried thyme
- Dried parsley (for garnish, optional)
Instructions
- Season the chicken breasts evenly with salt, pepper, and garlic powder. Remember to season to your personal preference; these are just estimates.
- In a large skillet, heat up 2 Tablespoons of the olive oil over medium-high heat until shimmering.
- Brown chicken on both sides in batches (about 2-3 minutes per side) until a golden crust forms. You’re not cooking it through, just getting good color. Add more olive oil as needed.
- Once browned, place all chicken pieces on a large, rimmed baking sheet.
- Add another 2 Tablespoons of oil to the pan (if necessary) and add the finely diced onion. Over medium heat, caramelize the onions for about 5-6 minutes until clear and lightly browned. Then, add the minced garlic cloves and cook for another minute until fragrant.
- Next, add the low sodium chicken stock and Better than Bouillon chicken base to the skillet. Stir everything together, scraping up any browned bits from the bottom of the pan. Cook down for about 10 minutes until the liquid has slightly thickened, concentrating the flavors.
- Pour in the heavy cream and add the dried thyme. Stir together well and allow the sauce to gently thicken for about 8-10 minutes, stirring occasionally. Taste for seasoning and add additional salt and pepper if desired.
- Once the sauce has thickened to your liking, turn off the heat. Pour the creamy mixture evenly over the chicken breasts arranged on the baking sheet.
- Bake in a preheated oven at 375°F (190°C) for 15 minutes, or until the chicken reaches an internal temperature of 165°F (74°C).
- Top with dried parsley (optional) for garnish and serve immediately with your favorite sides.
Notes
- Feel free to get creative with additions like grated Parmesan cheese, crumbled bacon, or a pinch of red pepper flakes for extra flavor.
- This dish can be made ahead of time: prepare up to the baking step, cover, and refrigerate for up to one day. Bake as usual, adding a few extra minutes if cooking from cold.
- We highly recommend serving this over a bed of fettuccine or egg noodles to fully enjoy the rich sauce.
- Store any leftovers in an airtight container in the refrigerator for up to 3-4 days.
- Leftovers can also be frozen in a freezer-safe container for up to 3 months. Thaw and reheat, adding extra stock or cream if the sauce needs reviving.
Nutrition Information
Calories: 763kcal | Carbohydrates: 7g | Protein: 53g | Fat: 58g | Sodium: 909mg | Fiber: 1g | Sugar: 4g
Disclaimer: “The Country Cook” is not a dietician or nutritionist, and any nutritional information shared is an estimate. If calorie count and other nutritional values are important to you, we recommend running the ingredients through whichever online nutritional calculator you prefer. Calories and other nutritional values can vary quite a bit depending on which brands were used.
Did you make this recipe?
Share it on Instagram @thecountrycook and mention us #thecountrycook!
